
stove top tater tots

title 1
stove top tater tots
⏱️ cook time 22 minutes
🍽️ servings 4
⚡ Difficulty easy

intro

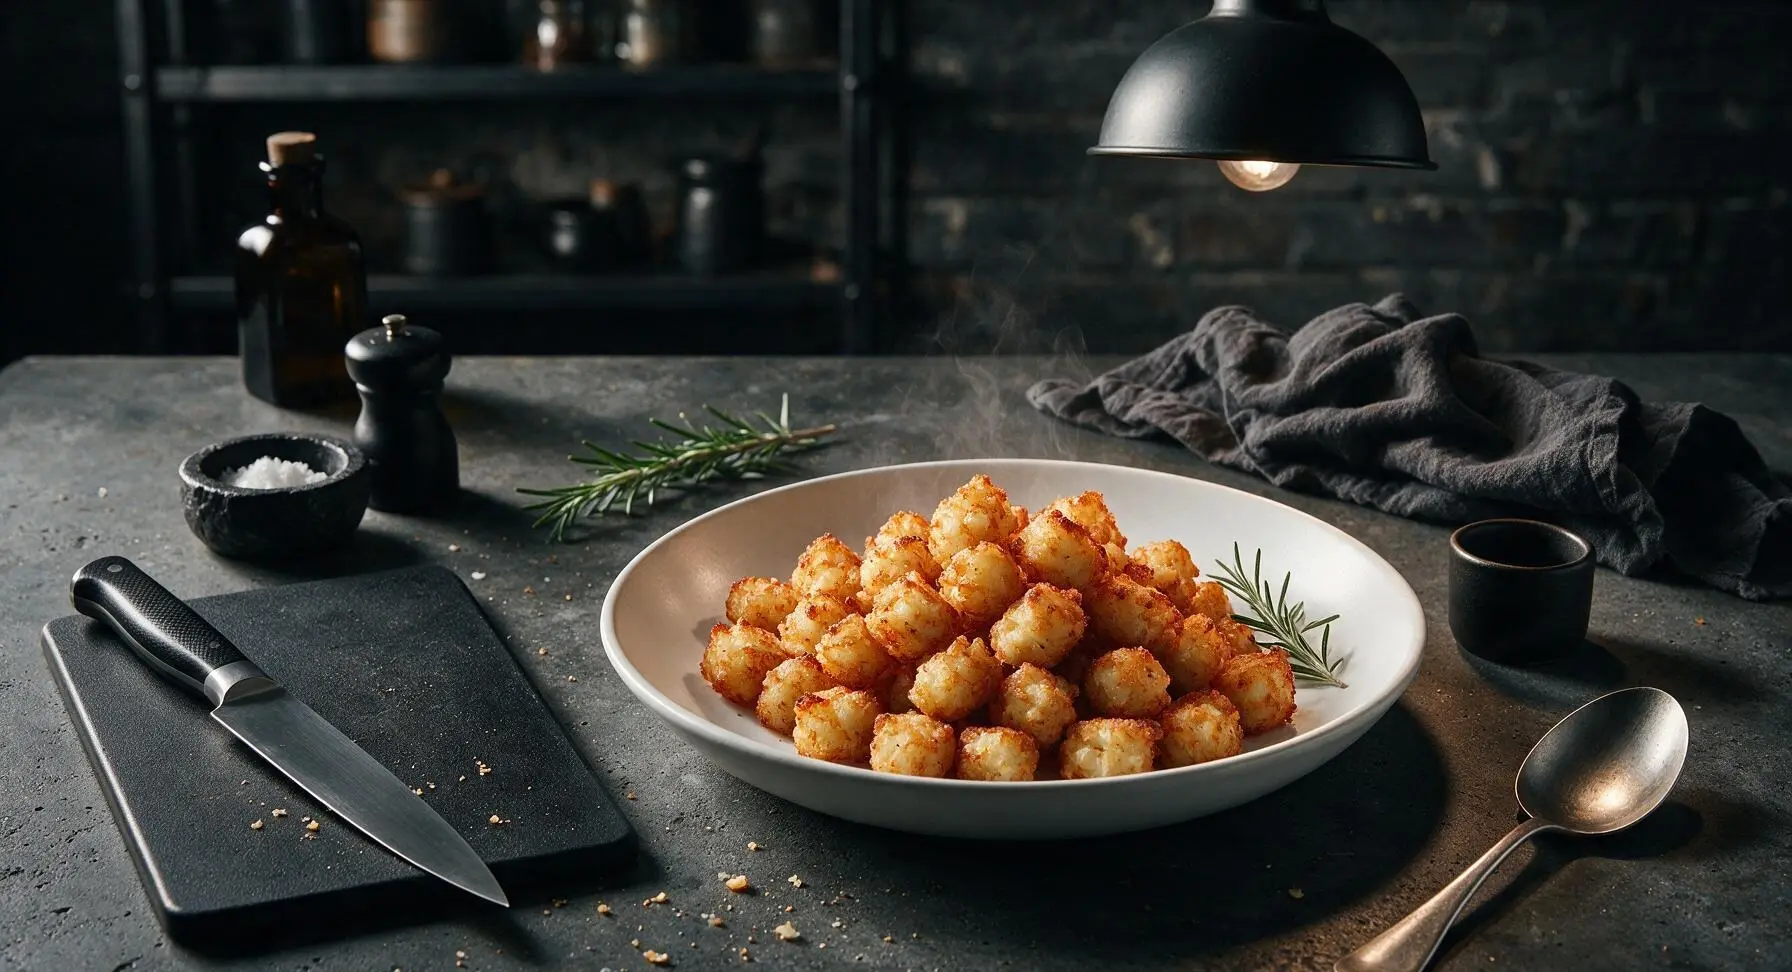
Crispy, golden stovetop tater tots with fluffy seasoned potato centers—no oven required. Crunchy, salty, and ready in under 30 minutes, perfect for casual spreads and game day.

Ingredients
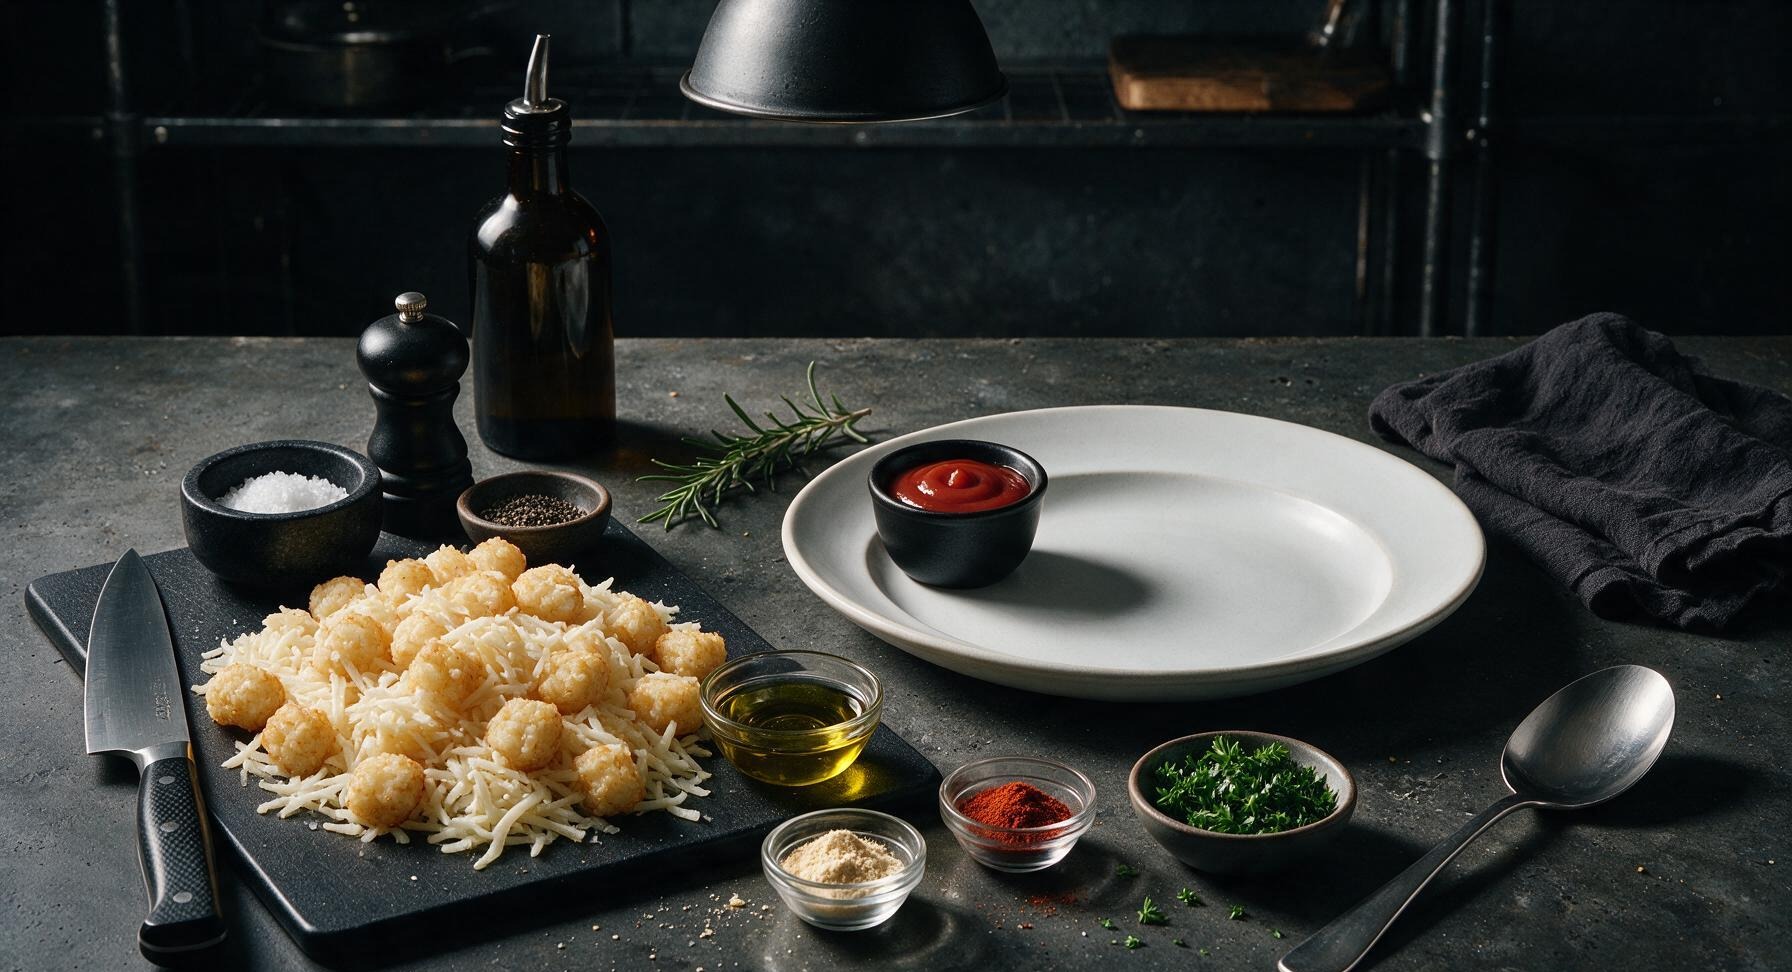
Frozen shredded potato tater tots 700g (approx 4 cups)
Extra-virgin olive oil 2 tablespoons
Coarse kosher salt 1 teaspoon
Freshly ground black pepper 1/2 teaspoon
Garlic powder 1/2 teaspoon
Smoked paprika 1/4 teaspoon
Fresh curly parsley 2 tablespoons (finely chopped)
Ketchup 1/2 cup (for serving)

Steps

1

Preheat Skillet With Oil

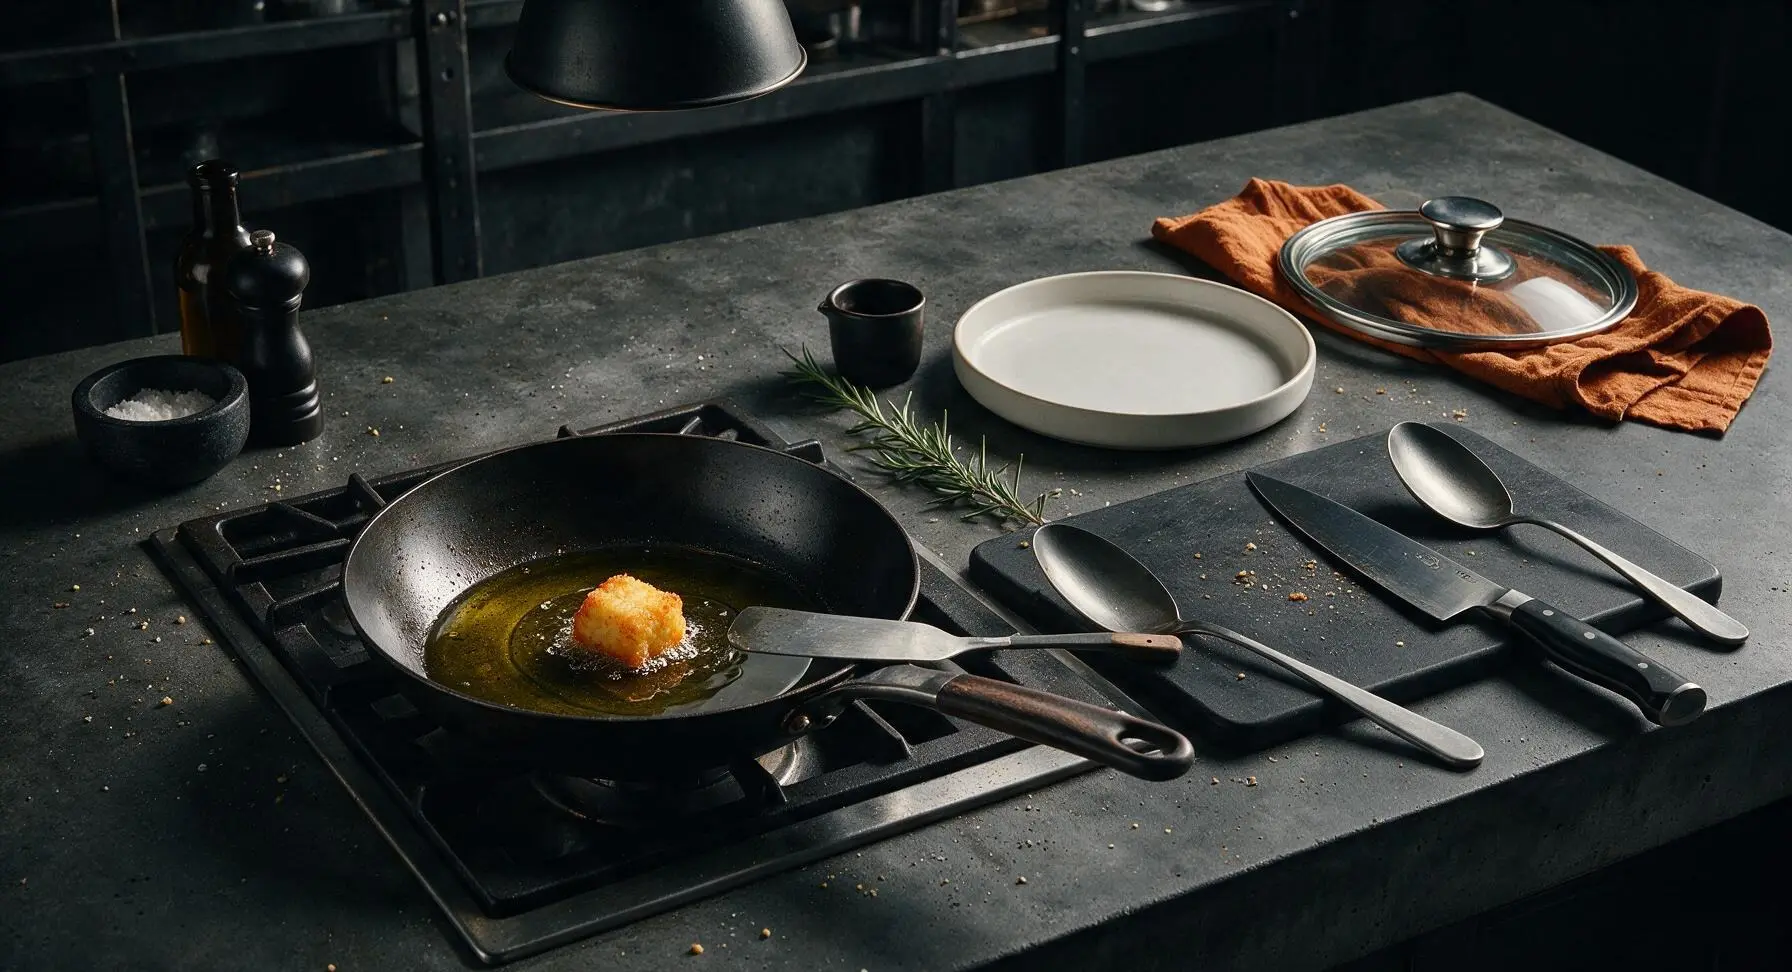
Place the 12-inch carbon steel skillet on the front-left stovetop burner, turn heat to medium-low. Add 2 tablespoons of extra-virgin olive oil, and heat for 2 minutes until the oil shimmers and slides easily across the pan surface, but does not smoke. Test heat by dropping one frozen tot into the oil: it should sizzle gently immediately on contact.
Step 1
step1:Preheat Skillet With Oil
2

Arrange Tots in Single Layer

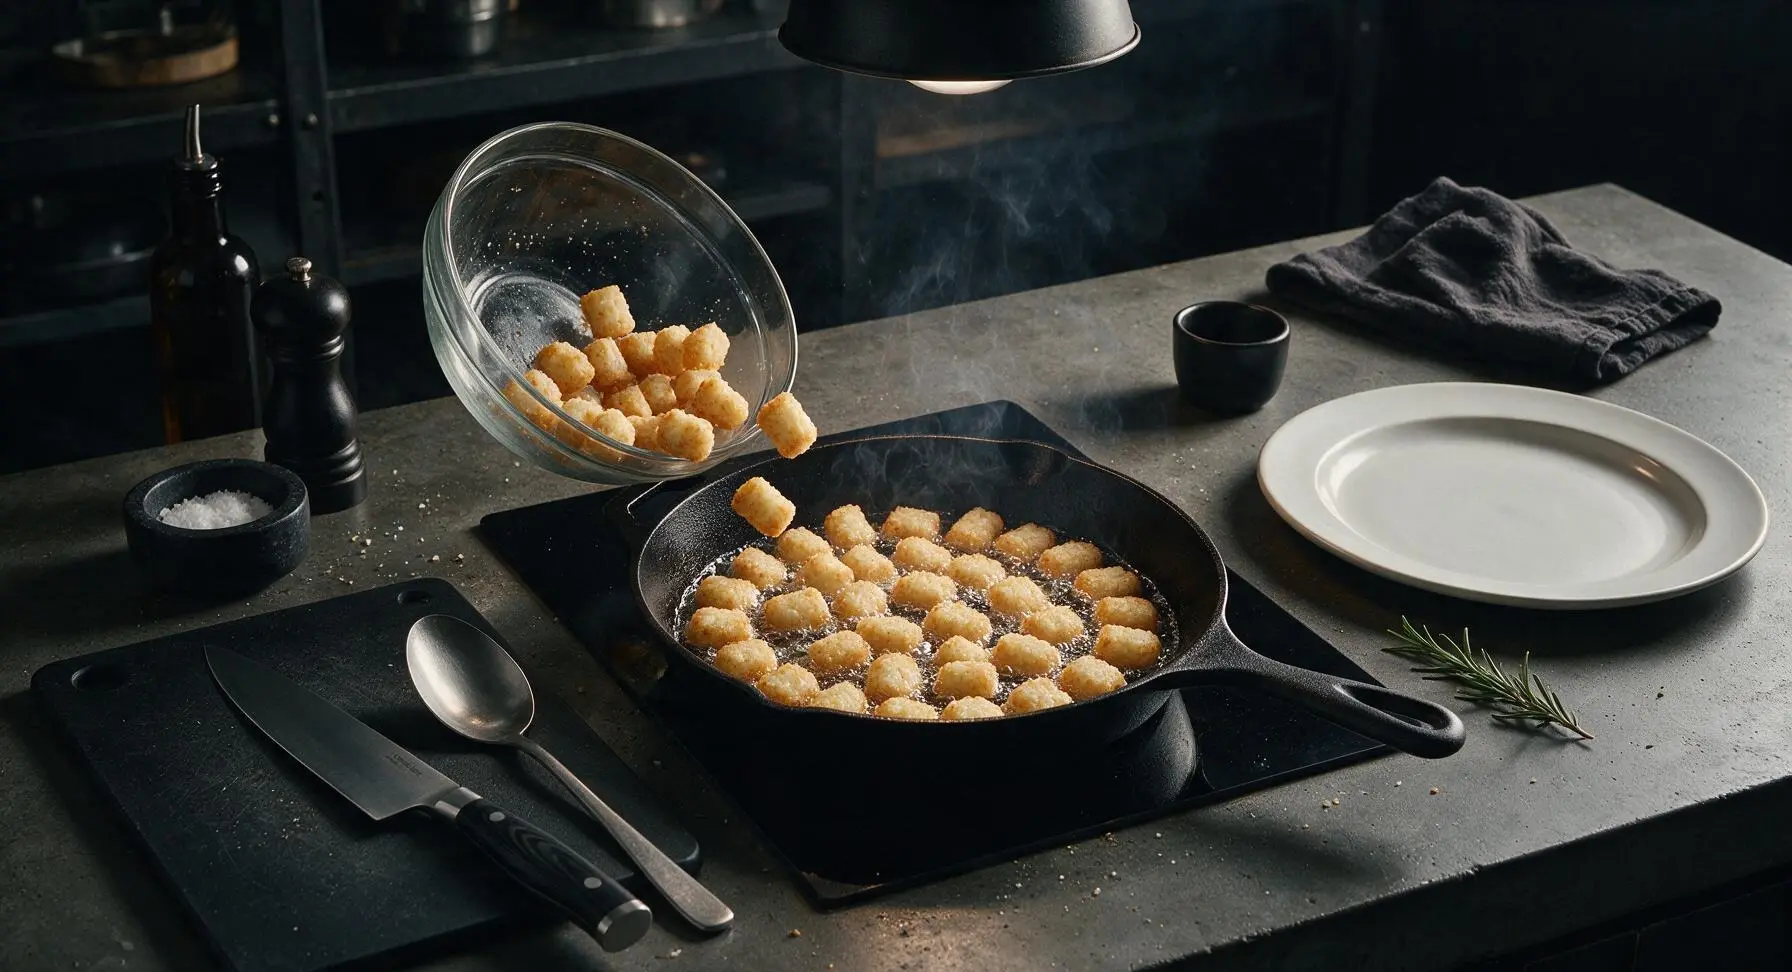
Carefully pour all 700g of frozen tater tots into the preheated skillet, arranging them in a single even layer with no overlapping pieces. If your skillet is too small to hold all tots in one layer, cook them in two batches to avoid steaming instead of crisping.
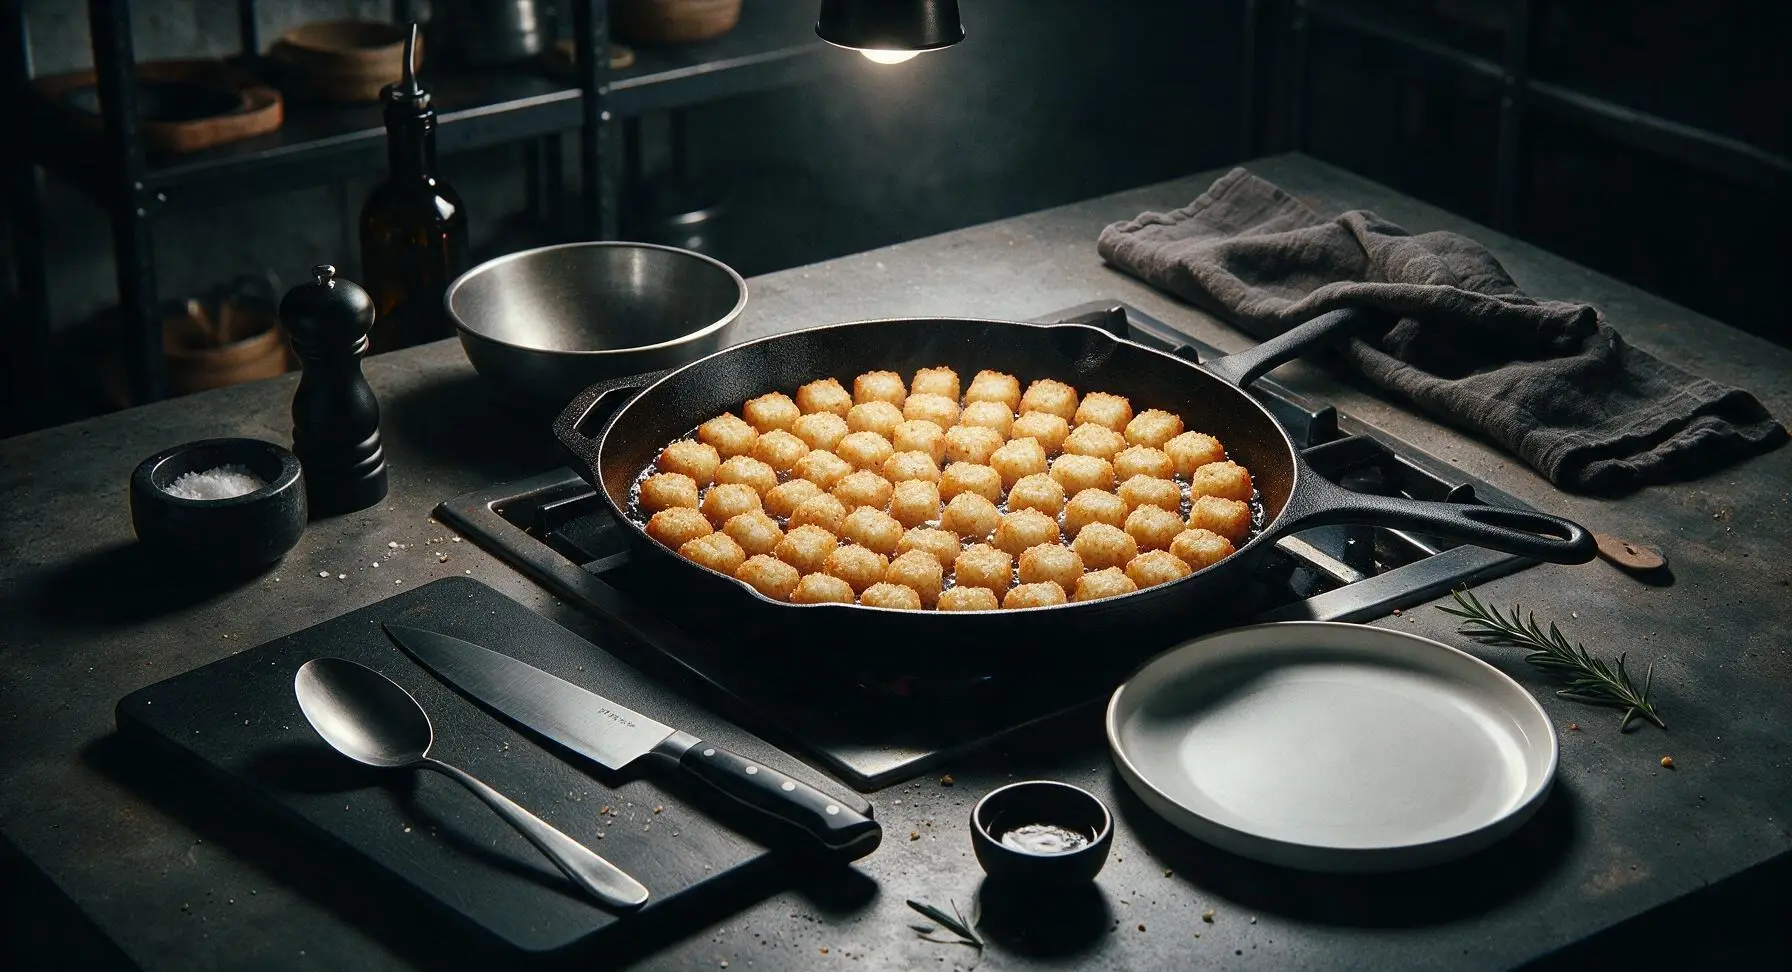
Step 2
step2:Arrange Tots in Single Layer
Step 2
step2:Arrange Tots in Single Layer
3

Cover and Cook First Side

Reduce heat to medium-low, place the clear glass lid tightly on the skillet, and cook for 8 minutes without lifting the lid. The trapped steam will thaw and cook the fluffy potato interior fully while the bottom surface begins to crisp. Resist the urge to stir early, as this will break the developing crispy crust.
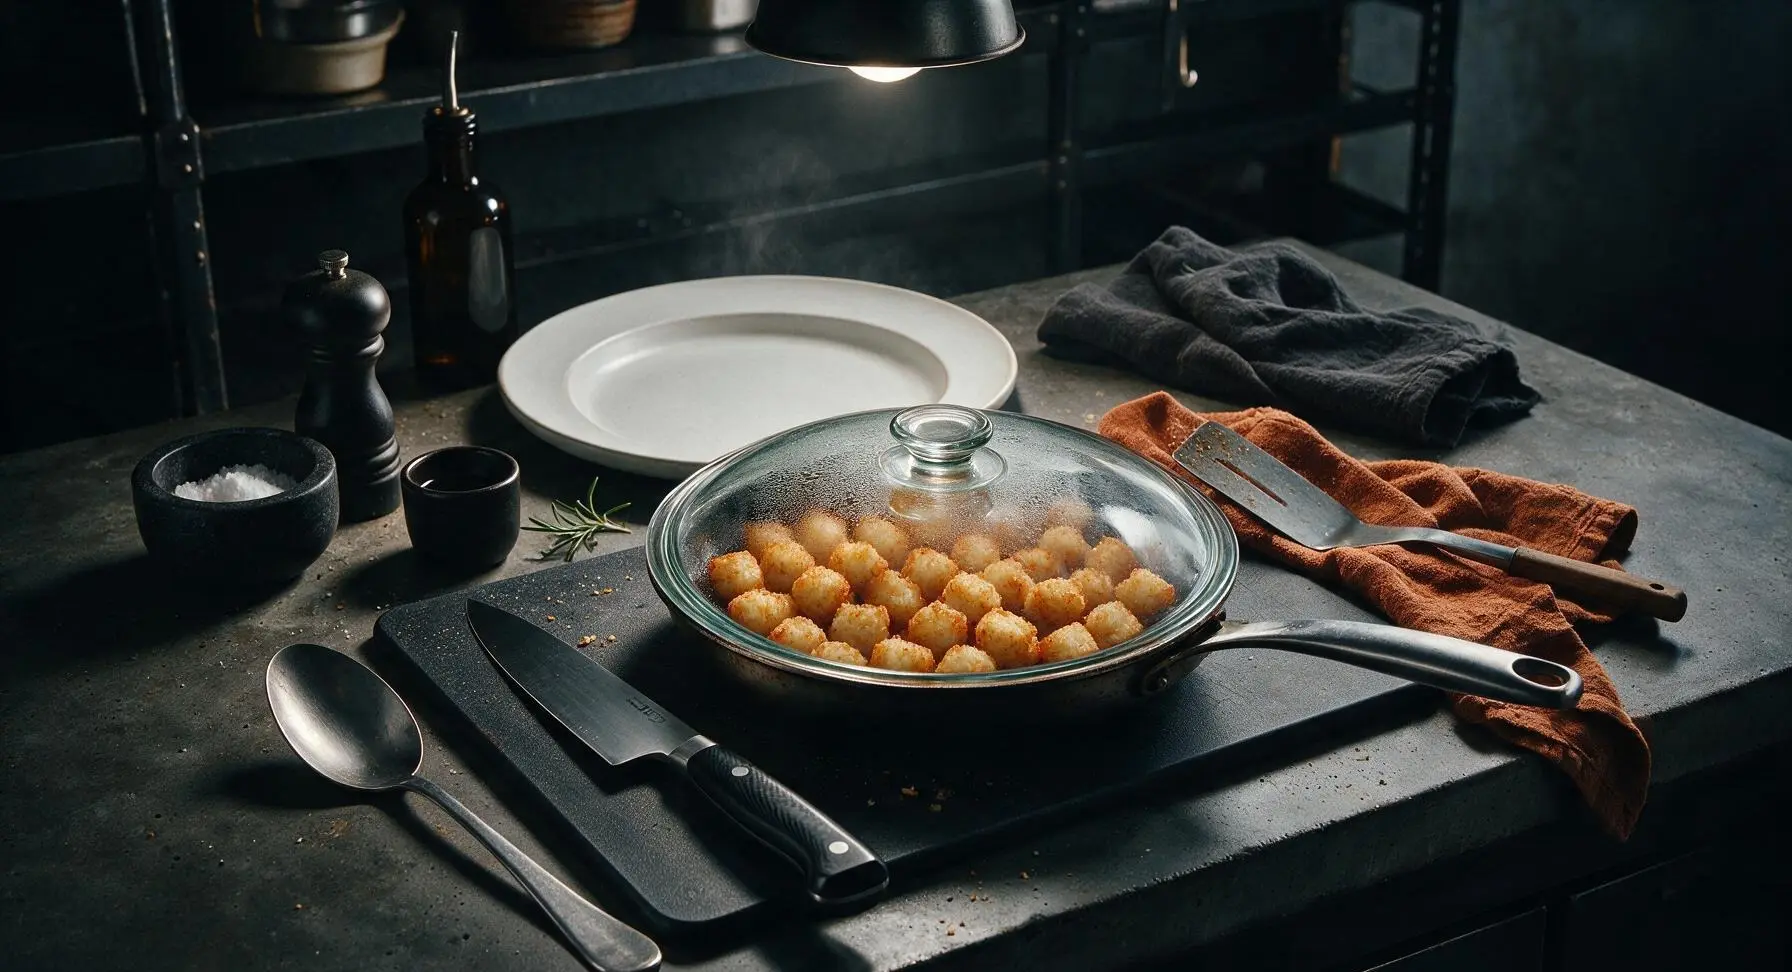
Step 3
step3:Cover and Cook First Side
4

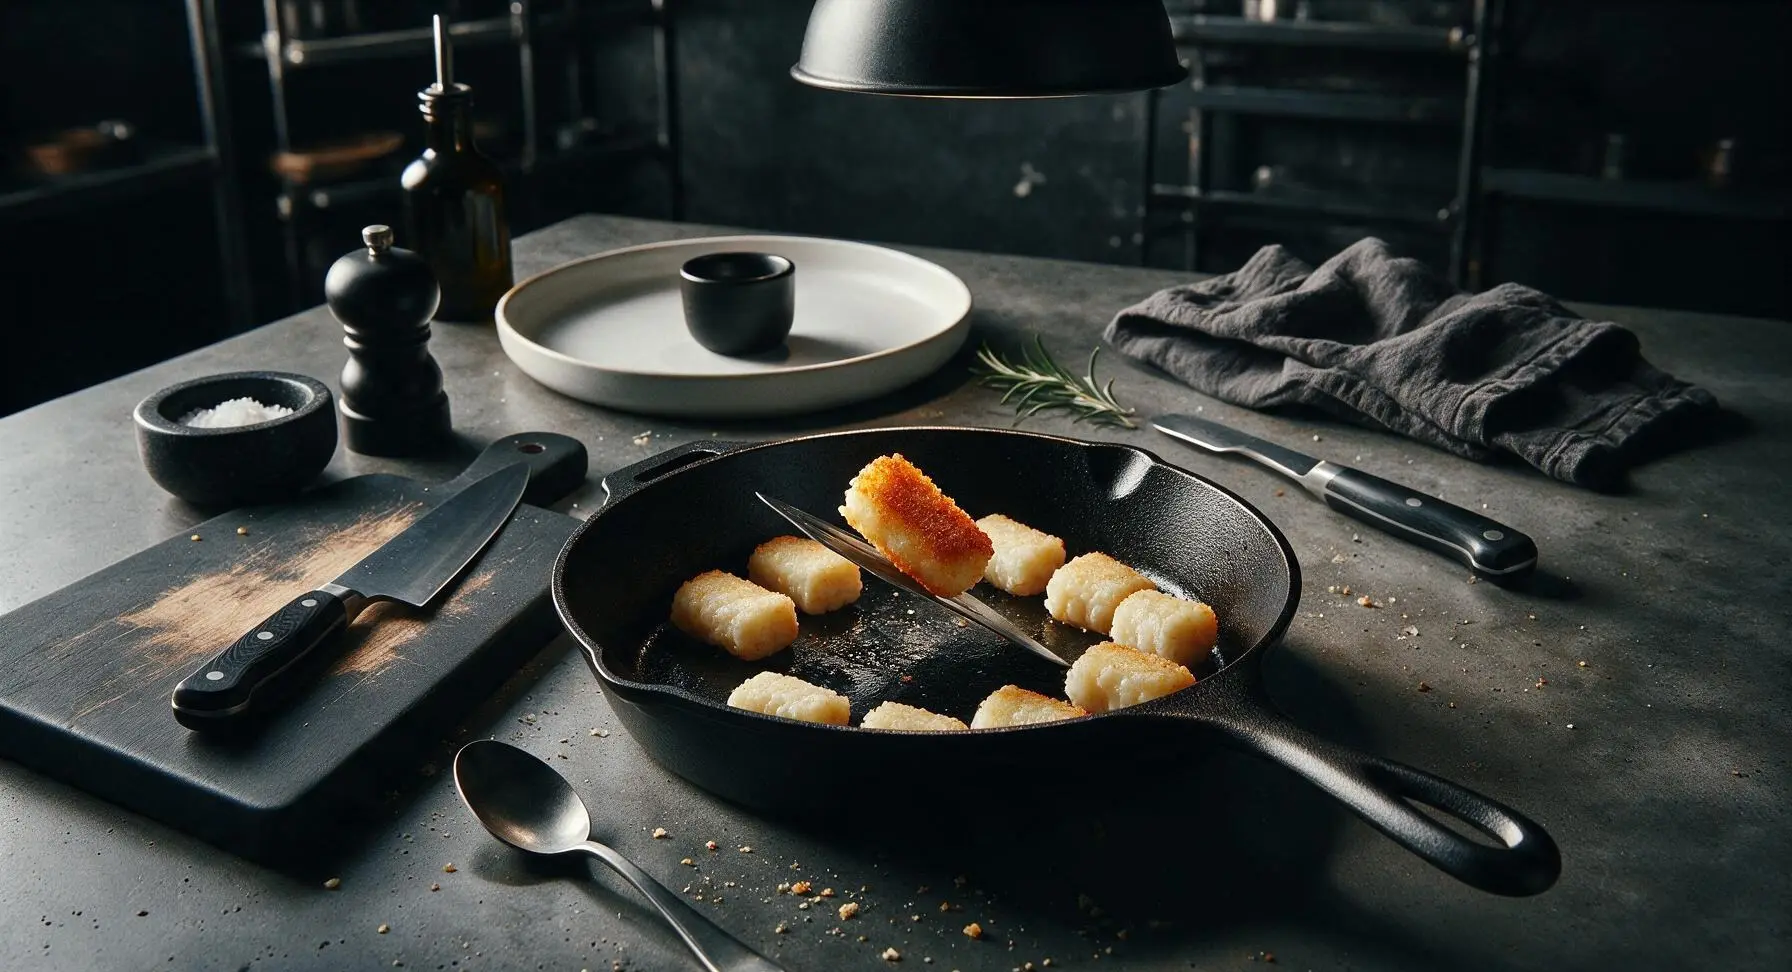
Flip Tots Evenly

After 8 minutes, remove the lid (tilt it away from your face to avoid steam burns). Use the thin flexible metal spatula to flip each tater tot individually, so the pale, uncooked side faces down against the pan. The cooked side should be deep golden and crispy; if it is pale, cook uncovered for 2 more minutes before flipping.
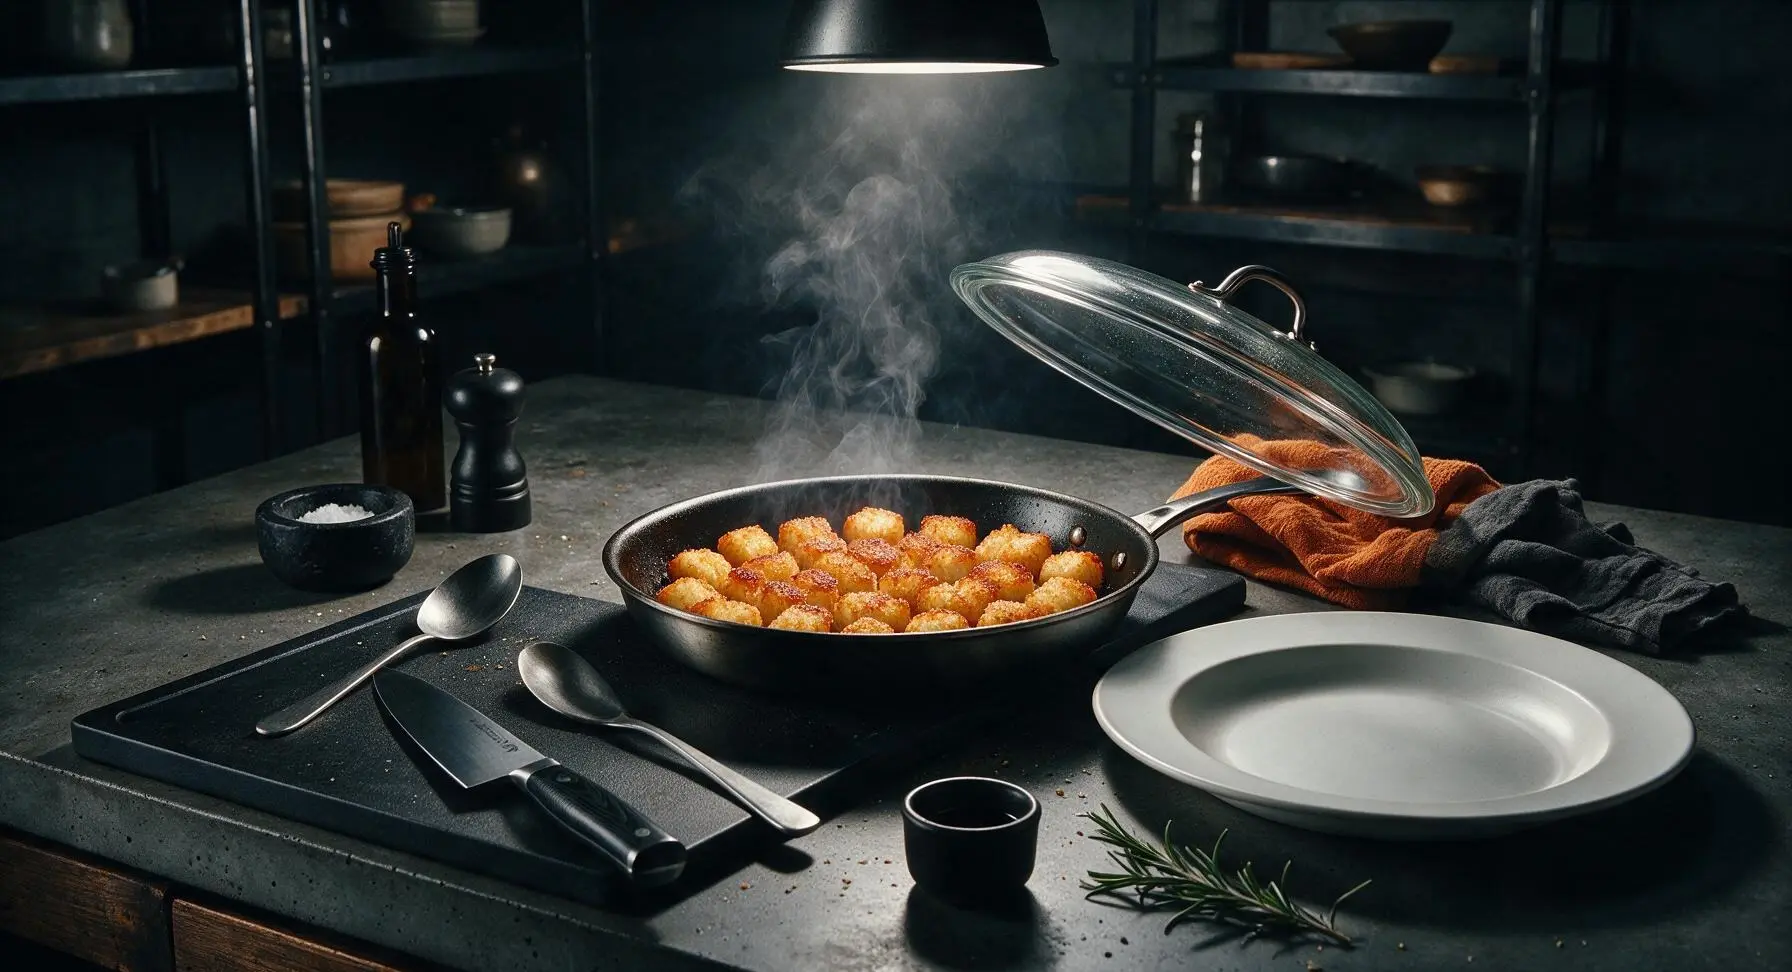
Step 4
step4:Flip Tots Evenly
Step 4
step4:Flip Tots Evenly
5

Crisp Second Side Uncovered

Leave the skillet uncovered, continue cooking over medium-low heat for 7-9 minutes, flipping the tots every 2 minutes to crisp all sides evenly. Cook until every surface is deep golden brown and crunchy, with no soft pale spots remaining. Adjust heat down slightly if the tots begin to darken too quickly before centers are heated through.
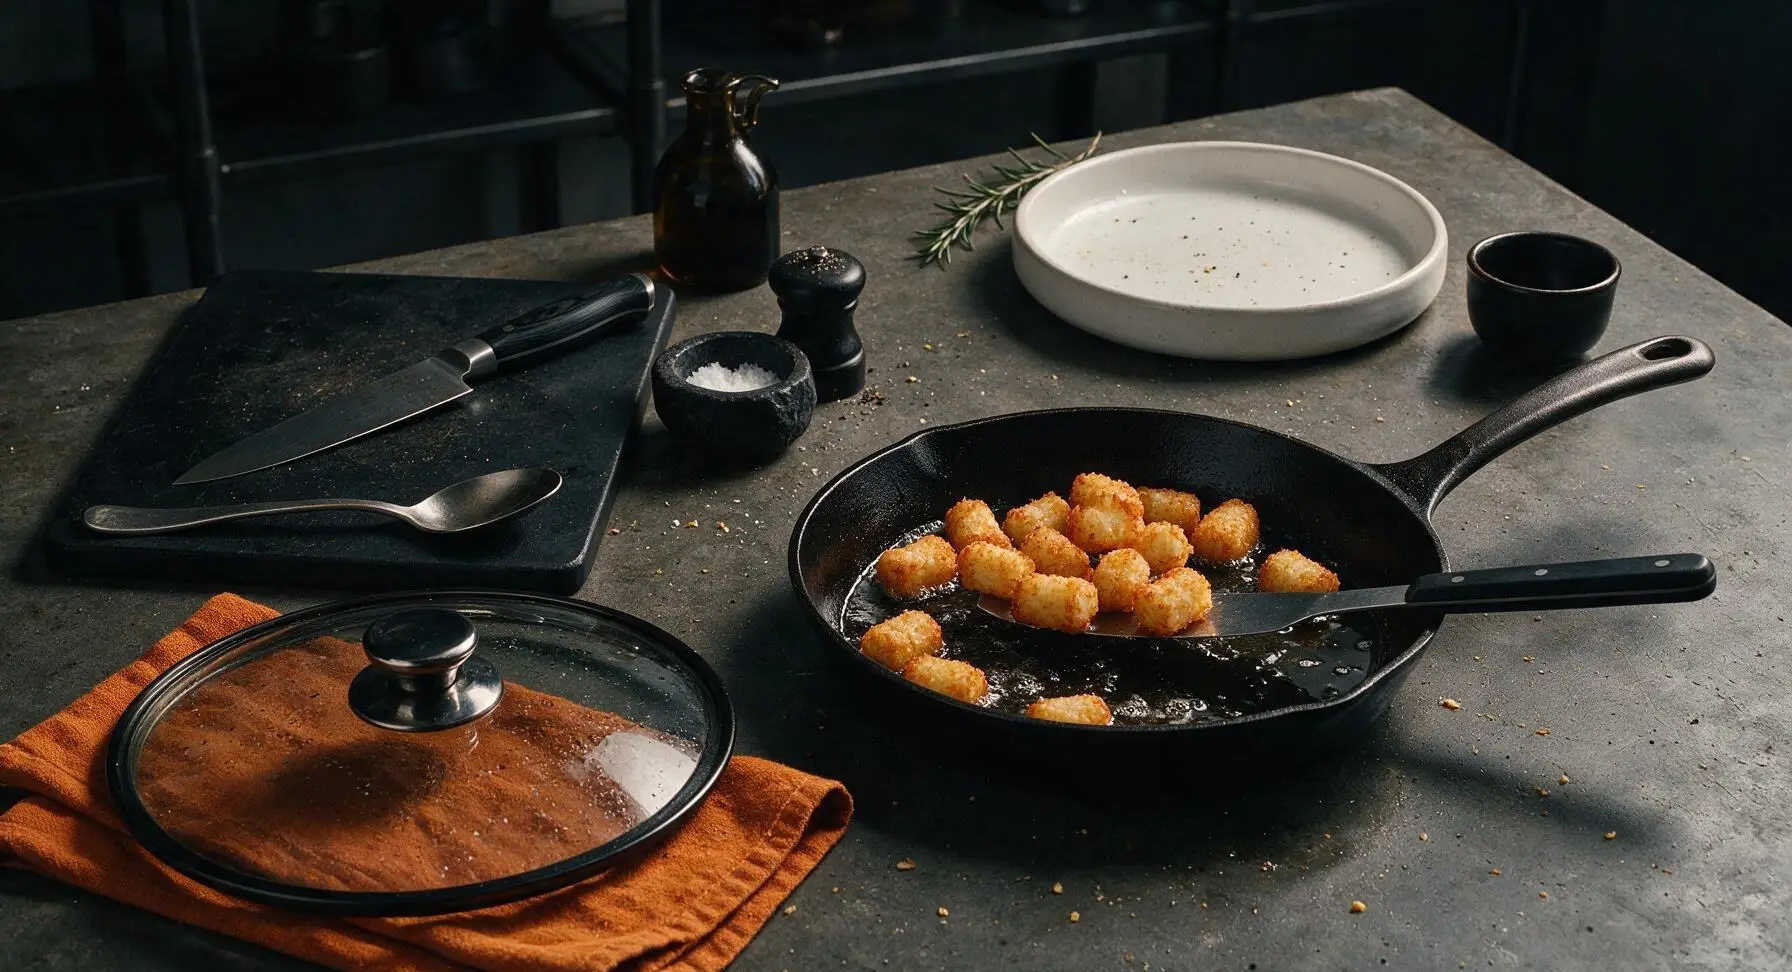
Step 5
step5:Crisp Second Side Uncovered
6

Toss With Seasonings

Once all sides are crispy and golden, turn off the heat. Sprinkle the pre-measured mix of kosher salt, black pepper, garlic powder, and smoked paprika evenly over the hot tots. Toss gently with the spatula to coat every tot evenly in the spice mixture.
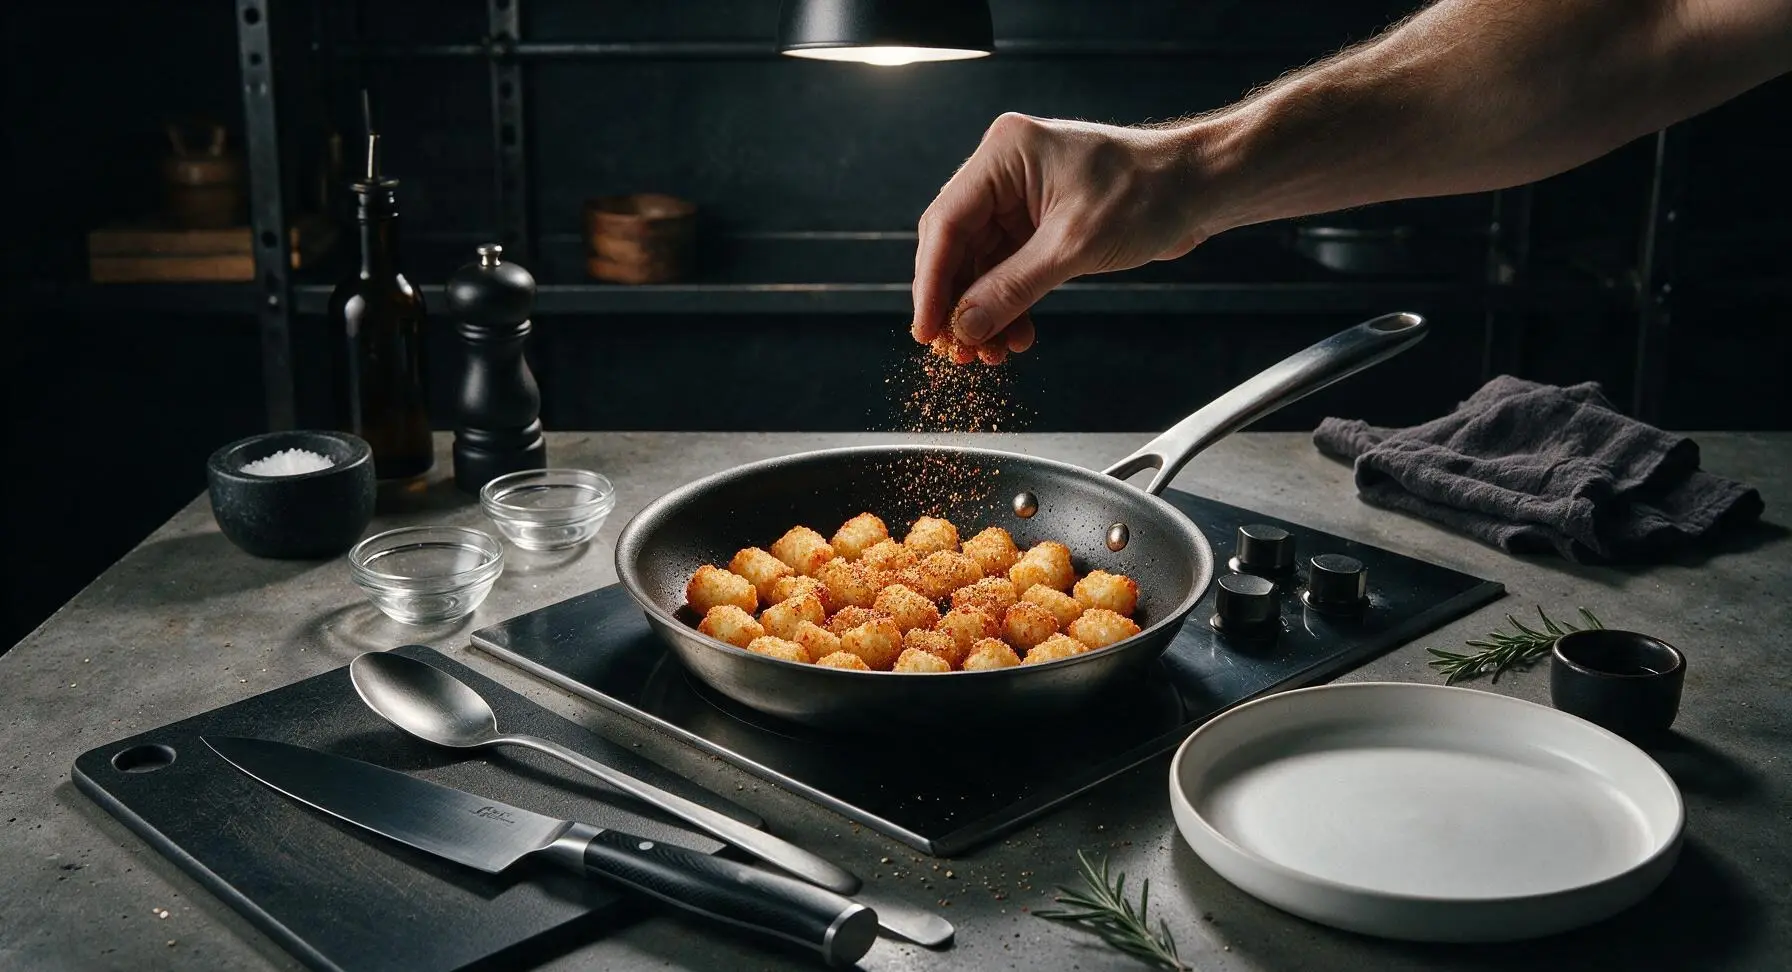
Step 6
step6:Toss With Seasonings
7

Plate and Garnish Tots

Use the spatula to transfer all the seasoned tater tots to the waiting matte off-white ceramic serving platter, piling them in a loose mound. Sprinkle the 2 tablespoons of finely chopped fresh parsley over the top, and fill the adjacent matte black ramekin with ketchup for dipping. Serve immediately while hot and crispy.
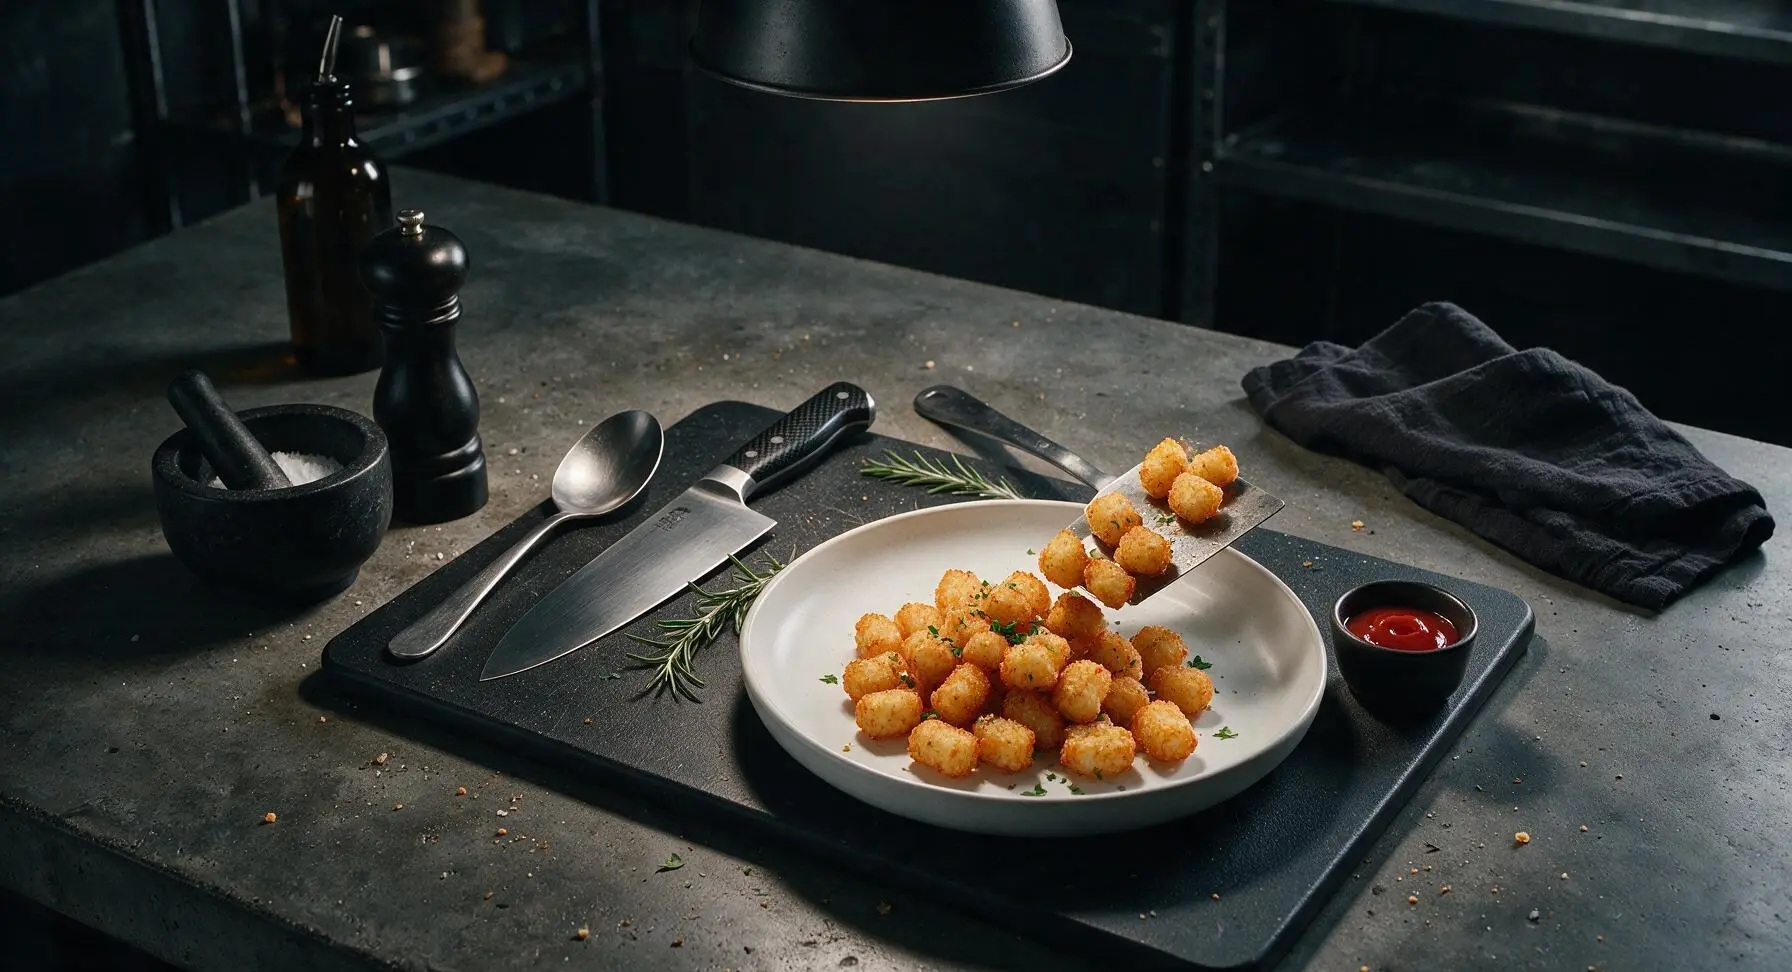
Step 7
step7:Plate and Garnish Tots

Tips

1.Avoid overcrowding the pan: if tots overlap, trapped moisture will make them steam instead of crisp, leading to soggy, limp exteriors. Cook in two equal batches if your skillet is smaller than 12 inches, adding 1 extra teaspoon of oil for the second batch.
2.Maintain consistent medium-low heat throughout cooking: high heat will burn the outer surface of frozen tots before their fluffy potato centers thaw and cook through, while heat that is too low will make tots absorb excess oil and turn greasy.
3.Season tots immediately after turning off the heat while the residual oil on their surfaces is still hot: this helps spices adhere evenly instead of sliding off or falling to the bottom of the platter, and amplifies the aromatic flavor of garlic powder and smoked paprika.


✨ You May Also Like

Side Dishes
🍜 India

Velvety, aromatic all-purpose curry sauce perfect for tossing with roasted veggies, grilled protein, or rice for fast, cozy, flavorful meals.

⏱️ 25 minuteSide Dishes ★ 4.8
Side Dishes
🍜 Spain

Tender, starchy boiled yuca tossed in bright, garlicky citrus mojo sauce—an iconic, zesty side that pairs beautifully with roasted pork, grilled meats, and rice and beans.

⏱️ 40 minuteSide Dishes ★ 5
Side Dishes
🍜 United States

Tender, paper-thin potato flatbread, a beloved Norwegian-American Minnesota Christmas staple, griddled until softly spotted and served warm with butter.

⏱️ 1 hour 30Side Dishes ★ 4.6
Side Dishes
🍜 United States

Rich, deeply savory cured salt pork, a long-lasting kitchen staple perfect for frying crispy as a side or adding umami to stews, beans, and chowders.

⏱️ 7 days (2Side Dishes ★ 4.9
Side Dishes
🍜 United States

Crispy, tangy classic Southern fried green tomatoes with a crunchy cornmeal crust, served hot for a nostalgic, comforting summery bite.

⏱️ 25 minuteSide Dishes ★ 4.9
Side Dishes
🍜 United States

Moist, golden-crusted savory muffins with sweet corn, zesty jalapeño, and melted cheddar, perfect for pairing with smoky summer grilled fare.

⏱️ 30 minuteSide Dishes ★ 4.9

stove top tater tots:Frequently Asked Questions

1.Do I need to thaw my frozen tater tots before cooking them on the stovetop? ▾
Skip thawing entirely! Cooking tots straight from frozen keeps their interior light and fluffy while the exterior crisps up nicely. Thawing releases excess starchy moisture that leads to soggy, greasy, mushy tots instead of the crunchy golden crust you want. Just pull them straight from the freezer when your oil is preheated.
2.What kind of pan works best for getting extra crispy stovetop tater tots? ▾
Reach for a heavy-bottomed cast iron skillet or thick nonstick frying pan for the best results. These pans distribute heat evenly without random hot spots that burn patches on your tots, and they hold a consistent temperature to build that perfect crunchy, golden crust across every tot surface.
3.How much olive oil do I need to keep tots from sticking without making them greasy? ▾
You only need 2 to 3 tablespoons of extra-virgin olive oil for a standard 32-ounce bag of frozen tater tots. Too much oil leaves tots soggy and heavy, while too little causes sticking and uneven browning. Swirl the oil to coat the entire pan surface evenly before adding your first batch.
4.Why do my tater tots turn out soggy instead of crispy when I cook them on the stove? ▾
Soggy stovetop tots almost always come from overcrowding the pan, using oil that’s not hot enough, or stirring too frequently. Cook tots in a single layer with a little space between each, wait until oil shimmers before adding tots, and let them sear undisturbed for 4 to 5 minutes per side to build a solid crust.
5.Can I cook a full family-sized bag of tater tots on the stovetop all at once? ▾
For a standard 32-ounce family-sized bag, you’ll need to cook in 2 to 3 small batches instead of dumping the whole bag in at once. Overcrowding drops the pan temperature fast and steams tots instead of searing them, leading to soft, pale results. Keep cooked batches warm on a wire rack while you finish the rest.
6.When is the best time to add salt and seasonings to the tater tots? ▾
Season tots right after you pull them out of the hot pan, while they’re still glistening and piping hot. The residual heat helps coarse kosher salt, black pepper, and garlic powder stick evenly to every crispy surface, instead of burning or falling to the pan bottom if added too early during cooking.
7.How do I keep cooked tater tots crispy while I finish making the rest of my meal? ▾
Skip piling hot tots in a covered bowl, which traps steam and turns them soft fast. Instead, spread cooked tots in a single layer on a wire rack set over a baking sheet, and hold them in a 200°F oven if you need to keep them warm for 10 to 15 minutes. Air circulation preserves that perfect crunch.
8.Can I use a different oil instead of extra-virgin olive oil for this recipe? ▾
Absolutely! You can swap in avocado oil, canola oil, or even melted clarified butter if you prefer. Just pick a fat with a medium-high smoke point so it doesn’t burn as you sear the tots. Avoid low-smoke-point options like unrefined toasted sesame oil, which will give tots an unpleasant burnt flavor.
9.How long does it actually take to cook tater tots fully on the stovetop? ▾
Total cook time clocks in right around 20 to 25 minutes from start to finish, which lines up with the recipe’s under-30 minute promise. Each batch needs roughly 10 to 12 minutes total, turning every 4 minutes or so, until they’re deep golden all over and heated through to a fluffy, tender center.
10.Do I need a lid to cover the pan while cooking stovetop tater tots? ▾
Skip the lid entirely! Covering the pan traps steam released as the frozen potatoes cook, which will soften that crispy crust you’re working hard to build. Keep the pan uncovered the entire cook time to let moisture escape, so tots sear instead of steam for that ideal crunchy texture.
11.Can I add extra seasonings beyond the basic salt, pepper, and garlic powder? ▾
Definitely! The base seasoning blend is a perfect blank canvas for custom flavors. Toss hot crispy tots with smoked paprika, grated parmesan, cajun seasoning, ranch powder, or truffle salt right after cooking. Add dry seasonings the second tots come off the heat so they stick evenly to every surface.
12.How do I keep tater tots from sticking to the pan as they cook? ▾
First, make sure your oil is fully heated and shimmering before you add any tots—adding food to cold oil is the top cause of sticking. Let tots sear undisturbed for the first 4 minutes on each side; if you try to flip them too early, the soft crust will tear and stick. A well-seasoned pan helps too.
13.Are these stovetop tater tots less crispy than traditional oven-baked ones? ▾
When made correctly, stovetop tater tots are actually crispier than most oven-baked versions! Direct contact with hot oil on the pan surface creates a thicker, more even crunchy crust, while the short cook time keeps the inside extra fluffy. You won’t get that dry, tough exterior that comes with long oven bake times.
14.Can I use homemade shredded potato tots instead of frozen store-bought ones for this recipe? ▾
You can, but you’ll need to squeeze every bit of excess moisture out of your shredded seasoned potatoes before forming them into tots, otherwise they’ll fall apart and turn mushy on the pan. Frozen pre-formed tots are processed to remove extra moisture, making them far more forgiving for stovetop cooking.
15.What should I do if some of my tater tots are browning too fast before they’re heated through? ▾
Turn your burner heat down slightly to medium, and shift the faster-browning tots to the cooler edges of the pan. Most stovetops have slight hot spots, so moving tots around as you flip them helps prevent burnt edges while ensuring every tot heats all the way through to that soft, fluffy center.

Comments (17)

2 hours ago

Wait, can I use frozen tater tots straight from the bag for this? I don’t feel like thawing anything after work tonight, I just want crispy tots to go with my burgers.

30 minutes ago

I did straight from frozen last night! Just add an extra 3 minutes to the cook time, don’t crowd the pan, they come out perfect. No thawing needed at all.

5 minutes ago

Great question! Frozen tots work perfectly straight from the bag—no thawing required, just make sure your pan is hot before you add them and don’t stir too often so they get that crispy crust. Hope you love them!

1 week ago

Game. Changer. I thought stovetop tots always turned out soggy and sad but these were shatteringly crisp. My three kids devoured an entire bag in 10 minutes and asked when we’re having them again. Served with ketchup and a little cheese sauce on the side for weeknight dinner, zero complaints.

5 days ago

So happy the whole family loved them! They’re such an easy weeknight side, I make them at least once a week with burgers or hot dogs at my house too.

3 days ago

Brought these to my neighborhood block party potluck last weekend and they were the first side gone! OMG, people kept saying they were better than the fast food tots. I tossed mine with a little cajun seasoning right after cooking and it was chef’s kiss.

2 weeks ago

Super easy recipe for a dorm cook! I only have a tiny electric stovetop and a cheap nonstick pan in my apartment and these still came out crispy. Way cheaper than ordering takeout tots every time I get a late night snack craving.

1 week ago

Good for you, Kyle! I remember my tiny college kitchen too, it’s amazing what you can make with basic equipment. I’ll have to try these with my grandkids next time they visit.

yesterday

Has anyone tried adding seasoning to these while they cook? I’m thinking garlic powder, paprika, a little parmesan? Don’t want to mess up the crisp factor by adding stuff too early.

2 hours ago

I add my seasonings right as I pull them off the heat, toss them in a bowl with the spices and a tiny bit of melted butter, and the crisp stays totally intact! If you add them too early the spices can burn and the parm gets gummy.

30 minutes ago

Great tip from Mandy! Wait to add dry seasonings and cheese until the tots are done cooking and off the heat—that way you get all the flavor without ruining that crispy outer layer. Garlic parm is one of my favorite variations!

1 week ago

These were so simple to make! I’ve been making tater tots in the oven for 40 years and never thought to cook them on the stovetop. They got crispier than oven-baked in half the time, I’m never going back. Served them with meatloaf last night, my husband thought they were a special treat.

5 days ago

Added these to my weekly meal prep rotation! I cook up a big batch on Sunday, reheat them in a dry pan for 2 minutes during the week, and they stay just as crispy. Perfect to pair with eggs for breakfast or a sandwich for lunch.

3 days ago

Love the meal prep hack! So many people think tots don’t reheat well, but a quick spin in a dry pan works way better than the microwave to keep that crunch. Thanks for sharing!

2 days ago

Made these for football watch party yesterday and they were a total hit. I set out a little topping bar with chili, cheese, sour cream, jalapenos so people could make loaded tots. No one believed I made them on the stovetop, everyone thought I ordered them from the bar down the street.

yesterday

The loaded tot bar is such a good idea! I’m hosting a watch party next weekend and I was trying to figure out an easy spread, I’m totally stealing this.

2 hours ago

I did the same for my son’s post-game team dinner last month! The kids went crazy for them, way better than the usual pizza sides.

3 days ago

I used the vegan frozen tater tots from the grocery store for this and they worked perfectly! Crispy, salty, exactly what I was craving. Served with a side of vegan ranch for dipping, so good.

2 days ago

Oh thanks for sharing that vegan tots work! I’ve been nervous to try them on the stovetop because I thought they’d fall apart, I’m picking up a bag on my way home today.

5 days ago

Wait, what kind of oil works best for this? I used olive oil last time I tried stovetop tots and they smoked up my whole kitchen before they got crispy. Don’t want to set off the smoke alarm again like last week 😂

2 days ago

I recommend using a neutral oil with a higher smoke point, like canola, vegetable, or avocado oil! Olive oil has a lower smoke point which is why it was burning before. Heat your oil over medium heat (not high!) and you shouldn’t have any smoke issues.

yesterday

Made these after soccer practice last night when I forgot to turn the oven on for our usual side. They were done faster than the chicken nuggets! My 7 year old said they’re ‘better than McDonald’s’ which is the highest possible praise in our house.

1 week ago

I messed up my first batch because I stirred them way too often, they fell apart and didn’t get crispy. Second batch I left them alone for 8 minutes before flipping, and bam! Perfect golden crunch all over. Don’t be like me and mess with them too much, people!

3 days ago

That’s the exact mistake I made too! I’m used to stirring veggies the whole time they cook, tots need to just sit there and get crispy. Total facepalm moment when my second batch came out perfect.

2 days ago

That’s such a common mistake! Resist the urge to stir too often—letting them sit undisturbed is the secret to that crispy, golden crust you want. So glad your second batch turned out great!

1 week ago

Bro, this recipe is so easy even I can’t mess it up. 22 minutes total, no fancy equipment, just tots, oil, and salt. Made them at 2am after a night out and they hit different than any late night snack I’ve ever made. 10/10 no notes

5 days ago

Dude same! The late night tot cravings are real, this saves me so much money on delivery fees when I’m up studying late.

2 days ago

I love that this recipe doesn’t require preheating the oven! It’s 90 degrees out this week and I refuse to turn my oven on and make my apartment even hotter. These stovetop tots give me all the crispy comfort without heating up the whole place.

5 days ago

Can I make these in a cast iron skillet? I’ve been cooking everything in my cast iron lately and I’m curious if that would get them even crispier.

3 days ago

Cast iron works amazing for this recipe! It holds heat really evenly, which helps get that extra crispy crust all over the tots. Just make sure your pan is well seasoned so they don’t stick, and you’ll be good to go.

30 minutes ago

Made these for brunch today alongside scrambled eggs and bacon and they were chef’s kiss. I tossed a batch with everything bagel seasoning and they tasted like the fancy loaded tots they charge $12 for at my local brunch spot. Saved so much money making them at home!

5 minutes ago

Everything bagel seasoning on tots?! That sounds insane, I’m trying that tomorrow morning for breakfast. What a genius combo.

just now

I did that last week! Added a little dairy-free cream cheese dip on the side and it tasted exactly like the brunch spot tots, I was shocked.

2 weeks ago

These were the perfect side for our hot dog night last night! I cooked them in a little bacon grease instead of regular oil and the flavor was next level. My pup was begging for bites the whole time, don’t worry I snuck him one plain tot as a treat.



