
sub ideas
intro
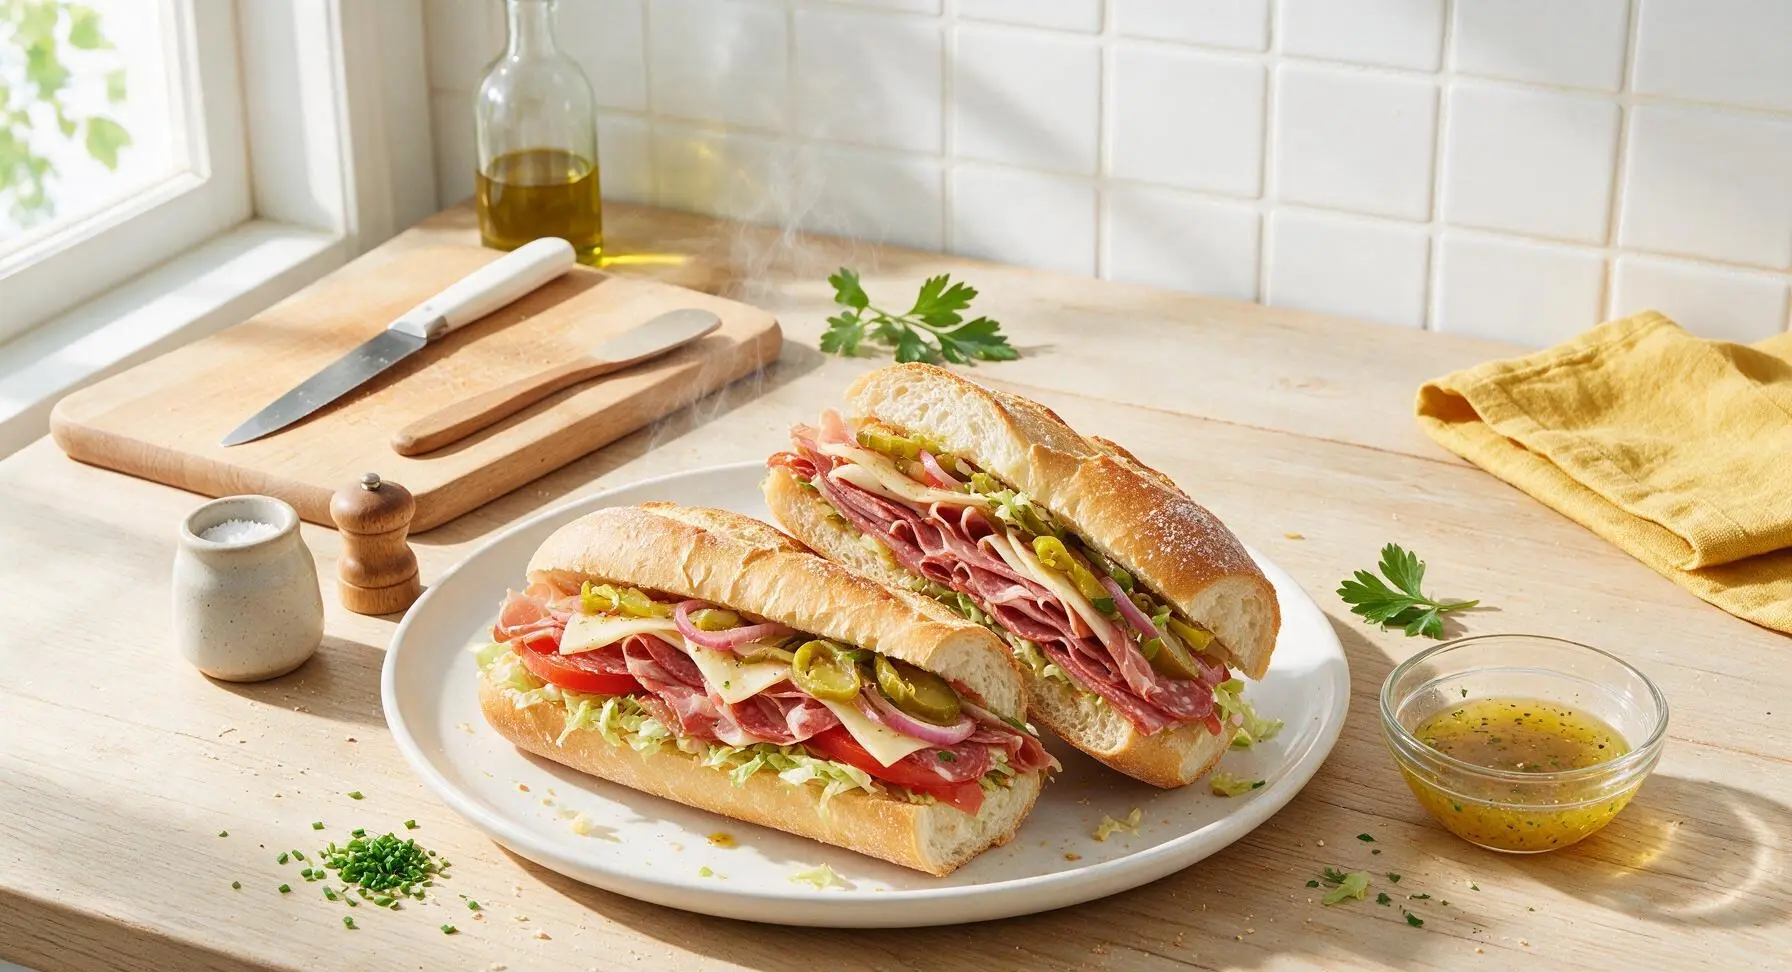
Chewy crusty hoagie rolls piled high with cured meats, melty cheese, tangy pickled veggies, and zesty dressing—endlessly customizable for summer picnics and casual meals.
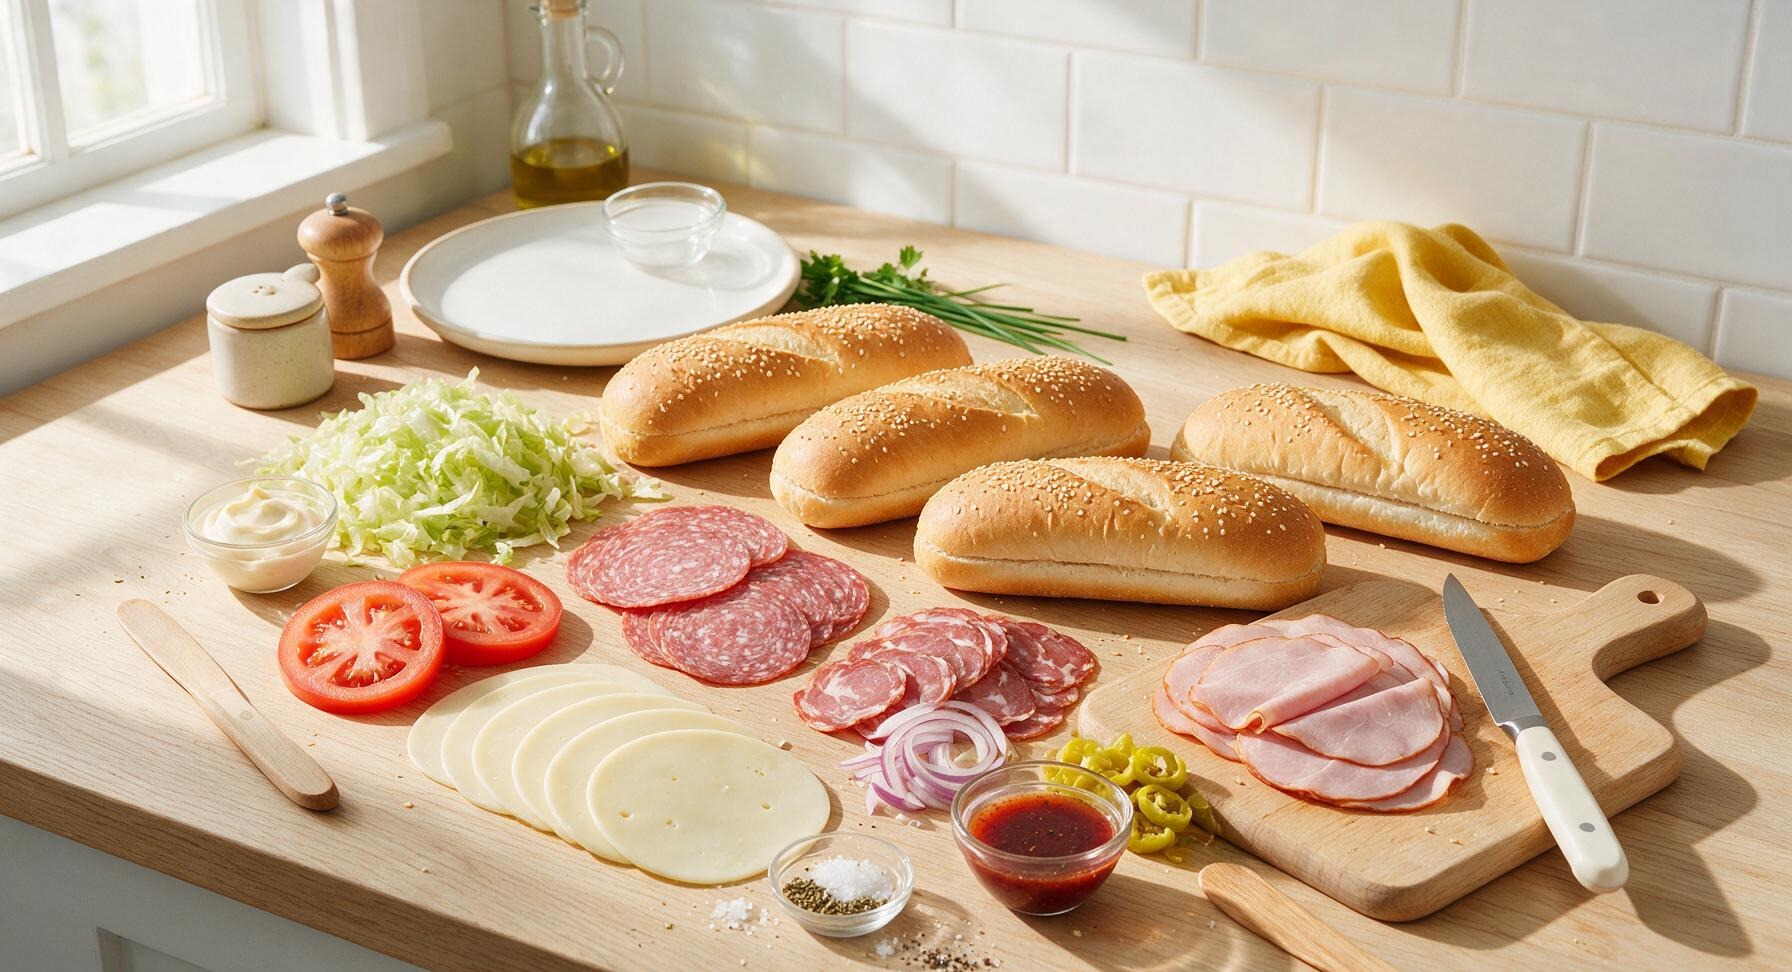
Ingredients
Steps
Toast Hoagie Rolls
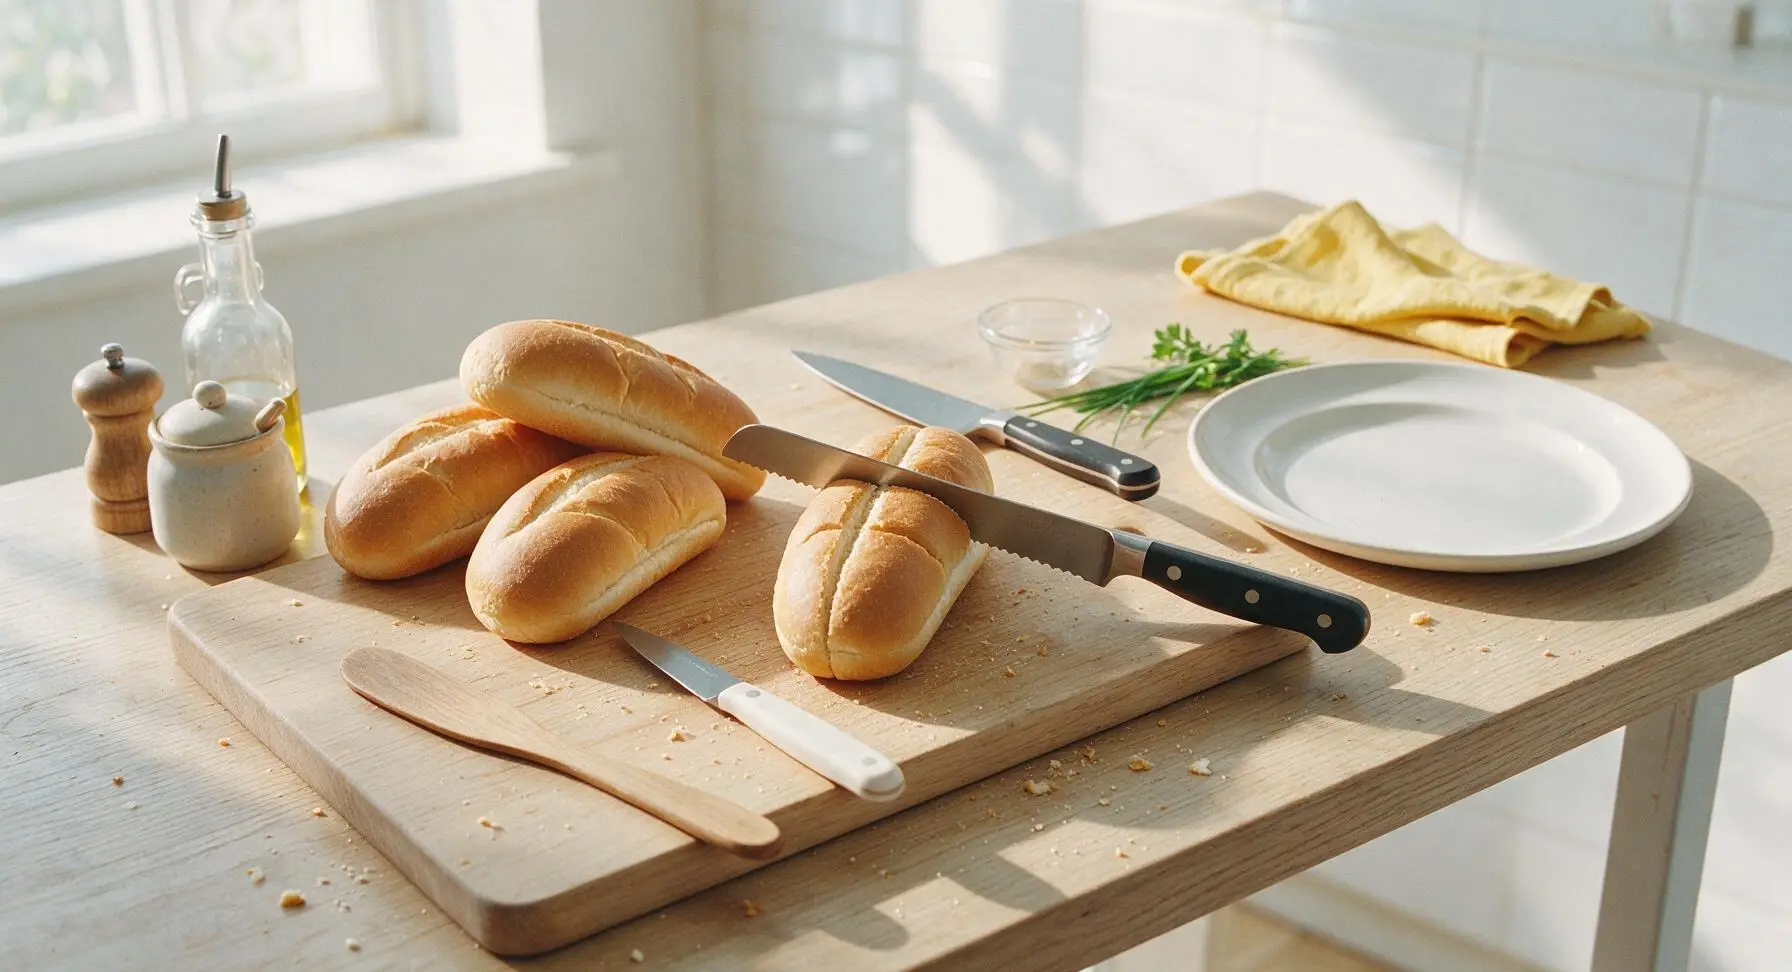
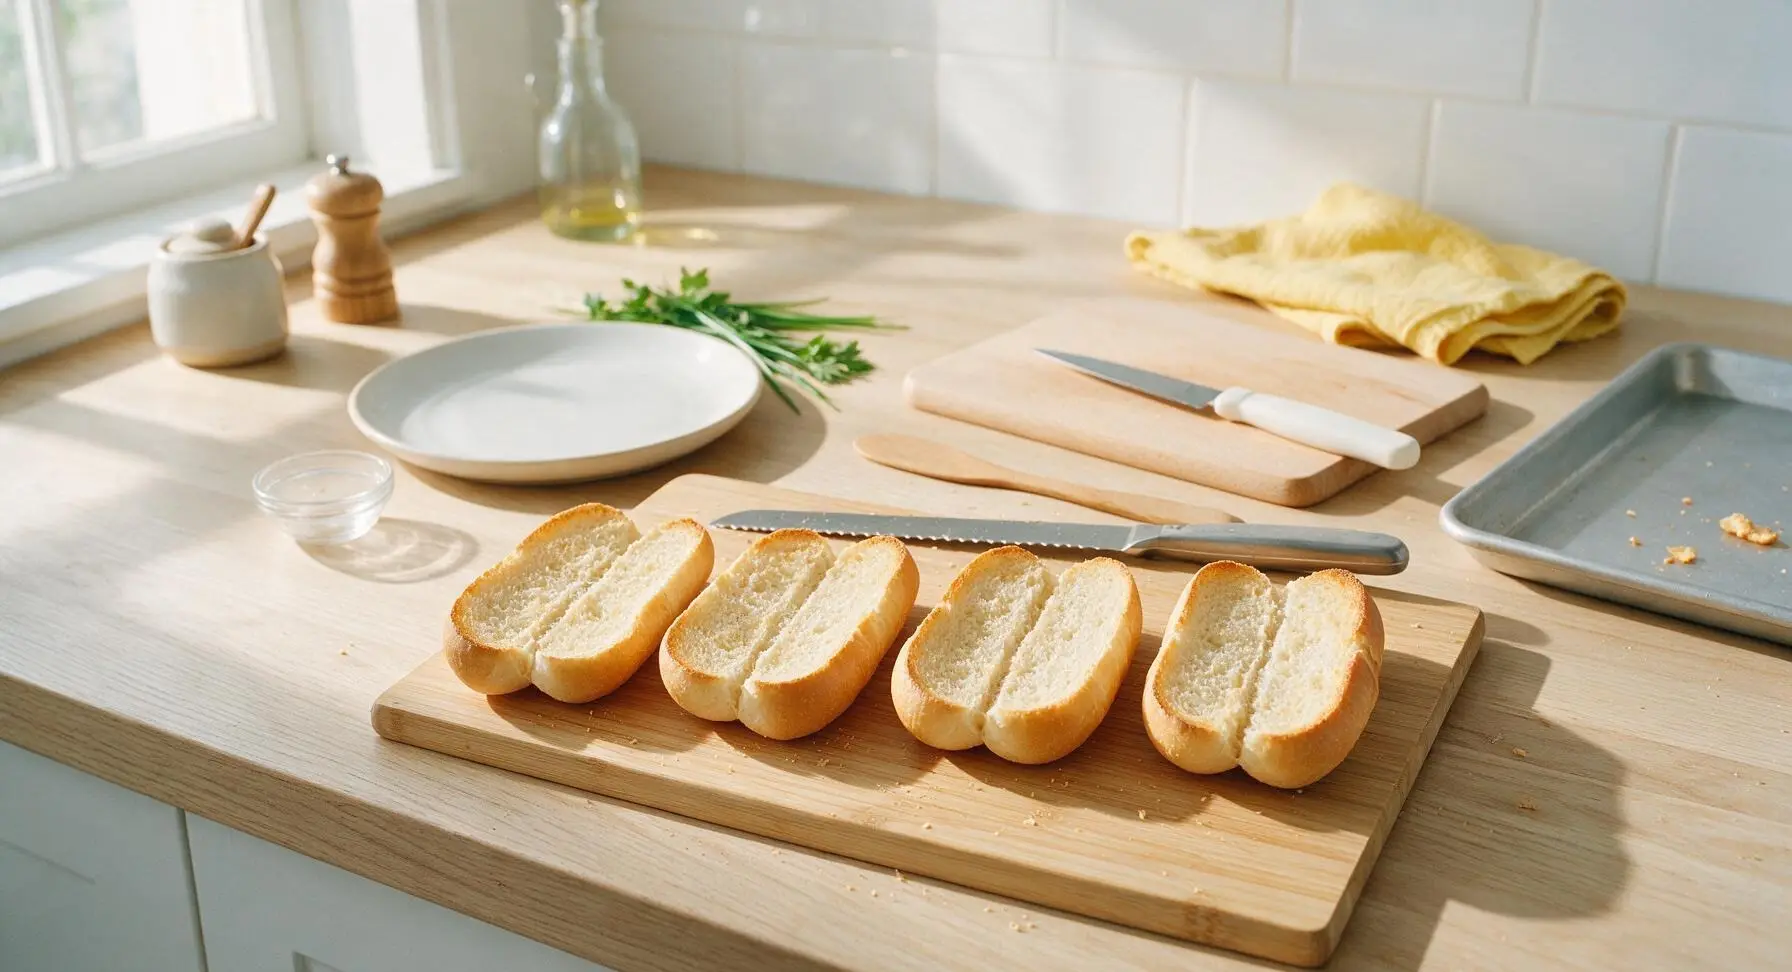
Preheat oven broiler to high (500°F/260°C). Retrieve the serrated bread knife from the wall-mounted knife strip, and use it to split each hoagie roll lengthwise, leaving a 1-inch hinge along one side so the roll does not separate fully. Pull the aluminum baking sheet from below the counter, arrange rolls cut-side up on the sheet, then transfer to the oven rack 6 inches below the broiler element. Toast for 1-2 minutes, watching closely to avoid burning, until the cut surfaces are pale golden and slightly crisp at the edges but still soft in the center. Remove from oven, set the baking sheet on the far right of the counter, then transfer toasted rolls back to the bamboo cutting board.
Spread Base Condiments
Retrieve the offset spatula from its spot next to the mixing bowl, and use it to spread 1/2 tablespoon of mayonnaise evenly across the cut interior of both sides of each toasted roll. Spread mayonnaise all the way to the roll edges to create a moisture barrier that prevents sogginess from vegetable juices later. Return the spatula to its resting spot next to the bowl once complete.
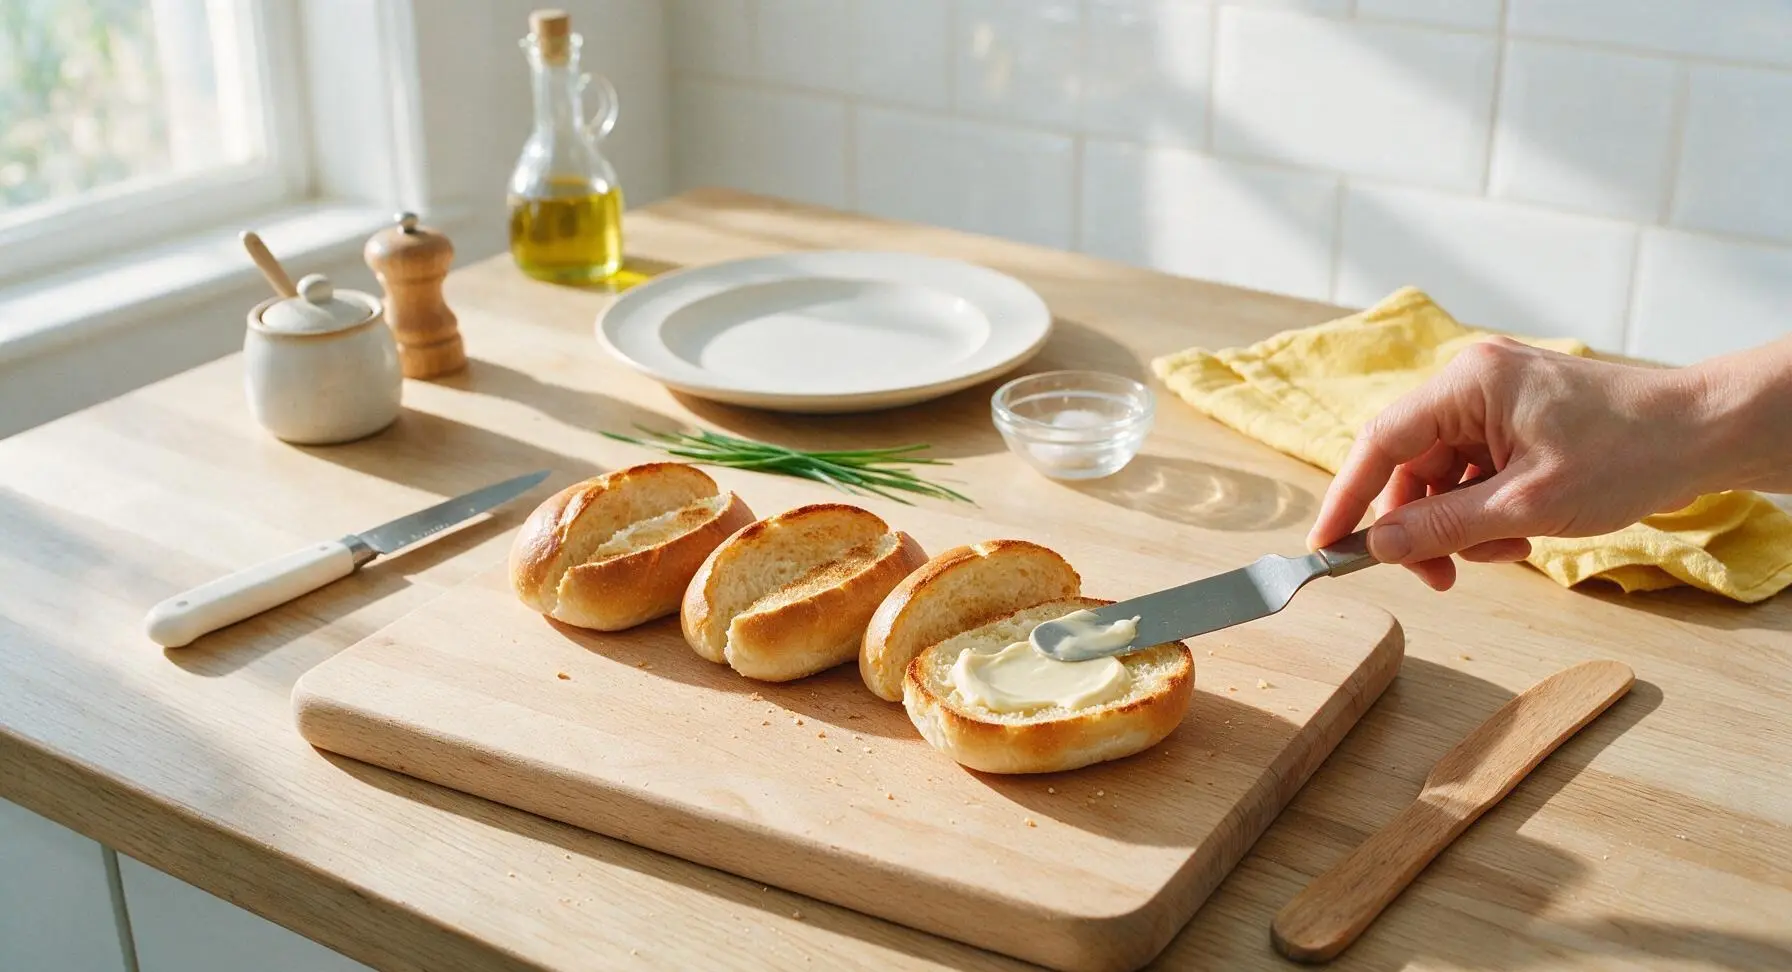
Layer Cheese and Meats
Arrange 2 slices of provolone cheese across the bottom half of each roll, overlapping slightly, so the residual warmth from the toasted rolls softens and slightly melts the cheese. Next, layer 3 slices of Genoa salami, 2 slices of soppressata, and 3 slices of smoked ham on top of the cheese, folding each slice loosely to create height and texture rather than laying them completely flat. Press the meat layers down gently to secure them to the melted cheese.
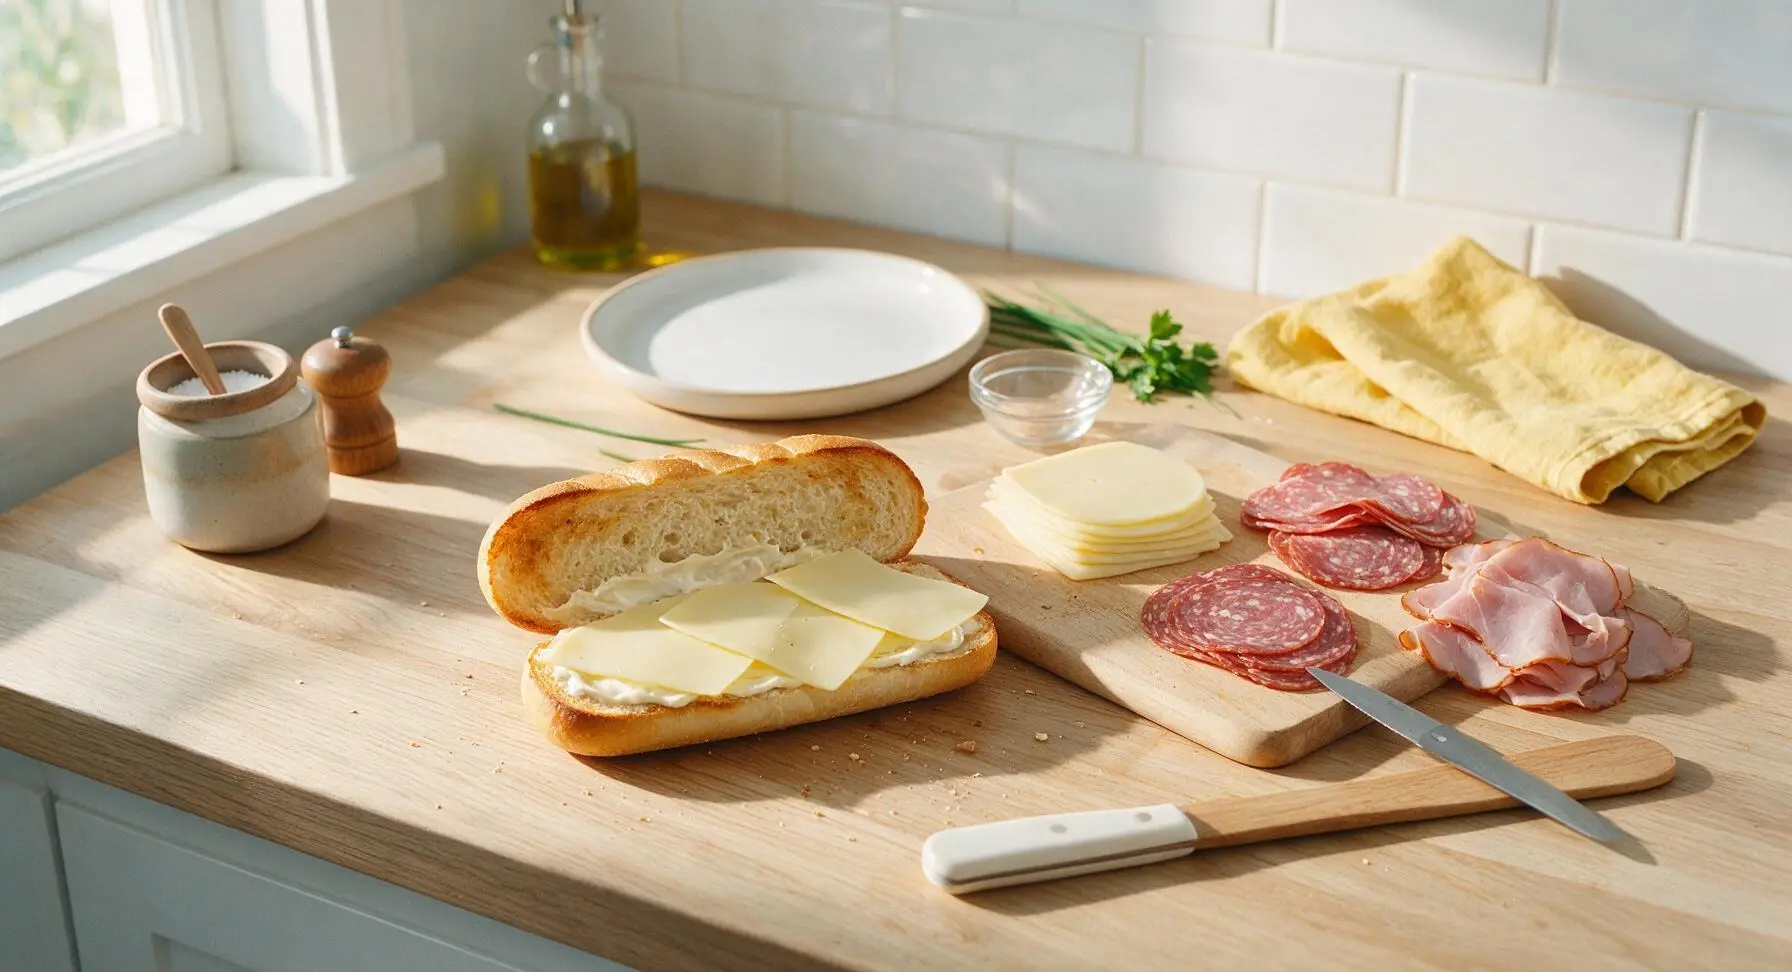
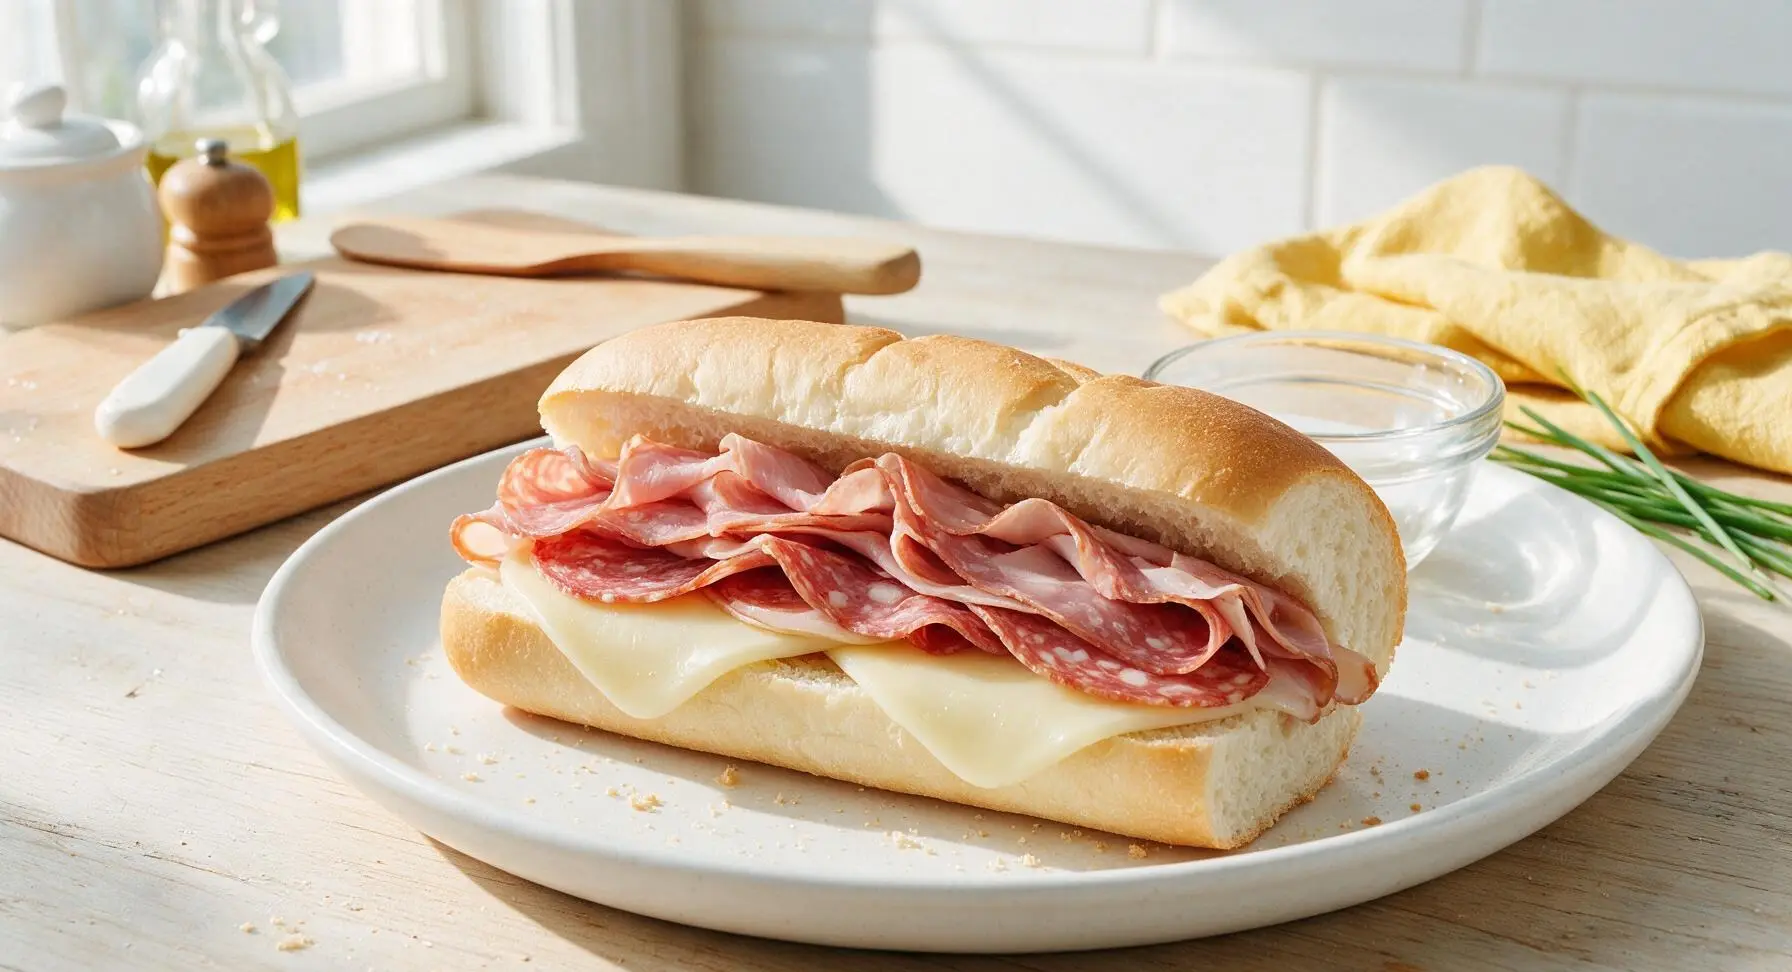
Add Crisp Vegetables
Top the meat layers with a loose 1/2 cup of shredded iceberg lettuce, spread evenly across the meat. Pat tomato slices dry with the corner of the cotton kitchen towel to remove excess seedy juice, then add 3-4 thin tomato slices per sub, followed by 3-4 thin rings of red onion and 4-5 slices of drained pickled pepperoncini. Distribute veggies evenly so every bite contains a mix of crisp, tangy, and juicy textures.
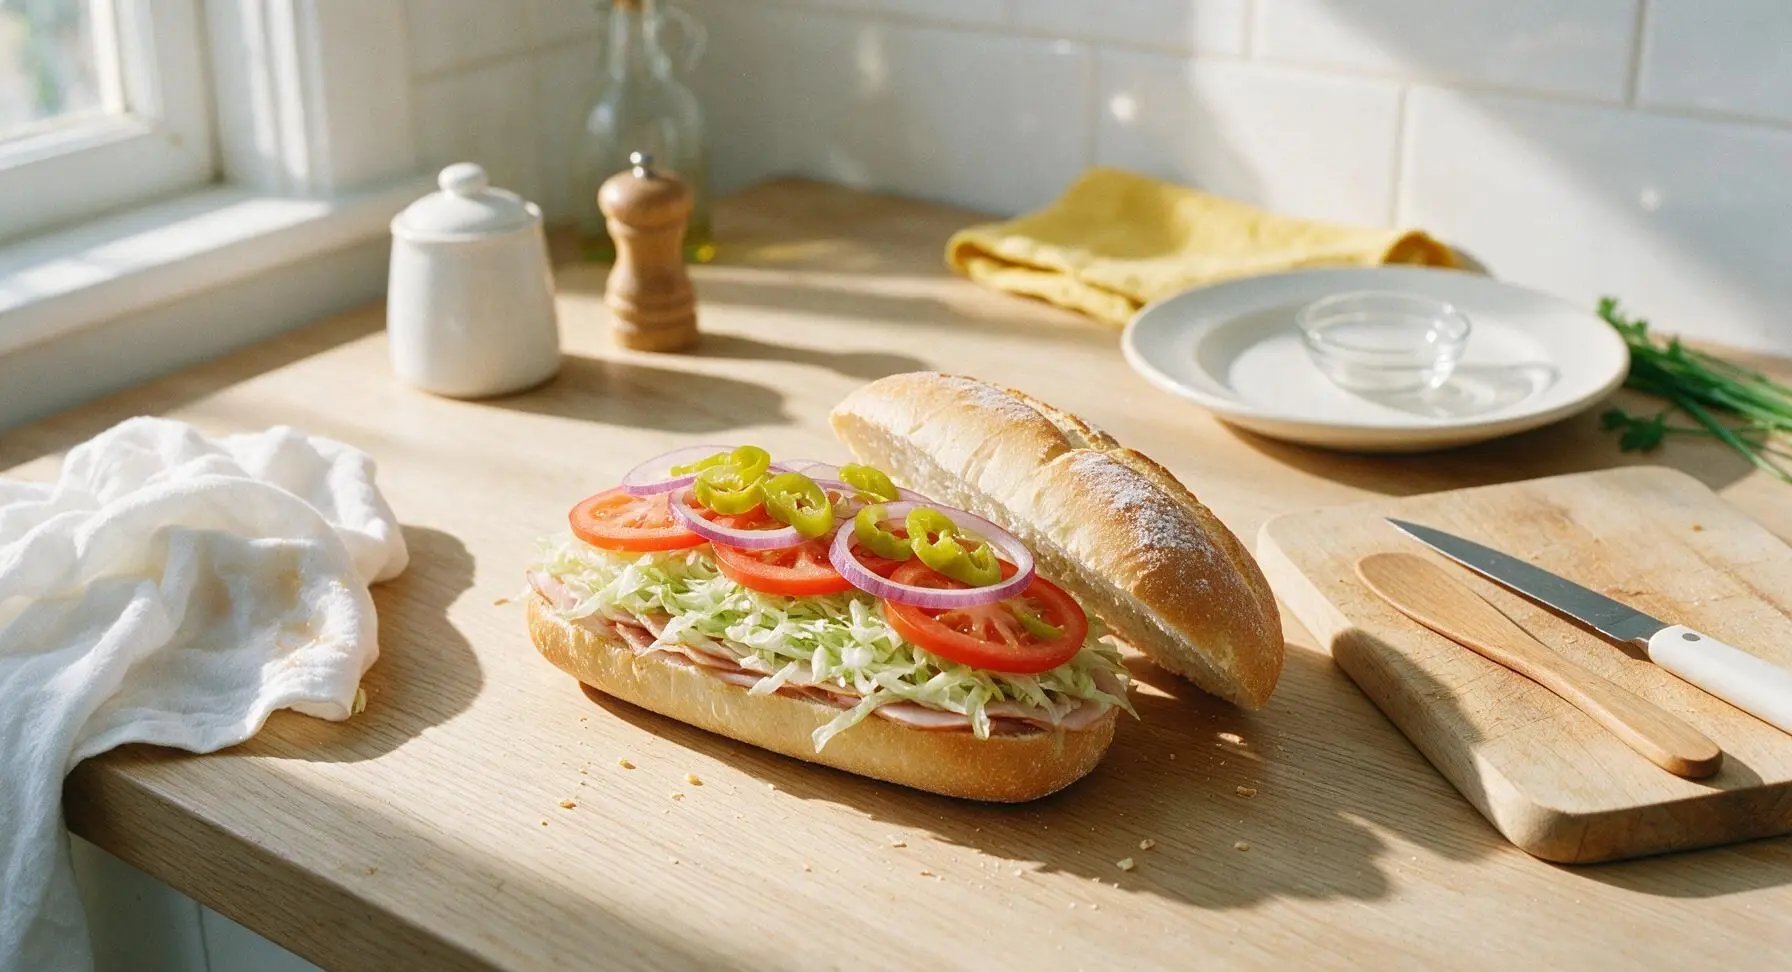
Dress and Season Subs
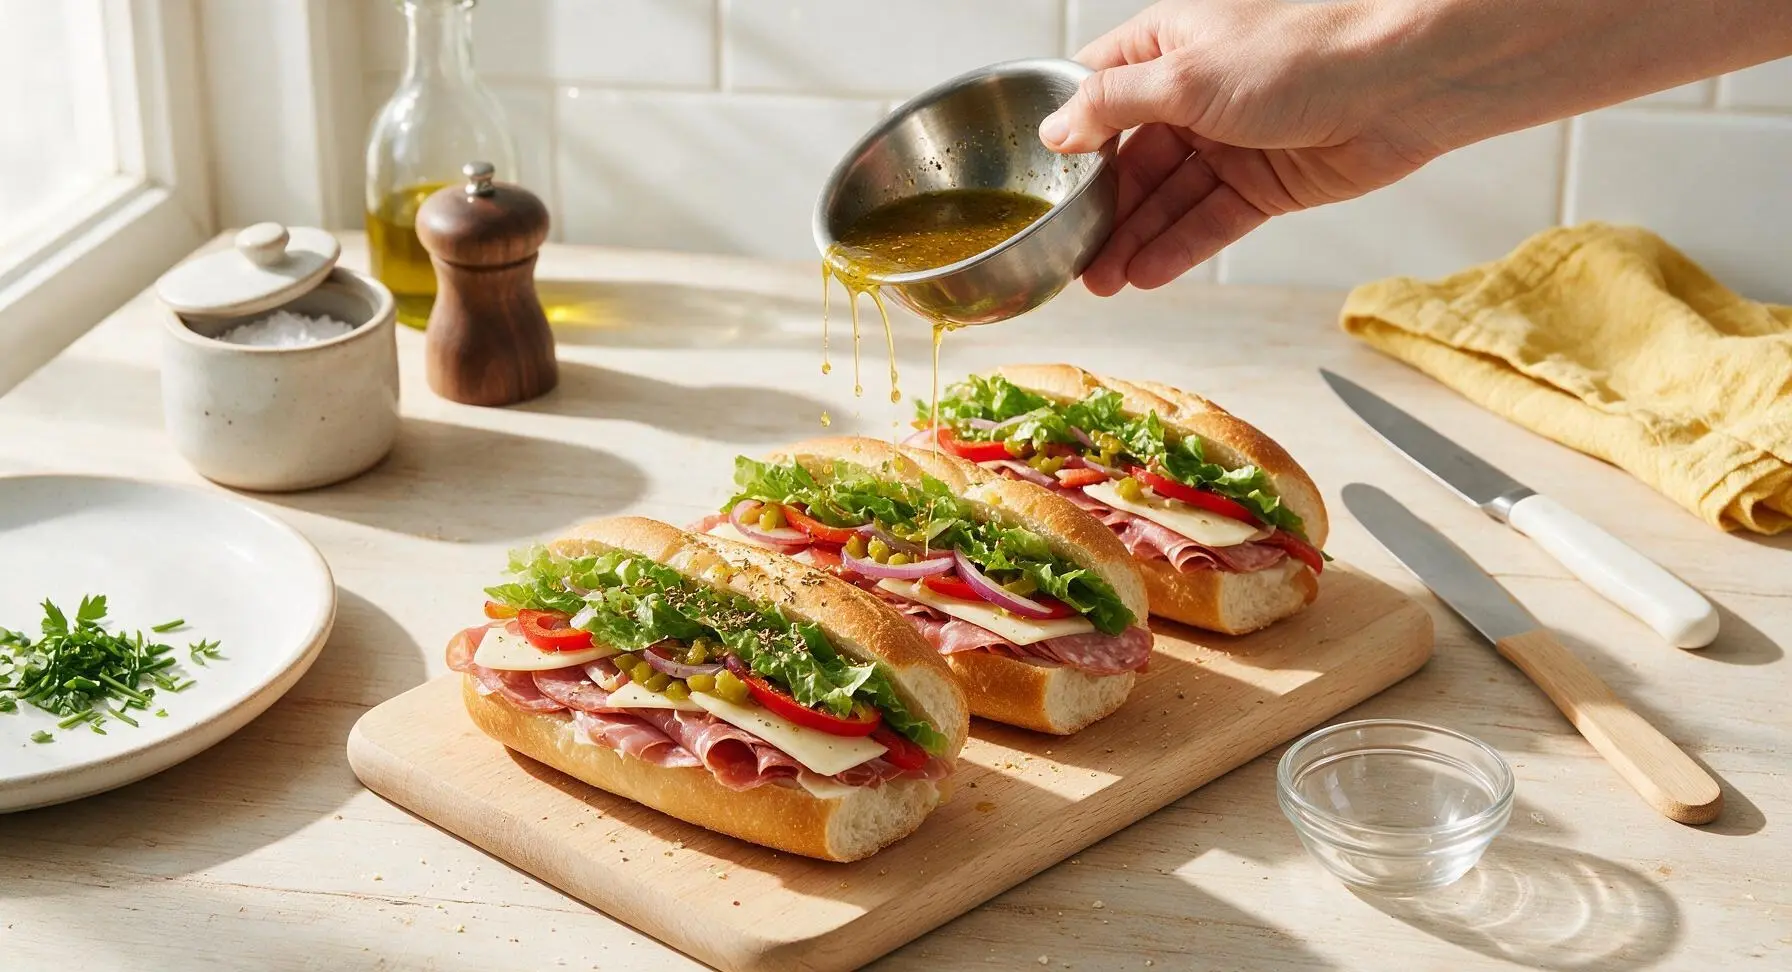
Lift the small stainless steel mixing bowl of Italian vinaigrette, and drizzle 3/4 tablespoon of dressing evenly over the vegetable layers on each sub, taking care not to add so much that the roll becomes soggy. Sprinkle each sub with a pinch of dried oregano, a light twist of freshly ground black pepper, and a tiny pinch of flaky sea salt to brighten the savory flavors. Return the mixing bowl to its fixed position next to the cutting board when done.
Close and Press Subs
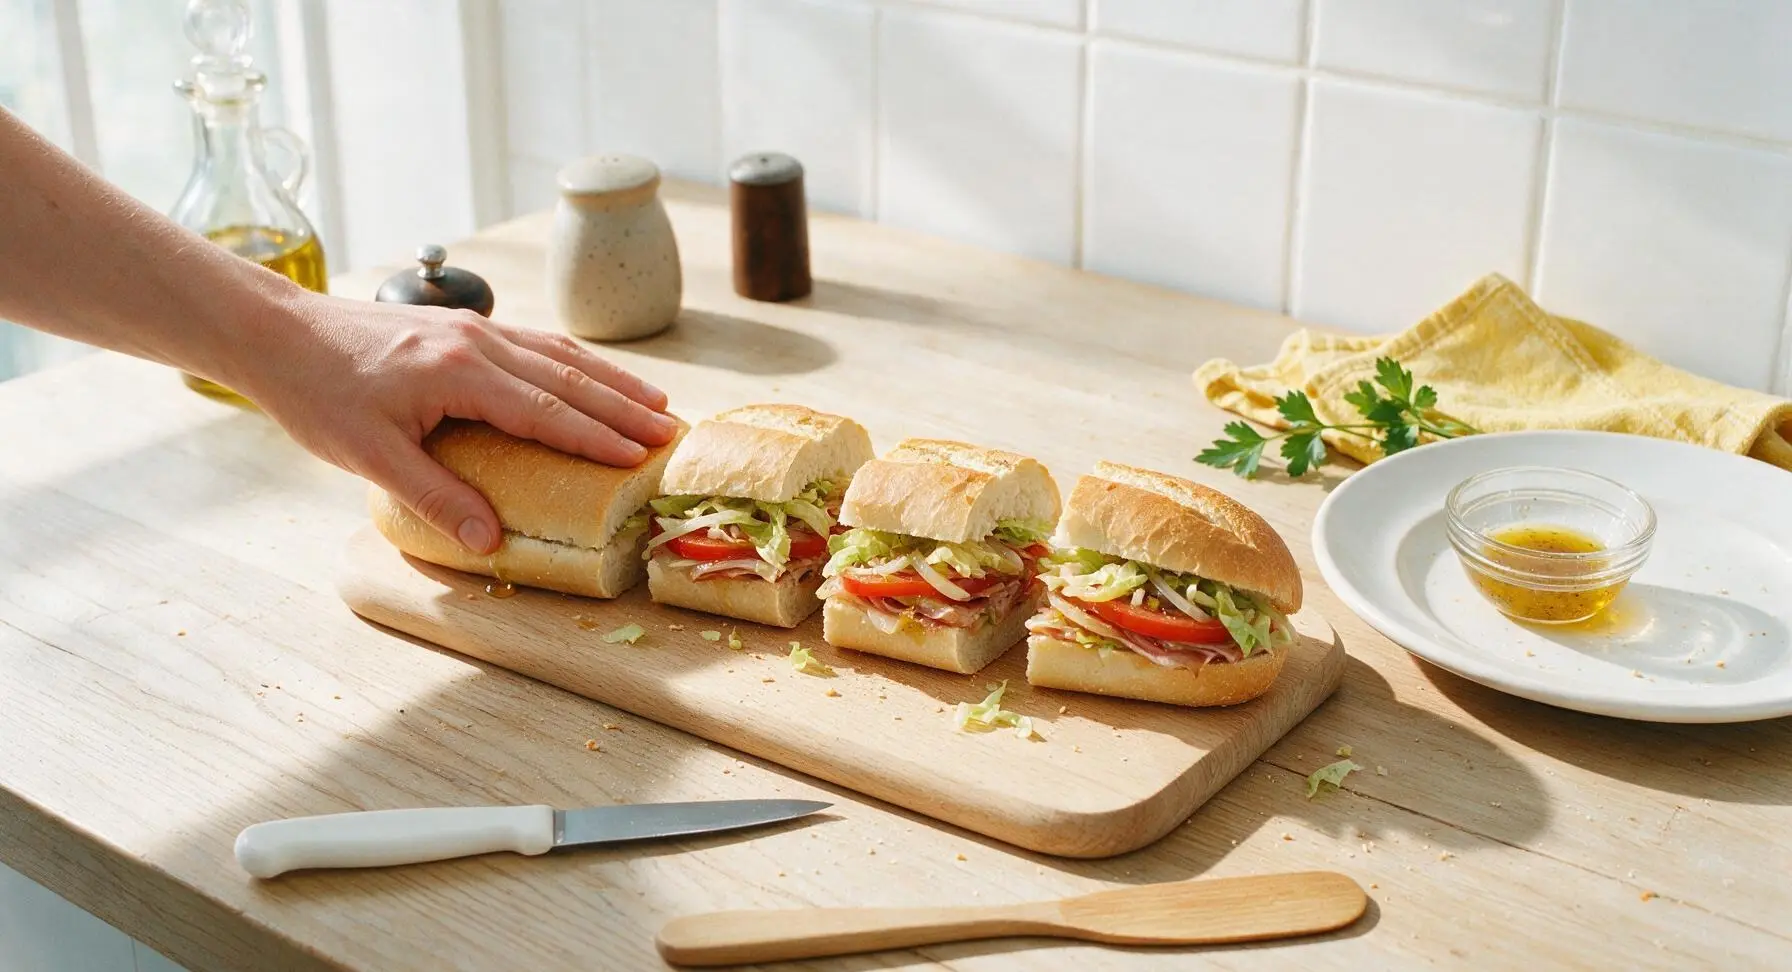
Fold the top half of each roll down over the filled bottom half, pressing firmly with the palm of your hand across the entire length of the sub to compress the layers slightly. This gentle press helps all the ingredients stay in place when biting, rather than sliding out the sides. Brush any stray bits of lettuce or drips of dressing from the cutting board onto the edge of the kitchen towel.
Cut and Plate Subs
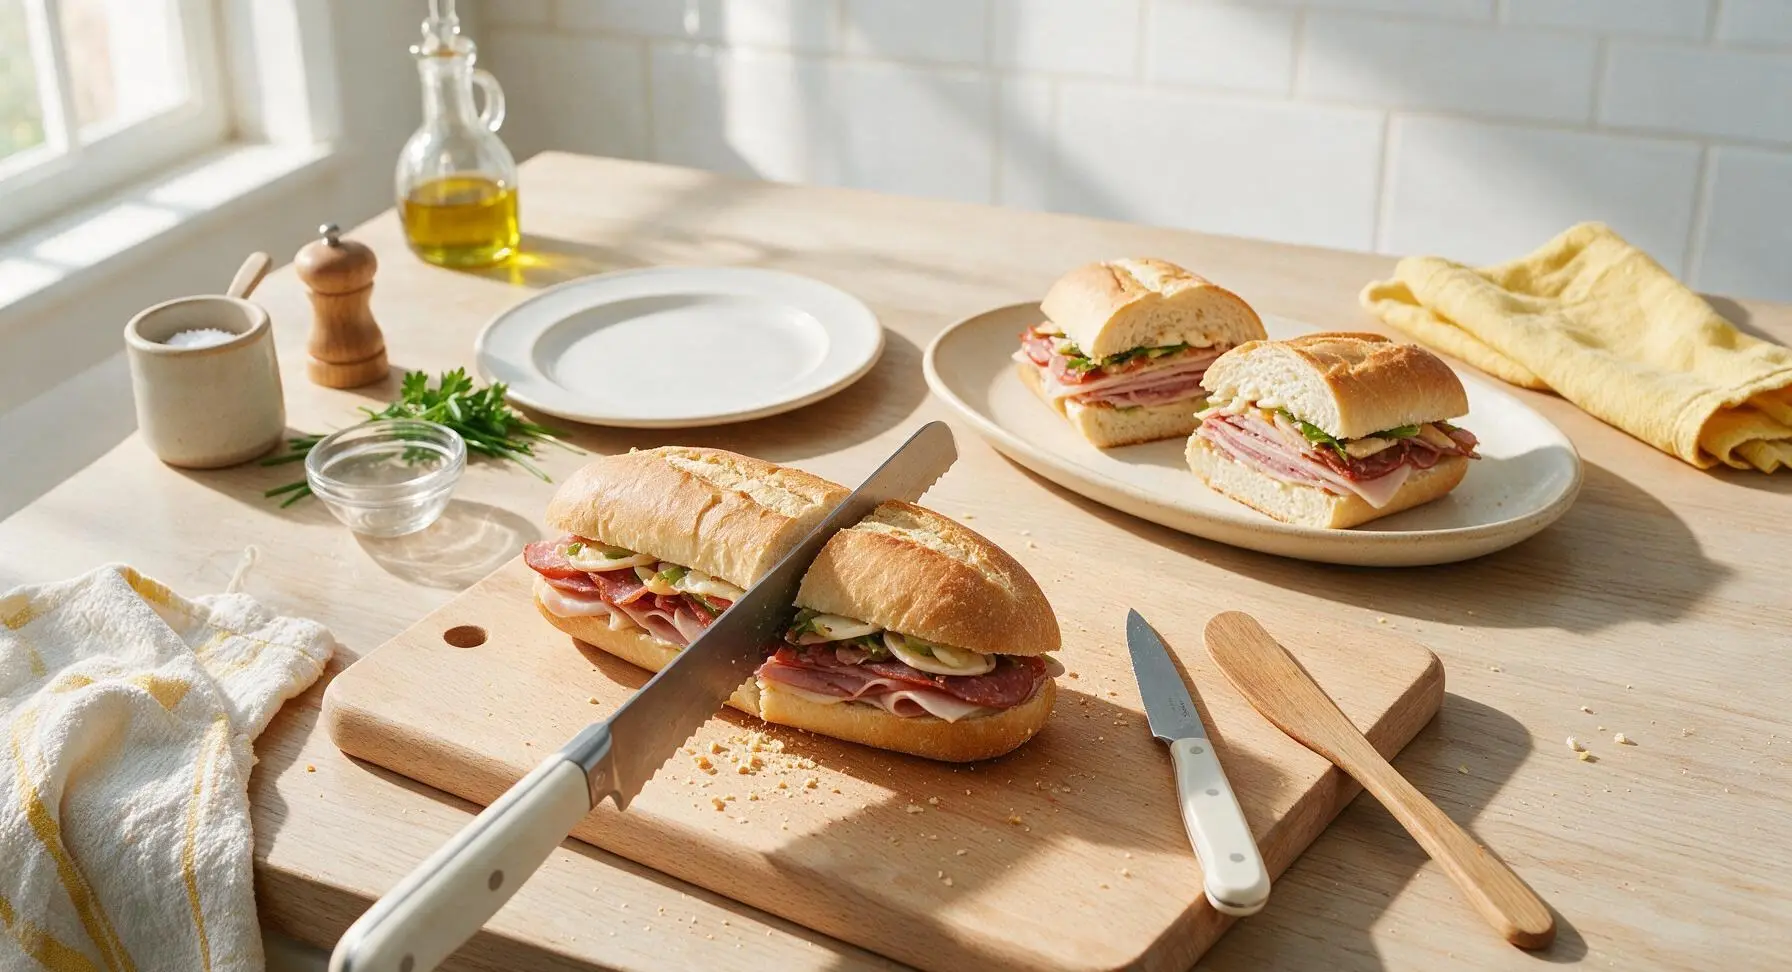
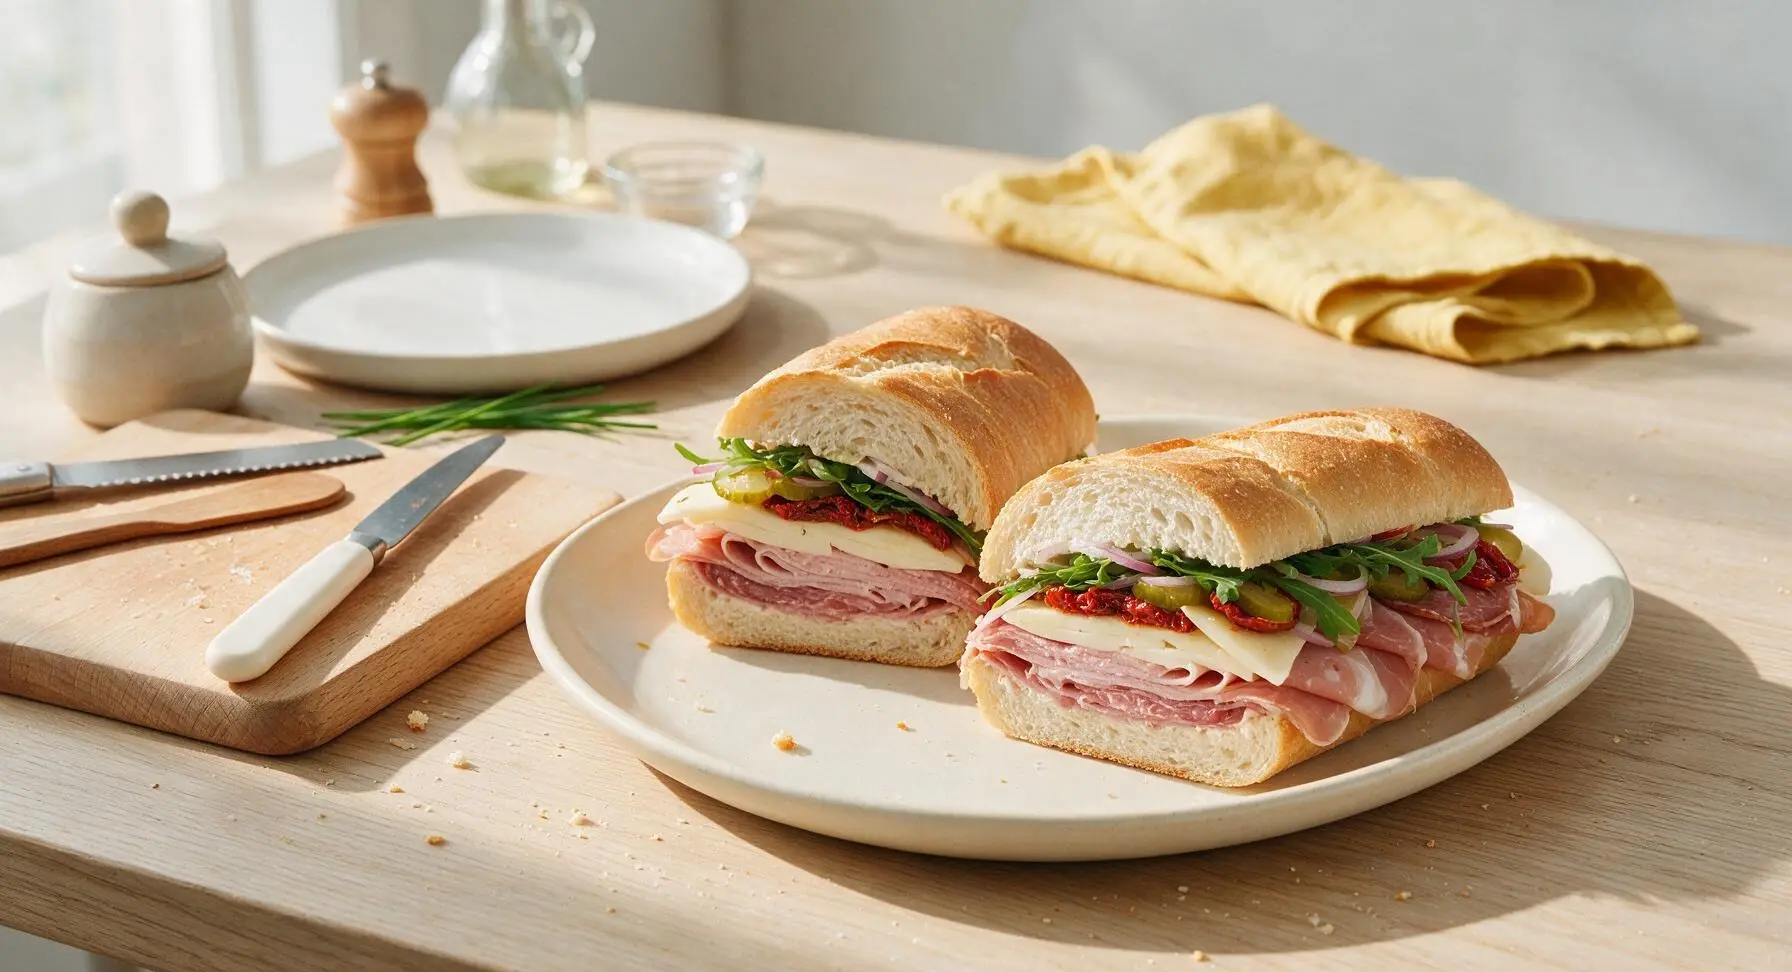
Retrieve the serrated bread knife from the top edge of the cutting board, and use it to cut each sub diagonally in half, creating two equal pieces with clean, angled edges that show off the layered fillings. Arrange the cut halves on the matte cream ceramic oval serving platter, angling the cut sides outward to display the ingredients for serving.
Tips
2.Leave a 1-inch hinge when splitting hoagie rolls instead of cutting all the way through: this creates a natural pocket to hold fillings in place, preventing ingredients from sliding out the back of the sub as you eat.
3.Use this recipe as a base for endless sub variations: swap cured meats for grilled chicken, marinated roasted vegetables, or crispy chickpeas for vegetarian versions, add sliced dill pickles or hot honey for extra zing, or swap hoagie rolls for whole wheat or gluten-free rolls to fit dietary preferences.






Made these for my teen son’s post-practice snack last week and he ate TWO in one sitting! I love that it’s totally customizable — I skipped the salami for my vegetarian daughter and loaded hers up with roasted red peppers and artichoke hearts, she said it was better than the sub shop downtown. Total game changer for busy school nights!
Wait, 3 minutes cook time? I was skeptical at first but I threw this together before heading out to my buddy’s football watch party last Sunday and everyone was asking for the recipe. I added a drizzle of hot honey on mine and *chef’s kiss*. Only thing I wish I’d grabbed was some crusty hoagie rolls instead of the soft ones I had in the pantry.
Added these to my weekly work lunch rotation! I prep all the meats and cheeses ahead of time on Sunday, then just assemble the sub in 2 minutes flat when I’m ready to eat at my desk. No more sad $15 takeout subs for me! I add a little sprinkle of oregano and a splash of red wine vinegar every time, so tasty.
Made these for a quick beach picnic last weekend and they were perfect! No heating required, easy to wrap up and toss in the cooler, and everyone in my group raved. I added some sliced black olives and pepperoncini to mine for an extra briny kick. 10/10, will make again all summer long.
Okay I know this is controversial but I douse my Italian sub in extra mayo AND oil and vinegar, don’t @ me. This recipe gave me the perfect base to pile on all my favorite toppings — I added dill pickles, shredded lettuce, thin sliced tomato, and even a few slices of prosciutto I had leftover from charcuterie night. So messy, so worth it.
First time I’ve ever made a sub at home that didn’t taste sad! I’m a total beginner in the kitchen and this was so easy, no fancy skills required. I did accidentally put too much oil on at first and it dripped all down my shirt, but that’s on me, not the recipe lol. Will definitely be making this again.
Brought a big platter of these cut up into mini sliders to my neighborhood potluck last weekend and they were the first thing gone! People kept coming back for seconds, I can’t believe how quick they were to put together. I offered a little topping bar so people could add their own peppers, olives, and hot sauce, which was a huge hit.
Added so much hot giardiniera to mine my eyes were watering, in the best way possible. This sub hits exactly the same as the ones I used to get after hockey practice in high school. 3 minutes of prep for that level of nostalgia? Unbeatable.
This saved me so much money this week! I used to spend $12 a day on subs from the shop near my office, now I can make a whole week’s worth for less than $20 total. I splurged on the good deli meats and cheese from the counter instead of the pre-sliced stuff and it makes such a difference.
Made these for my kid’s birthday party cookout and they were a massive hit. Even the picky eaters gobbled them up! I left off the onions for the kids and set out a bowl of crispy fried onions for the adults to add if they wanted. 10/10, easy, delicious, no hassle.
Wait why did I never think to put a little Italian dressing on my sub instead of plain oil and vinegar? That tip alone is a game changer. I made this for a late dinner after my workout last night and I’m already craving another one for lunch today. So simple, so flavorful.
So happy this is customizable! I swapped the regular hoagie roll for a gluten free one and used certified gluten free deli meats, and it tasted just like the classic Italian sub I’ve been missing since going gluten free 3 years ago. No weird aftertaste, no sad GF bread letdown!
Made this at 2am after getting home from a concert and it was the best late night snack I’ve ever had. Didn’t even have all the ingredients — I used turkey pepperoni instead of regular, skipped the provolone because I was out, and it still slapped. So forgiving, so easy to throw together even when you’re half asleep.
Quick question — do you toast the sub? I love a warm toasted sub but I wasn’t sure if that’s traditional for Italian deli subs? I don’t want to mess it up on my first try!
Made these on our last camping trip and they were ideal! No cooking required, just kept the meats and cheeses in the cooler, brought the rolls and toppings in a separate bag, and assembled them at the campsite for lunch after a hike. Way better than the sad granola bars I usually pack. My whole campsite crew was jealous!