
Sun-Dried Tomato Grilled Cheese
intro
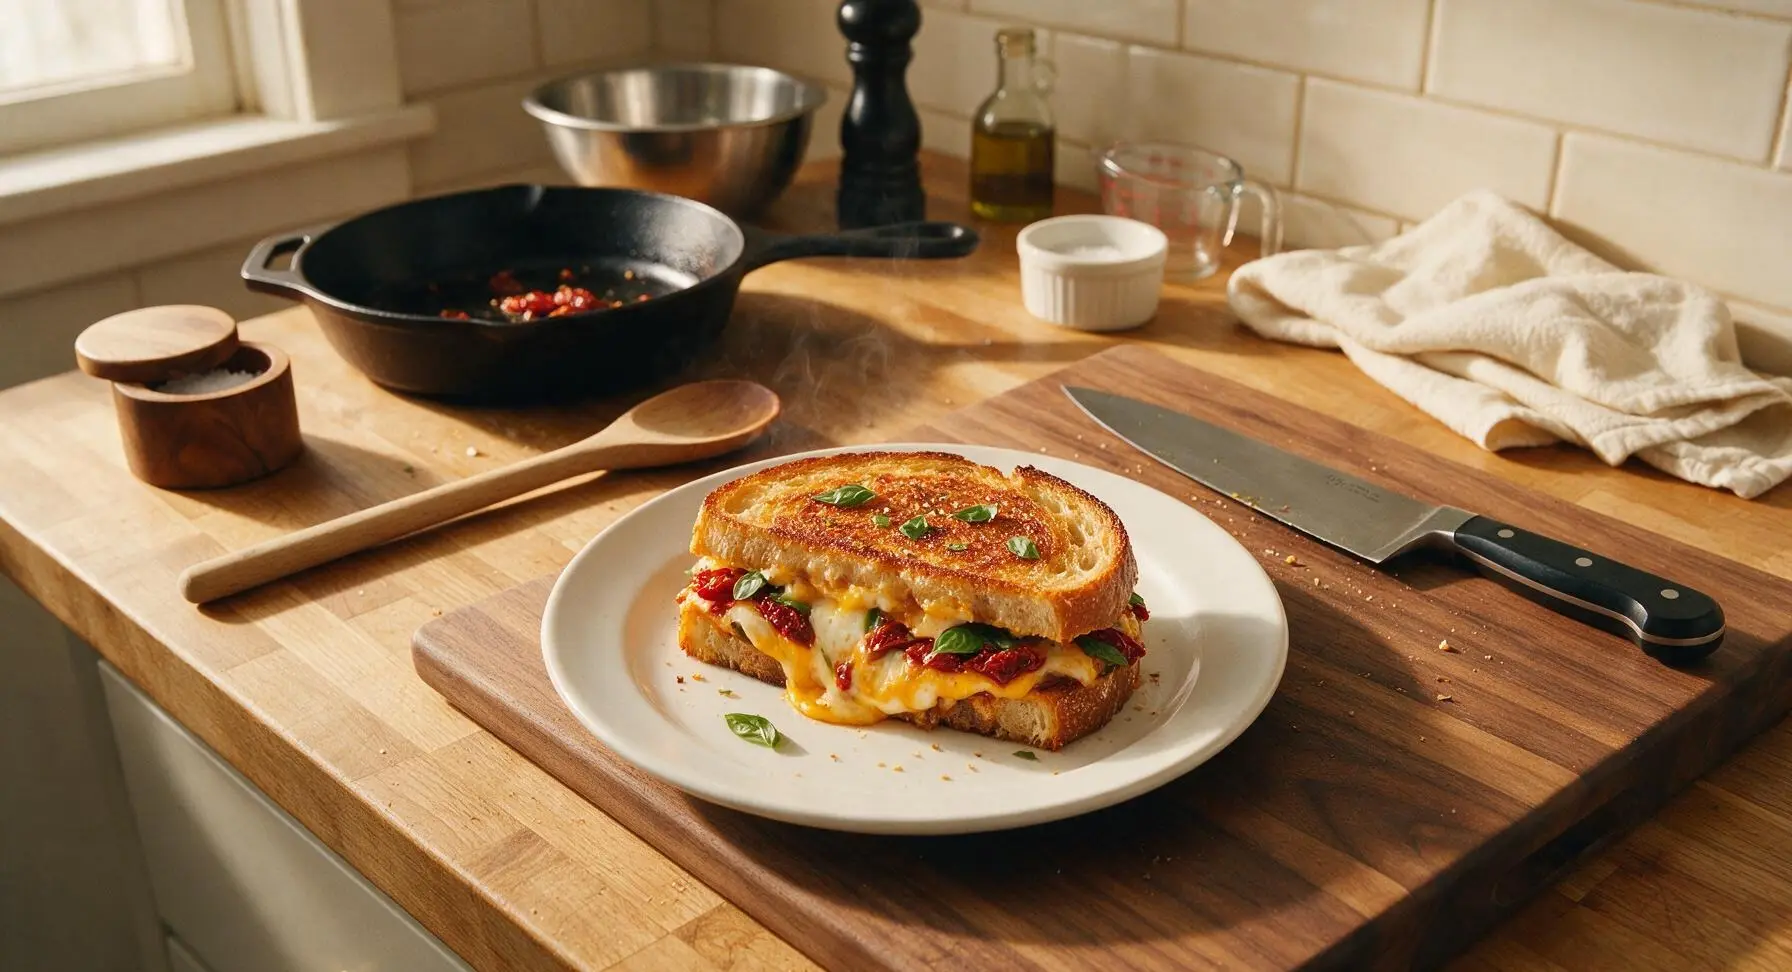
Crispy golden sourdough oozing with melted cheddar and mozzarella, packed with tangy sun-dried tomatoes and fresh basil—an elevated, cozy twist on classic comfort food.
Ingredients
Steps
Grate and prep cheeses
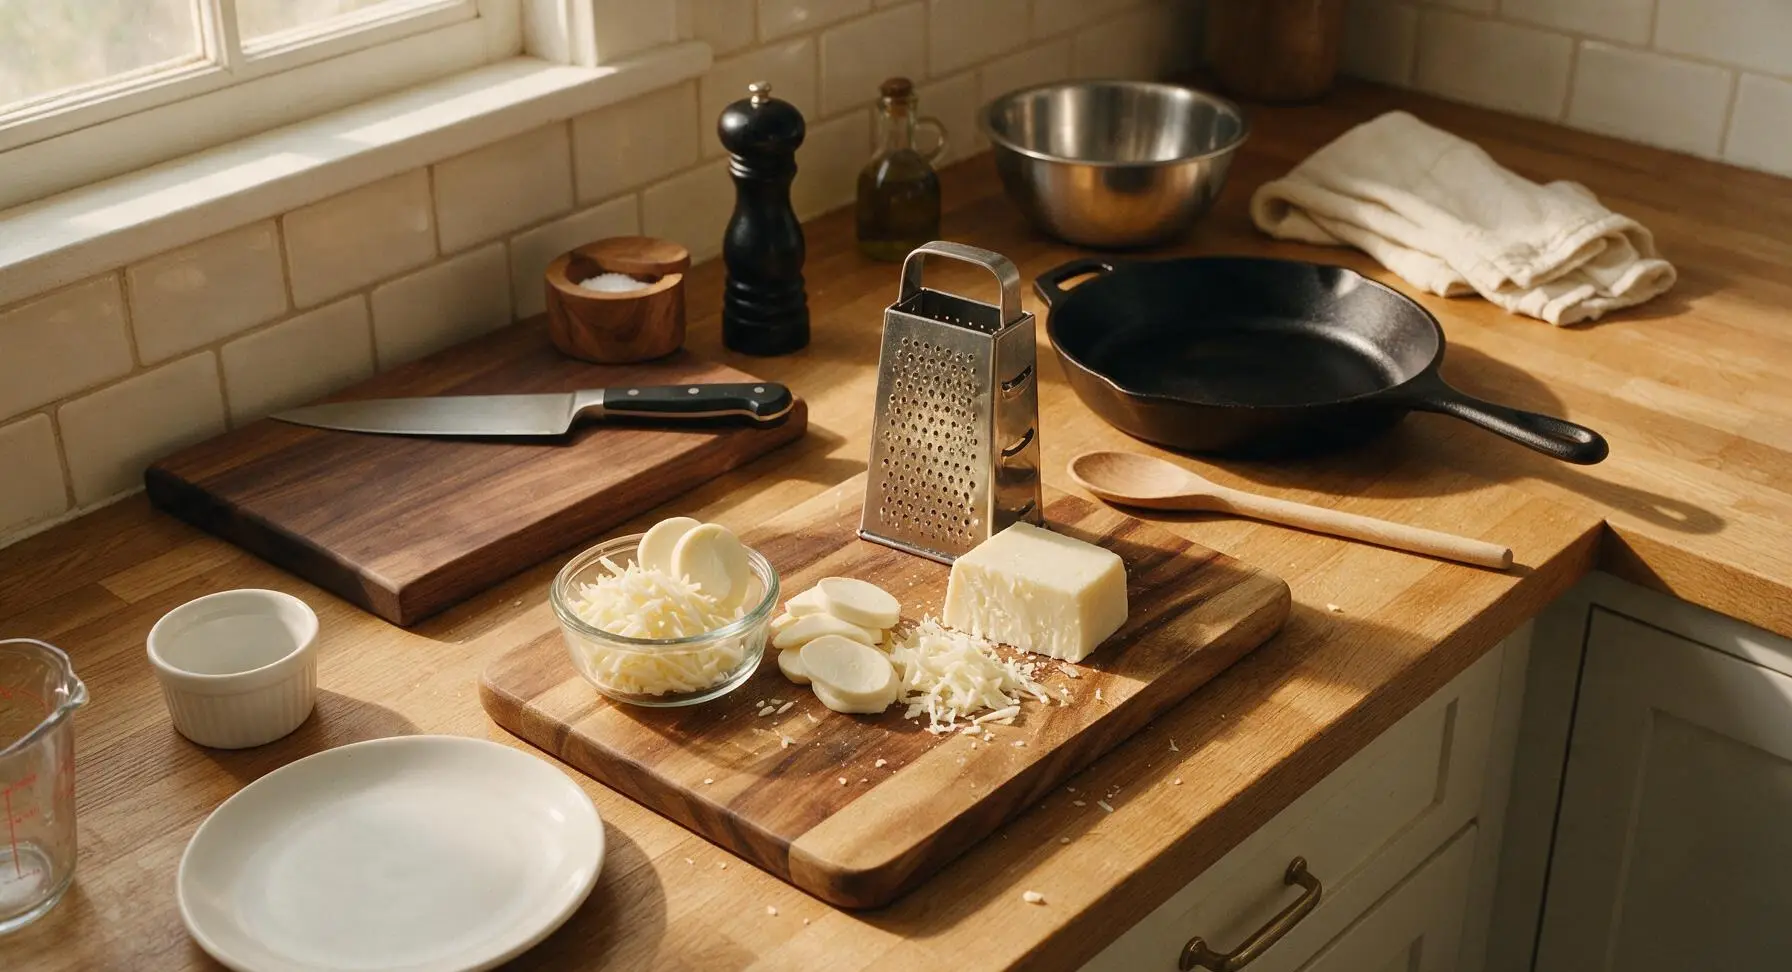
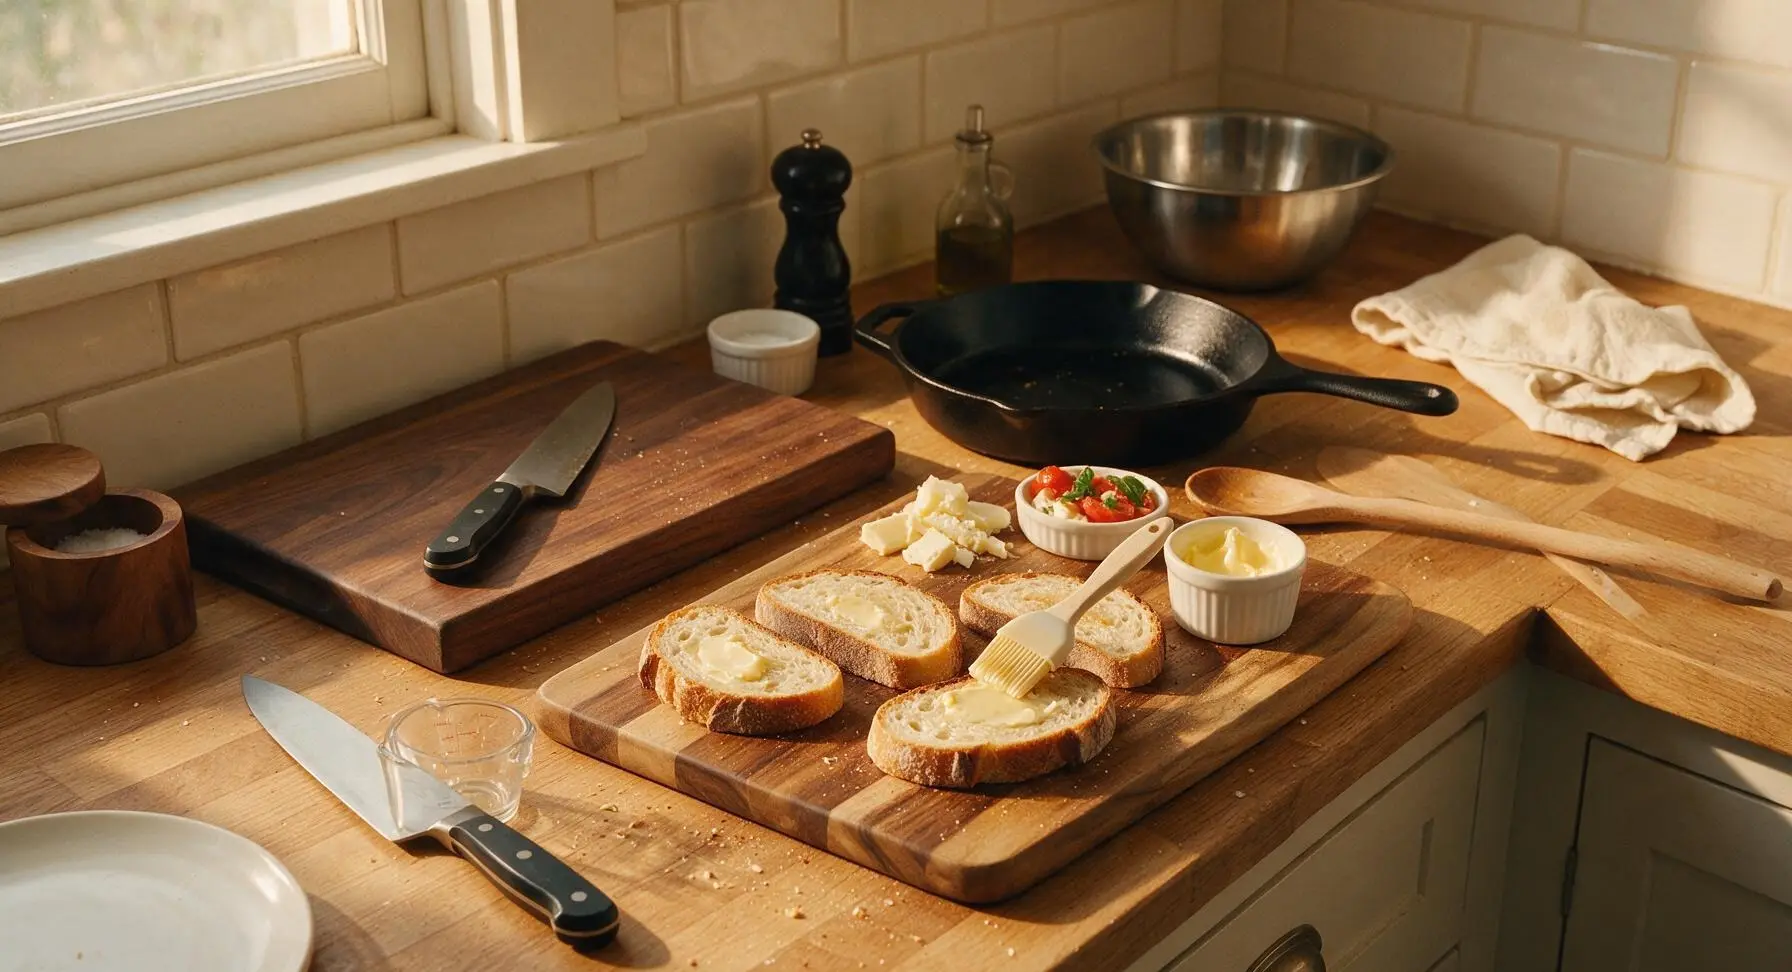
Place the acacia wood cutting board on the center of the counter. Use the stainless steel box grater to shred the 70g of sharp white cheddar into large, uneven shreds. Pat the 50g of low-moisture mozzarella dry with a corner of the linen towel, then slice into 3mm thick slices to prevent excess moisture from making the bread soggy. Place both cheeses into one of the clear glass ramekins.
Chop sun-dried tomatoes
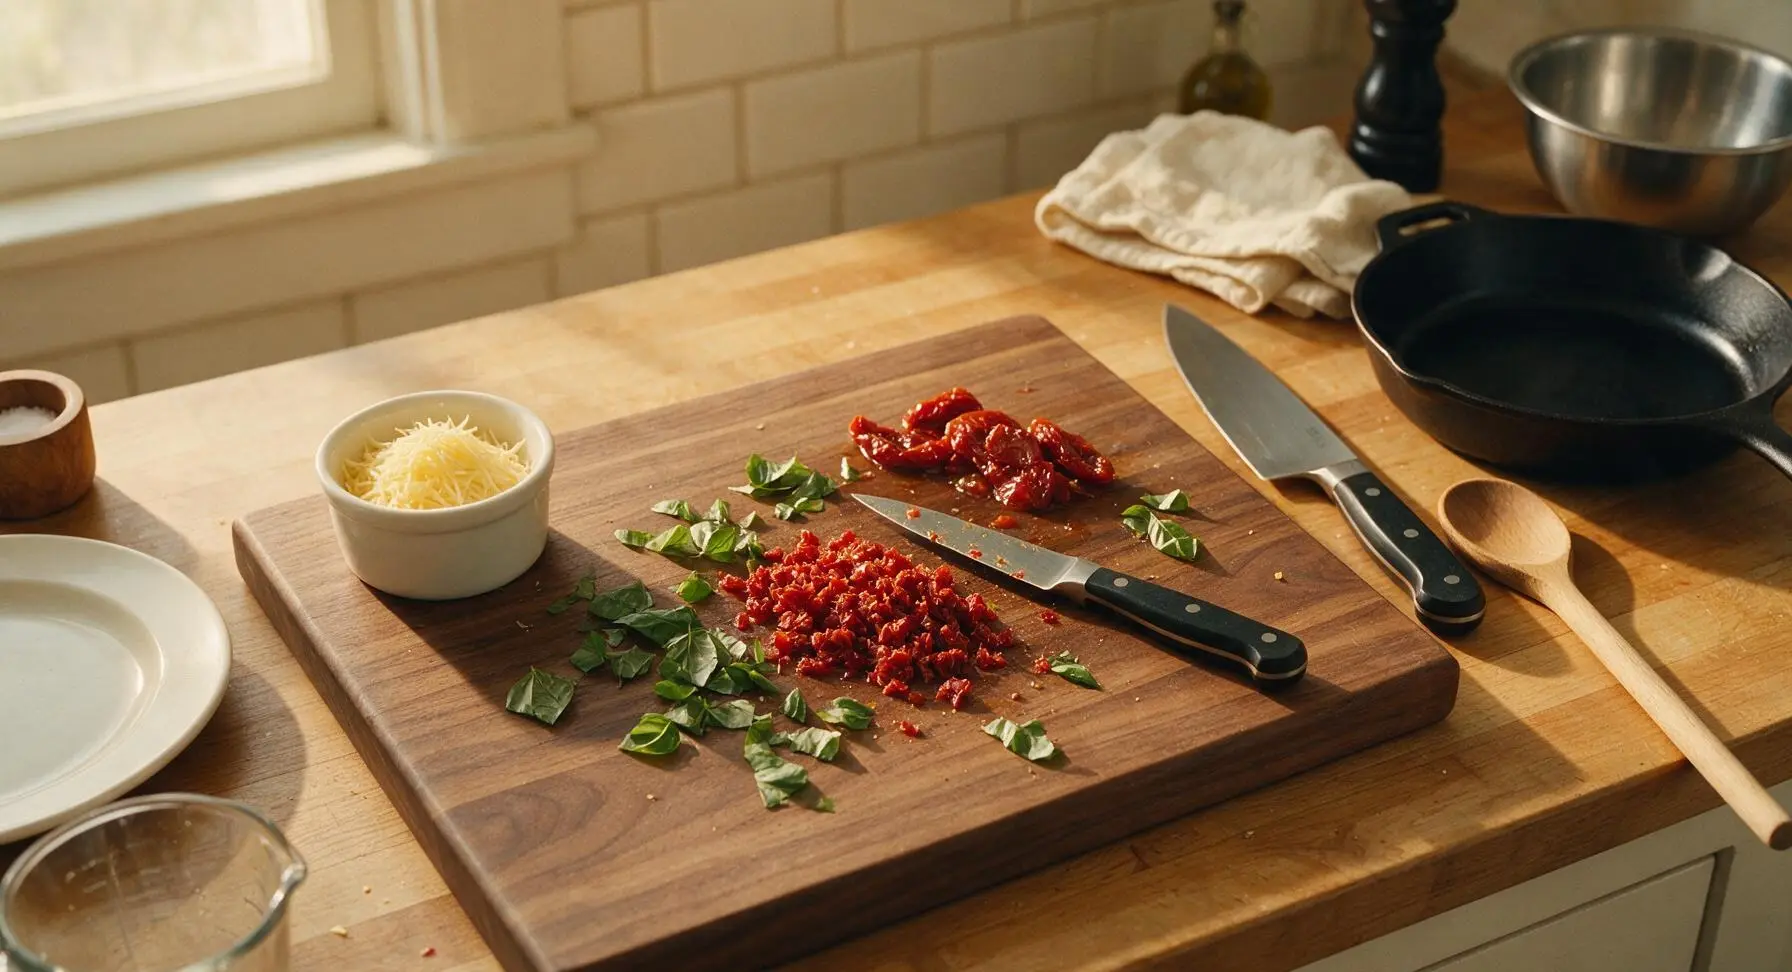
Blot the 40g of oil-packed sun-dried tomatoes thoroughly with the edge of the linen towel to remove excess oil, which would cause greasy, soggy bread. Use the 3.5-inch paring knife to finely chop the tomatoes into 5mm pieces, then transfer to a second clear glass ramekin. Tear the 8 large fresh basil leaves into rough 2cm pieces and add to the same ramekin, tossing lightly to combine.
Butter bread slices evenly
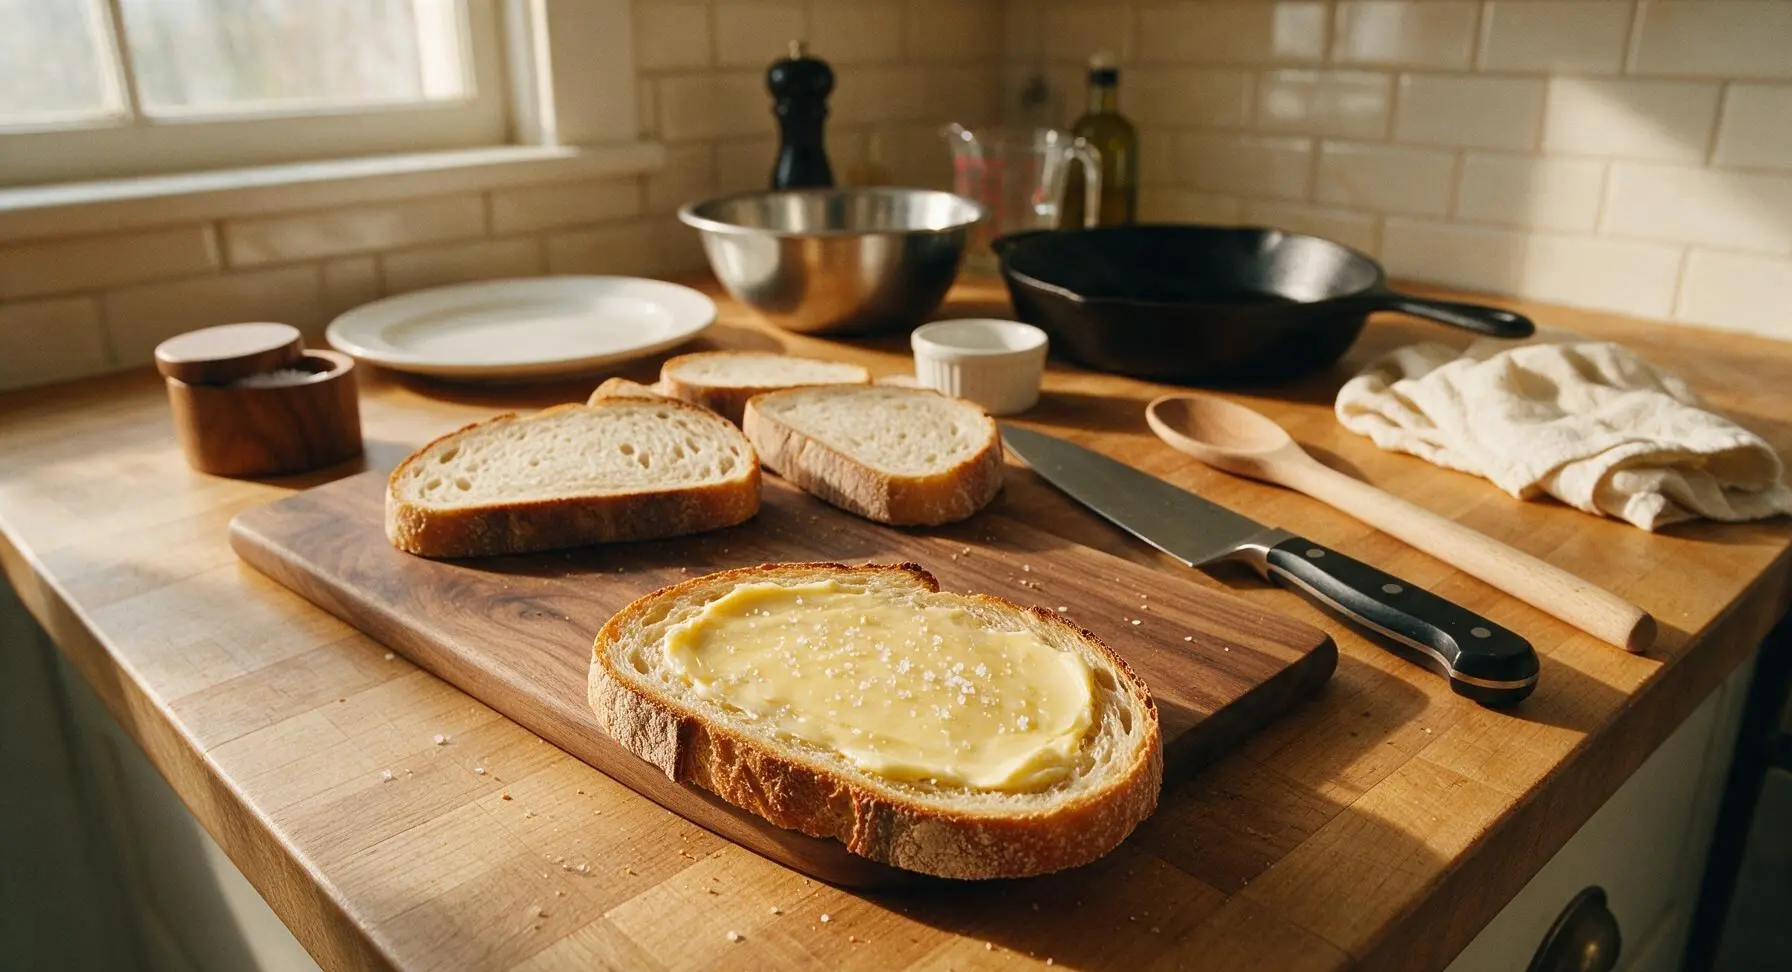
Lay all four sourdough slices flat on the acacia wood cutting board. Use the small silicone basting brush to spread 3/4 tablespoon of softened unsalted butter evenly across one entire side of each bread slice (1.5 tablespoons total), making sure to cover all the way to the crust edges for even crisping. Sprinkle a tiny pinch of flaky sea salt over the buttered surfaces.
Layer sandwich fillings
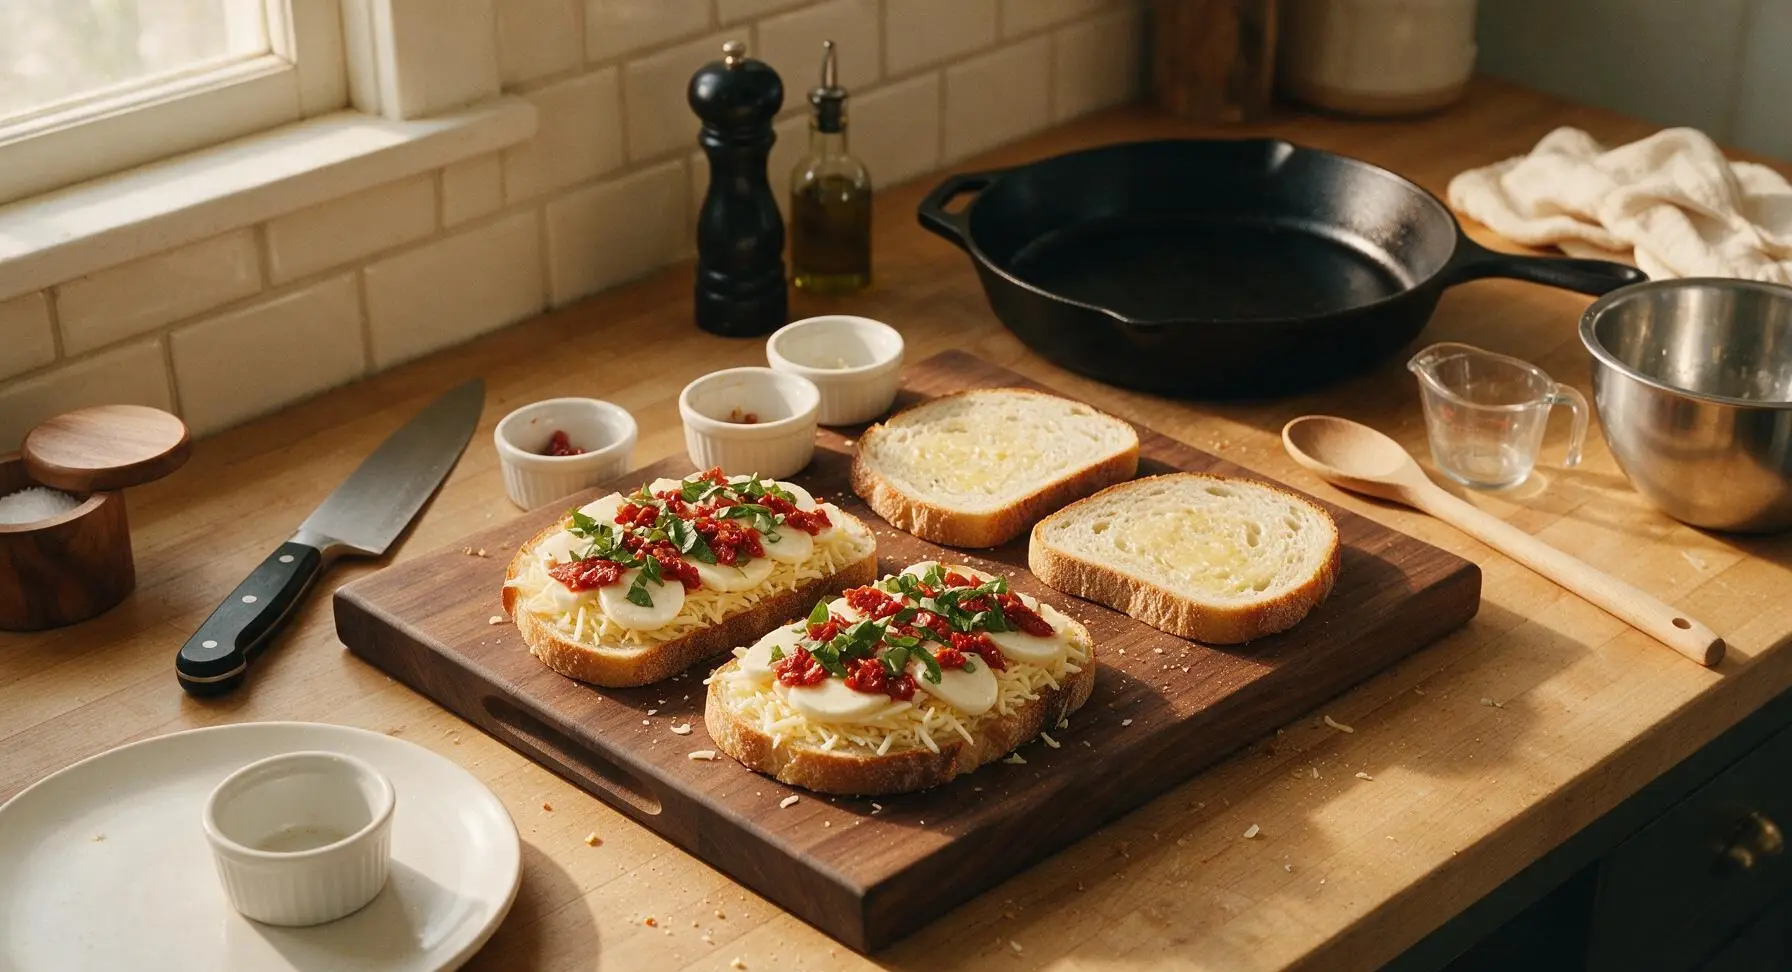
Flip two of the bread slices over so the unbuttered side faces up. Layer half the shredded cheddar, half the sliced mozzarella, half the chopped sun-dried tomato and basil mixture, and a light 1/16 teaspoon pinch of black pepper on each of the two unbuttered slices, spreading fillings evenly to within 1cm of the bread edges. Top with the remaining two bread slices, buttered side facing out, pressing down gently to compact the sandwich slightly so fillings stay in place during cooking.
Preheat cooking skillet
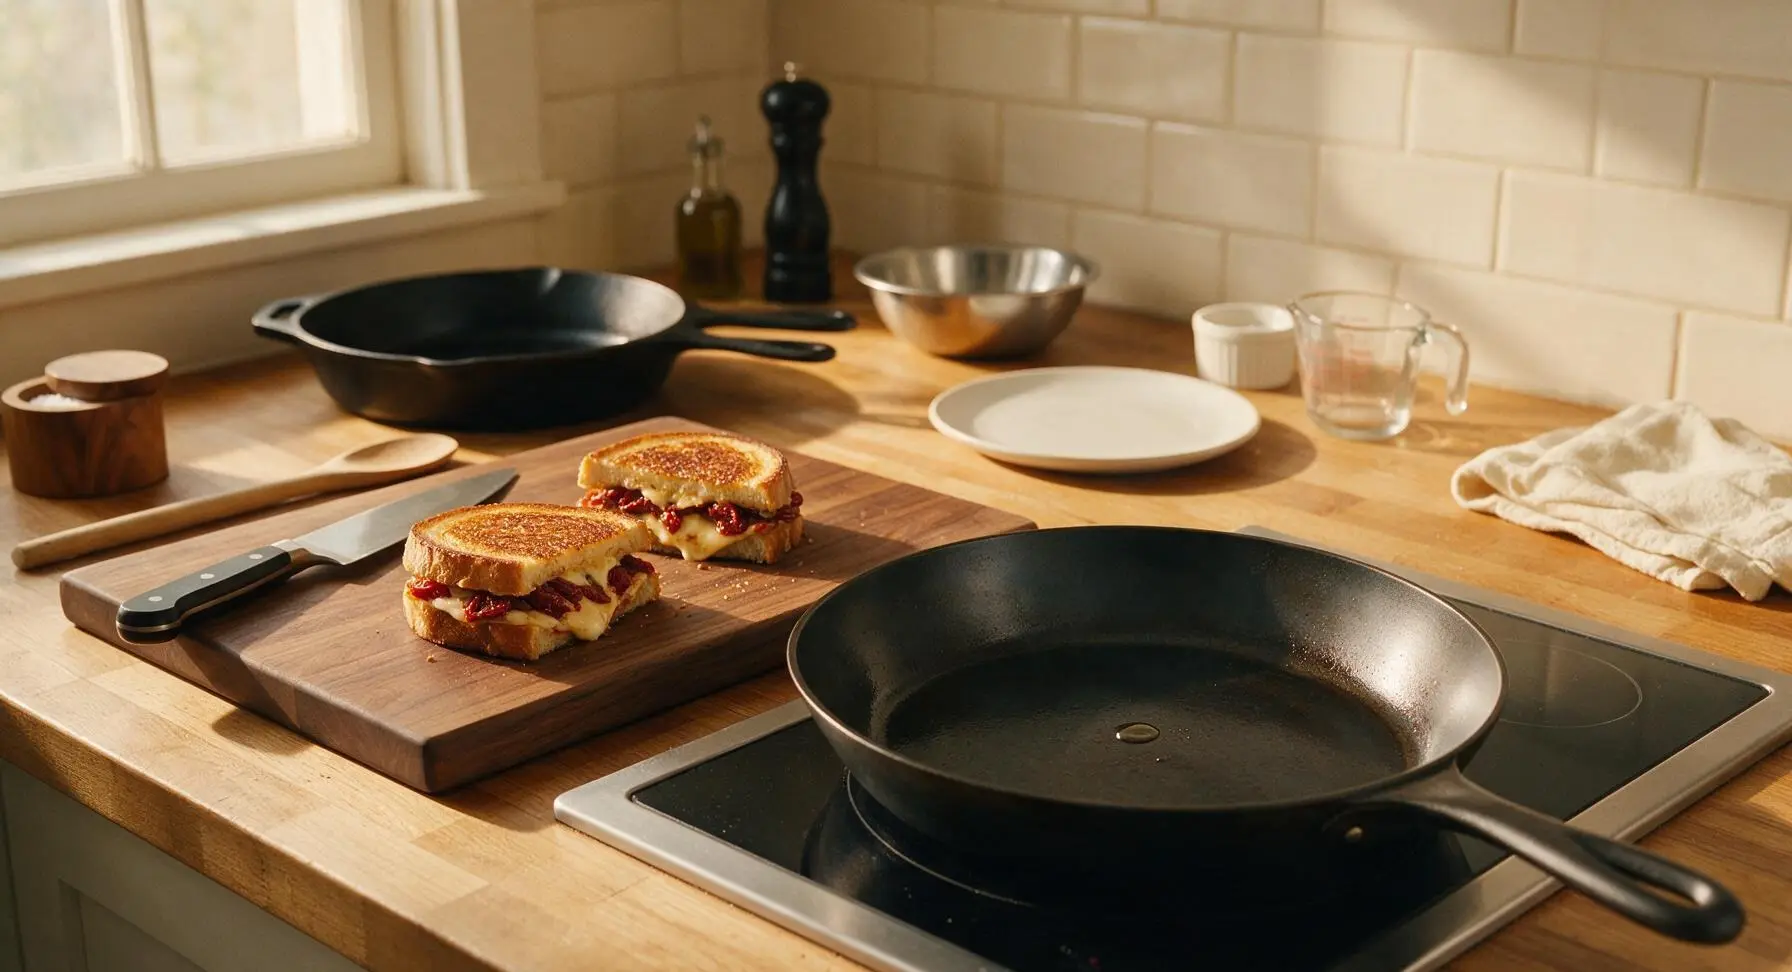
Place the 10-inch carbon steel skillet on the flush-mounted induction burner set to medium-low heat (325°F / 160°C), allowing it to preheat for 2 minutes. Test the heat by sprinkling a single drop of water on the pan surface—it should sizzle gently and evaporate slowly, not jump and vanish instantly (which means the pan is too hot).
Cook first sandwich side
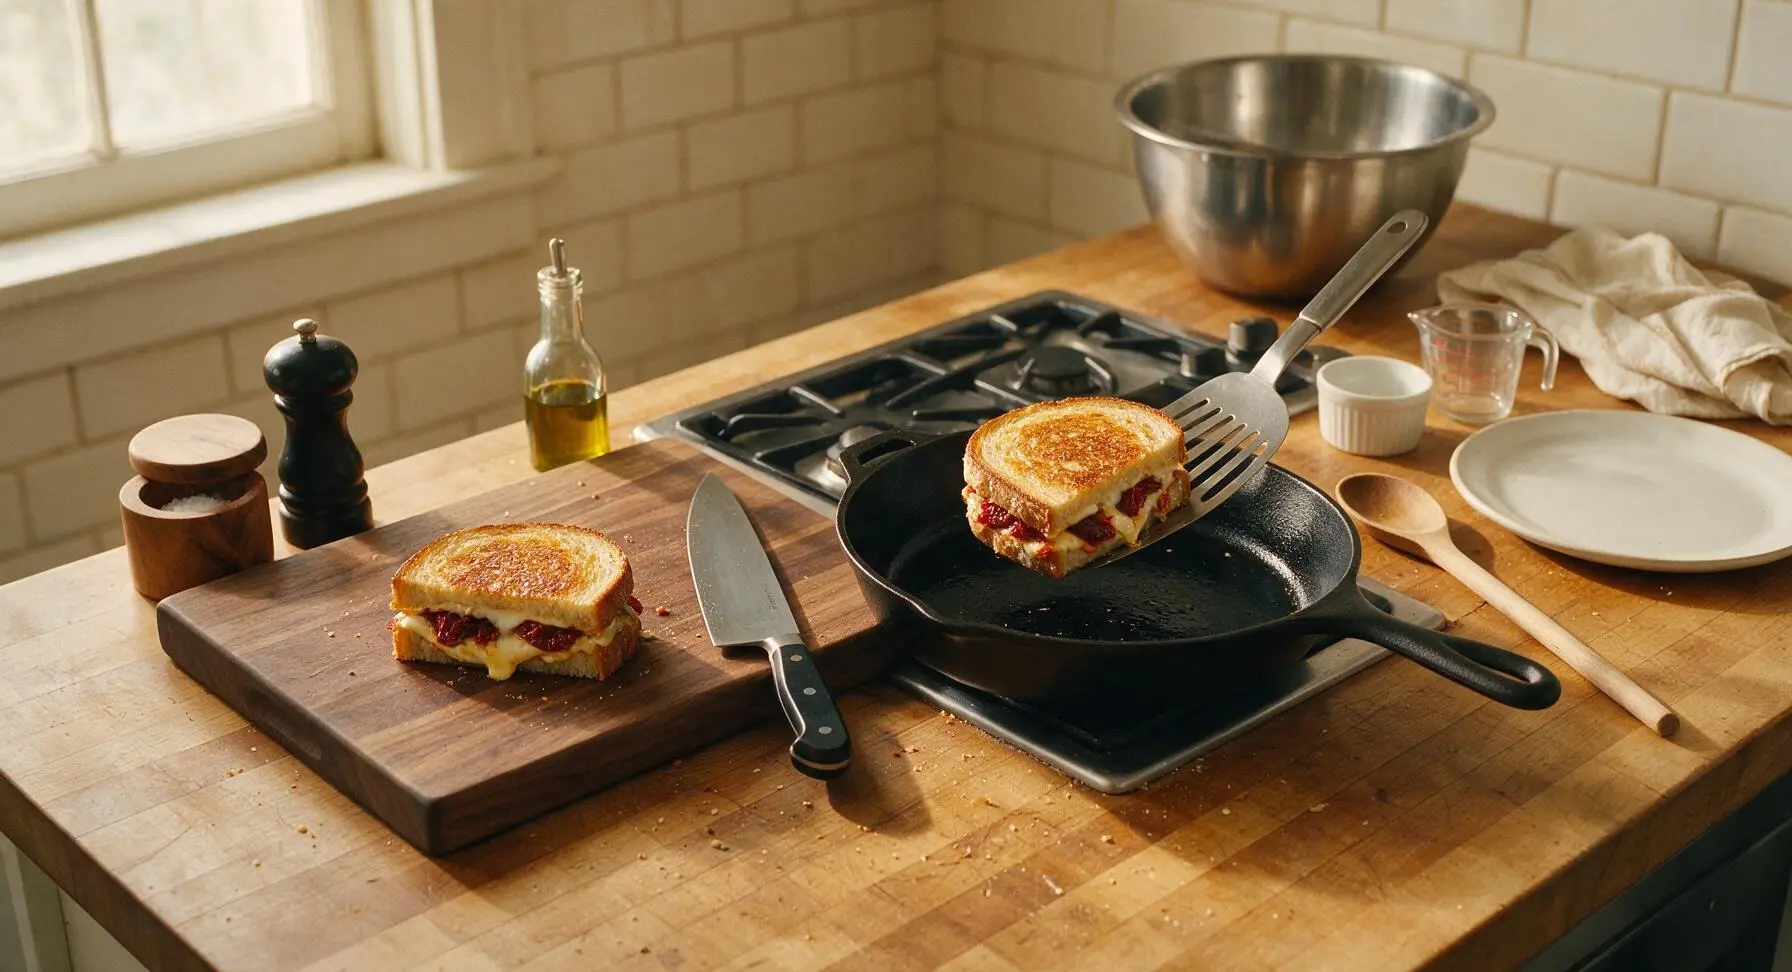
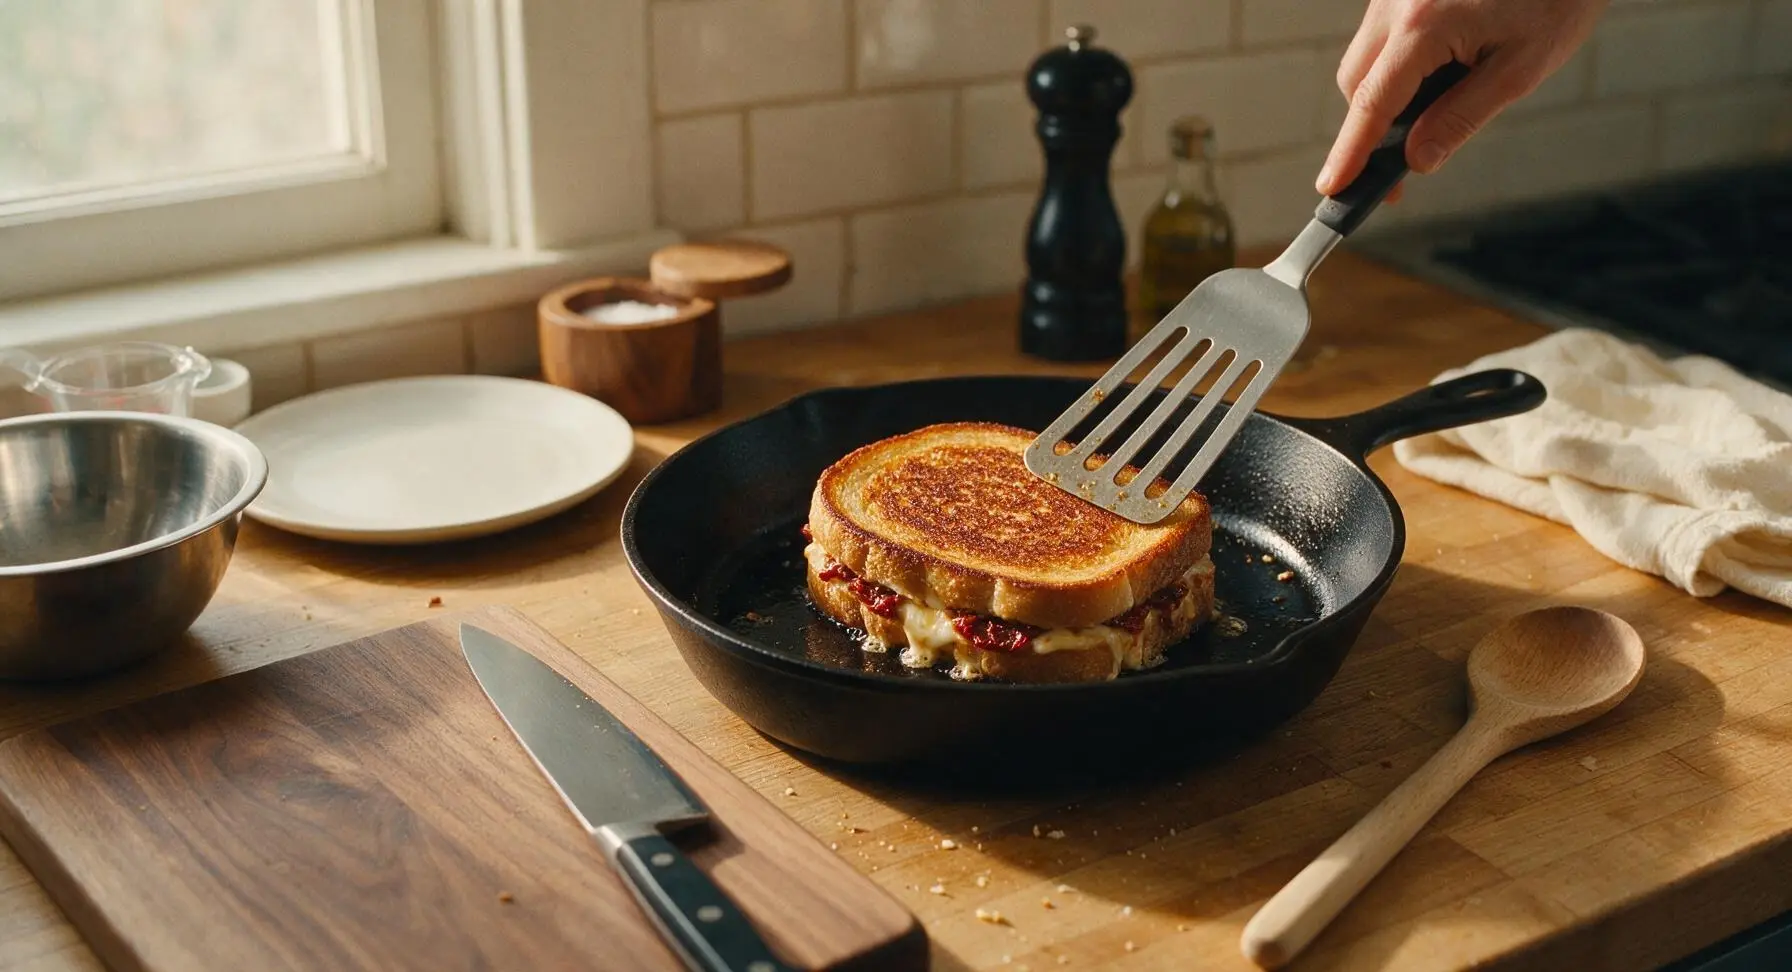
Carefully place one assembled sandwich into the preheated skillet, buttered side down. Cook for 3 to 4 minutes at medium-low heat, lifting the edge occasionally with the slotted turner to check doneness. The bread is ready to flip when it reaches a deep, even golden brown and the cheese layer touching the bottom slice has started to bubble and melt. Avoid pressing down on the sandwich with the turner, as this squeezes out melted cheese and compresses the fluffy bread texture.
Flip sandwich to finish
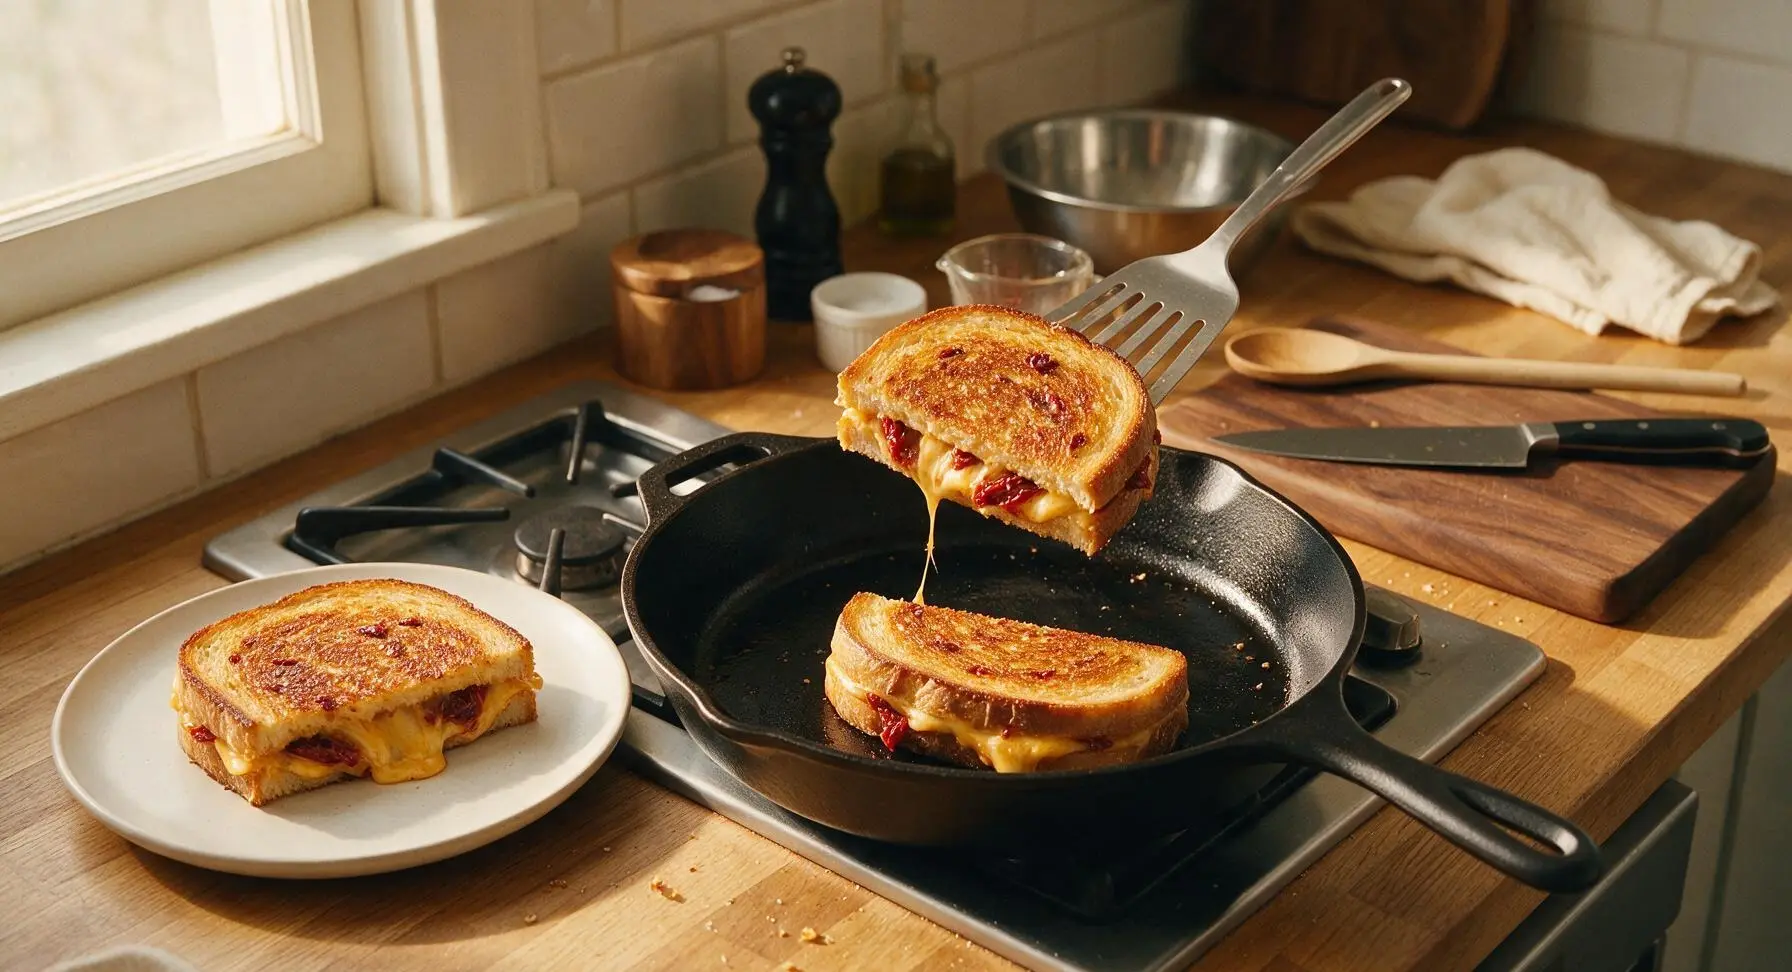
Slide the slotted turner fully under the center of the sandwich, then flip it in one smooth, steady motion to avoid spilling fillings. Cook the second buttered side for 2 to 3 minutes, until it matches the first side’s golden crispness, and melted cheese oozes slowly from the sandwich seams—this is the visual cue that the center cheese is fully melted. Transfer the first finished sandwich to the matte cream ceramic plate, then repeat the cooking process with the second sandwich, adjusting heat lower if the bread starts to brown too quickly.
Rest and slice sandwiches
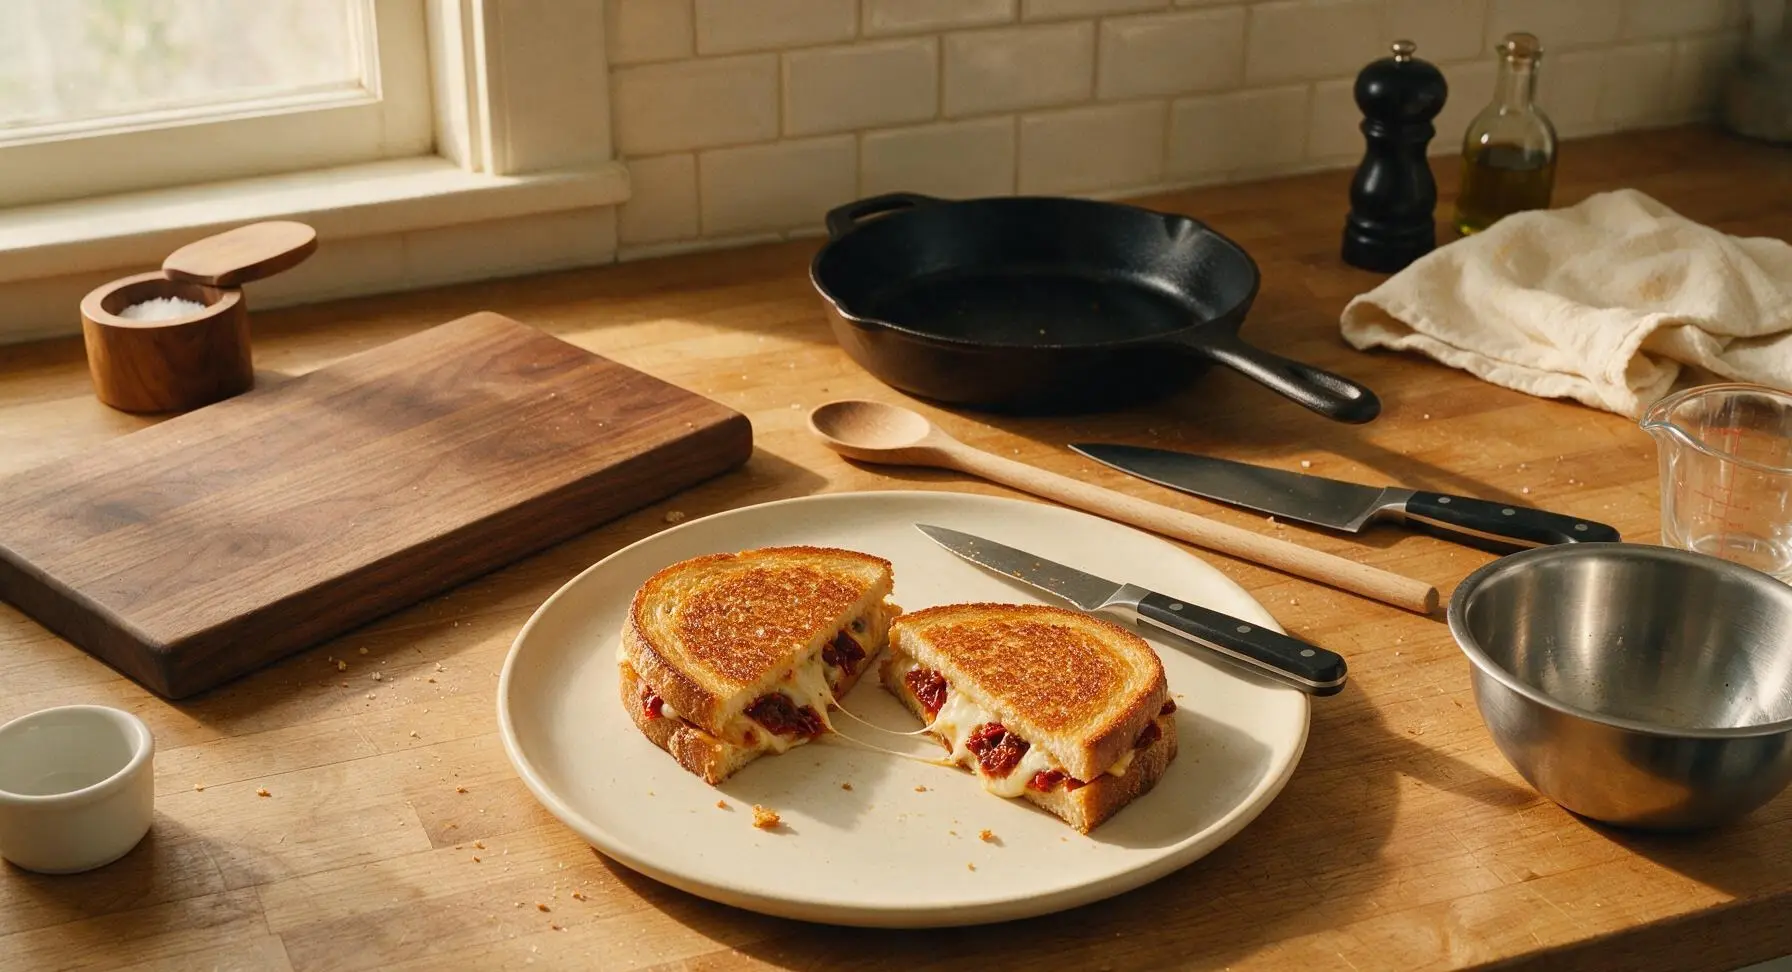
Let both cooked sandwiches rest for 1 full minute on the cream ceramic plate. This short rest allows the melted cheese to set slightly, so it does not run out completely when you cut into it. Use the paring knife to slice each sandwich diagonally into two equal triangular halves. Add a light sprinkle of flaky sea salt over the warm crust if desired.
Tips
2.Cook over medium-low heat (325°F / 160°C) rather than high heat: high temperatures burn the butter and bread crust in as little as 90 seconds, long before the cheese in the center of the sandwich has a chance to fully melt.
3.Resist the urge to press down on the sandwich with a spatula while cooking: pressing squeezes out melted cheese and compresses the light, airy sourdough crumb, resulting in a flat, greasy sandwich instead of a crisp, fluffy one.






OMG this sun-dried tomato grilled cheese is a total game changer! I threw this together in 8 minutes flat for a quick work-from-home lunch and it was SO good. The tang from the tomatoes cuts through all the melty cheese perfectly, I’ll never go back to plain grilled cheese again!
My kids loved it! I’ve been scrambling to find quick weeknight dinners that don’t end in a negotiation battle at the table, and both of my picky eaters asked for seconds. I added a little sprinkle of parmesan on the bread crust before grilling and *chef’s kiss*.
Brought these cut into little bite-sized squares to my neighborhood potluck last weekend and they were the first thing gone! People kept tracking me down to ask for the recipe all night. 10/10, so easy even a total cooking newbie like me can pull it off.
This is perfect for meal prep! I make a batch on Sunday, wrap them up individually, and pop them in the toaster oven during the work week for a quick lunch. Way better than dropping $12 on a sad takeout sandwich every day.
Wait this cook time is actually 8 minutes? I was skeptical because most “fancy” grilled cheese recipes take forever, but I timed it last night and it was done start to finish in 7 and a half minutes. Tasted like something I’d pay $15 for at a downtown bistro. Wild.
Only giving 4 stars because I totally messed up the first batch by burning the bread (oops, my old stove runs so hot!), but the second batch was absolute perfection. The sun-dried tomato + melty mozz + fresh basil combo is unreal. Will absolutely be making this on repeat.
Made this for my partner on our lazy movie night last Friday and they said it’s the best thing I’ve ever cooked for them. Total relationship win! I used a mix of sharp cheddar and mozzarella and it was so stringy and delicious.
SO good! I’ve been making boring plain grilled cheese for years and this upgrade is so simple but feels totally fancy. I didn’t even need to run to the grocery store— I already had every ingredient in my fridge and pantry.
Absolute godsend for college dorm cooking! I made this in my tiny dinky panini press in my dorm room and it came out perfect. Way better than the sad, soggy grilled cheese they serve at the dining hall, that’s for sure.
Obsessed! I added a little drizzle of hot honey on mine right after taking it off the grill and it was the perfect sweet-savory-spicy bite. 10/10 will be making this at least once a week from now on.