
Sushi Burrito
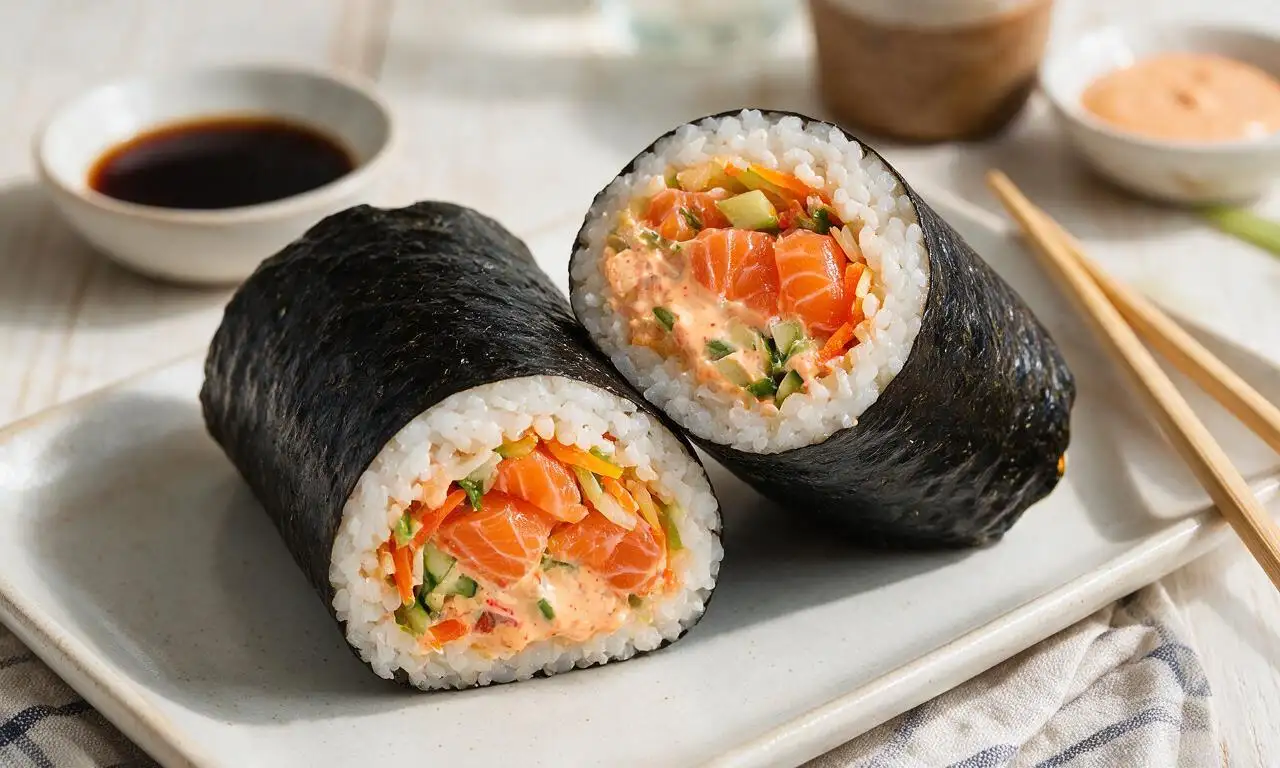
intro
A portable, handheld fusion of Japanese sushi and Mexican burrito, packed with seasoned rice, fresh salmon, crisp veggies, and creamy spicy sauce, no special skills required.
Ingredients
Steps
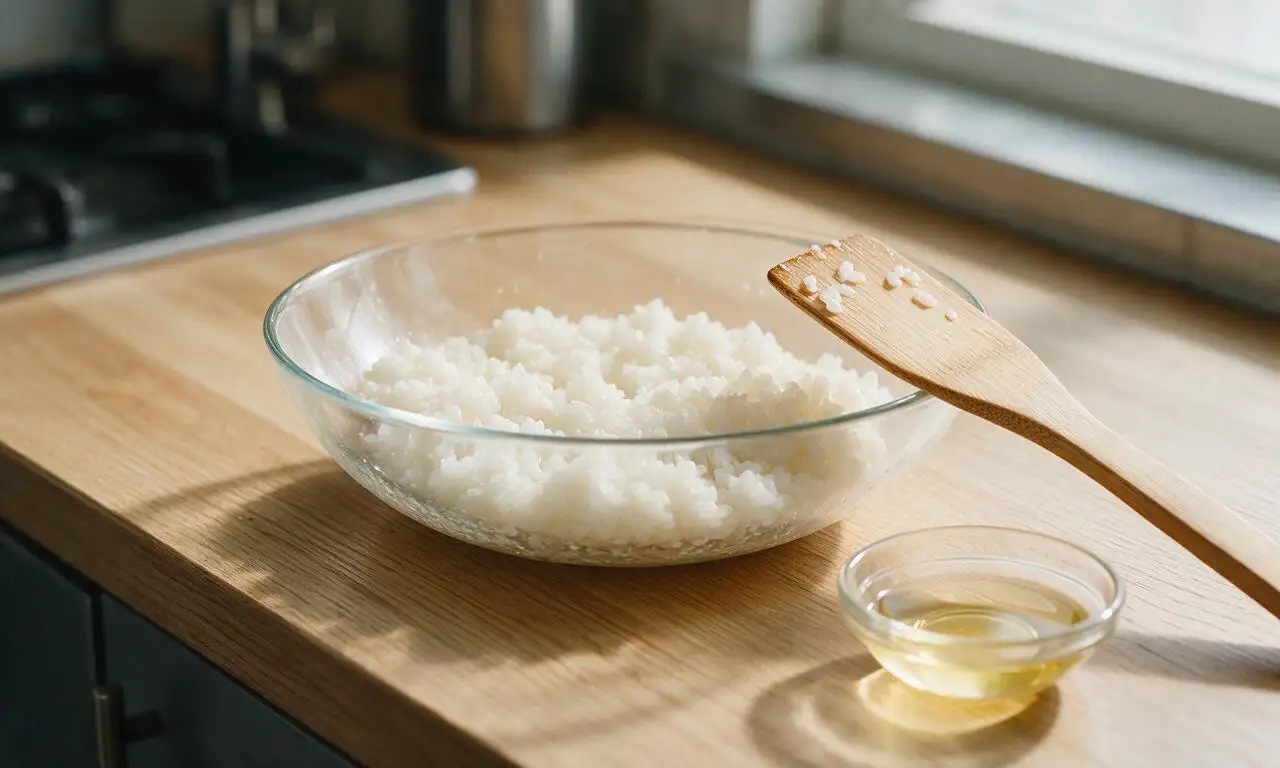
Cook seasoned sushi rice
Rinse 320g short-grain sushi rice under cold running water for 2 minutes, swishing gently, until runoff water is nearly clear (no longer milky white). Combine rinsed rice with 480ml (2 cups) cold water in a rice cooker, set to standard white rice setting, and cook 18-20 minutes until grains are fully tender and water is absorbed. Transfer cooked rice to a wide, shallow glass bowl, gently fold in 60ml seasoned rice vinegar with a flat rice paddle without mashing grains. Let rice cool to room temperature (22°C/72°F) for 10 minutes before use; do not refrigerate, as cold makes rice hard and clumpy.
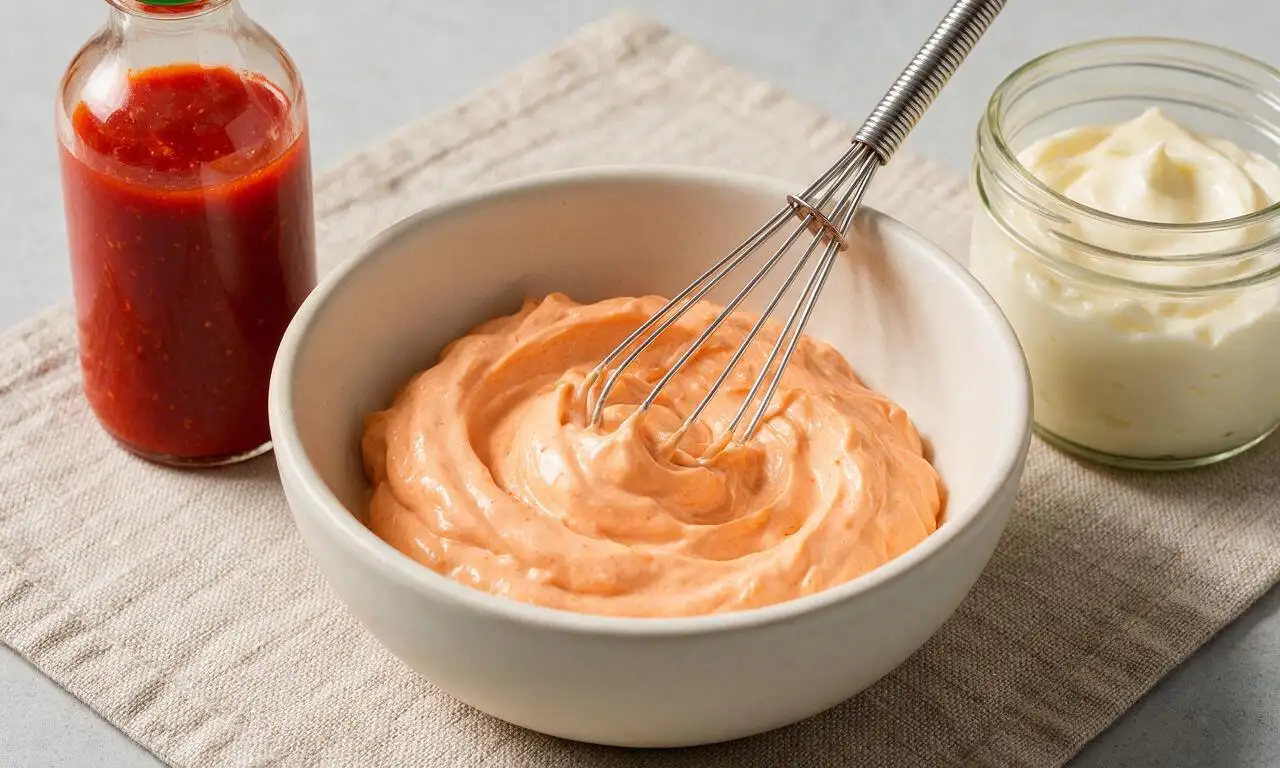
Mix spicy mayo sauce
In a small mixing bowl, whisk together 80ml full-fat mayonnaise, 30ml (2 tbsp) sriracha, and 5ml (1 tsp) low-sodium soy sauce until completely smooth, with no streaks of mayo or sriracha remaining. Set aside at room temperature until ready to assemble; this sauce adds creaminess and gentle heat to the burrito filling.
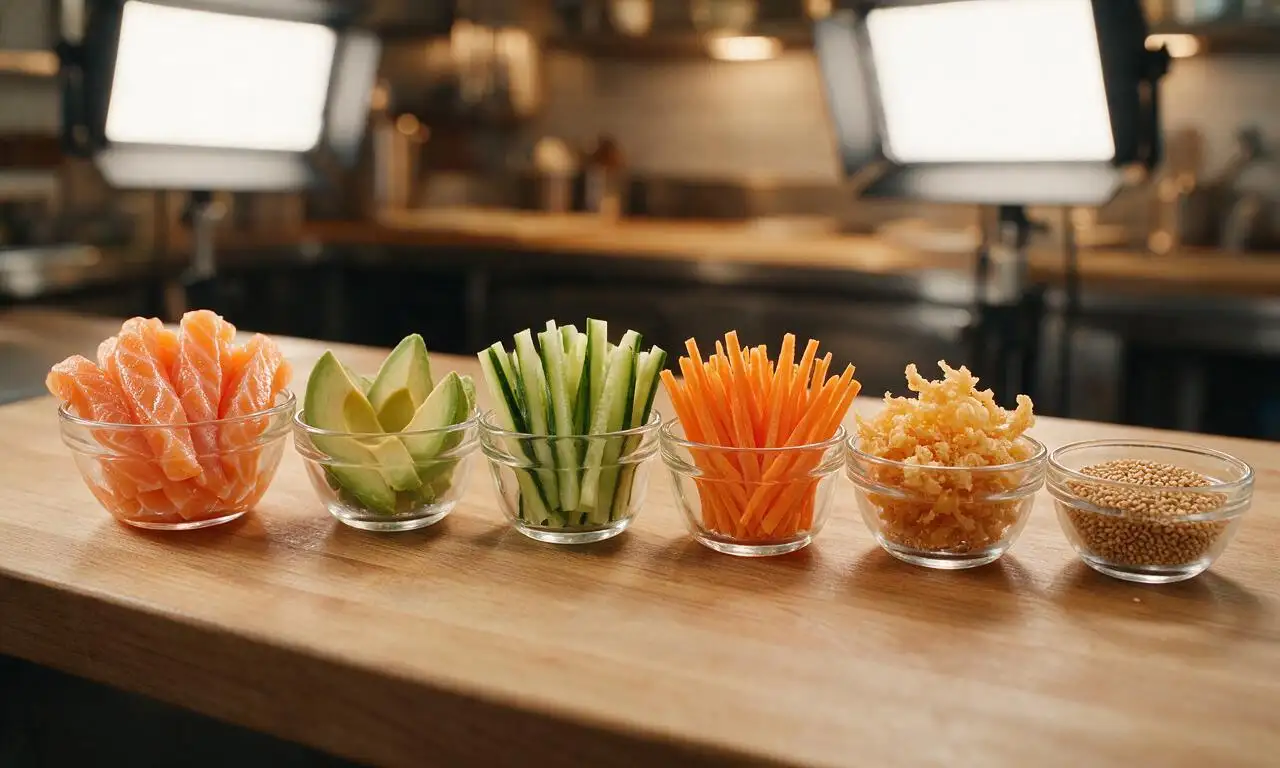
Prep burrito fillings
Pat 225g sushi-grade salmon dry with paper towels, slice into 1cm thick long strips. Peel and pit 1 ripe avocado, slice into 1cm thick wedges, toss with 5ml (1 tsp) lemon juice to prevent browning. Seed 1/2 English cucumber, peel 1 small carrot, and julienne both into 5mm thick matchstick strips. Arrange all prepped fillings, 40g tempura crunch flakes, and 10g toasted sesame seeds in separate small bowls for easy assembly line prep.
Layer rice on nori
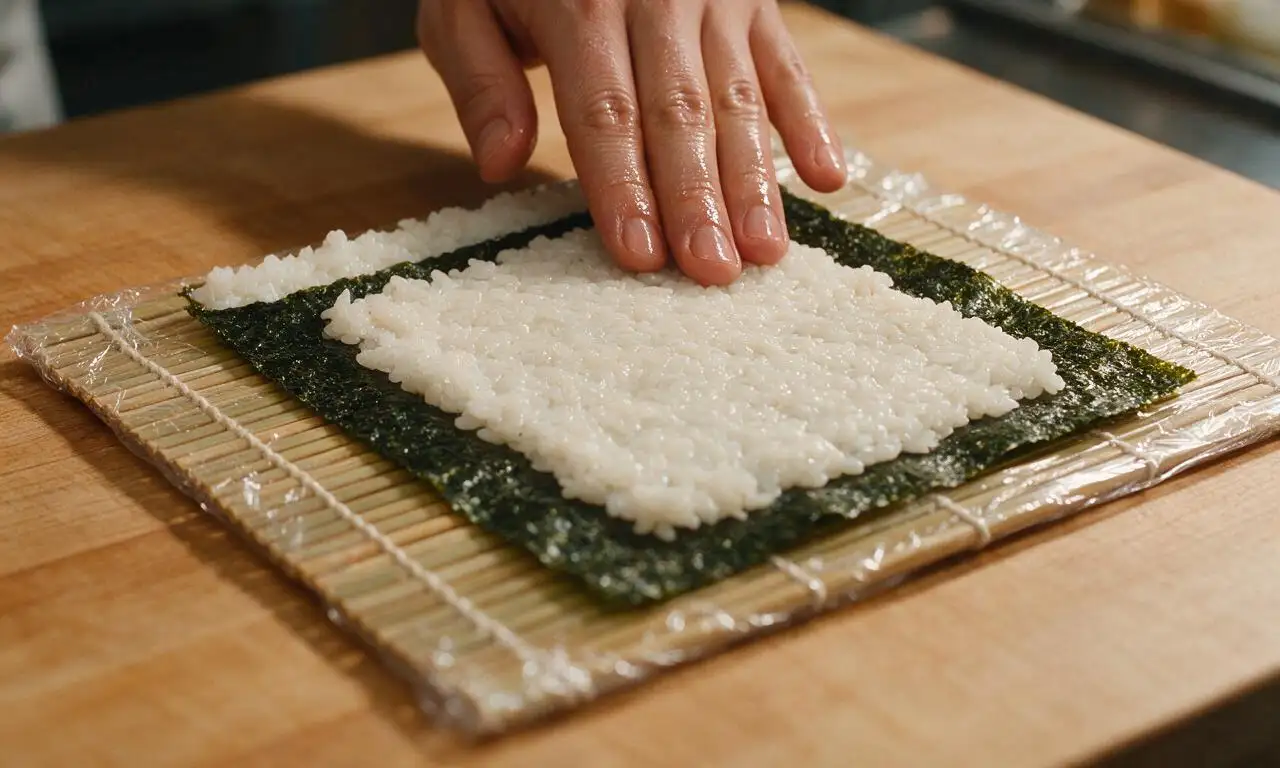
Lay one full nori sheet shiny-side down on a bamboo sushi rolling mat covered in plastic wrap. Dampen your hands lightly with cold water to prevent sticking, then spread 1/4 of the cooled seasoned rice (approx 120g) in an even, 5mm thick layer across the entire nori sheet, leaving a 2cm bare strip along the top edge to seal the burrito. Sprinkle 1/4 of the toasted sesame seeds (2.5g) evenly over the rice layer.
Add fillings to center
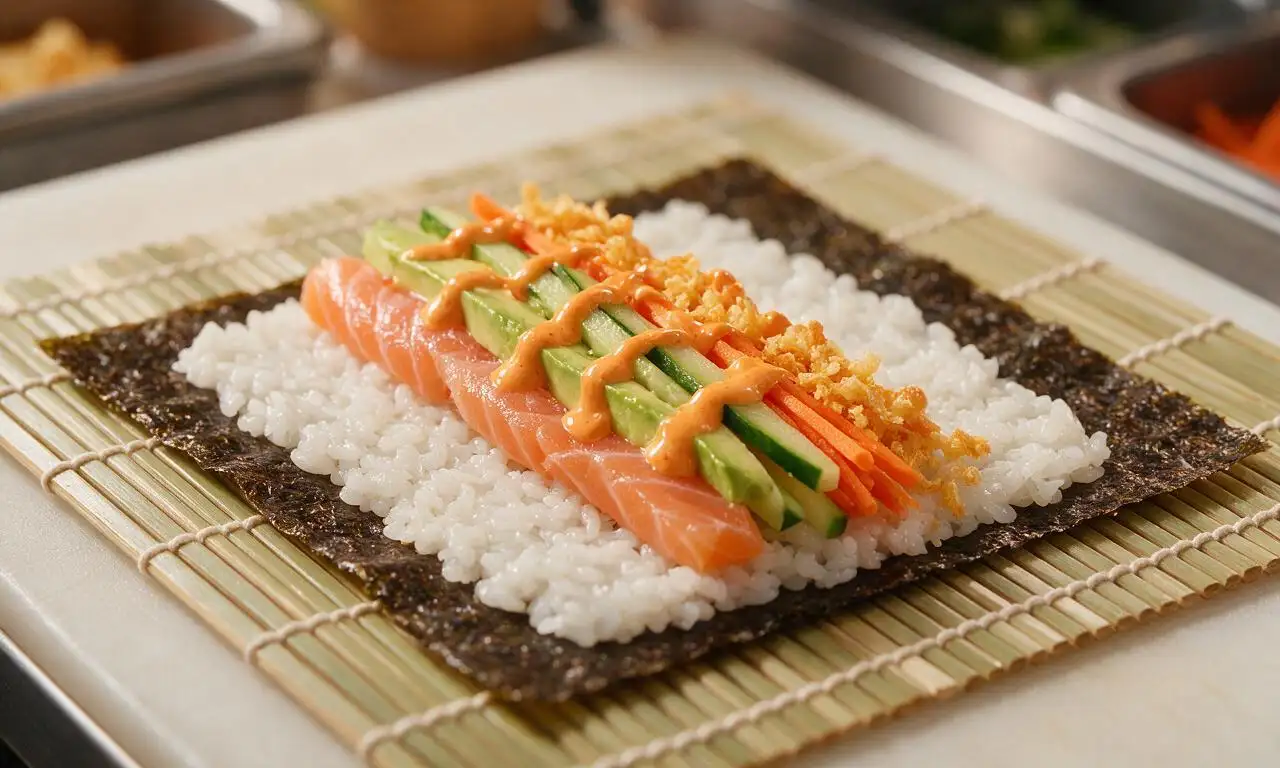
Spread 15ml (1 tbsp) of the prepared spicy mayo in a straight line down the horizontal center of the rice layer. Layer 1/4 of the salmon strips (approx 56g), 1/4 of the avocado wedges (approx 37g), 1/4 of the cucumber matchsticks (25g), 1/4 of the carrot matchsticks (20g), and 10g (1 tbsp) of tempura crunch flakes directly on top of the sauce line, keeping all fillings tightly packed in the center 8cm of the wrap to prevent tearing when rolling. Do not overfill, as this will cause the burrito to burst when sealed.
Roll and seal burritos
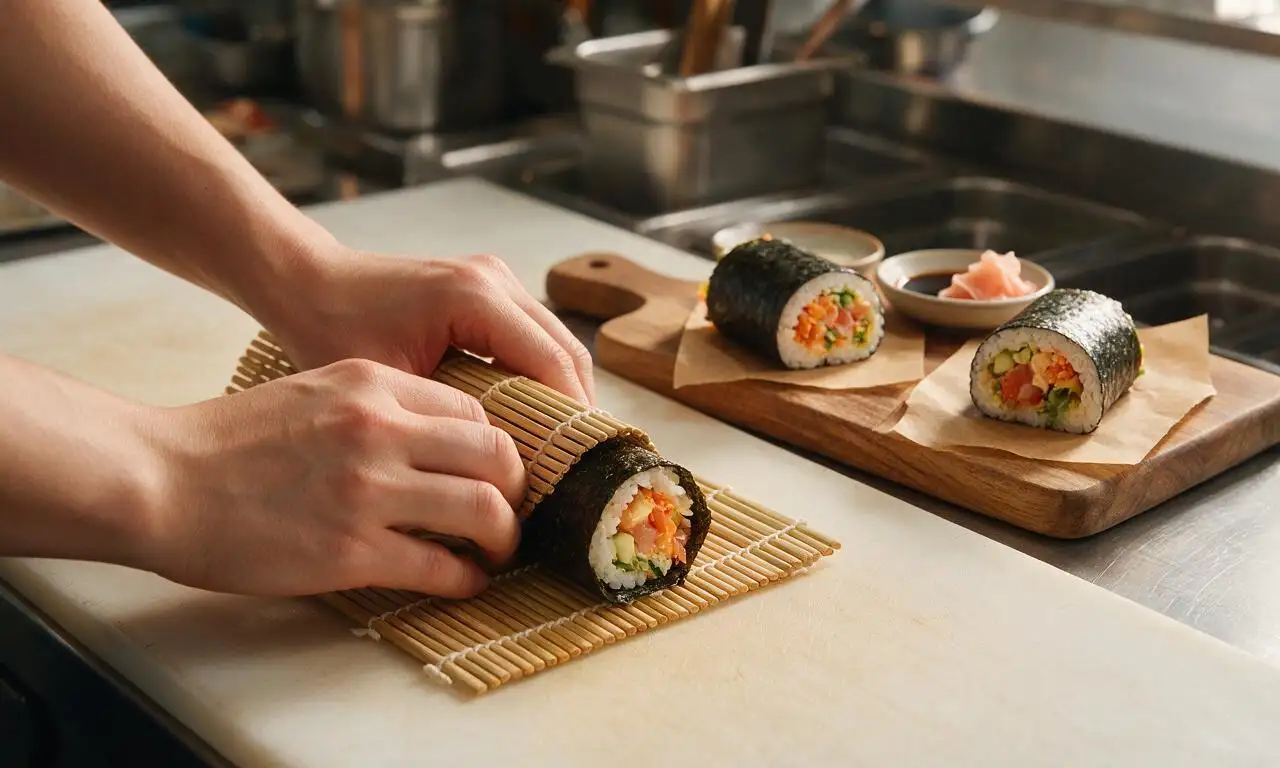
Lift the bottom edge of the bamboo mat (closest to you) up and over the fillings, tucking the nori and rice tightly around the fillings to form a firm log, squeezing gently to compact ingredients. Continue rolling forward toward the bare nori strip, dabbing the bare strip with 1ml (1/4 tsp) cold water to seal the edge once reached. Apply gentle, even pressure across the entire mat to set the roll for 30 seconds, then repeat assembly and rolling for the remaining 3 burritos. Slice each burrito in half on the diagonal if desired, and serve with remaining spicy mayo, extra soy sauce, and pickled ginger.
Tips
2.Only use certified sushi-grade fish for raw fillings; standard grocery store seafood is not processed to eliminate parasites for safe raw consumption.
3.Resist the urge to overfill your burrito—too many ingredients will split the nori when rolling; stick to measured portions for a tight, portable roll that does not fall apart when eaten.






OMG this sushirrito recipe is an absolute game changer! I’ve been dropping $12+ on these at the food truck near my office every week and now I can make them at home for a fraction of the cost. I stuffed mine with spicy tuna, avocado, cucumber, and a little sriracha mayo, and my roommate stole half of it before I even finished taking photos! Total cook time was actually even less than 35 mins for me since I pre-cooked my rice the night before for meal prep. 10/10 will be making these for our next potluck with friends.
My kids loved it! I was worried raw fish would be a hard sell for my picky 8 and 10 year olds, so I made theirs with cooked shrimp, imitation crab, and extra cream cheese, and they asked for seconds before they even finished their first. I love that this is marked easy, because I am terrible at making regular tiny sushi rolls and these came together with zero stress. Will be adding these to our weekly family dinner rotation for sure!
SO good! I made these for a day hike last weekend, wrapped them up tight in parchment paper, and they were the perfect portable trail lunch. I added pickled carrots and shelled edamame to mine for a little extra crunch and protein, and they didn’t get soggy at all even after sitting in my backpack for a couple hours. Way better than the sad granola bars I usually pack for hikes. Quick tip: toasting the nori for 10 seconds over a low flame first adds such a great nutty flavor, such a nice upgrade even if it adds a whole extra minute to prep.