
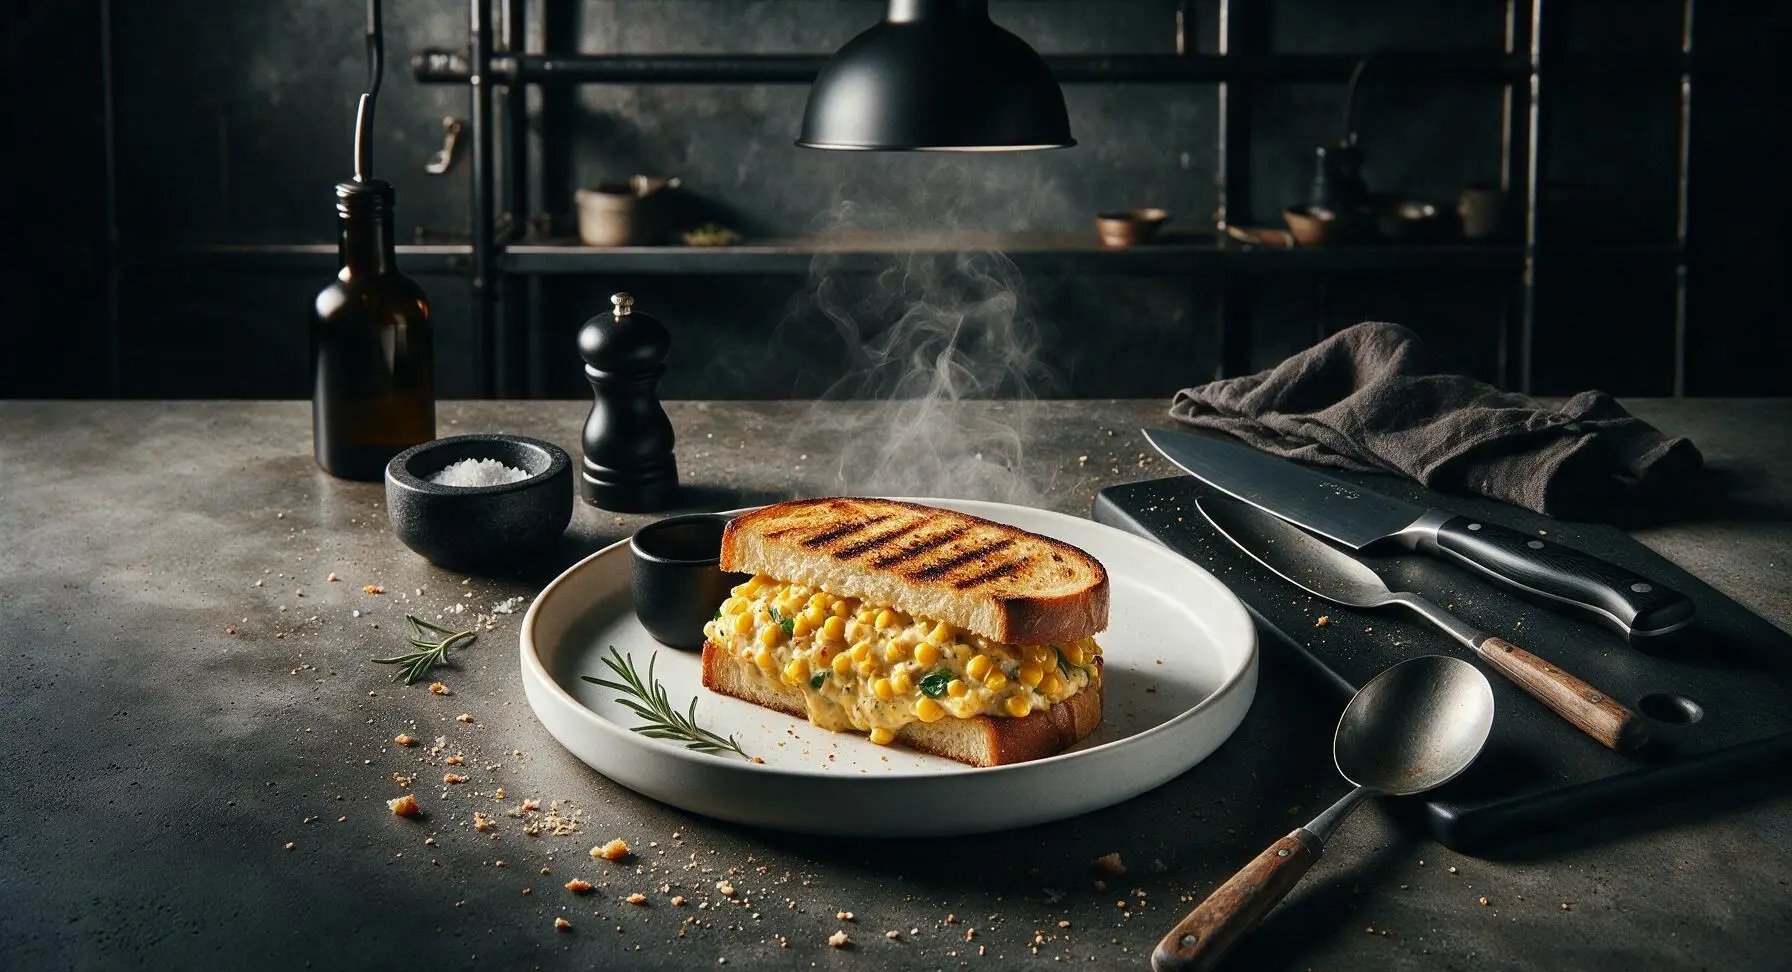
sweet corn sandwich

title 1
sweet corn sandwich
⏱️ cook time 10 minutes
🍽️ servings 4
⚡ Difficulty easy

intro

Crisp, toasty grilled bread stuffed with creamy, cheesy sweet corn filling, bright with basil and a hint of warm spice—portable, flavorful, and packed with bright summer sweetness.

Ingredients
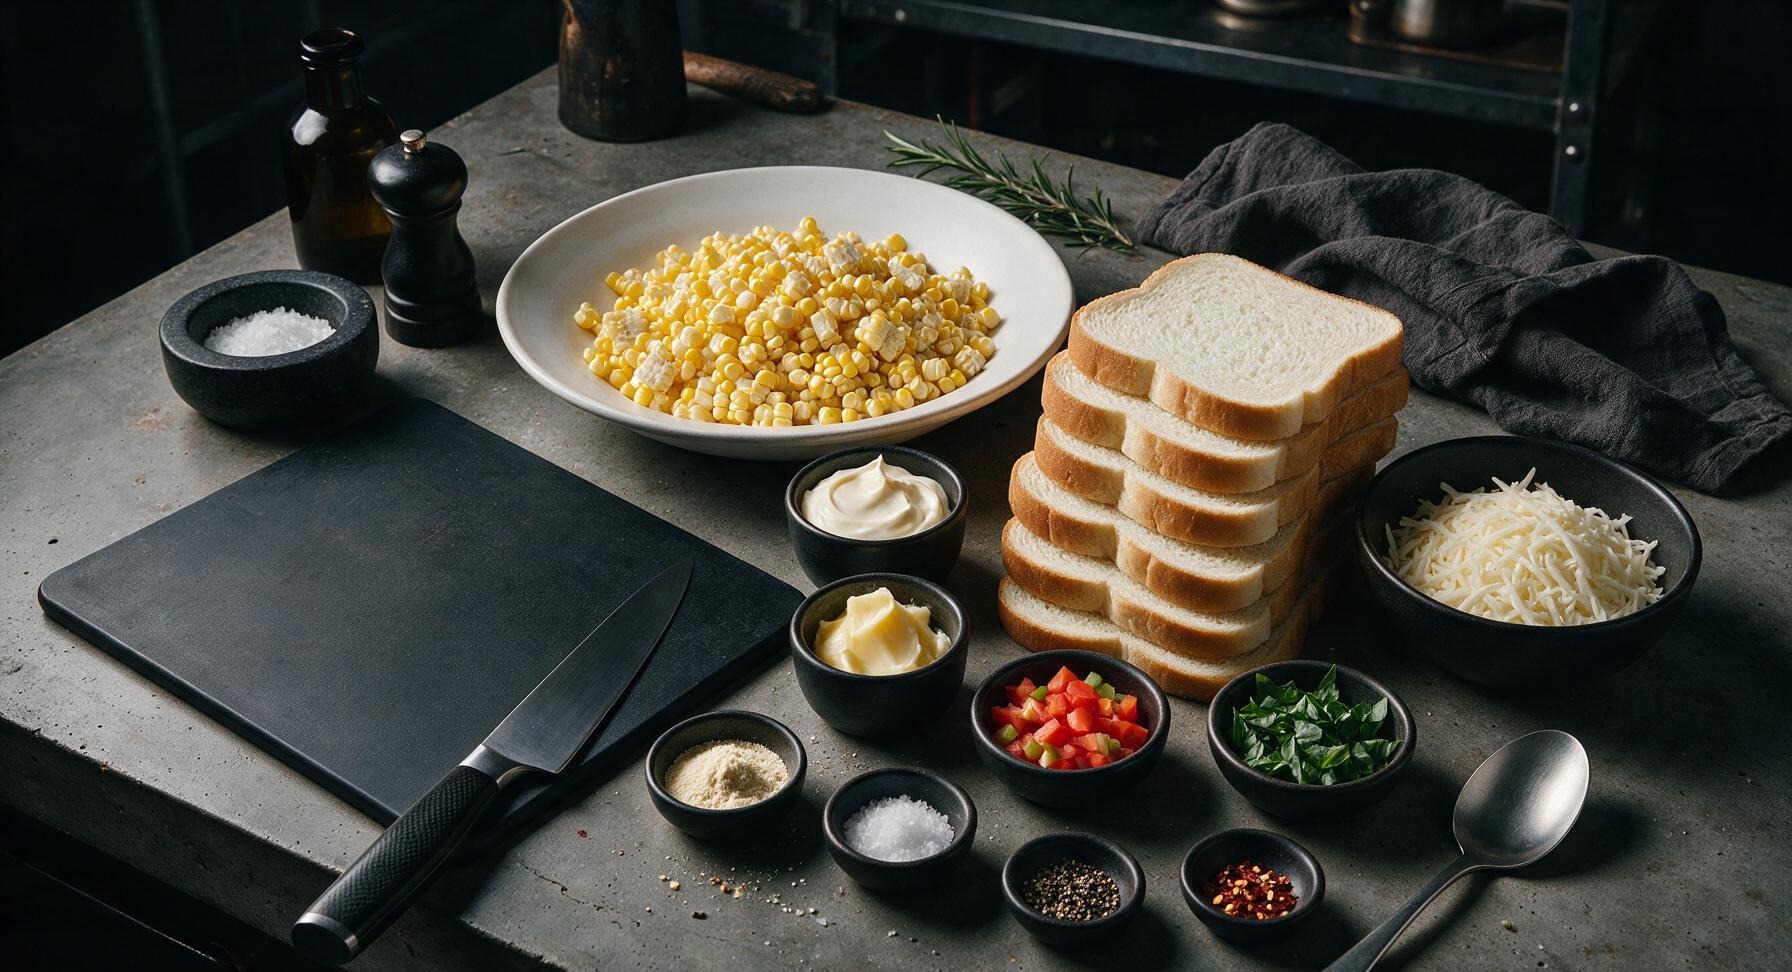
Fresh sweet corn kernels 2 cups (cut from 2 medium cobs)
Thick-cut soft white sandwich bread 8 slices
Low-moisture mozzarella cheese 1/2 cup, shredded
Full-fat mayonnaise 1/4 cup
Unsalted butter 2 tbsp, softened
Red bell pepper 1/4 cup, finely diced
Fresh basil leaves 2 tbsp, chopped
Garlic powder 1/2 tsp
Kosher salt 1/4 tsp
Freshly cracked black pepper 1/4 tsp
Red chili flakes (optional) 1/8 tsp

Steps

1

Prep Corn and Aromatics

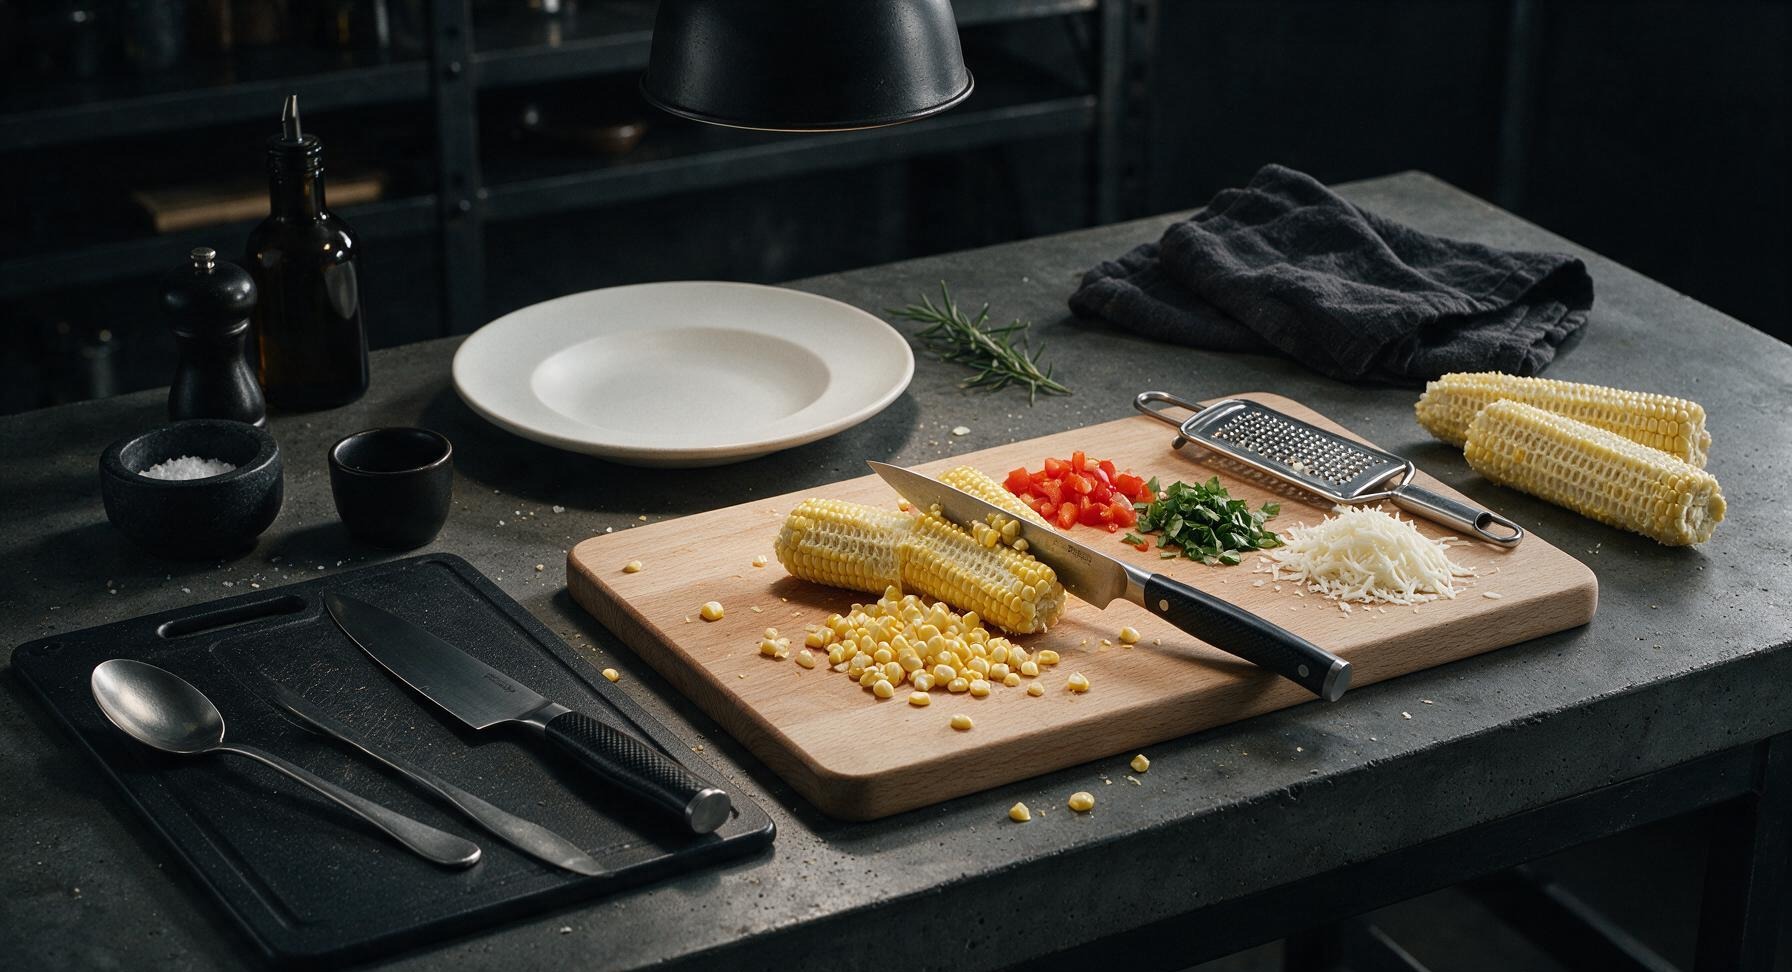
Set the light beechwood cutting board at the center of the work area. Stand 2 fresh sweet corn cobs upright on the board, and use the 5-inch stainless steel paring knife to slice kernels off the cobs to yield 2 cups of loose kernels. Use the hand-held stainless steel cheese grater to shred 1/2 cup low-moisture mozzarella into a small pile, then finely dice 1/4 cup red bell pepper and chop 2 tbsp fresh basil leaves, setting each prep item aside separately on the board. Discard stripped corn cobs to the far counter edge when finished.
Step 1
step1:Prep Corn and Aromatics
2

Mix Creamy Corn Filling

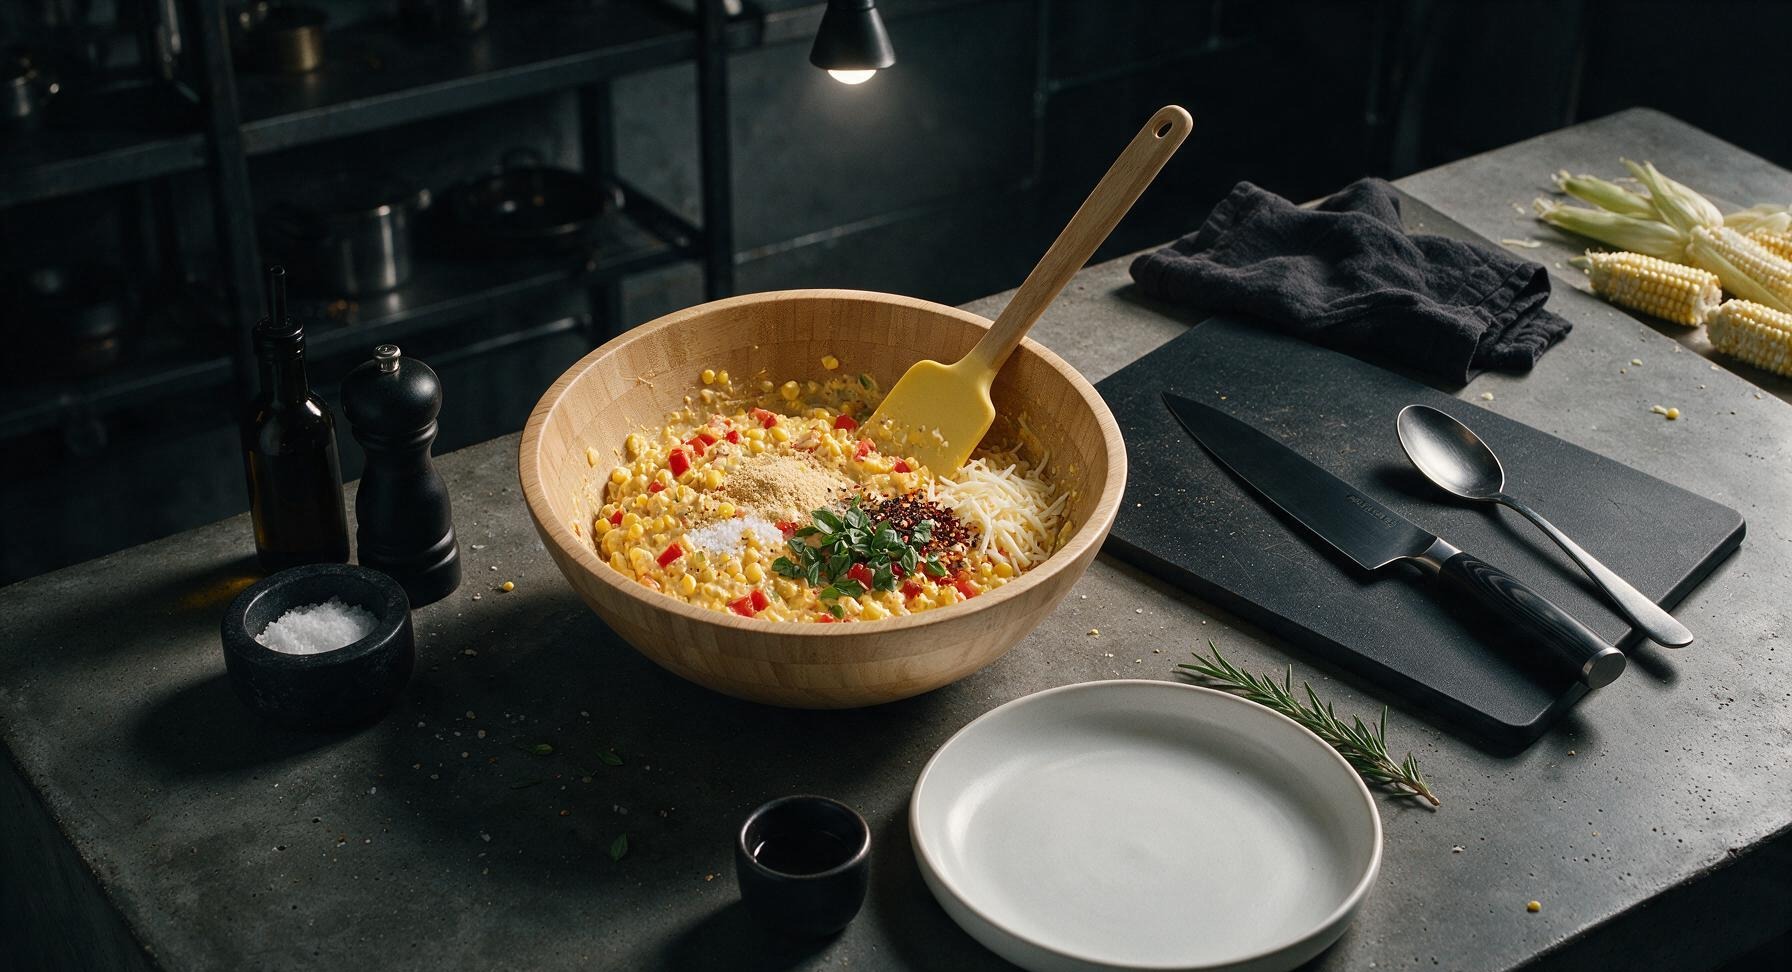
Add the cut sweet corn kernels, diced red bell pepper, 1/4 cup full-fat mayonnaise, shredded mozzarella, 1/2 tsp garlic powder, 1/4 tsp kosher salt, 1/4 tsp freshly cracked black pepper, and 1/8 tsp red chili flakes (if using for mild heat) into the light bamboo mixing bowl. Reserve half the chopped basil for garnish, and add the other half to the bowl. Use the matte pastel yellow silicone spatula to stir until all ingredients are evenly coated in the creamy mayonnaise base, with cheese and spices distributed throughout. Do not overmix—corn kernels should stay whole and firm to add texture to the filling.
Step 2
step2:Mix Creamy Corn Filling
3

Preheat Ridged Grill Pan

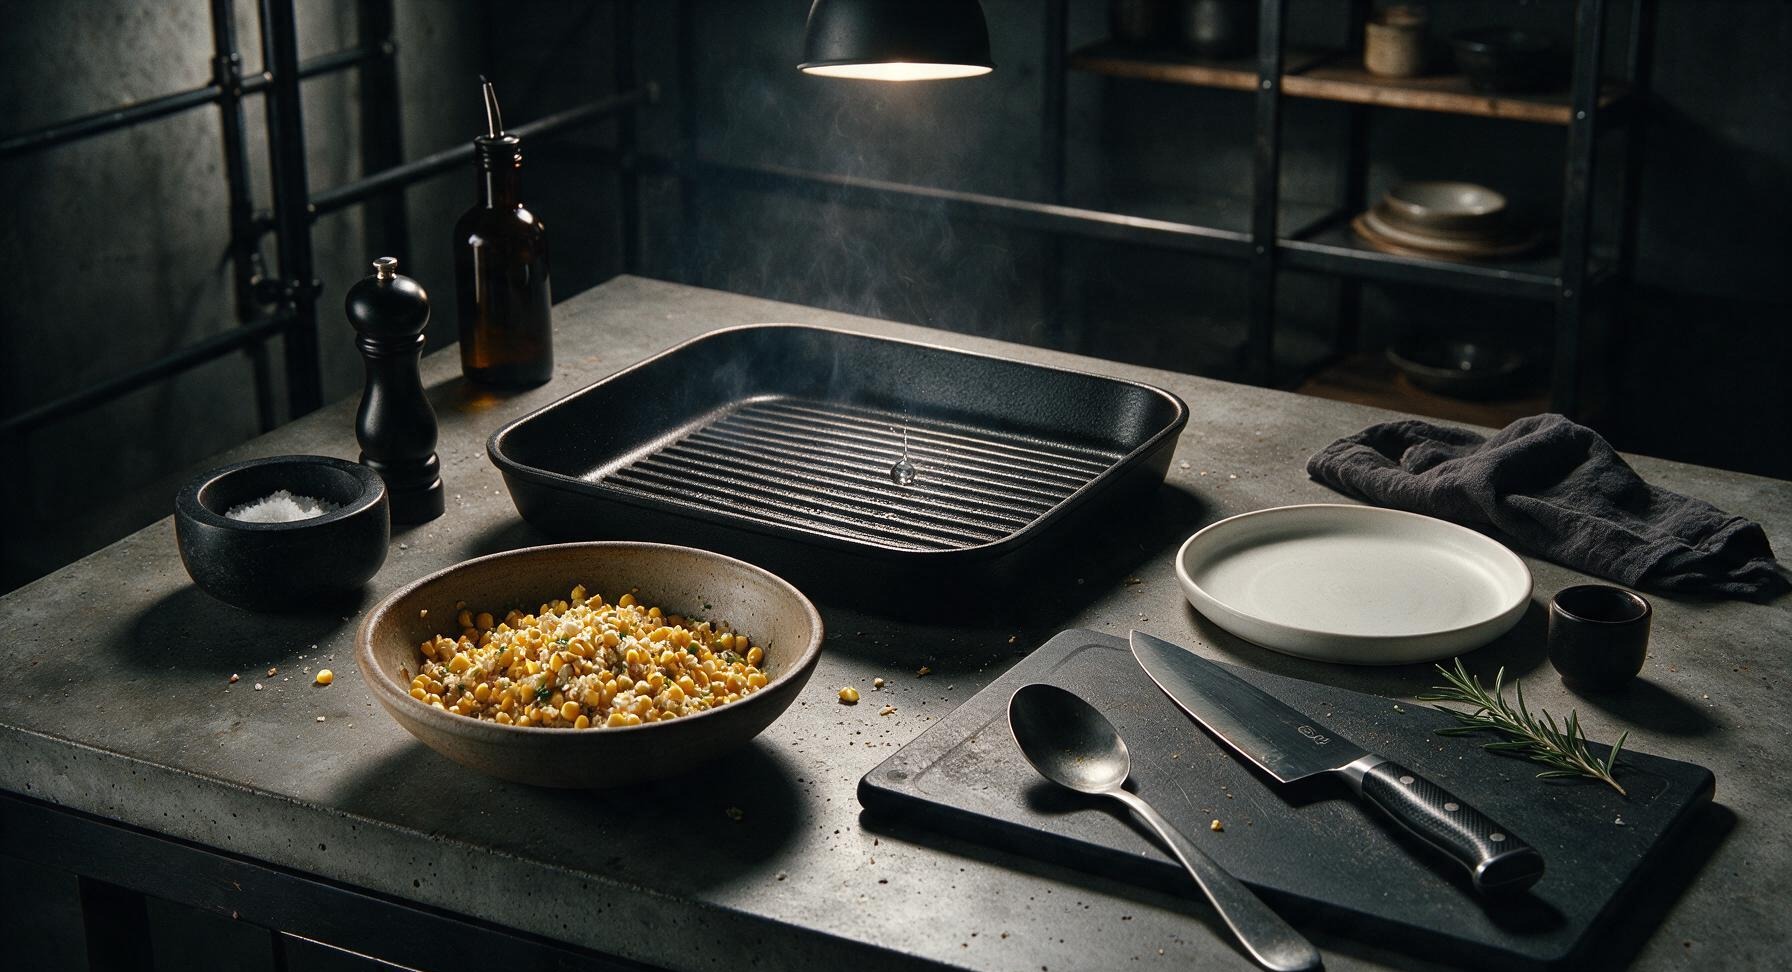
Position the matte black square ridged non-stick grill pan in its fixed back-center position over medium stovetop heat. Allow it to preheat for 3 minutes, testing readiness by flicking a single drop of water onto the surface: the pan is ready when the drop sizzles and evaporates within 2 seconds. While the pan heats, begin assembling sandwiches to avoid overheating the pan and burning bread.
Step 3
step3:Preheat Ridged Grill Pan
4

Assemble Sandwich Layers

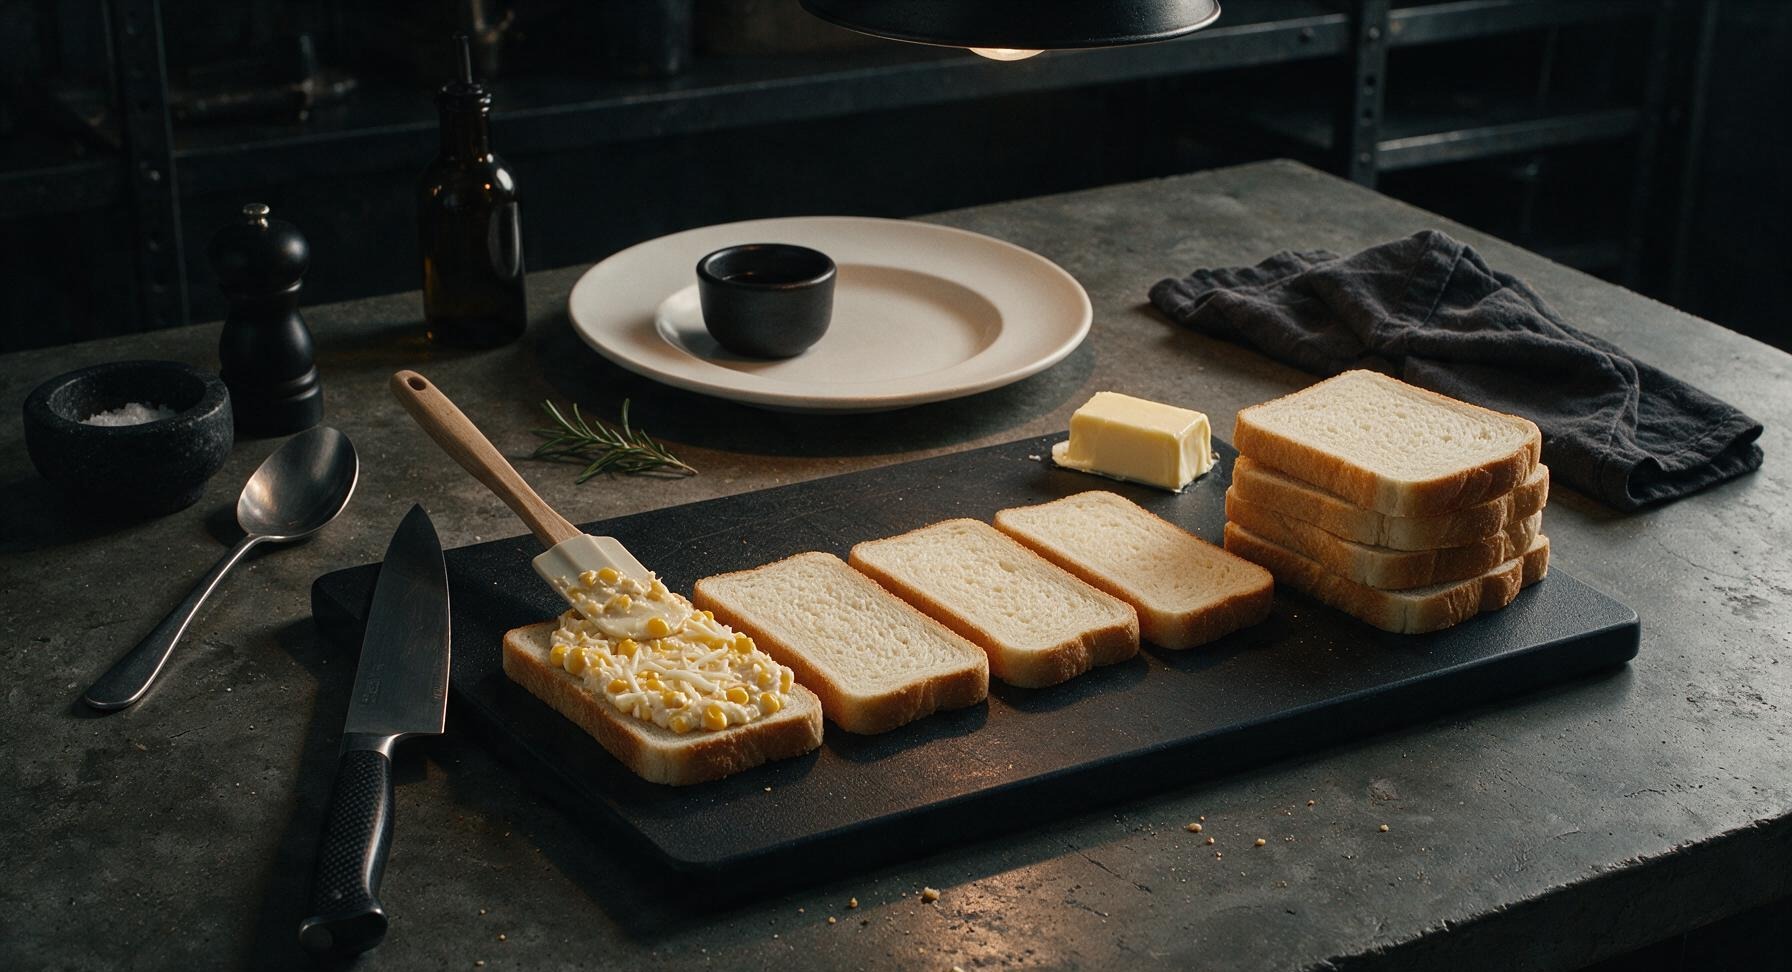
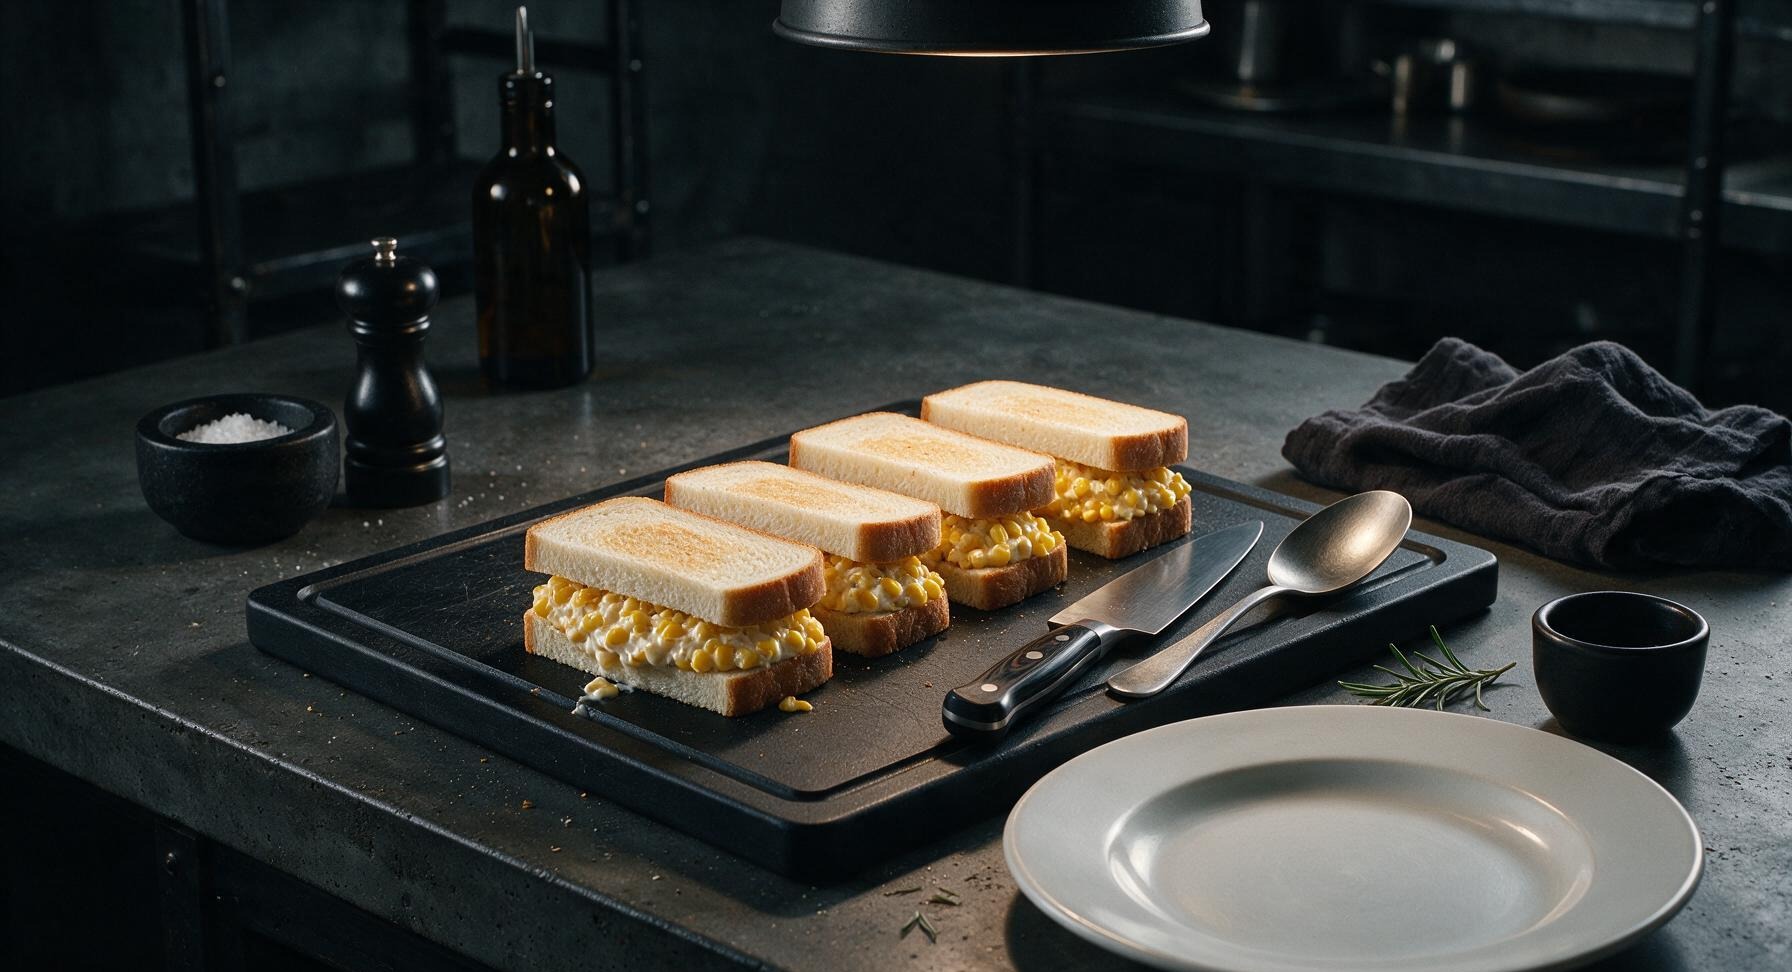
Lay 4 slices of thick-cut white bread out flat on the beechwood cutting board. Use the silicone spatula to spread 1/4 of the creamy corn filling evenly across each base slice, leaving a precise 1/4 inch border at the edges to prevent filling from oozing out while cooking. Sprinkle the remaining reserved chopped basil over the filling, then top each base with a second slice of bread to make 4 full sandwiches. Press the top slice down gently to help the layers adhere.
Step 4
step4:Assemble Sandwich Layers
Step 4
step4:Assemble Sandwich Layers
5

Grill First Sandwich Side

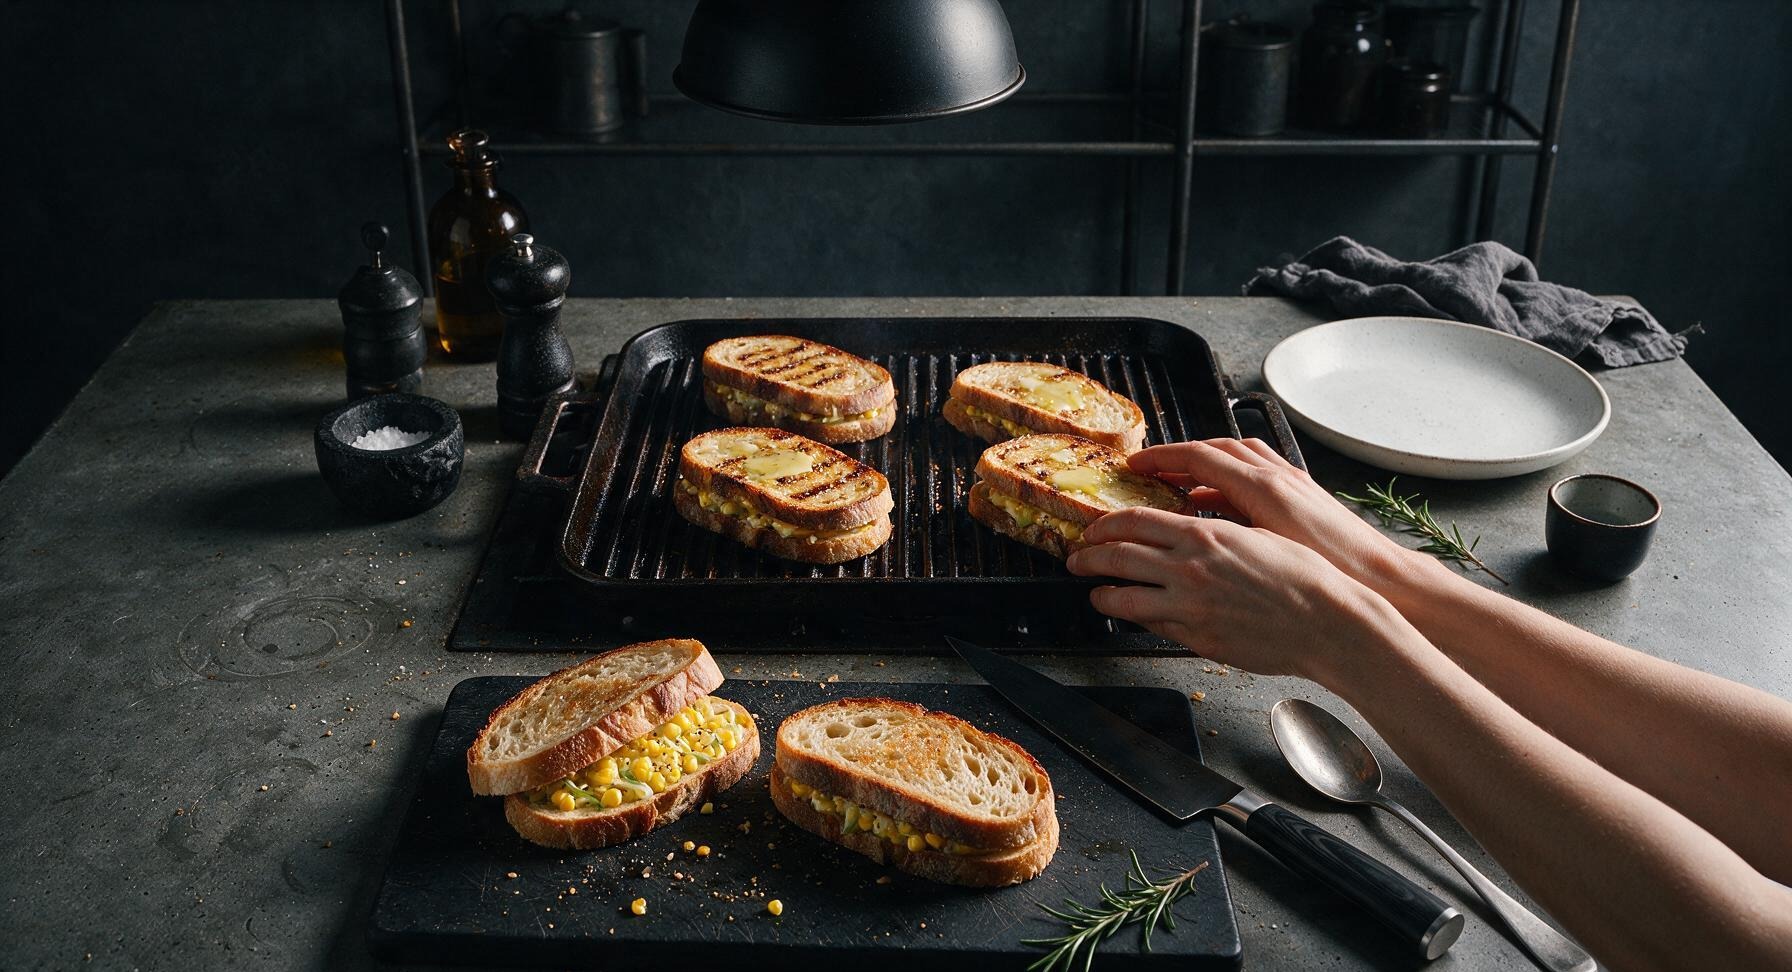
Spread 1/4 tsp of softened unsalted butter on the top surface of each assembled sandwich. Carefully place 2 sandwiches buttered-side down on the preheated grill pan. Spread another 1/4 tsp butter on the uncoated top side of each sandwich now in the pan. Cook for 3 minutes over medium heat, without pressing down on the sandwiches, until the bottom bread is deep golden brown with distinct dark ridged grill marks.
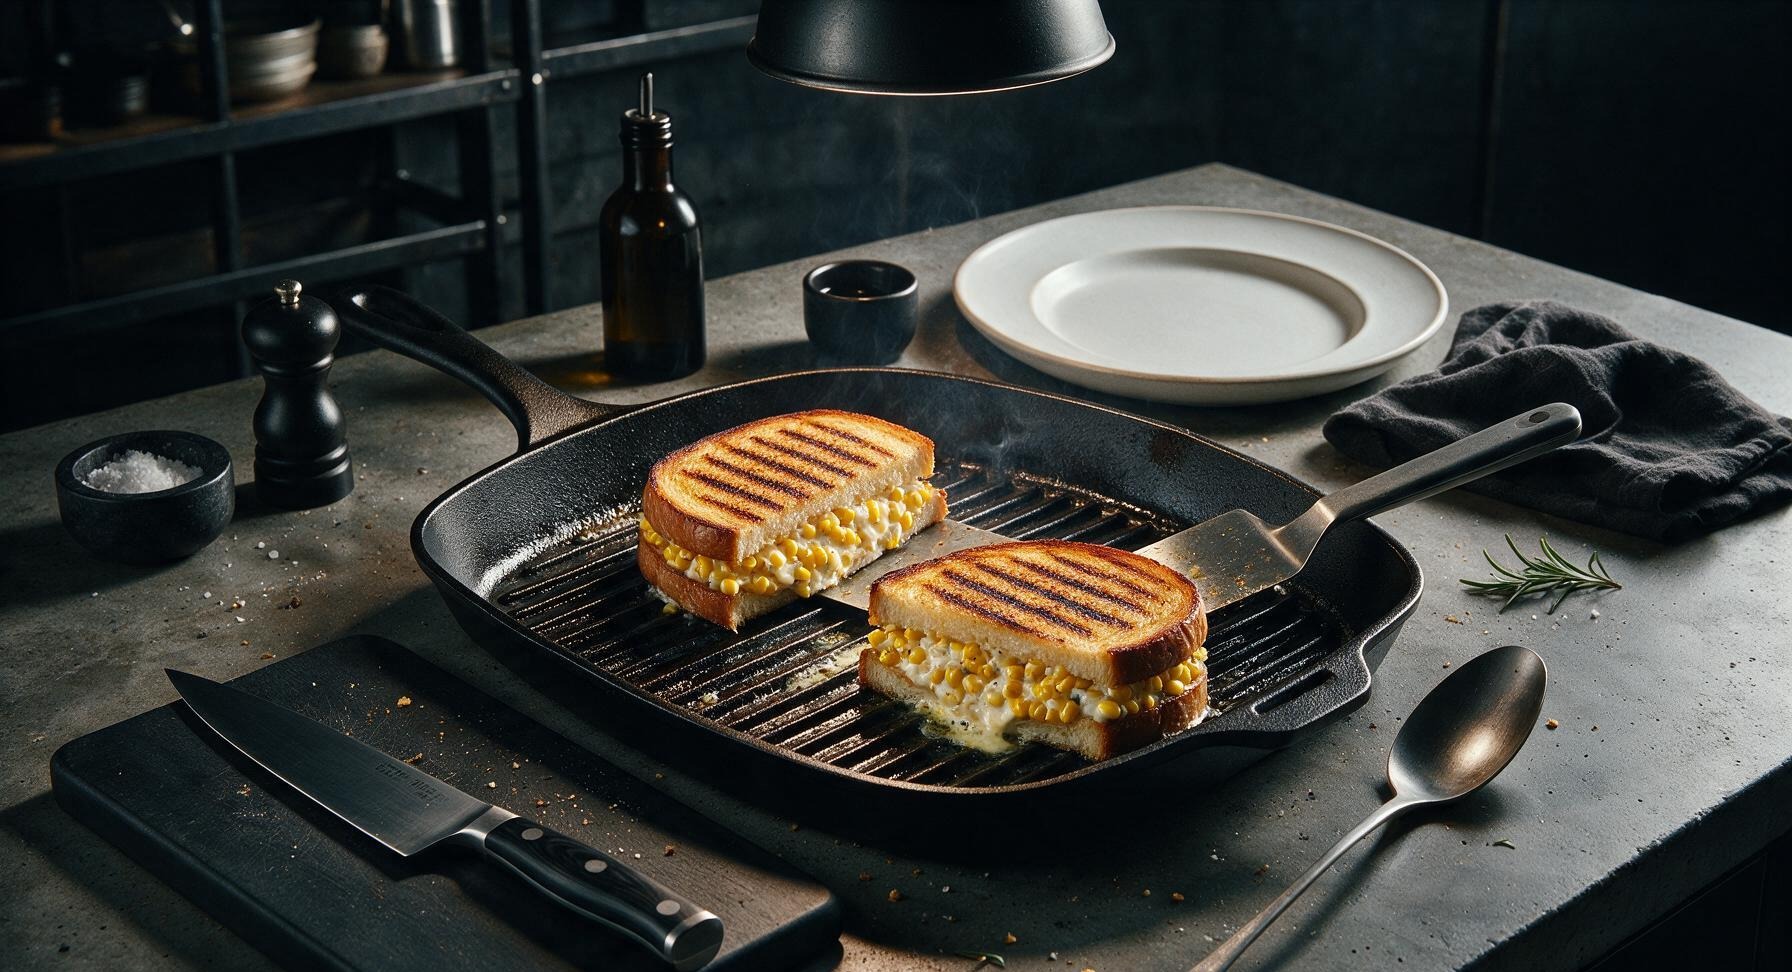
Step 5
step5:Grill First Sandwich Side
Step 5
step5:Grill First Sandwich Side
6

Flip and Finish Cooking

Use the silicone spatula to carefully flip each sandwich in the pan, taking care not to tear the soft bread. Cook the second side for another 2-3 minutes, until equally golden and crisp, the mozzarella inside is fully melted and stringy, and a tiny amount of creamy filling oozes gently from the sandwich edges. Transfer the first two cooked sandwiches to the matte cream white ceramic plate at front-right, then repeat the buttering and grilling process with the remaining two sandwiches.
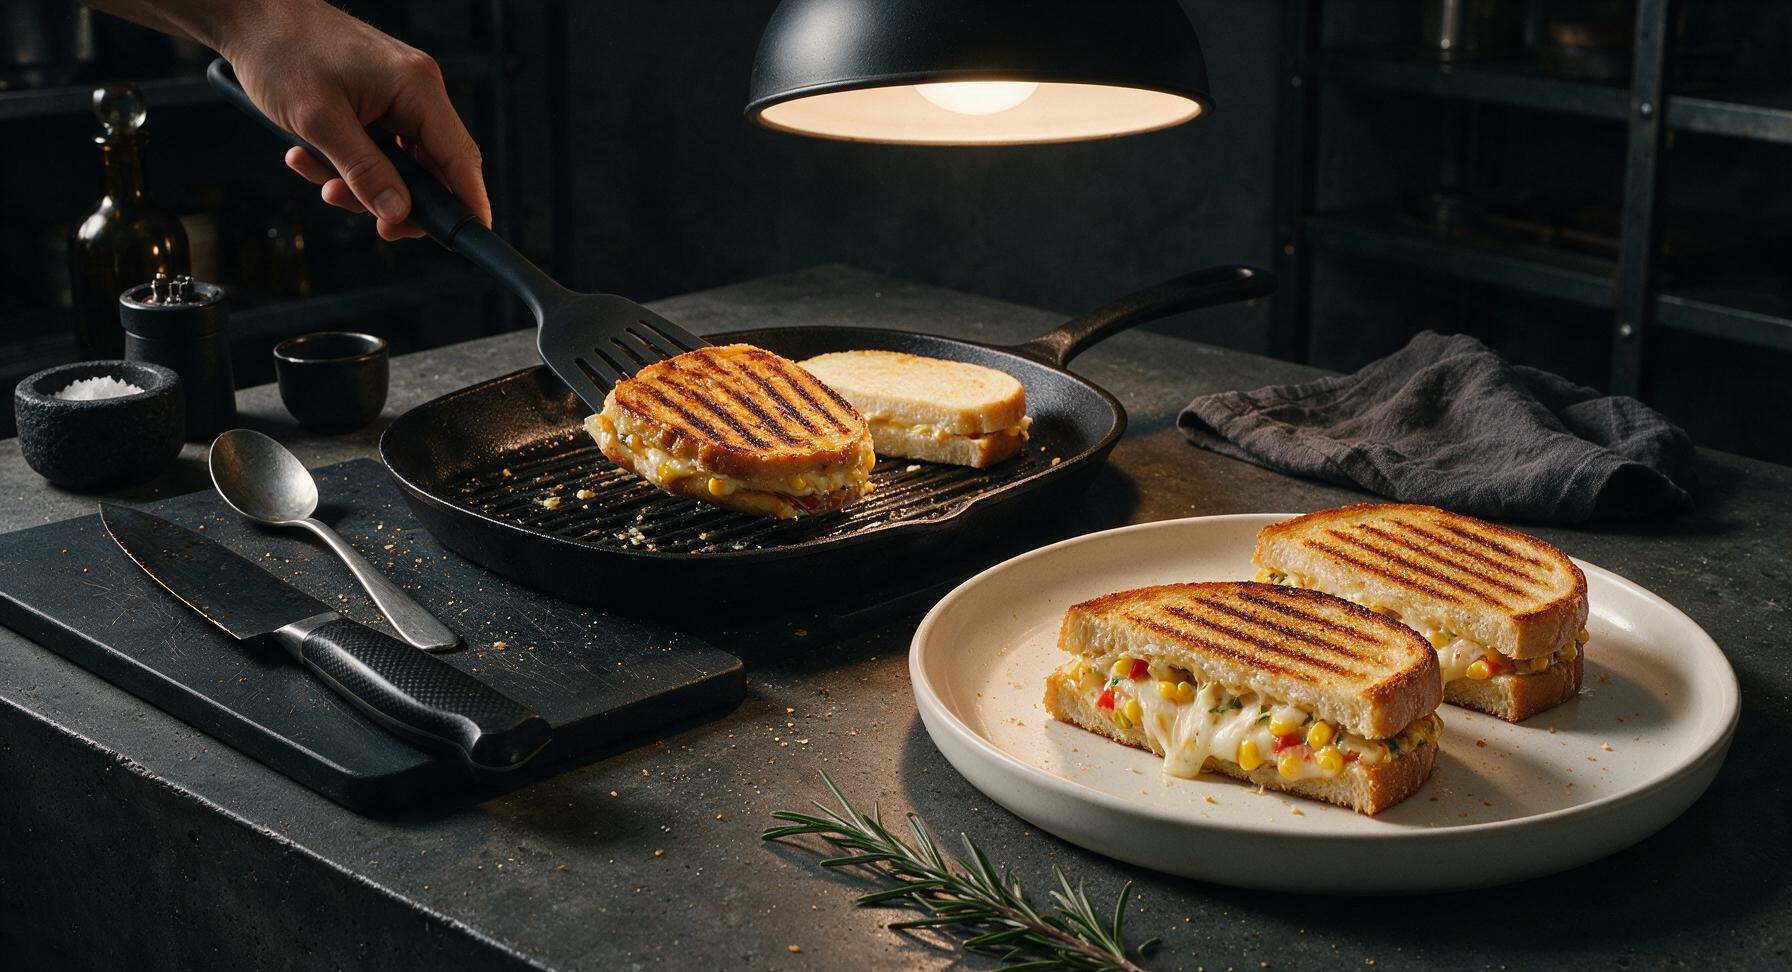
Step 6
step6:Flip and Finish Cooking
7

Cut and Plate Sandwiches

Once all four sandwiches are fully cooked, transfer them back to the beechwood cutting board. Use the stainless steel paring knife to cut each sandwich diagonally into two equal triangular halves. Arrange the triangles on the cream white ceramic plate, stacking them slightly offset, and garnish with a single small fresh basil leaf plucked from the countertop potted plant.
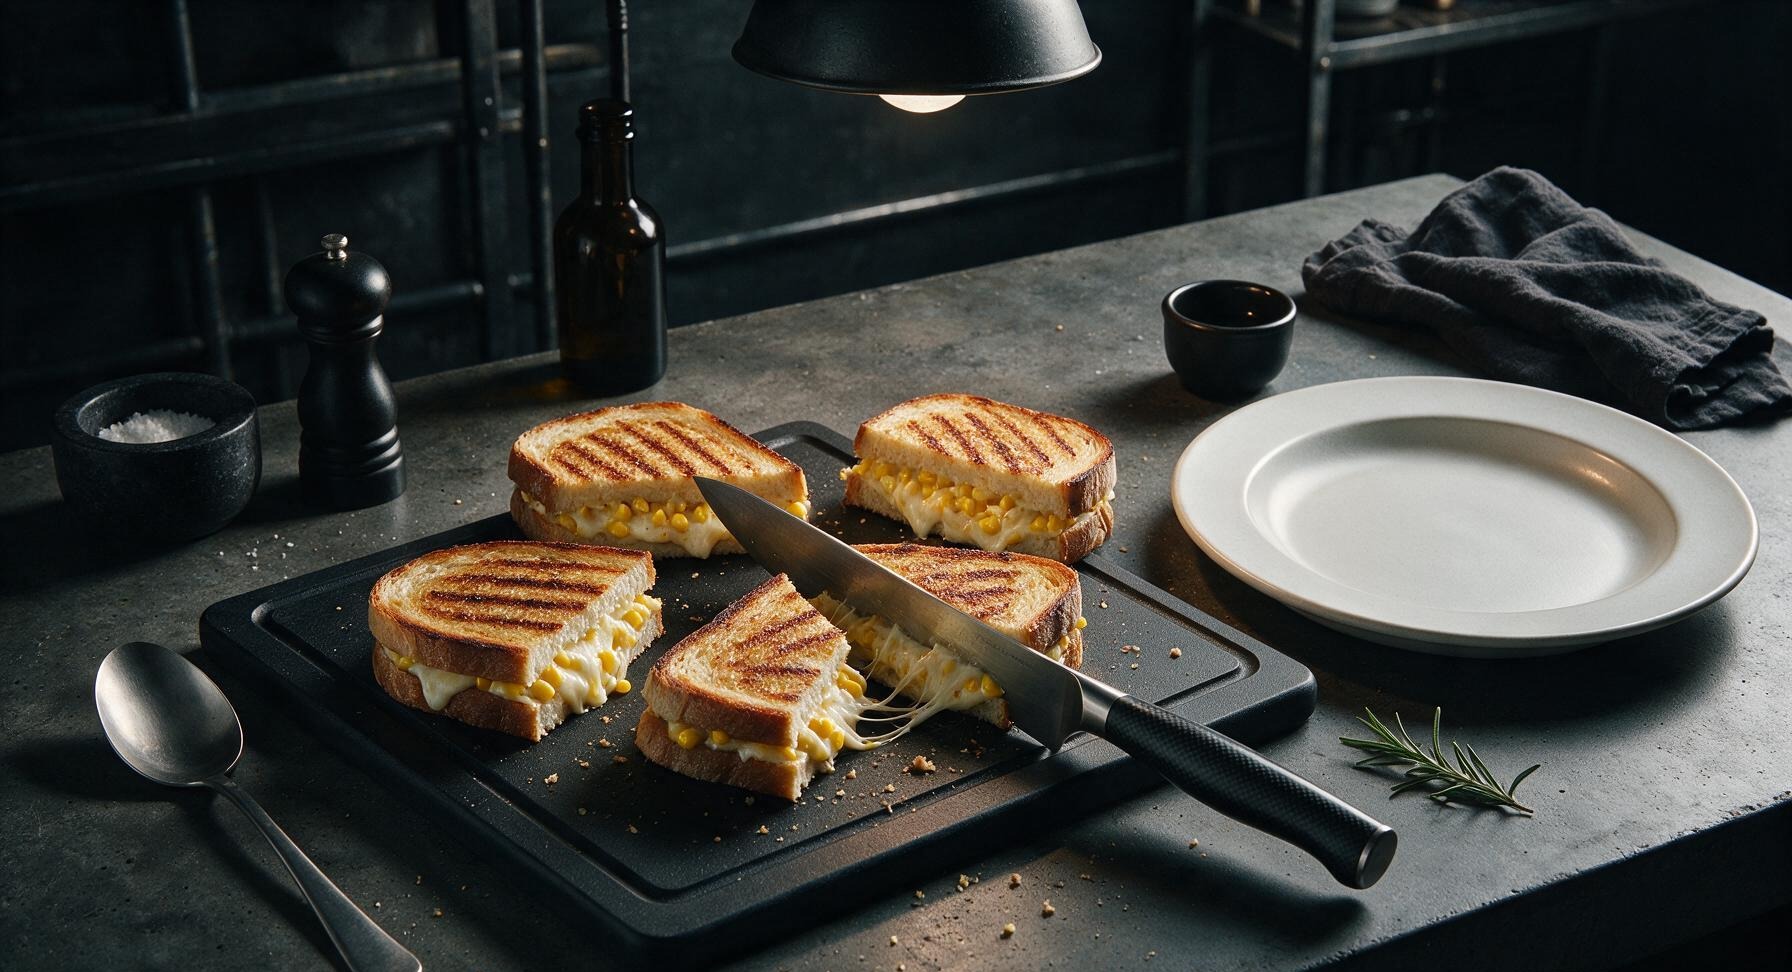
Step 7
step7:Cut and Plate Sandwiches

Tips

1.If using frozen or boiled sweet corn instead of fresh raw kernels, pat kernels completely dry with a paper towel before mixing into the filling: excess moisture will make the filling runny and turn the crisp grilled bread soggy.
2.Resist the urge to press down on sandwiches with the spatula while grilling: this squeezes out the creamy filling and melted cheese, leading to burnt messes on the pan and dry, flat sandwiches.
3.Stick to low-moisture mozzarella for this recipe instead of fresh water-packed mozzarella: fresh mozzarella releases large amounts of water as it melts, which will soak through the bread and prevent a crisp, toasty crust.


✨ You May Also Like

Snacks & Appetizers
🍜 Mexico

Crispy thick-cut tortilla chips piled high with seasoned beef, melted cheese, and bright fresh toppings for a shareable, crowd-favorite bite.

⏱️ 25 minuteSnacks & Appetizers ★ 4.8
Snacks & Appetizers
🍜 United States

Crisp, sweet-tangy spiced pickled watermelon rind is a zero-waste summer staple, perfect with grilled meats, charcuterie, or eaten straight from the jar as a bright snack.

⏱️ 30 minuteSnacks & Appetizers ★ 4.6
Snacks & Appetizers
🍜 Germany

A tangy, jellied pork cold cut slow-simmered with aromatic spices, set into a firm sliceable loaf, served cold with mustard and crusty bread.

⏱️ 3 hours 4Snacks & Appetizers ★ 4.8
Snacks & Appetizers
🍜 United States

Creamy, tangy, perfectly seasoned hard-boiled egg halves filled with a rich, smooth yolk mixture, a timeless, crowd-pleasing bite for holiday and casual gatherings alike.

⏱️ 40 minuteSnacks & Appetizers ★ 4.8
Snacks & Appetizers
🍜 Russia

Silky, dill-forward no-smoke cured salmon, a Scandinavian classic with bright salty-sweet flavor, ideal for holiday starter platters and open-faced rye sandwiches.

⏱️ 48 hours Snacks & Appetizers ★ 4.7
Snacks & Appetizers
🍜 Japan

Crisp golden bottoms, juicy savory pork and vegetable filling, and tangy dipping sauce make these pan-fried gyoza a beloved shareable bite.

⏱️ 45 minuteSnacks & Appetizers ★ 4.8

sweet corn sandwich:Frequently Asked Questions

1.Can I use frozen or canned corn instead of fresh sweet corn for this sandwich? ▾
Fresh sweet corn delivers the brightest, juiciest summer flavor, but frozen corn works great as an off-season swap—just thaw it fully and pat kernels completely dry with paper towels so excess moisture doesn’t make your sandwich soggy. Skip canned corn if possible, as it has a flat, briny profile, but if you use it, rinse, drain 10 minutes, and pat extra dry before mixing into the filling.
2.Why do you recommend low-moisture mozzarella instead of fresh mozzarella for the filling? ▾
Low-moisture mozzarella melts smoothly into that perfect stringy, cheesy pull without leaking excess water into the filling, which would turn your toasty bread soggy. Fresh mozz has very high water content, even when thoroughly drained, so it will make your corn filling runny and leave your sandwich bread limp instead of crisp and golden.
3.Do I need to grill the corn before mixing it into the sandwich filling? ▾
For the best depth of smoky, sweet flavor, yes—toss fresh corn kernels on a hot grill pan or outdoor grill for 3-4 minutes until lightly charred, which amplifies their natural sweetness. If you’re short on time, you can skip this step, but a quick char in a dry cast iron skillet works as an easy alternative if you don’t have a full grill setup.
4.Can I use whole wheat or sourdough bread instead of thick-cut soft white sandwich bread? ▾
Thick-cut soft white bread has a mild, pillowy texture that toasts up crisp outside and tender inside to hold the creamy filling, but you can absolutely swap in other breads. If using sourdough, pick a mild, not overly tangy loaf cut into ½-inch slices so it doesn’t overpower the corn or tear under the filling weight. Sturdy whole wheat works too, just avoid thin, flimsy slices.
5.Why does the recipe call for full-fat mayonnaise instead of low-fat or light mayo? ▾
Full-fat mayonnaise creates that rich, creamy base for the corn filling that doesn’t separate or turn watery when heated on the grill. Low-fat and light mayos are cut with water and stabilizers that can make your filling runny, leave an odd aftertaste, and won’t deliver that luxe, velvety texture that pairs so perfectly with sweet corn and melted cheese.
6.How do I keep my sandwich from getting soggy while grilling? ▾
The top trick to avoid soggy sandwiches is to remove as much excess moisture from your filling as possible: pat grilled corn dry, use low-moisture mozz, and don’t overdo it with the mayo. When cooking, spread softened unsalted butter all the way to bread edges, grill over medium heat for even toasting, and avoid overstuffing the sandwich so filling doesn’t seep out.
7.The recipe mentions a hint of warm spice—what spice works best here? ▾
A ¼ teaspoon of smoked paprika is my go-to warm spice for this filling: it adds subtle, earthy smokiness that complements charred corn and melted cheese without overpowering the sweet corn or fresh basil. If you don’t have smoked paprika, a tiny pinch of cayenne for gentle heat, or a light dusting of ground cumin works beautifully as a swap.
8.Can I make the corn filling ahead of time for meal prep? ▾
Absolutely! Mix the grilled corn, shredded mozz, mayo, chopped basil, and spice together, then store it in an airtight container in the fridge for up to 3 days. Wait to assemble and grill the sandwiches until right before you eat them, though—assembling too far in advance lets filling moisture soak into the bread, leading to limp, soggy slices instead of crisp toast.
9.Do I need a panini press to make these sandwiches, or can I cook them on the stovetop? ▾
You don’t need any special equipment! A panini press works great for even, quick toasting, but a regular cast iron skillet or nonstick pan on the stovetop works just as well. Cook over medium heat, press the top of the sandwich gently with a spatula as it cooks, and flip once, until both sides are golden crisp and cheese is melted, about 3-4 minutes per side.
10.How much fresh basil should I add, and can I use dried basil instead? ▾
Use 2 tablespoons of finely chopped fresh basil for the bright, herby kick that cuts through the rich cheese and mayo. Dried basil doesn’t have the same bright, fresh flavor, so it’s not ideal, but if that’s all you have, use 2 teaspoons of dried basil, and add it to the filling 10 minutes before assembling so it has time to rehydrate and release its flavor.
11.What extra add-ins work well with this base sandwich recipe? ▾
This creamy corn base is super versatile! Stir in 2 tablespoons of cooked, crumbled bacon for salty smokiness, a handful of patted-dry diced pickled jalapeños for bright tang, or a sprinkle of crumbled feta for extra salty depth. Just keep add-ins dry, and don’t add so much that the sweet, fresh corn stops being the star of the sandwich.
12.Why use unsalted butter instead of salted butter to toast the bread? ▾
Unsalted butter lets you control the exact salt level of your sandwich, so you don’t end up with an overly salty bite from the widely varying salt content in commercial salted butter. If all you have is salted butter, that works fine—just skip adding any extra salt to the corn filling, and taste as you go to keep flavors balanced so the sweet corn can shine.
13.How do I get that perfect, stringy cheese pull when I bite into the sandwich? ▾
Shred your low-moisture mozzarella fresh off the block instead of using pre-shredded cheese—pre-shredded mozz is coated in anti-caking agents that keep it from melting smoothly into that iconic stringy pull. Toss the shredded cheese evenly with warm grilled corn before adding the filling, so the cheese melts consistently all the way through instead of clumping in one spot.
14.Can I adjust this recipe to make it vegan? ▾
You can easily tweak this recipe to be vegan! Swap the full-fat mayo for a thick, vegan full-fat mayo, use a low-moisture vegan mozzarella that melts well, and use plant-based unsalted butter to toast the bread. Stick to the same ratios, and make sure your vegan cheese isn’t overly watery, so you still get crisp toast and a creamy, non-soggy filling.
15.How long do I cook the sandwiches, and how do I know when they’re done? ▾
Cook the sandwiches over medium heat for 3 to 4 minutes per side, whether you’re using a stovetop pan or panini press. They’re done when the bread is deep golden brown and crisp all the way to the edges, the cheese is fully melted and stringy, and the corn filling is warmed all the way through. If bread browns too fast, turn heat down slightly to avoid burning.
16.Can I freeze assembled sandwiches for quick future meals? ▾
I don’t recommend freezing fully assembled grilled sandwiches, as the creamy mayo and cheese filling will separate when thawed, and the bread will turn soggy and mushy instead of crisp. You can freeze the pre-mixed corn filling (without fresh basil) for up to 2 months, though—thaw it in the fridge, stir in basil, then assemble and grill fresh sandwiches as needed.
17.What sides pair best with this creamy grilled corn sandwich? ▾
This rich, sweet sandwich pairs perfectly with light, bright sides to cut through the creaminess. Try it with a simple green salad tossed in lemon vinaigrette, crisp dill pickle spears, cold classic potato salad, or chilled summer gazpacho. For a casual cookout vibe, serve it with salt and vinegar potato chips for a satisfying, crunchy contrast to the creamy filling.

Comments (3)

2 hours ago

OMG this was such a game changer for our quick weekday lunches! I threw this together in literally 10 minutes flat, and my two picky kids devoured their sandwiches before I even sat down to eat. The creamy grilled corn filling is so sweet and smoky, I added a tiny pinch of smoked paprika like I do with my street corn and it was chef’s kiss. Will absolutely be making these for our next neighborhood potluck!

30 minutes ago

Wait the paprika addition sounds genius! Did you use regular or smoked? I’ve been making these for meal prep this week and they hold up so good even after a day in the fridge, I was worried the creamy filling would make the bread soggy.

5 minutes ago

So glad your family loved the recipe, Lindsey! Adding smoked paprika is such a tasty, easy upgrade. Jake, great question—if you’re meal prepping these, store the corn filling separately from the bread and assemble right before eating to keep everything crisp and sogginess-free!

yesterday

SO good! I made these on my George Foreman grill last night for a quick dinner after my spin class, and I cannot believe how much flavor is packed into such an easy recipe. I swapped the regular mayo for vegan mayo and it still came out perfectly creamy, didn’t miss the dairy at all. 10/10, will be in my regular rotation from now on.

3 days ago

Took these to a family cookout over the weekend and everyone was asking for the recipe! I used fresh sweet corn from the farmers market, grilled it for a couple minutes right on the grates before cutting it off the cob, and mixed in a little cream cheese with the creamy base like I do for my corn dip. It was so easy to throw together even with all the cookout chaos, though I wish I made a double batch—they were gone in 10 minutes!

2 days ago

Love that you used fresh farmers market corn for these, that’s the best way to get that super sweet, bright flavor! Making a double batch is always a smart call for cookouts—these always disappear fast.



