
Sweet Potato Biscuits
intro
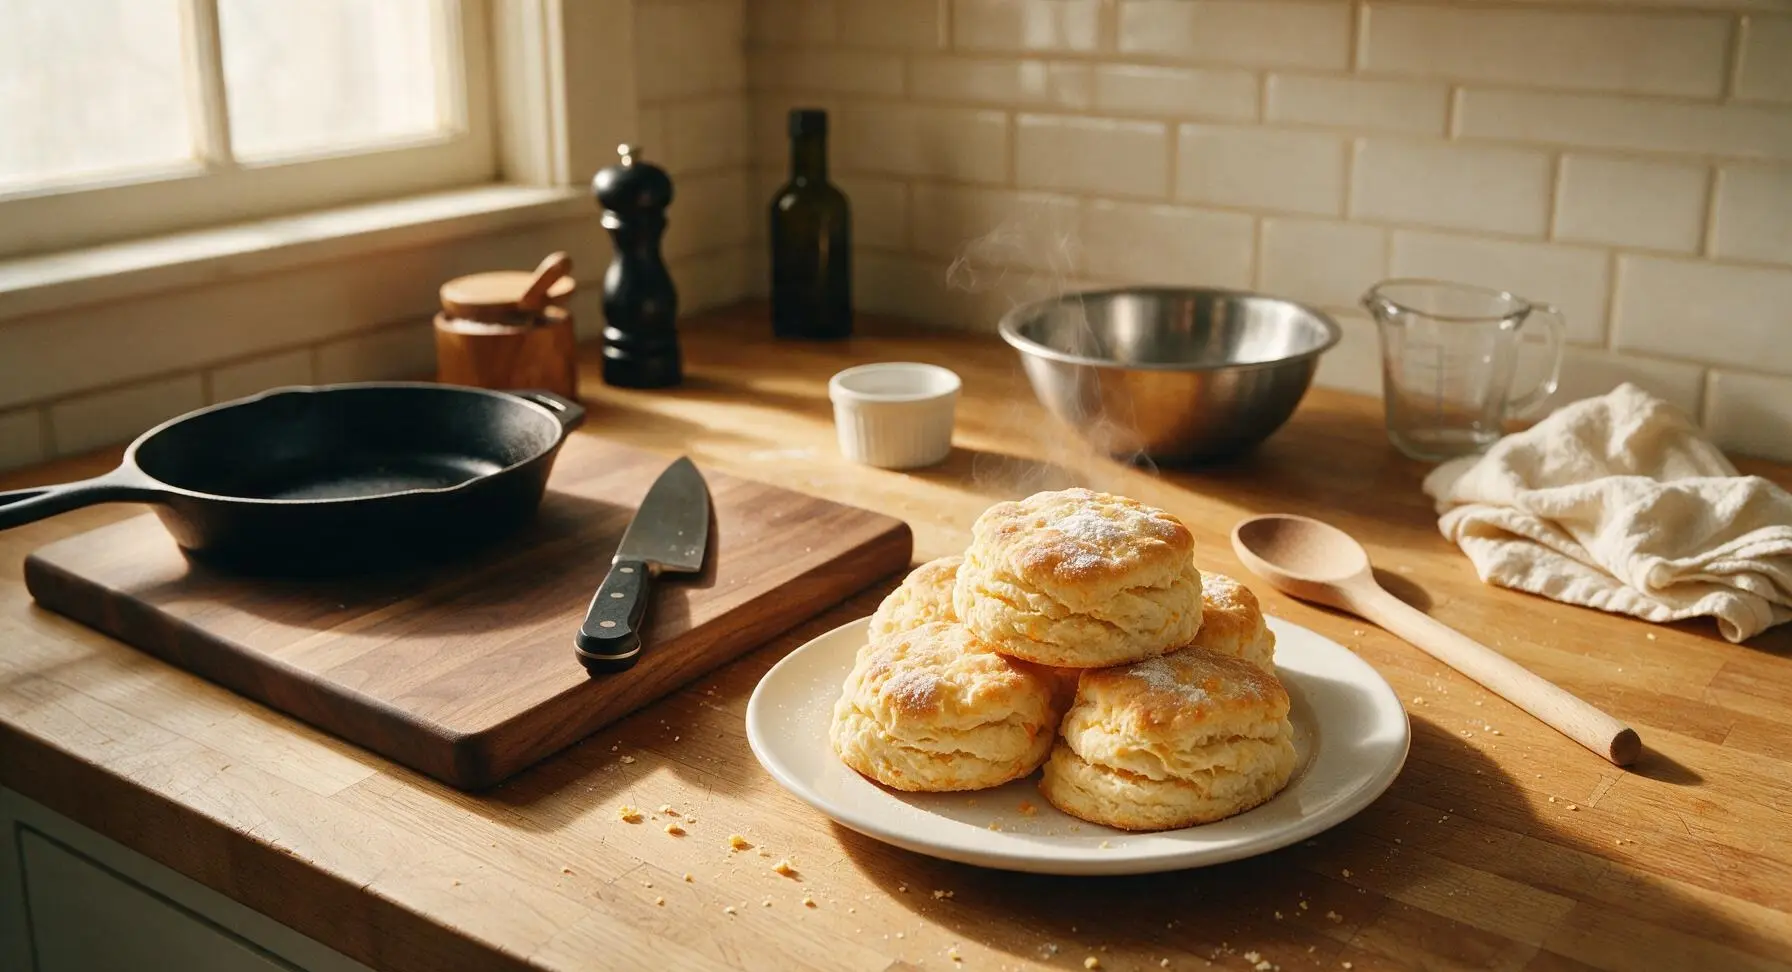
Flaky, tender, subtly sweet Southern-style sweet potato biscuits with a buttery golden crust, perfect for slathering with honey butter alongside Thanksgiving dinner.
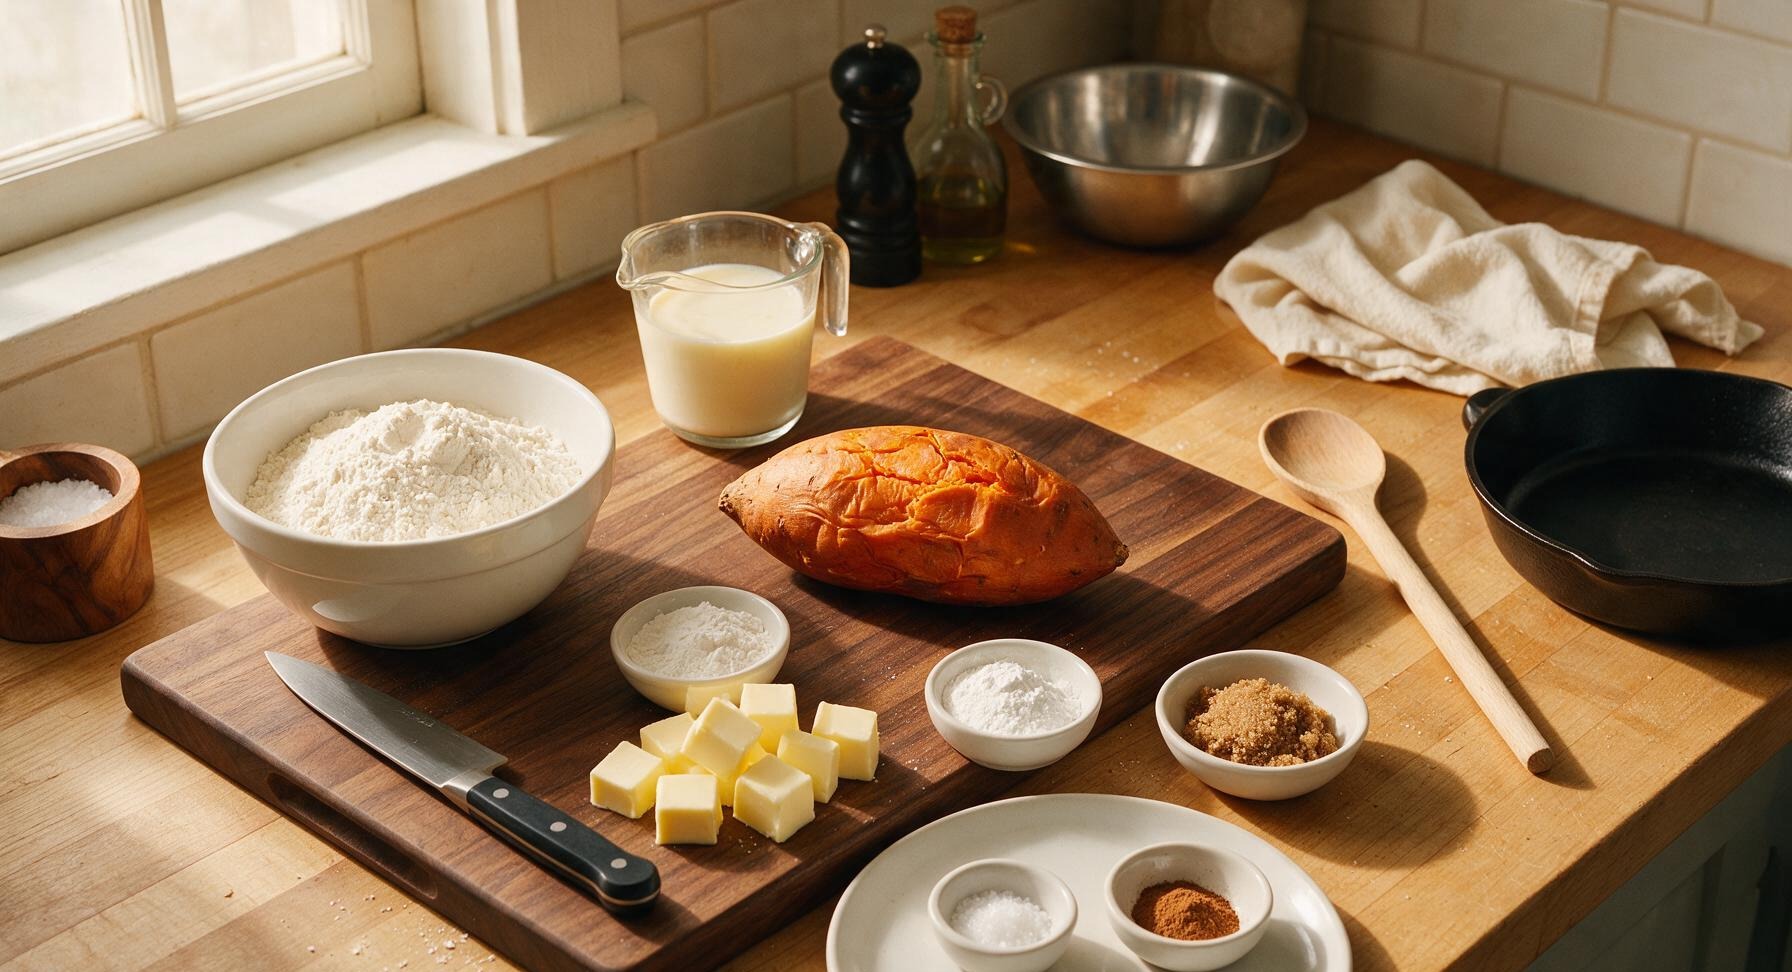
Ingredients
Steps
Mash Roasted Sweet Potato
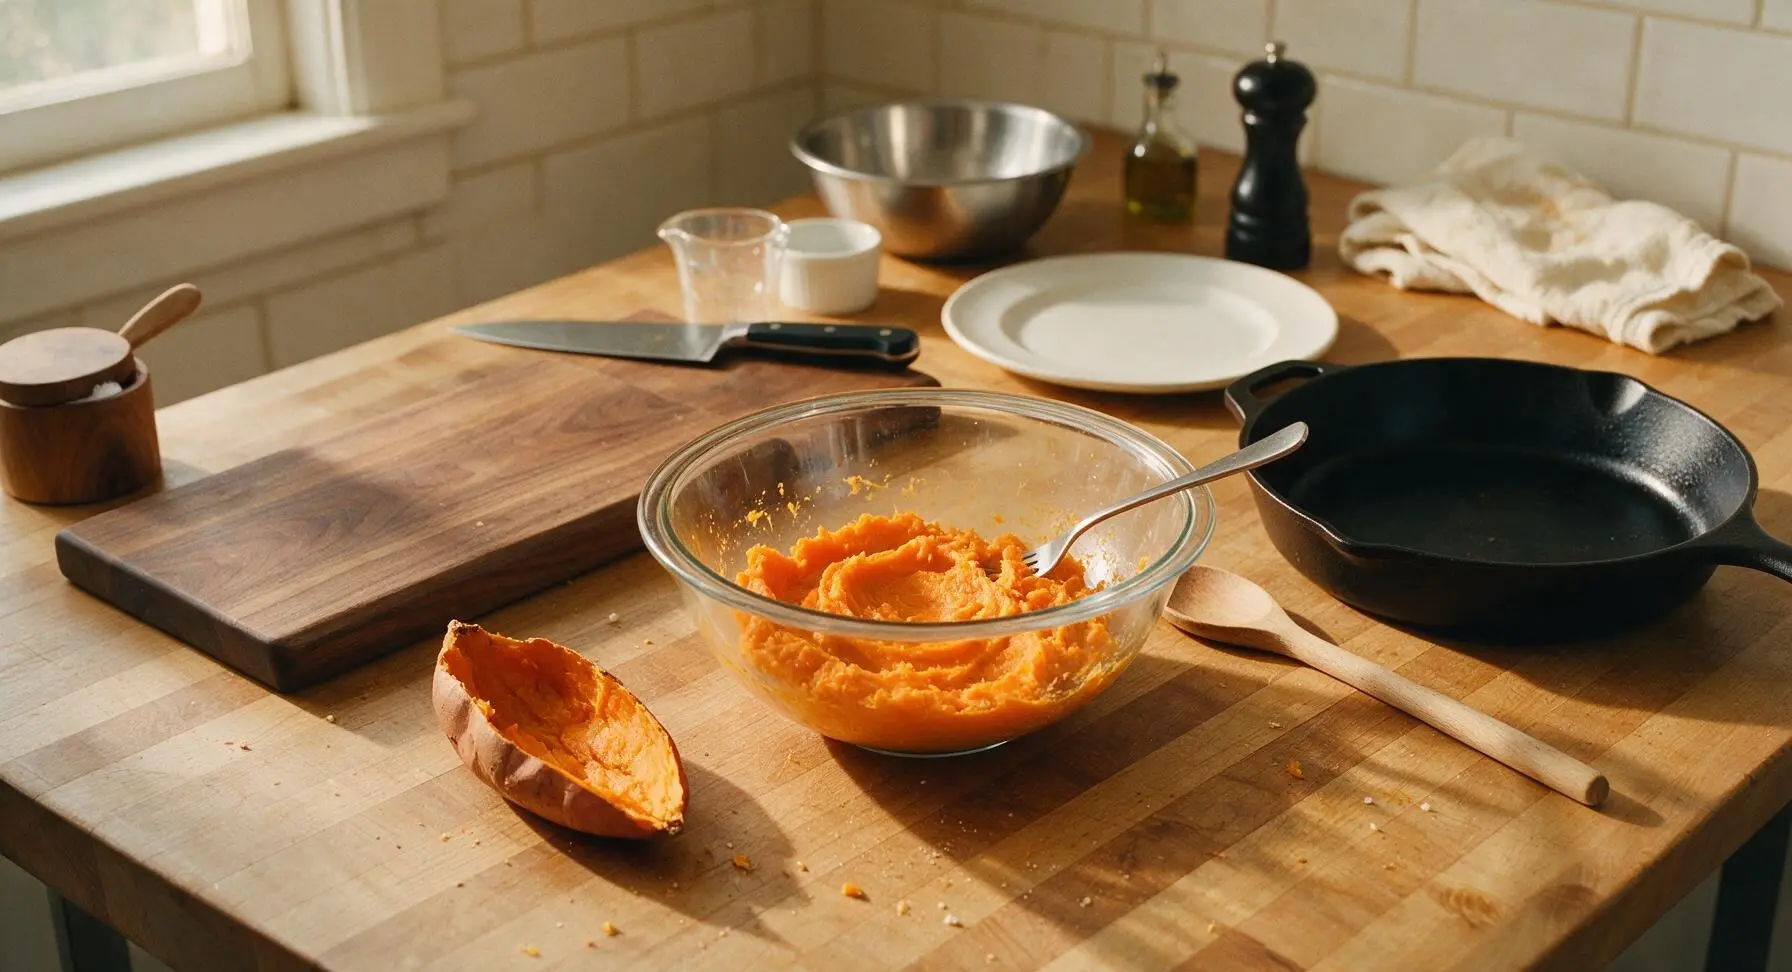
Scoop the soft flesh from the fully cooled roasted sweet potato into the large glass mixing bowl, discarding the tough outer skin. Mash thoroughly with a fork until completely smooth, with no stringy lumps remaining. Measure out exactly 1 cup (250g) of the mashed sweet potato, setting aside any excess for another use. Allow the measured mash to cool to room temperature (21C/70F) before proceeding to avoid melting cold butter later.
Whisk Dry Ingredients
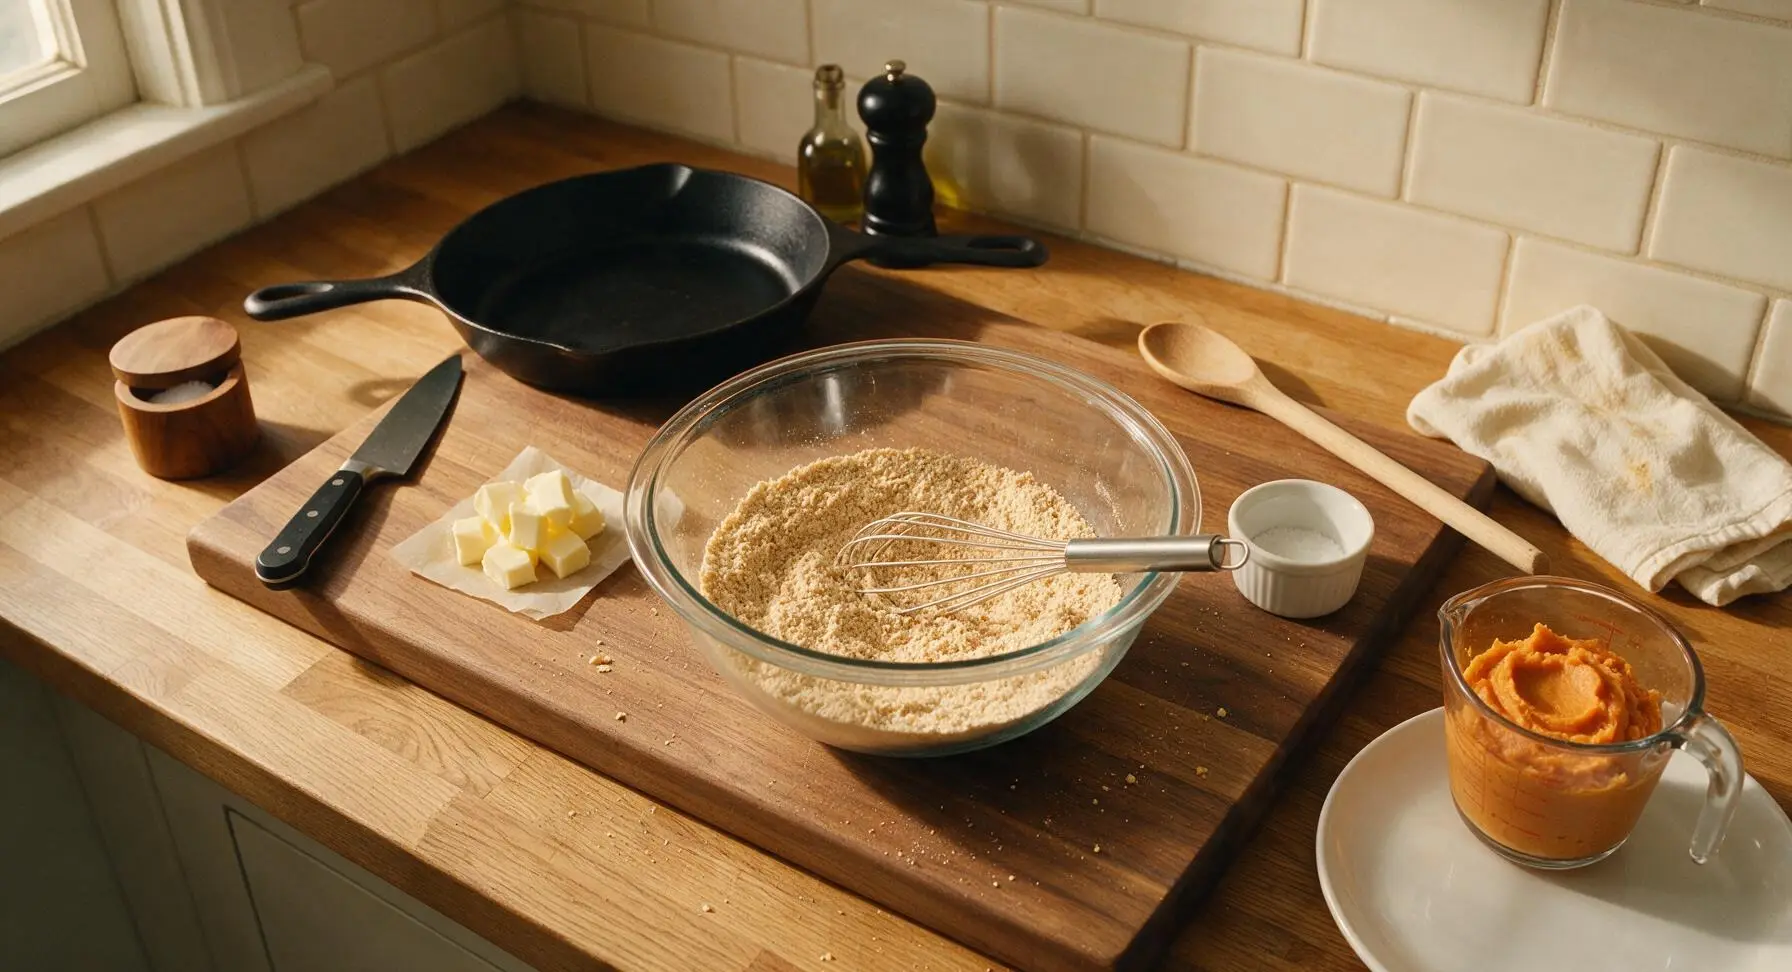
Transfer the measured mashed sweet potato to a small temporary dish, then add all-purpose flour, baking powder, light brown sugar, fine sea salt, and ground cinnamon to the now-empty large glass mixing bowl. Whisk vigorously with the stainless steel wire whisk for 30 seconds until fully combined, with no clumps of baking powder or cinnamon remaining, and the mixture is a uniform pale tan color.
Grate Cold Butter
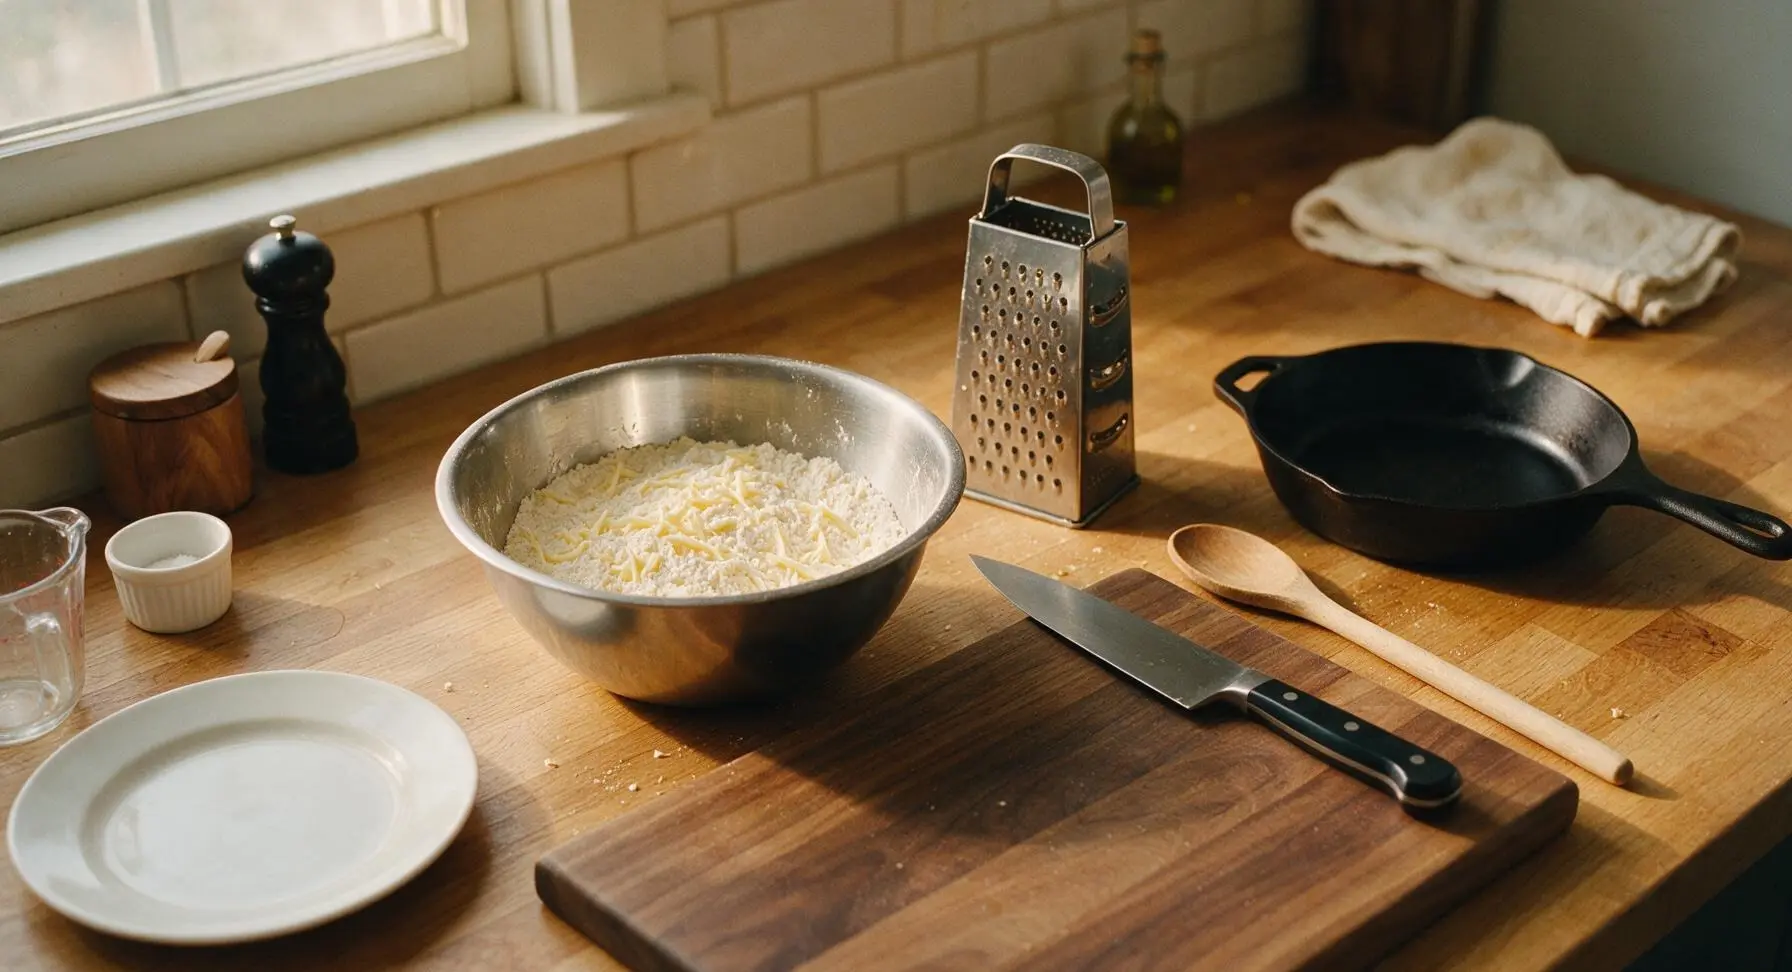
Take 6 tbsp of the very cold unsalted butter (kept refrigerated until this step to prevent softening) and grate it on the large holes of the box grater directly into the bowl of dry ingredients. Toss the thin grated butter shreds gently with the flour mixture to coat every piece completely, so no butter clumps stick together. Return the bowl to the refrigerator for 5 minutes to re-chill the butter if it starts to feel soft to the touch.
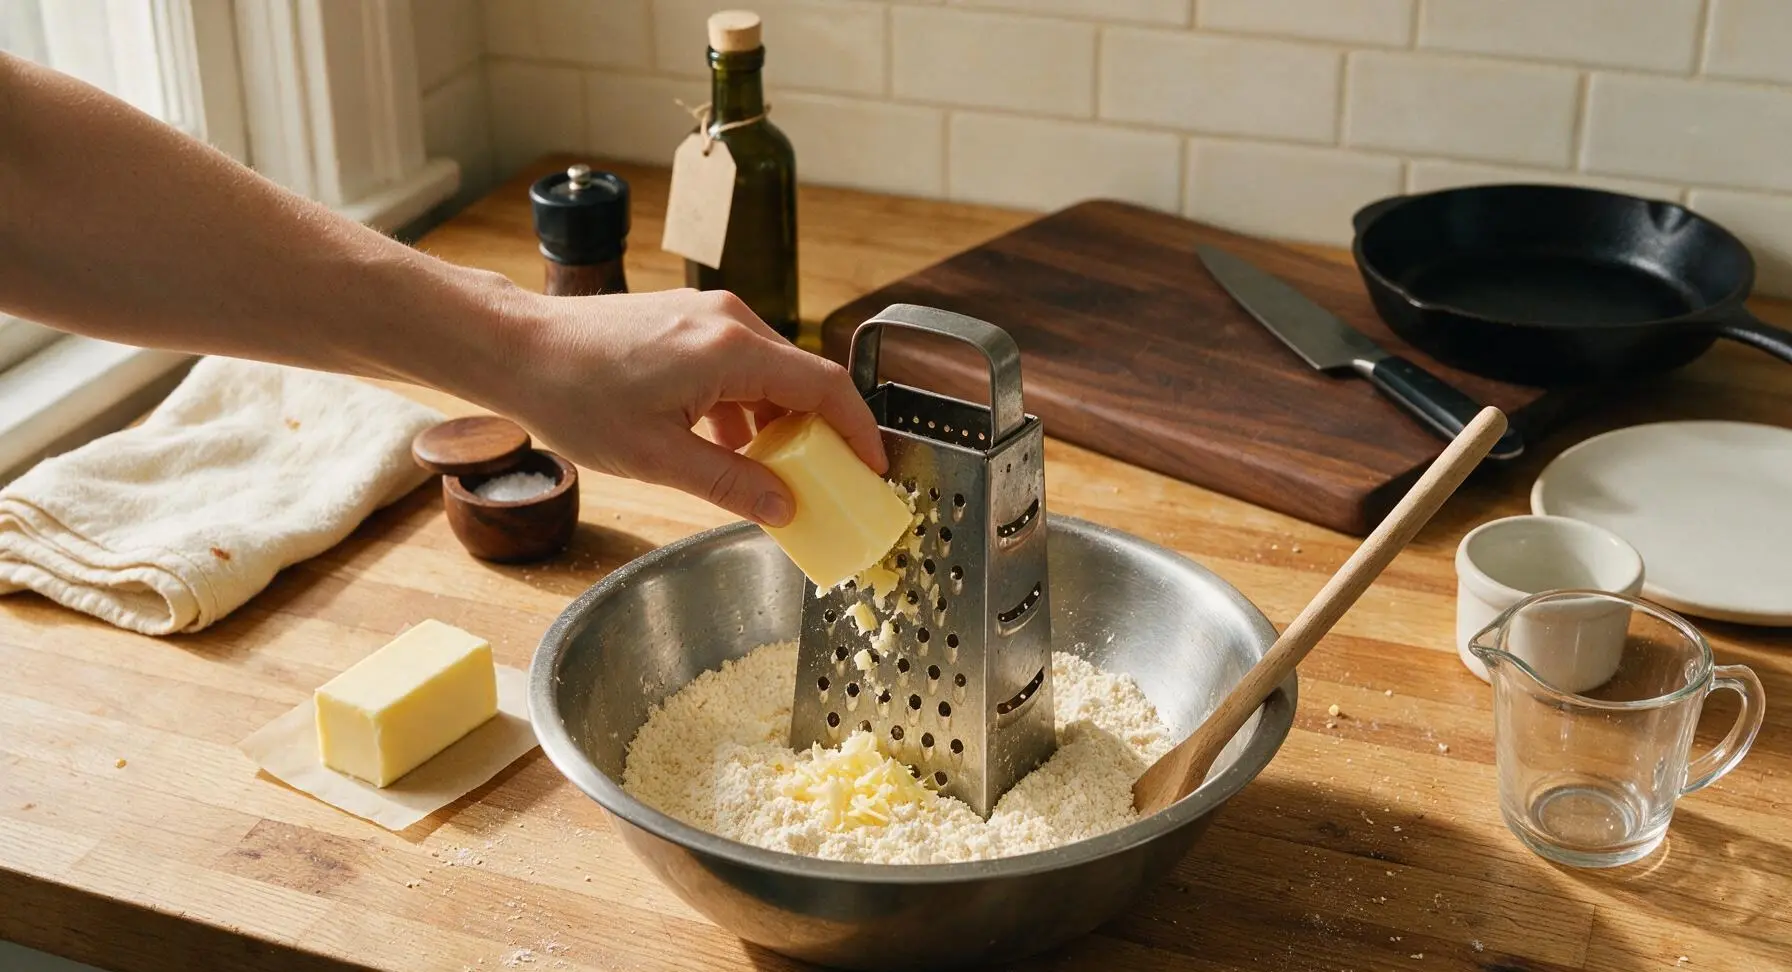
Mix Shaggy Dough
Add the cooled mashed sweet potato and cold buttermilk to the bowl with the dry ingredients and butter. Stir gently with the long-handled wooden mixing spoon just until the ingredients come together into a shaggy, sticky dough. Stop mixing as soon as no dry flour pockets remain – do not overmix, as overworking the gluten in the flour will result in tough, dense biscuits. The dough will look rough and uneven, not perfectly smooth.
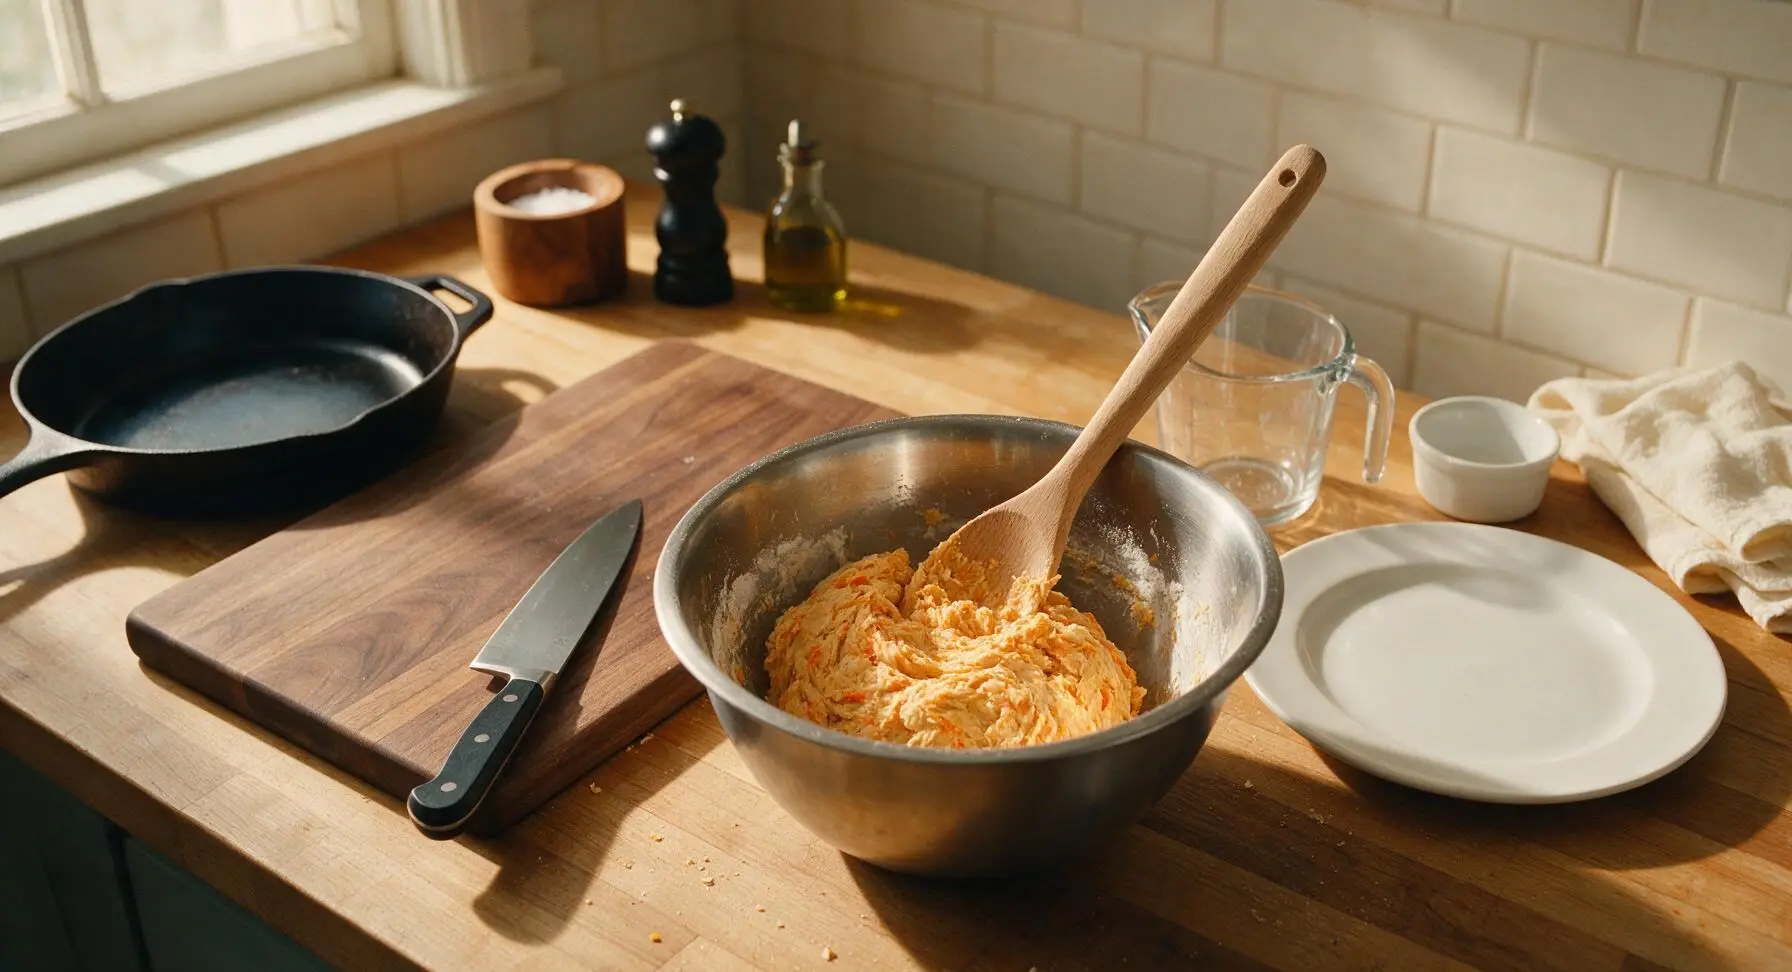
Pat and Cut Dough
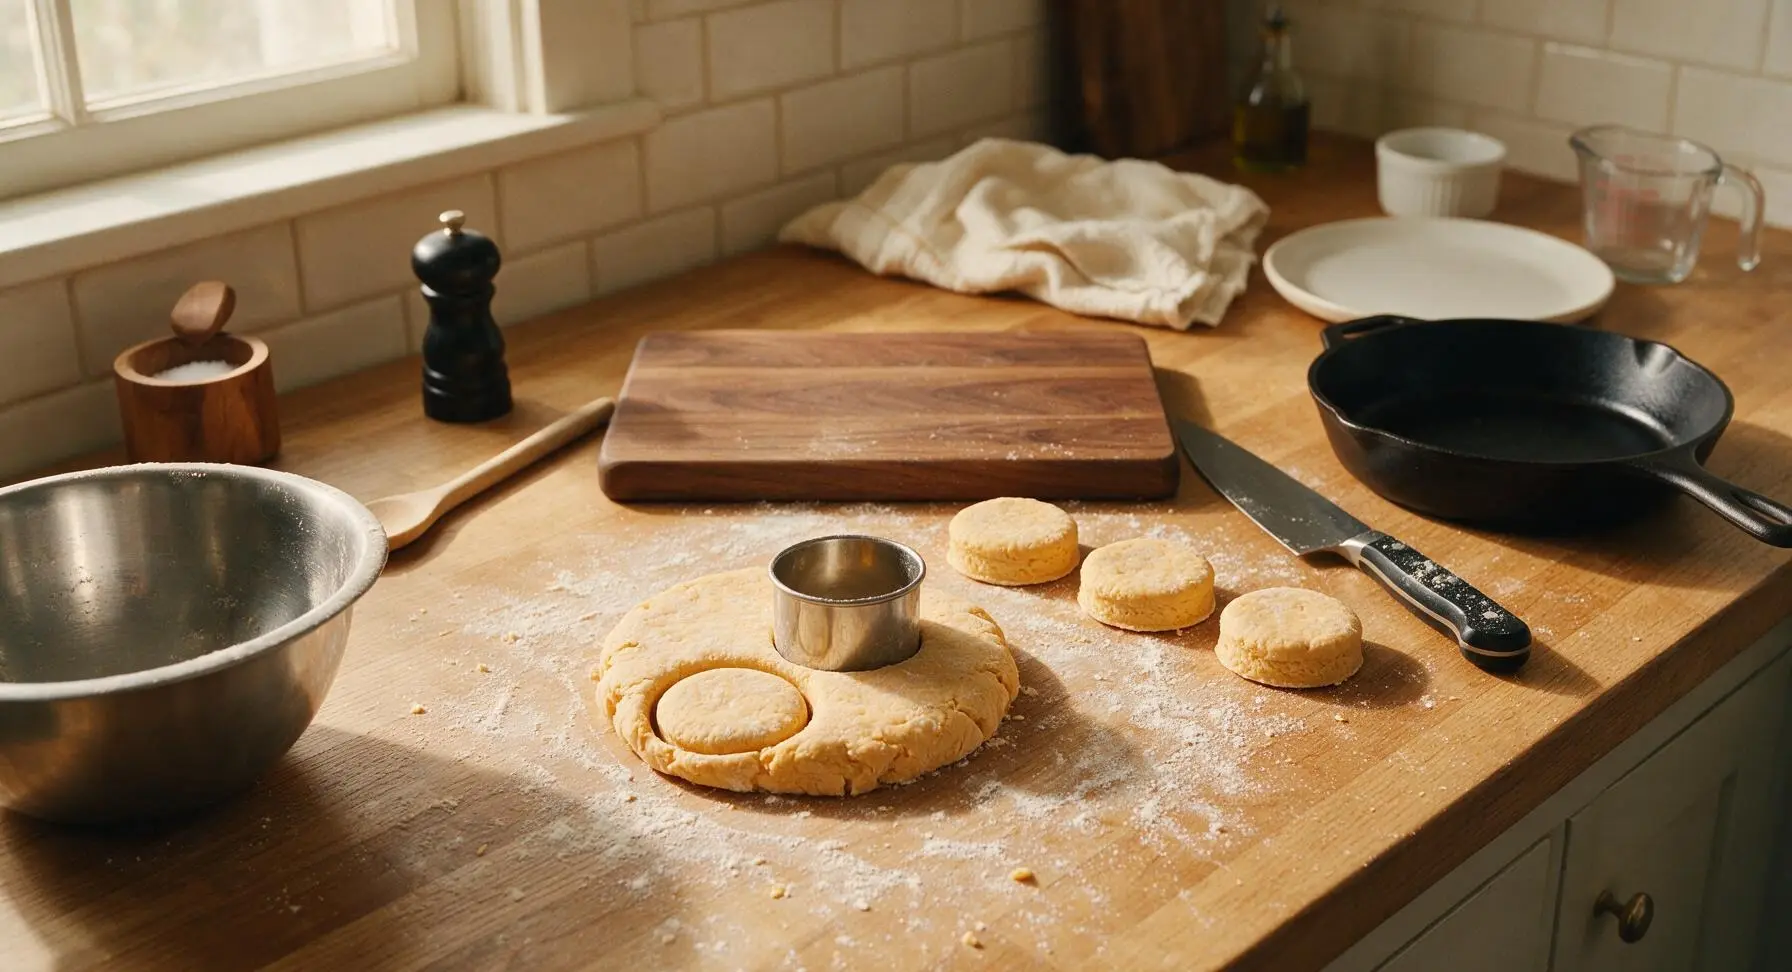
Lightly flour a small section of the central counter, then turn the shaggy dough out onto the floured surface (no rolling pin needed – rolling compacts dough layers and leads to dense biscuits). Pat the dough gently with floured hands to a uniform 2.5cm (1 inch) thickness, keeping the edges as even as possible. Dip the 6cm round stainless steel biscuit cutter in flour, then press straight down through the dough to cut biscuits – do not twist the cutter, as this seals the edges and prevents high rise. Gather dough scraps once, pat again to 2.5cm thickness, and cut remaining biscuits for a total of 8 rounds.
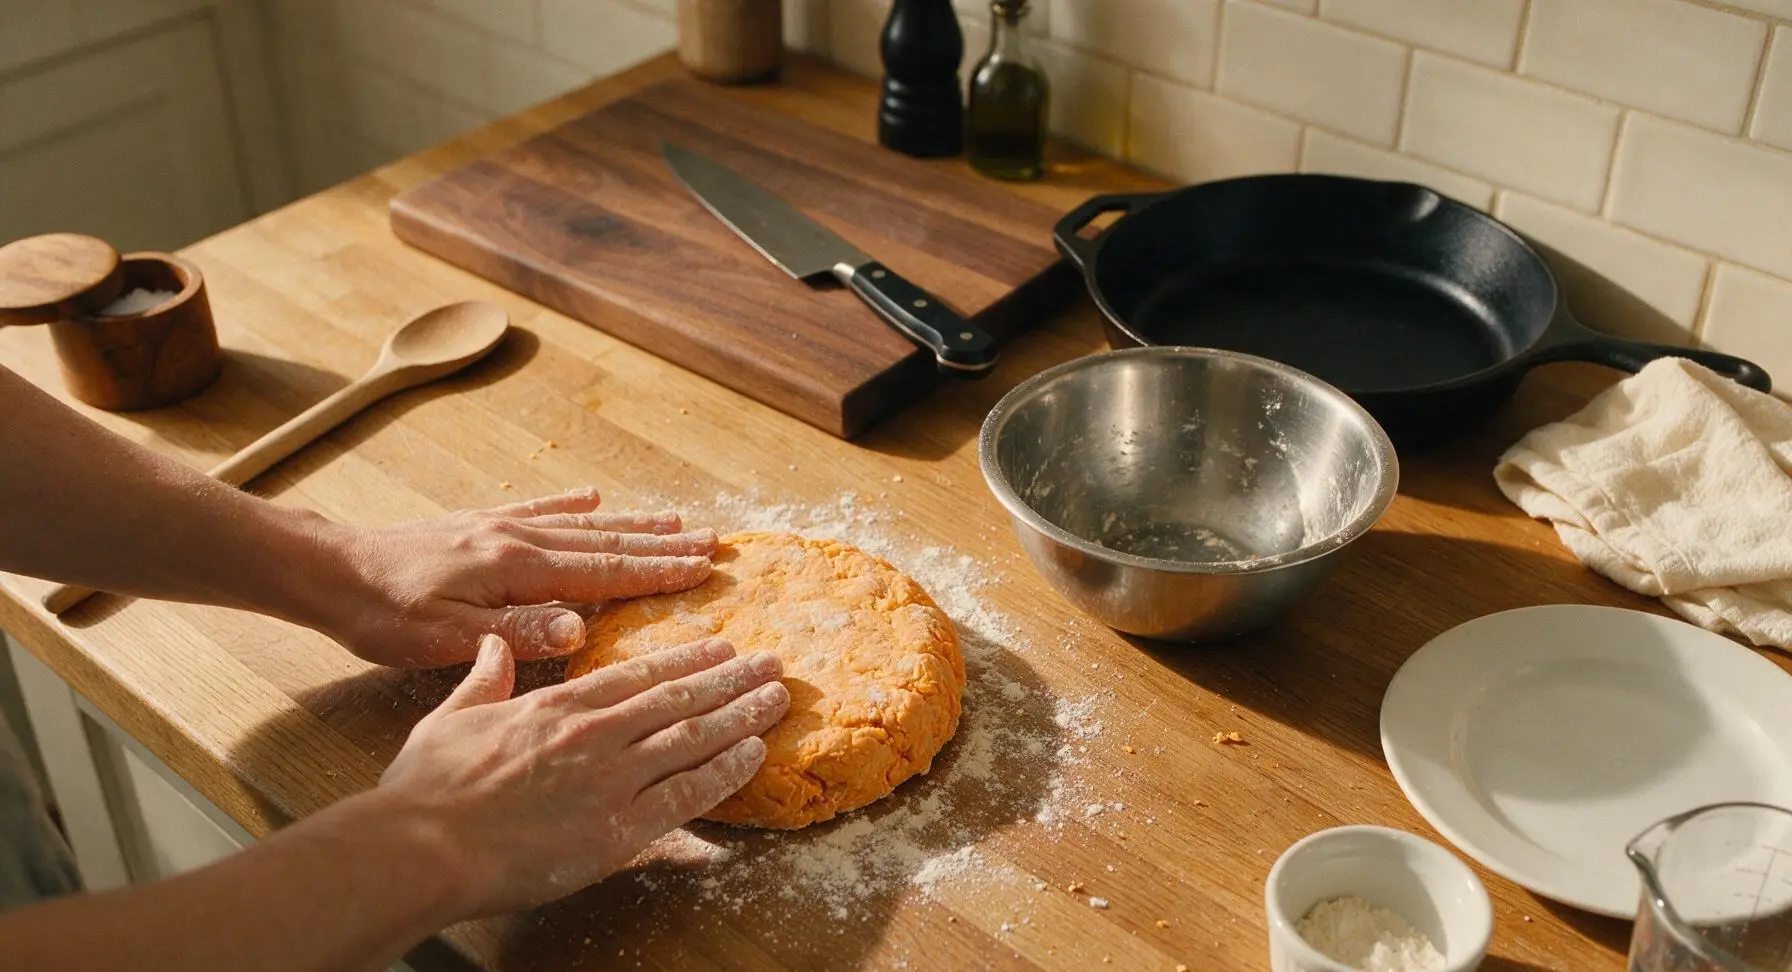
Chill Cut Biscuits
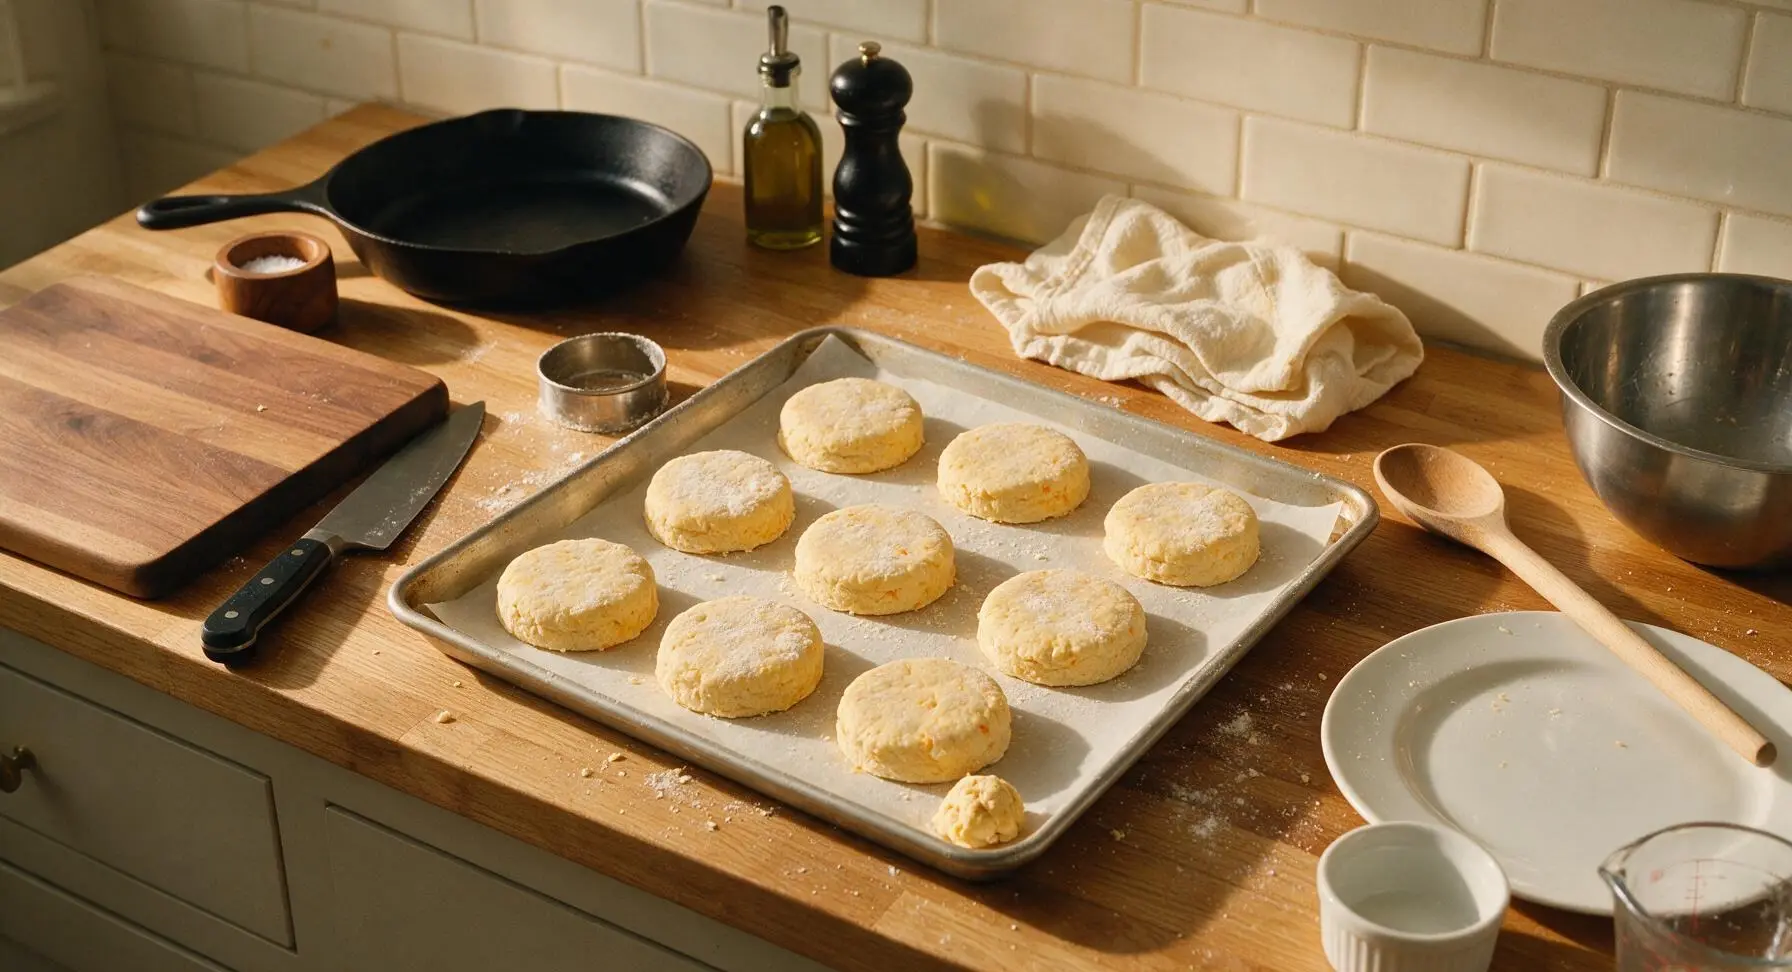
Transfer the cut biscuit rounds to the parchment-lined aluminum baking sheet, positioning them so their outer edges touch slightly (this helps them rise upward instead of spreading outward as they bake). Place the baking sheet in the refrigerator for 10 minutes to re-chill the dough while preheating the oven to 220C/425F.
Bake Until Golden
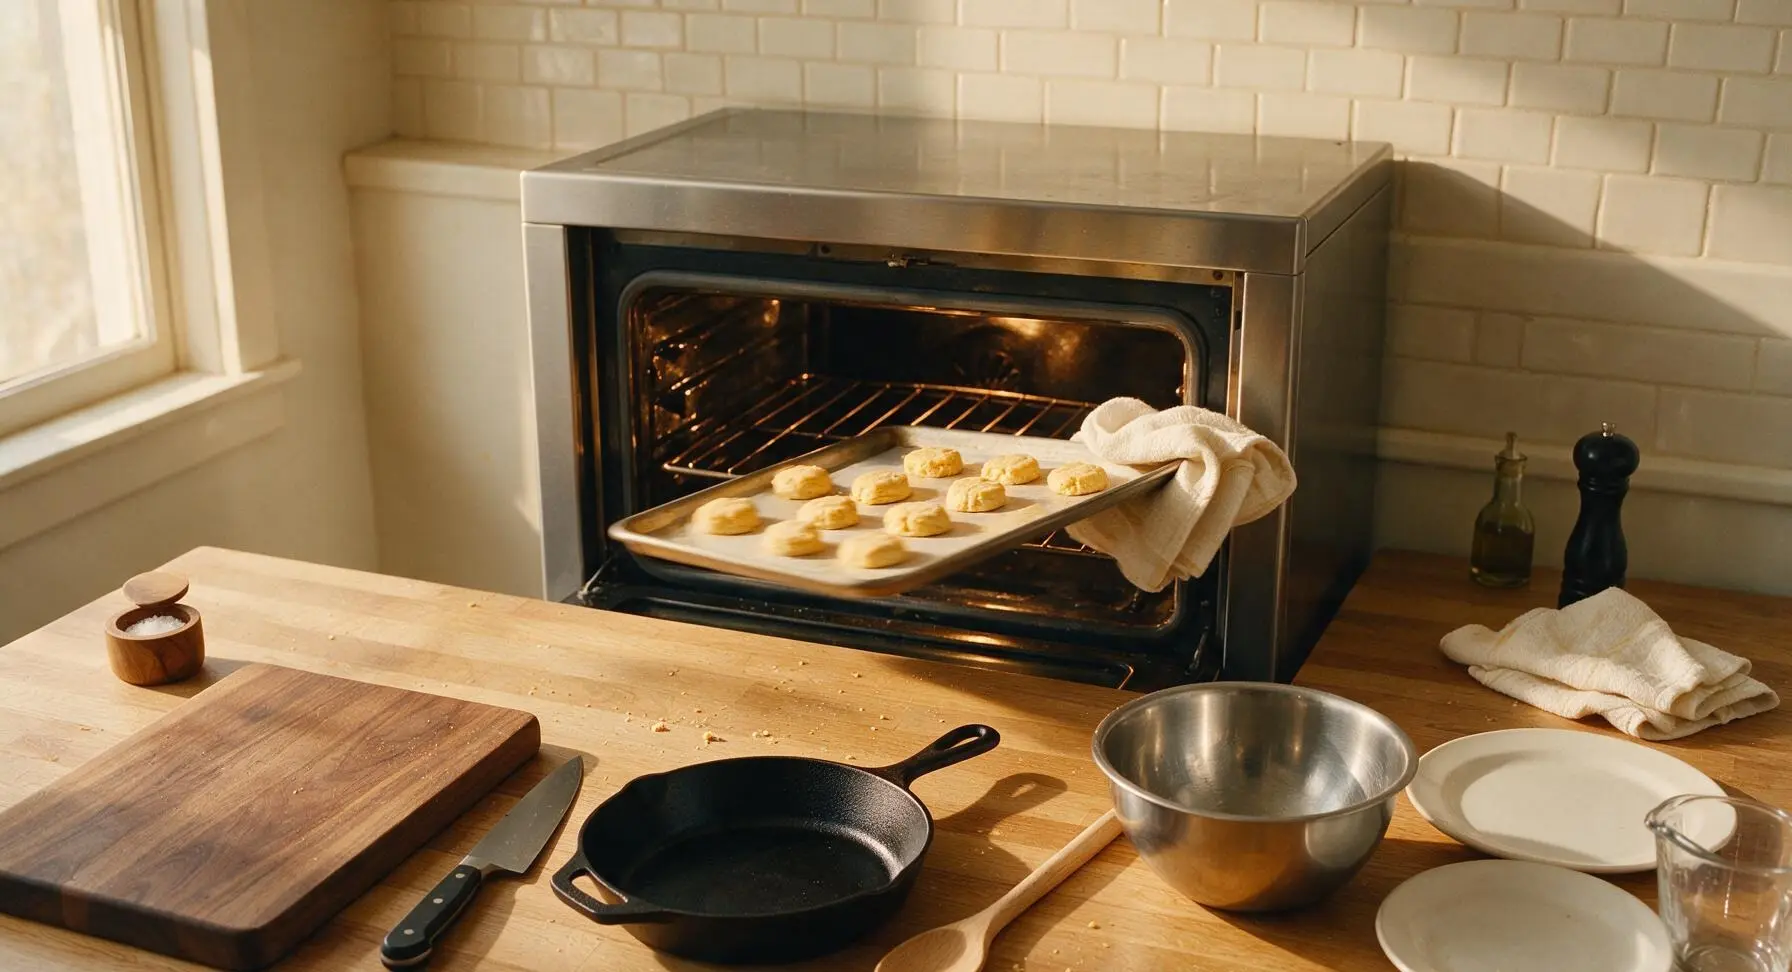
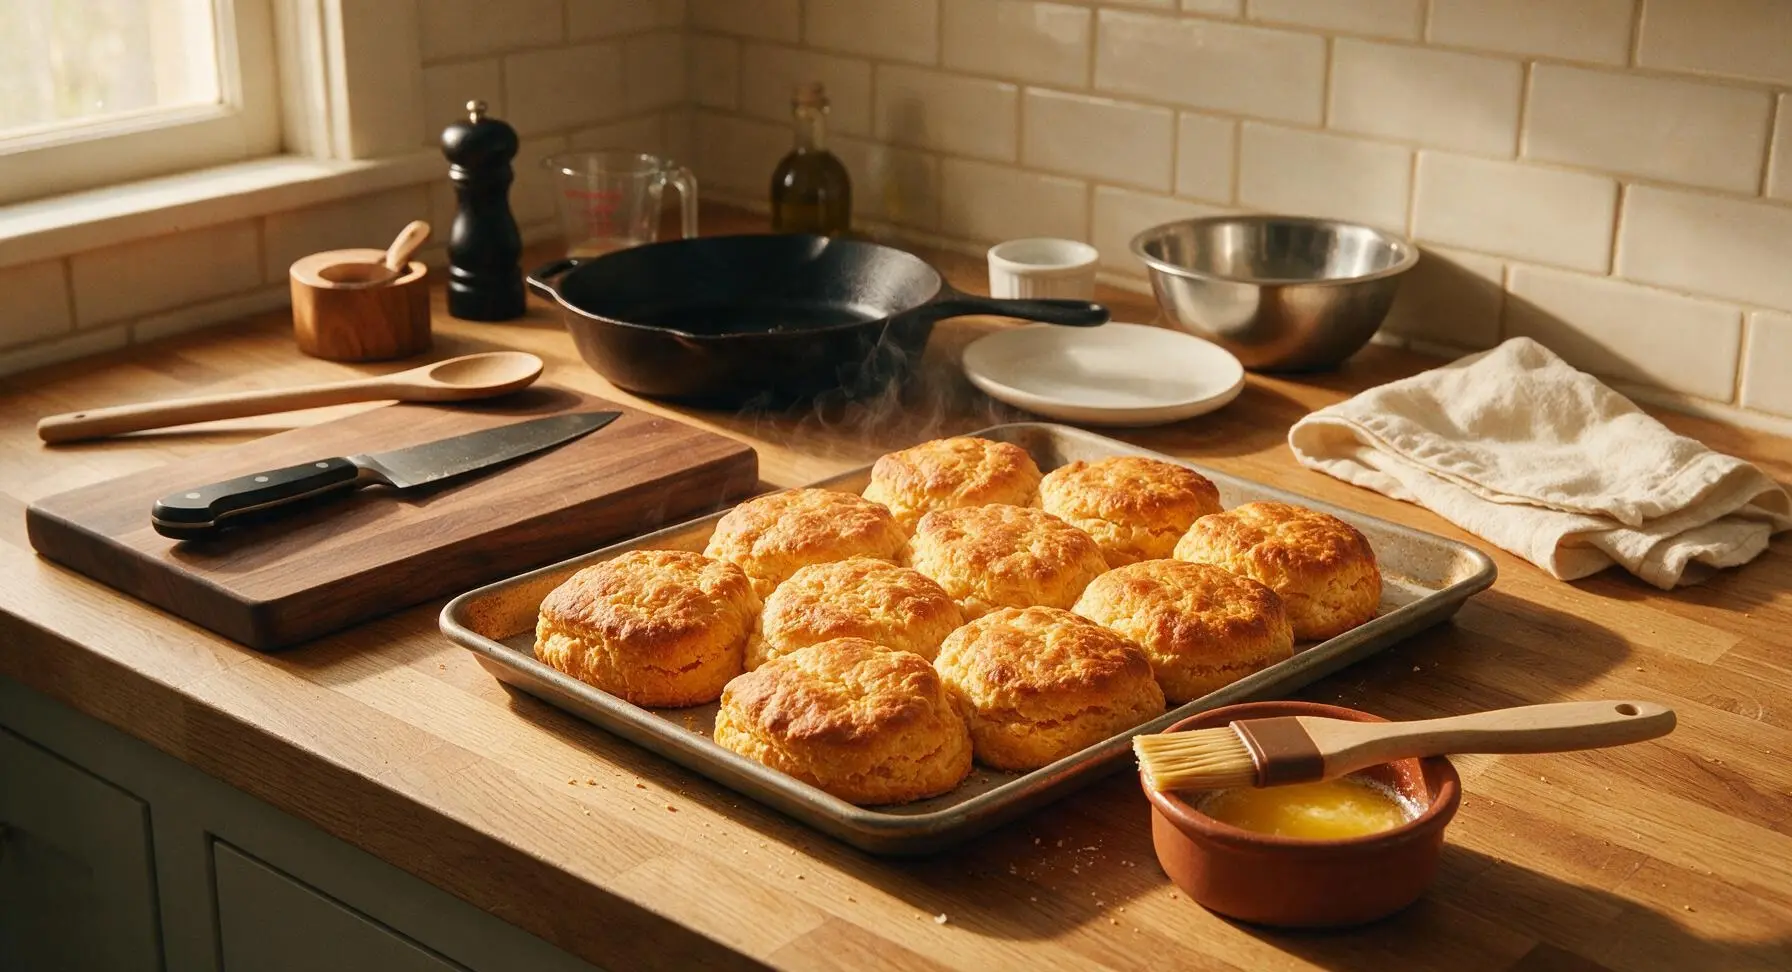
Once the oven is fully preheated, remove the baking sheet from the refrigerator and place it directly on the middle oven rack. Bake for 12-15 minutes, until biscuits are puffed high, tops are deep golden brown, and edges are crisp. While biscuits bake, melt the remaining 2 tbsp butter in the small terracotta ramekin, ready for brushing.
Butter and Cool
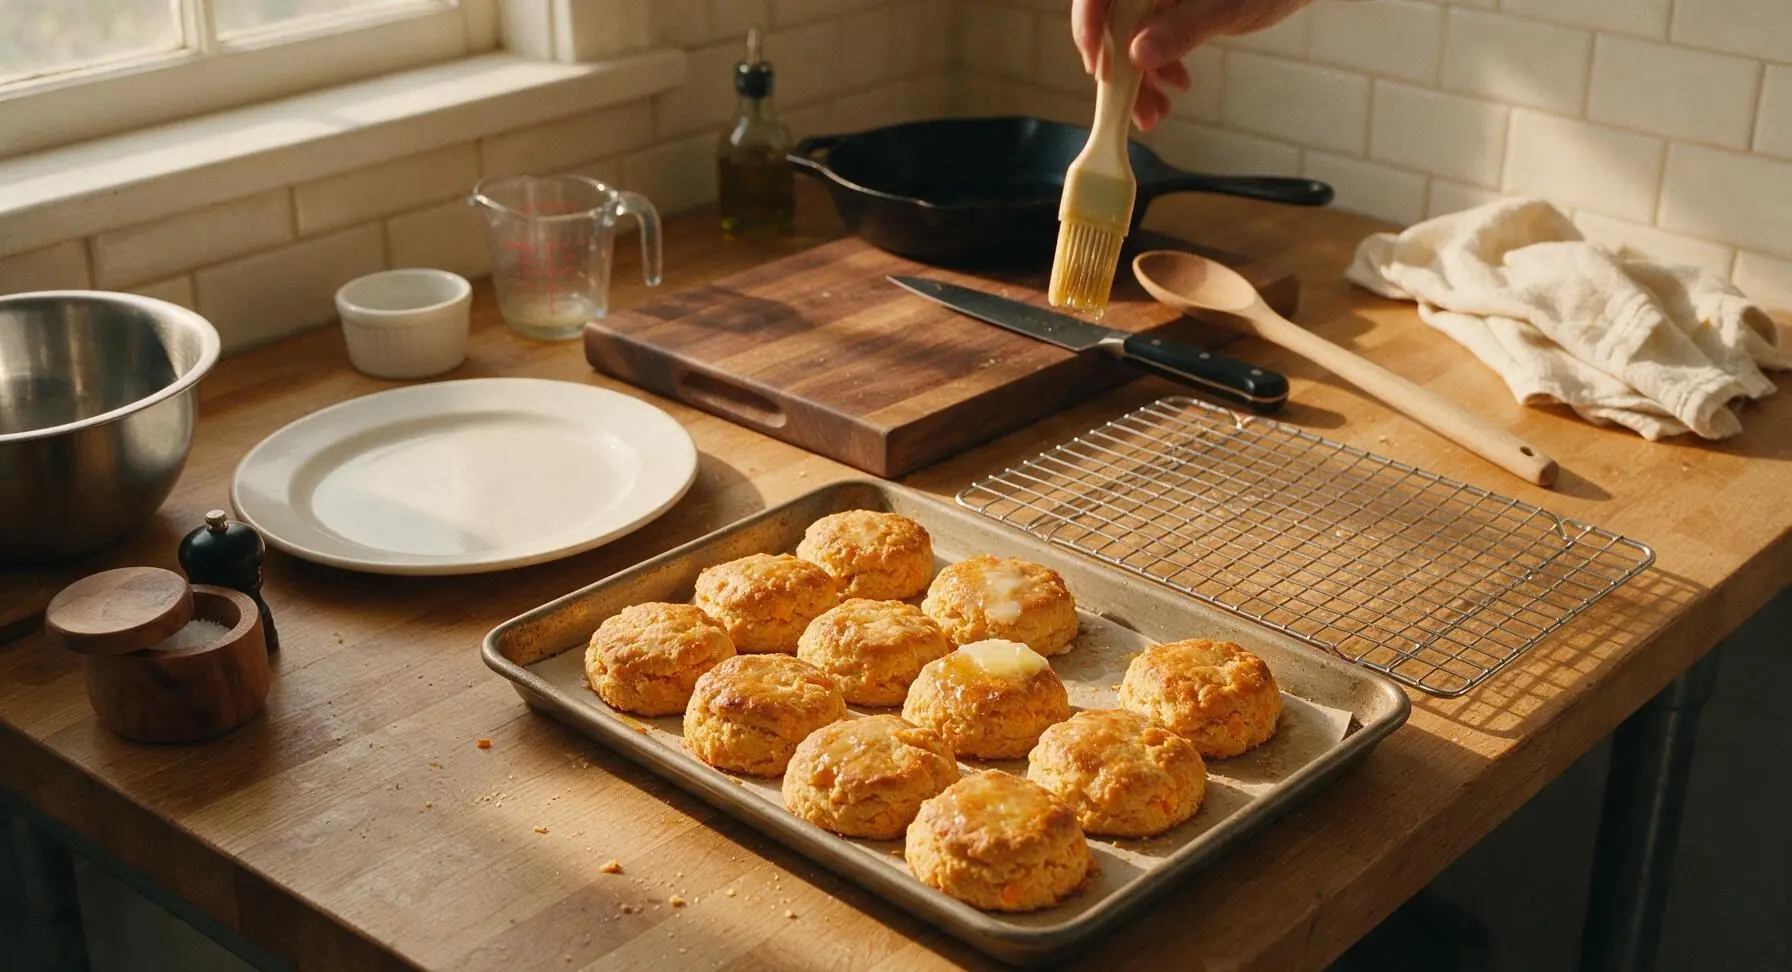
As soon as the biscuits come out of the oven, use the silicone pastry brush to brush the tops generously with melted butter, letting the butter soak into the warm crust. Transfer the brushed biscuits to the chrome wire cooling rack to cool for 5 minutes before serving – they will have a tender, flaky orange-flecked interior and crisp buttery top.
Tips
2.Never twist the biscuit cutter when pressing through dough: twisting pinches and seals the cut edges of the dough, which prevents the biscuits from rising straight up to their full, fluffy height in the oven. Press straight down firmly, then lift the cutter straight up for tall, even biscuits.
3.Skip the rolling pin: patting dough gently by hand avoids over-compressing the delicate butter layers, which keeps biscuits light. Over-rolling or over-handling the dough develops gluten in the flour, resulting in tough, bread-like biscuits instead of tender, flaky ones.






OMG these sweet potato biscuits are a GAME CHANGER for my Sunday family dinners! I added a tiny pinch of cinnamon to the dough and served them with honey butter, and even my super picky 7 year old asked for seconds. So fluffy, not dry at all — way easier than I thought they’d be for a first try!
Made a double batch of these for my weekly meal prep and they held up all week in the fridge! Perfect to grab on my way to work with a little cream cheese, not too sweet so they work for breakfast or as a side with dinner. 10/10 will be making these monthly.
Wait the cook time says 1 hour total? That seems way doable even on a school night! Quick question — can I make the dough the night before and bake them the next evening? I feel like that would cut down on weeknight chaos so much.
Made these to go with our smoked brisket last weekend and everyone was raving! I didn’t change a single thing from the recipe, they were perfectly tender with that gorgeous orange color. I will say I thought they might be too sweet for a savory side but they balanced the smoky brisket so well.
Has anyone tried making these with a 1:1 gluten free flour blend? I’m dying to make them for my sister who has celiac, they look so good!
Y’all I burned the first batch because I got distracted binging a show, but the second batch came out SO good. Dirt cheap to make too, perfect for my broke college student budget. Pro tip: set a timer, don’t be like me lol.
I was worried these would be too dense because every biscuit recipe I try turns out like a hockey puck, but nope! These were light, fluffy, had the perfect subtle sweet potato flavor. I brought them on our weekend camping trip and they were gone within 10 minutes of setting out the spread.