
Sweet Potato Dinner Rolls
intro
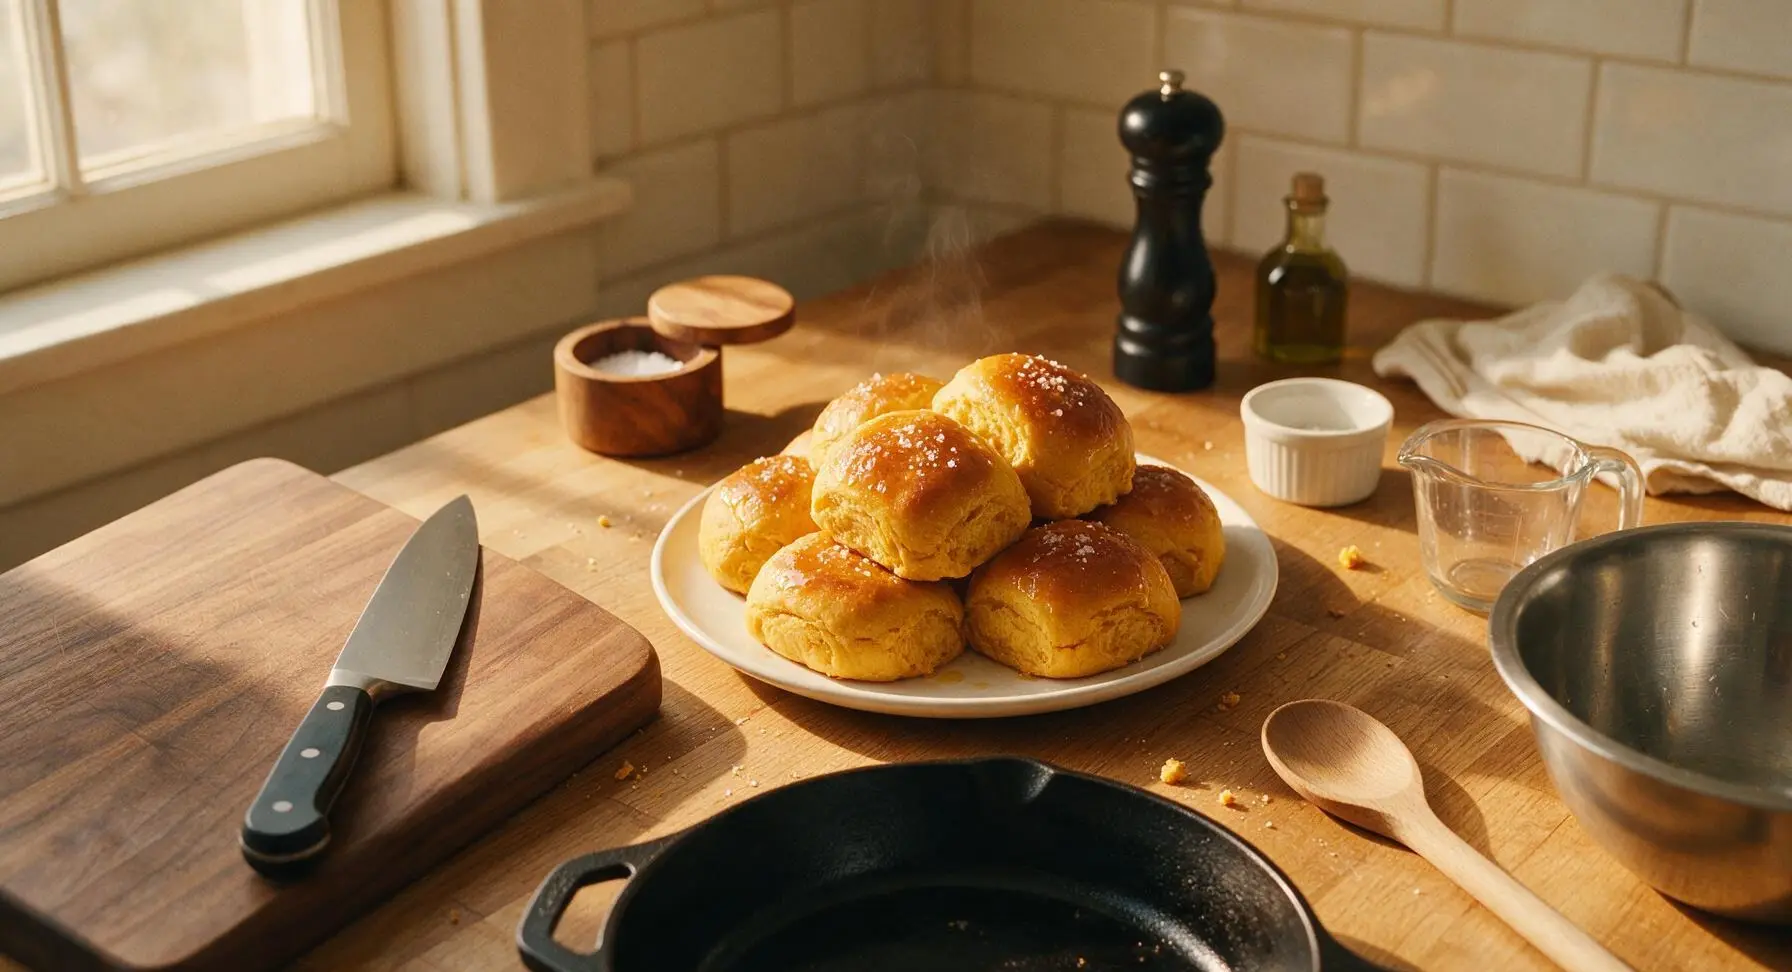
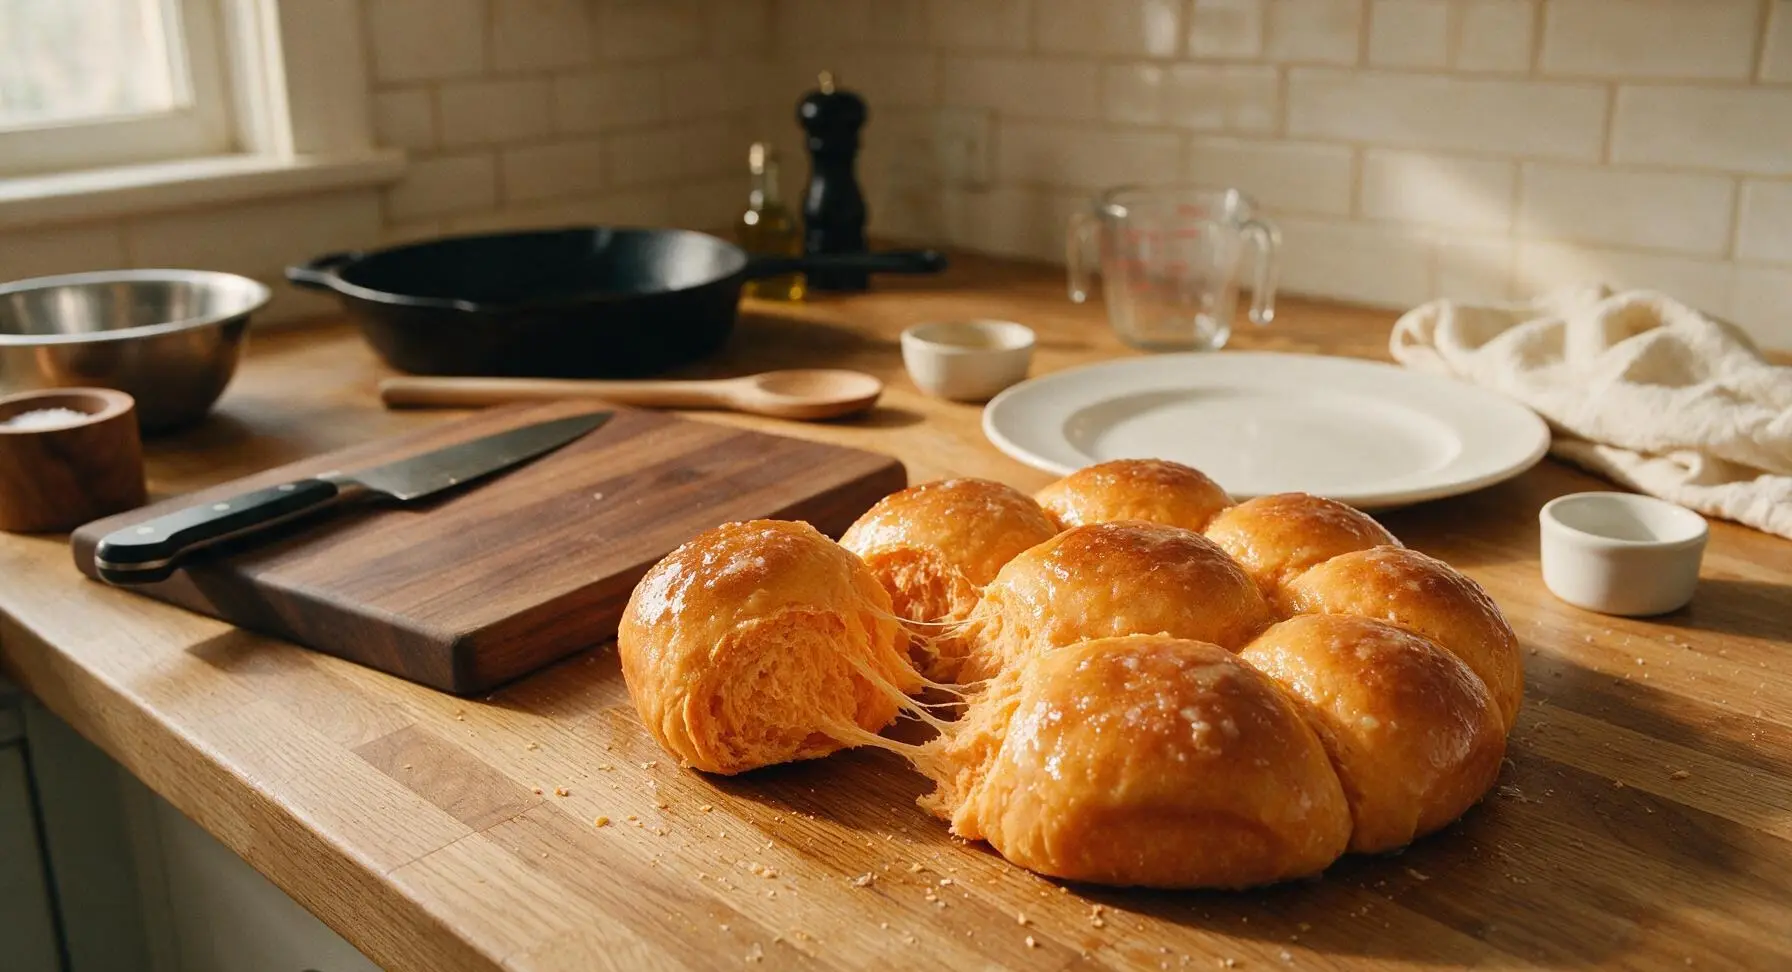
Soft, pillowy golden dinner rolls infused with earthy roasted sweet potato, brushed with honey butter and flaky salt—perfect for sopping up gravy at holiday meals.
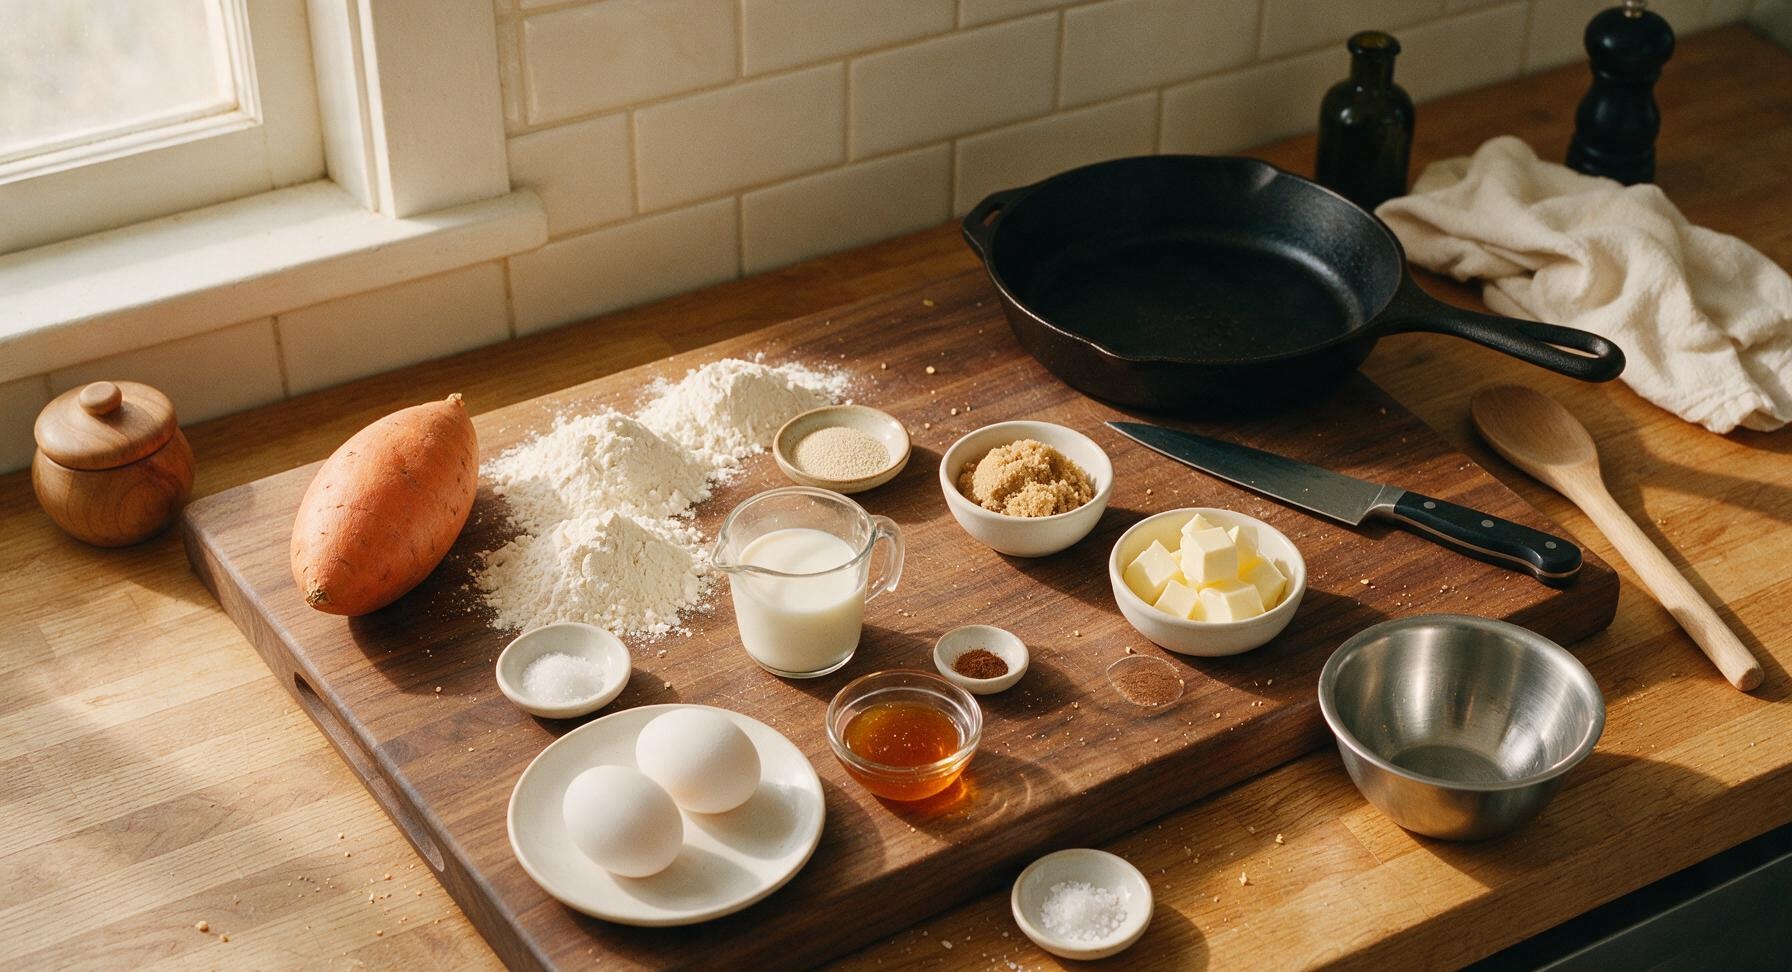
Ingredients
Steps
Roast Sweet Potato
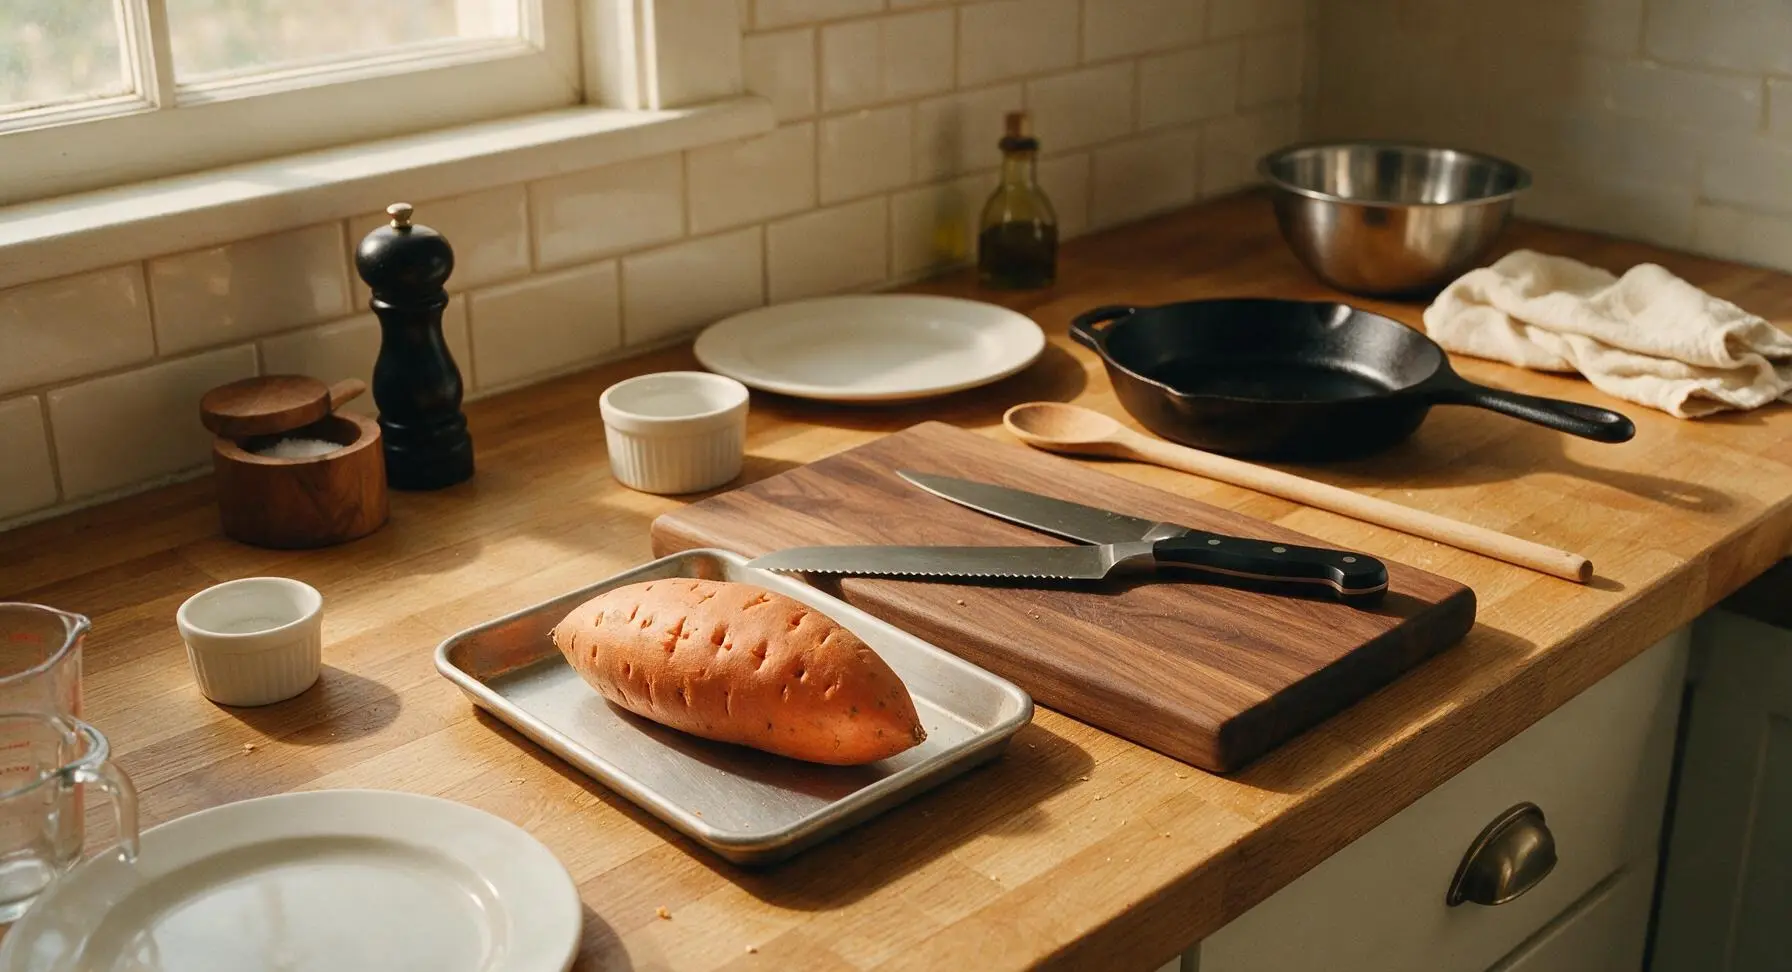
Preheat oven to 200C/400F. Scrub the medium orange-fleshed sweet potato, pierce 4-5 times across the surface with a fork, and place on the small rimmed aluminum baking sheet. Roast for 45-50 minutes until a knife slides into the center with no resistance, indicating fully tender flesh. Remove from the oven and let cool 10 minutes until safe to handle.
Mash Roasted Sweet Potato
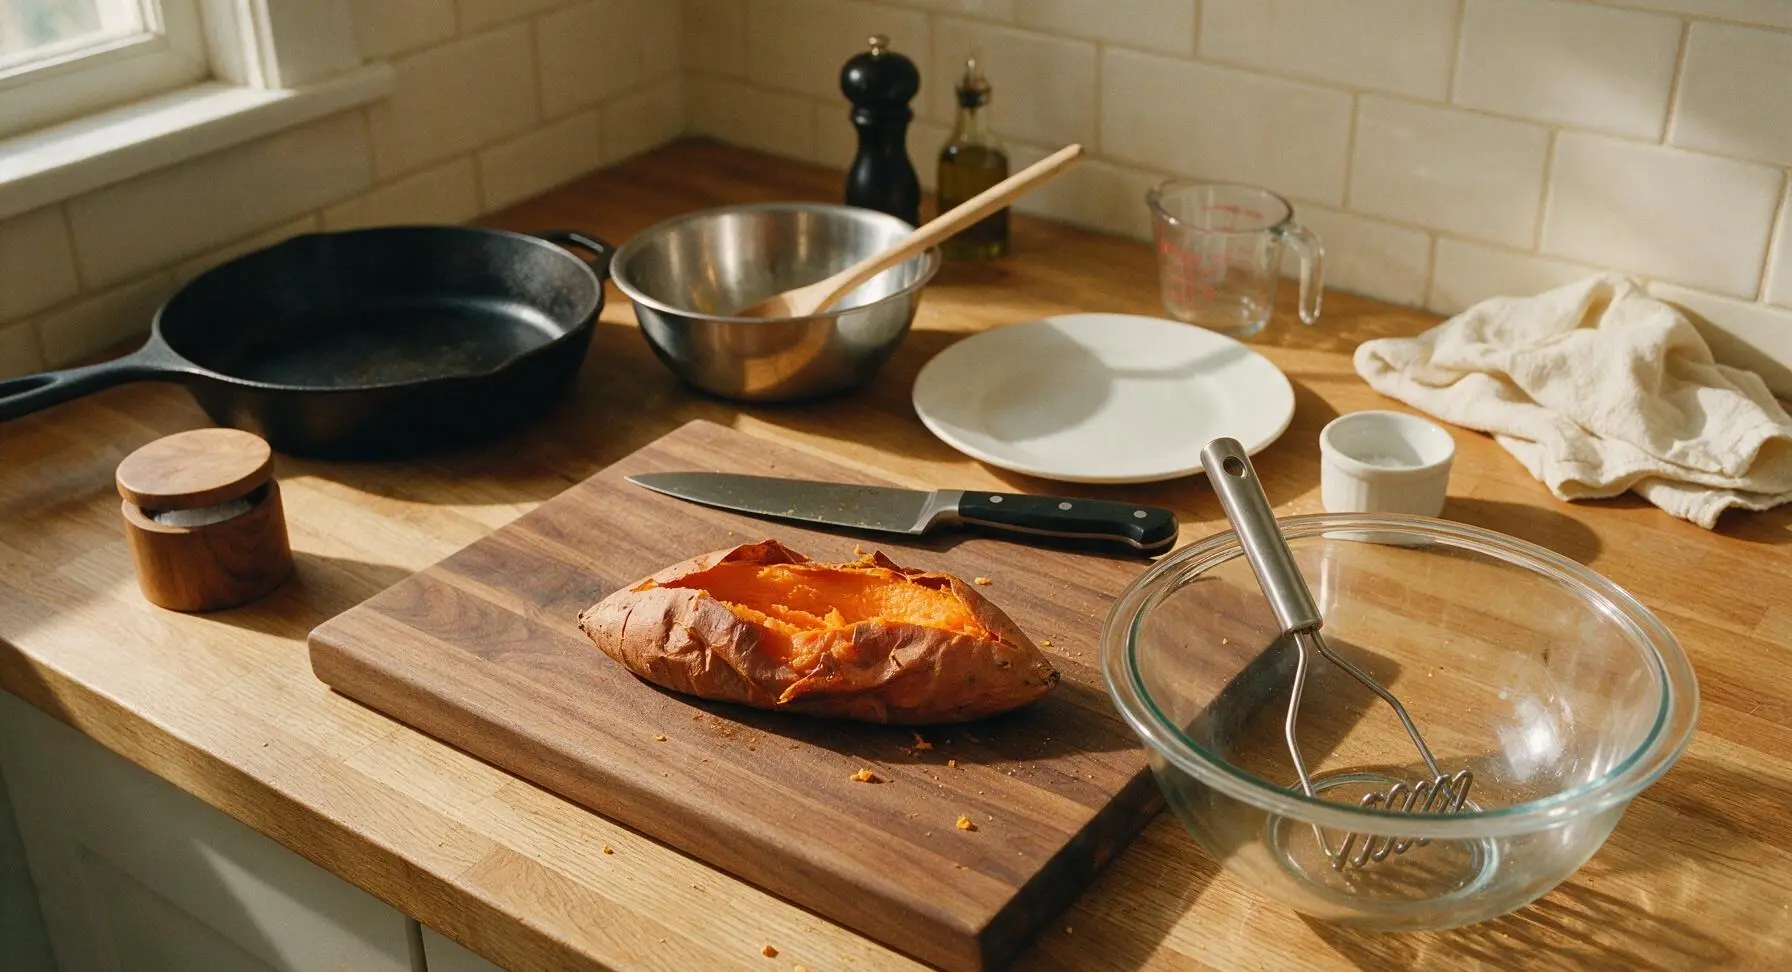
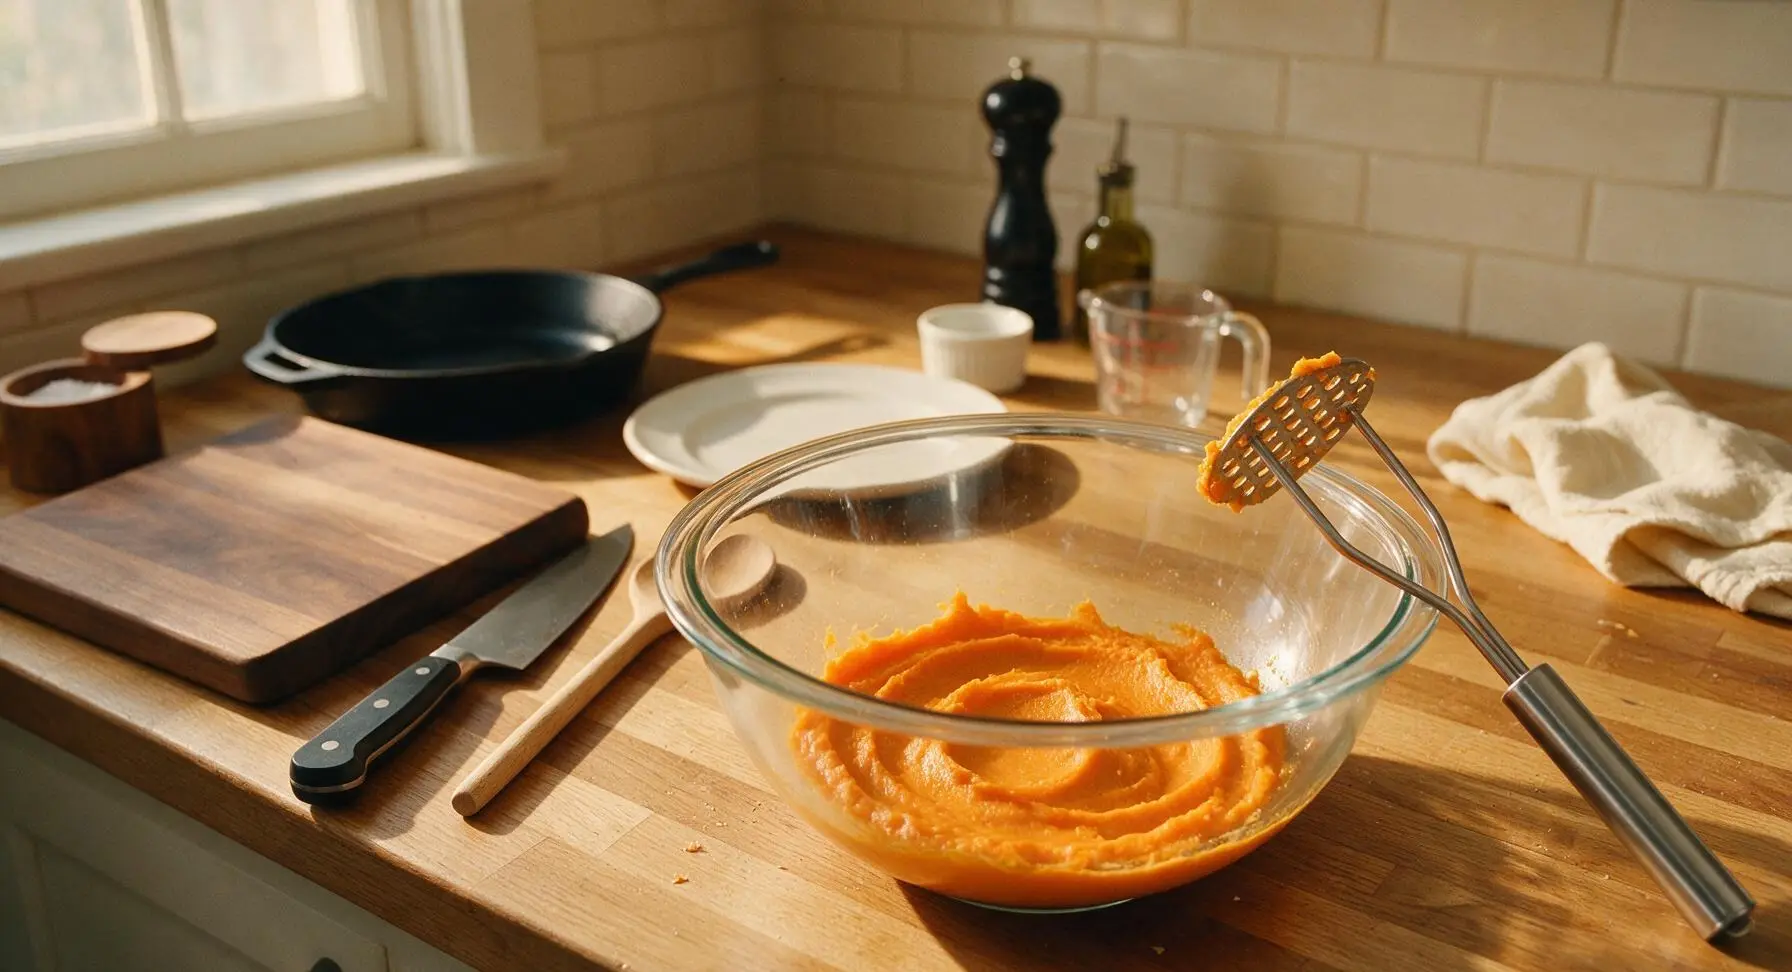
Once cool enough to handle, slice the roasted sweet potato in half lengthwise with the serrated utility knife. Scoop all soft orange flesh away from the skin into the large glass mixing bowl, discarding the skins. Use the stainless steel potato masher to mash the flesh until completely smooth, with no remaining lumps; you should have roughly 200g (1 cup) of puree. Set the puree aside to cool to room temperature (24C/75F) so it does not damage the yeast.
Activate Dry Yeast
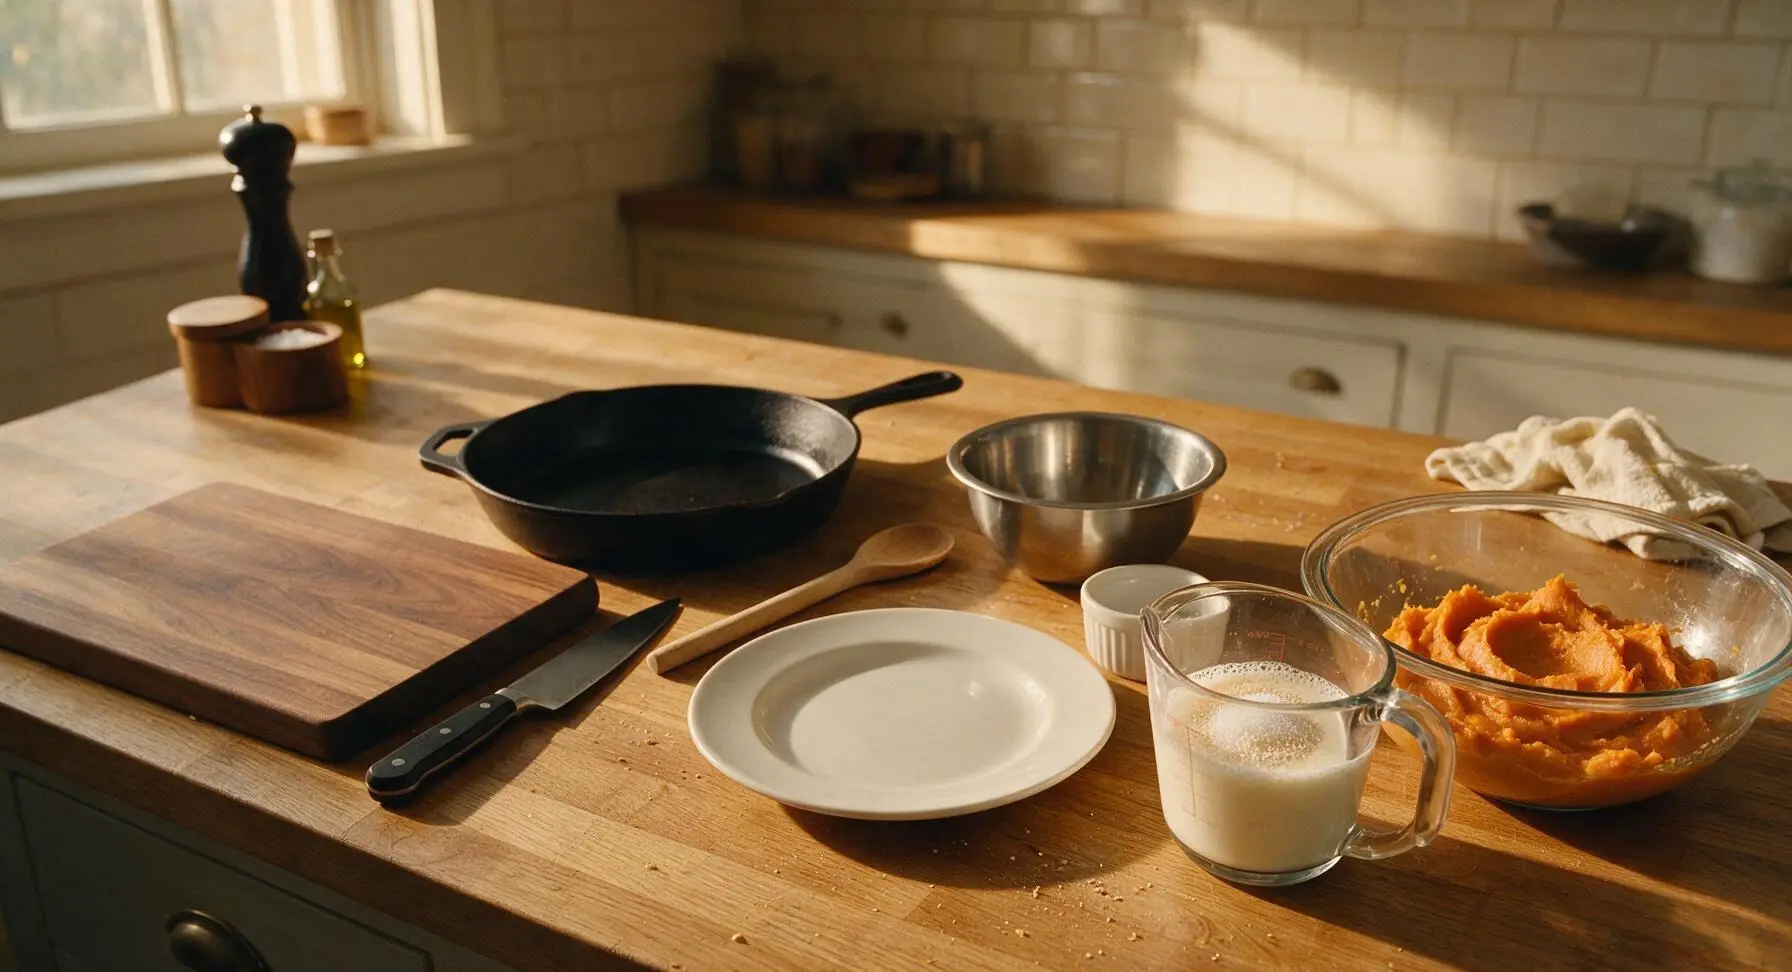
Pour the warmed whole milk (heated to 43C/110F, warm to the touch but not hot enough to burn) into the clear glass measuring cup. Stir in 1 teaspoon of the packed light brown sugar and the full 7g packet of active dry yeast. Let the mixture rest for 5-7 minutes until a 1cm thick layer of foamy bubbles covers the surface, confirming the yeast is active; if no foam forms, the yeast is expired and must be replaced.
Knead Soft Dough
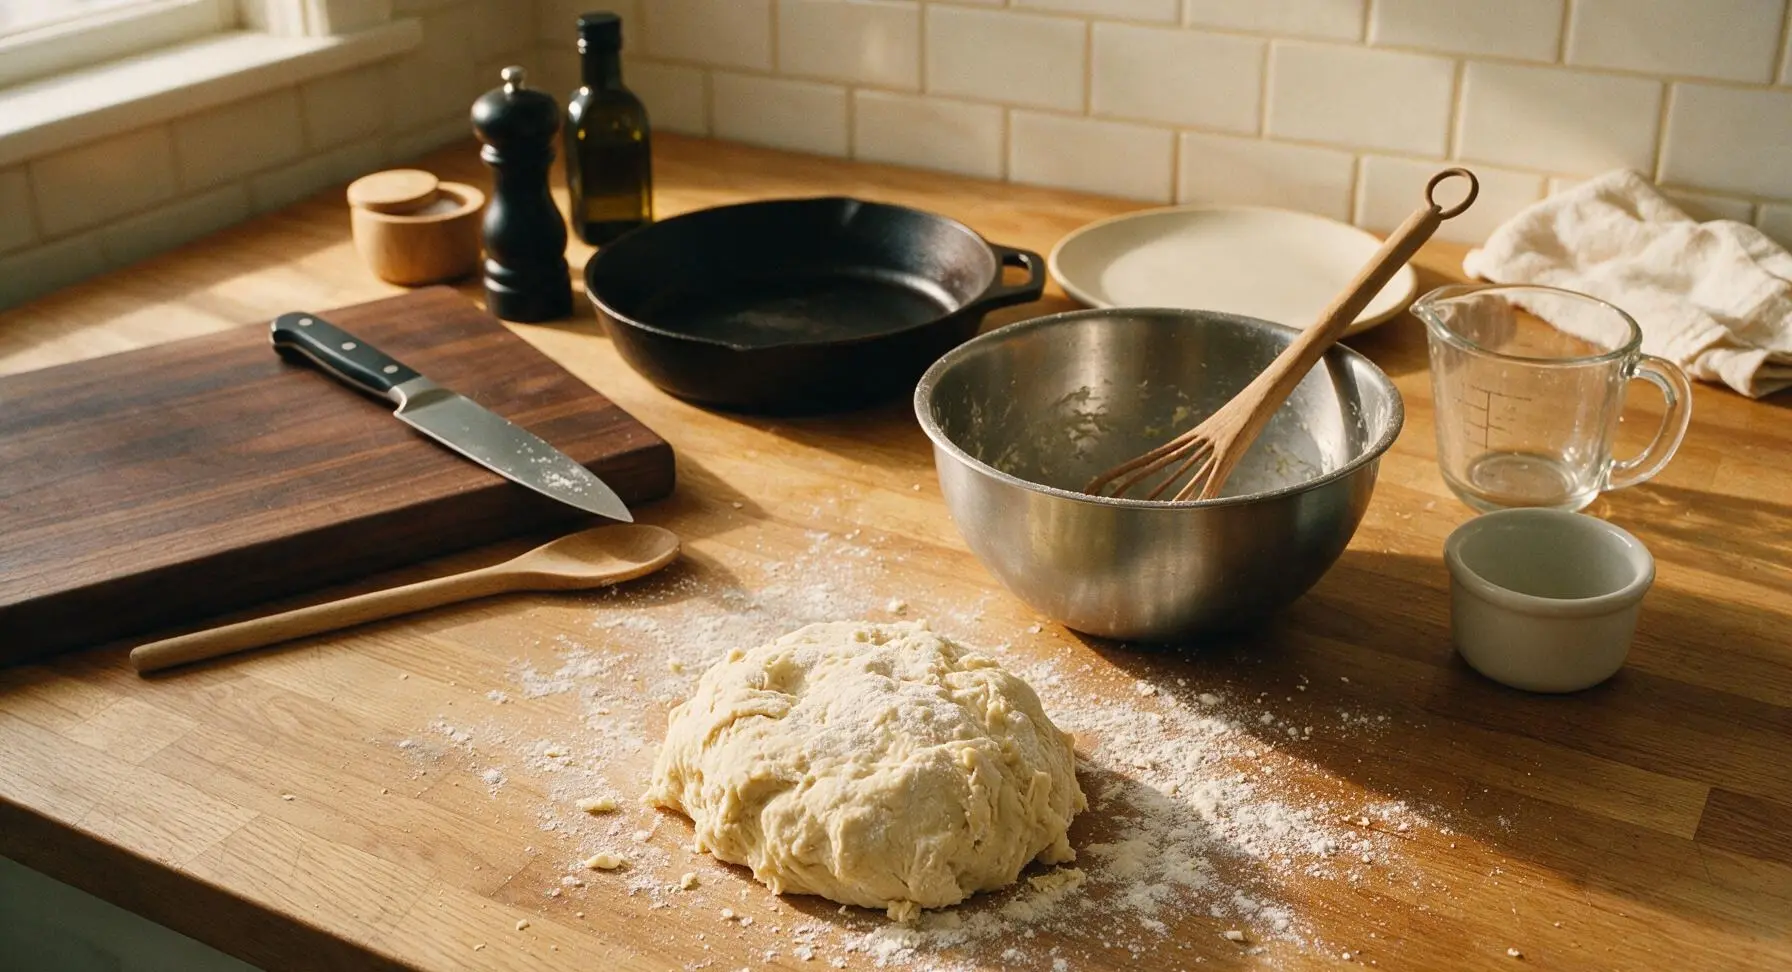
Add the activated yeast mixture, remaining light brown sugar, 2 tablespoons of melted unsalted butter, lightly beaten room-temperature eggs, fine sea salt, and ground cinnamon to the bowl with sweet potato puree. Use the wooden dough whisk to stir until evenly combined, then gradually add the all-purpose flour ½ cup at a time, stirring until a shaggy, sticky dough forms. Turn the dough out onto a lightly floured section of the maple countertop, knead for 8-10 minutes until the dough is smooth, elastic, and only slightly tacky, pulling away cleanly from your hands when pressed.
Let Dough Rise
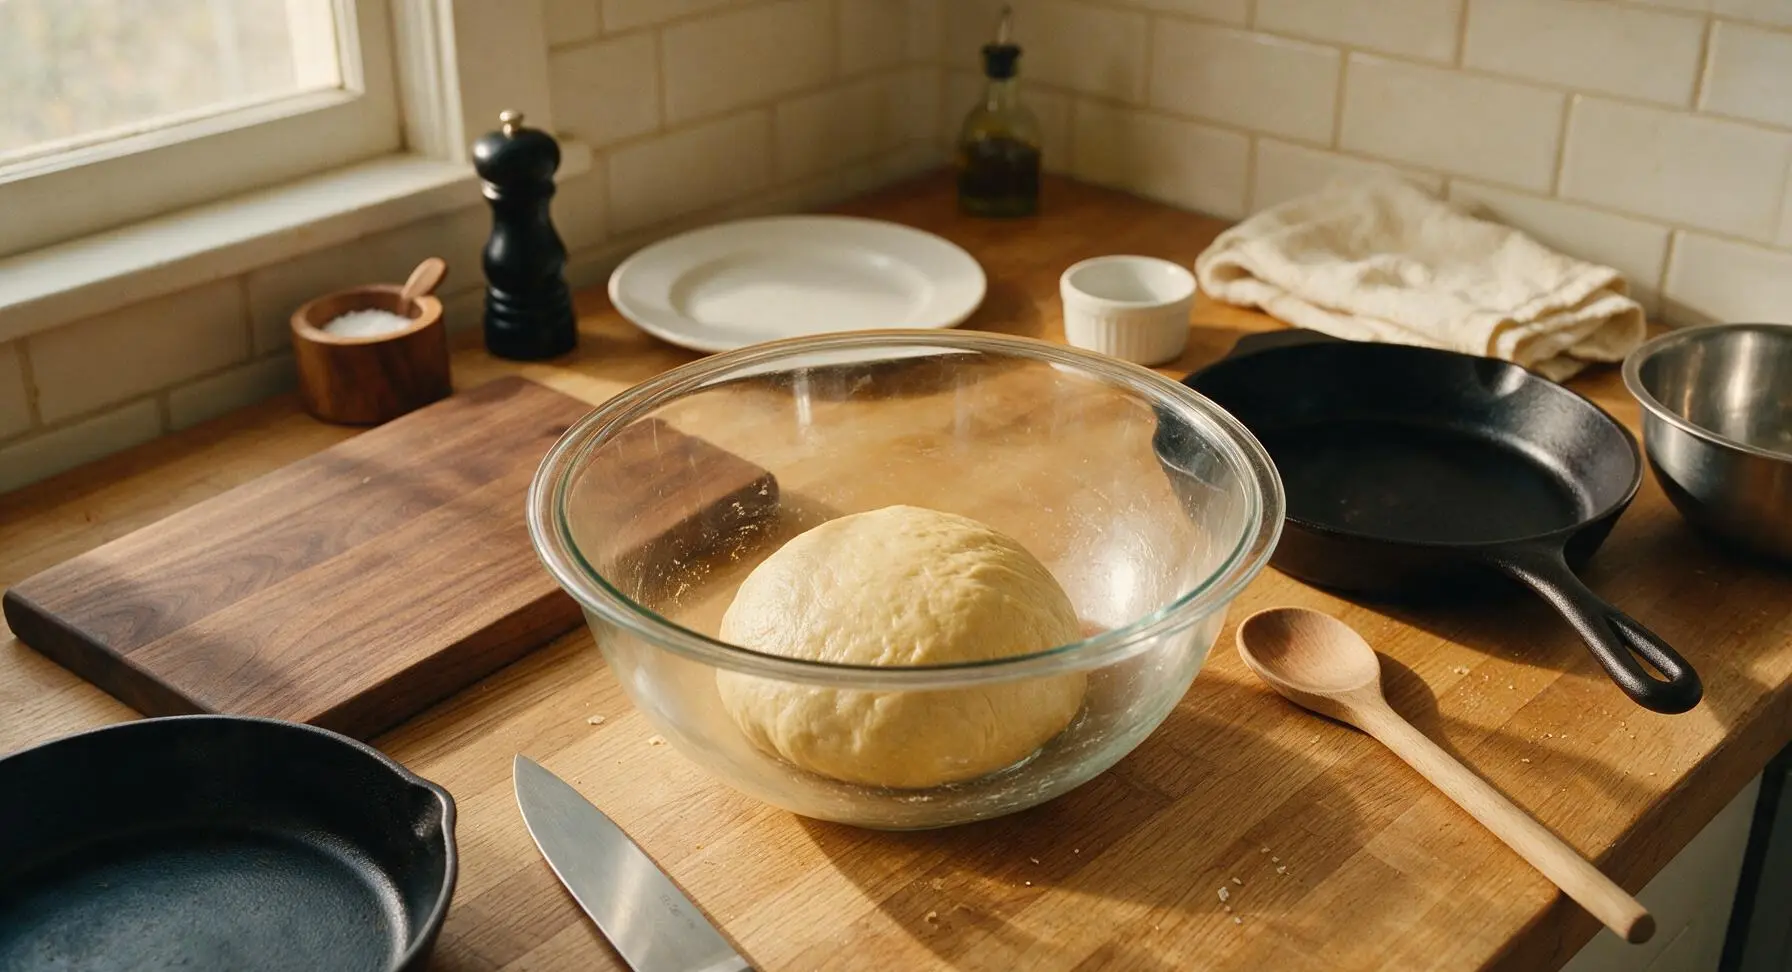
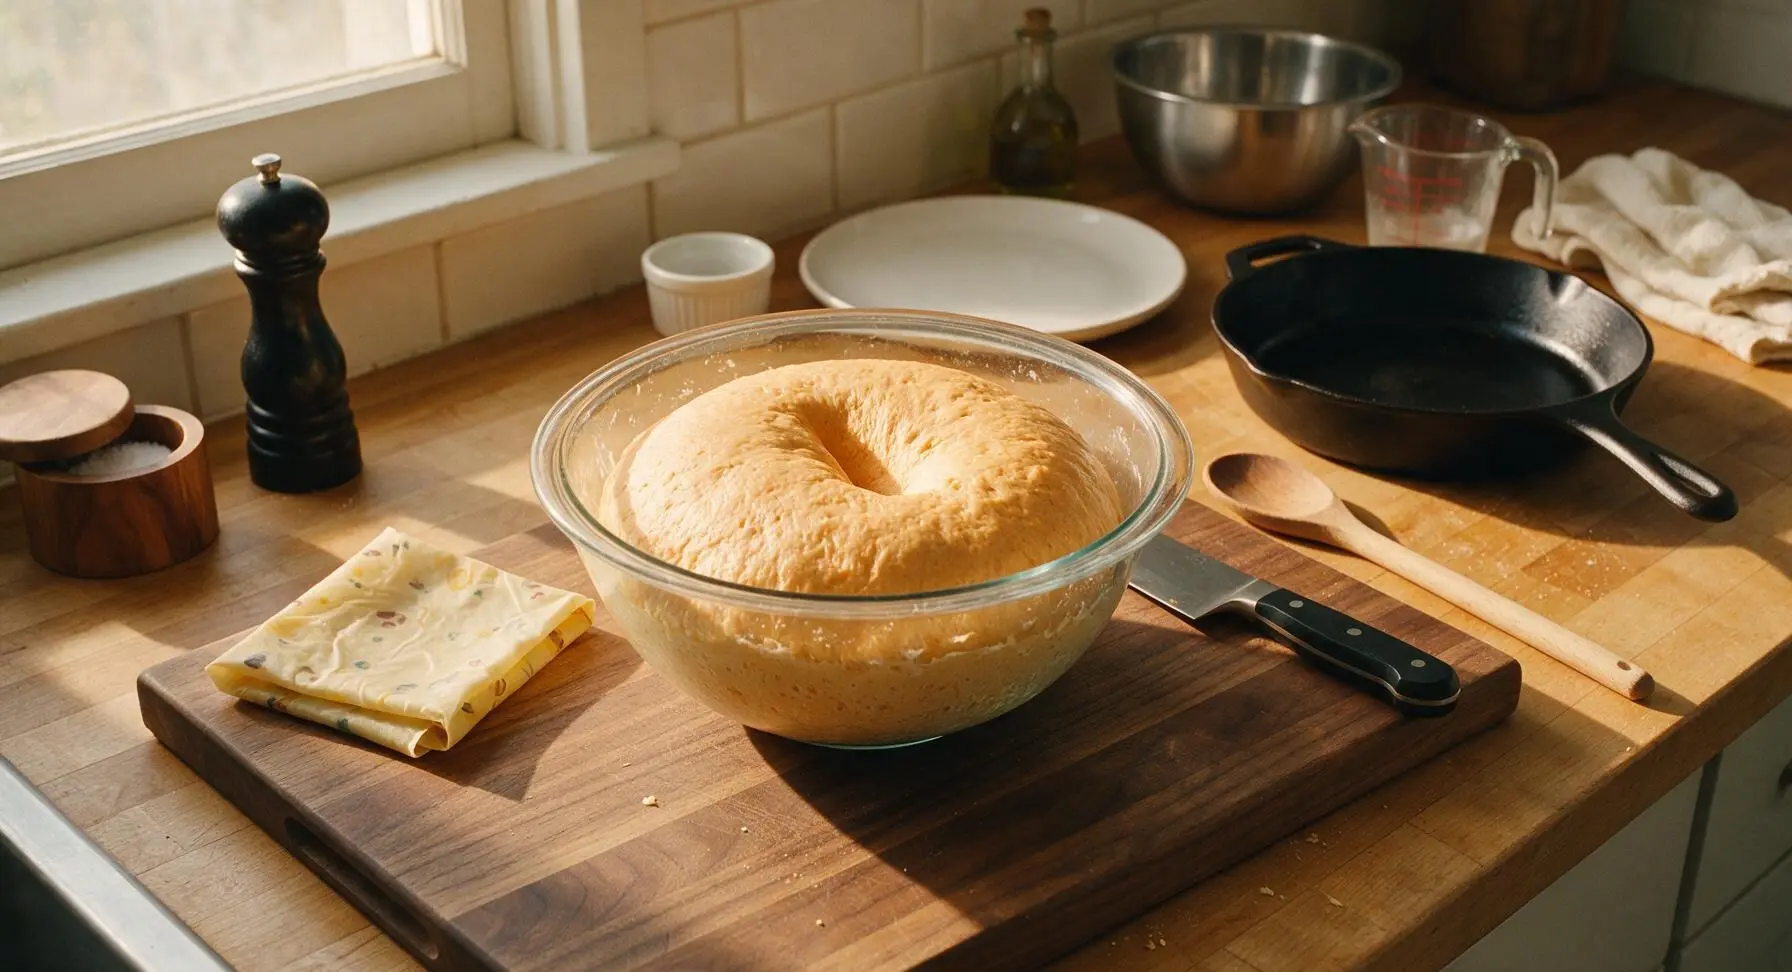
Cover the large glass mixing bowl loosely with reusable beeswax wrap, and set it in a warm, draft-free spot for 1 to 1.5 hours, until the dough has doubled in volume. Test for doneness by pressing a floured finger 2cm into the center of the dough: if the indentation remains and does not spring back, the dough is ready.
Shape Individual Rolls
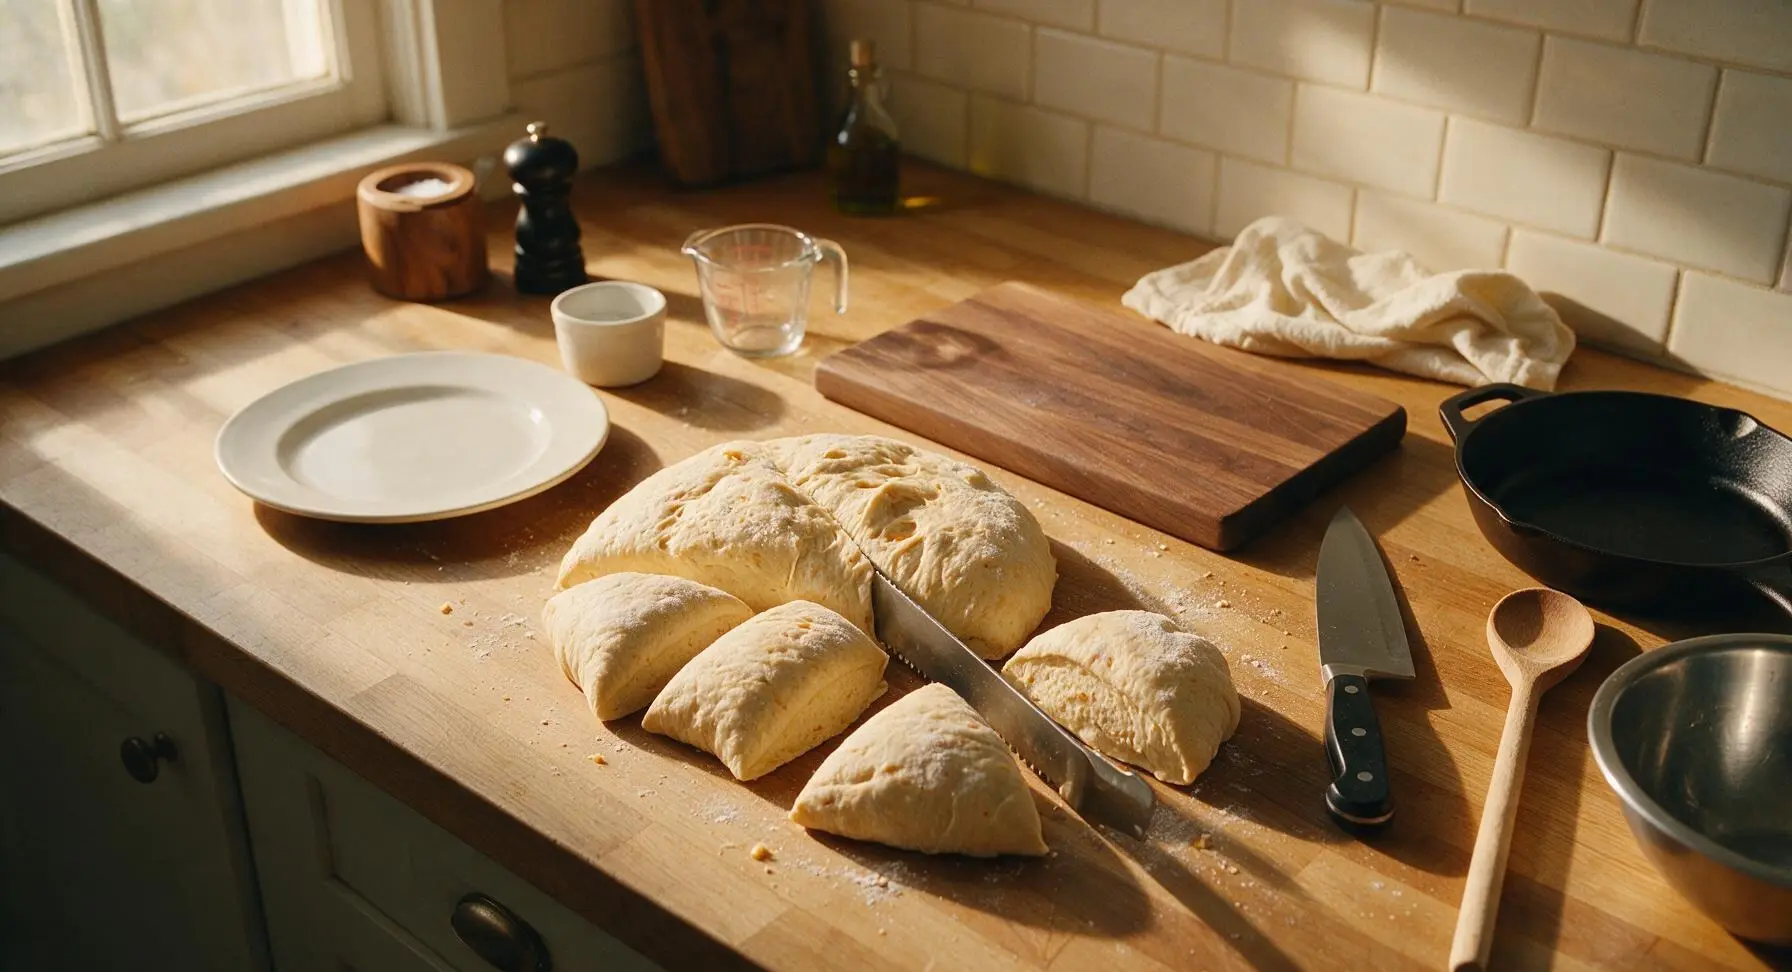
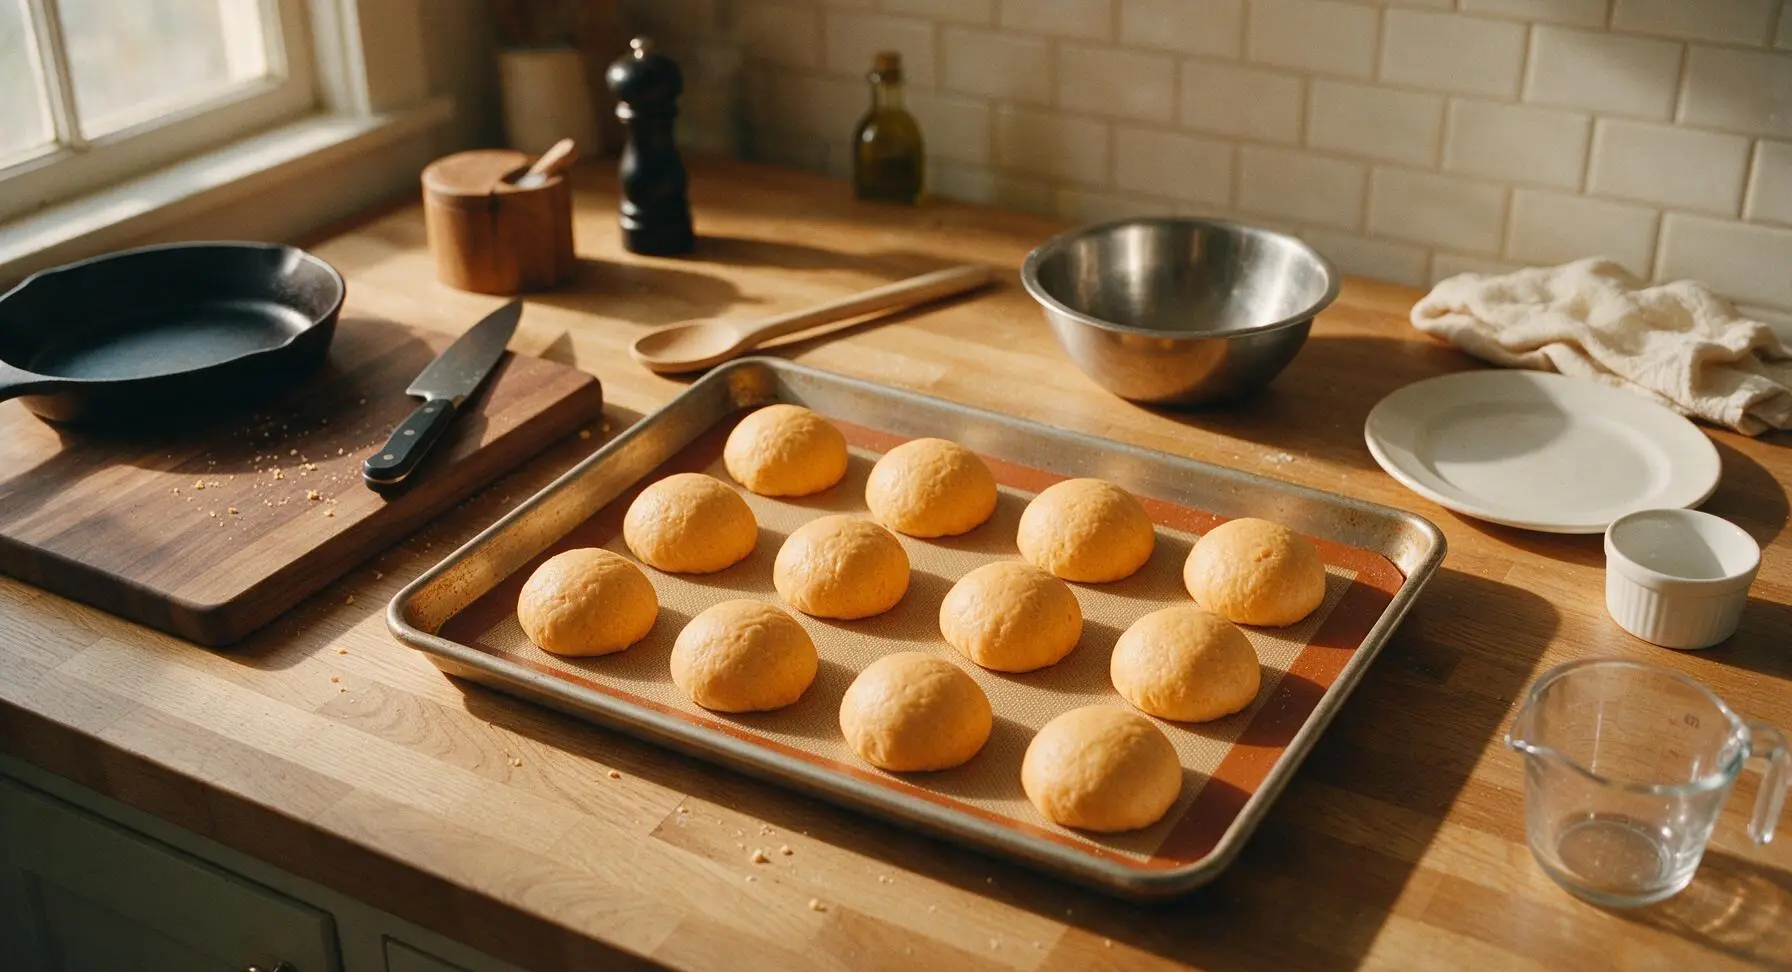
Punch the risen dough firmly in the center to release all trapped air, then turn it out onto the lightly floured counter. Divide the dough evenly into 12 equal pieces (roughly 70g each). Roll each piece into a tight, smooth ball by cupping your hand over the dough and applying gentle, even pressure as you roll it in small circles on the counter. Arrange the shaped dough balls in neat 3x4 rows on the silicone baking mat inside the 9x13 inch metal baking pan, leaving 1cm of space between each roll to allow for rising.
Bake Until Golden
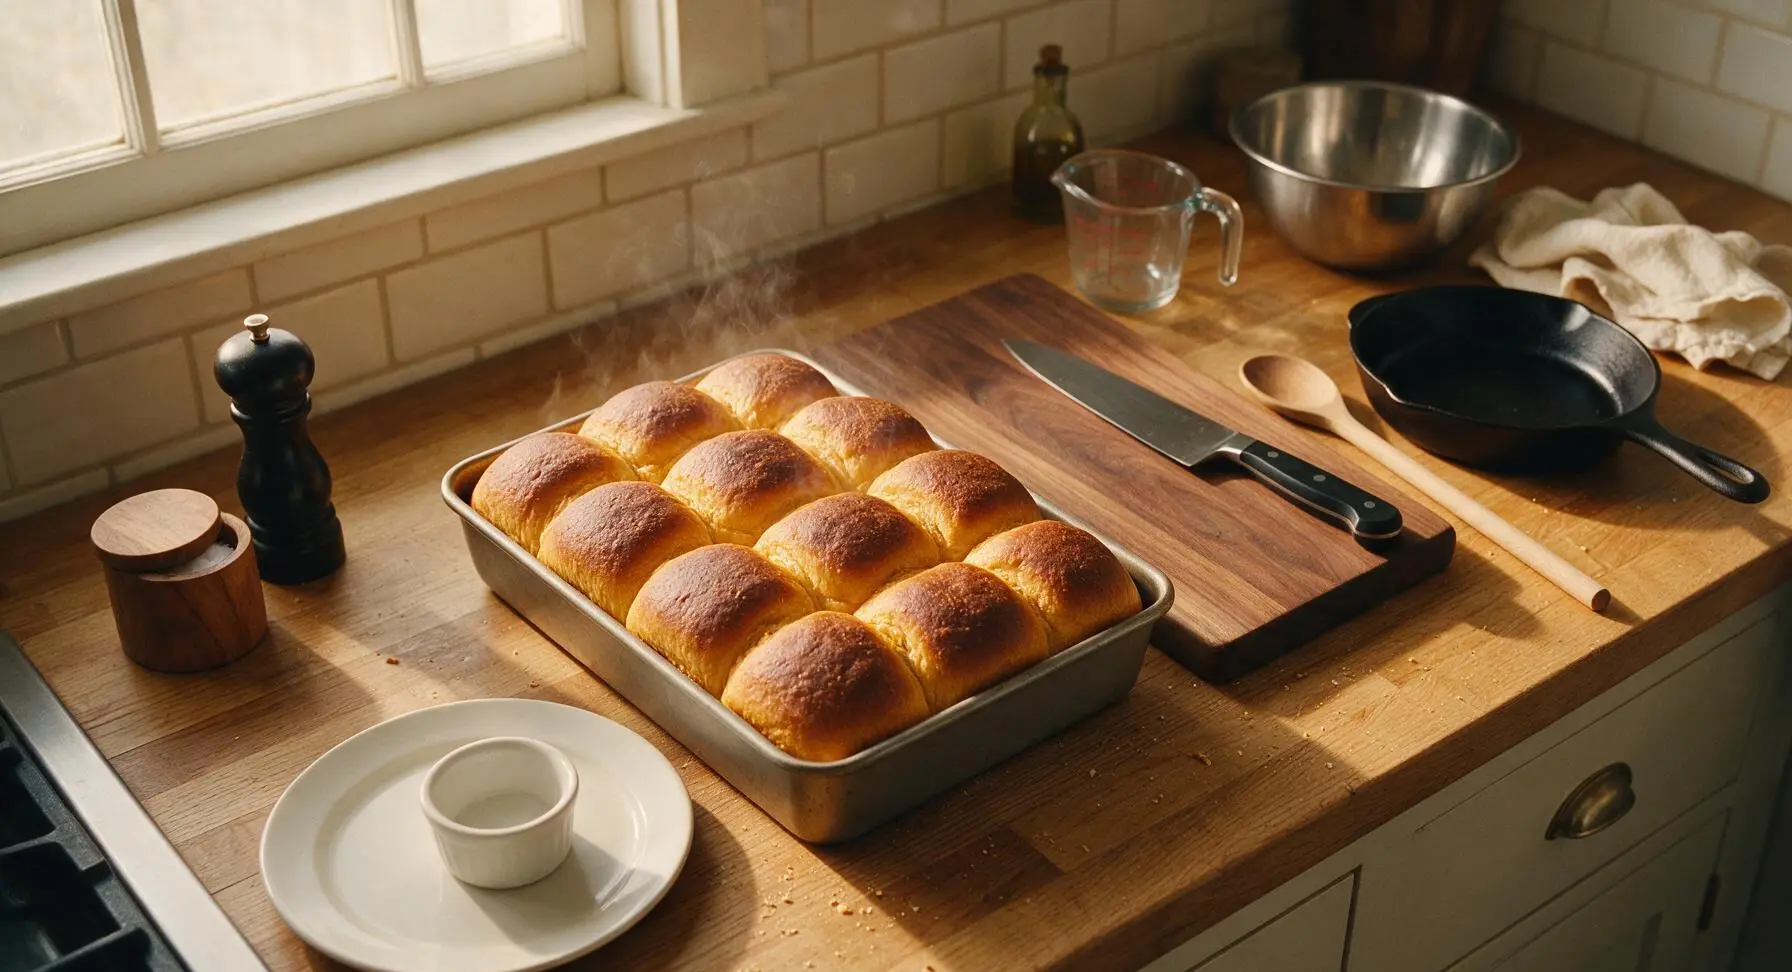
Loosely cover the pan of shaped rolls with beeswax wrap, and let rise for 30-40 minutes until the rolls have puffed up and are touching one another, filling the pan. Preheat oven to 190C/375F. Remove the beeswax wrap, then bake for 20-22 minutes until the roll tops are deep golden brown, and the internal temperature of the center roll reaches 88C/190F.
Finish with Honey Butter
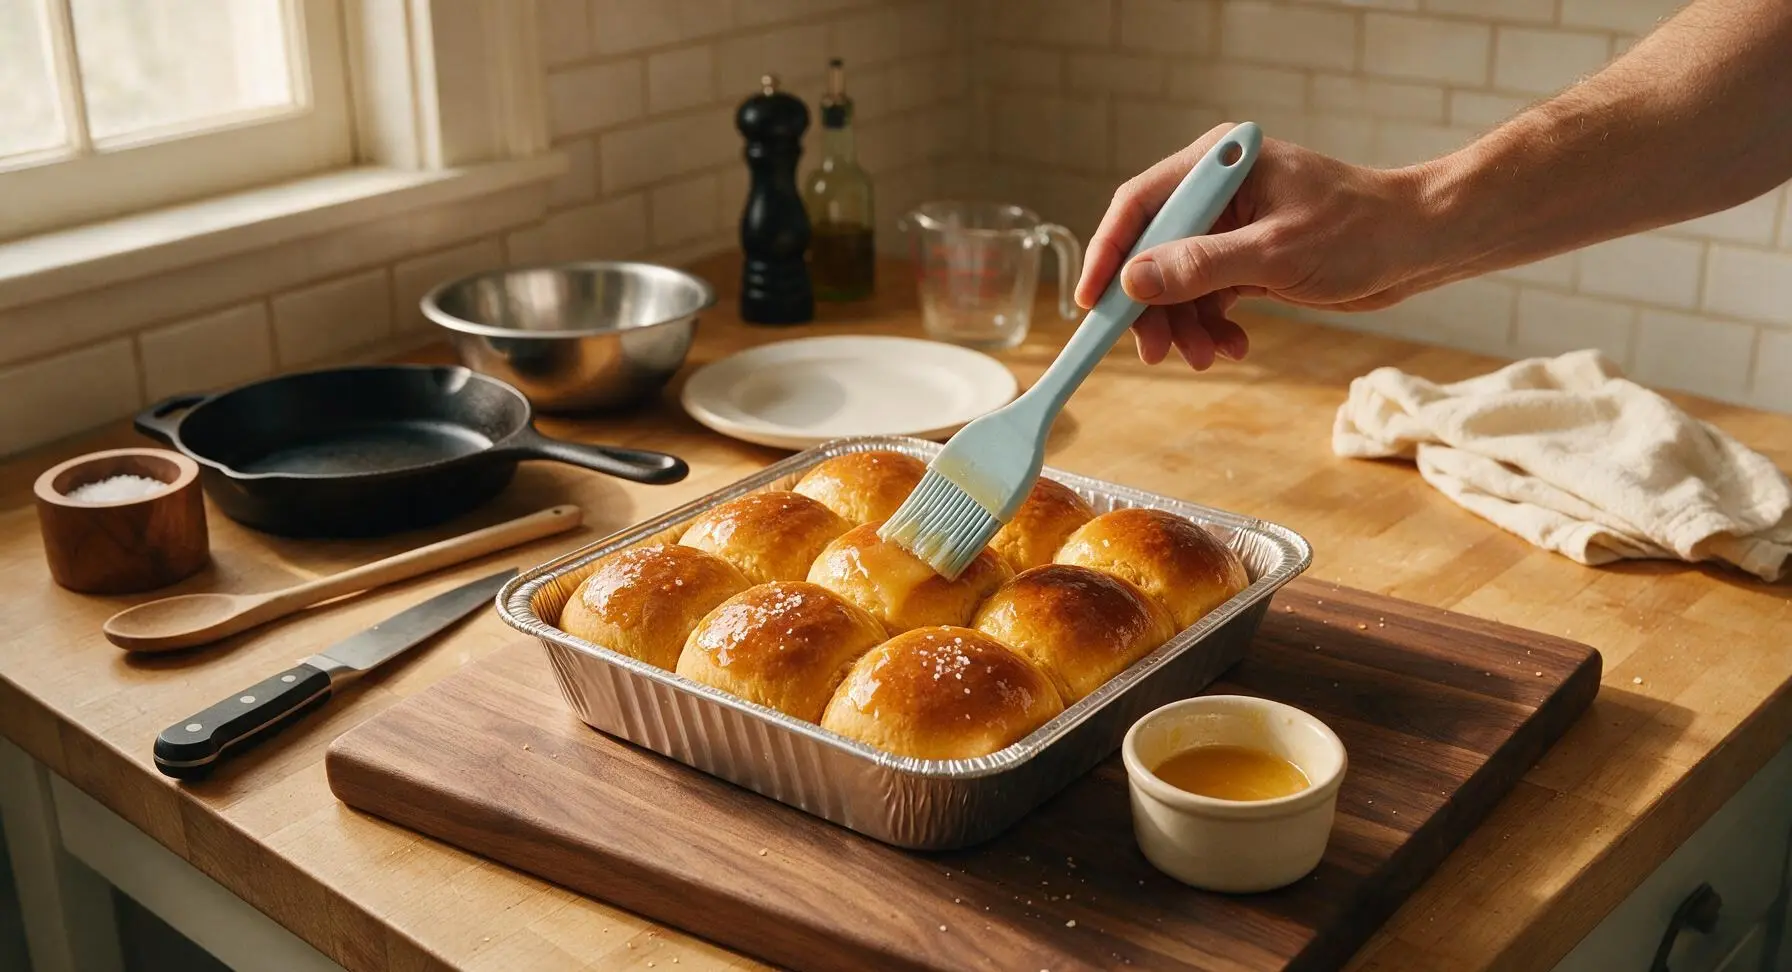
While the rolls are still warm, stir the remaining 2 tablespoons of melted butter together with 1 tablespoon of raw honey in the small cream ceramic ramekin. Use the light blue silicone pastry brush to brush the honey butter generously over all roll tops, letting excess butter drip down into the crevices between rolls. Sprinkle lightly with flaky sea salt. Let rolls cool in the pan for 5 minutes, then transfer to the matte chrome wire cooling rack for 10 minutes, or serve warm on the cream ceramic serving platter.
Tips
2.Space shaped rolls so they touch after the second rise, rather than leaving large gaps between them—this creates soft, tender pull-apart sides instead of crispy, hard crusts around every roll, for the classic dinner roll texture.
3.For low-stress holiday prep, complete the dough through the first rise, cover tightly, and refrigerate for up to 24 hours before shaping and baking. This slow cold rise develops deeper, nuttier sweet potato flavor and cuts down on day-of cooking work.






OMG these rolls are a total game changer for our Sunday family dinners! I was worried the sweet potato would make them too sweet for savory sides, but they’re perfectly balanced — so soft and fluffy, even my super picky 7 year old asked for seconds. Brought a batch to my neighbor’s potluck last weekend and everyone begged for the recipe! Only note: make sure your yeast is fresh, I almost messed up my first rise because mine was expired, oops.
Made these to go with our smoked brisket dinner last night and WOW. The subtle sweet potato flavor pairs so perfectly with salty, smoky meats, I didn’t even need to put butter on mine (okay fine, I added a little garlic butter, no regrets). Cook time was right on the 1 hour 10 minute mark for me, no surprises there. Medium difficulty is fair, I’m a pretty casual baker and didn’t run into any issues.
SO good for meal prep! I baked a batch on Sunday, sliced them up, and kept them in the fridge for breakfast sandwiches all week. Toasted up with a little egg and cheese? Chef’s kiss. Admittedly I struggled a little with the kneading step since I don’t have a stand mixer, but it was totally worth the arm workout. Will be making these again for sure.
I was tasked with bringing rolls to our office Thanksgiving potluck this year and decided to test this recipe first before the big day. Let me just say, my test batch disappeared in 10 minutes when I brought leftover samples into work. The orange hue from the sweet potato is so pretty for a holiday table too! Only knock is I wish the recipe made a bigger batch, I’m going to have to double it for the actual potluck.
Wait, has anyone tried making these with gluten free all purpose flour? I’m dying to make them for my sister who has Celiac when she comes to visit next month, but I don’t want to waste a bunch of sweet potatoes if the texture gets weird. They look so soft and delicious in the photos!
I thought medium difficulty meant this would be a whole weekend project, but it was actually totally doable on a weeknight after work! The sweet potato adds such a nice depth of flavor that regular dinner rolls just don’t have. My kids loved them so much they asked if we can have them every night with dinner. Win for parent life!
I swapped the butter for vegan butter and used oat milk instead of regular milk, and these turned out INSANE. So fluffy, not dense at all, you can’t even tell they’re vegan. Brought them to my vegan book club meetup and everyone wanted the link to the recipe. 10/10, will be making these all fall and winter long.
Okay full transparency, I’ve never made yeast bread in my life and I was so nervous these would flop. I followed the directions exactly, step by step, and they came out perfect! They’re so soft and the sweet potato flavor is subtle enough that my husband who hates sweet potatoes ate three of them. Total confidence booster for a new baker!
These are good, but I found them a little denser than I expected. I think I let my dough rise too long near my open window where it was a little chilly, oops. The flavor is amazing though, so I’m definitely going to give them another shot next weekend when I can let the dough rise in a warmer spot. Has anyone else had density issues?
These freeze SO well! I baked two batches last month, froze half in a freezer bag, and pulled them out for a last-minute dinner party last night. I just warmed them in the oven for 10 minutes at 350 and they tasted just as fresh as the day I baked them. Total game changer for last-minute hosting.
Made these for our football watch party yesterday to go with chili and they were a total hit. Everyone kept asking if I bought them from a fancy bakery! The slight sweetness cuts through the spicy chili perfectly, I can’t believe how easy they were to pull off. Already got a request to make them for our next watch party in two weeks.
I added a little cinnamon and a sprinkle of brown sugar on top before baking and oh my GOD, they taste like fall in a roll. They’re perfect for breakfast with a little coffee too, not just a dinner side. The base recipe is so versatile, I’m already brainstorming other mix-ins to try next time — maybe rosemary and parmesan for a savory version?
Wait, can I make the dough the night before and let it rise in the fridge? I want to have fresh rolls for Thanksgiving dinner but I don’t want to wake up at 6am to knead dough while the turkey cooks. These look way better than the store-bought frozen rolls I usually get!
I brought these on our fall camping trip last weekend and they were the perfect camp side! I pre-baked them at home, wrapped them in foil, and warmed them over the campfire to go with our chili and hot dogs. Everyone in our camp group was raving about them the whole weekend. Way better than plain old hot dog buns, tbh.
I’ve been making dinner rolls for over 40 years and I have to say, this recipe is top tier. The sweet potato keeps them moist for days after baking, which is a problem I’ve always had with plain white rolls that go stale fast. The crumb is perfect, the flavor is balanced, and the instructions are clear even for new bakers. Great work on this one!