
swiss grilled cheese
intro
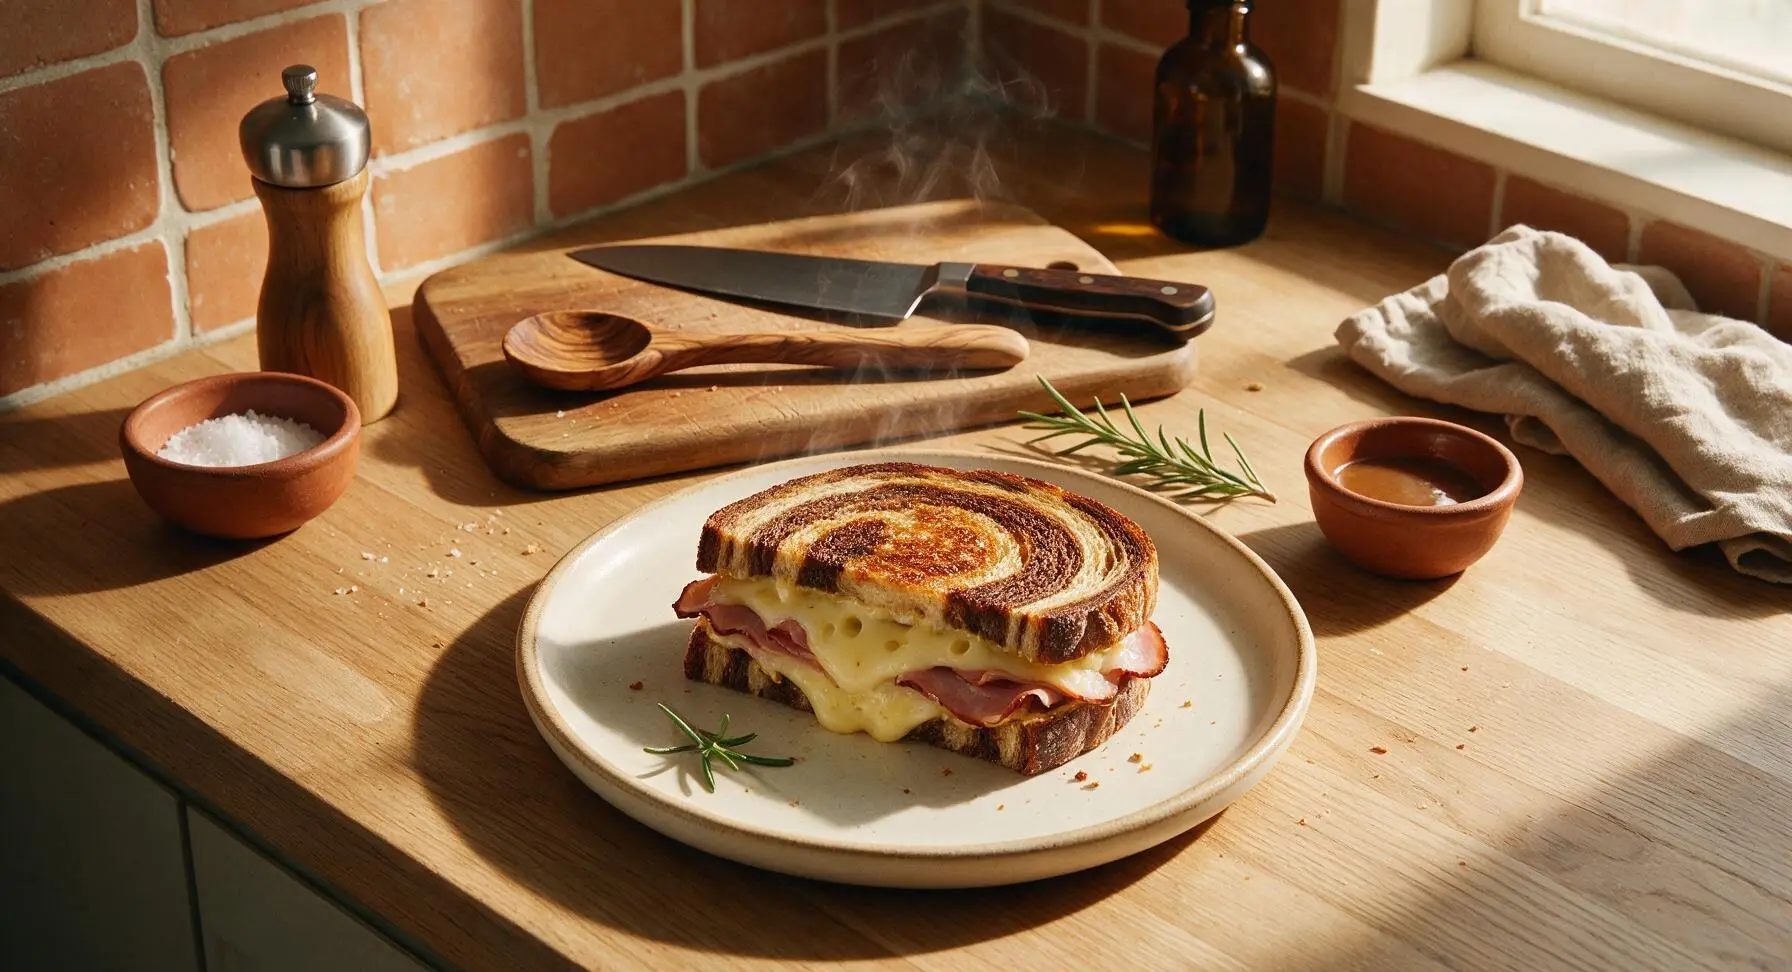
Crisp buttery marbled rye sandwiched around nutty melted Emmental, smoky Black Forest ham, and a hint of Dijon, for a perfectly melty Swiss grilled cheese ready in under 15 minutes.
Ingredients
Steps
Prep Bread Slices
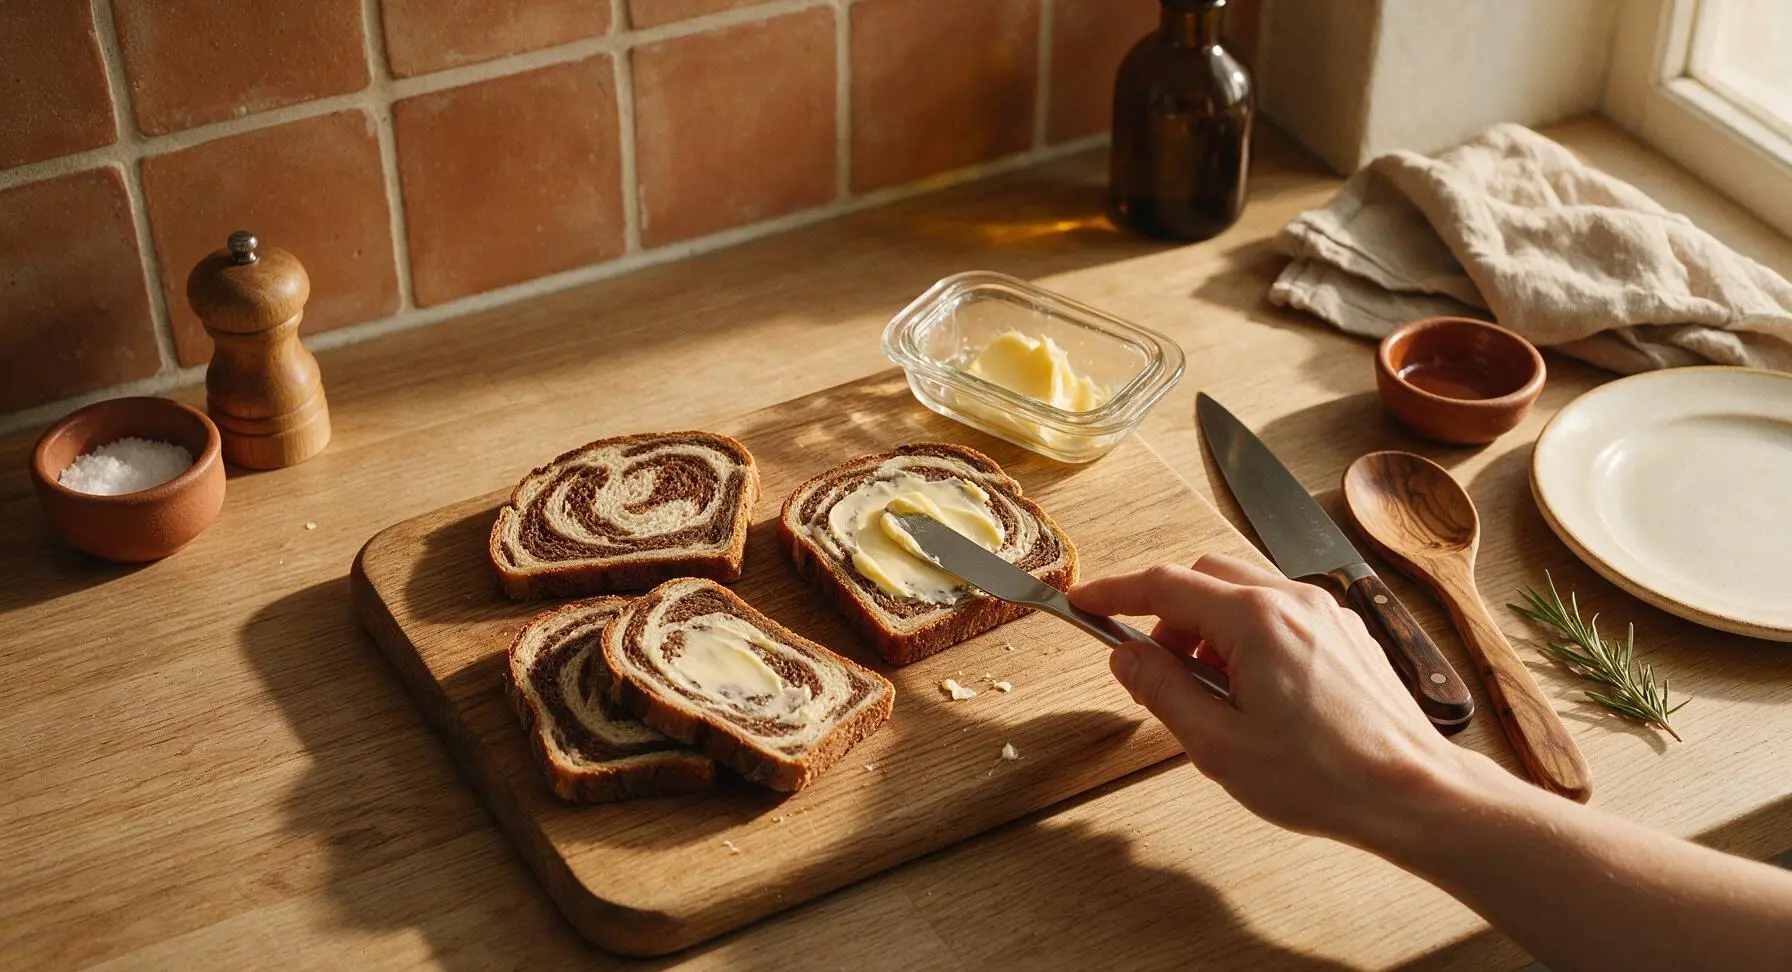
Lay the 4 slices of marbled rye bread flat on the light maple cutting board. Using the 15cm stainless steel butter spreader, spread 1/2 tablespoon of softened unsalted butter evenly across one entire side of each bread slice, spreading all the way to the crust edges to ensure even crisping. The butter layer should be thin enough that the dark and light rye marbling is still visible through it, not thick enough to pool or drip off the bread.
Spread Dijon Mustard
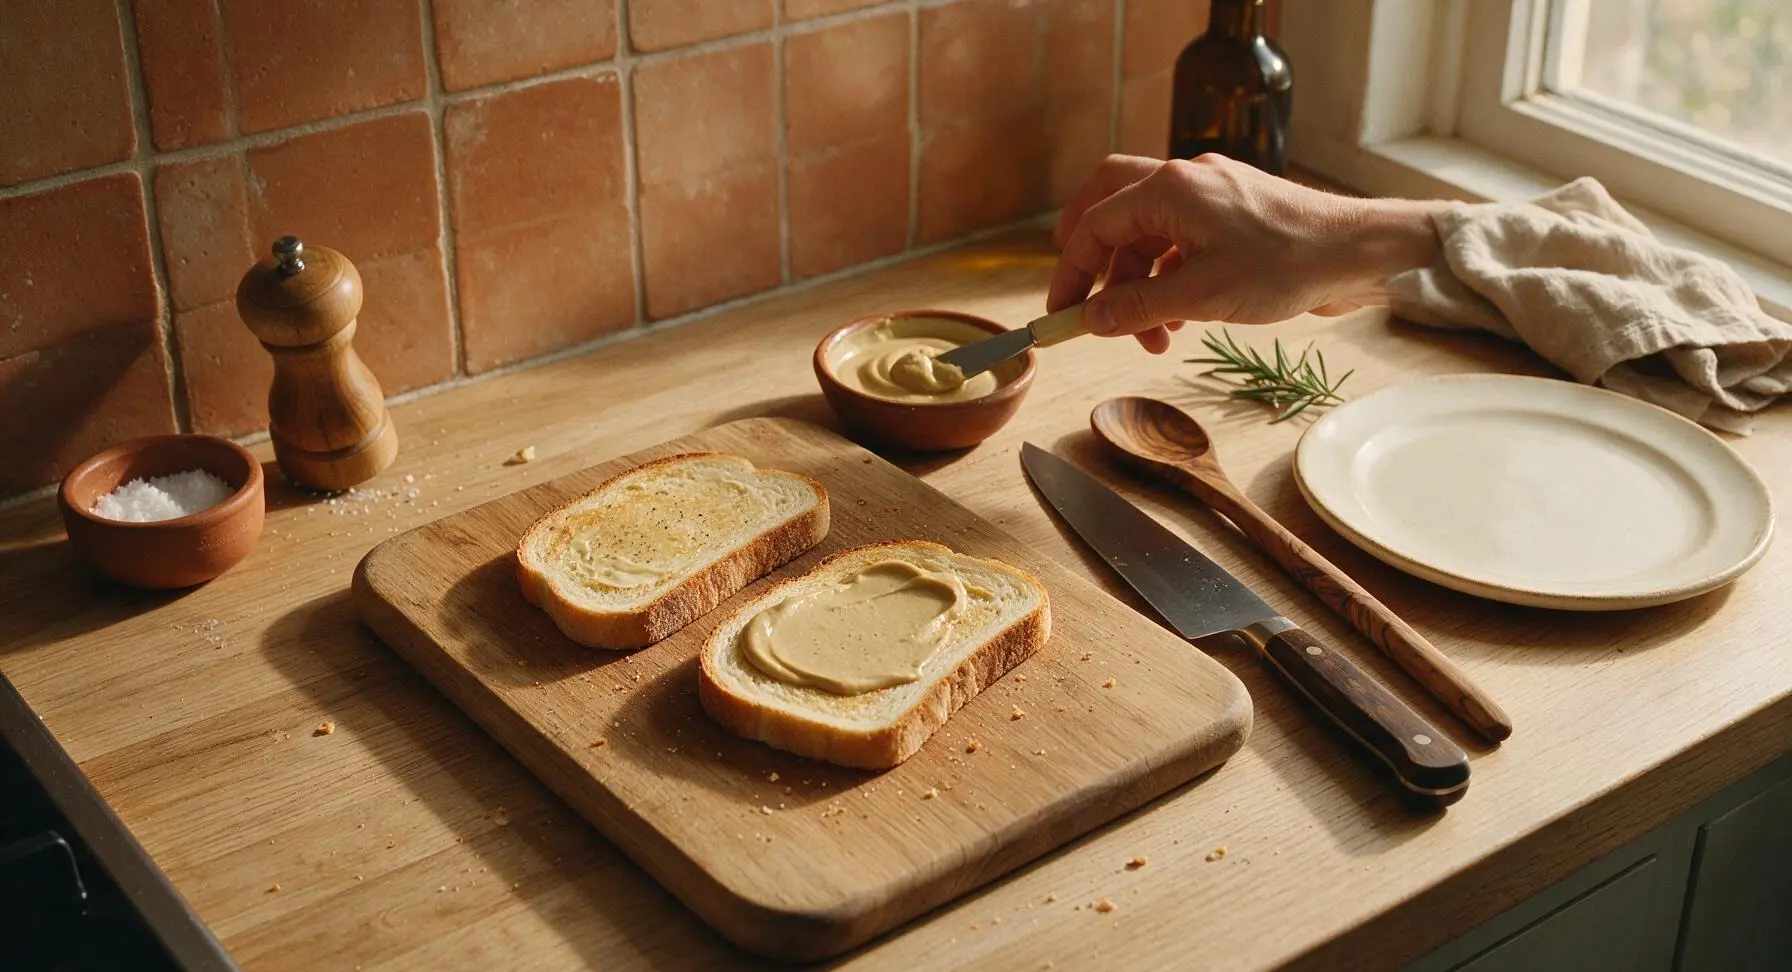
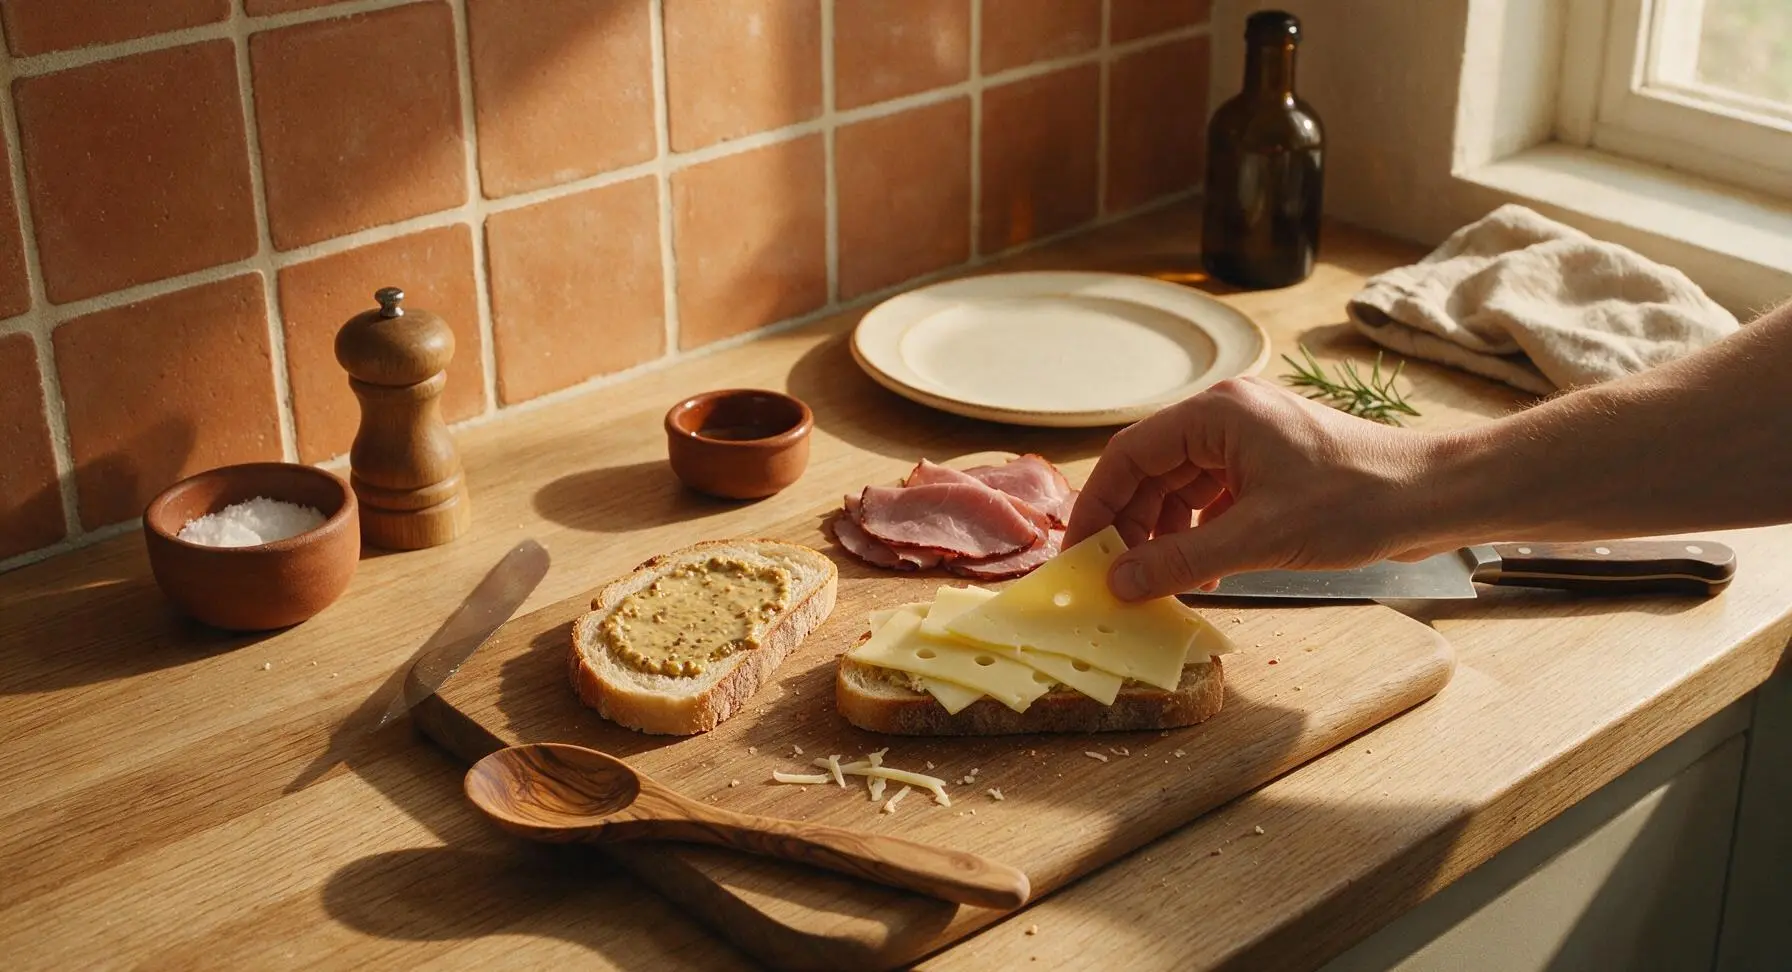
Flip two of the bread slices so the unbuttered side faces up. Spread 1/2 teaspoon of Dijon mustard evenly across the unbuttered surface of these two slices, using the tip of the butter spreader. Sprinkle the 1/8 teaspoon of freshly ground black pepper over the Dijon-coated bread for subtle, sharp depth.
Layer Cheese and Ham
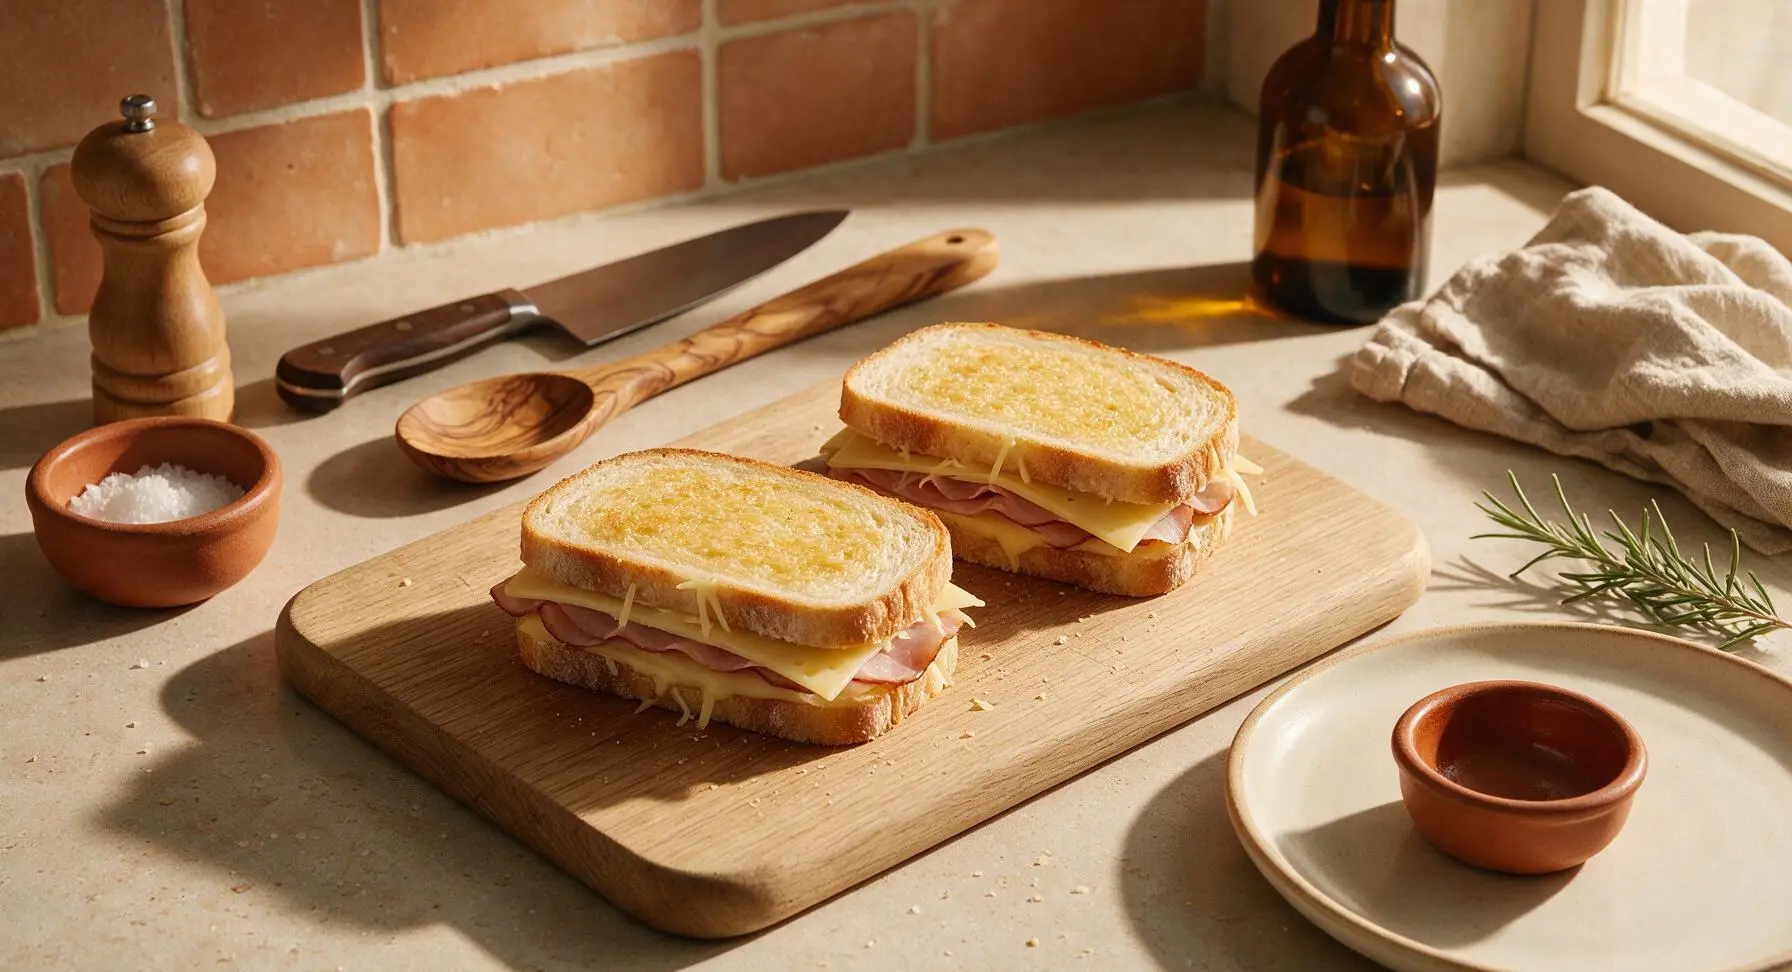
Divide half of the thinly sliced Emmental cheese evenly across the two Dijon-coated bread slices, tearing slices slightly to cover the bread edge to edge—this prevents bare bread spots and creates the signature stretchy cheese pull. Top the cheese with one thin slice of Black Forest ham per sandwich, then cover the ham with the remaining half of the Emmental cheese, again spreading to the very edges. Top each sandwich with the remaining two bread slices, buttered side facing out, pressing down gently to adhere the layers.
Preheat Carbon Steel Skillet
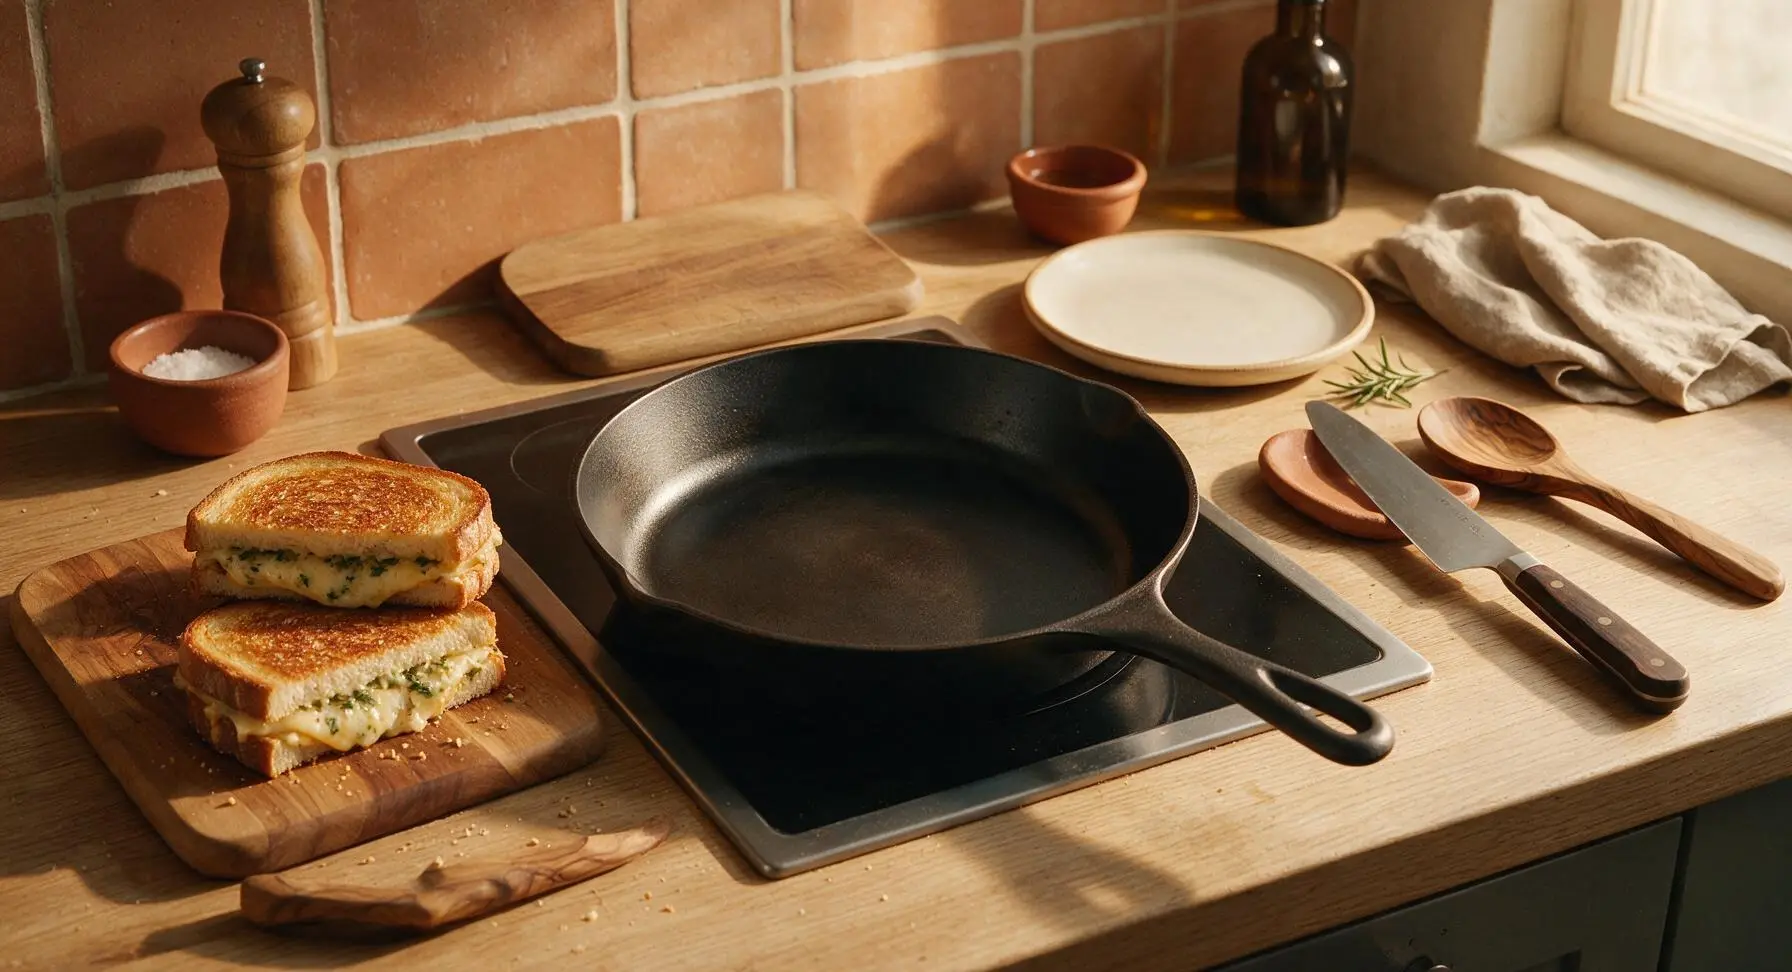
Retrieve the 10-inch matte black carbon steel skillet from its hanging position on the light oak wall utensil rail, and place it on the stovetop burner set to medium-low heat (325°F / 160°C). Let the skillet preheat for 2 full minutes—do not let it get so hot that butter smokes instantly on contact, as this will burn the bread before the cheese has time to melt through.
Cook First Sandwich Side
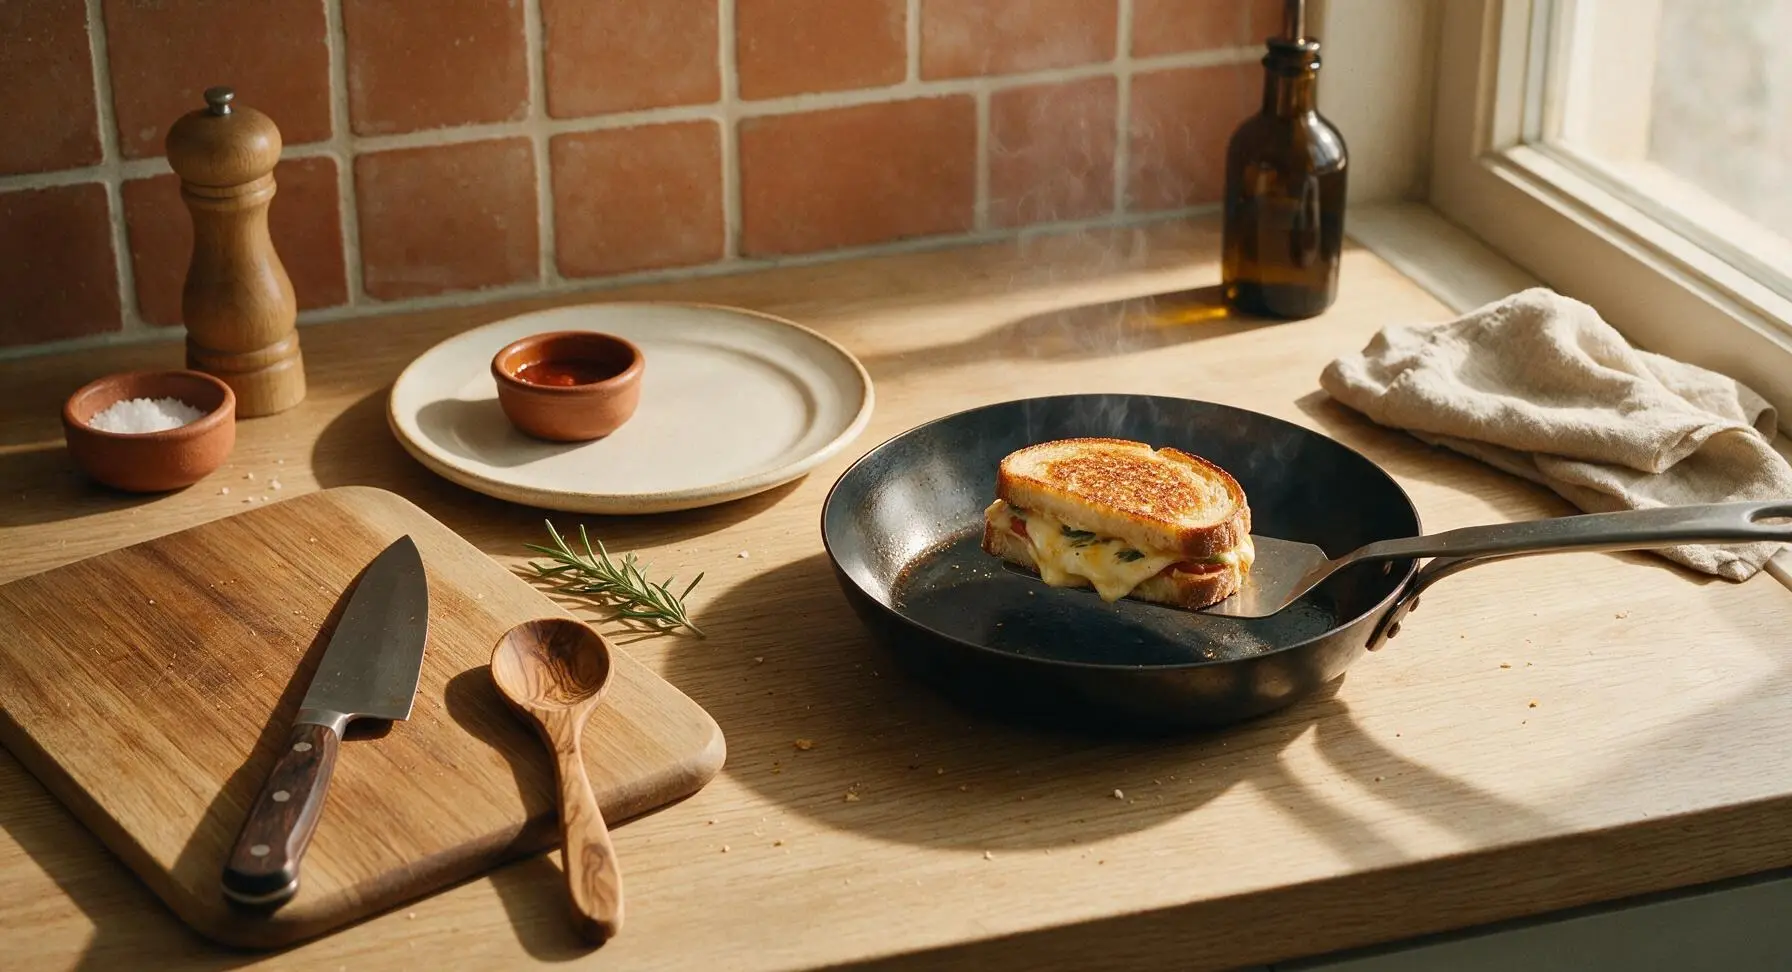
Carefully place one assembled sandwich in the preheated skillet using the offset metal spatula. Cook for 3 to 4 minutes, until the bottom bread slice is deep golden brown and crisp to the touch, and the cheese closest to the pan has started to melt and bubble slightly at the sandwich edges. Press down gently with the spatula once halfway through cooking to ensure even contact between the bread and pan surface.
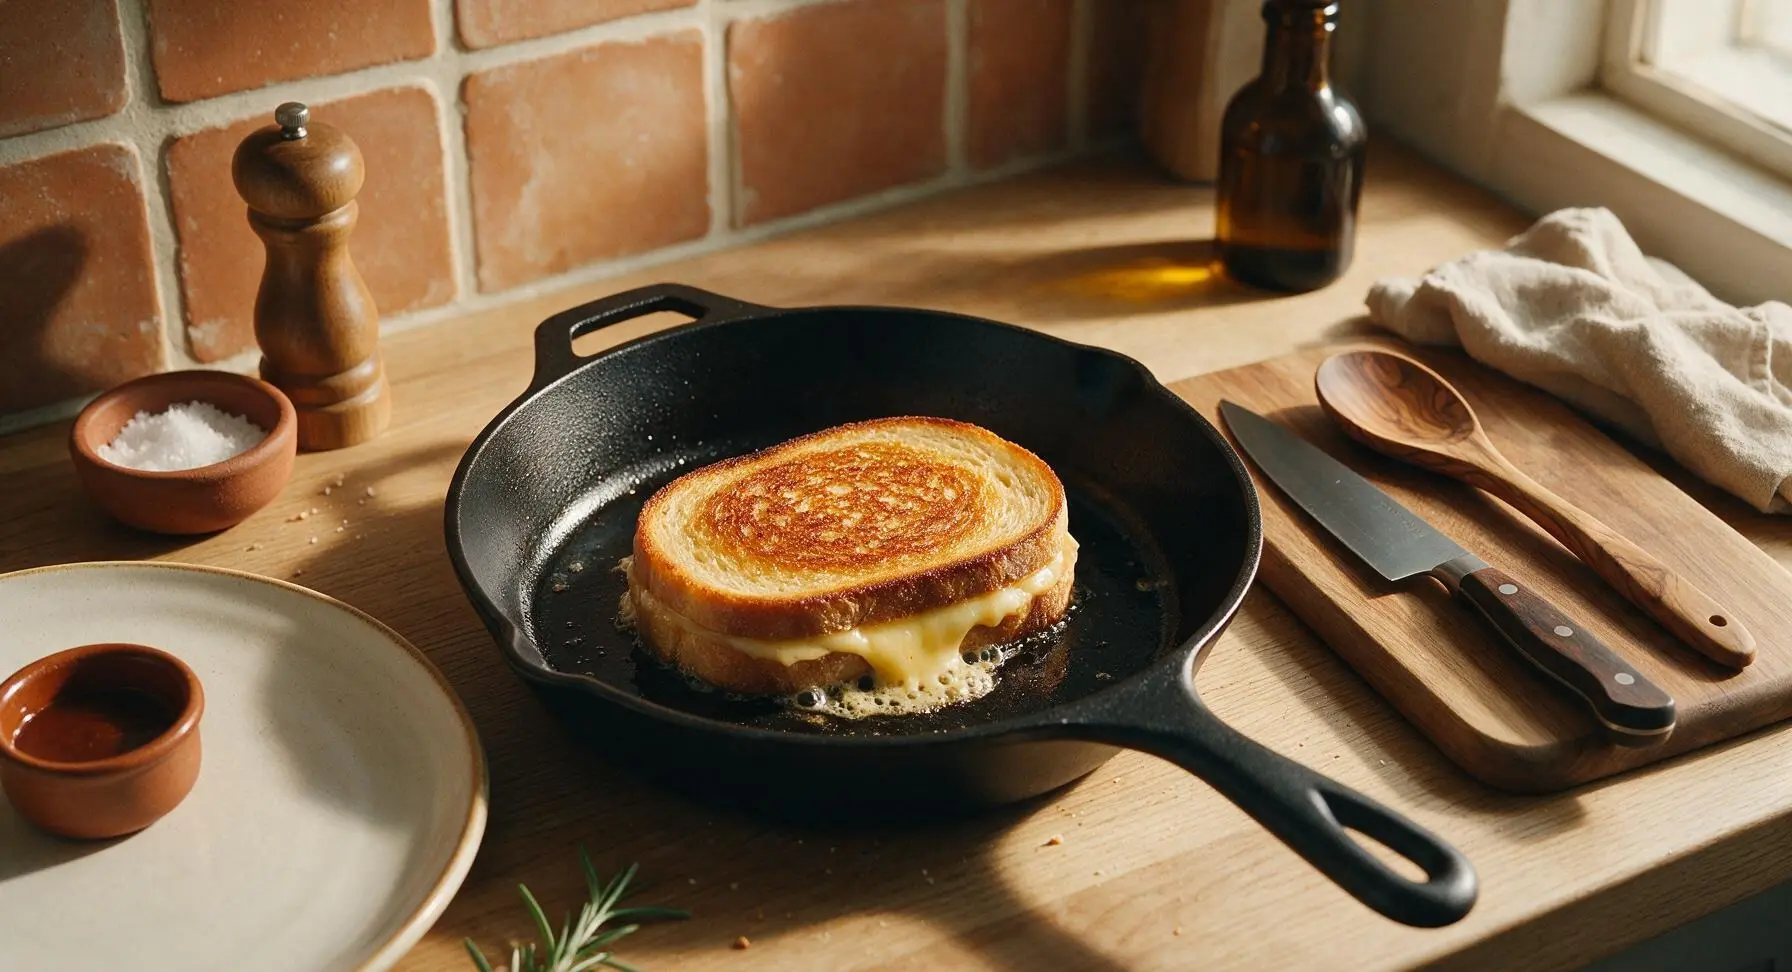
Flip and Finish Cooking
Slide the offset spatula fully under the cooked side of the sandwich, and flip it quickly and confidently to cook the second side. Cook for another 3 to 4 minutes, pressing gently once with the spatula, until the second side is equally golden and crisp, and all the cheese in the center is fully melted (steady, slow cheese bubbling at the edges confirms the center is melted). Repeat the full cooking process for the second sandwich.
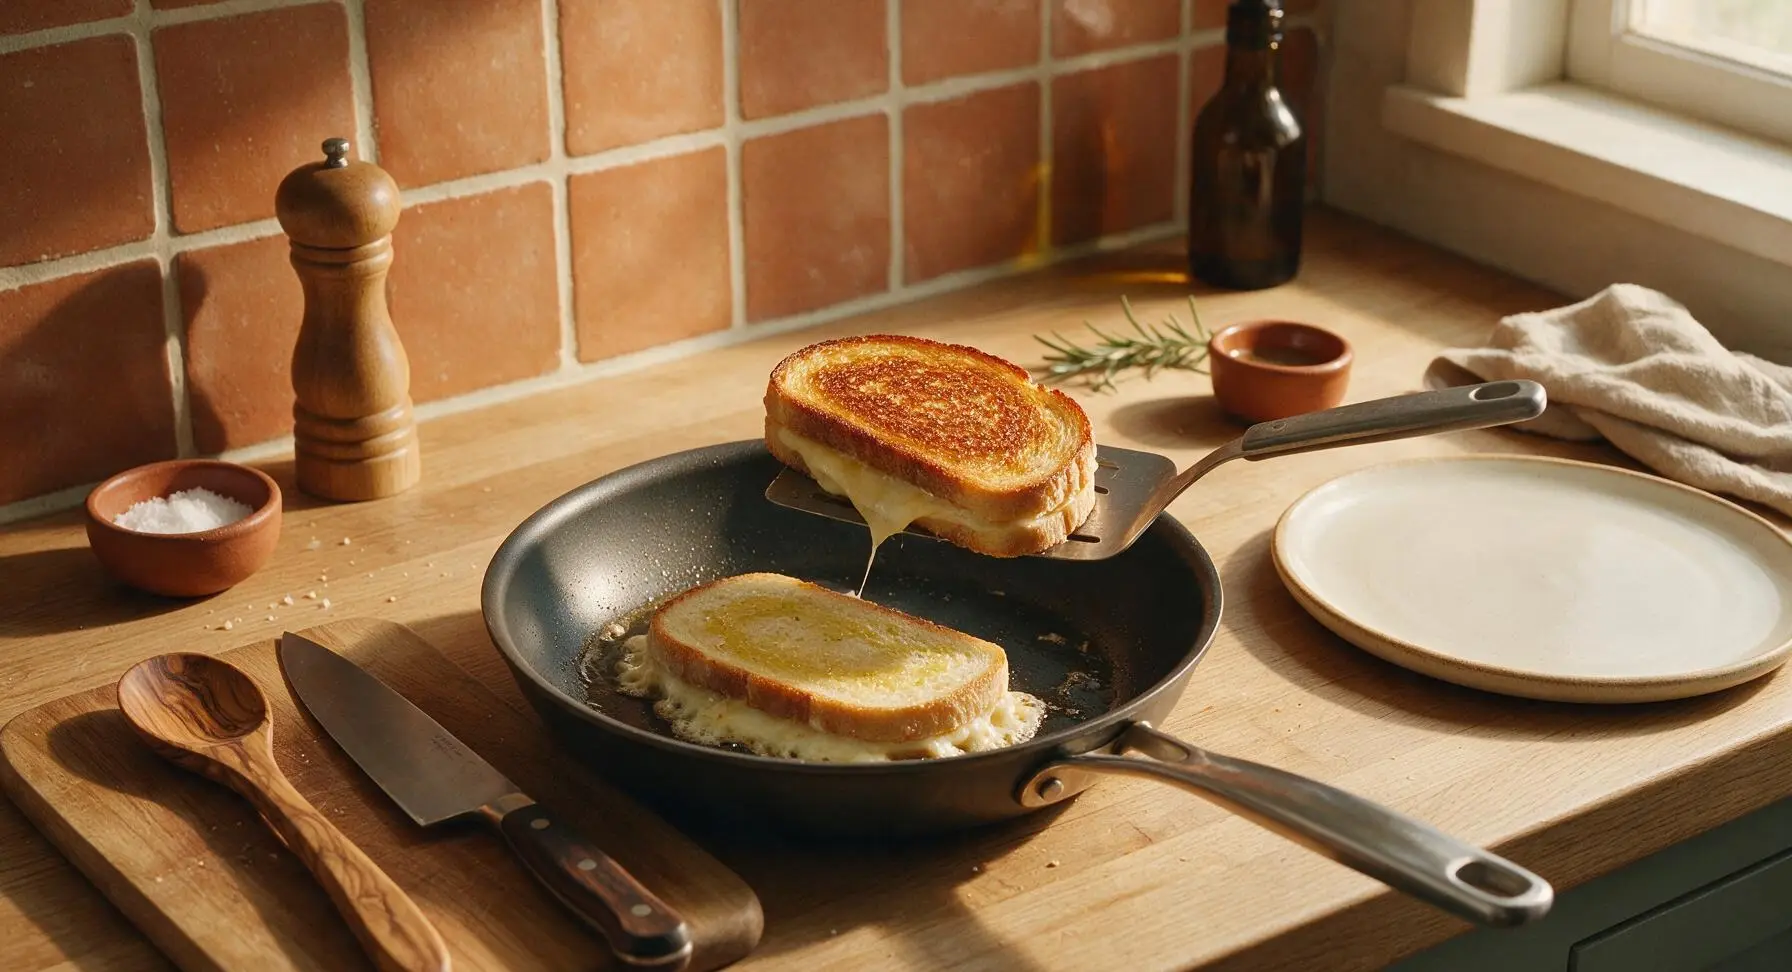
Rest, Slice, and Serve
Transfer both cooked sandwiches to the matte warm white stoneware dinner plate using the offset spatula. Let them rest for 1 full minute (this allows the molten cheese to set slightly so it does not run out when cut). Use the 7-inch olive wood-handled santoku knife to cut each sandwich diagonally into two equal triangles. Sprinkle with fresh thyme leaves, and serve immediately.
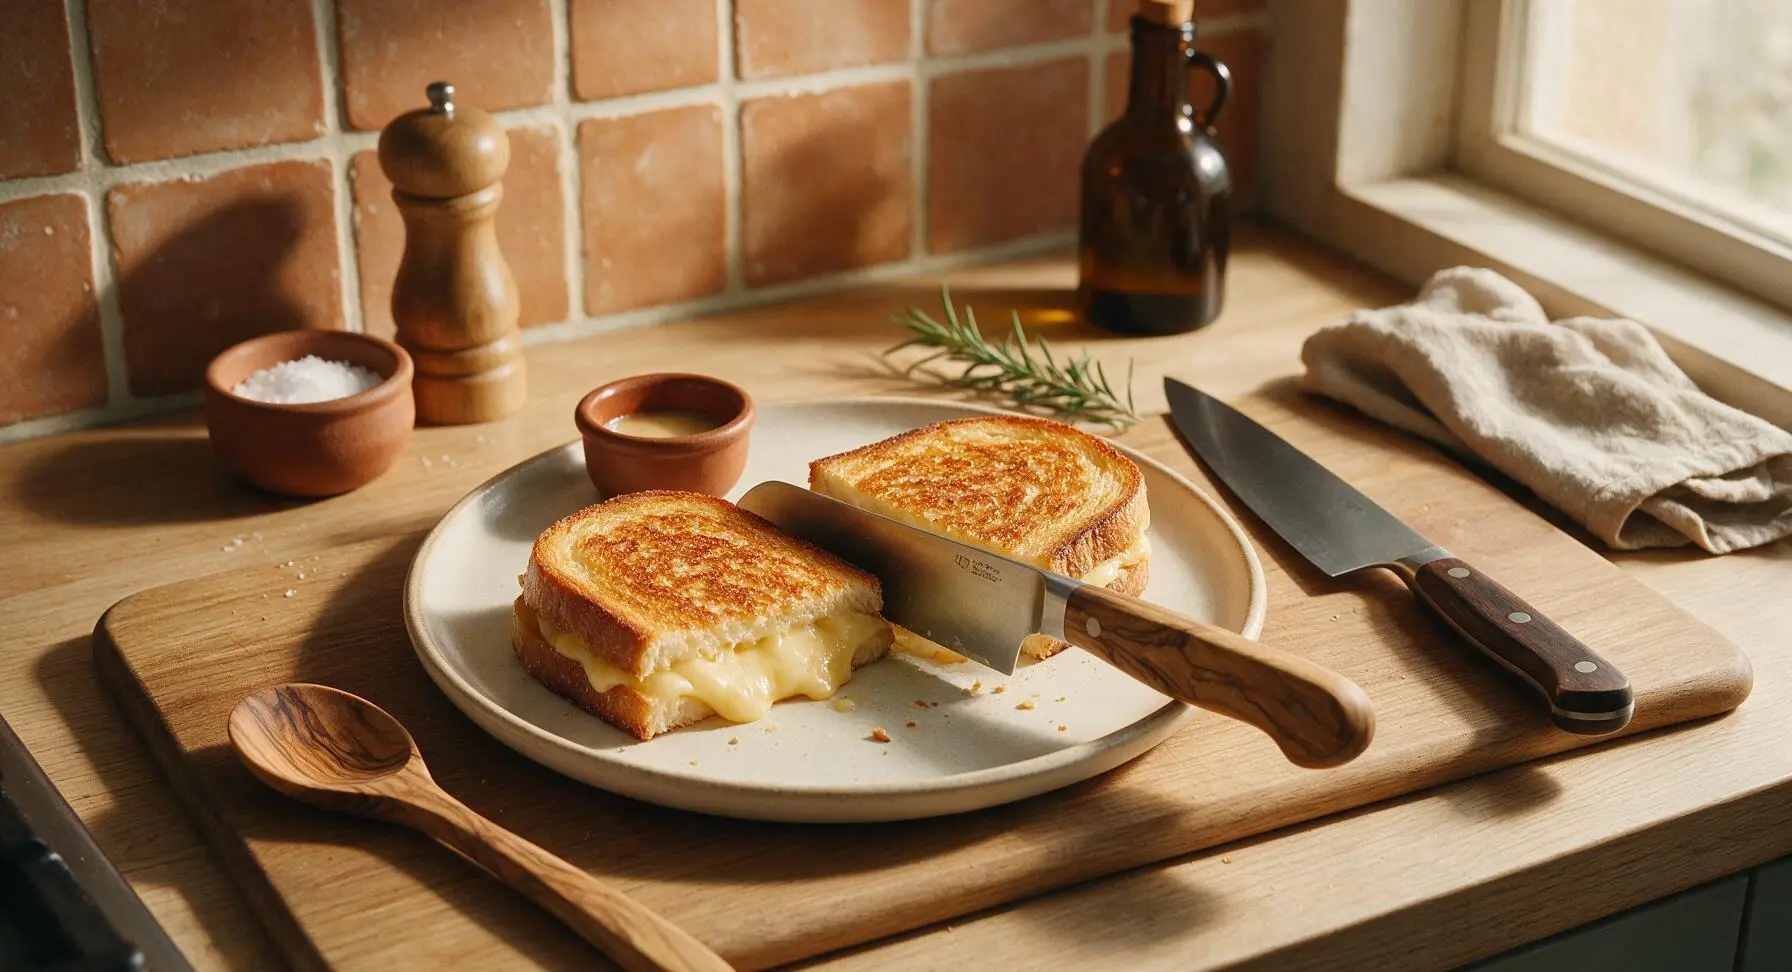
Tips
2.Always cook on medium-low heat (325°F / 160°C) rather than high heat: high heat will quickly char the buttered bread surface and turn the butter bitter before the dense Emmental cheese has time to fully melt into a smooth, gooey texture across the entire sandwich.
3.Let the cooked sandwich rest for 1 full minute before slicing: this short pause lets the molten cheese thicken slightly so it does not gush out the sides when you cut or take your first bite, while the bread remains perfectly crisp and buttery.
4.Butter all the way to the bread edges: bare unbuttered bread edges will turn dry and pale instead of golden and crisp, leaving unappetizing soft spots around the sandwich perimeter.






OMG this is SO good! I threw this together last night for a quick weeknight dinner when I forgot to thaw chicken, and my whole family devoured it. The Swiss gets so perfectly melty, no weird stringy chewy mess like other grilled cheeses I’ve made. 10/10
Game changer for school lunch prep! I make these on Sunday, wrap them up, and reheat for 30 seconds in the lunchbox thermos and they taste just as good as fresh. My kids keep asking for extra, even my picky 4 year old who refuses most cheese!
Took me literally 7 minutes start to finish, no joke. Used some sourdough I had left over from the weekend and a slice of ham with the Swiss, absolute perfection. Way better than the sad deli grilled cheese I get on my lunch break.
Added a thin layer of dijon and some sautéed spinach to mine, and wow. The nuttiness of the Swiss pairs so much better with veggies than cheddar does, I’ll never go back. So easy to tweak too!
Made these for our neighborhood potluck last weekend, set them out cut into little triangles as an appetizer and they were gone in 10 minutes flat. Everyone was asking for the recipe! I did half with Swiss and half with Gruyere for a little extra depth, both slapped.
Only giving 4 stars because I burned the first batch by getting distracted by my dog, but the second batch? *Chef’s kiss.* The cook time is so fast you really can’t walk away, lesson learned. So creamy, no weird oily separated cheese mess like I get when I use American slices sometimes.
Literally the first thing I’ve made in my dorm kitchen that didn’t come out terrible. No fancy equipment needed, just a pan, butter, bread and cheese. My roommate stole half of it and Venmoed me $5 to make another one tomorrow lmao
Made this with my favorite gluten free sourdough and it worked perfectly! I was worried the GF bread would get too crunchy or fall apart, but it held up great with the melted Swiss. Finally a grilled cheese recipe that doesn’t require fancy GF specific adjustments!
Made this at 2am after getting home from the bar, hit harder than any fast food run I’ve ever made. 8 minutes is exactly how long I’m willing to wait for food when I’m that hungry, no notes.
Added tomato slices and a little turkey bacon to mine for a balanced lunch, so good. The Swiss doesn’t overpower the other fillings like sharp cheddar can, it’s the perfect mild, melty base. Will be adding this to my weekly rotation for sure.
I’ve been making grilled cheese for 60 years and this recipe is easily one of the best versions I’ve tried. The low and slow melt for the Swiss makes all the difference – I used to cook it on too high heat and the cheese wouldn’t melt all the way before the bread burned. Who says you can’t teach an old dog new tricks!
Made these for the kids after practice last night, paired with tomato soup for dipping. They didn’t even complain about the “fancy cheese” like they usually do when I buy something that isn’t neon orange American. Win for mom!
Tried this with a little smoked paprika sprinkled on the buttered bread, holy cow. The smokiness pairs so well with the nutty Swiss, it tastes like something you’d pay $15 for at a fancy bistro for a fraction of the cost and time. Can’t rave enough.
Total win for grocery budget week! All the ingredients were stuff I already had in the fridge, no random expensive specialty items needed. Swiss is usually way cheaper at my store than fancy artisanal cheeses too, so this is going to be a staple.
Perfect rainy day comfort food! Made a batch while watching movies yesterday, so cozy. The crispy buttered bread and oozing Swiss is exactly what I needed after a long stressful week at work.
I used to avoid Swiss cheese because I thought it was too strong, but this recipe converted me. It’s so mild and creamy when it’s melted like this, I can’t believe I slept on it for so long. Even my partner who hates all “stinky cheeses” loved it.
Served these at my last brunch with a side of fruit and mimosas, all my girls were obsessed. Cut them into little squares with a toothpick and a pickle on the side, cutest easiest brunch app ever. Way less work than making quiche or pancakes for a crowd.
Burned the butter a little on my first try but it still slapped. Next time I’ll turn the heat down like the recipe says, whoops. Even with my mess up it was better than any fast food grilled cheese I’ve ever had. 10/10 easy enough for people who can barely cook like me.
Paired this with homemade tomato soup last night when it was 20 degrees outside, and I swear I felt my cold bones thaw out. 8 minute cook time is perfect when you get home frozen and don’t want to wait an hour for dinner.