
taco roll ups
intro
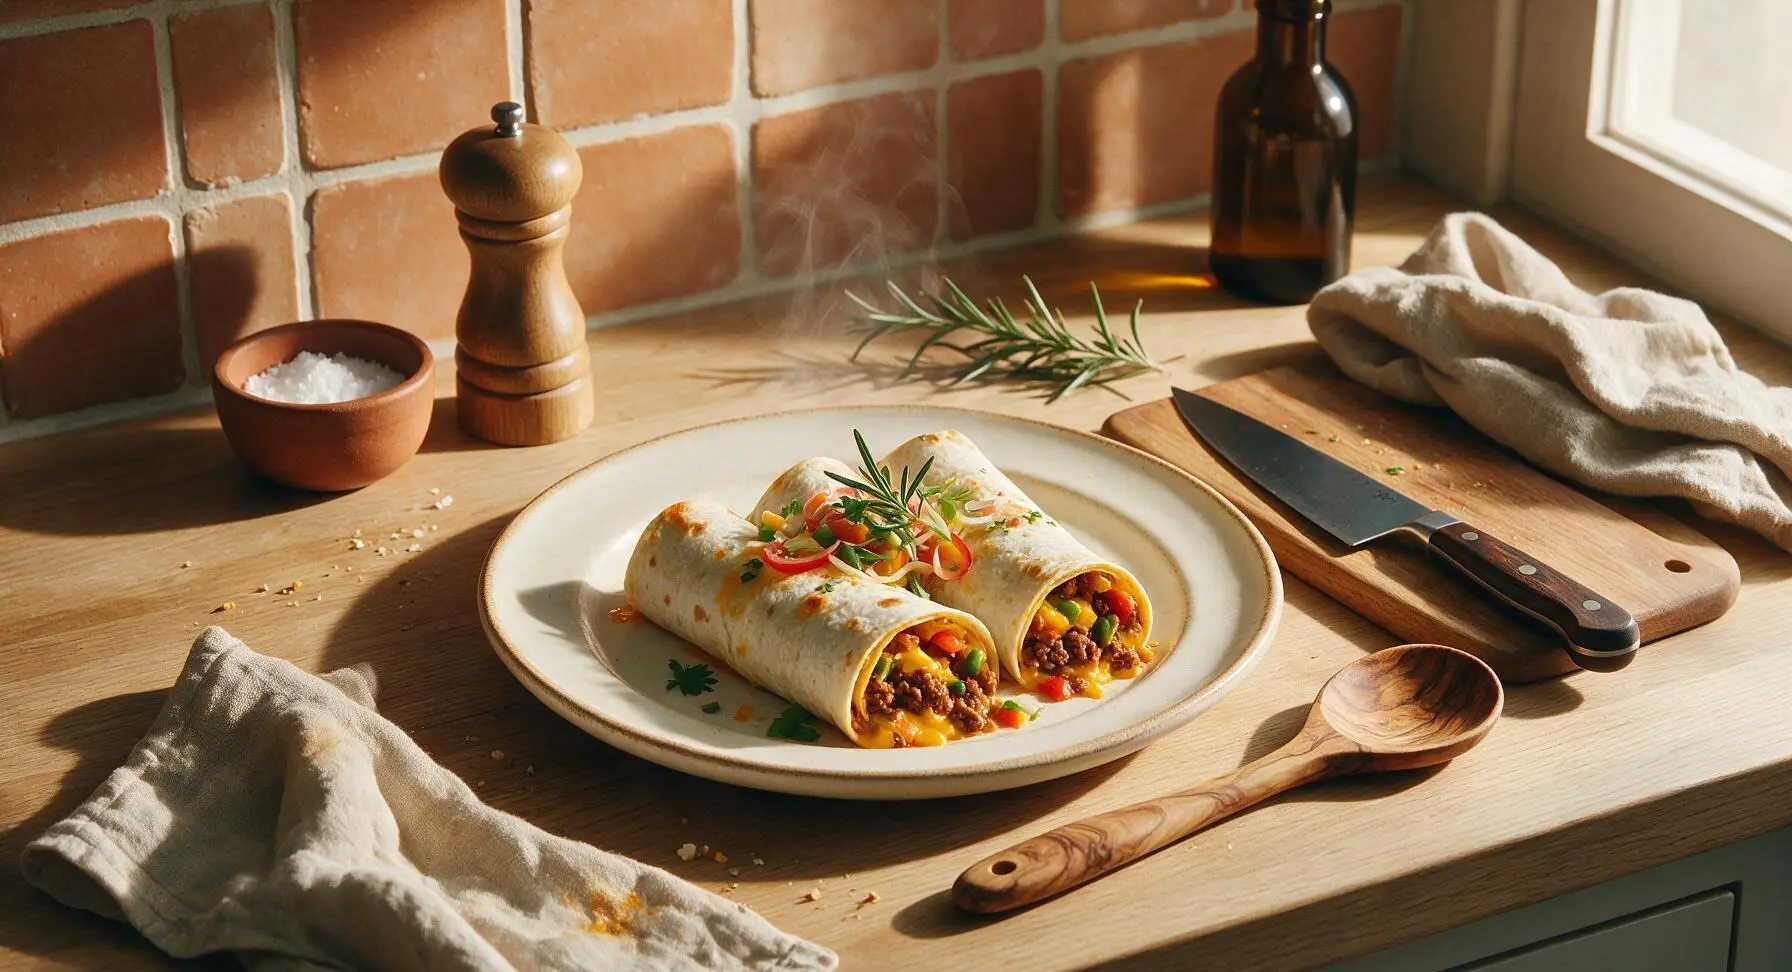
Creamy, zesty chilled taco roll ups packed with seasoned beef, melted cheddar, and bright veggies—perfect handheld, no-mess party bites that come together with minimal effort.
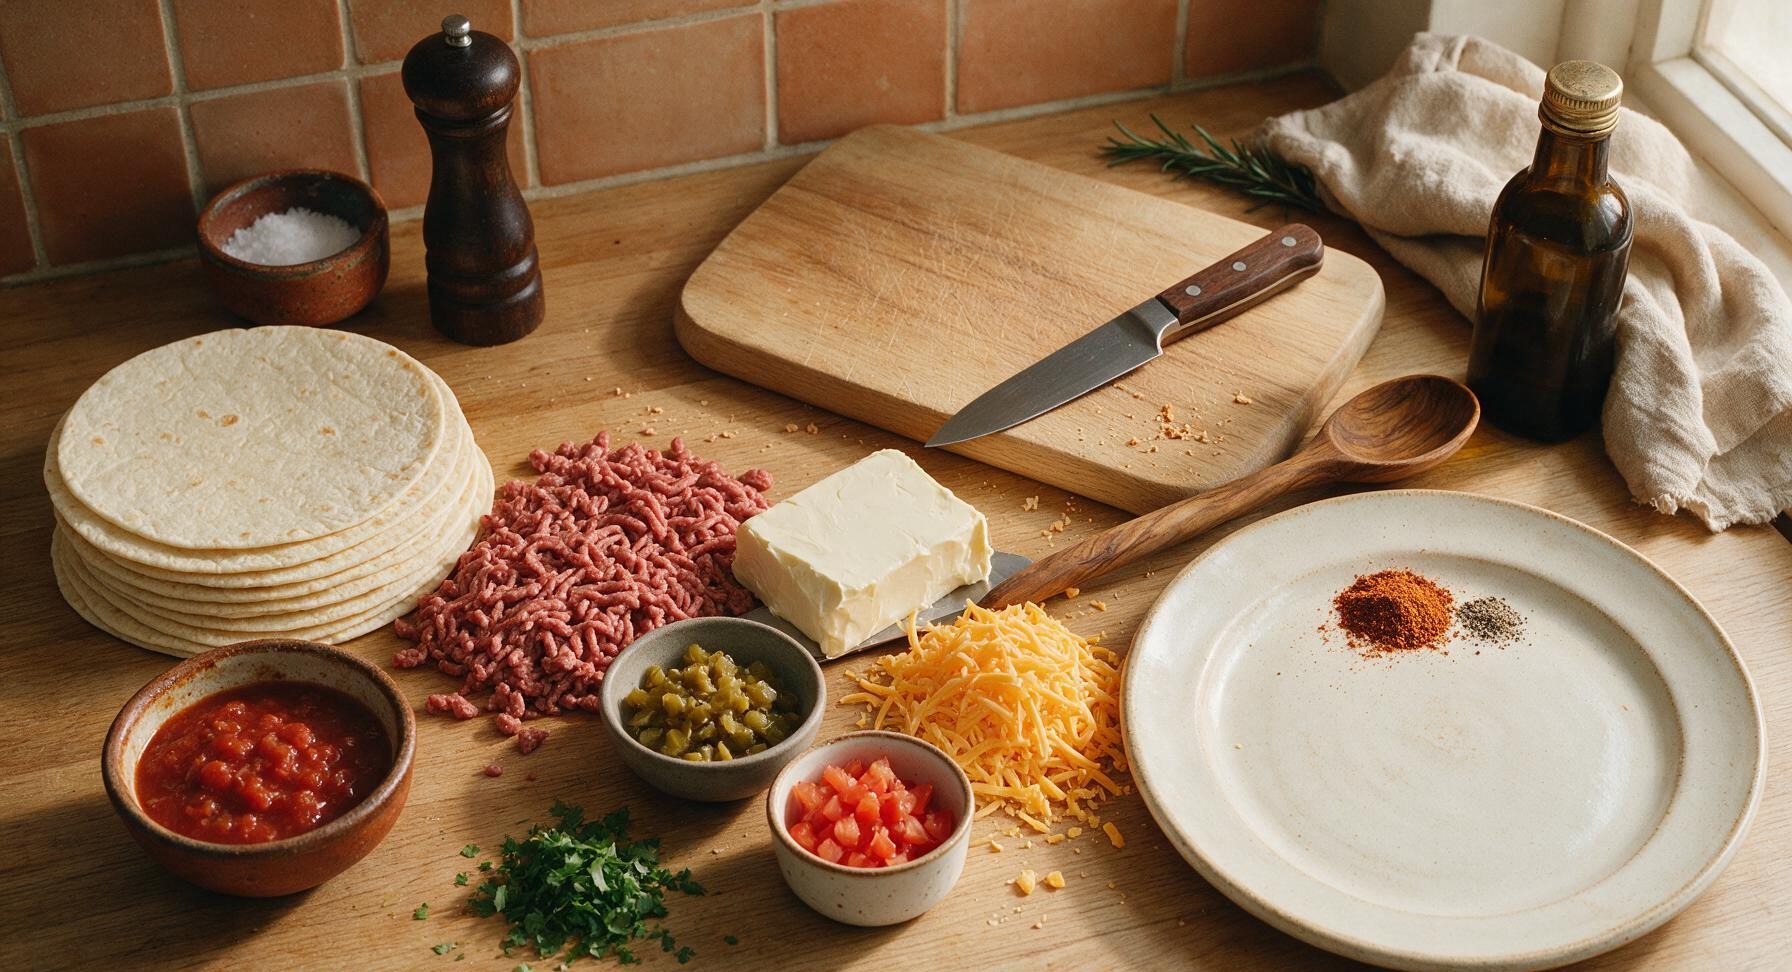
Ingredients
Steps
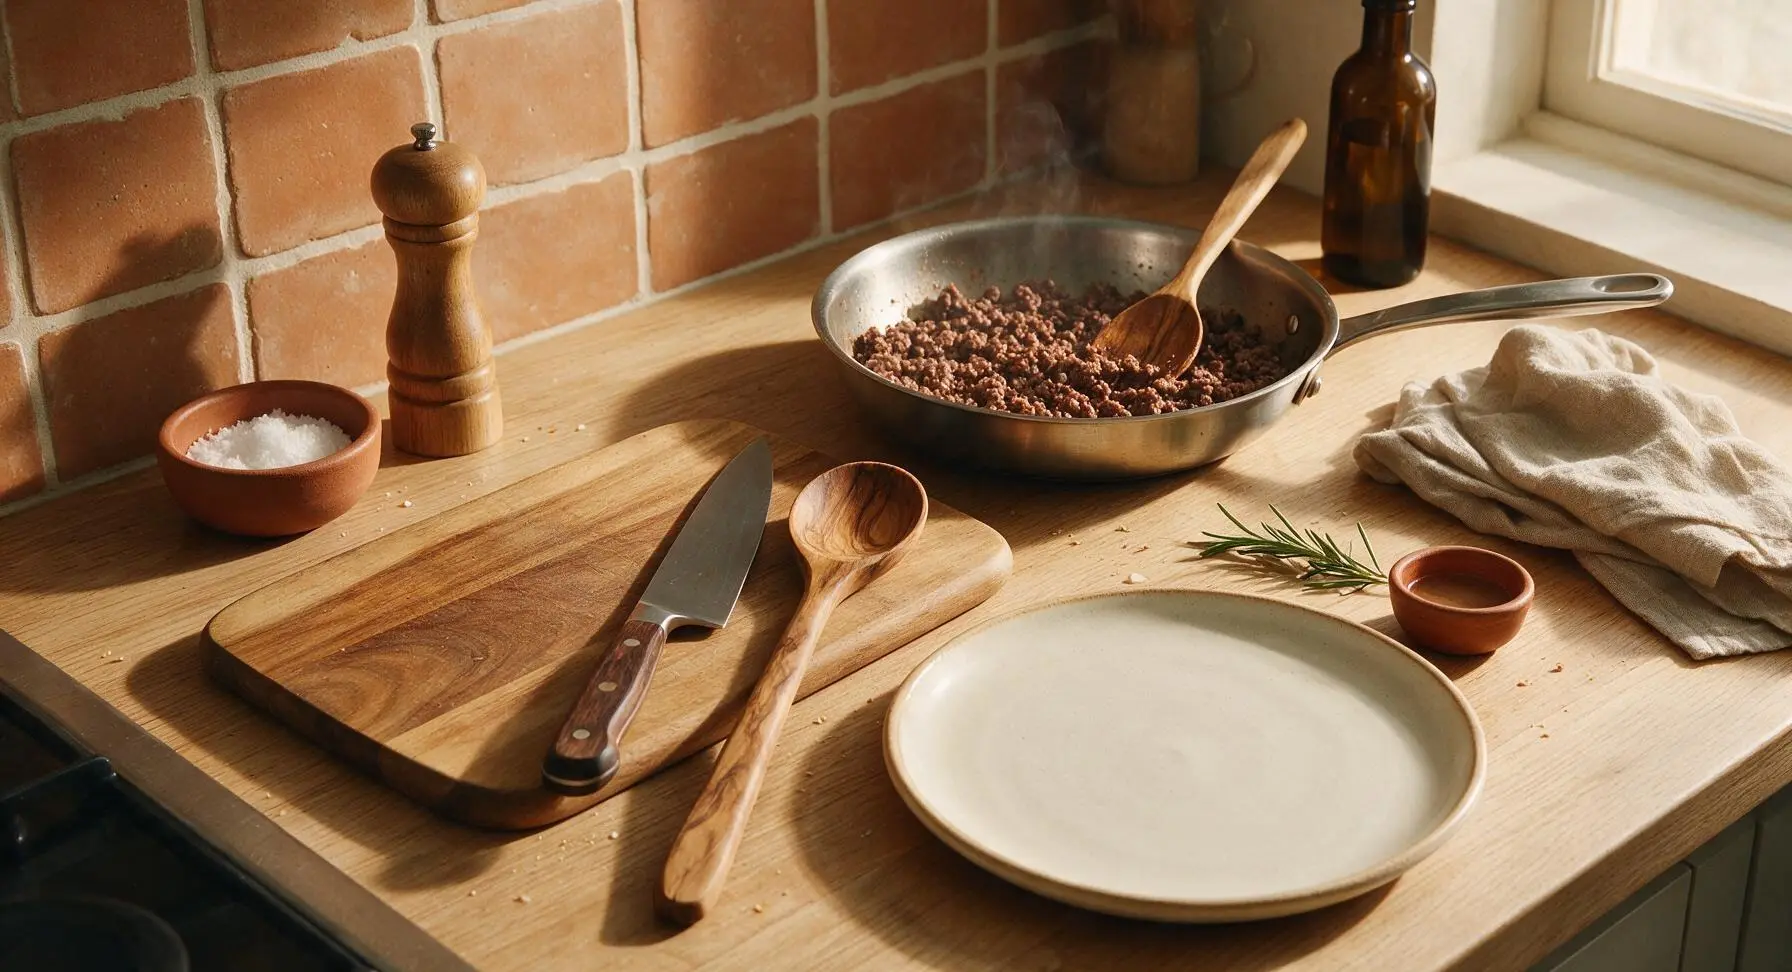
Brown the Ground Beef
Place the stainless steel skillet over medium heat (350°F/175°C). Add the 450g lean ground beef, breaking it apart into small crumbles with the acacia wood spoon as it cooks. Cook for 8-10 minutes, until the beef is fully browned with no visible pink remaining, and all rendered cooking liquid has evaporated. Drain any excess grease from the skillet, then set the beef aside to cool for 5 minutes before mixing into the filling.
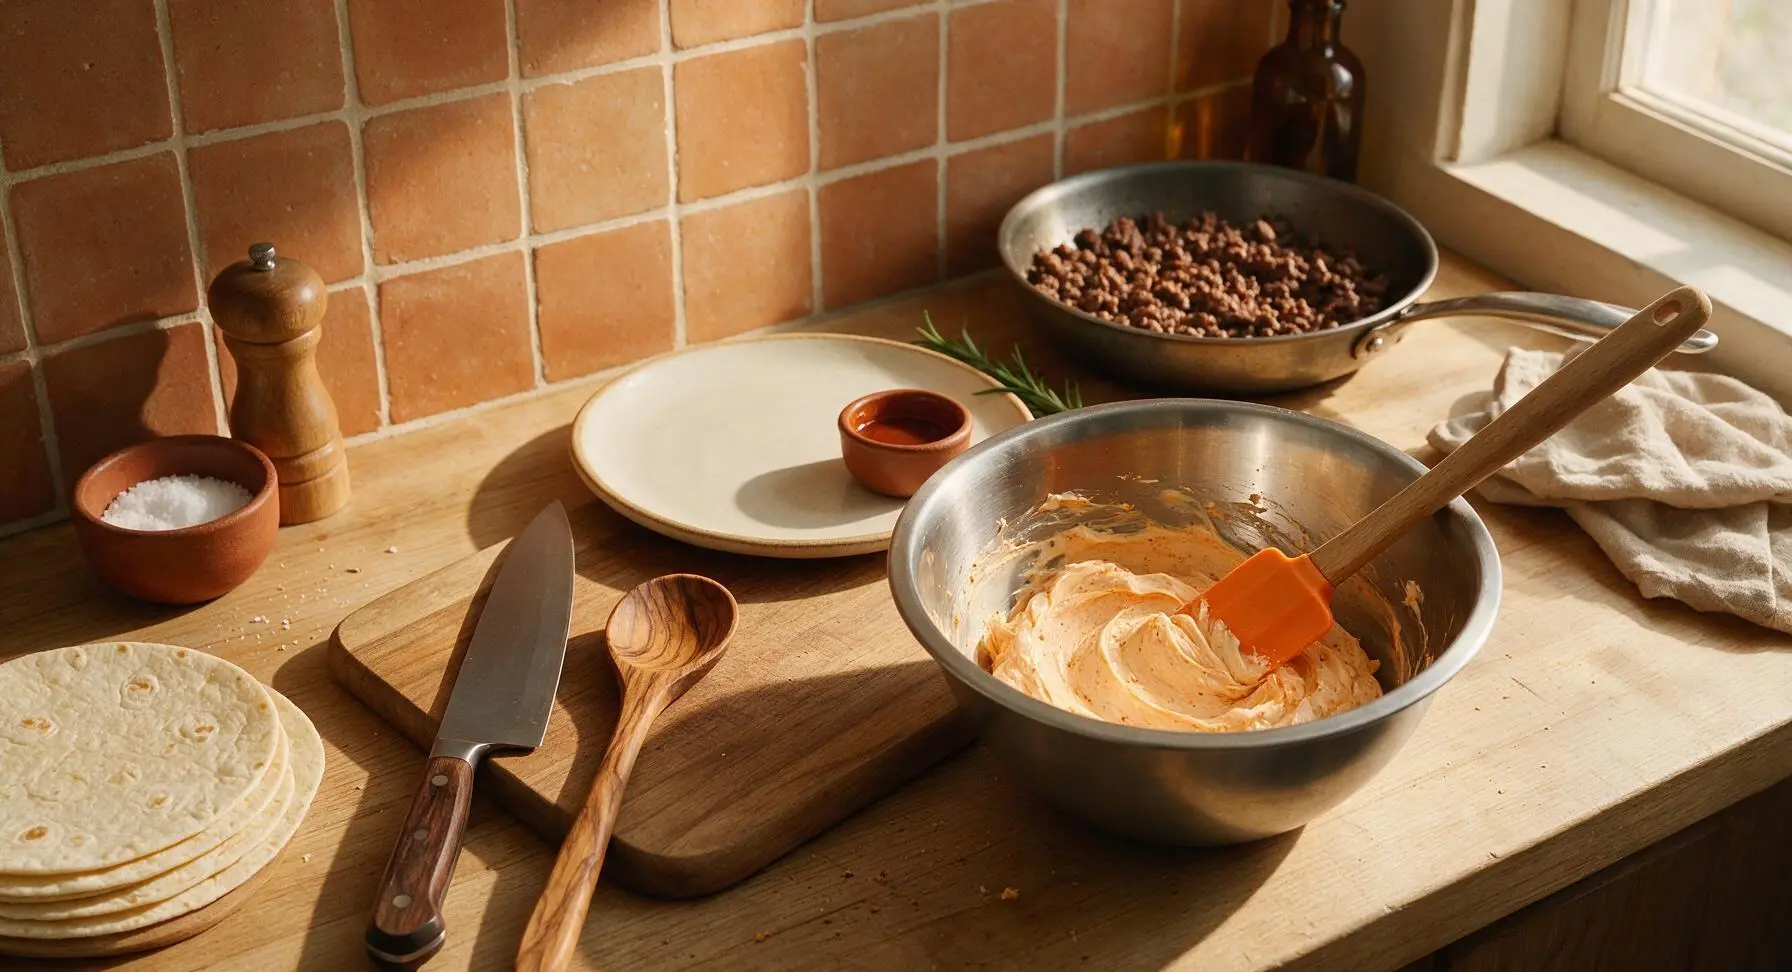
Mix Creamy Filling Base
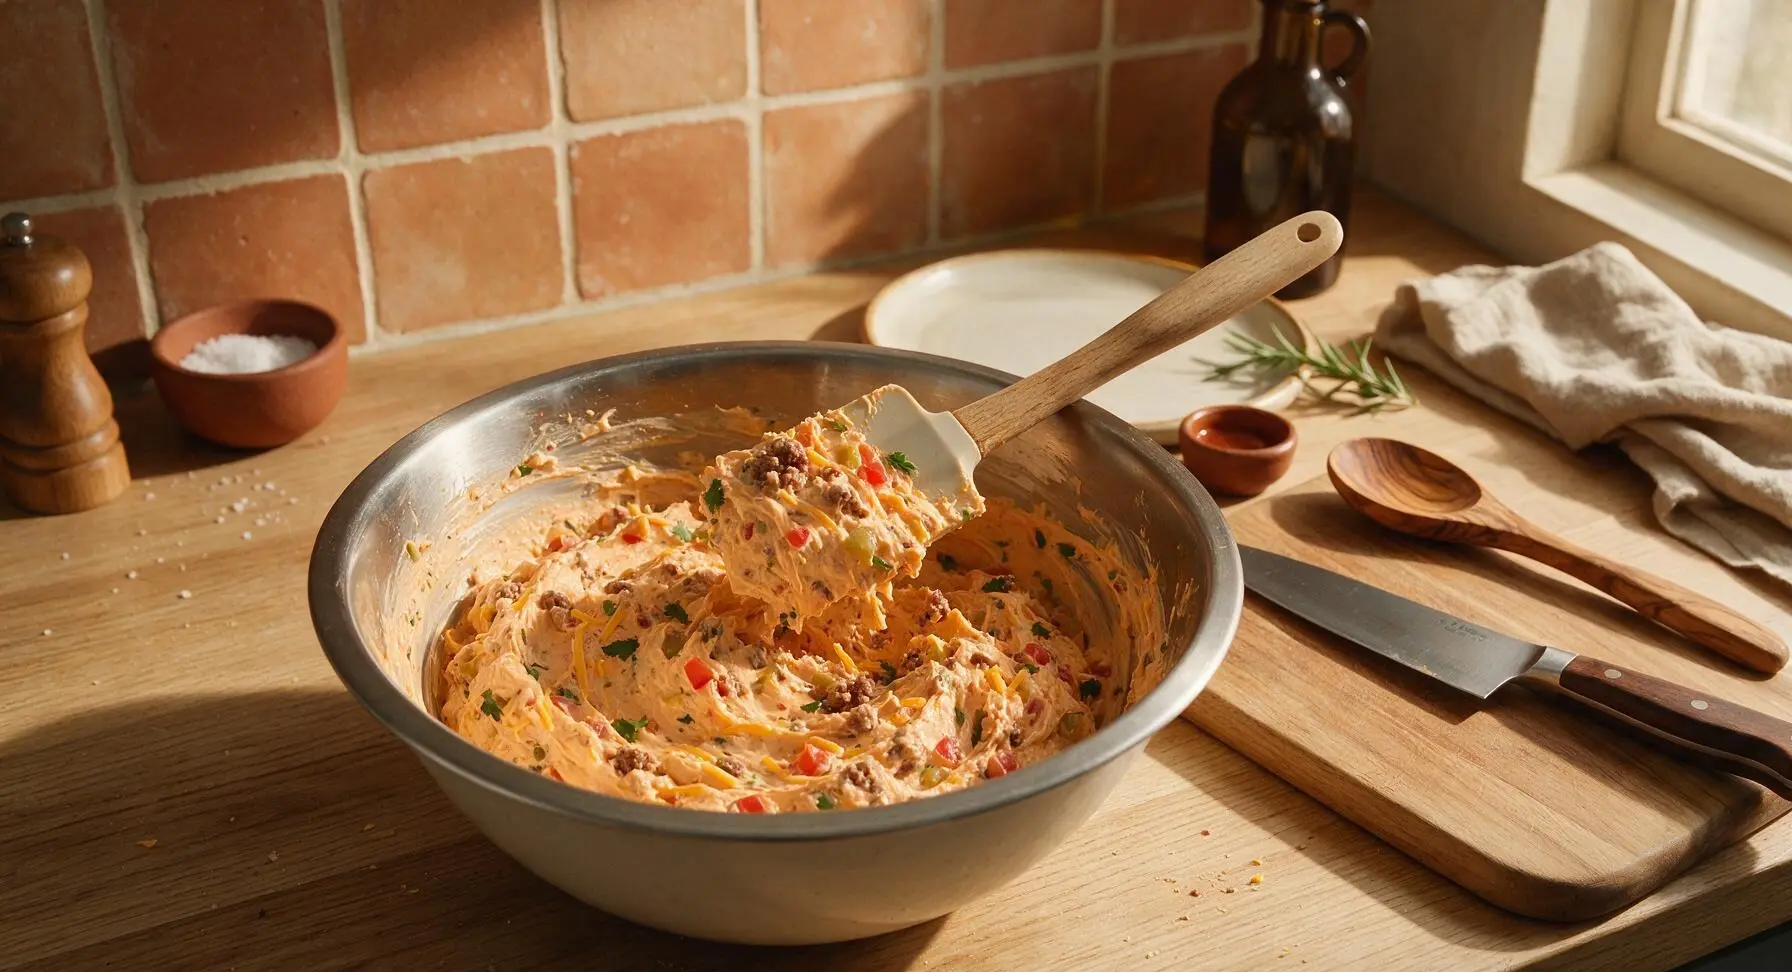
In the brushed stainless steel mixing bowl, combine the 225g softened room-temperature cream cheese, 2 tablespoons taco seasoning, 1/4 teaspoon kosher salt, and 1/8 teaspoon freshly ground black pepper. Use the tangerine silicone spatula to stir the mixture for 1 full minute, until completely smooth with no visible lumps of cream cheese, and the taco seasoning is evenly distributed to create a pale orange base.
Fold in Filling Mix-Ins
Add the cooled, drained ground beef, 1 cup shredded sharp cheddar, 1/4 cup drained diced green chiles, 1/4 cup seeded diced Roma tomato, and 2 tablespoons finely chopped cilantro to the smooth cream cheese base. Stir gently with the silicone spatula for 30 seconds, until all ingredients are evenly distributed, taking care not to mash the tomato pieces. The finished filling should be thick and cohesive, holding its shape when lifted on the spatula.
Lay Out Tortillas
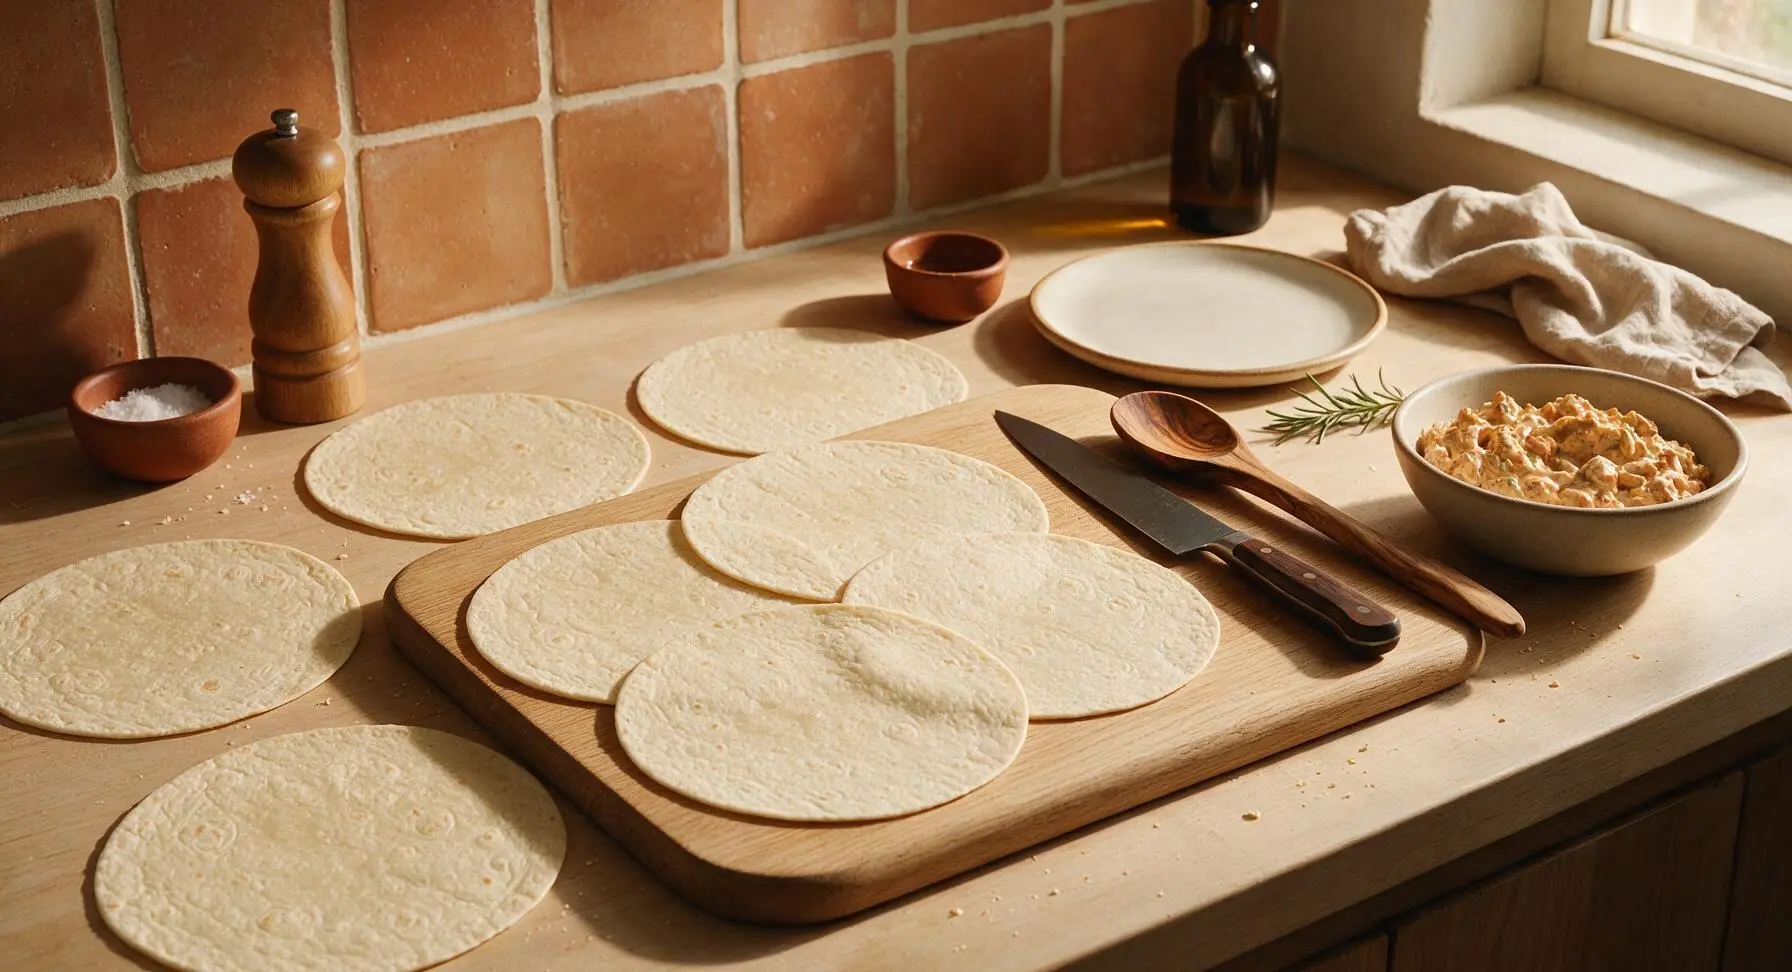
Lay all 8 large flour tortillas flat in a single layer across the bamboo cutting board and adjacent clean counter space. If tortillas feel stiff and inflexible, microwave them for 10 seconds on high to make them pliable and prevent cracking during rolling. Pat any excess surface moisture from tortillas with a corner of the cream cotton towel if needed.
Spread Filling on Tortillas
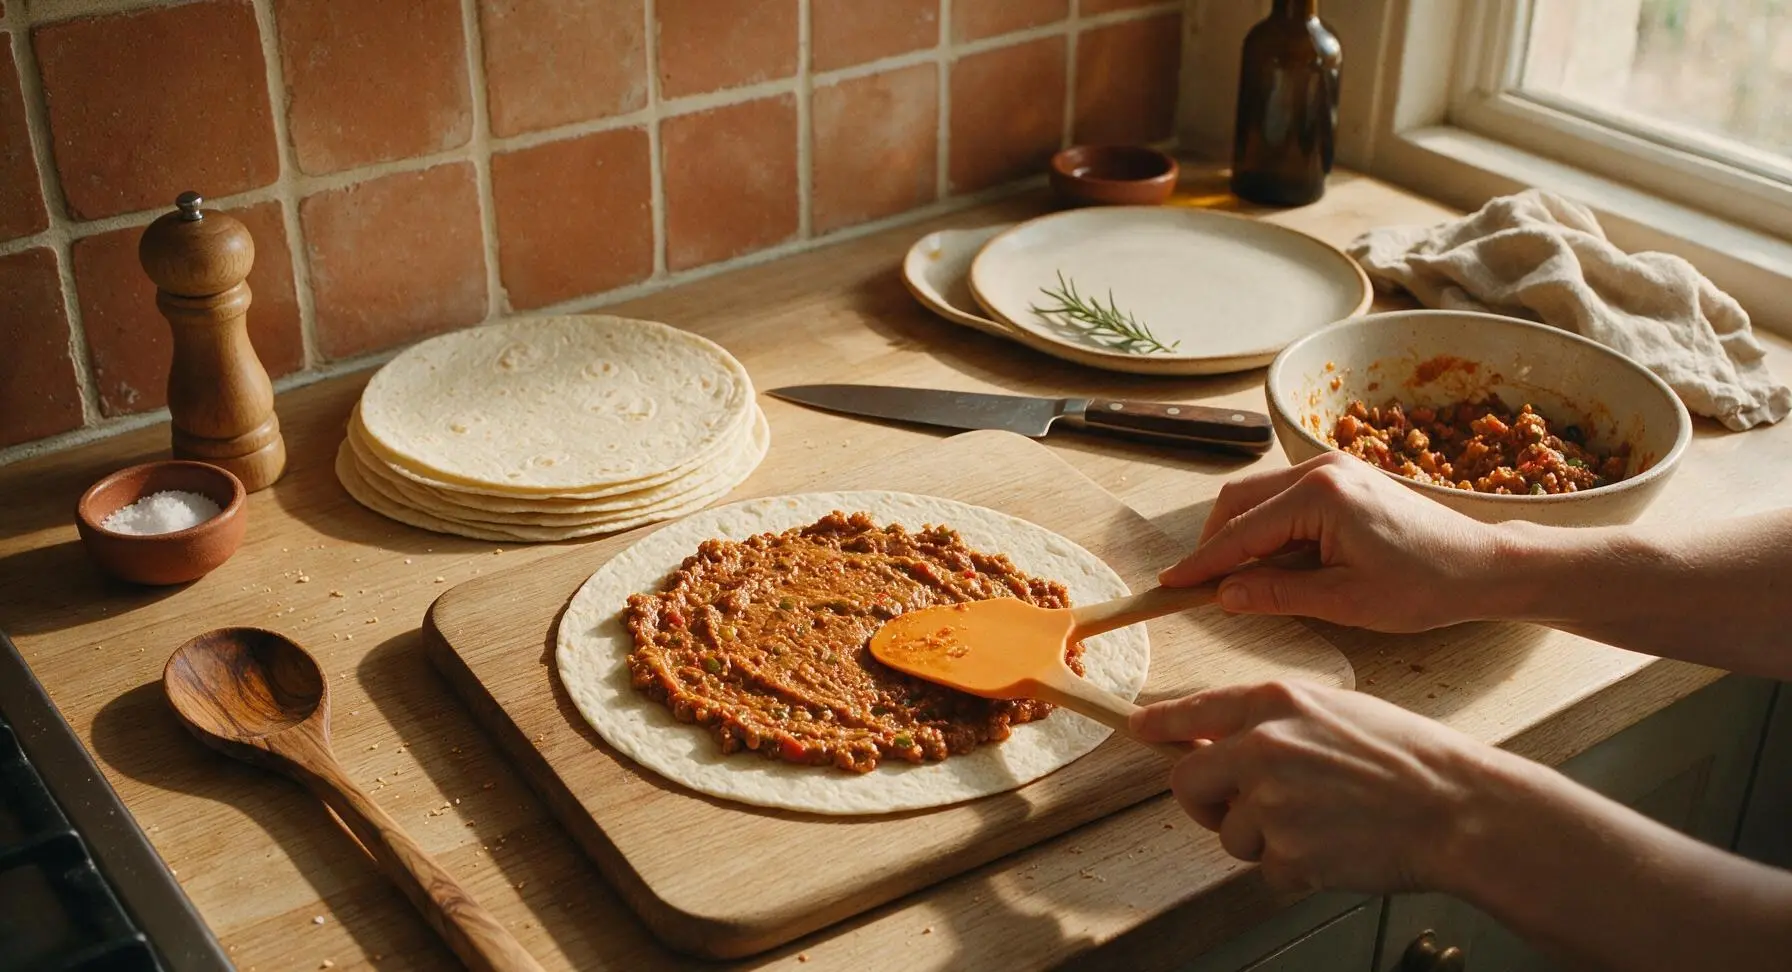
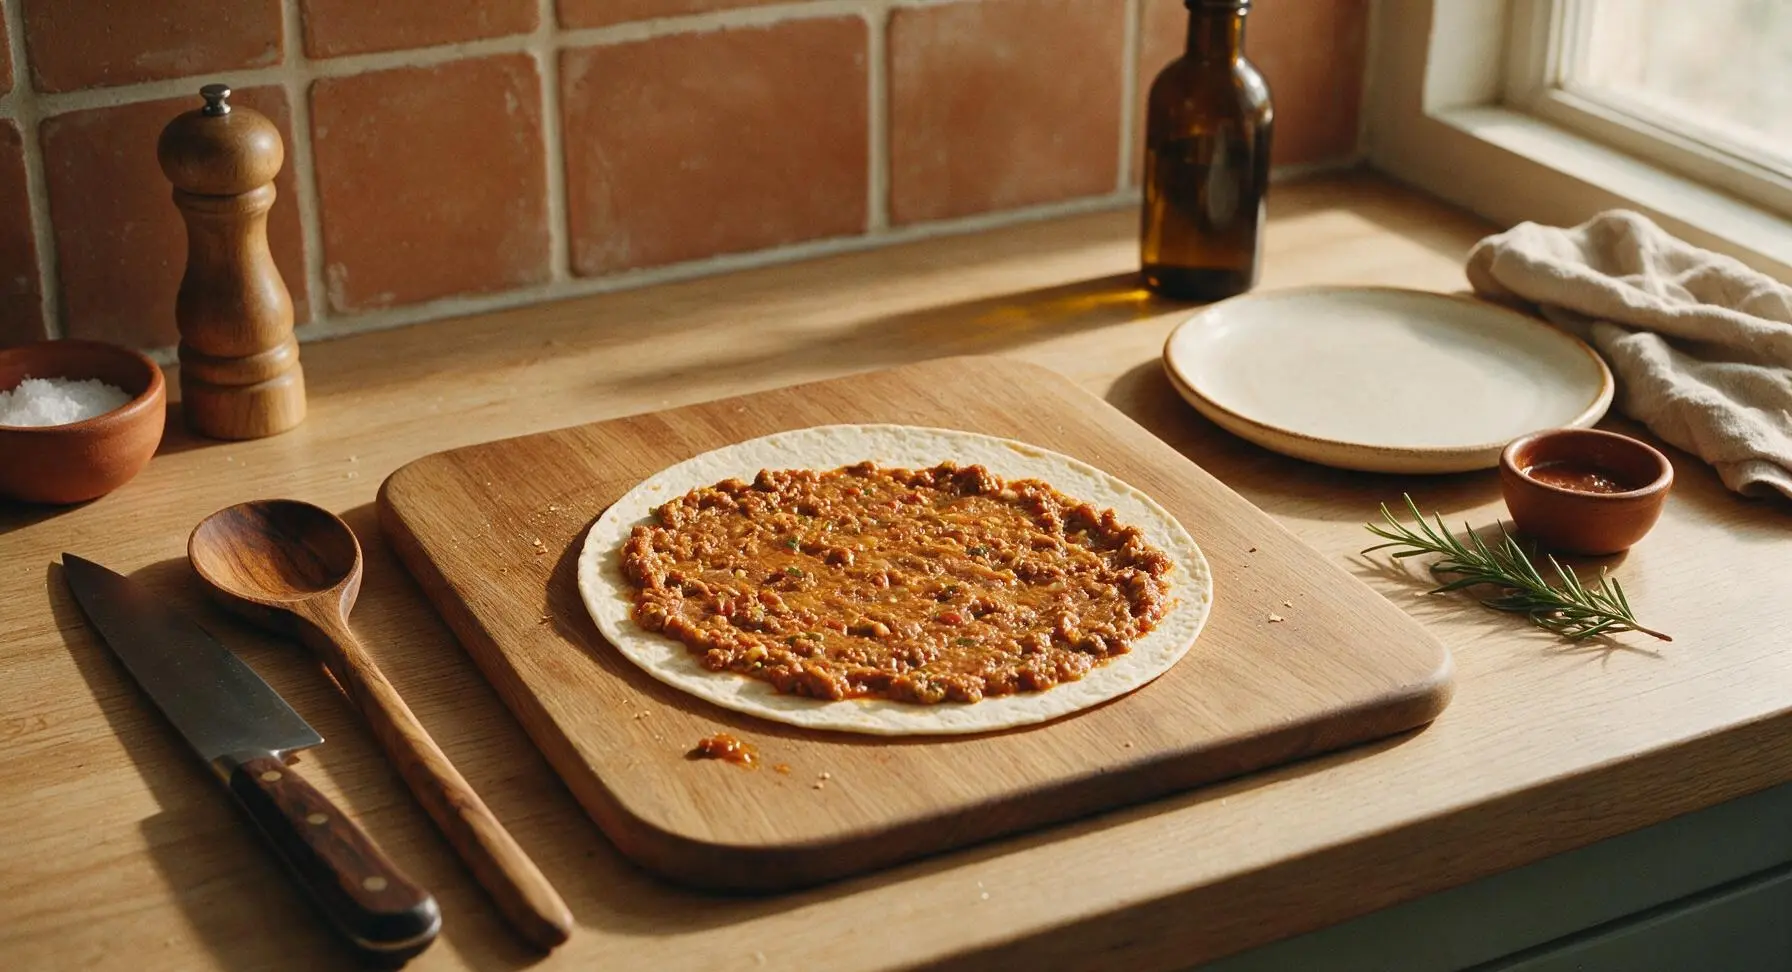
Scoop 1/2 cup of taco filling onto the center of each tortilla. Use the tangerine silicone spatula to spread the filling in a thin, even 1/4-inch thick layer across the entire tortilla surface, leaving a 1/2-inch plain border at the edge farthest from you. This plain border will seal the roll and prevent filling from squeezing out during rolling and slicing.
Roll Tortillas Tightly
Starting with the tortilla edge closest to your body, roll each tortilla into a tight, even cylinder, applying gentle, consistent pressure as you roll to eliminate trapped air gaps. When you reach the 1/2-inch plain border, press lightly to seal the edge to the roll. Place all finished rolled tortilla logs seam-side down on the bamboo cutting board as you work.
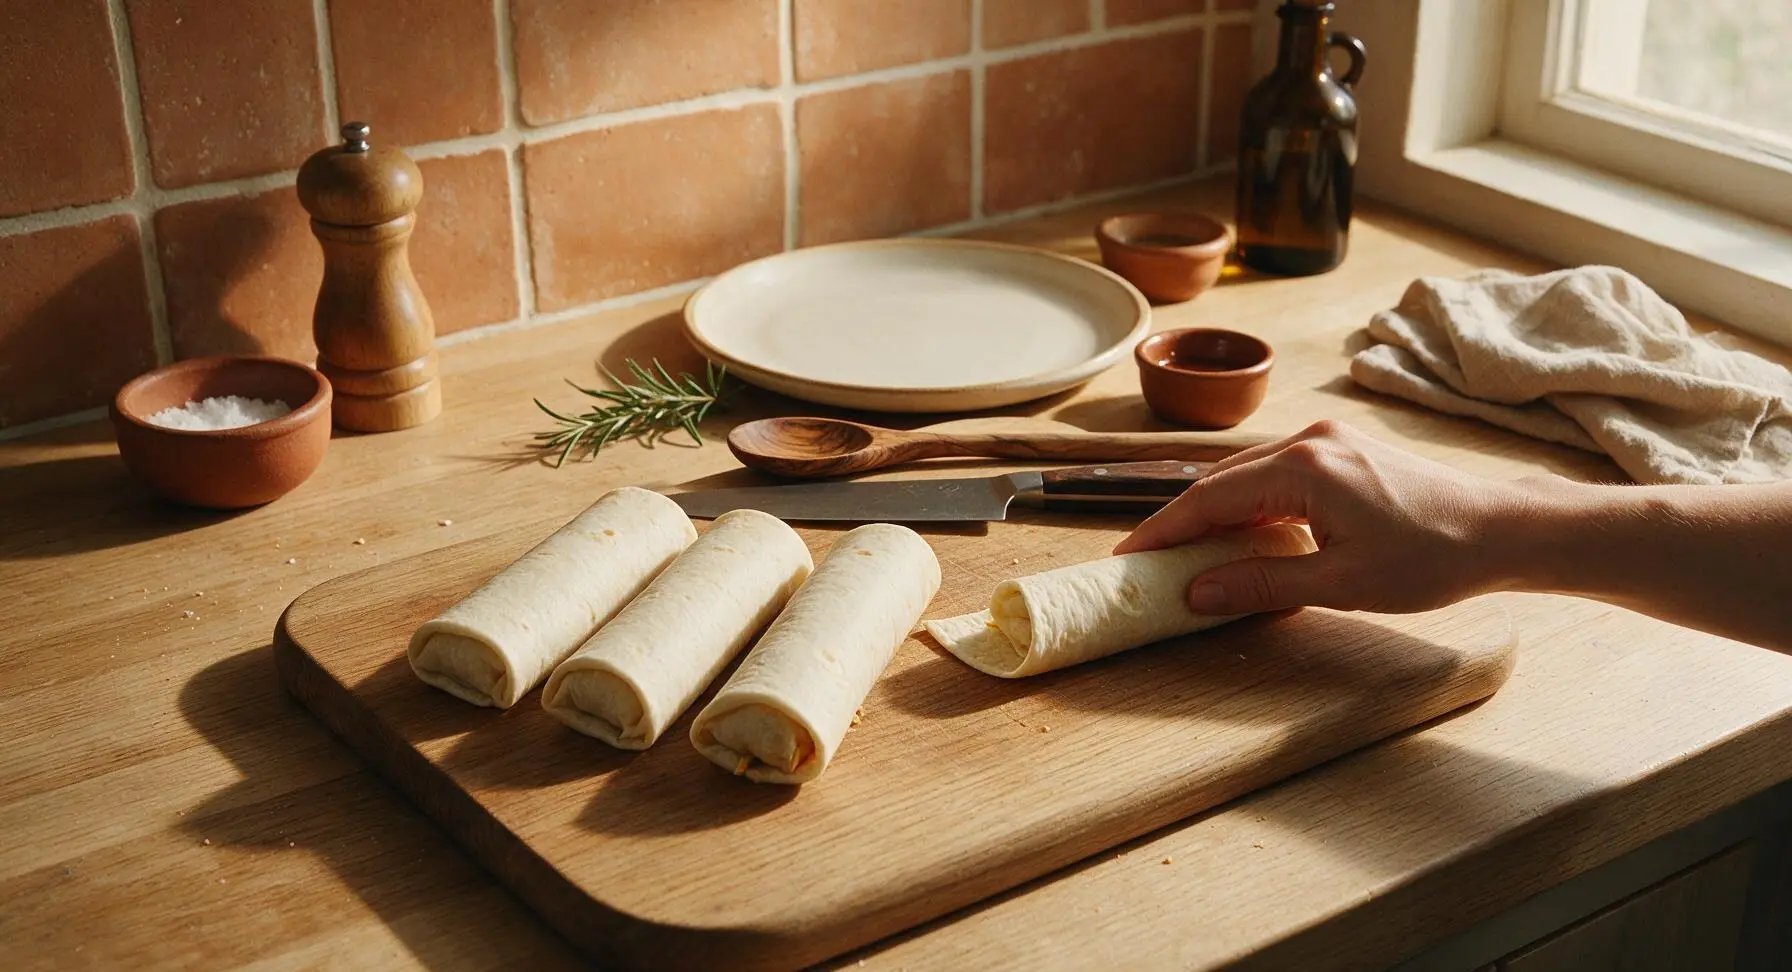
Chill Rolls to Set
Wrap all rolled tortilla logs tightly in clear plastic wrap, and place them in the refrigerator for 1 full hour to chill and set. Chilling firms up the cream cheese filling, which prevents oozing during slicing and ensures clean, neat pinwheel cuts. Do not skip this step, as warm, unchilled rolls will unravel and fall apart when sliced.
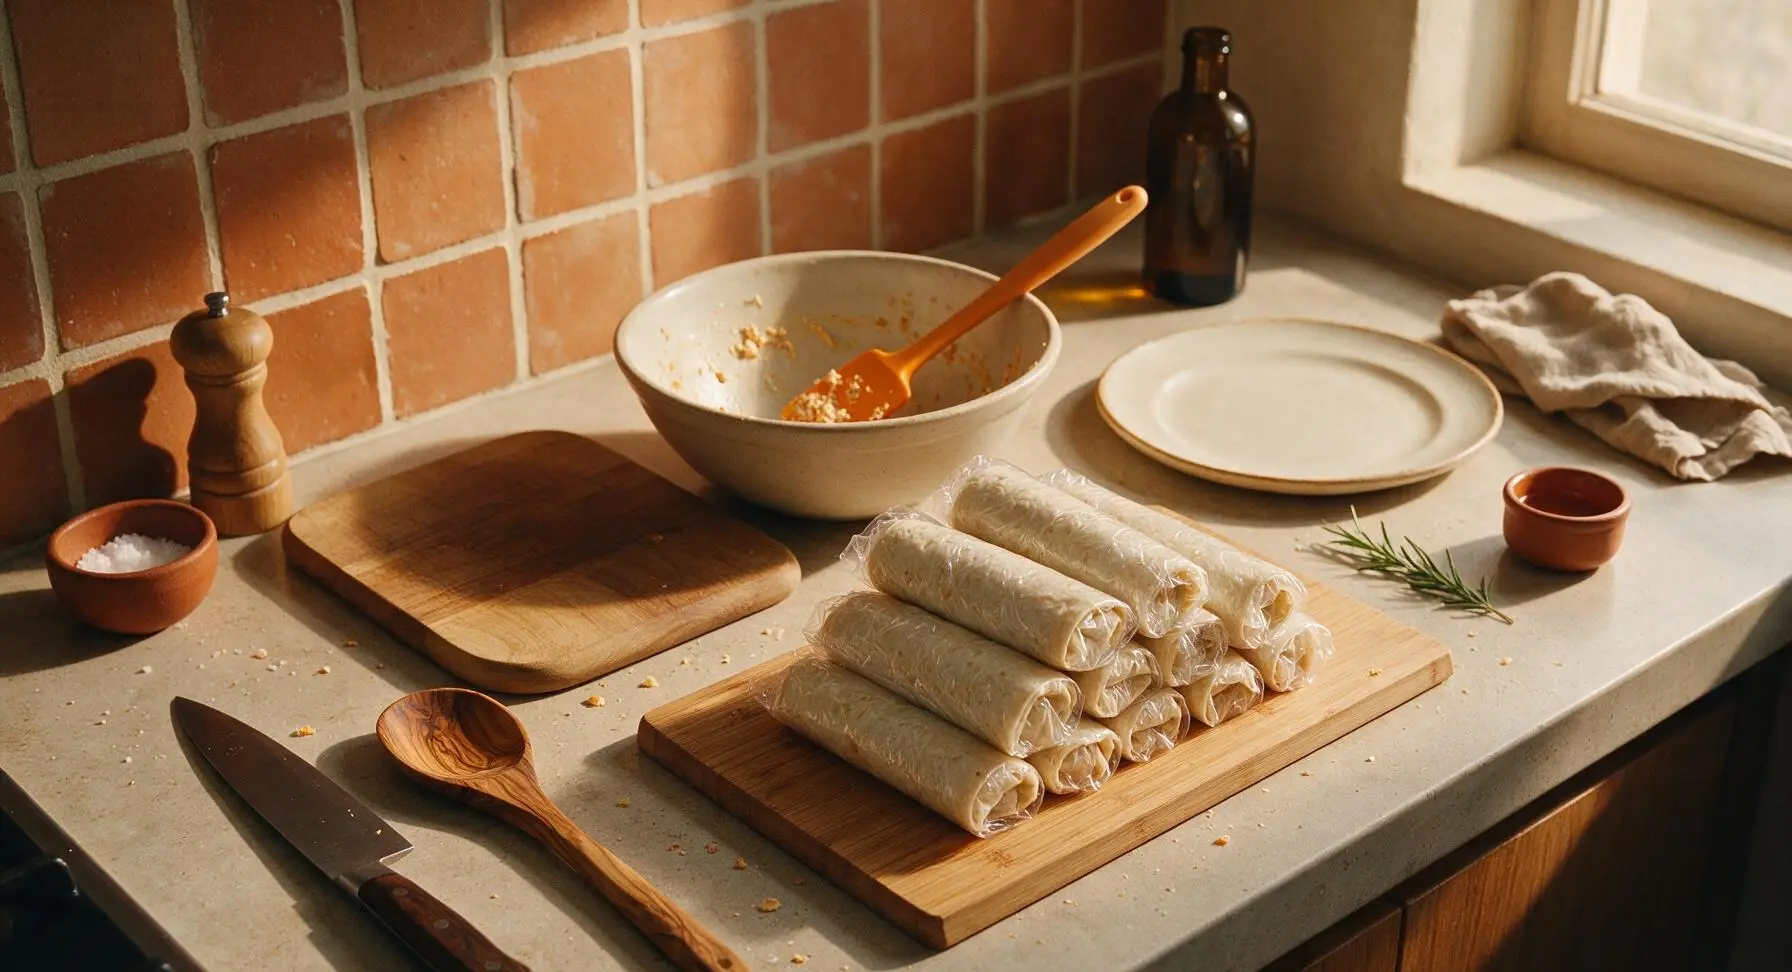
Slice and Plate Rolls
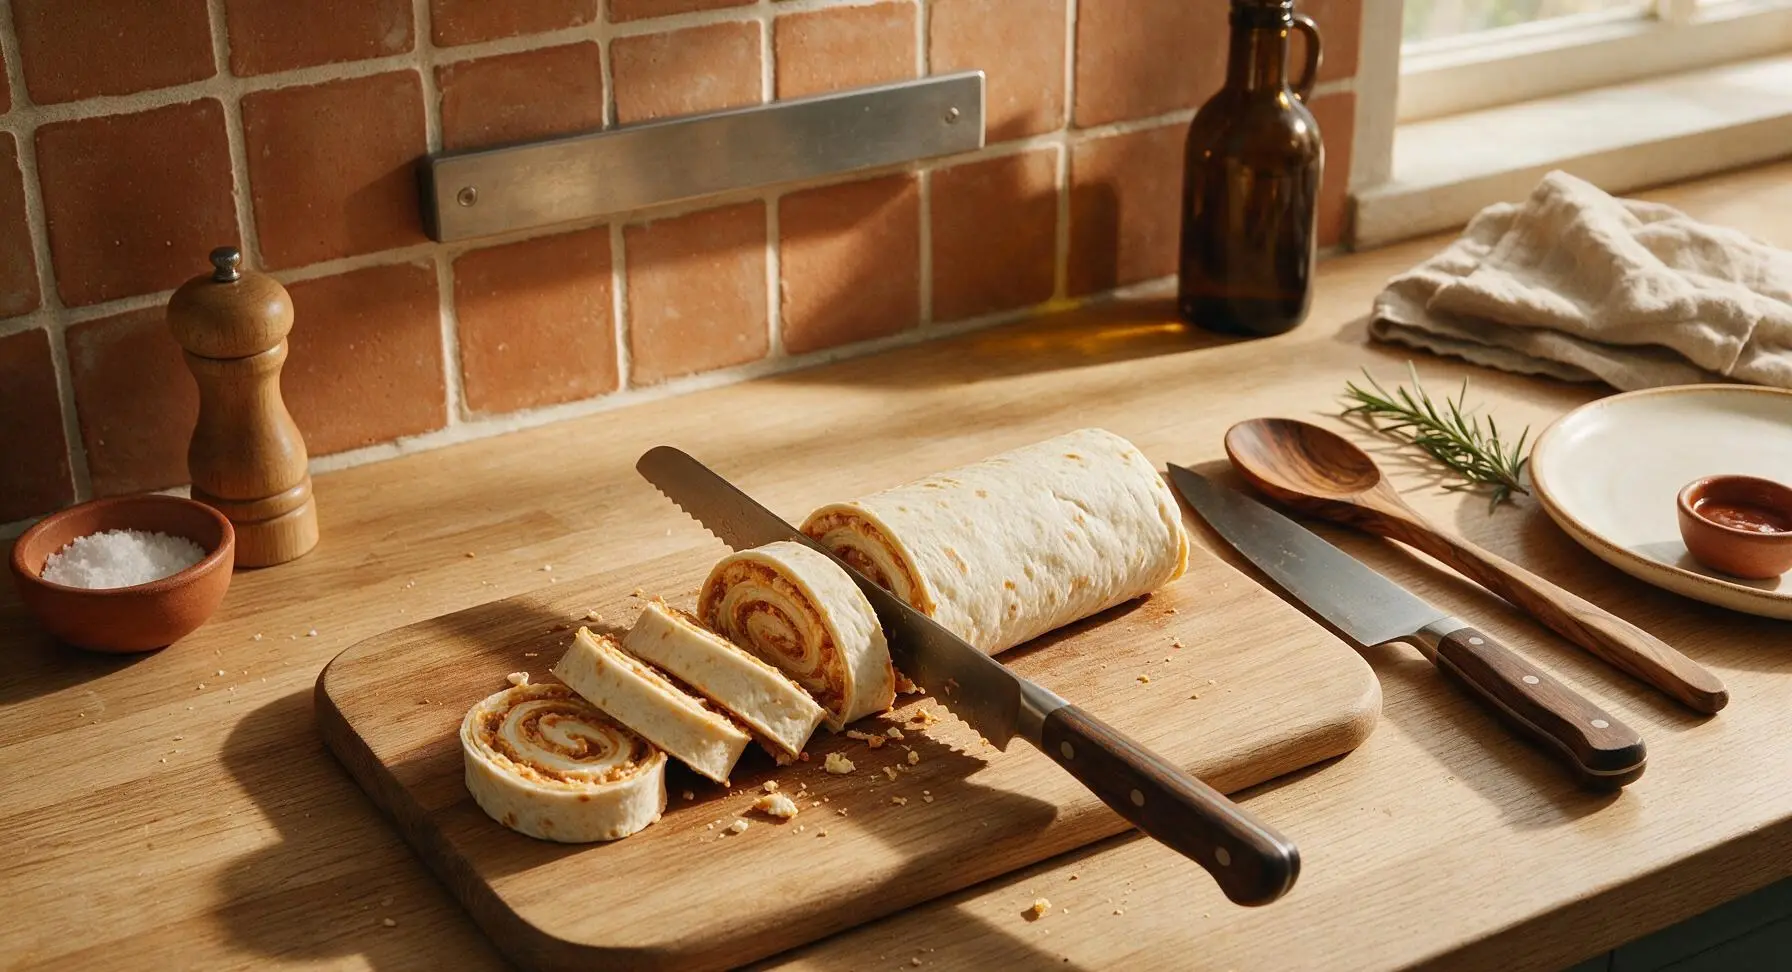
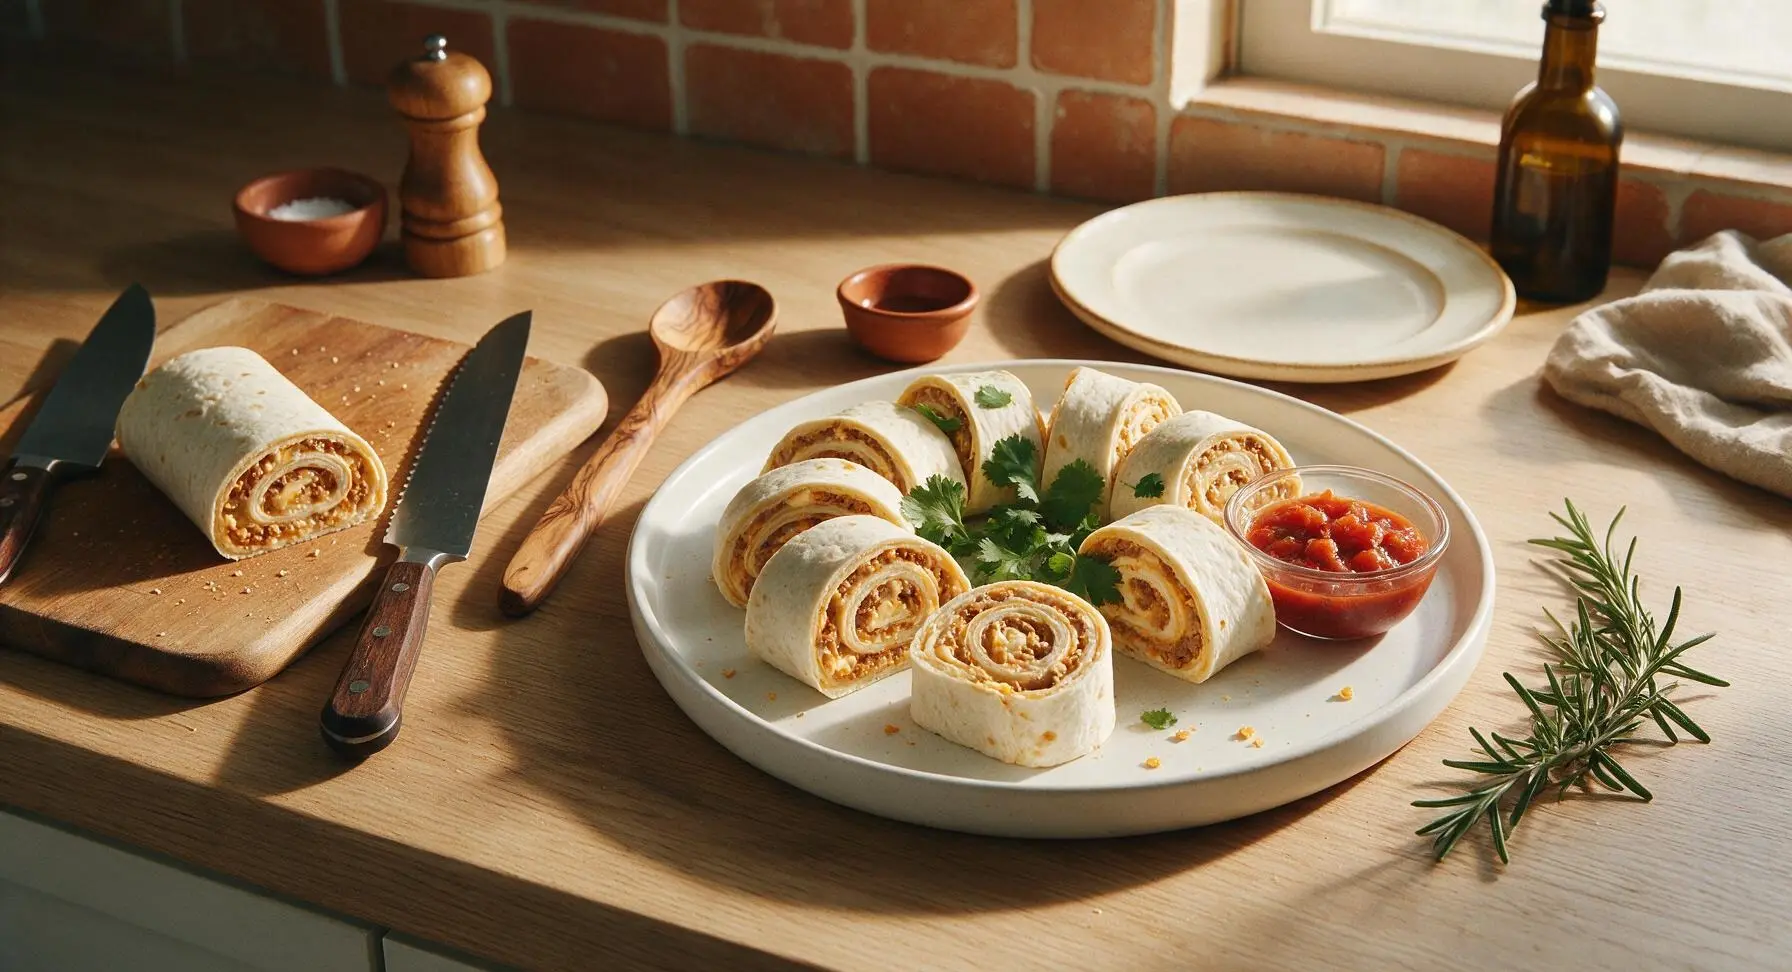
Remove the chilled tortilla logs from the refrigerator and unwrap them, placing them back on the bamboo cutting board. Retrieve the serrated bread knife from the magnetic backsplash strip, and use it to cut each log into 1.5 to 2-inch thick pinwheel slices, discarding the uneven, ragged end pieces if desired for a neater presentation. Arrange the sliced roll ups on the matte white ceramic serving platter, and serve with 1/2 cup chunky salsa in a clear glass ramekin for dipping.
Tips
2.Soften cream cheese fully to room temperature (65°F/18°C) before mixing: cold cream cheese forms hard lumps that create gaps in the filling, making it impossible to roll tortillas tightly and leading to uneven, messy slices.
3.Wipe the serrated knife blade clean with a paper towel between every 3-4 cuts when slicing chilled rolls: this prevents creamy filling from smearing across the cut faces of the pinwheels, keeping the sharp, attractive swirl pattern visible on every slice.






OMG these are a total game changer for my weekly meal prep! I threw them together in 10 minutes flat on Sunday, and they held up perfectly all week for quick lunches. The creamy taco flavor is chef’s kiss, no soggy tortillas at all if you let the cream cheese mix soften a little first. 10/10
Made these for my buddy’s football watch party last weekend and they were gone in 15 minutes flat. Everyone kept asking where I got the recipe! Only note is I added a little extra jalapeño for a kick, would def make again.
My kids are so picky about after school snacks and they DEVOURED these. I was worried the taco seasoning would be too spicy for them so I used mild, and they asked for seconds before they even finished their first serving. Perfect quick weeknight bite!
SO good. I brought these on our day hike last weekend and they were the perfect portable snack, no mess, no need to heat up. I added a little shredded lettuce inside right before rolling for extra crunch, chef’s kiss.
Took these to my office potluck yesterday and I swear half my team emailed me asking for the recipe by the end of the day. They’re so easy to make ahead, I prepped them the night before and sliced them right before I walked out the door. 10/10 for potluck wins.
Bro I’m a total beginner in the kitchen and these came out perfect first try. 10 minute cook time is no joke, I didn’t even have to turn my oven on? Wait why didn’t I think of no-bake taco snacks sooner. Game changer for dorm snacks.
These are amazing! I swapped the regular flour tortillas for gluten free ones and they worked like a charm. The creamy filling is so flavorful I didn’t even miss the regular tortillas. Will be adding these to our weekly taco night rotation for sure.
I made these as a quick appetizer before our weekend BBQ and they were a huge hit. I added a little crumbled cotija on top of the filling before rolling and it added the perfect salty kick. Even my brother who hates ‘fancy appetizers’ ate three of them.
Wait these are so much better than the boring turkey roll ups I’ve been making for lunch every week. The taco seasoning adds so much flavor, I don’t even need to pack salsa on the side because the filling is already perfect. Super easy too.
My granddaughter showed me this recipe and I made it for our family Sunday dinner. Everyone raved! I added a little diced black olive to the filling because that’s how I always make my taco dip, and it was a lovely addition. So simple even this old lady can pull it off!
Honestly? These are better than actual tacos for a quick weeknight meal. No messy shells, no dripping toppings, just perfect creamy taco flavor in every bite. I dipped mine in a little sour cream and salsa and it was *chef’s kiss*.
Help! I tried making these last night and my tortillas kept cracking when I rolled them up. Did I do something wrong? They still tasted good but they looked a mess, I wanna make them for my friend’s birthday party next weekend so I need them to look nice!
Made these for my kid’s soccer team snack last Saturday and all the parents were asking for the recipe. They’re kid-approved, easy to hold, no messy hands, and I didn’t have to spend all morning in the kitchen. Total mom win!