
Tahini Burnt Ends
intro
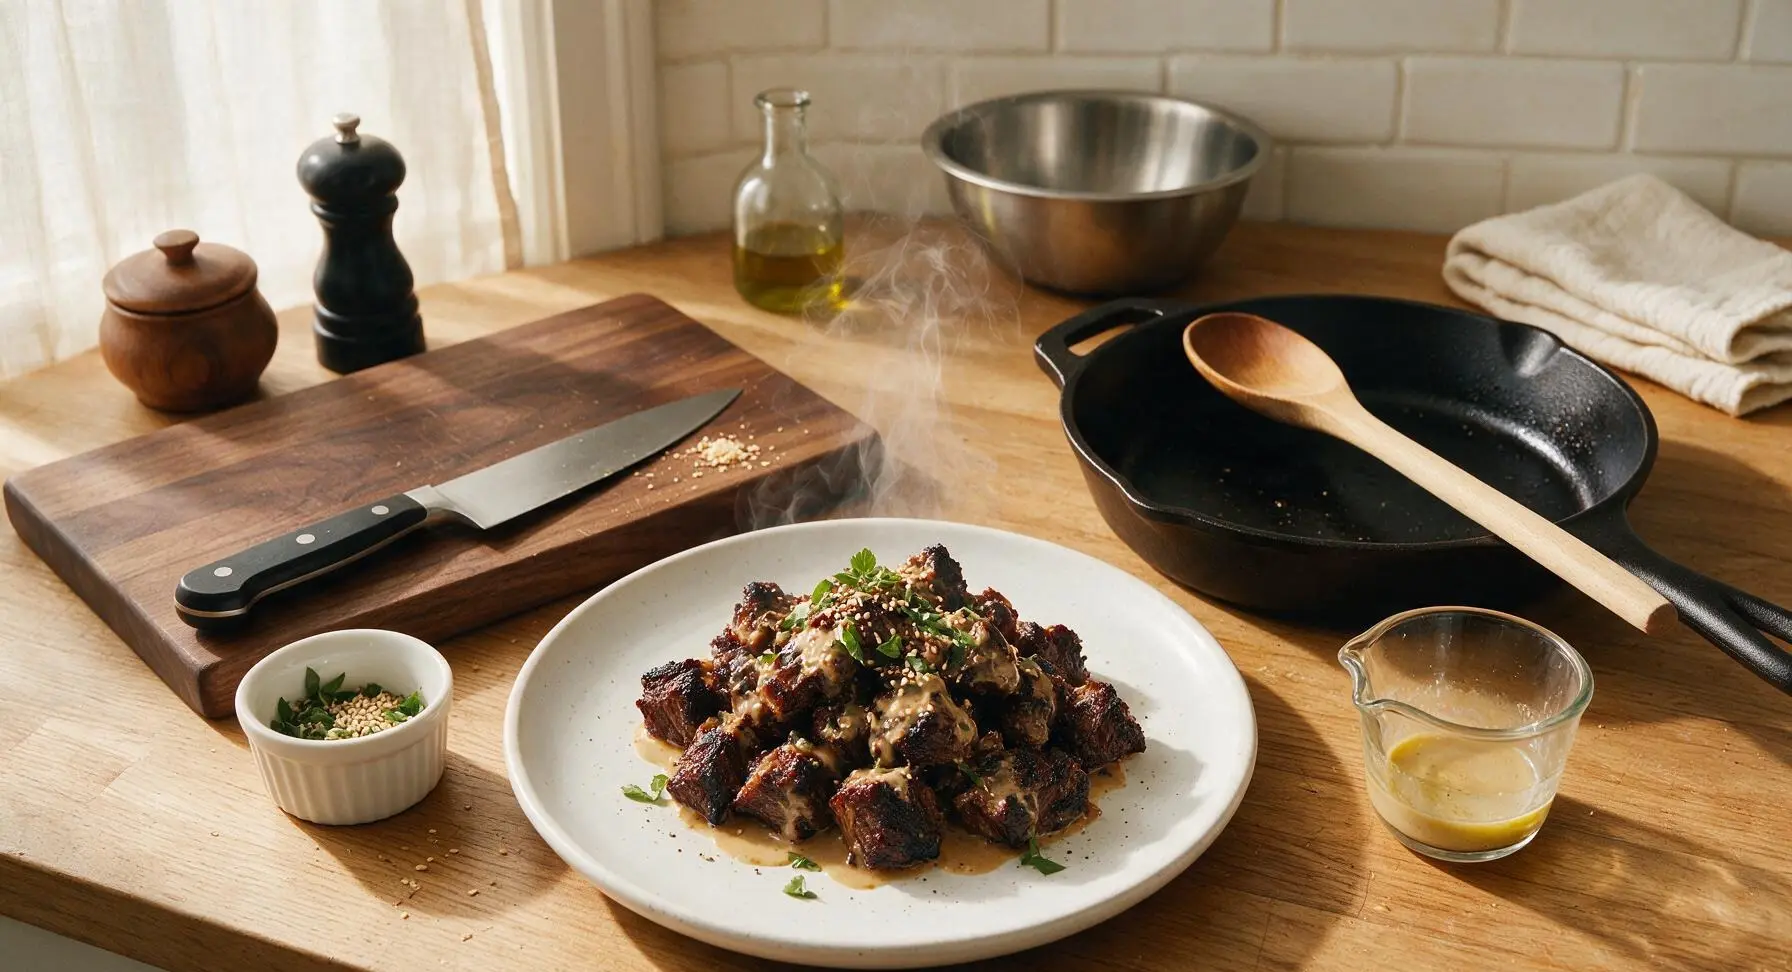
Smoky, fall-apart beef brisket burnt ends tossed in a nutty, creamy tahini glaze—sticky, caramelized, and perfectly charred, a creative twist on a Kansas City BBQ classic.
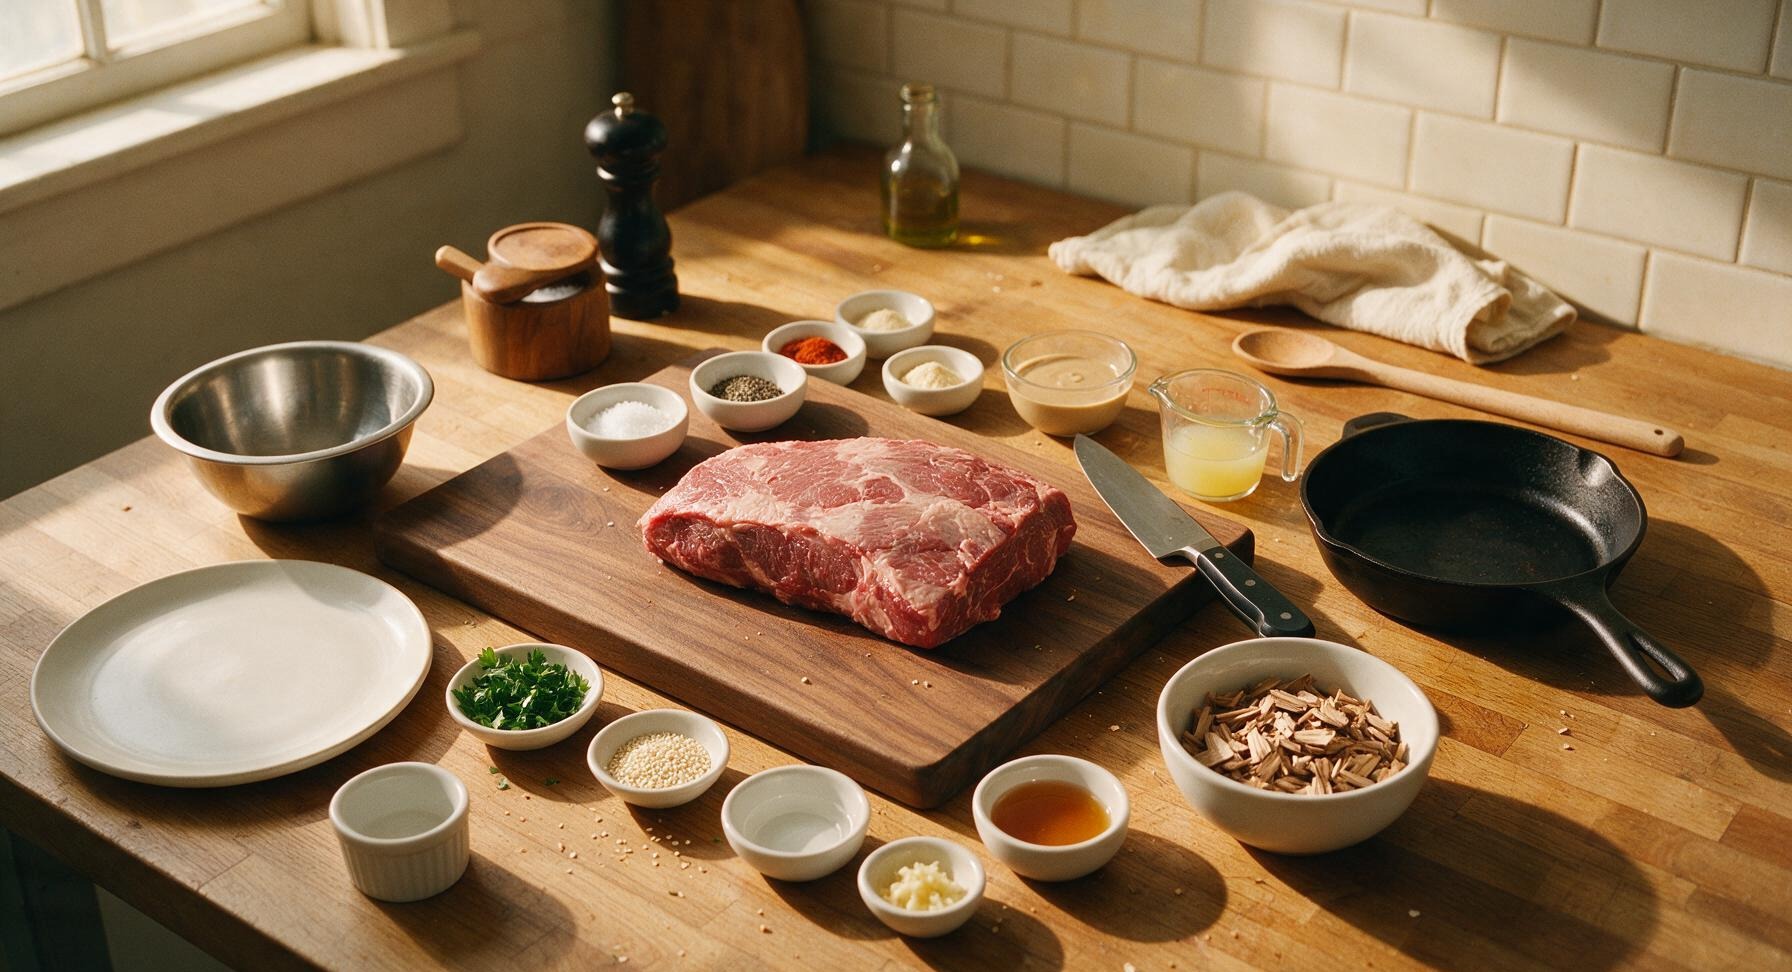
Ingredients
Steps
Trim Brisket Point
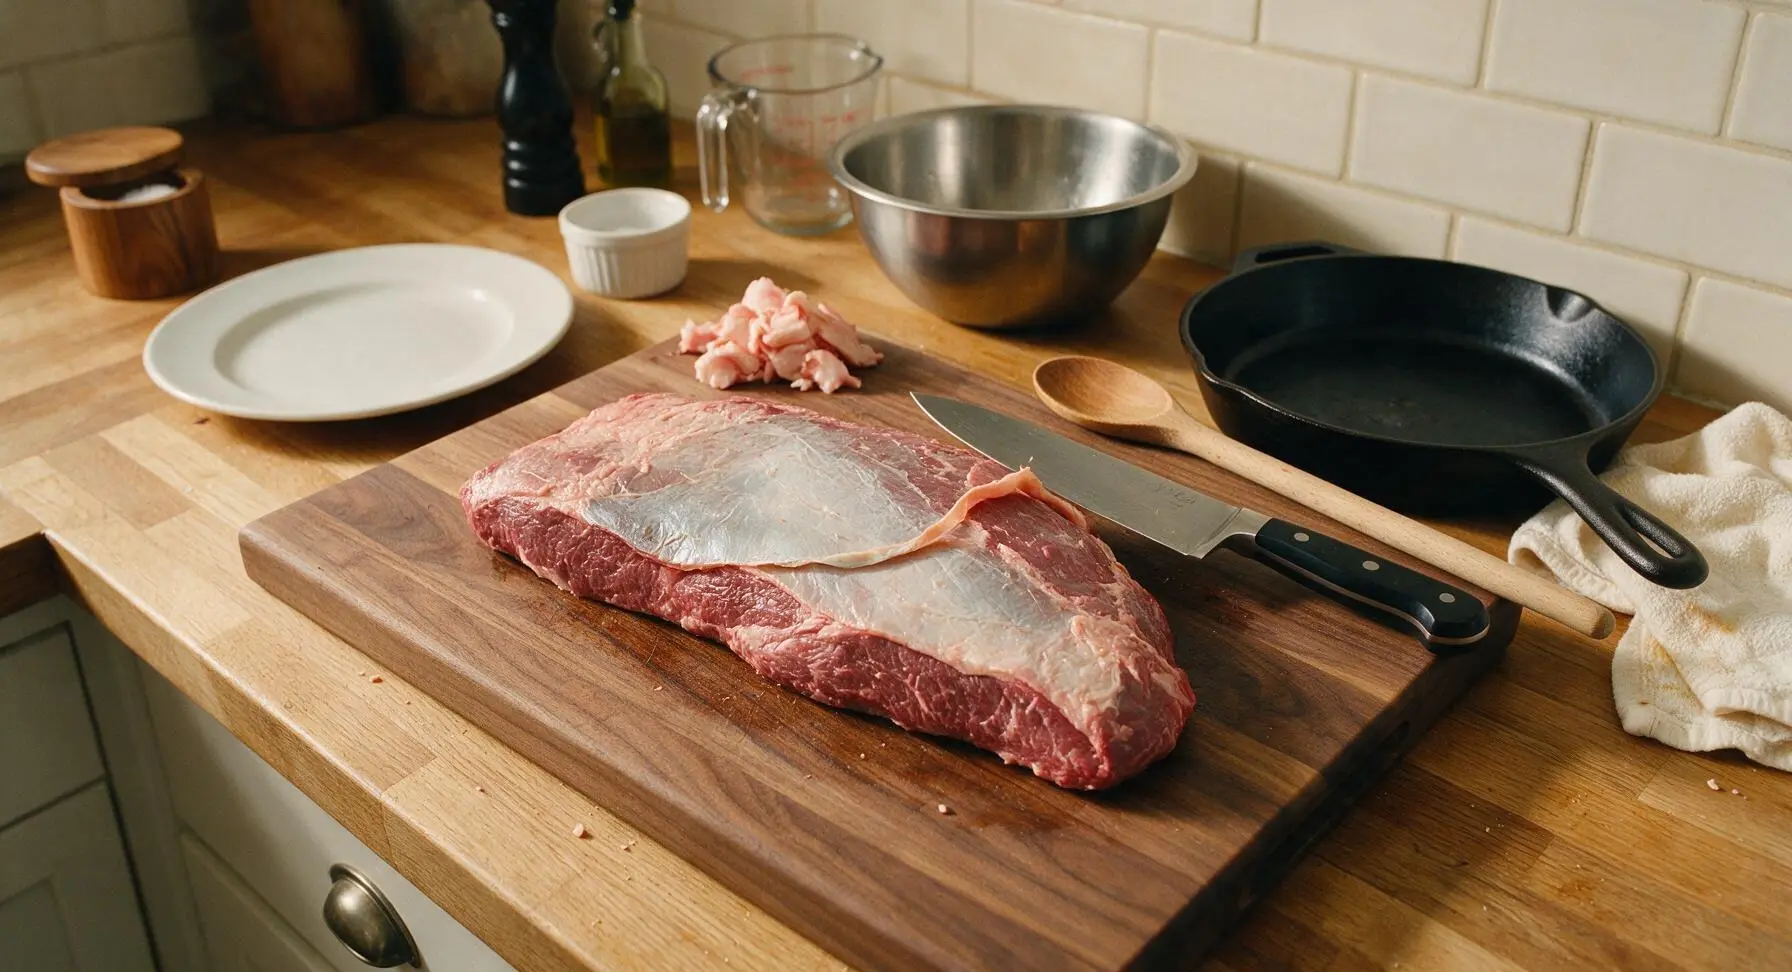
Place the 1kg beef brisket point on the end-grain maple cutting board. Use the 8-inch chef knife to trim excess hard fat and silver skin from all surfaces, leaving a uniform 1/4-inch thick fat cap on one side. Pat the entire surface completely dry with a corner of the oatmeal linen towel. The meat should feel firm, with no ragged edges or loose fat pieces.
Coat with Dry Rub
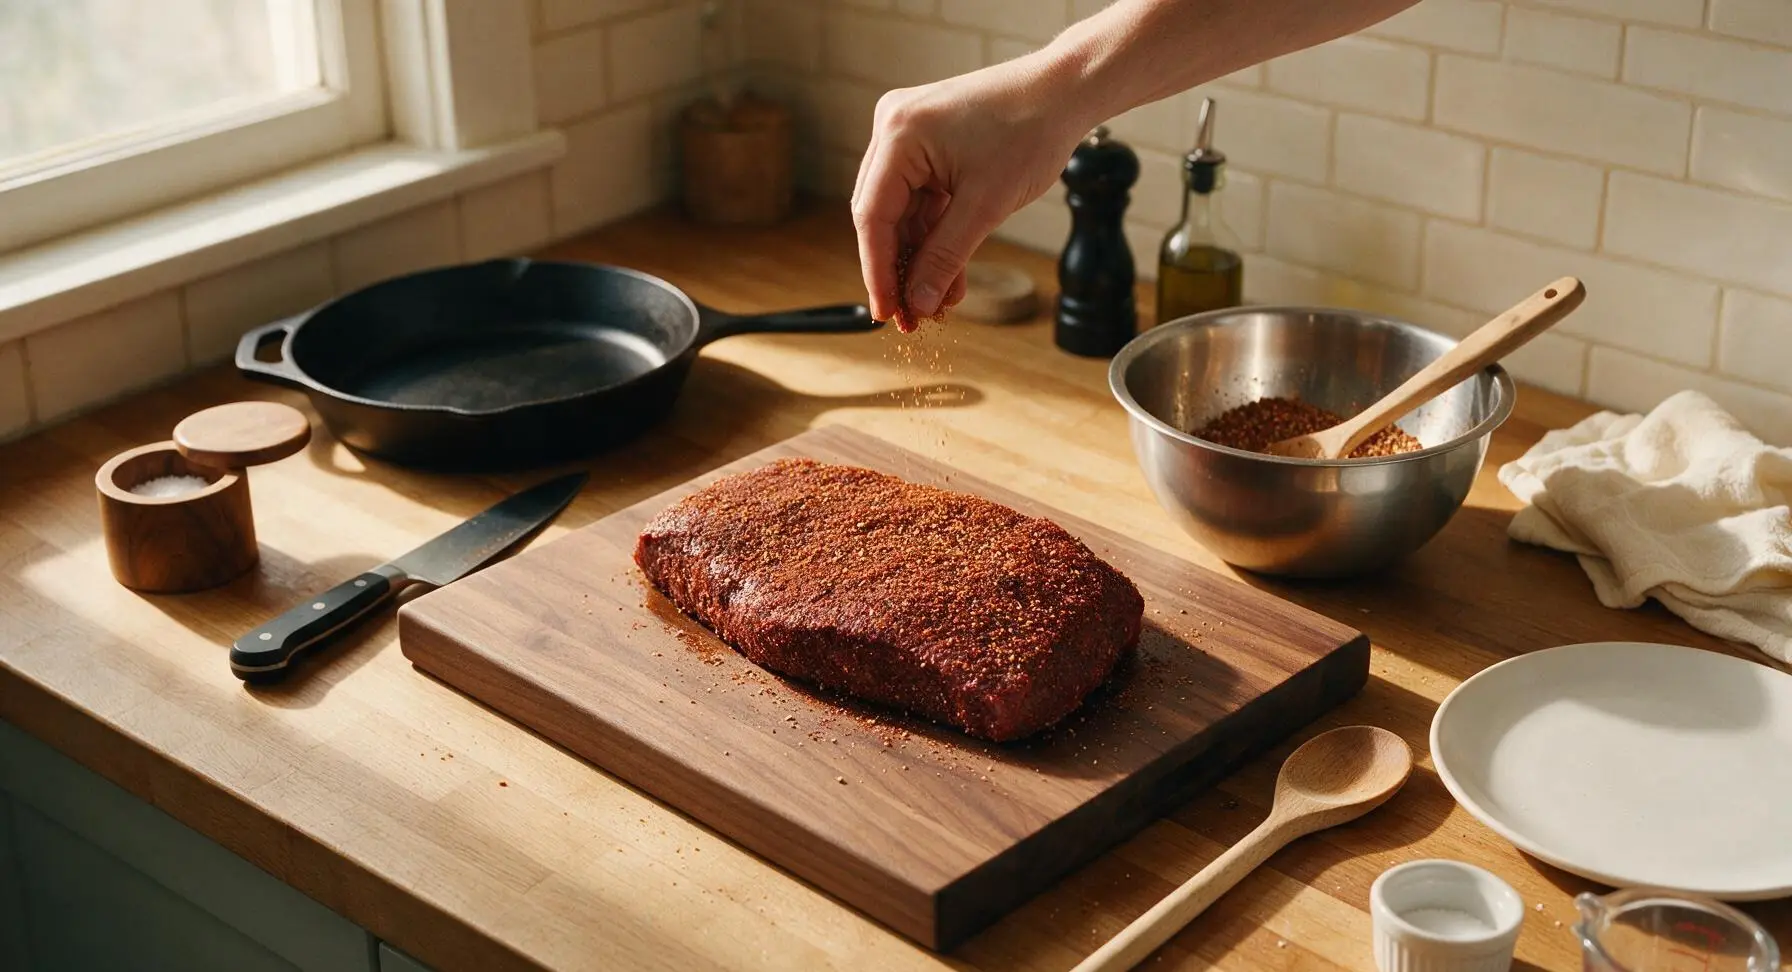
In the medium stainless steel mixing bowl, combine 2 tbsp kosher salt, 1 tbsp black pepper, 1 tsp smoked paprika, 1 tsp garlic powder, and 1 tsp onion powder, stirring to fully combine. Sprinkle the rub evenly across every surface of the trimmed brisket, pressing gently with clean hands to help the spices adhere. The entire brisket should be covered in a thin, even layer of dark red-brown spice, with no bare meat patches visible. Let the rubbed brisket rest at room temperature for 30 minutes while you preheat your smoker to 250°F (120°C), adding 2 cups of hickory wood chips to the smoker box.
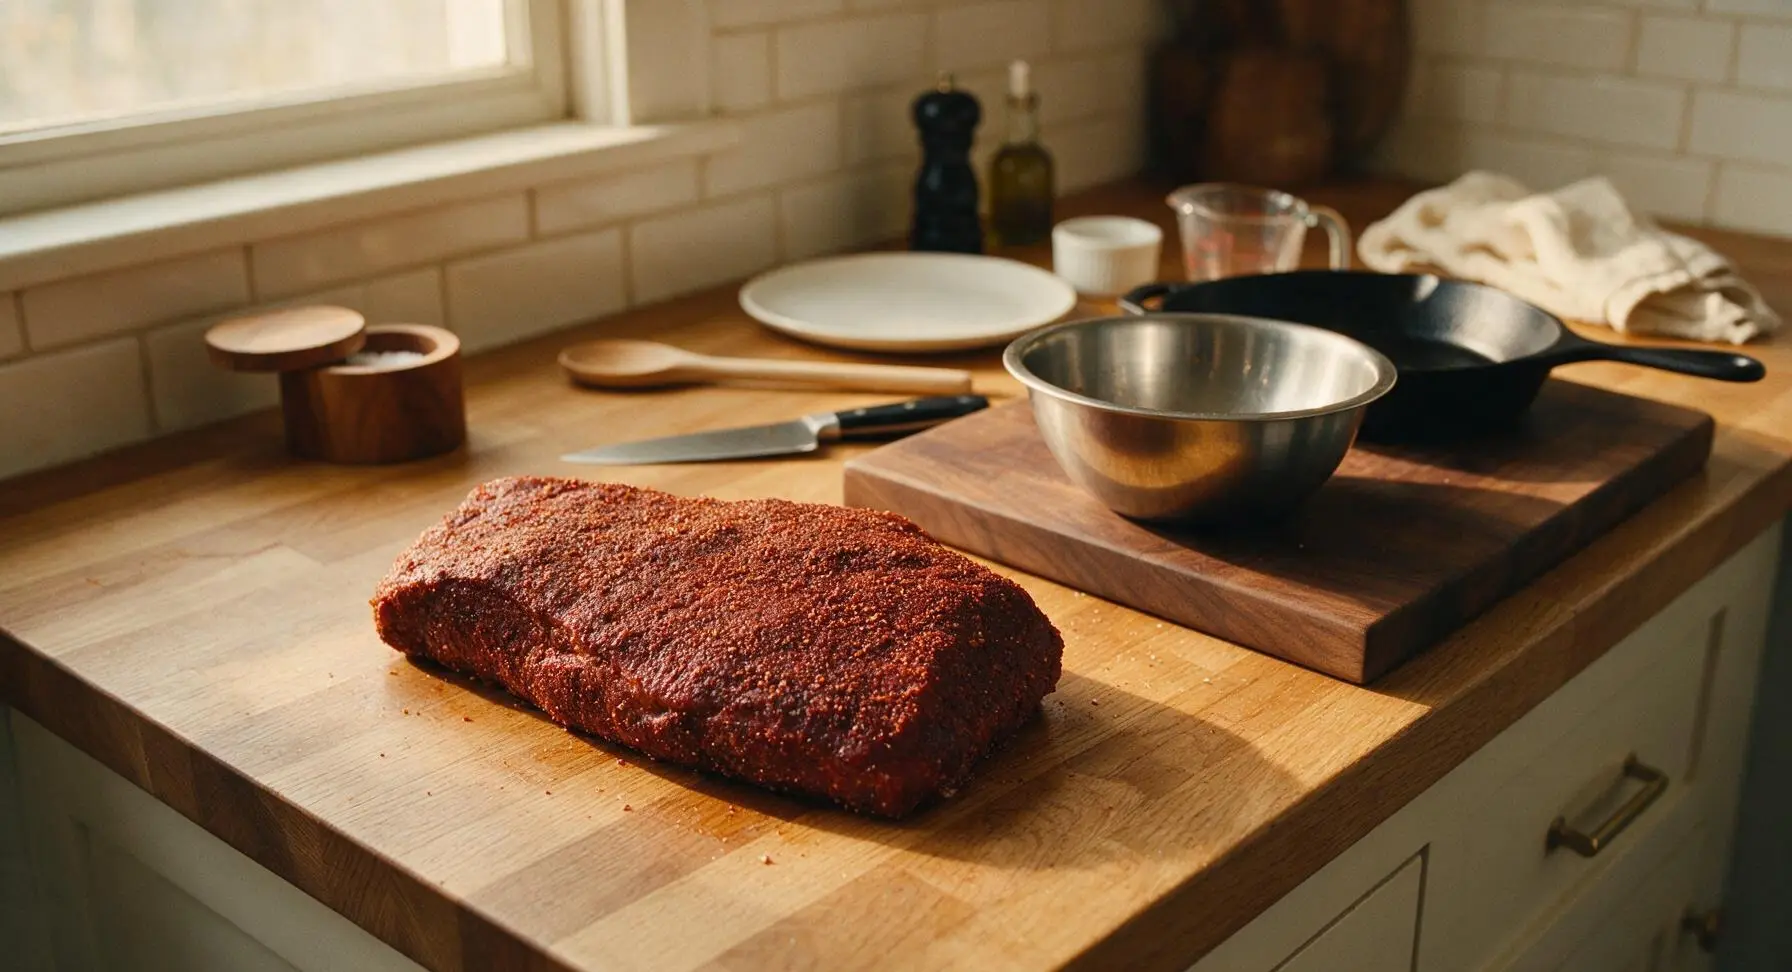
Smoke Until Tender
After the 30-minute rest, transfer the rubbed brisket to your preheated 250°F (120°C) smoker (with hickory chips) and smoke fat-side up for 2.5 hours. Once smoked, return the brisket to the end-grain cutting board on the kitchen counter. Insert the digital instant-read thermometer into the thickest part of the meat to confirm it reaches 165°F (74°C); the exterior will have a firm, dark mahogany bark.
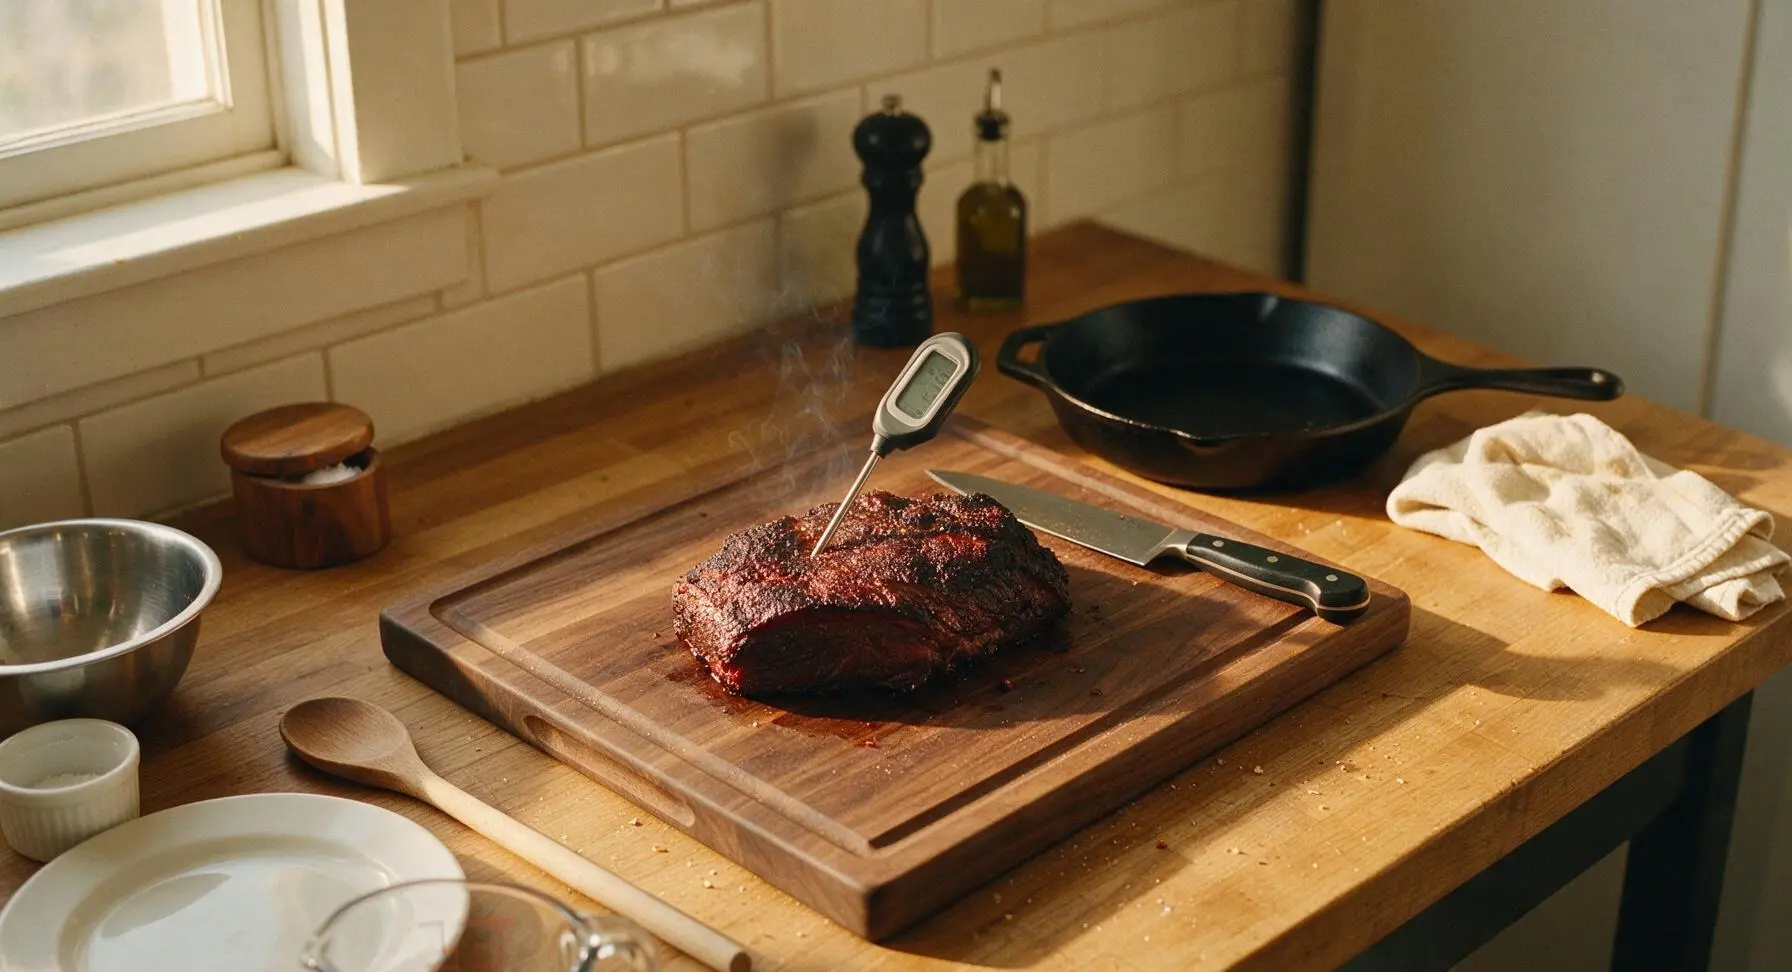
Cube Smoked Brisket
Leave the temped brisket on the cutting board, and use the 8-inch chef knife to cut it into uniform 1.5-inch cubes. Take care to cut cleanly through the dark bark so each cube has a mix of tender meat and crisp, spiced outer crust. Do not wipe the cutting board clean—small bits of spice and rendered fat will add flavor to the final glaze step.
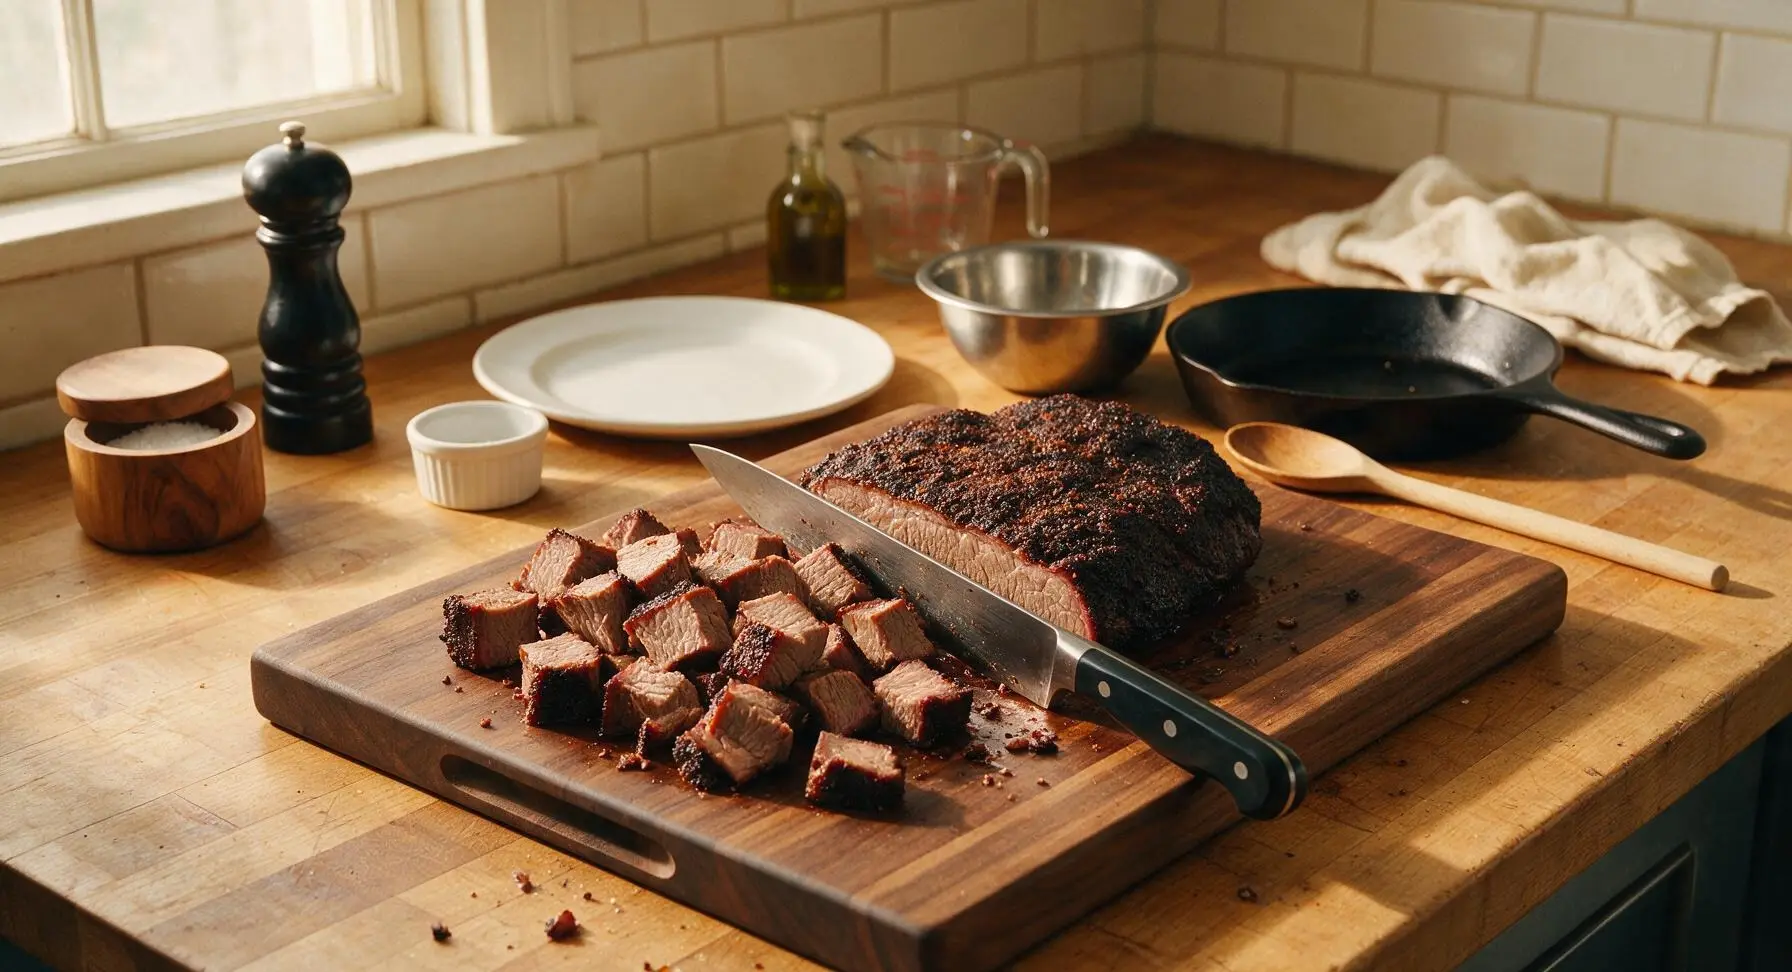
Mix Tahini Glaze
Place the small 1L stainless steel saucepan on the front section of the counter. Measure 2 tbsp warm water in the clear tempered glass measuring cup, then add to the pan along with 1/2 cup well-stirred tahini, 2 tbsp fresh lemon juice, 1 tbsp honey, 1 tbsp apple cider vinegar, and 1 minced garlic clove. Stir with the silicone spatula over low heat for 2 minutes until smooth, glossy, and pourable, with the consistency of thick barbecue sauce. Season with a pinch of salt and pepper to taste.
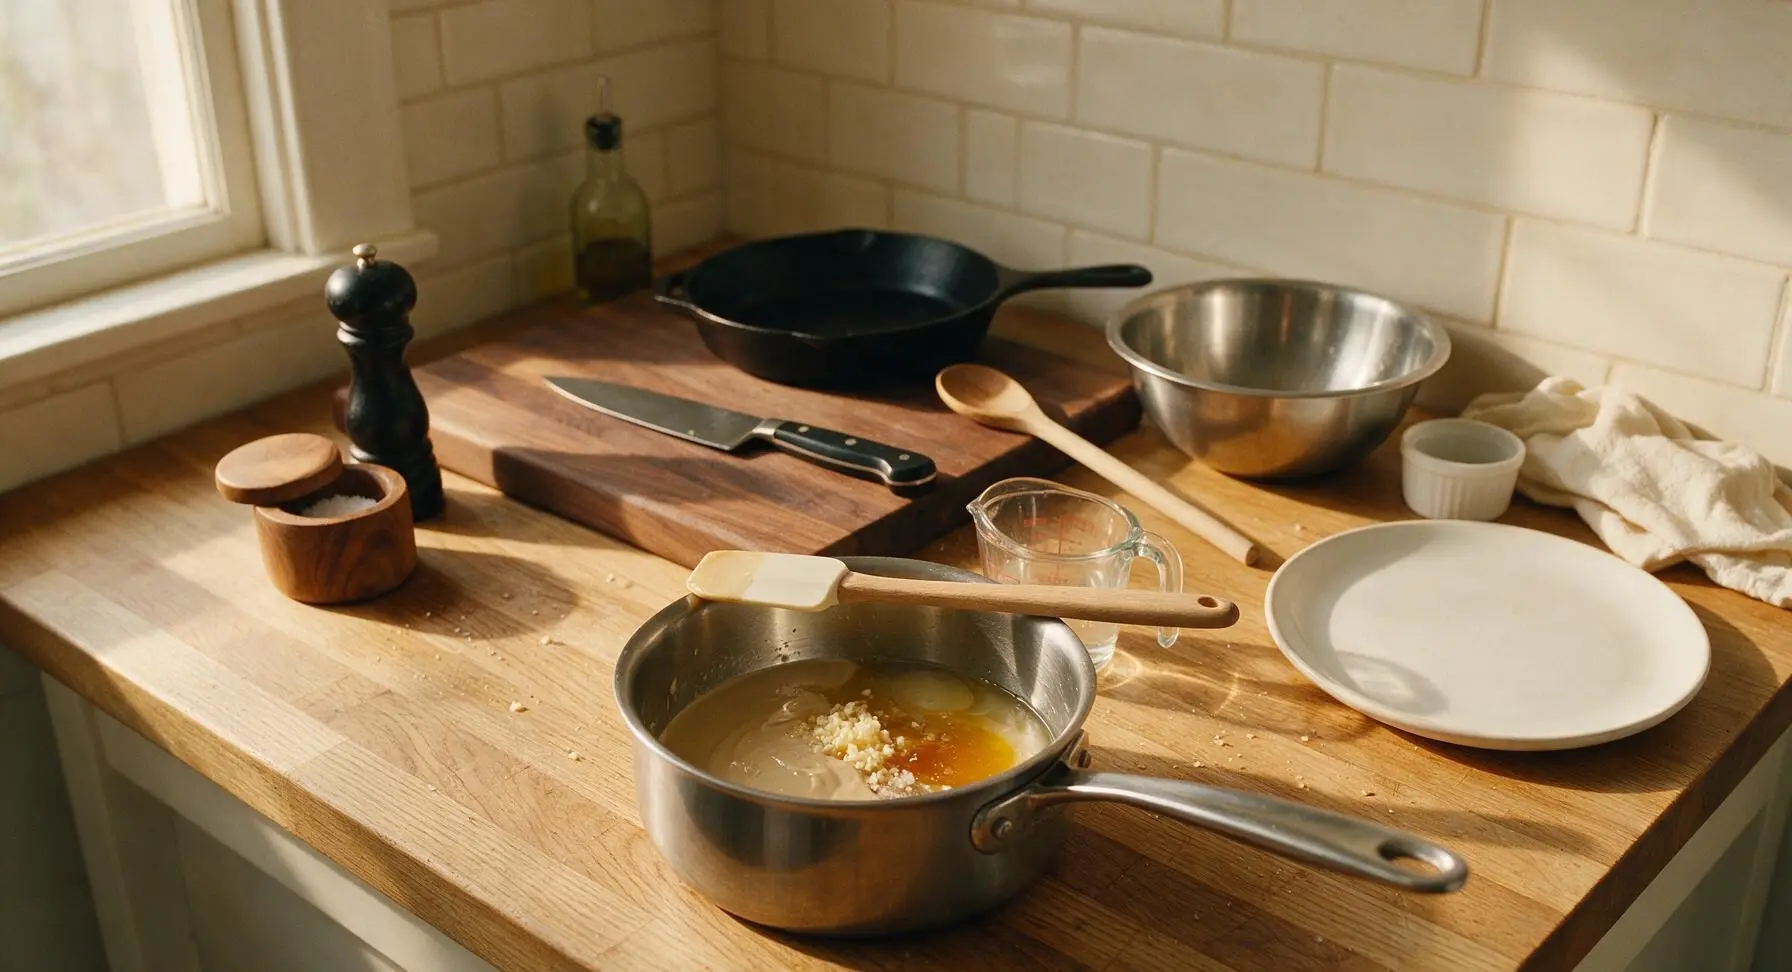
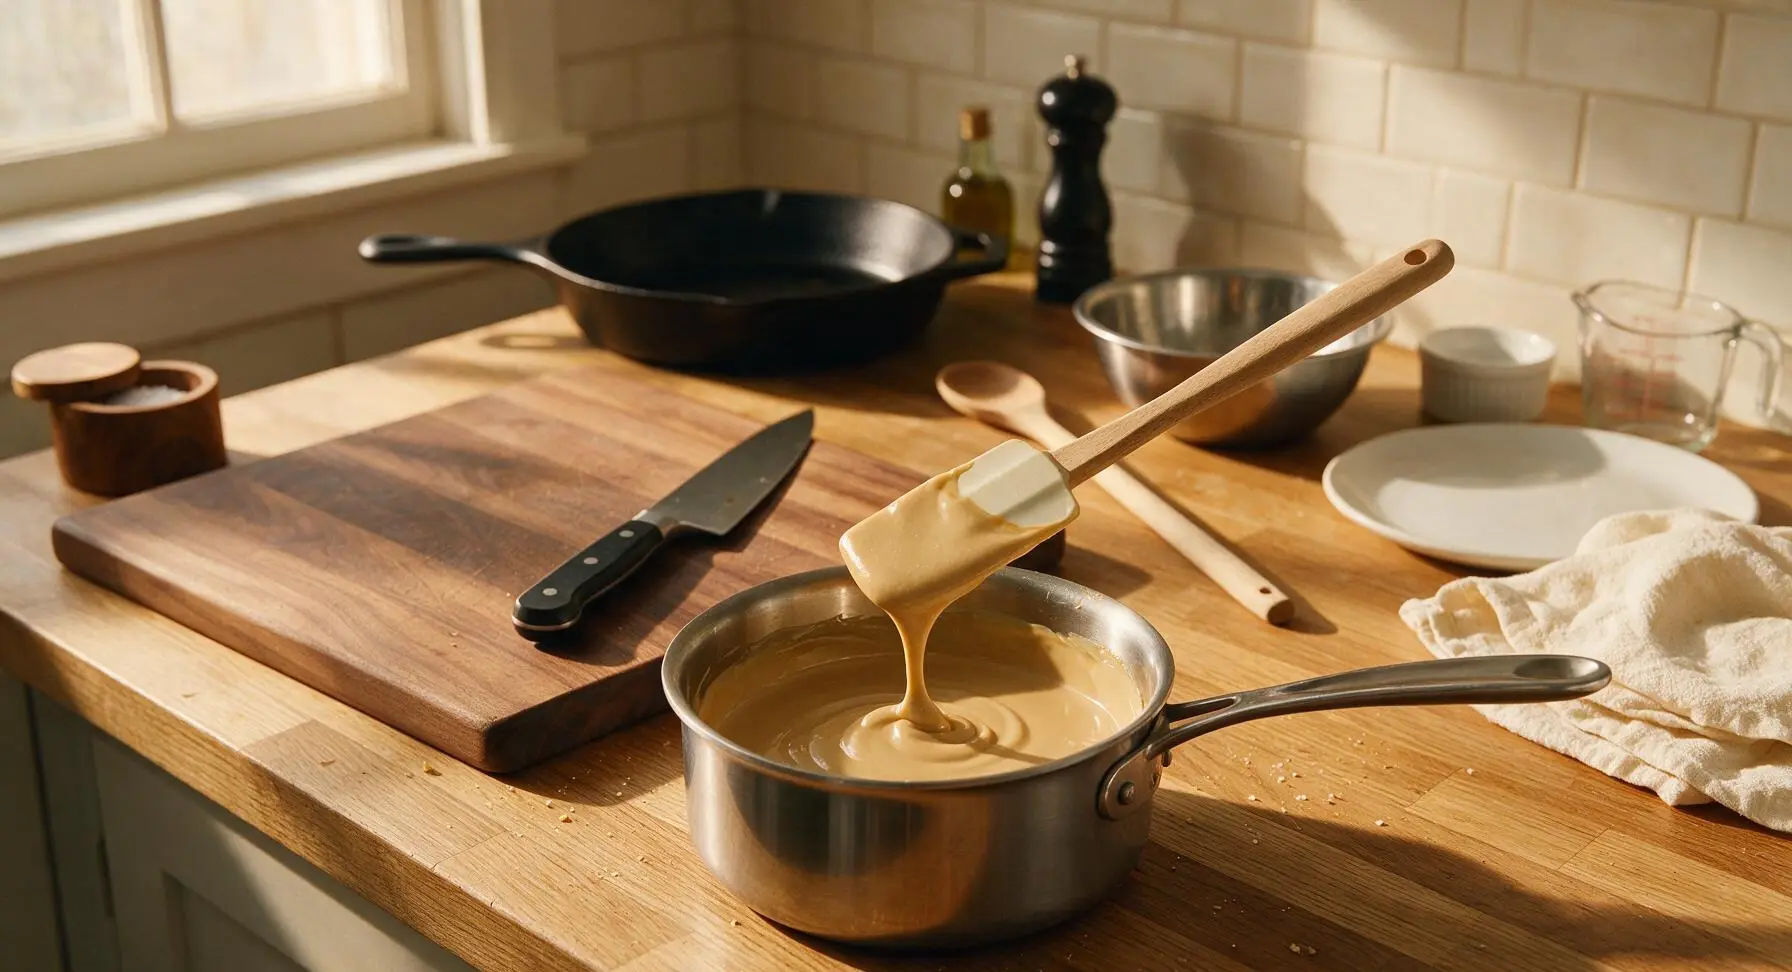
Toss Cubes in Glaze
Transfer the cubed brisket to the heavy-duty aluminum foil pan. Pour 3/4 of the tahini glaze over the cubes, using the stainless steel tongs to toss thoroughly until every cube is evenly coated in glaze, with dark bark peeking through the pale tahini coating. Reserve the remaining 1/4 of the glaze for finishing.
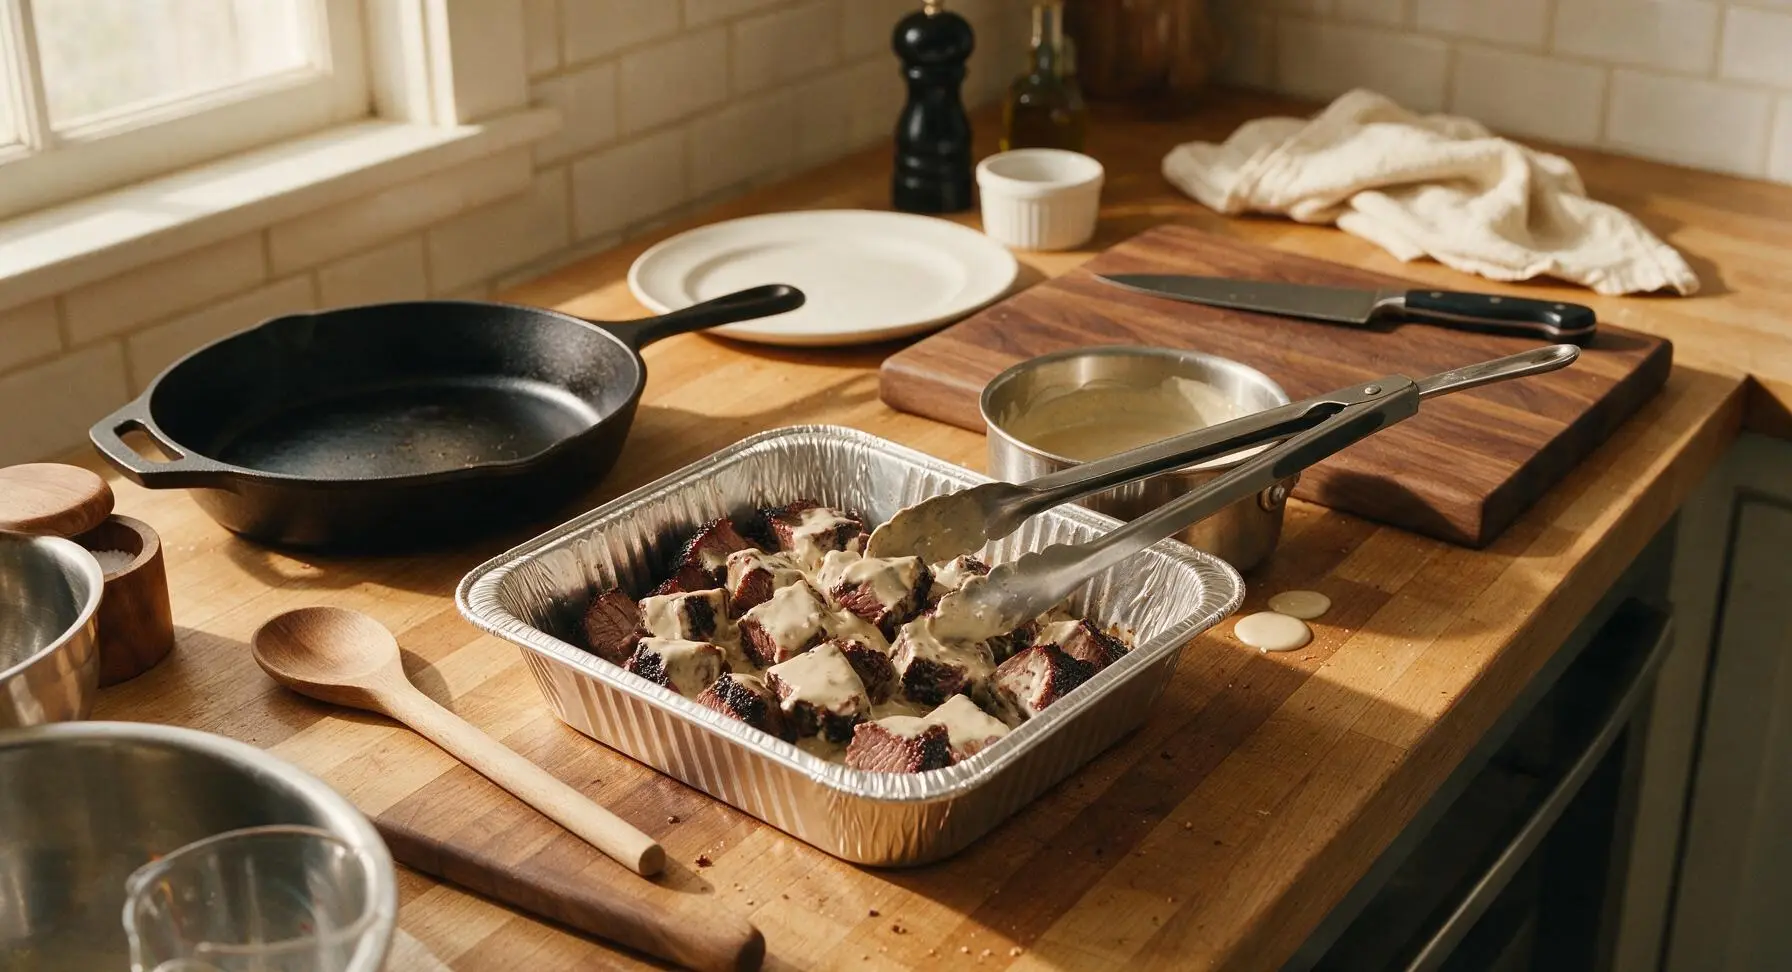
Caramelize to Finish
Cover the foil pan tightly with aluminum foil, return it to the smoker (or 275°F / 135°C oven) for 30 minutes. Remove the foil cover, baste the tops of the cubes with the remaining tahini glaze using the stainless steel basting brush, and cook uncovered for a final 15 minutes, until the glaze is sticky, slightly caramelized, and the edges of the cubes are lightly charred. The internal temperature of the cubes should read 195°F (90°C) when checked with the thermometer, confirming the meat is pull-apart tender. Return the finished pan of burnt ends to the kitchen counter.
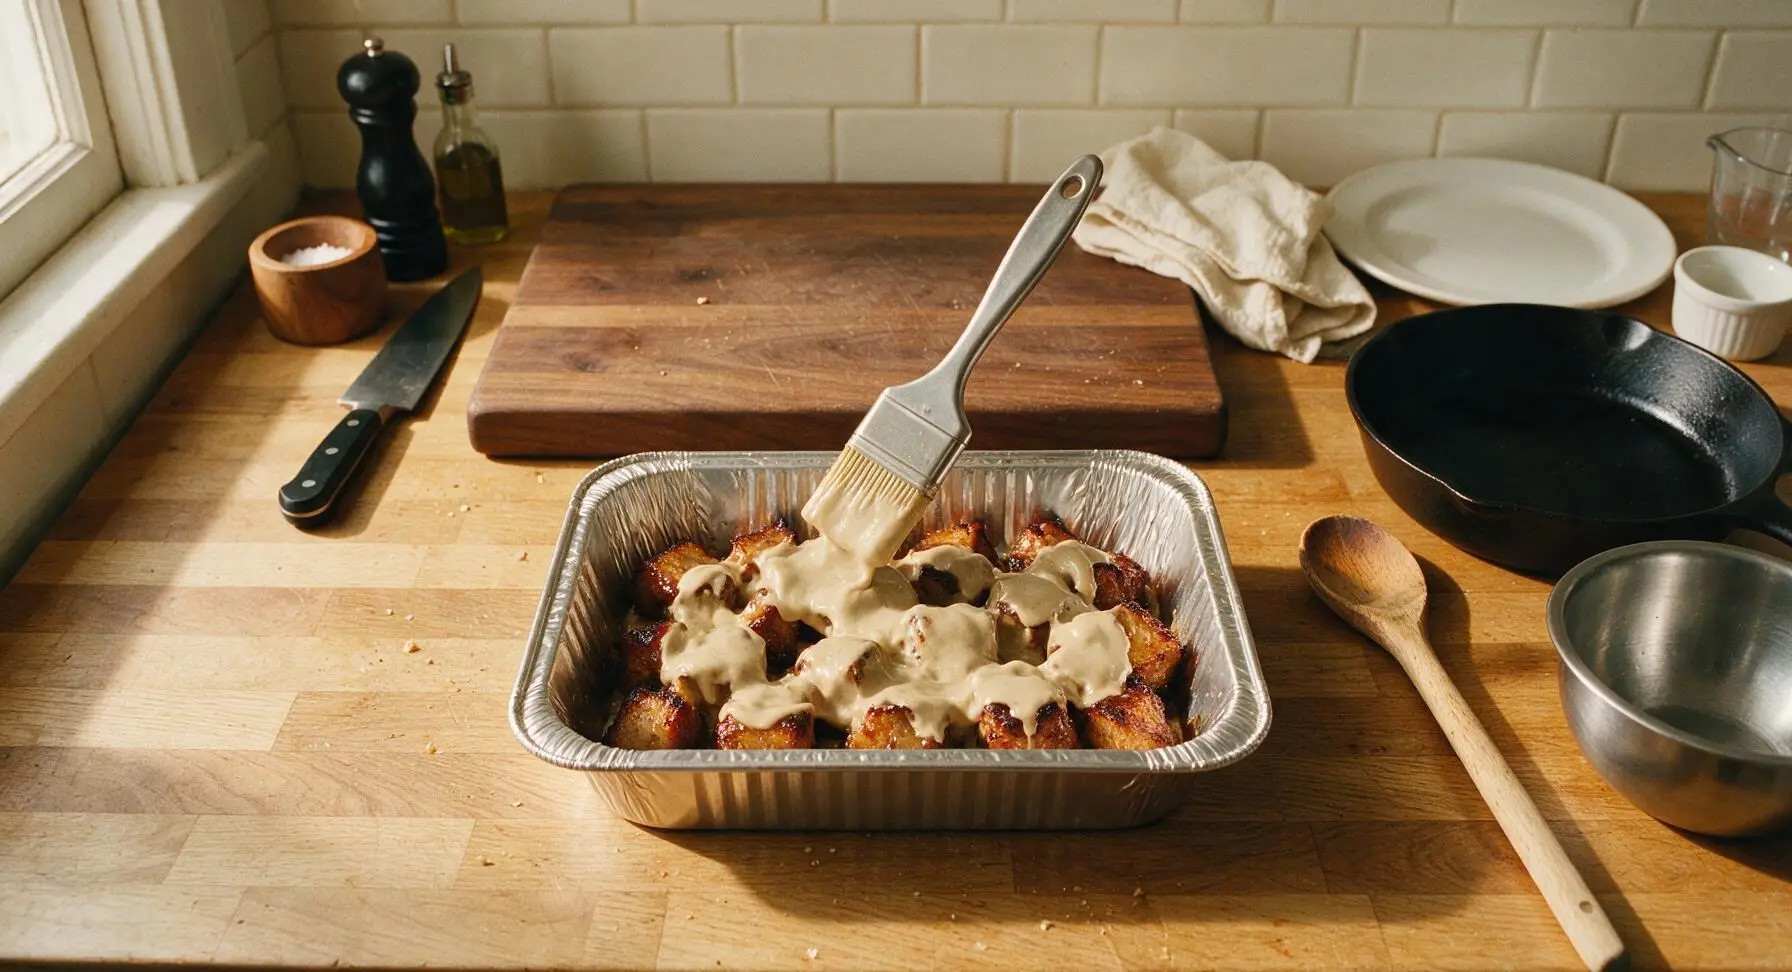
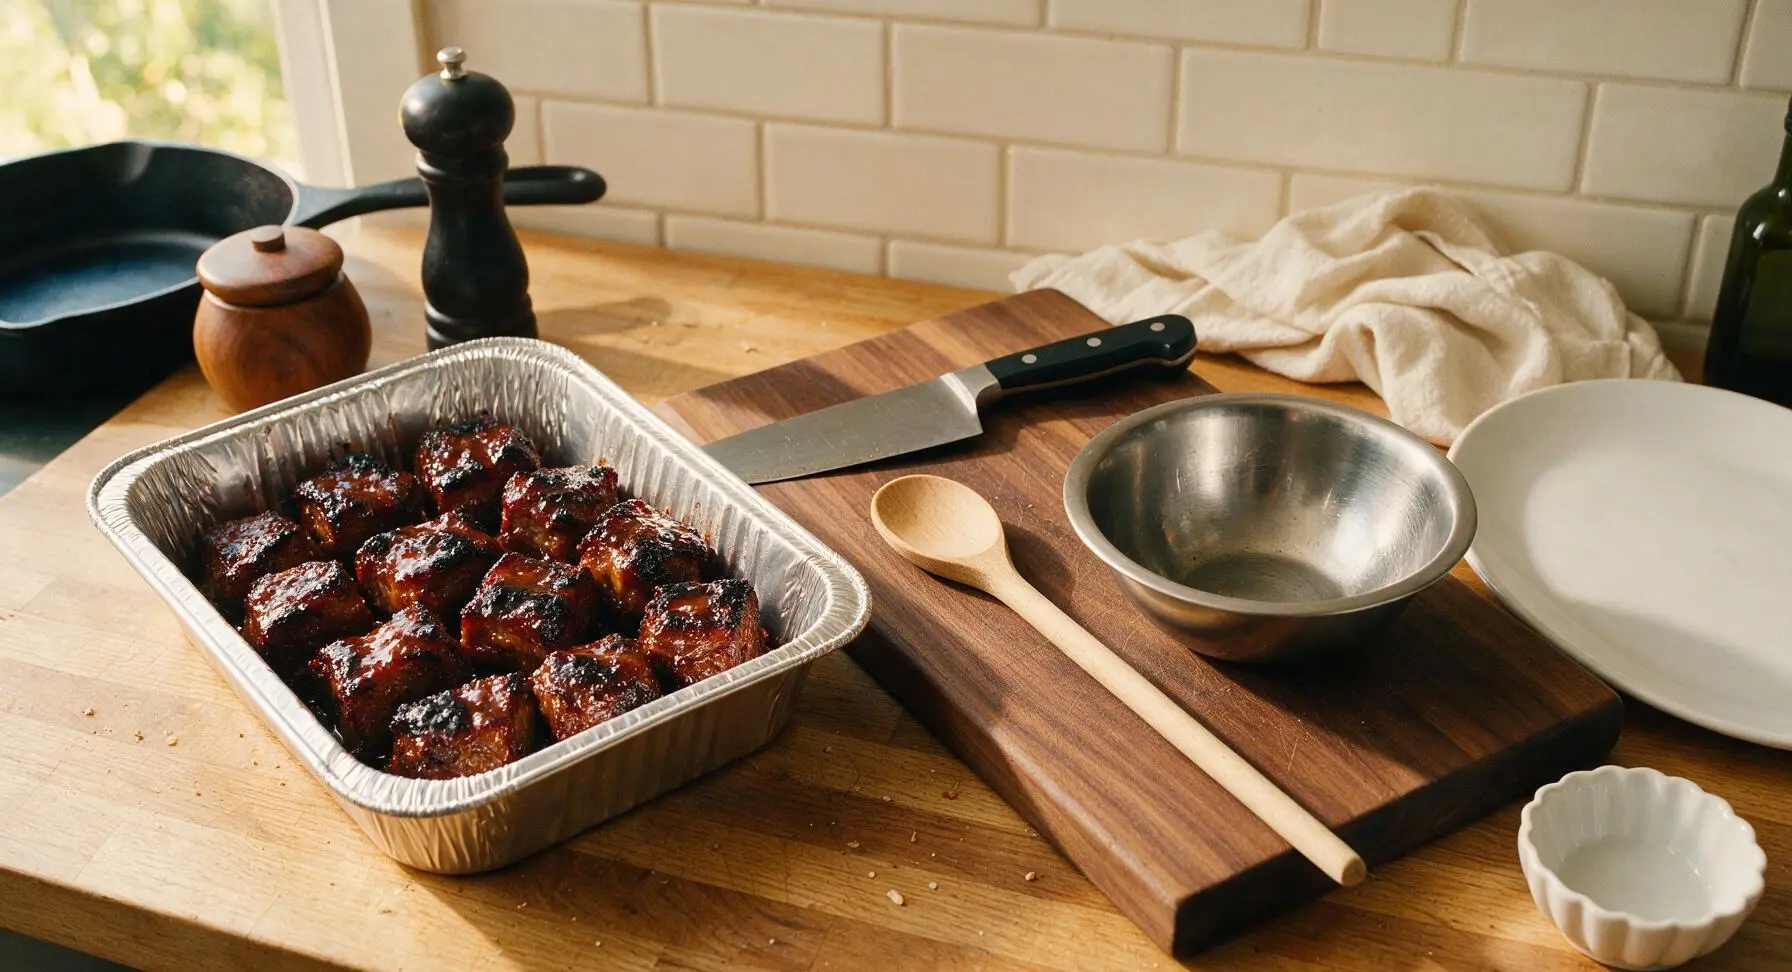
Plate and Garnish
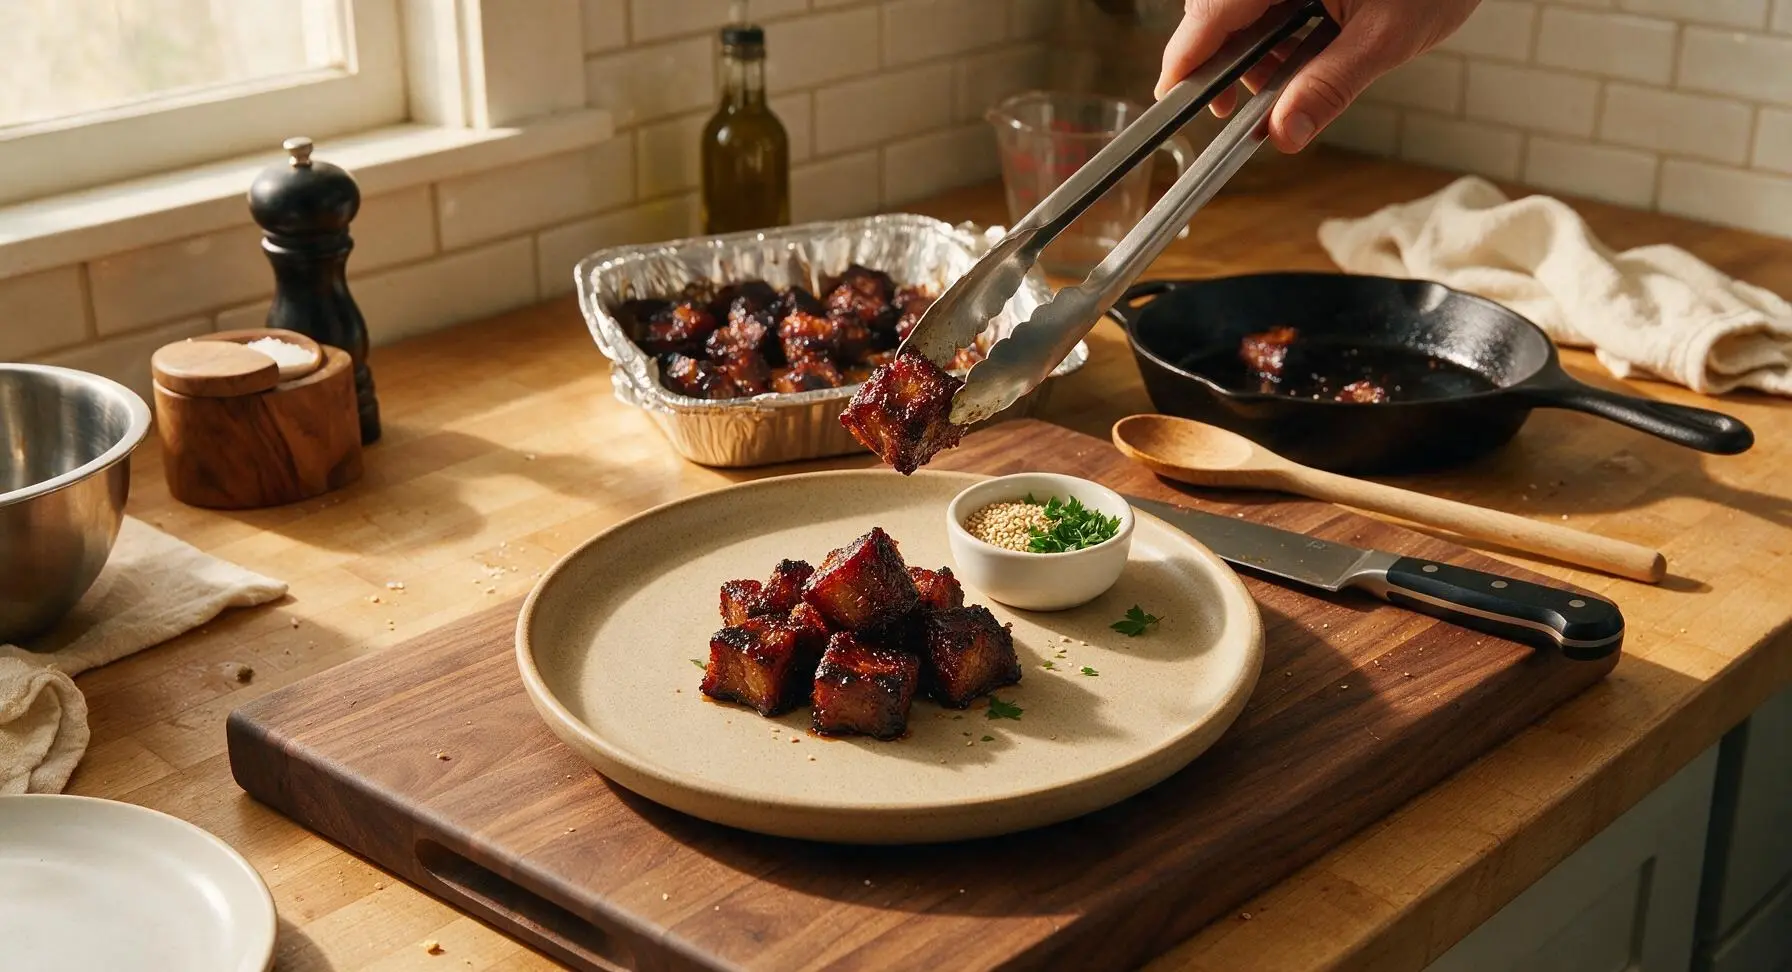
Use the tongs to transfer the hot, sticky tahini burnt ends to the matte sand-colored ceramic serving platter, piling them loosely in the center. Drizzle any remaining glaze from the foil pan over the top, then sprinkle with 1 tsp toasted sesame seeds and 2 tbsp chopped fresh flat-leaf parsley from the small matte white ramekin. Let rest for 5 minutes before serving to allow the glaze to set slightly.
Tips
2.Don’t skip the 30-minute dry rub rest at room temperature: this allows salt to draw out surface moisture from the brisket, which dissolves spices and creates a sticky base that forms a crisp, flavorful bark during smoking, rather than rub that falls off onto the smoker grates.
3.No smoker? No problem: add 1 tsp hickory liquid smoke to the tahini glaze, and cook the rubbed brisket on a wire rack set over a baking sheet in a 250°F (120°C) oven for the initial 2.5 hour cook, then follow the same glazing and final cook steps for nearly identical smoky flavor.






Wait, tahini on burnt ends? I was super skeptical at first but decided to give this a shot for my brother’s birthday cookout. Let me tell you—doubters, this works. The tangy, nutty glaze is the perfect upgrade from regular BBQ sauce burnt ends. I added a pinch of extra cayenne for a little heat, and it slapped. Total game changer, I’ll be making this version from now on.
Solid recipe! It’s definitely medium difficulty like the listing says, so don’t go into this thinking it’s a quick 30 minute weeknight meal, but the payoff is 100% worth it. I made a double batch and froze half for quick meals later, and they reheated beautifully in the air fryer. I was worried the tahini glaze would get gummy or weird in the freezer, but it held up perfectly.
Took me a minute to get the tahini glaze to the right consistency (pro tip: warm it a little before tossing the burnt ends in it!) but once I did? *Chef’s kiss.* I paired it with some roasted garlic broccoli and quinoa for a cozy family dinner, and my husband said it’s straight up restaurant quality. Will definitely make again—just a heads up for newbies like me, set aside a little extra time since it’s medium difficulty, don’t rush the cook!
Made these for a Gators tailgate last weekend and they were gone in 10 minutes flat! I will say, if you don’t have a smoker, you can totally make these in the oven per the instructions and they still come out crispy and caramelized around the edges. The tahini adds such a nice depth that regular BBQ sauce just doesn’t have. My whole crew asked for the link to the recipe before we even left the parking lot!
OMG these tahini burnt ends are a total game changer! I brought them to my neighborhood potluck last weekend and people were begging me for the recipe before I even left. The nutty tahini cut through the rich brisket so perfectly, I never would’ve thought to pair those flavors together. 10/10 will be making these for every family cookout from now on.
SO good! I was a little nervous about the 3+ hour cook time on a weeknight, so I prepped the brisket rub the night before and popped it in the oven right when I got home from work. My kids went crazy for the tahini glaze, even my super picky 7 year old asked for seconds. Will absolutely add this to our weekly meal prep rotation!
Made these for my book club potluck and everyone was raving! I was a little intimidated because the recipe says medium difficulty, but the instructions were super straightforward and easy to follow. The only mishap I had was that my glaze got a little too thick when I let it sit too long, but a splash of warm water fixed it right up. Will 100% be making these again for my next gathering.
My kids loved it! I was worried the tahini would be too earthy for them, but when you mix it with the little bit of honey and soy in the glaze, it’s sweet and savory and totally kid-approved. We had these for our Sunday family dinner with mac and cheese and collard greens, and there were zero leftovers. So so good.
First time making burnt ends period, and I picked this recipe because the tahini twist sounded way more interesting than the classic version. I will admit I messed up the first glaze batch because I forgot to add the lemon juice, oops. But even that lopsided version was good! Once I fixed the glaze? Unreal. My roommate is a total BBQ snob who competes in local amateur contests, and he said these are the best thing I’ve ever made.
As someone who’s made traditional burnt ends a hundred times, I was curious how tahini would work here. Let me tell you—this is the best twist I’ve tried in years. The sesame flavor pairs so well with the smoky brisket, I’m never making plain burnt ends again. I did toast my tahini a little before mixing the glaze, and it amped up the nuttiness even more. Highly recommend that little hack!
Meal prepped these on Sunday for the week, and they held up so well for lunches! I tossed them over salads, ate them with roasted veggies, even had a few straight out of the container as a quick post-hike snack. The only note I have is that if you’re watching your sodium, cut the regular soy sauce with a little low-sodium version, because the full amount is pretty salty. Otherwise, perfect!