
tater tot bake no meat
intro
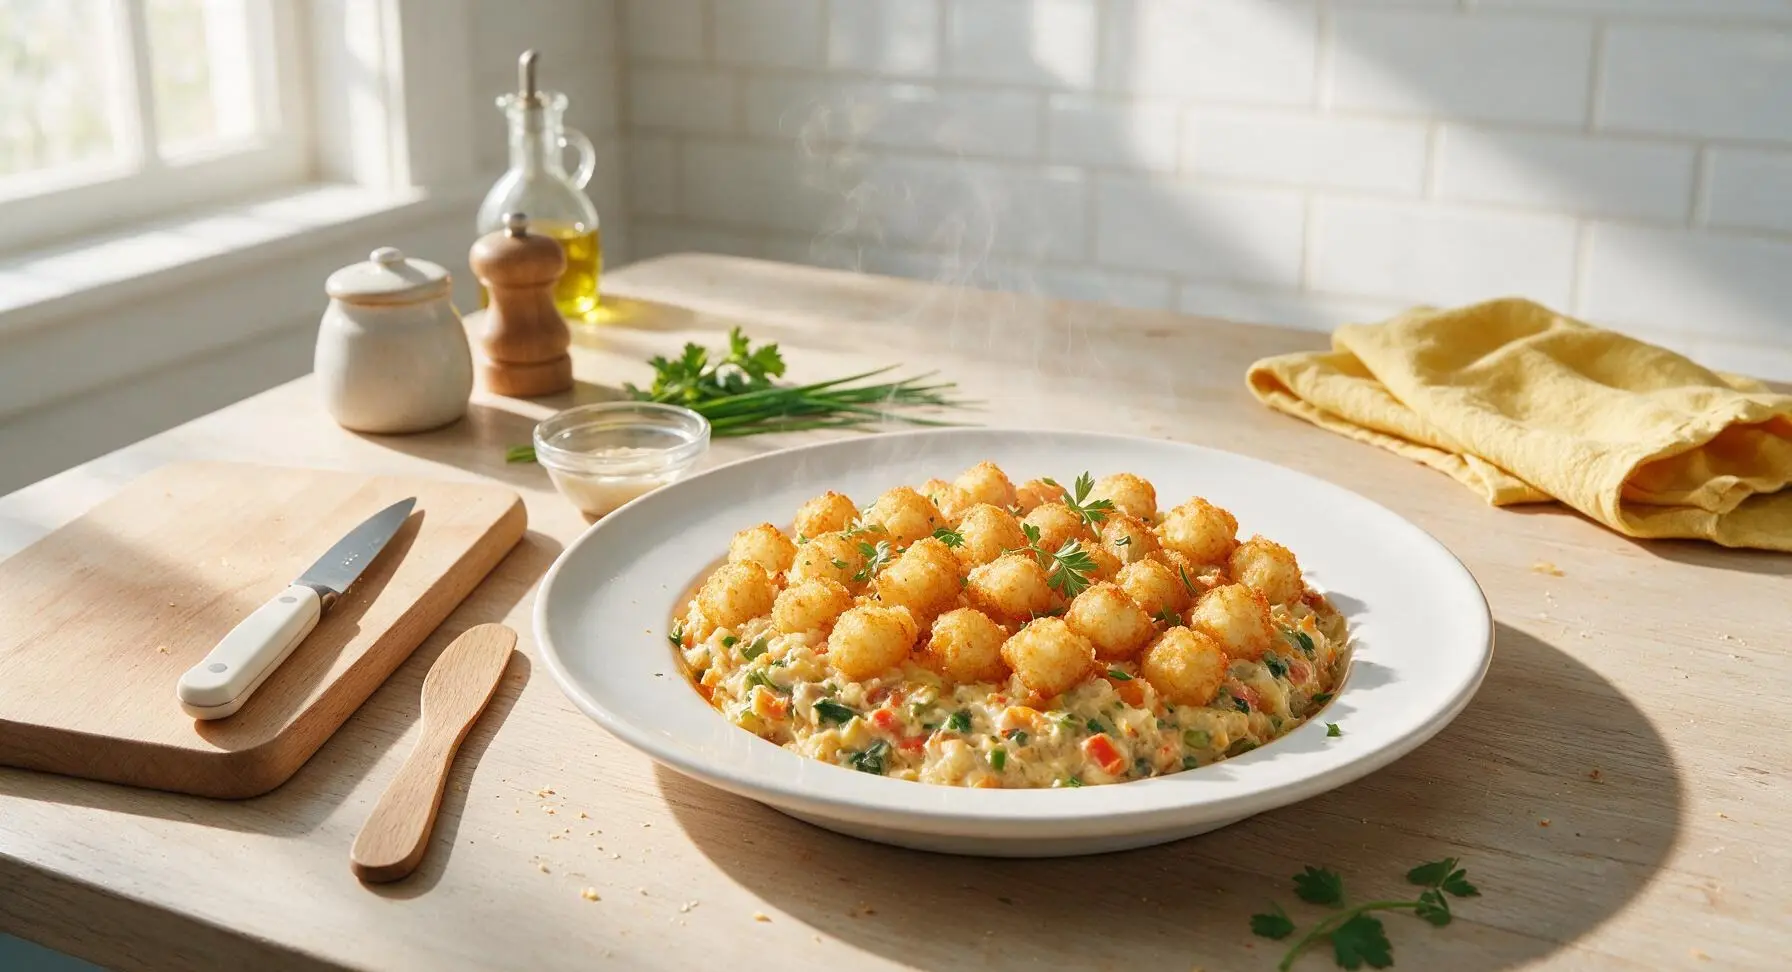
Crispy golden tater tots top a creamy, veggie-packed cheesy base for this cozy meatless Midwest comfort bake, with minimal prep and big, satisfying flavor.
Ingredients
Steps
Preheat Oven and Grease Dish
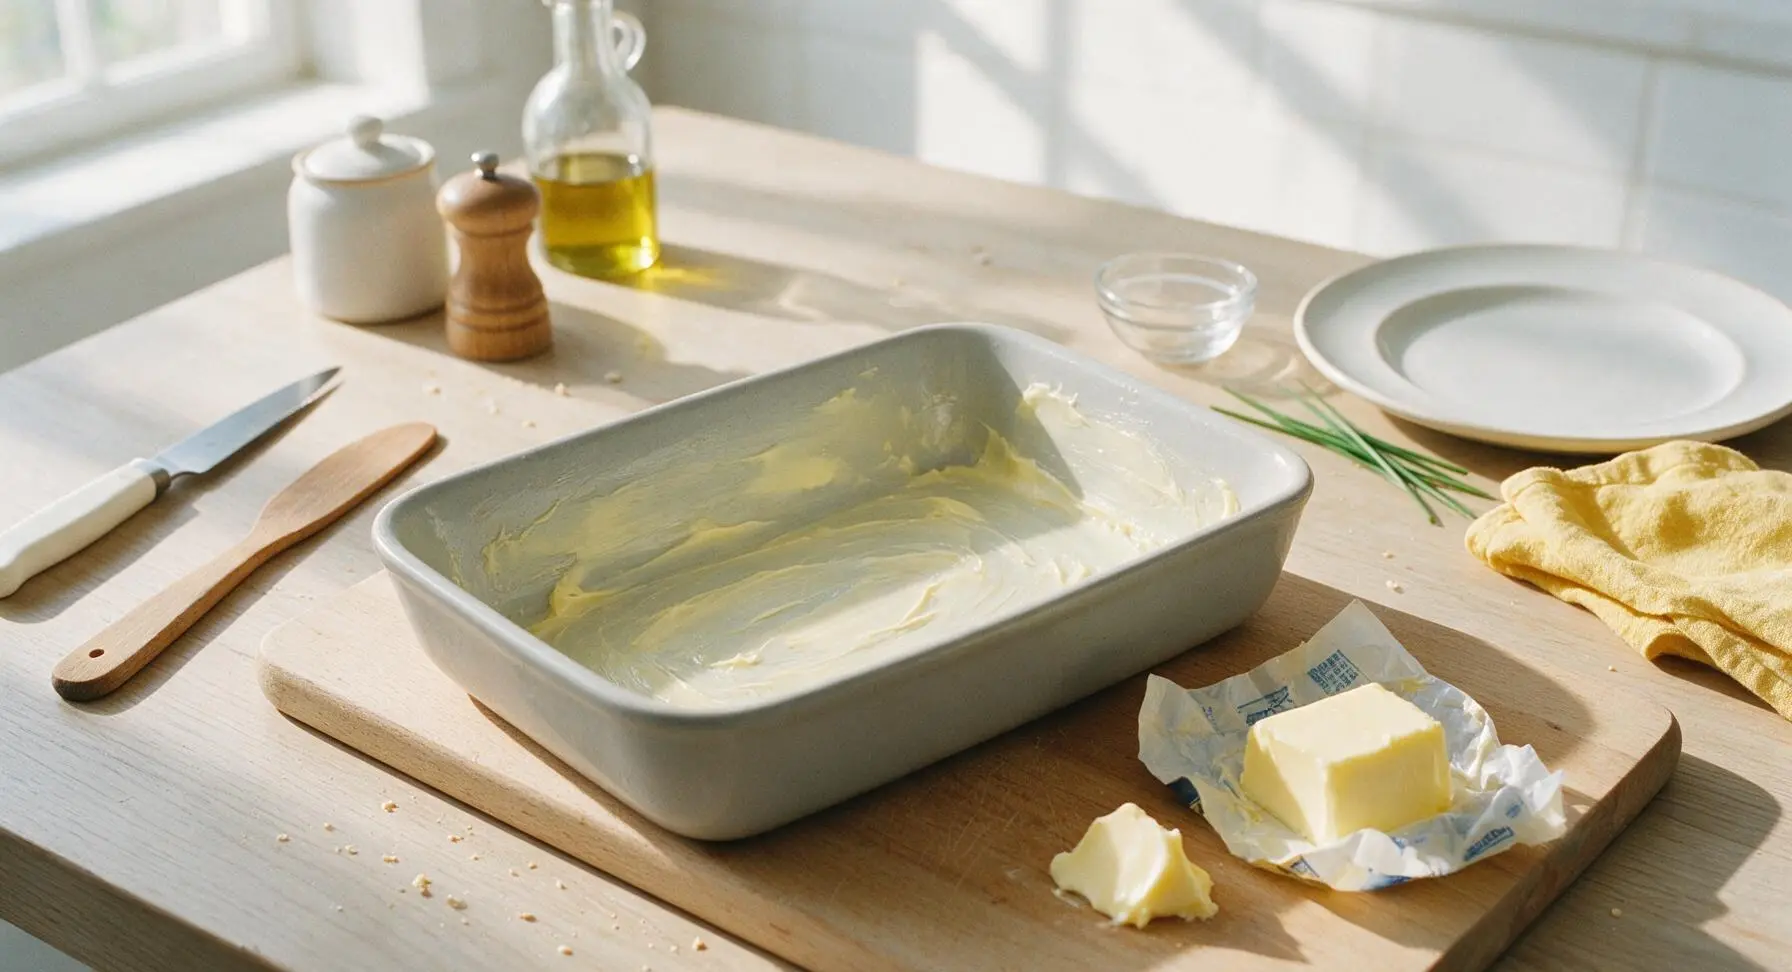
Adjust your oven rack to the middle position, then preheat the oven to 400°F (200°C). Use 1 tablespoon of the unsalted butter to generously coat the bottom and inner sides of the 9x13 inch matte light gray ceramic baking dish, ensuring no dry ceramic spots remain to prevent sticking. Set the greased dish in the center of the counter.
Sauté Diced Onion
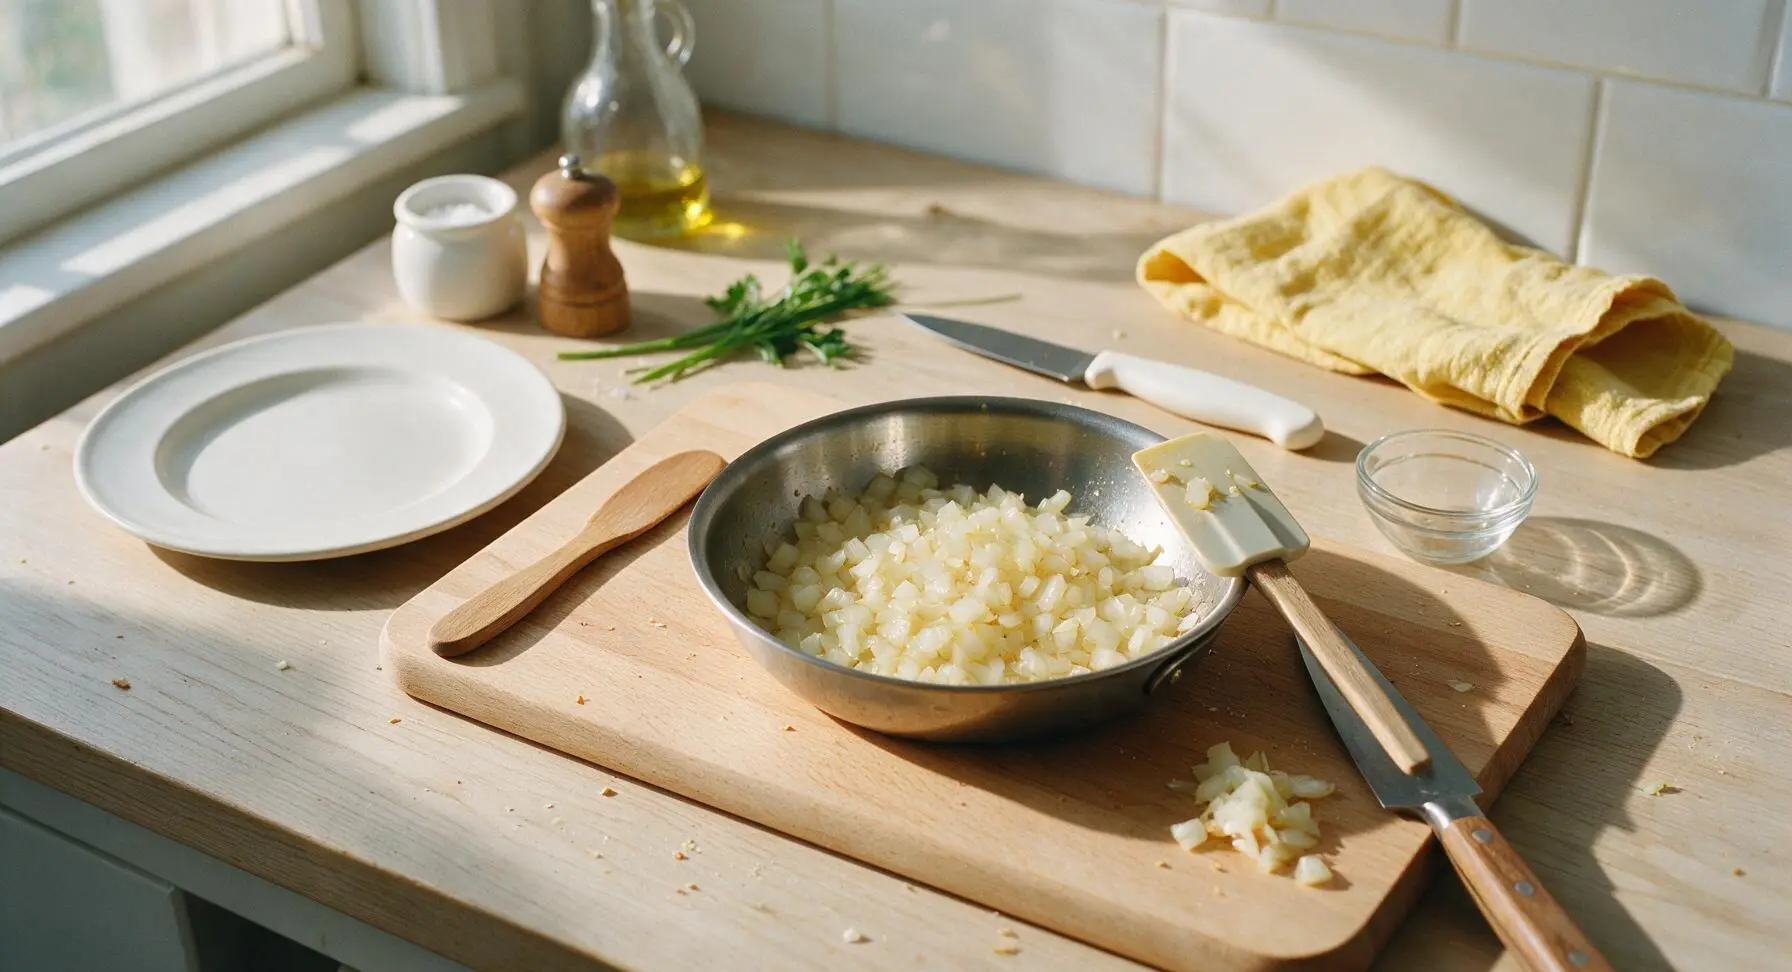
Melt the remaining 1 tablespoon of unsalted butter in the 20cm stainless steel skillet over medium heat. Add the finely diced yellow onion, and cook for 3-4 minutes, stirring occasionally with the silicone spatula, until the onion is soft and translucent with faint pale golden edges. Do not fully brown the onion, as it will continue to cook during baking.
Mix Creamy Filling Base
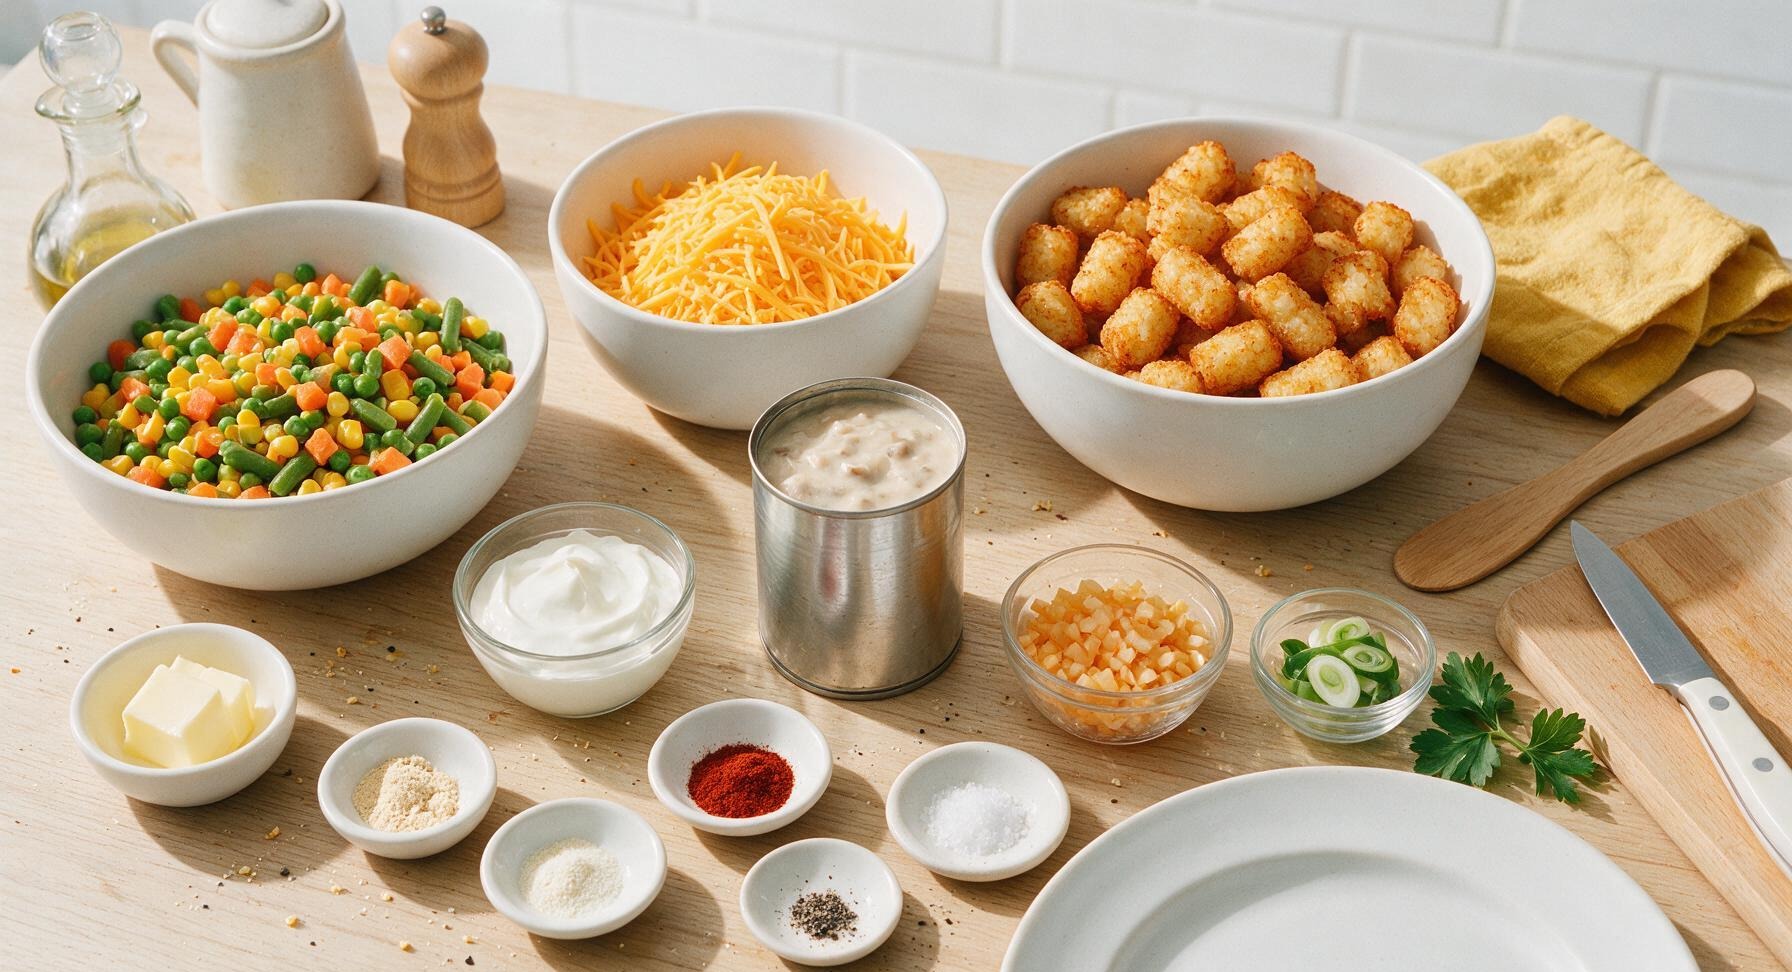
Transfer the cooked onion to the greased baking dish. Add the fully drained, thawed mixed vegetables, condensed cream of mushroom soup, sour cream, 1.5 cups of the shredded sharp cheddar, garlic powder, onion powder, smoked paprika, kosher salt, and black pepper. Stir thoroughly with the silicone spatula until all ingredients are evenly combined, forming a smooth, consistent creamy layer across the entire bottom of the dish with no dry spice clumps.
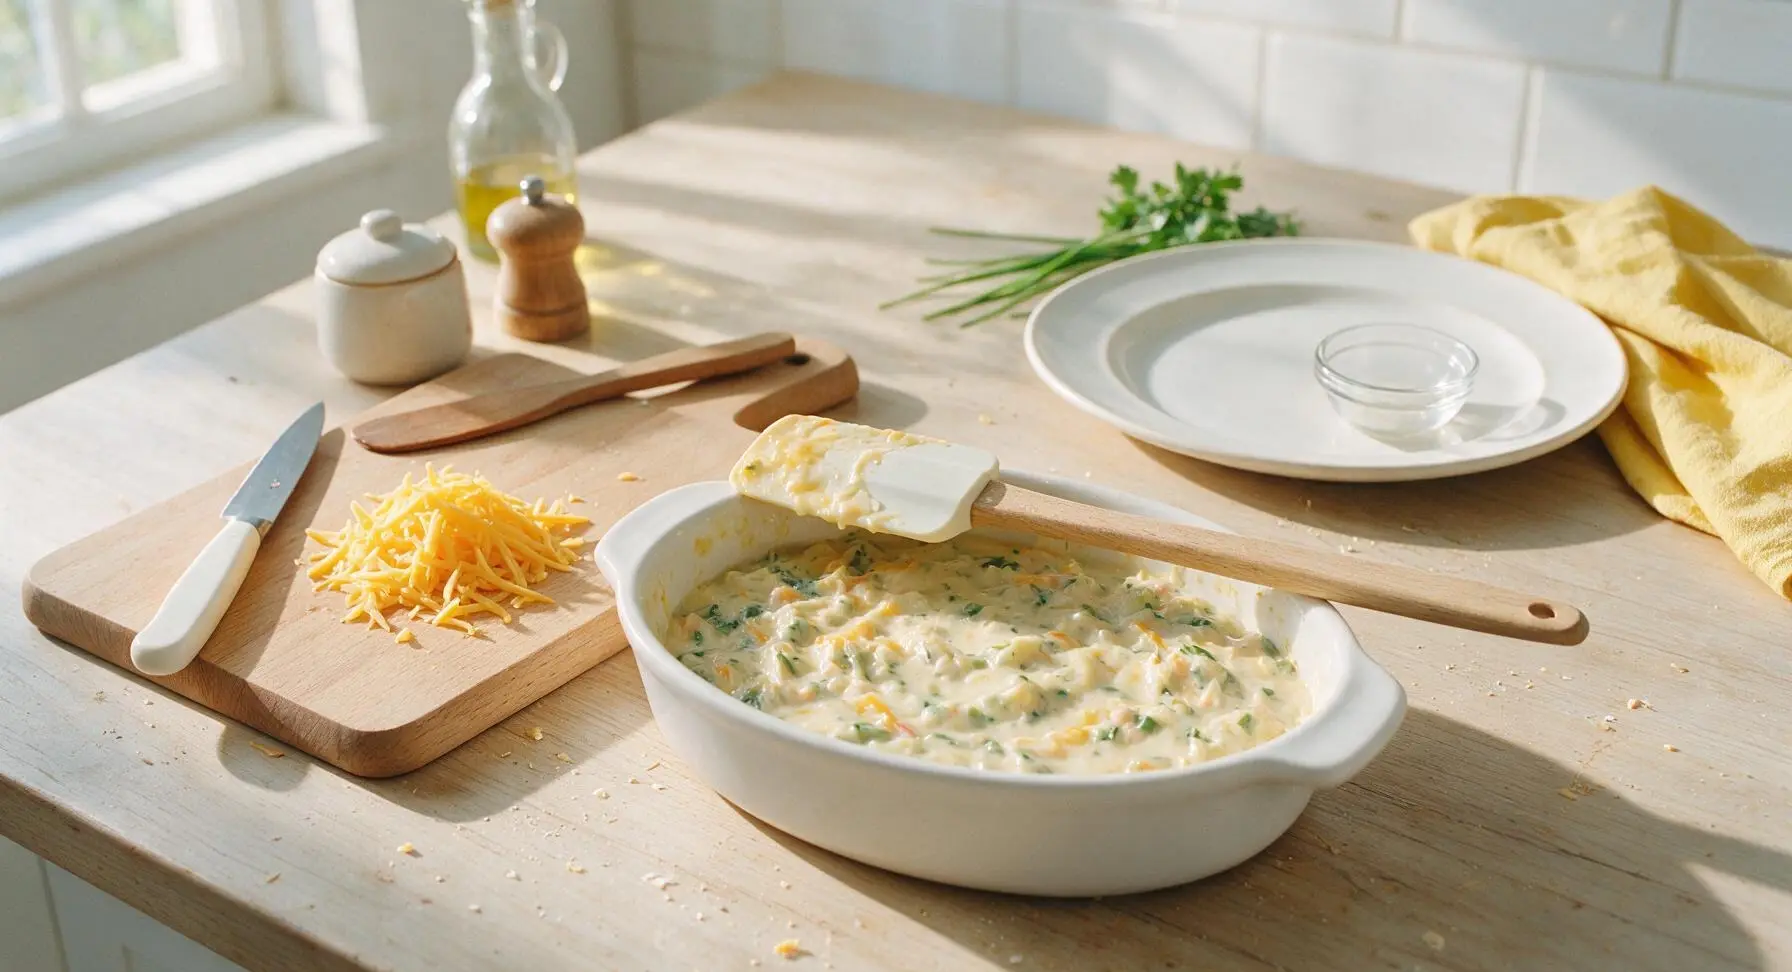
Arrange Tater Tot Layer
Pour frozen tater tots from the bag, and arrange them in a single tight, even layer across the top of the creamy filling, flat side down. Do not press the tots into the filling, as this will cause sogginess; they should rest loosely on the surface to allow air circulation for crisping. Cover the entire filling surface, leaving no large gaps between tots.
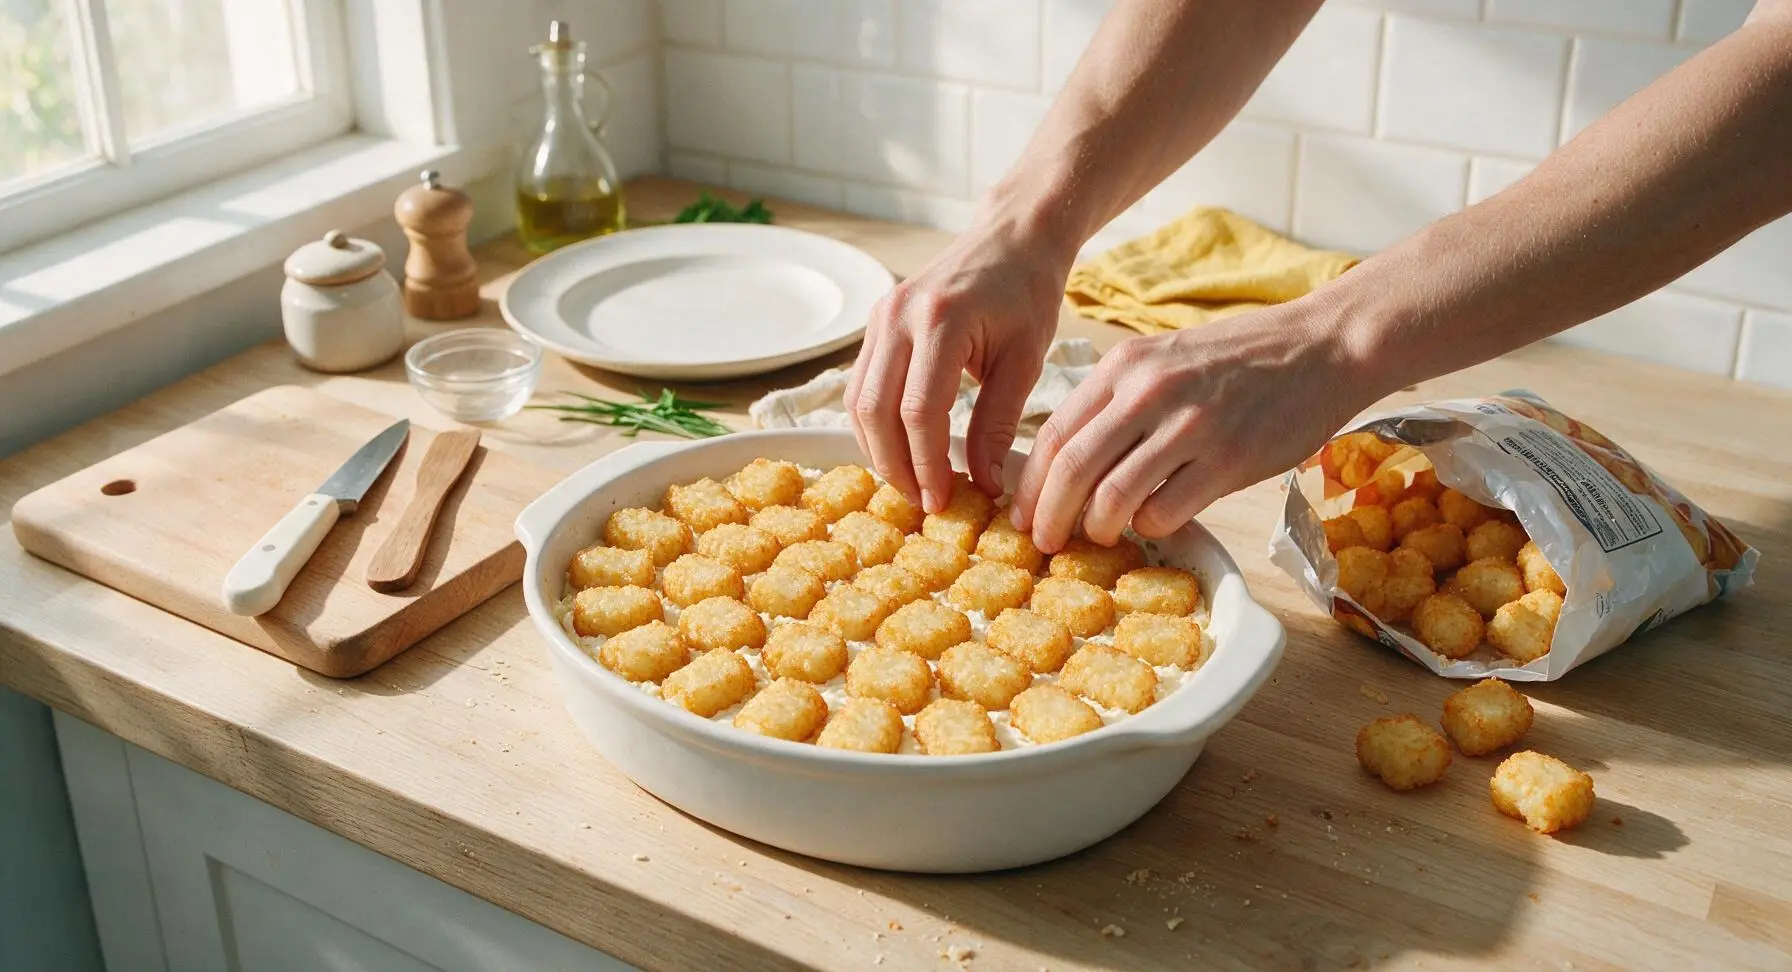
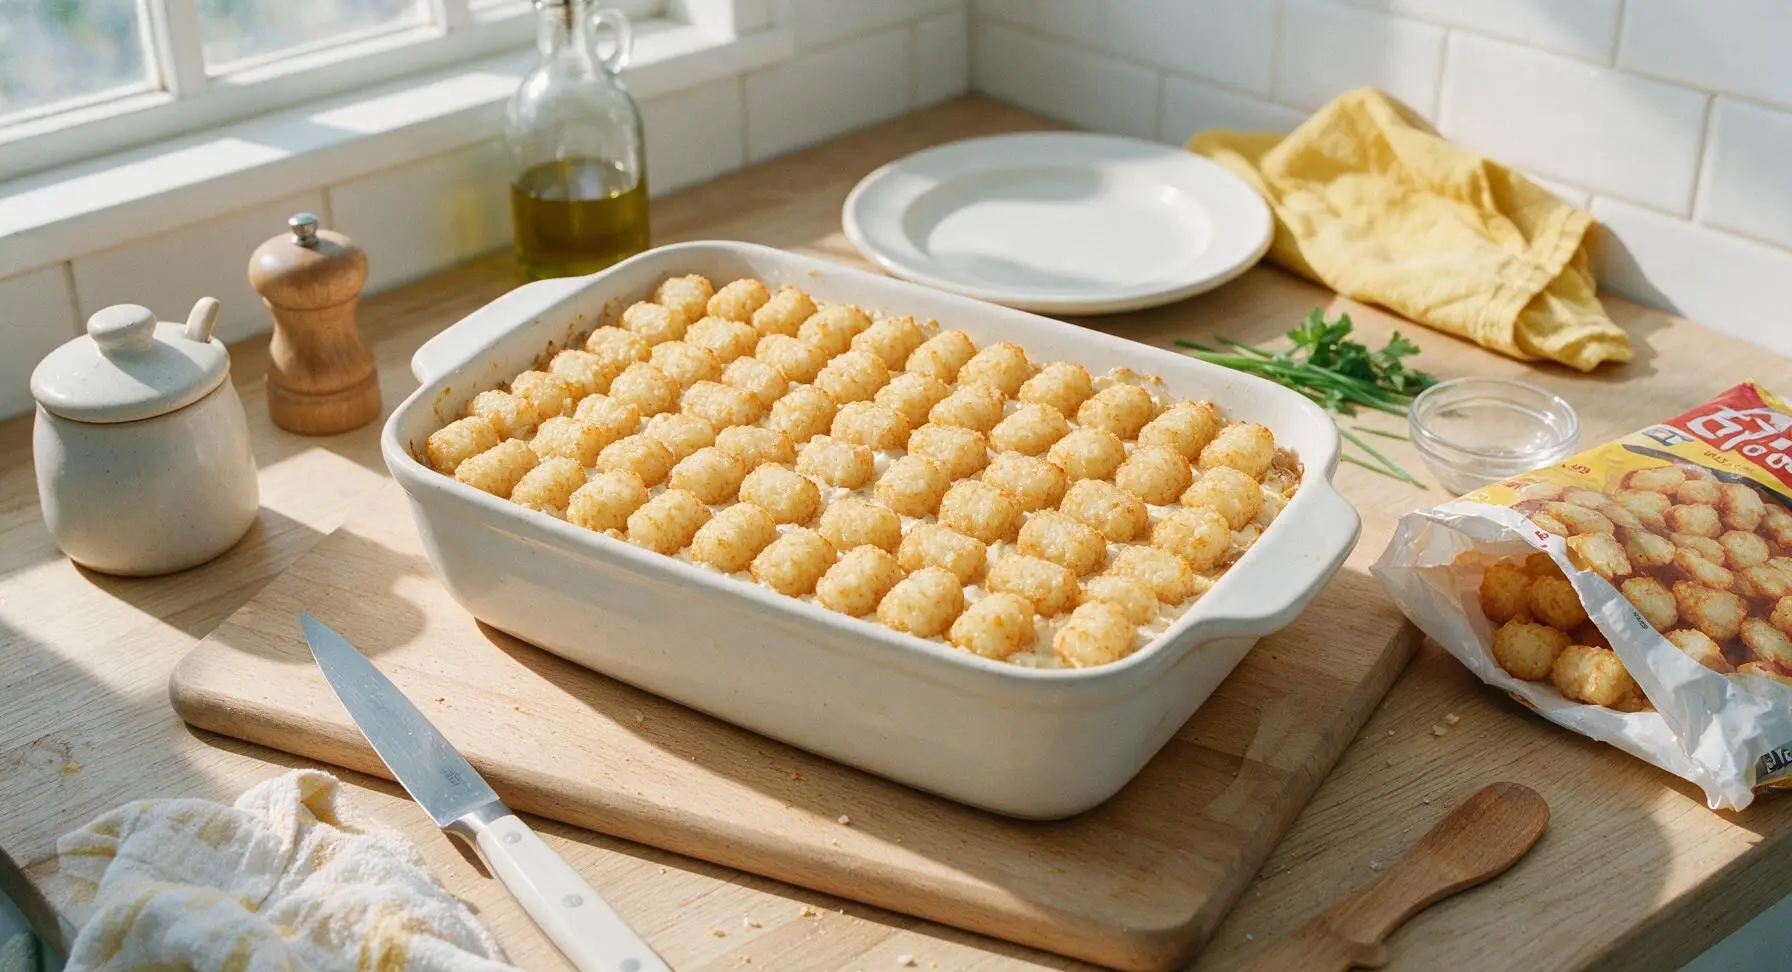
Bake Until Crispy Bubbly
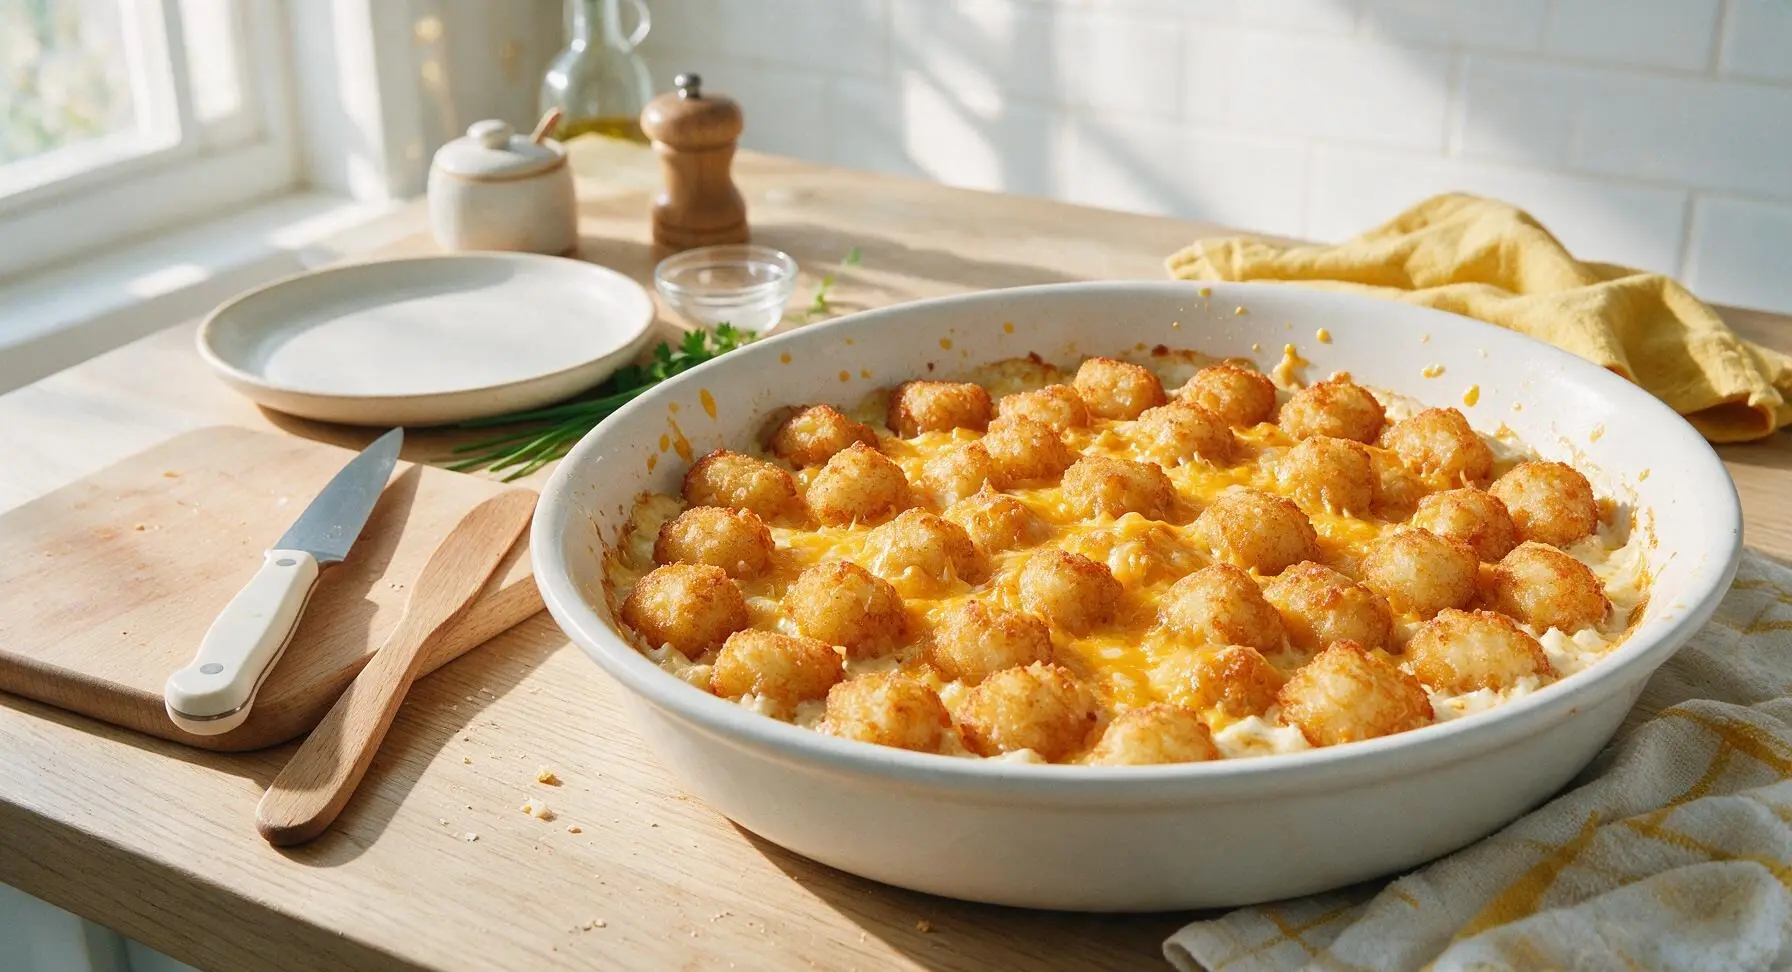
Carefully transfer the assembled dish to the preheated middle oven rack. Bake for 35 minutes, until the creamy filling bubbles vigorously around the dish edges. Use oven mitts to pull the dish out, sprinkle the remaining 1/2 cup shredded cheddar evenly across the tater tot top, then return to the oven for 5 more minutes, until the cheese is melted and tots are deep golden and crisp.
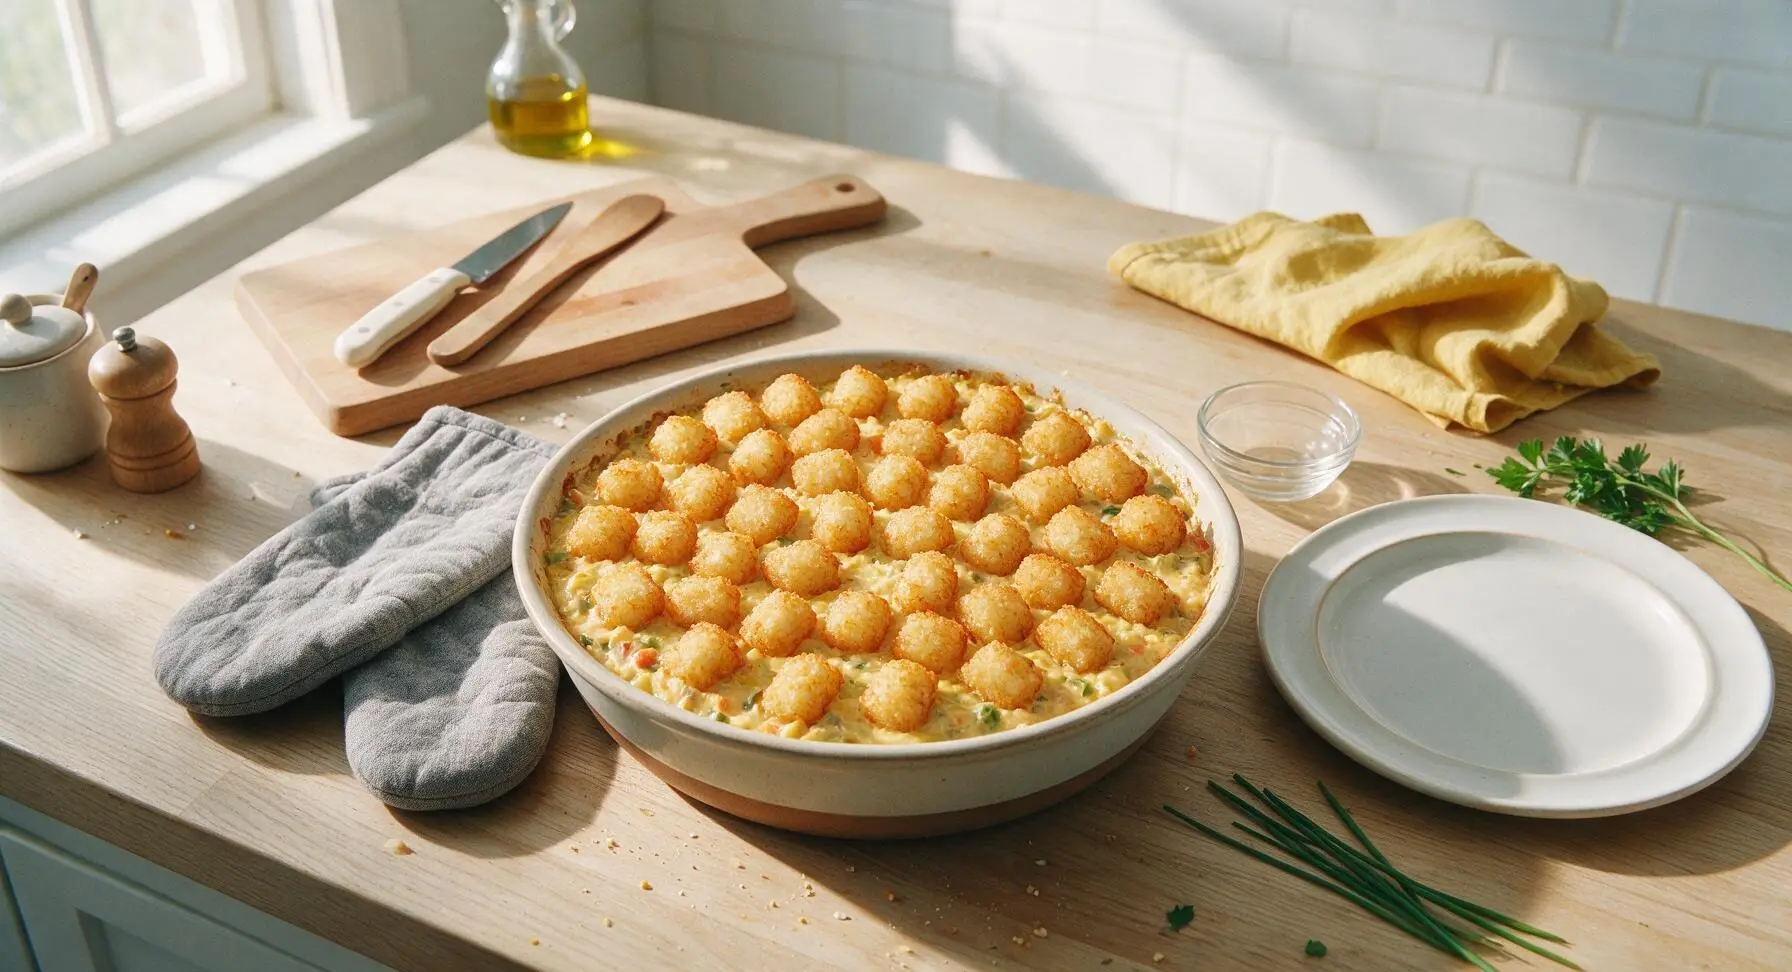
Rest and Add Garnish
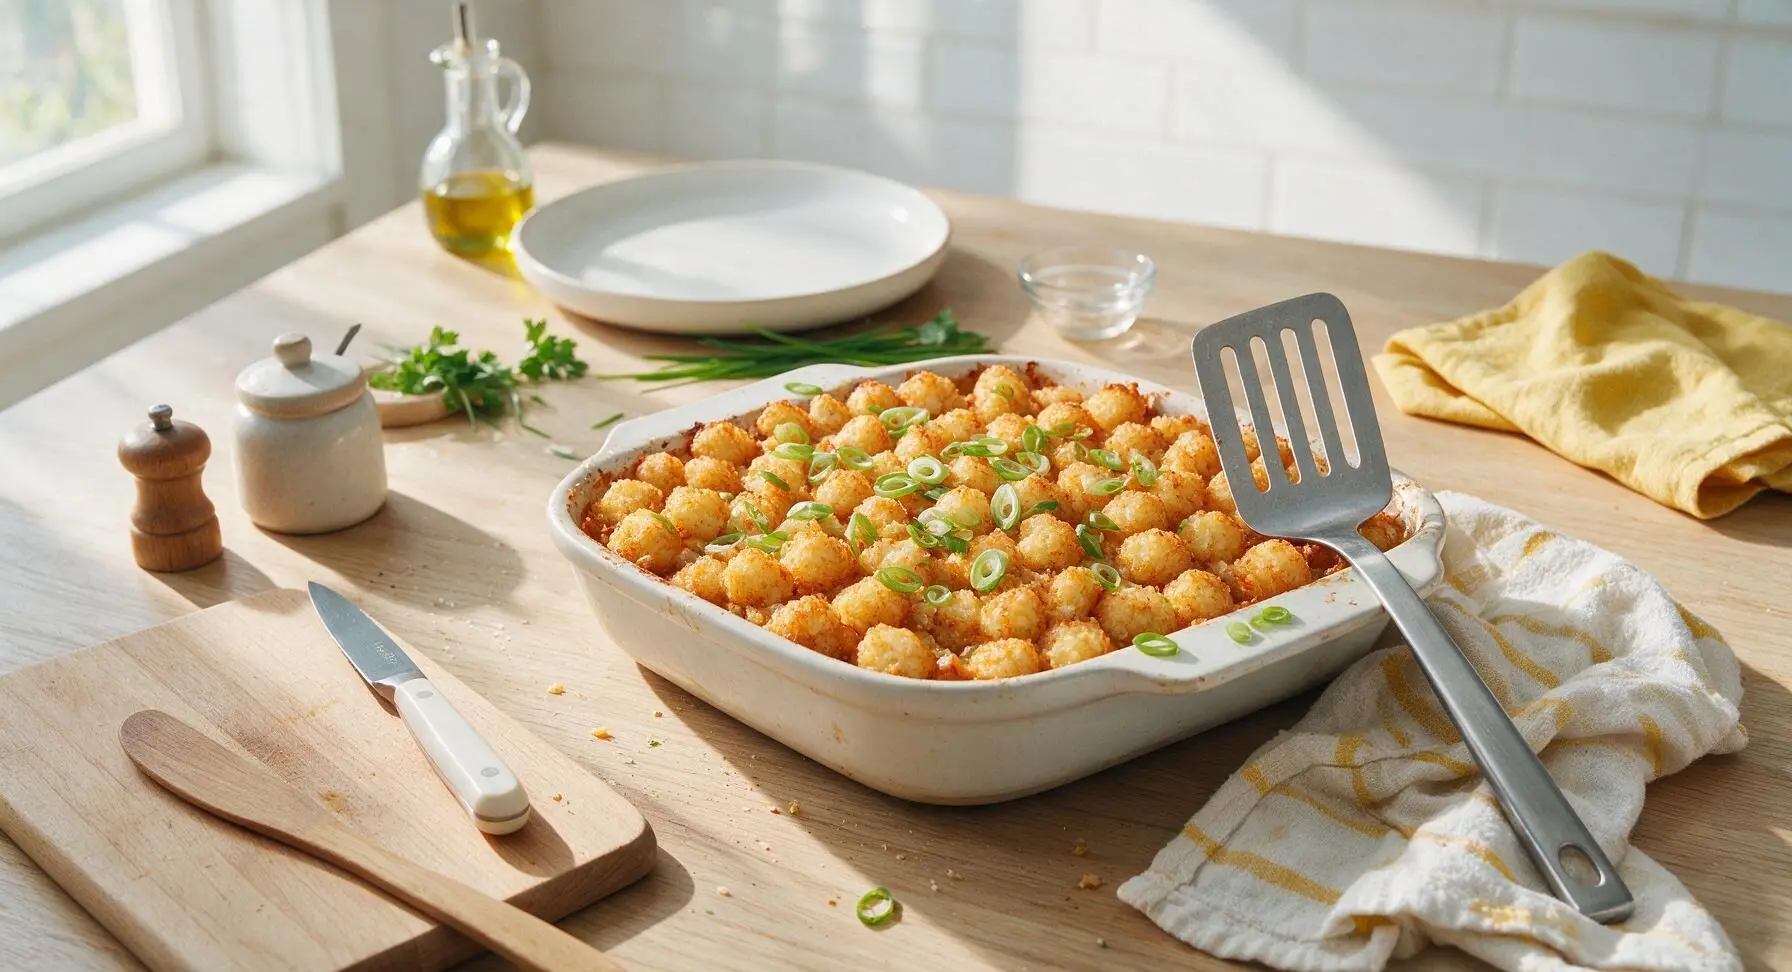
Let the hot bake rest for 5 minutes on the counter to allow the filling to set, which makes clean slicing possible. Sprinkle the thinly sliced green onions evenly across the warm, crispy tater tot top for a bright, fresh garnish.
Tips
2.Keep tater tots frozen until you are ready to arrange them: thawed tots will turn mushy during baking instead of developing a light, crispy outer crust. Do not press tots into the filling, as this traps moisture against the potato surface.
3.Let the bake rest for the full 5 minutes after removing it from the oven: the creamy filling will be very loose right out of the oven, and resting allows it to set so slices lift cleanly without oozing across the plate.






OMG this was such a game changer for our weeknight family dinner! I’ve been trying to add more meatless meals that don’t feel boring, and my 3 kids literally asked for seconds before they even finished their first plate. The tater tots got SO crispy on top just like the recipe said, even when I snuck in extra frozen broccoli under the cheese layer. 10/10, will be adding this to our regular meal prep rotation!
Brought this to our neighborhood block party potluck last weekend and people were hovering over the pan until every last bite was gone! Multiple people asked for the recipe, even the folks who swear they hate meatless meals. Super easy to throw together too, I prepped all the layers the night before and just popped it in the oven when we got to the park. Only note: I added a little extra shredded cheddar because who doesn’t love more cheese?
As someone who’s basically a disaster in the kitchen and only has a tiny dorm oven, this was foolproof! 40 minutes total, minimal cleanup, and it tastes way fancier than the effort it takes. I made a full pan on Sunday and ate portions for lunch all week, it reheated perfectly in the microwave without getting soggy. Absolute staple for my easy meal rotation now.
This looks amazing! Quick question before I make it for my kid’s soccer team snack dinner – does anyone know if this works with gluten-free cream of mushroom soup? My youngest has celiac so I have to make sure the whole pan is GF, and I don’t wanna waste ingredients if the texture gets weird.
Was a little skeptical of a no-meat tater tot bake because I usually load mine up with ground beef, but wow, this blew me away. The savory seasoning blend mixed into the creamy layer adds so much depth I didn’t even miss the meat. Top got perfectly crispy in 40 minutes exactly like the recipe said, no burnt edges, no soggy middle. Easy enough for a random Tuesday night, tasty enough to serve to guests.
Super solid base recipe! I kicked mine up a little with a dash of smoked paprika and a handful of pickled jalapeños on top for a little heat, and it was chef’s kiss. Love how easy it is to customize without messing up that perfect crispy tater tot top. Next time I’m gonna try adding some caramelized onions to the creamy layer for extra depth.
I’ve made tater tot hotdish for my family for over 40 years, usually with ground beef, and I decided to try this meatless version for my granddaughter who’s been vegetarian lately. I was worried it wouldn’t feel like the classic I know, but it was absolutely delicious! Even my meat-loving husband said he’d be happy to have this once a week no complaints. Easy to follow recipe, no fancy ingredients, came out perfectly crispy just as written.