
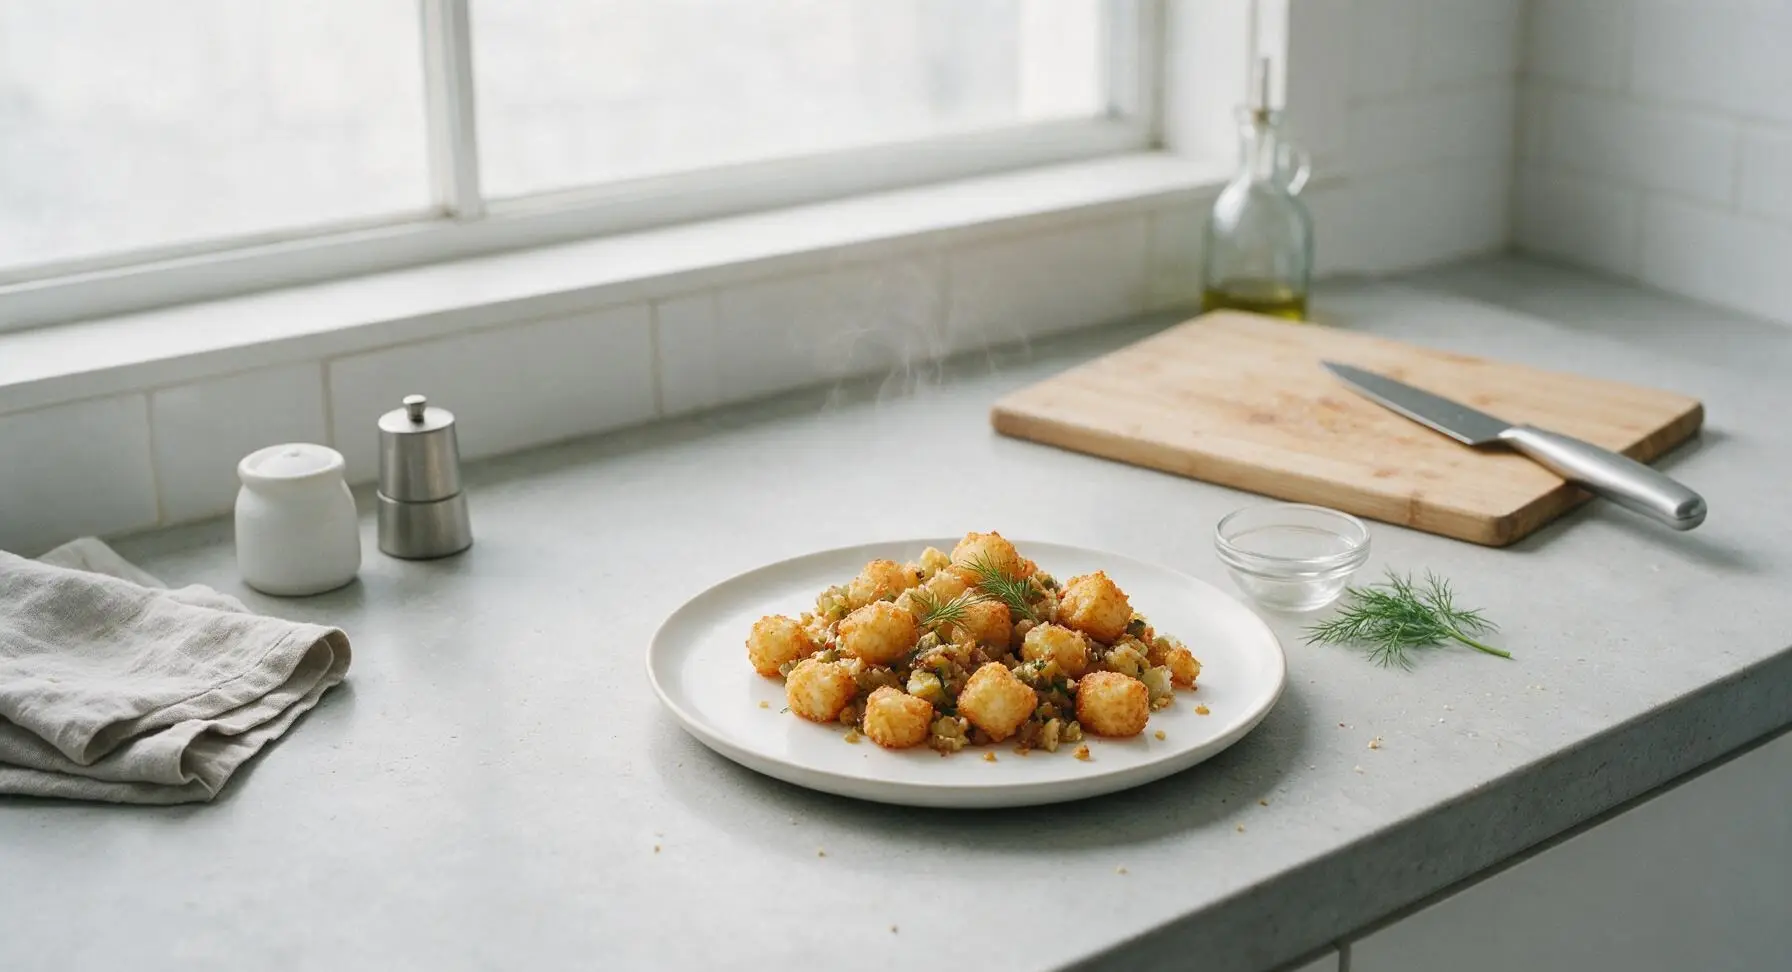
tater tot stuffing

title 1
tater tot stuffing
⏱️ cook time 45 minutes
🍽️ servings 6
⚡ Difficulty easy

intro

Crispy golden tater tots replace traditional bread in this cozy, savory twist on classic stuffing, loaded with aromatic veggies, sage, and buttery richness perfect for holiday tables.

Ingredients

Frozen tater tots 2 lbs (900g)
Unsalted butter 4 tbsp (57g)
Yellow onion 1 medium (150g)
Celery stalks 3 stalks (120g)
Garlic cloves 3 cloves (10g)
Fresh sage 2 tbsp (6g, chopped, plus extra leaves for garnish)
Fresh thyme 1 tbsp (3g, leaves picked)
Low-sodium chicken broth 1 cup (240ml)
Large eggs 2, lightly beaten
Kosher salt 1 tsp (5g)
Freshly ground black pepper 1/2 tsp (2g)

Steps

1

Preheat Oven and Dish

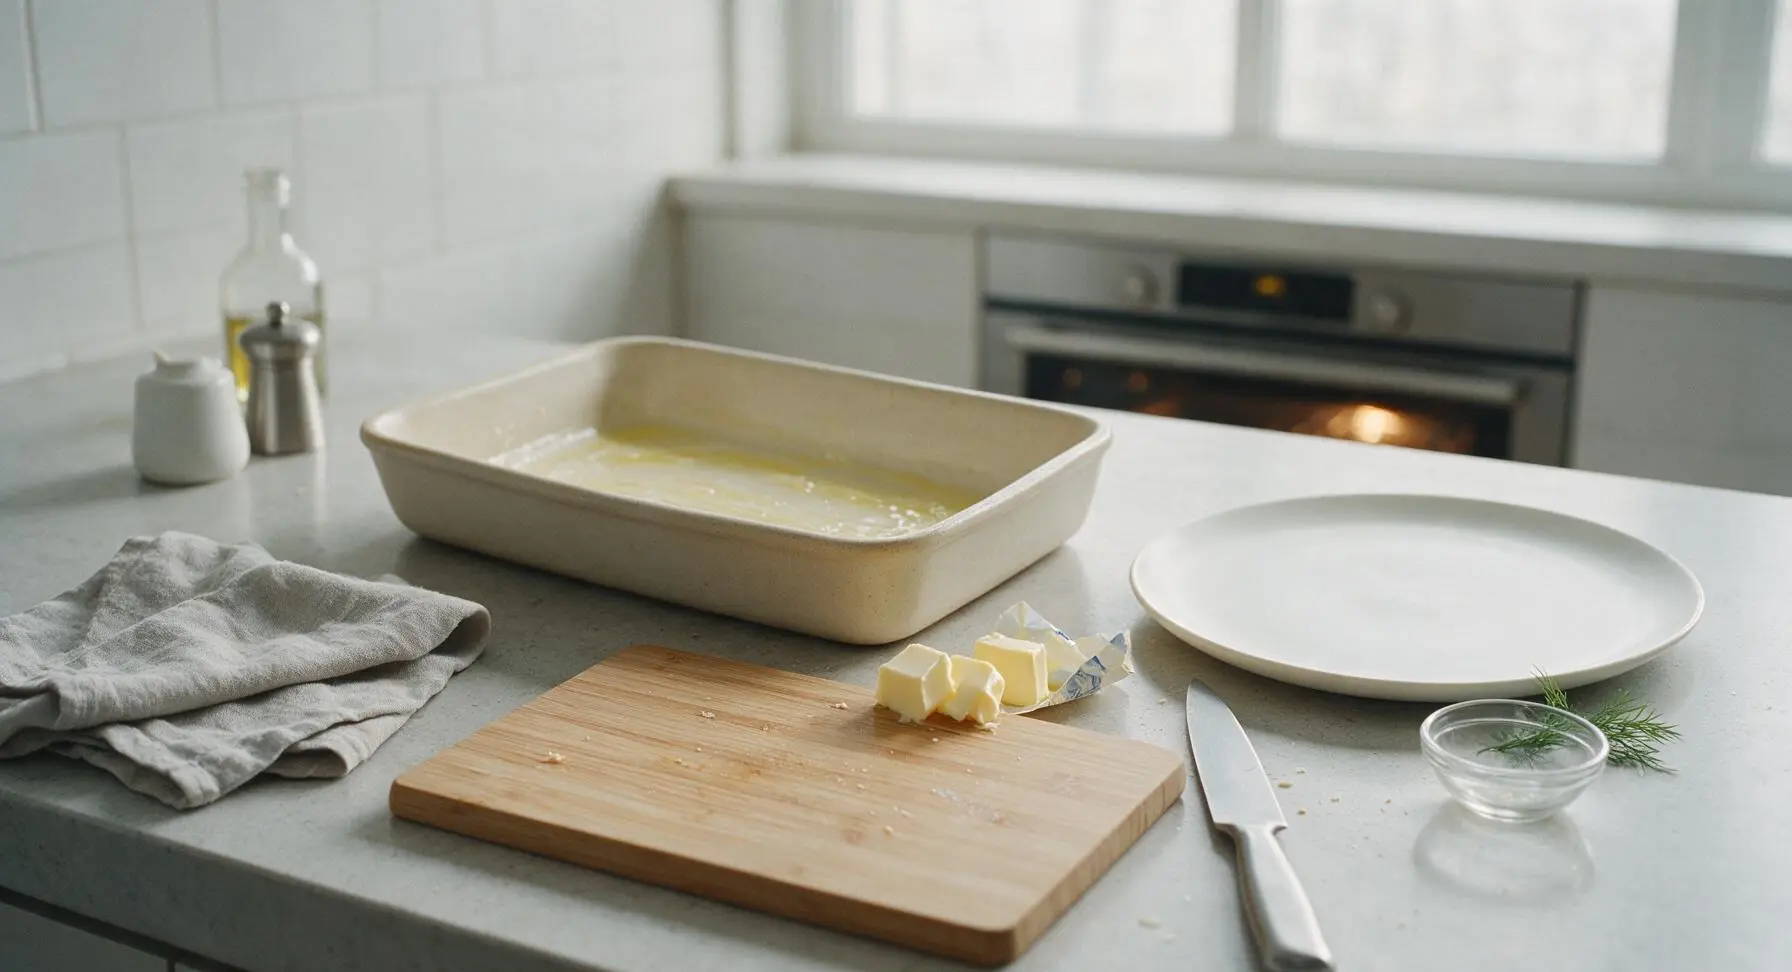
Adjust oven rack to the middle position and preheat oven to 400°F (200°C). Use 1 tablespoon of the unsalted butter to generously grease the entire interior of the 9x13 inch matte cream stoneware baking dish, coating the bottom, sides, and corners evenly to prevent sticking. Set the greased dish back in its fixed position on the counter.
Step 1
step1:Preheat Oven and Dish
2

Chop Mirepoix Vegetables

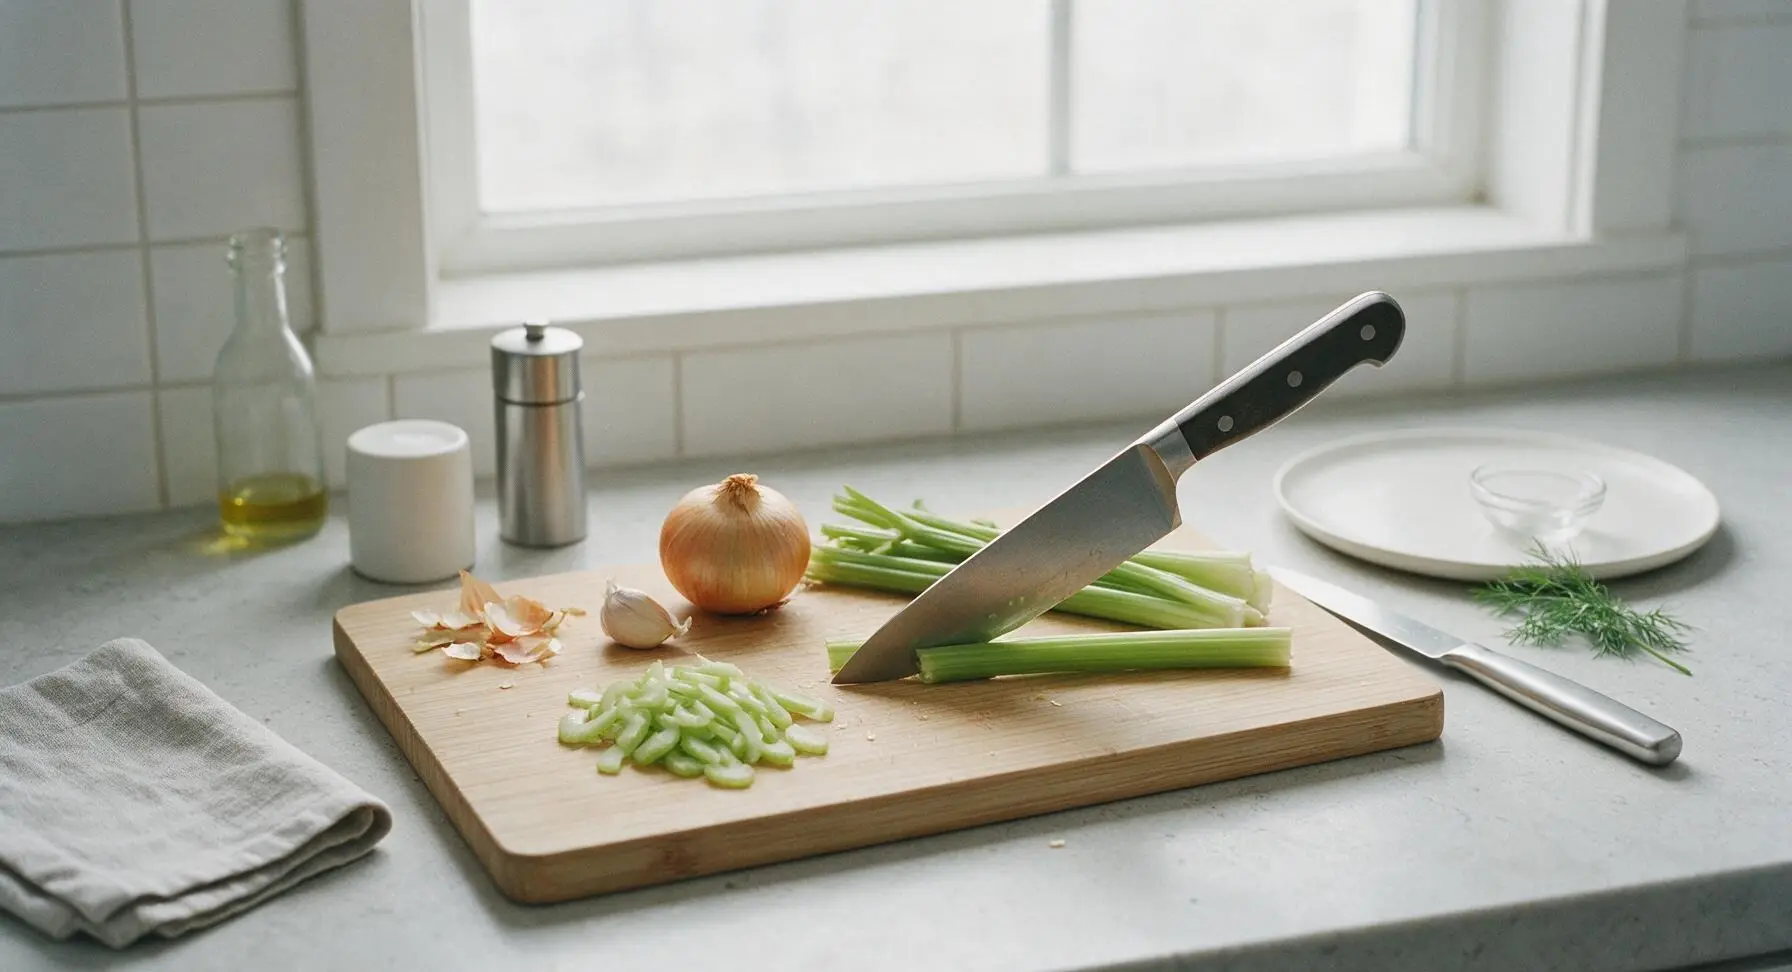
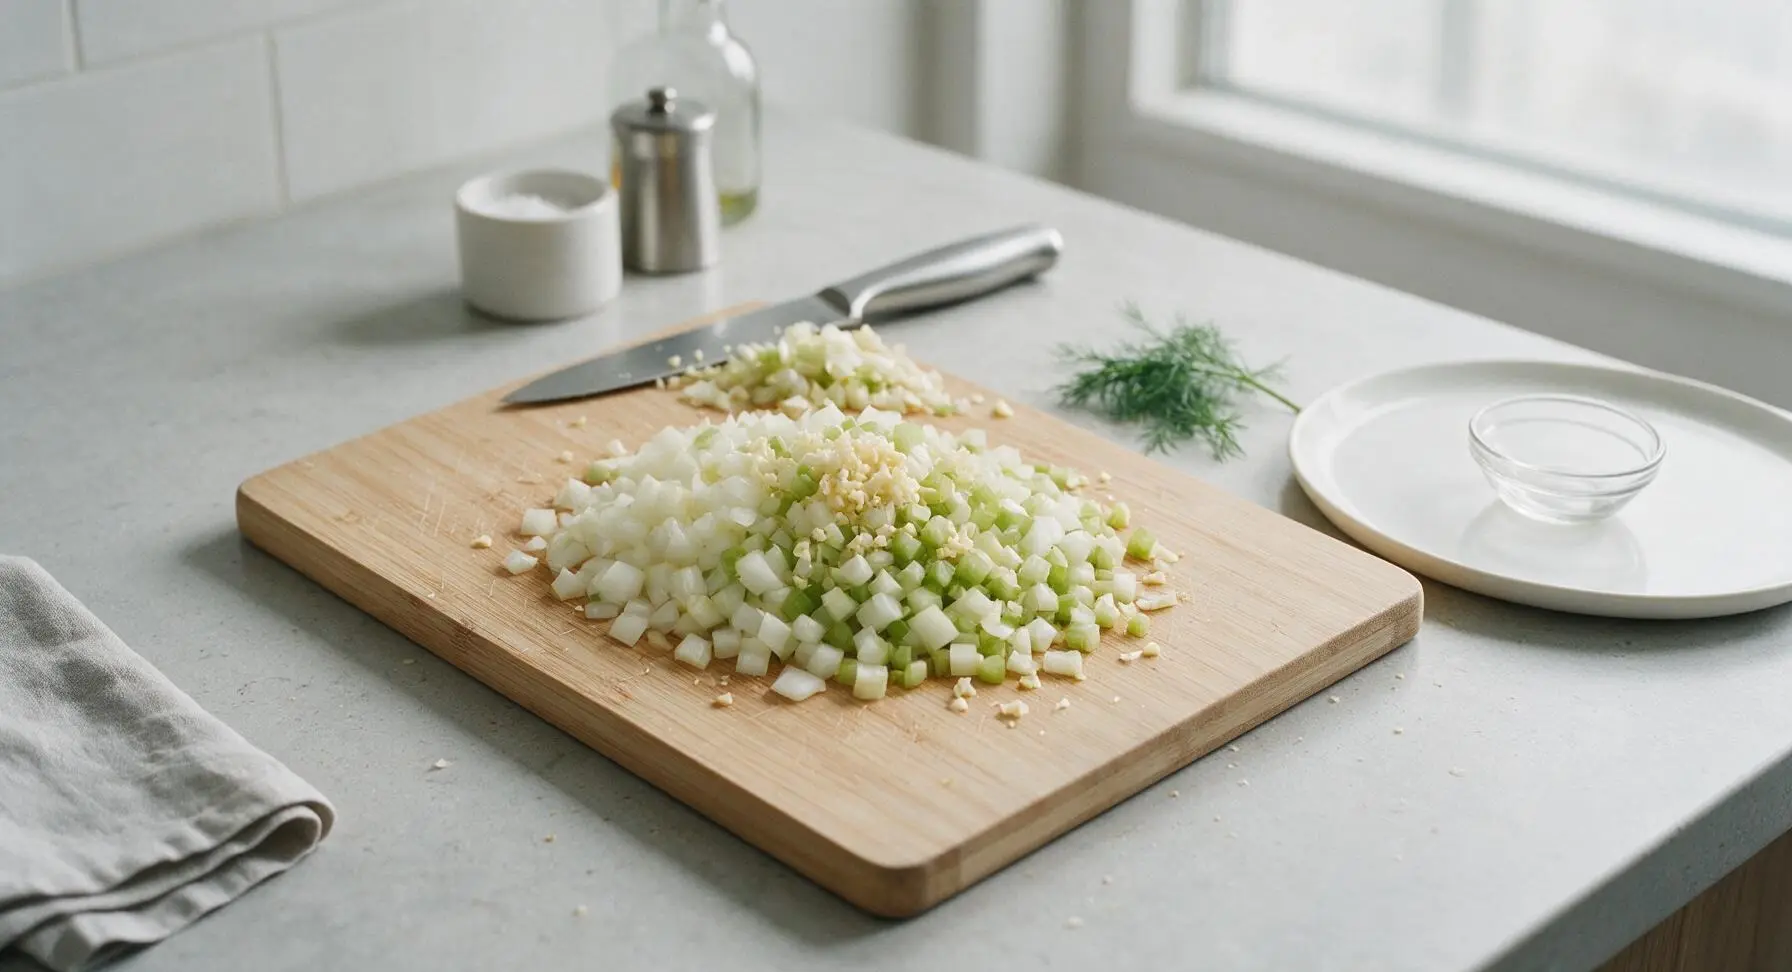
Place the whole yellow onion, celery stalks, and garlic cloves on the light oak cutting board. Using the 8-inch stainless steel chef's knife, trim and discard the onion root end and papery outer skin, trim the tough base and leafy tops from the celery, and peel the papery skin from the garlic cloves. Dice the onion and celery into uniform 1/4-inch pieces, then mince the garlic finely, pushing vegetable trimmings to the top corner of the cutting board as you work. Evenly sized pieces will cook at the same rate for a consistent texture.
Step 2
step2:Chop Mirepoix Vegetables
Step 2
step2:Chop Mirepoix Vegetables
3

Sauté Aromatics and Herbs

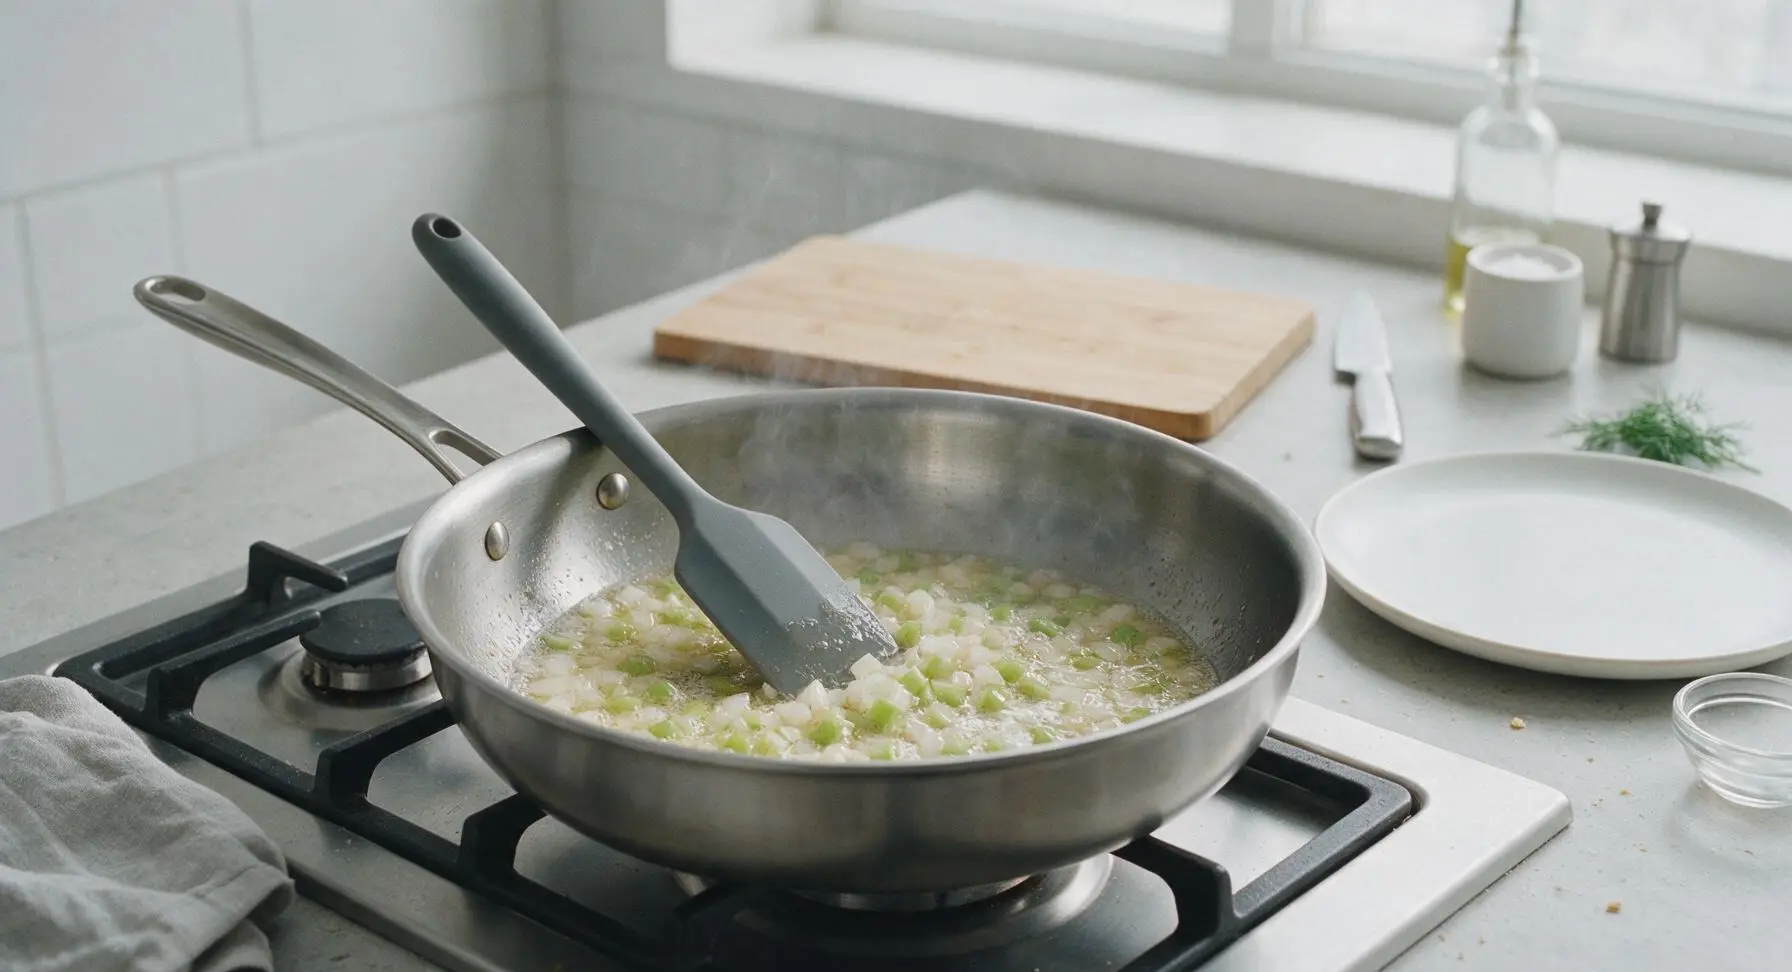
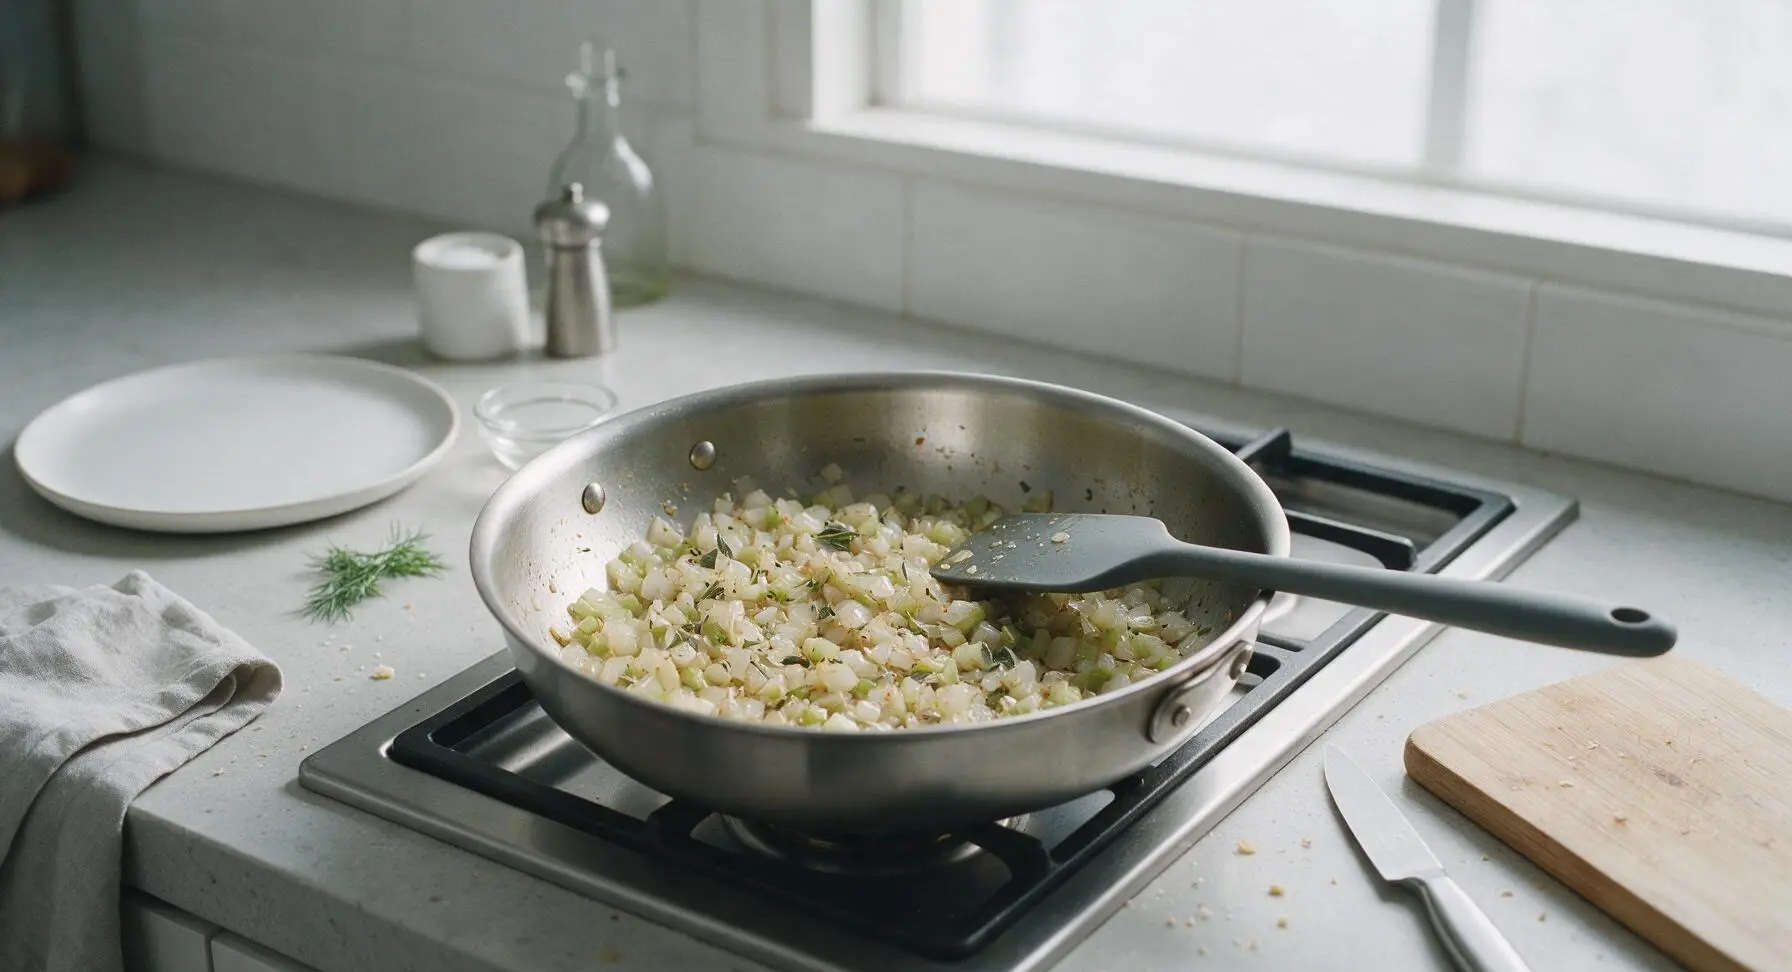
Place the 10-inch brushed stainless steel sauté pan on a stovetop burner over medium heat, and add the remaining 3 tablespoons of butter. Once the butter is fully melted and foaming subsides (about 2 minutes), add the diced onion and celery. Cook for 7-8 minutes, stirring occasionally with the matte charcoal grey silicone spatula, until vegetables are soft and translucent, with pale golden edges on the onion pieces. Add the minced garlic, chopped sage, and picked thyme leaves, and cook for 1 additional minute until fragrant, taking care not to burn the garlic (which will turn bitter quickly). Remove the pan from heat.
Step 3
step3:Sauté Aromatics and Herbs
Step 3
step3:Sauté Aromatics and Herbs
4

Mix Stuffing Liquid Base

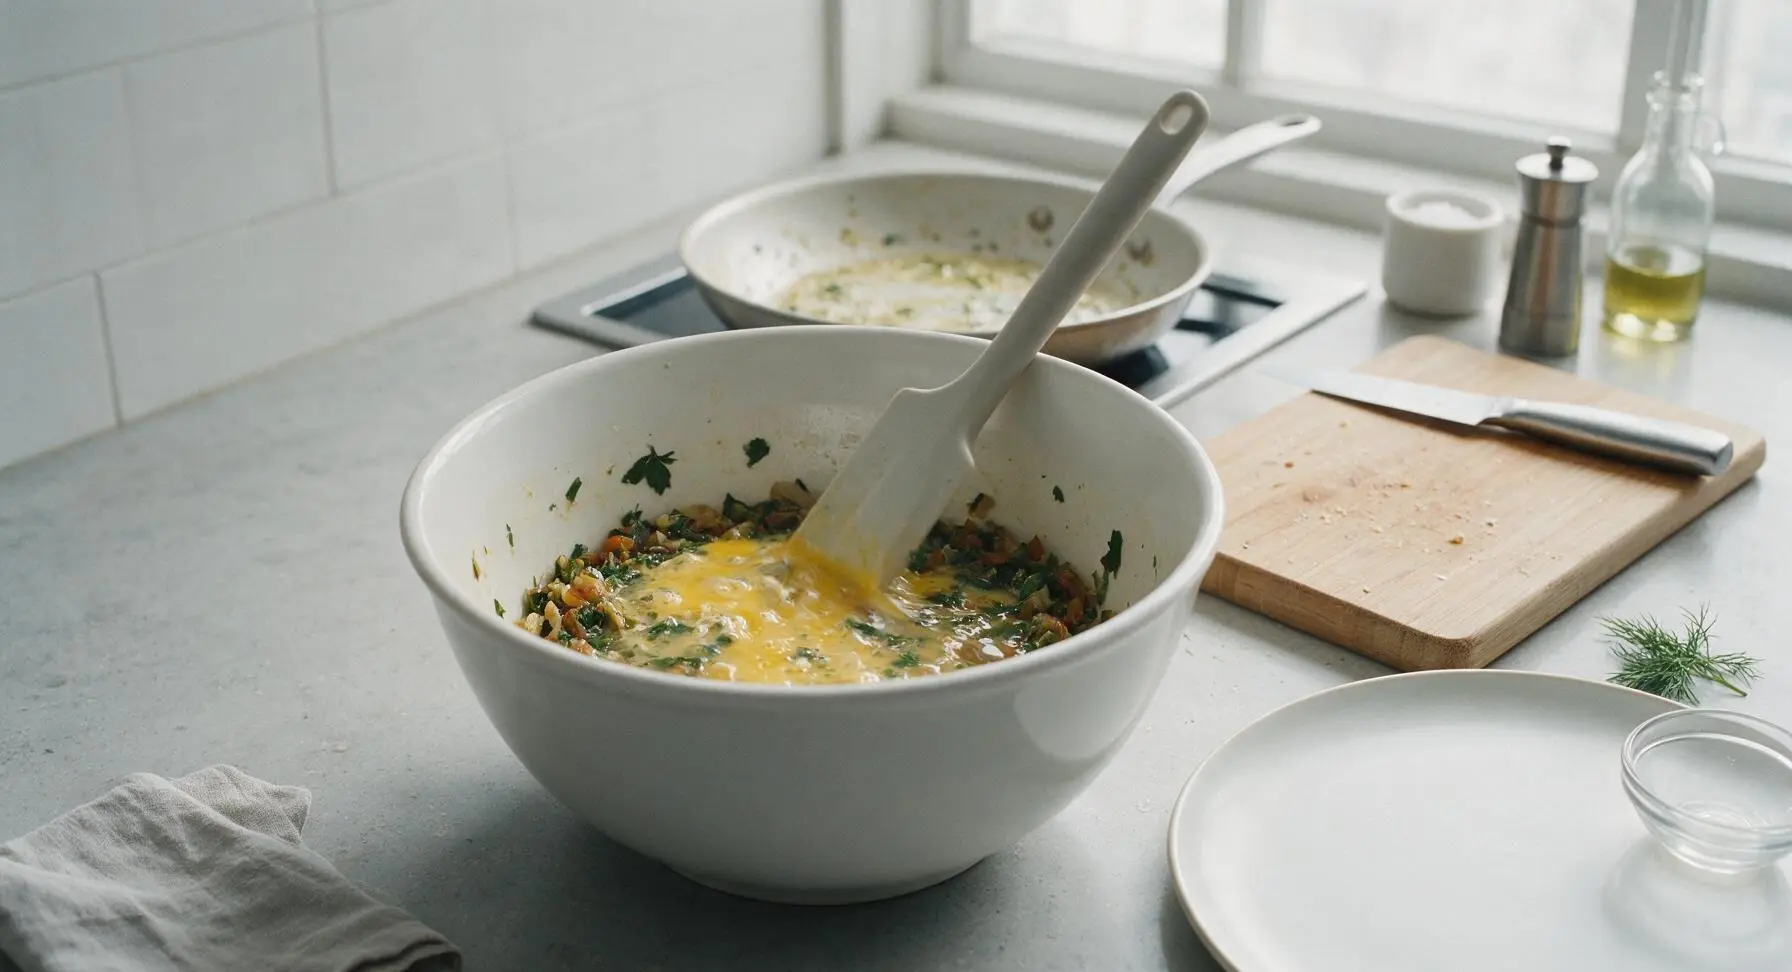
Transfer the sautéed vegetable and herb mixture from the sauté pan into the 3-quart matte white ceramic mixing bowl. Add the 1 cup low-sodium chicken broth, 2 lightly beaten large eggs, 1 teaspoon kosher salt, and 1/2 teaspoon freshly ground black pepper. Stir gently with the silicone spatula until all ingredients are fully combined, with no streaks of unincorporated raw egg visible in the light golden liquid base.
Step 4
step4:Mix Stuffing Liquid Base
5

Layer Tater Tots and Base

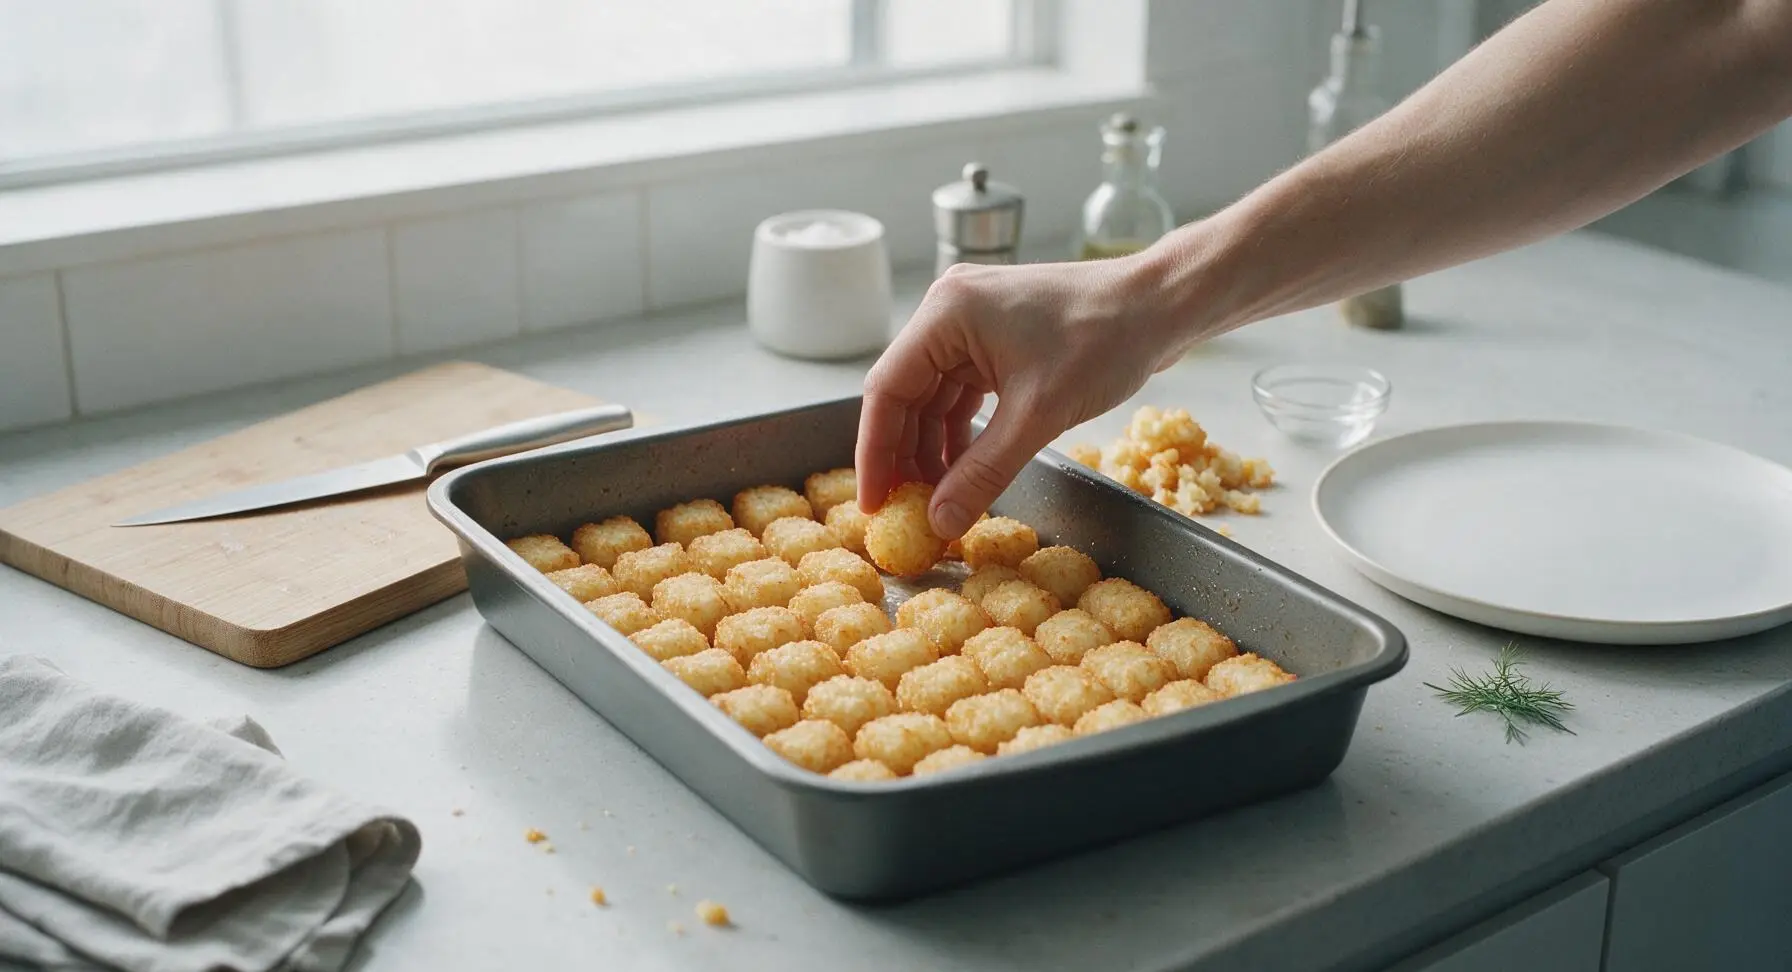
Take the pre-greased 9x13 inch stoneware baking dish. Arrange half of the partially thawed tater tots in a single even layer across the bottom of the dish, breaking 3-4 tots into coarse crumbles to fill any large gaps between whole tots. Pour half of the liquid vegetable and egg mixture evenly over the bottom tater tot layer, allowing liquid to seep between the tot pieces. Arrange the remaining tater tots in a second even layer on top, then pour the rest of the liquid mixture evenly over the surface, pressing gently with the spatula to ensure all top tots are partially coated in the liquid base.
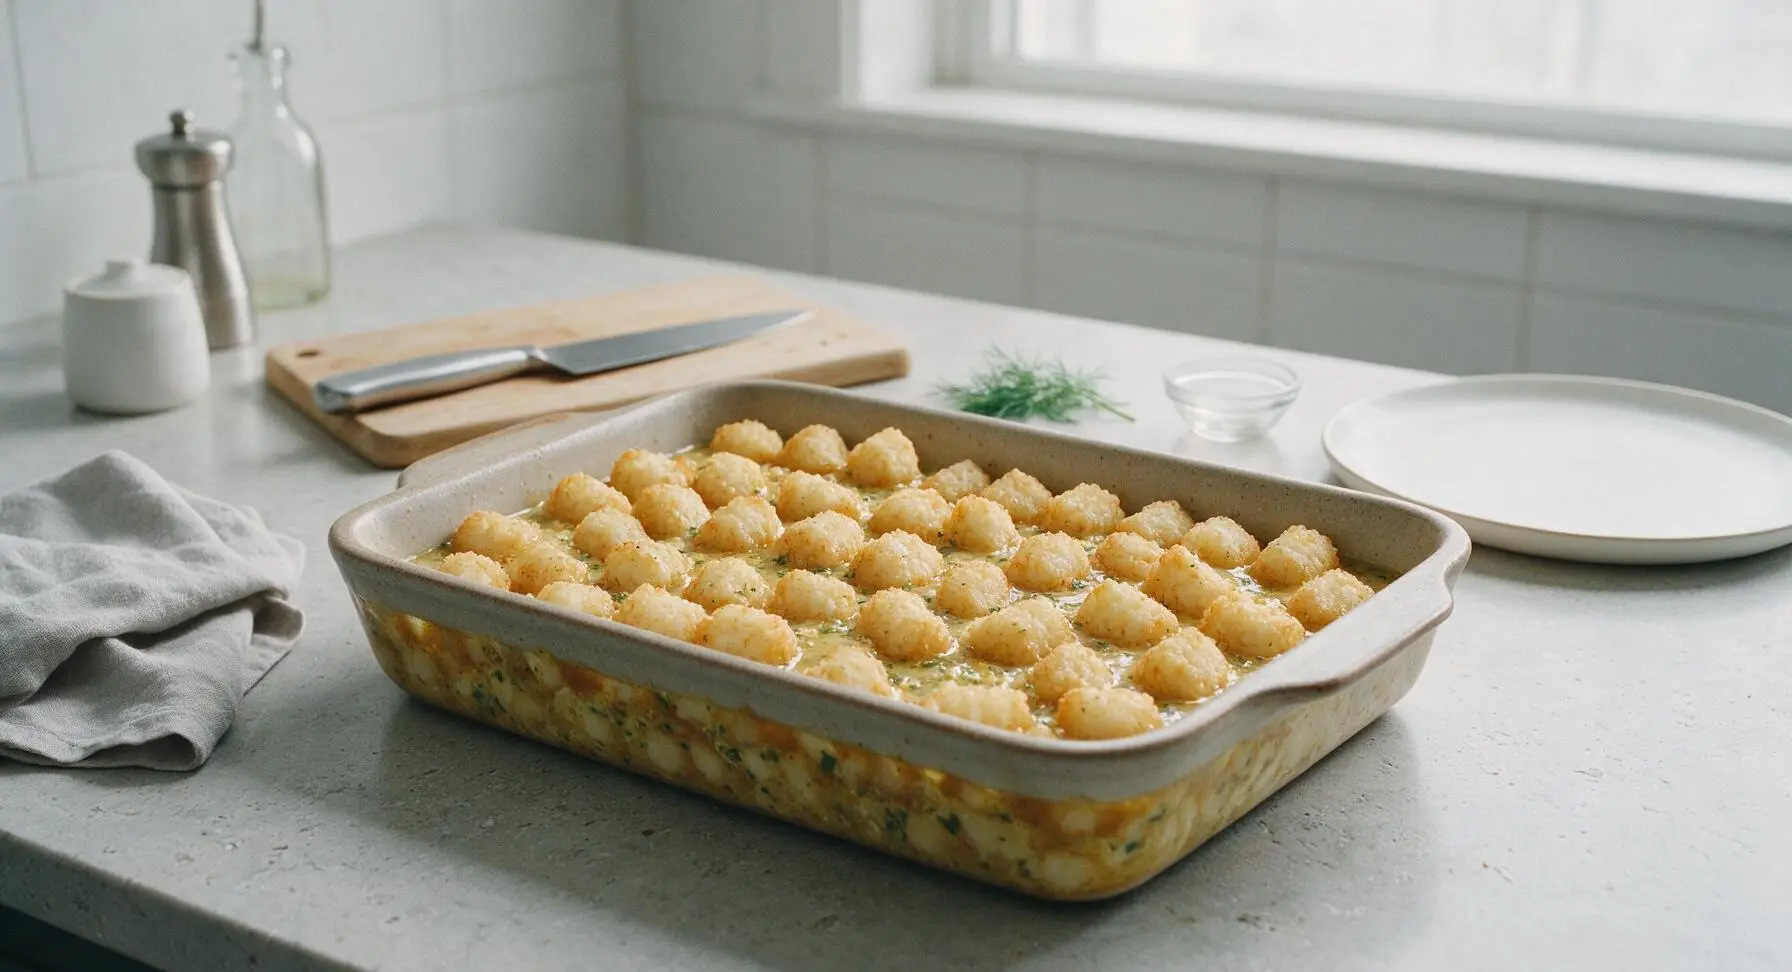
Step 5
step5:Layer Tater Tots and Base
Step 5
step5:Layer Tater Tots and Base
6

Bake to Golden Crisp

Carefully place the assembled baking dish on the middle oven rack. Bake for 40 minutes at 400°F (200°C), then turn the broiler to high for the final 3-5 minutes, watching closely, until the top layer of tater tots is deep golden brown and crispy, with bubbling browned butter visible around the dish edges and the center fully set (no liquid jiggling when the dish is gently nudged). Remove the dish from the oven and transfer it back to its fixed position on the counter.
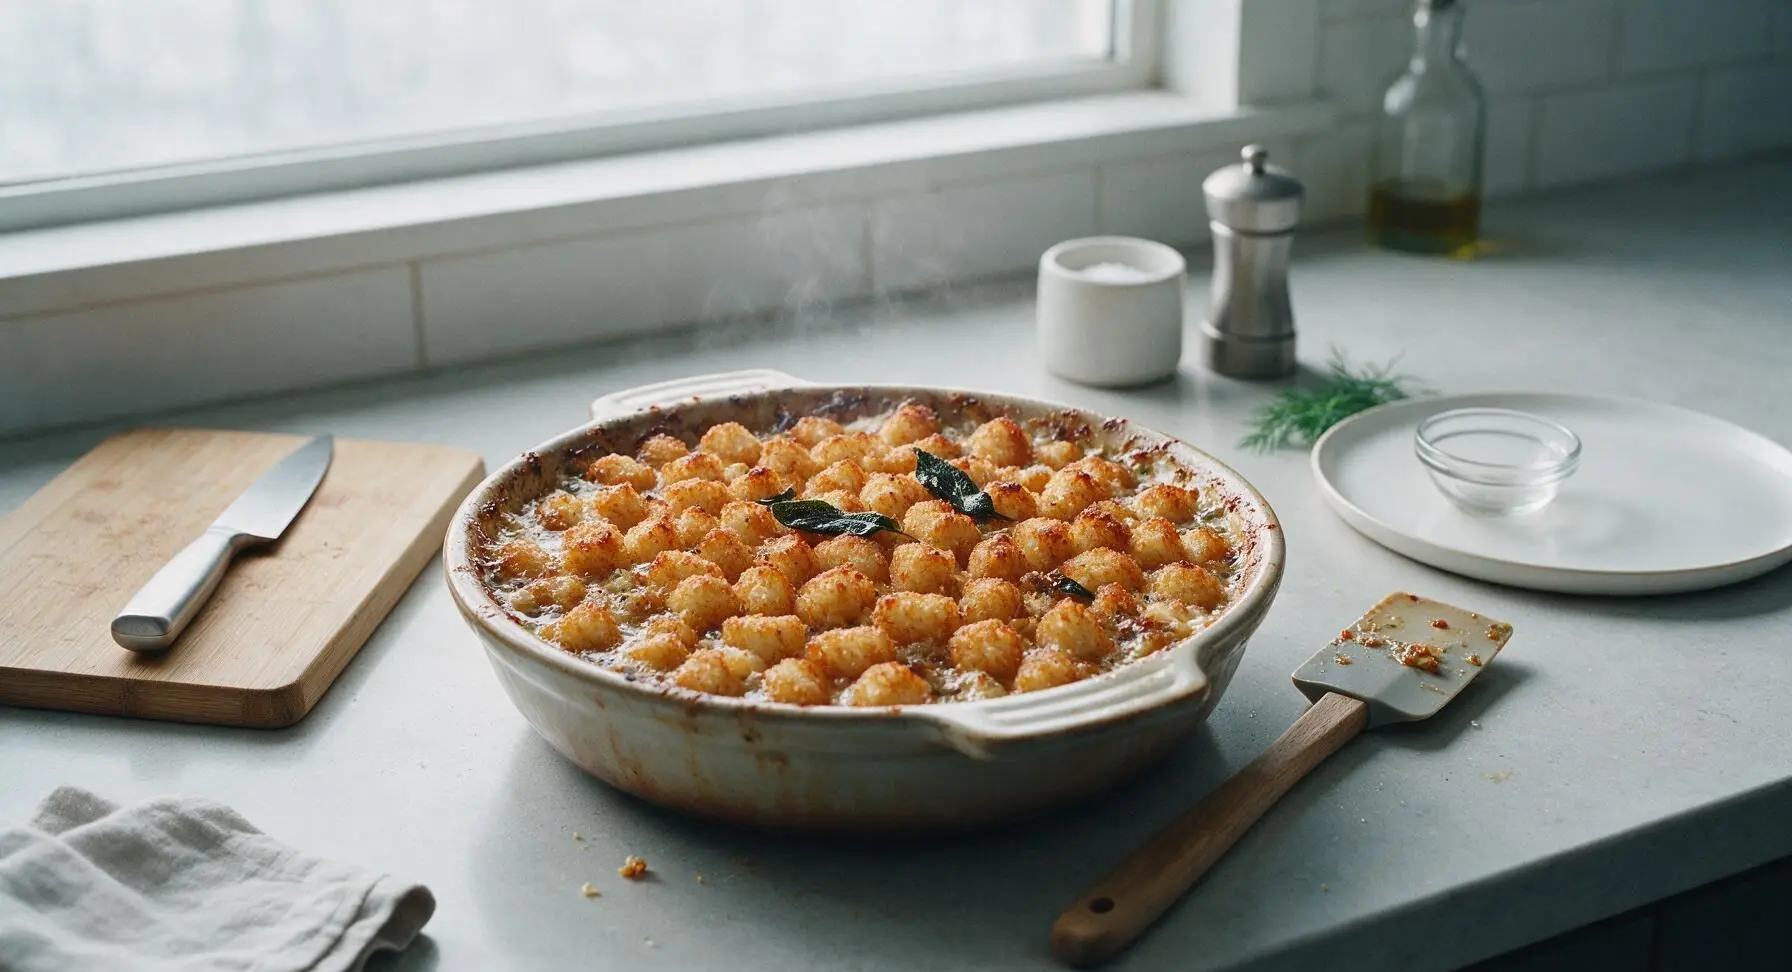
Step 6
step6:Bake to Golden Crisp
7

Rest and Garnish Stuffing

Let the baked stuffing rest for 10 minutes at room temperature to set, so it holds together when scooped instead of falling apart. After resting, top with a few extra fresh sage leaves and a light twist of freshly cracked black pepper for garnish. The finished stuffing will have a crunchy golden top and soft, moist, savory interior dotted with tender vegetables and herbs.
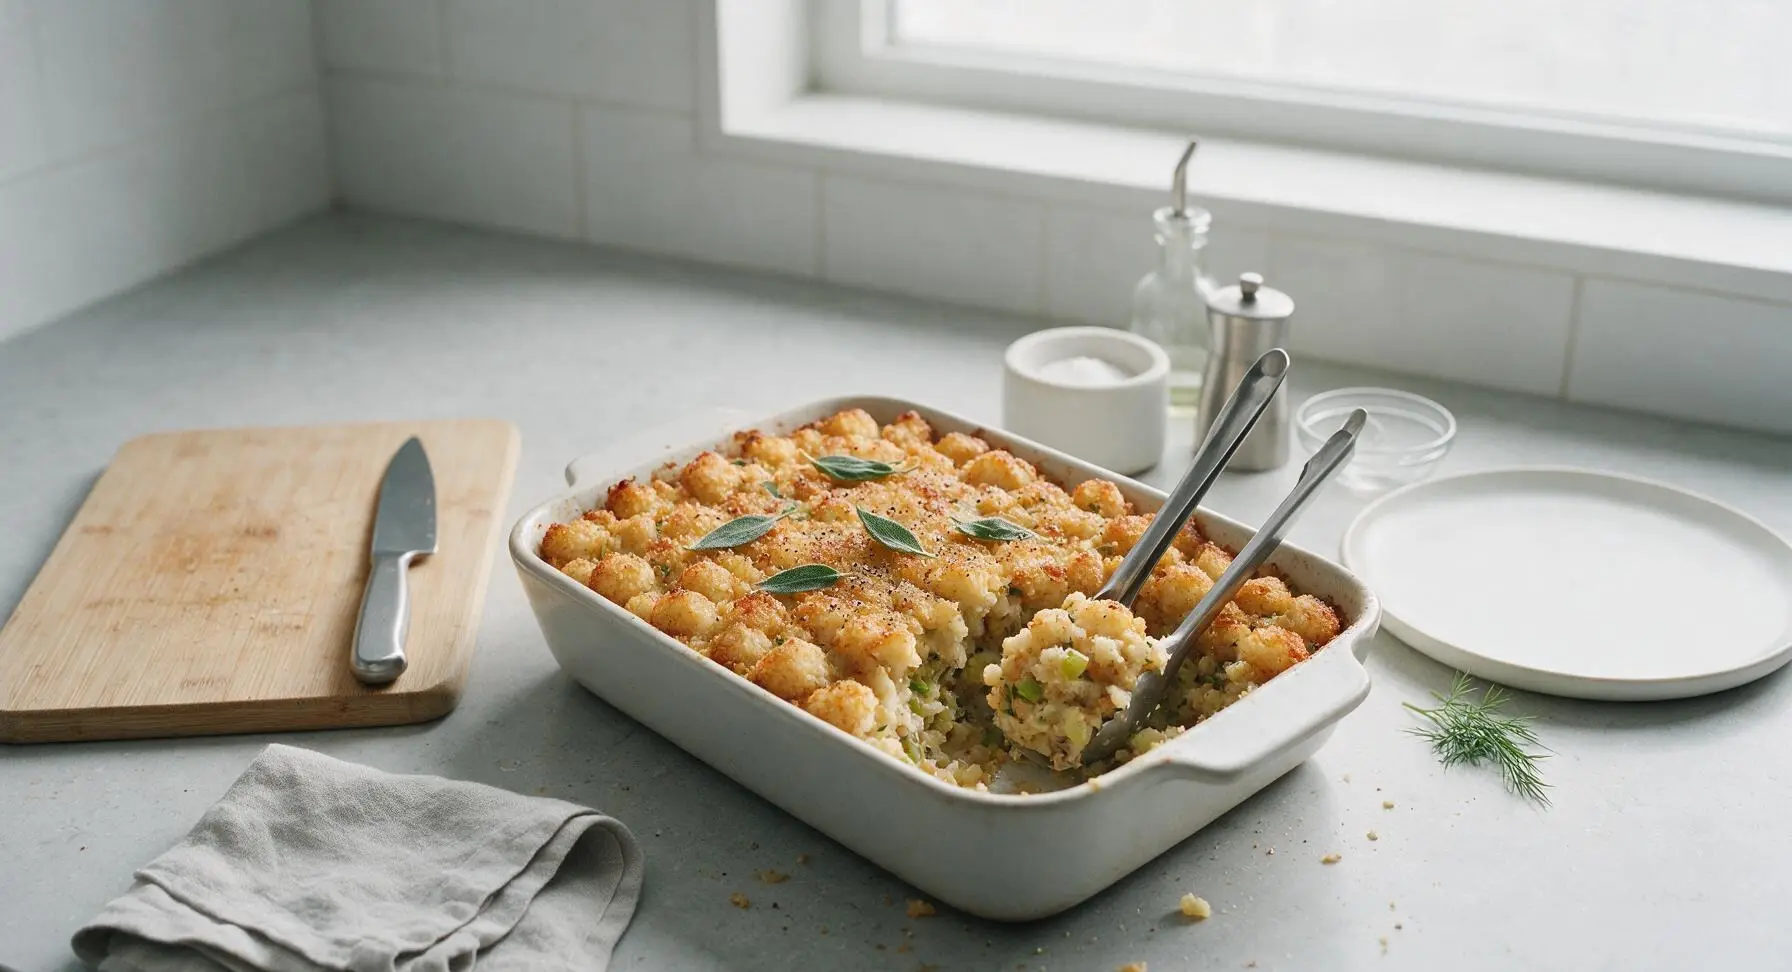
Step 7
step7:Rest and Garnish Stuffing

Tips

1.Thaw tater tots for 10 minutes at room temperature before layering: this removes excess surface ice that would melt and make the stuffing soggy as it bakes, and helps the egg-broth binder adhere to the potatoes for a cohesive, sliceable texture instead of loose, crumbly tots.
2.Keep a close eye during the final broil step: tater tot edges can go from golden to burnt in under 60 seconds under high heat. The goal is deep, even golden brown crunch on the top layer, which creates the perfect textural contrast to the soft, herb-infused interior.
3.Assemble the dish up to 24 hours in advance, covered tightly in plastic wrap and stored in the fridge: add 5-7 minutes to the total bake time if cooking from cold, and you’ll cut down on holiday day-of prep work without sacrificing crispness or flavor.


✨ You May Also Like

Side Dishes
🍜 India

Velvety, aromatic all-purpose curry sauce perfect for tossing with roasted veggies, grilled protein, or rice for fast, cozy, flavorful meals.

⏱️ 25 minuteSide Dishes ★ 4.8
Side Dishes
🍜 Spain

Tender, starchy boiled yuca tossed in bright, garlicky citrus mojo sauce—an iconic, zesty side that pairs beautifully with roasted pork, grilled meats, and rice and beans.

⏱️ 40 minuteSide Dishes ★ 5
Side Dishes
🍜 United States

Tender, paper-thin potato flatbread, a beloved Norwegian-American Minnesota Christmas staple, griddled until softly spotted and served warm with butter.

⏱️ 1 hour 30Side Dishes ★ 4.6
Side Dishes
🍜 United States

Rich, deeply savory cured salt pork, a long-lasting kitchen staple perfect for frying crispy as a side or adding umami to stews, beans, and chowders.

⏱️ 7 days (2Side Dishes ★ 4.9
Side Dishes
🍜 United States

Crispy, tangy classic Southern fried green tomatoes with a crunchy cornmeal crust, served hot for a nostalgic, comforting summery bite.

⏱️ 25 minuteSide Dishes ★ 4.9
Side Dishes
🍜 United States

Moist, golden-crusted savory muffins with sweet corn, zesty jalapeño, and melted cheddar, perfect for pairing with smoky summer grilled fare.

⏱️ 30 minuteSide Dishes ★ 4.9

tater tot stuffing:Frequently Asked Questions

1.Do I need to thaw my frozen tater tots before making this stuffing? ▾
Nope, skip thawing entirely! Using tater tots straight from the freezer is key to avoiding mushy stuffing—thawed tots break down too easily, absorb excess moisture, and won’t crisp up properly in the oven. Frozen tots hold their shape as they bake, creating that perfect contrast of crispy outer edges and soft, savory center.
2.Can I prep this tater tot stuffing ahead for holiday dinners? ▾
Absolutely! You can sauté the yellow onion, celery, garlic, and sage base up to 3 days ahead, store it airtight in the fridge, and prep your baking dish in advance. Wait to toss the base with frozen tater tots right before baking, though—assembling too early leads to soggy, deflated tots instead of crispy bites.
3.Why is my stuffing turning out soggy instead of crispy? ▾
The two most common culprits are using thawed tater tots and baking the dish covered the entire time. Stick to frozen tots straight from the bag, spread them in an even single layer so hot air can circulate, and bake uncovered for the final 20 minutes to let excess moisture steam off and crisp up the tot edges.
4.What custom mix-ins pair well with this stuffing? ▾
This cozy, buttery base is super flexible! Great add-ins include crumbled cooked breakfast sausage, crispy bacon bits, diced tart Honeycrisp apple, toasted chopped pecans, or a handful of shredded sharp cheddar. Stick to 1 cup or less of total add-ins so you don’t weigh down the tots or lose that light, crispy texture.
5.Do I need to grease my baking dish for this recipe? ▾
Yes, give your 9x13-inch baking dish a quick light coating of softened butter or nonstick cooking spray before adding ingredients. The starchy tater tots and caramelized vegetable bits will stick to an ungreased pan as they bake, and this quick step ensures you lift perfect, intact crispy portions with zero messy post-dinner scrubbing.
6.Can I adapt this recipe to be vegan? ▾
It’s incredibly easy to make a fully vegan version! Swap the unsalted butter for a high-quality plant-based butter stick, double-check that your frozen tater tots don’t contain added dairy (most standard brands are accidentally vegan), and skip any meat add-ins. The aromatic sage and veggie base still delivers that classic, cozy holiday stuffing flavor.
7.How do I get extra-crispy tater tots on top of the stuffing? ▾
For shatteringly crisp top-layer tots, reserve 1/3 of your frozen tater tots to arrange in a neat, single layer across the very top of the dish instead of mixing them all into the veggie base. Dot that top layer with extra melted butter, and bake on your oven’s upper rack for the final 15 minutes for golden, crunchy edges.
8.How do I store leftovers, and how long do they keep? ▾
Let leftover stuffing cool fully to room temperature within 2 hours of baking, then transfer it to an airtight container and store it in the fridge for up to 4 days. Reheat portions in a 375°F oven or air fryer for 8 to 10 minutes instead of the microwave to bring back that signature crisp texture instead of soggy, mushy bites.

Comments (20)

2 days ago

OMG made this for our Sunday family dinner last night and it was gone in 10 minutes! The crispy tater tot top pairs so perfectly with the savory stuffing base, who knew this combo would work this well? 10/10 will be making this for Thanksgiving this year no cap.

3 days ago

Super easy recipe, I was worried it would be too mushy since tater tots can get soggy if you cook them wrong, but following the 45 minute cook time got them perfectly crispy on top. Only thing I added was a little extra shredded cheddar because I’m a cheese fiend.

2 days ago

So glad the cook time worked out for that perfect crispy top! Adding extra cheddar is such a great call, melted cheese takes this dish to the next level. Thanks for trying it out!

1 week ago

I brought this to my neighborhood block party potluck last weekend and every single person asked me for the recipe! I can’t believe how low effort this is for how much of a crowd pleaser it is. Game changer for busy holiday weekends.

5 days ago

Did you make it ahead and reheat it or cook it on site? I need to bring something to my work potluck next week and this looks perfect!

3 days ago

Hi Lisa! This holds up really well if you make it a day ahead and reheat it covered in the oven for 15 minutes at 350F before serving— it crisps right back up! So happy it was a potluck hit, Katie!

5 days ago

Decent, but I felt like it needed a little more seasoning for my taste. I’m adding some garlic powder and paprika next time I make it, that should kick it up a notch. Still a super solid easy side for weeknights though.

yesterday

My kids are SO picky and they both went back for SECONDS. I didn’t even have to bargain with them to eat their dinner, that’s a miracle in my house. This is going into our regular weeknight rotation for sure.

30 minutes ago

Same here! My 3 and 5 year old devoured it, I was shocked. I didn’t even tell them there was stuffing mixed in, they just thought it was extra fancy tater tots lmao

2 weeks ago

Wait, does this hold up for meal prep? I make all my lunches for the week on Sundays and I’m always looking for new easy sides that don’t get gross in the fridge.

1 week ago

I meal prepped this last week! It lasted 4 days in the fridge no problem, just crisp it up for a minute in the air fryer when you reheat it instead of the microwave and it’s perfect

5 days ago

Great tip from Pam! I don’t recommend microwaving for reheats if you want to keep that crispy tater tot texture— oven or air fryer works best. It stores great in an airtight container for up to 4 days!

30 minutes ago

Made this in my dorm oven with a bag of frozen tater tots and a box of stovetop stuffing, cost me like $6 total and fed me and my 3 roommates. Absolute win for broke college students, no fancy skills needed.

2 days ago

I was skeptical of swapping traditional bread stuffing for a tater tot version but my family begged me to make it again after our test run last weekend. The texture contrast is insane, I might never go back to regular stuffing.

yesterday

Love to hear that! The crispy, crunchy tot layer against the soft, savory stuffing is what makes this recipe so fun—so glad your family is on board for this new Thanksgiving tradition!

3 days ago

Wait, can I make this gluten free? My youngest has celiac so I have to avoid regular stuffing mix and all the wheat fillers, but this looks too good to pass up for our holiday table.

2 days ago

I made this last week with gluten free stuffing mix and it turned out exactly the same! Just double check your tater tots don’t have hidden wheat (most frozen brands don’t!) and you’re good to go

yesterday

Great call! Gluten free stuffing mix works perfectly here, and as mentioned, most standard frozen tater tots are naturally gluten free, but it never hurts to double check the label. Hope your family loves it!

5 days ago

Has anyone tried adding a little kick to this? I’m thinking some diced jalapeños and a sprinkle of cajun seasoning would go crazy with the crispy tots, just wanted to see if anyone tested that before I mess with it.

3 days ago

I added pickled jalapeños and a handful of crumbled bacon last time I made it, 10/10. The little heat cuts through the richness of the tots so well, highly recommend

2 days ago

Jalapeños and bacon sound like incredible add-ins! This recipe is super customizable, so any mix-ins you love will work beautifully here. Let us know how your cajun version turns out!

1 week ago

I’ve made regular stuffing for my family for 40 years and I thought I’d give this fun twist a try for our grandkids’ visit. Let me tell you, even my husband who hates ‘new fangled recipes’ had two helpings. What a hit!

5 days ago

My husband is the exact same way! He turned his nose up when I told him what I was making, then asked me to make it again two nights later. Men, I swear 😂

2 weeks ago

Made this in our cast iron dutch oven on our last camping trip over the campfire and it worked perfectly! Cooked a little faster than 45 minutes since the fire was hotter, but that crispy edge was unreal. Perfect camp side dish.

1 week ago

Is there an easy way to make this vegan? My partner is vegan and I want to make this for our Friendsgiving next month, looks like such a fun dish.

5 days ago

I did this! Used vegan tater tots, vegan butter for the stuffing, and vegetable broth instead of chicken broth. Nobody at my potluck could tell it was vegan, it was that good

3 days ago

Patty’s swaps are exactly what we recommend for a vegan version! It’s super easy to adapt for different dietary needs without losing any of that crispy, savory flavor. Hope your Friendsgiving is amazing!

just now

I’m literally terrible at cooking, like I burn toast half the time, and I managed to pull this off with zero issues. The instructions were so straightforward and it came out perfectly crispy, I felt like a real chef!

just now

That’s what we love to hear! This recipe is designed to be super forgiving for new cooks, so I’m thrilled it gave you that win in the kitchen. Can’t wait to hear what you cook next!

2 hours ago

I added a full pound of crumbled crispy bacon to this and it was chef’s kiss. Salty, crispy, savory, I could have eaten the whole pan by myself. 10/10 no notes.

30 minutes ago

Bacon is such a good add! I did bacon and caramelized onions last time and it tasted like a loaded tater tot casserole but way better. Will definitely be making that version again

3 days ago

Great for those nights when you forget to plan dinner! I always have frozen tater tots and a box of stuffing in the pantry, so I can throw this together in 5 minutes then pop it in the oven while I help the kids with homework. Total lifesaver.

yesterday

I was worried we’d have a ton of leftovers after making this for dinner, but my whole family picked at it until the pan was empty before we even finished cleaning up. No leftovers = best possible review in my book.

2 hours ago

The ultimate compliment! There’s nothing better than a dish that’s so good there are zero leftovers to deal with after dinner. Thanks for giving the recipe a try!

5 days ago

Wait, do you put the tater tots on top right from frozen, or do you thaw them first? I don’t want to end up with undercooked tots or a mushy mess, this is my first time making something like this.

3 days ago

Frozen straight from the bag! Don’t thaw them, that’s what makes them get extra crispy on top while the stuffing cooks underneath. I made the mistake of thawing once and they got mushy, definitely go frozen

2 days ago

Hank is 100% right! Use tater tots straight from the freezer, no thawing needed. That frozen moisture helps them crisp up perfectly in the oven without getting soggy. You’ve got this!

yesterday

Made this for our football watch party yesterday and it was the perfect game day snack. We dipped bites in ketchup and ranch and it went so hard, everyone was raving about it. Way better than plain old chips and dip.

5 minutes ago

I’ve tried so many tater tot casserole recipes that end up soggy no matter what I do, so I was nervous about this, but the cook time and layering instructions worked perfectly. The top was shatteringly crisp, exactly how I like it.

just now

So glad you got that perfect crispy top! The key is not overcrowding the tots on top and going straight from frozen to the oven, which helps lock in that crunch. Nothing worse than a soggy tater tot, right?



