
Tater Tots
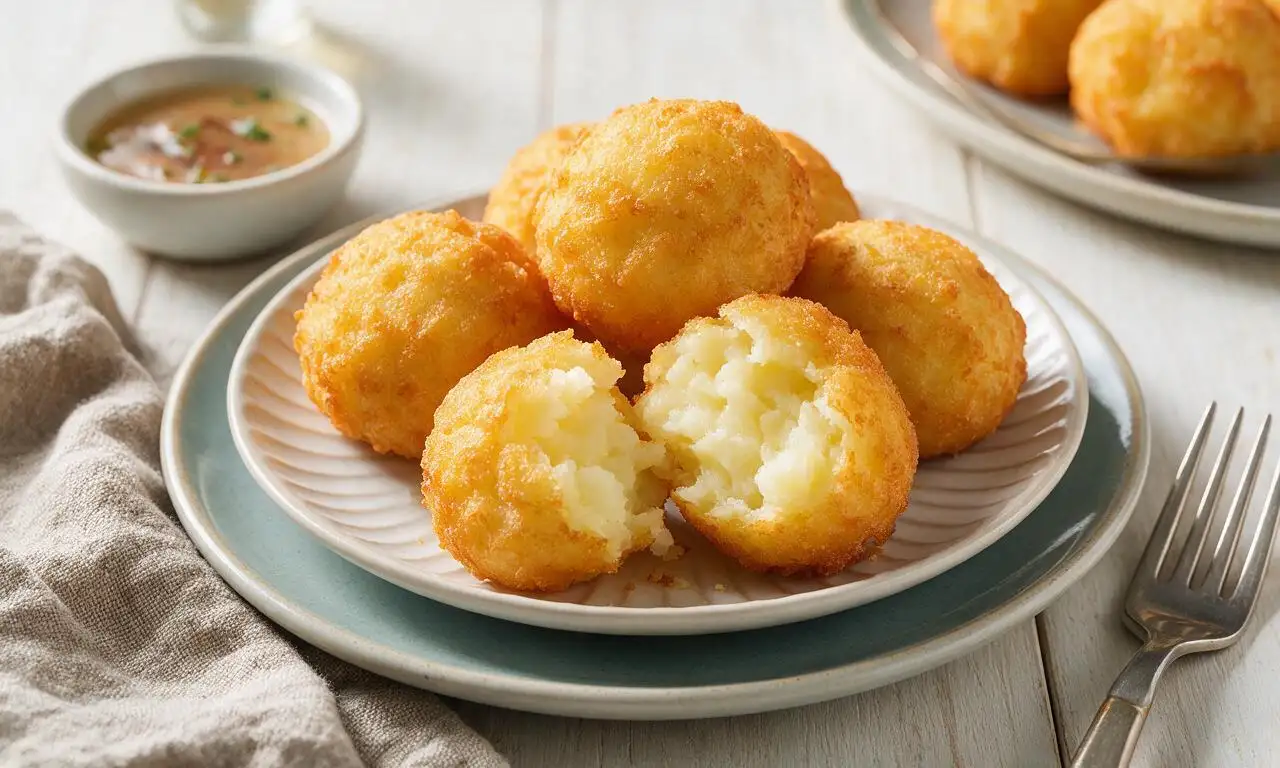
intro
Crispy golden homemade tater tots with a crunchy salty exterior and fluffy tender potato interior, a classic shareable side perfect for dipping.
Ingredients
Steps
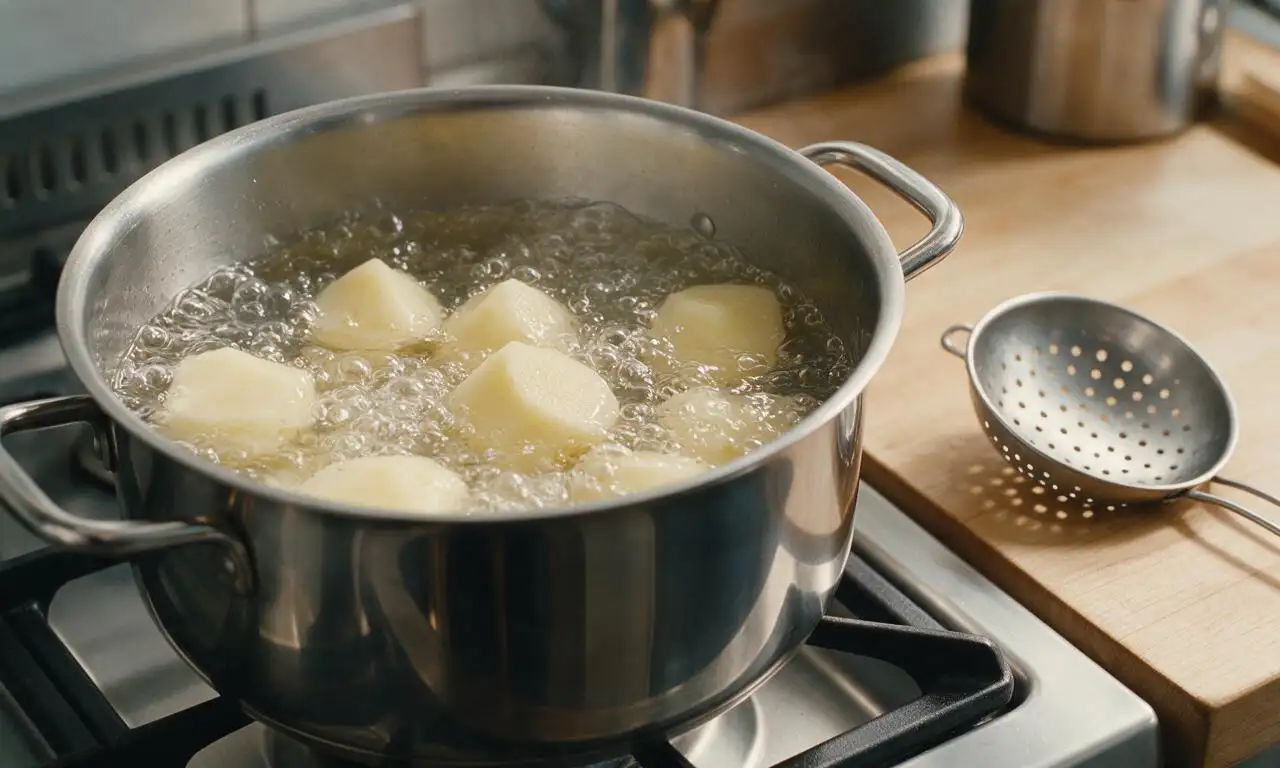
Parboil the potatoes
First, set a large pot of heavily salted water on high heat to boil. While water heats, peel 900g russet potatoes and cut into uniform 5cm chunks. Once water reaches a rolling boil, add potato chunks and cook for exactly 7 minutes until just tender (a fork pierces the outer 1cm easily but meets firm resistance at the center). Drain fully and let cool 10 minutes at room temperature.
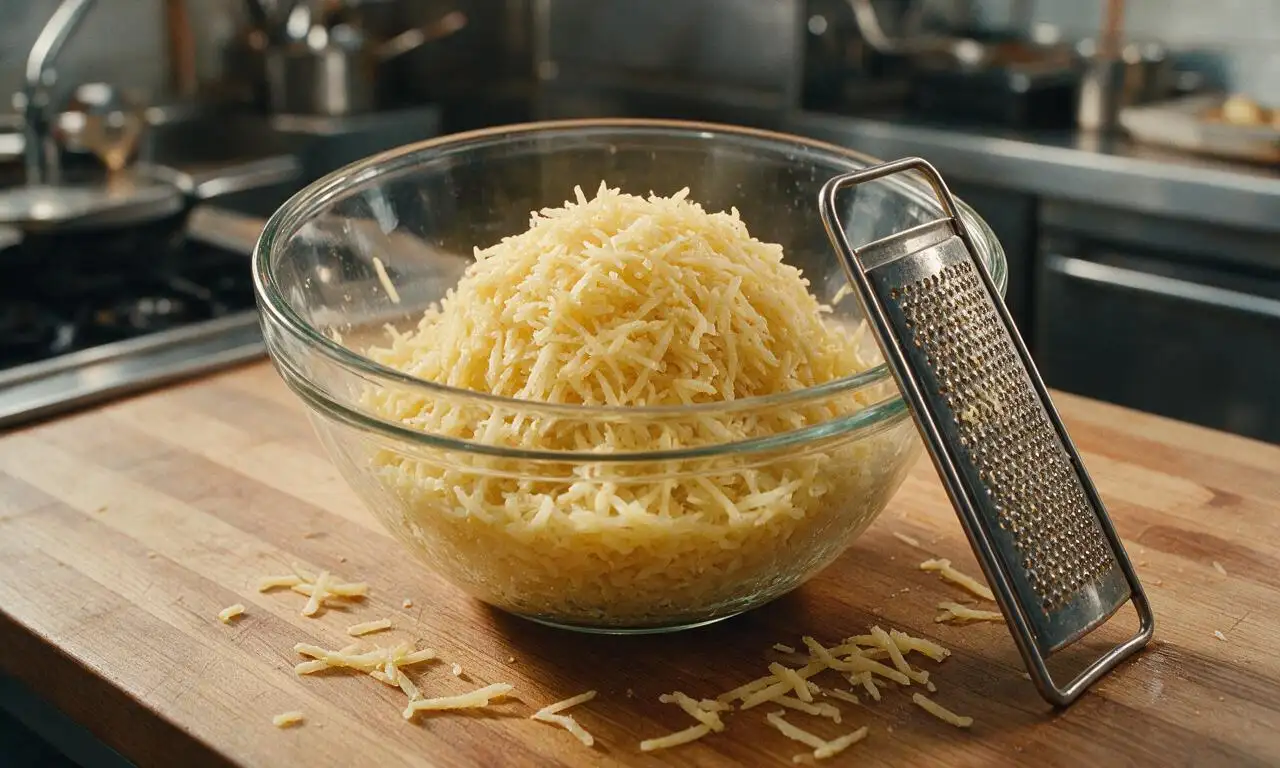
Shred cooled potatoes
Use the large holes of a standard box grater or food processor shredding attachment to grate all cooled parboiled potatoes into a large mixing bowl. Avoid over-processing, as coarse, distinct shreds create the best tater tot texture, rather than a smooth mashed paste.
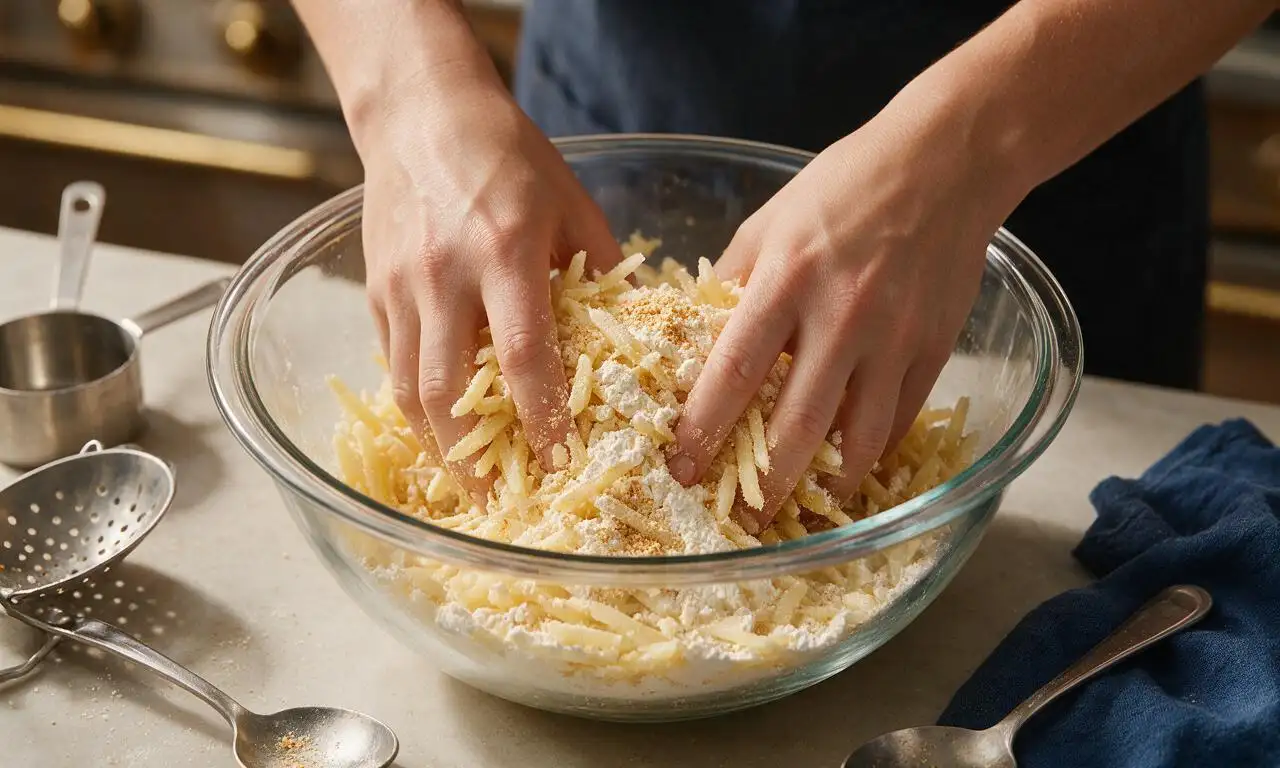
Season potato mixture
Add 3 tablespoons all-purpose flour, 1 teaspoon garlic powder, 1 teaspoon onion powder, 1 teaspoon kosher salt, and 0.5 teaspoon freshly ground black pepper to the shredded potatoes. Toss gently with clean hands until all shreds are evenly coated, taking care not to mash the potato shreds as you mix.
Shape individual tots
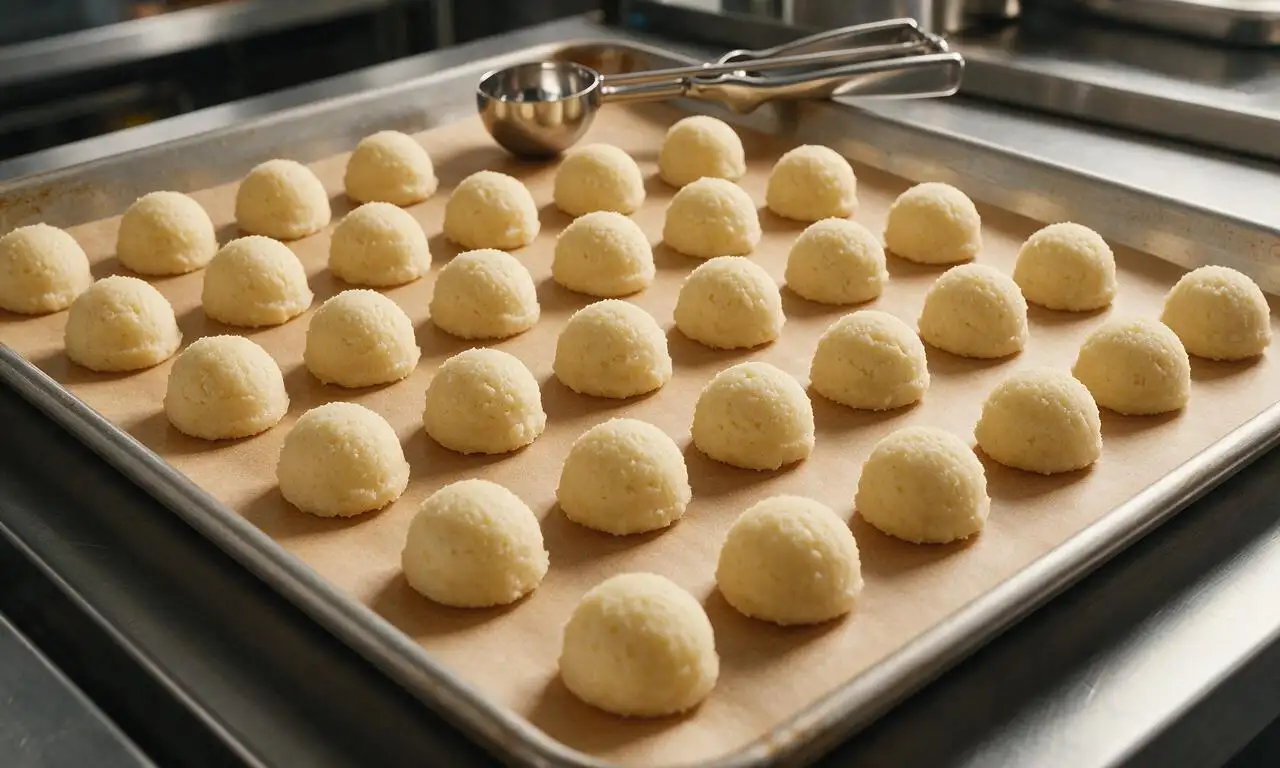
Scoop 1-tablespoon portions of the potato mixture, squeezing firmly to compress into small cylindrical shapes roughly 3cm long and 1.5cm wide. Arrange shaped tots on a parchment-lined baking sheet with 1cm gaps between each, until all mixture is used (yields approximately 60 tots).
Heat frying oil
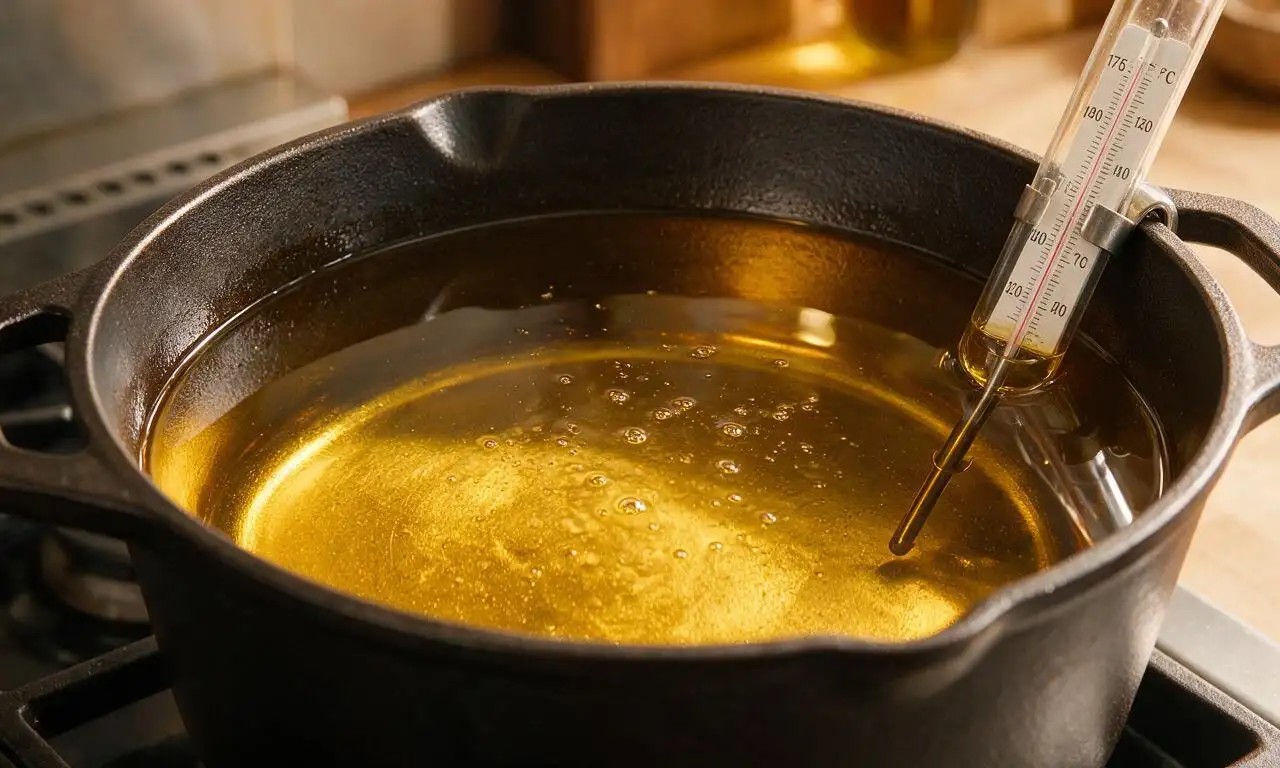
About 10 minutes before you finish shaping tots, pour 1 liter of neutral vegetable oil into a deep heavy-bottomed Dutch oven, clip a candy thermometer to the pot edge, and heat over medium-high heat until the oil reaches a steady 175°C (350°F). Never leave heating oil unattended.
Fry tots until crispy
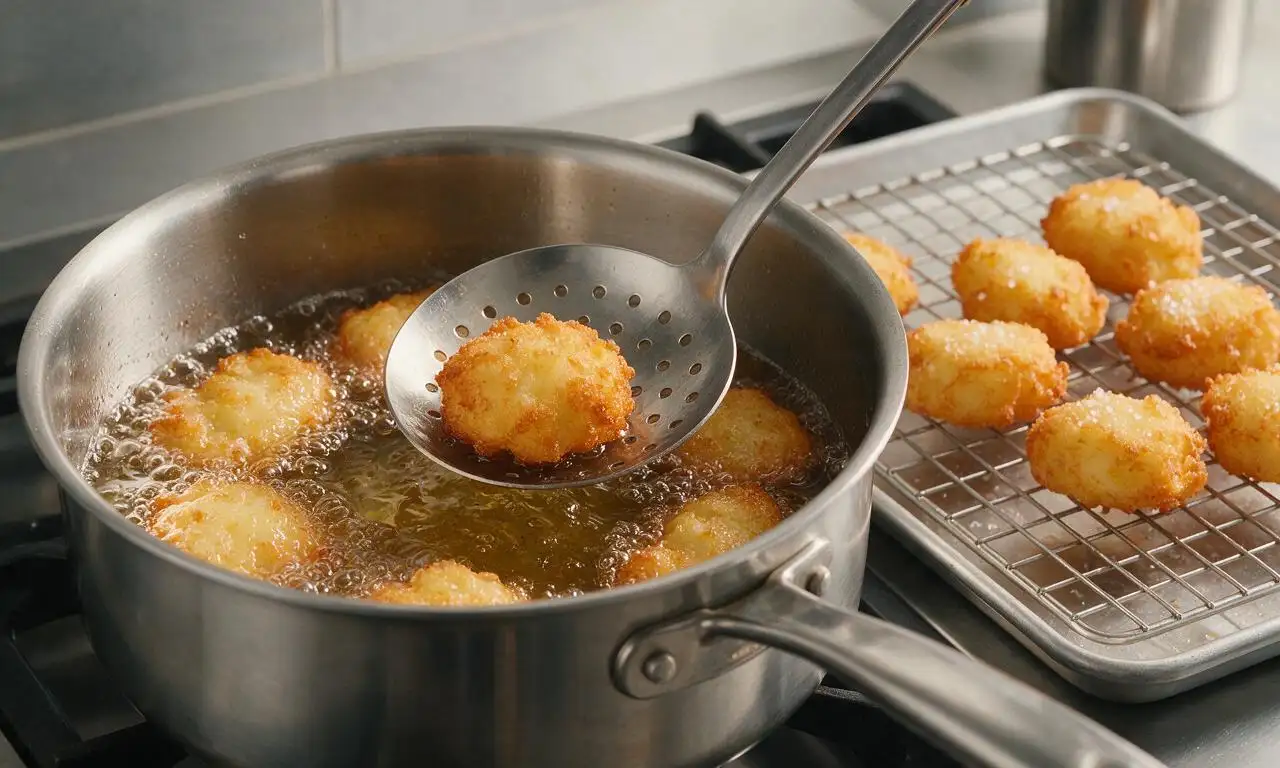
Working in small batches of 8-10 tots to avoid dropping oil temperature, carefully lower tots into the hot oil with a slotted spoon. Fry 3-4 minutes per batch, turning once halfway, until deep golden brown and crispy all over. Remove tots to a wire rack set over a baking sheet, immediately sprinkling with the remaining 0.5 teaspoon kosher salt while hot.
Rest and serve tots
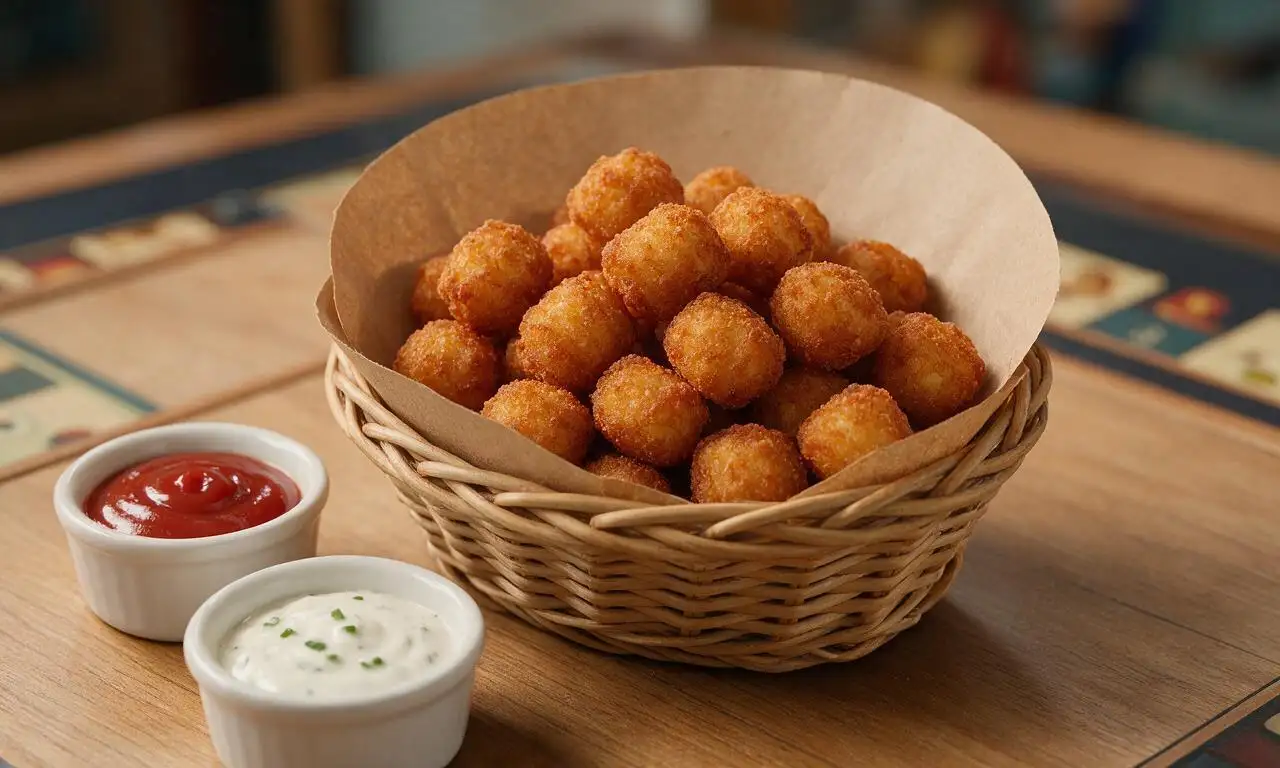
Let fried tots rest on the wire rack for 2 minutes to allow excess oil to drain and the exterior to set fully before serving. Do not move tots to a closed container or pile them too high immediately after frying, as trapped steam will soften the crisp coating.
Tips
2.Keep oil temperature steady at 175°C (350°F) between batches: oil that is too cool makes soggy, oil-soaked tots, while oil that is too hot burns the exterior before the interior heats through.
3.Never drain fried tots on paper towels, as trapped steam will turn the crispy exterior soft; use a wire rack to allow air circulation, which keeps tots crisp for 15-20 minutes after cooking.






OMG these were SO good! My 7 and 9 year old turned their noses up at frozen tots for years, and they begged for seconds of these. Crispy on the outside, fluffy inside, total game changer for our weekly family dinner nights. I added a little extra garlic salt and it was chef’s kiss.
Made these for my game day watch party last Sunday and they were gone in 10 minutes flat. Served them with a side of spicy cheese dip and everyone was asking for the recipe. Way better than the fast food tots I usually grab for cookouts.
Super easy to swap for vegan diets! I used a little nutritional yeast instead of the parmesan the recipe mentions and they came out perfectly crispy. Great for meal prep too, they reheat really well in the air fryer during the work week.
Meal prep win! I made a double batch on Sunday and popped them in the oven for 10 minutes each night this week to pair with burgers, chicken, even breakfast eggs. The 50 minute cook time is totally worth it for how much time I save on weeknights.
Brought these to our neighborhood potluck last weekend and I swear every single person asked where I got the recipe. People couldn’t believe they were homemade! I did add a pinch of paprika for a little smoky kick, highly recommend.
As someone who basically lives off microwave meals in my dorm, I was shocked how easy these were! I didn’t have a box grater so I used the pre-shredded hash browns from the grocery store, squeezed them really dry, and they still turned out crispy. 10/10, way cheaper than buying takeout tots.
These are good, but I wish I’d added more seasoning! The base recipe is solid, but next time I’m throwing in some cayenne and cajun seasoning to give them a little heat. Also pro tip: don’t skip the step where you squeeze the water out, I rushed that on my first batch and they were mushy.
I’ve been making tater tots from scratch for 40 years, and this recipe is easily the best one I’ve ever tried. My grandkids went crazy for them when they visited last weekend, even the picky toddler who refuses to eat most veggies! I’ll be using this from now on.
These came together so fast on a busy Tuesday night! I paired them with baked salmon and roasted broccoli, and my husband said it was better than the restaurant version we had on our date last month. Will be adding this to our regular weeknight rotation for sure.
Total game changer. I used to spend so much money on frozen premium tots for football Sundays, and these are cheaper, taste better, and I can season them however I want. I made a batch with ranch seasoning mixed in and my buddies lost their minds.
Tried these in the air fryer instead of baking them because I didn’t want to heat up the whole oven, and they came out SO crispy! 400 degrees for 18 minutes, flipped halfway, perfect. No oily mess either, 10/10.
Perfect for when you’re on a tight grocery budget! All you need is potatoes, a little flour, oil, and seasonings most people already have in their pantry. I made a whole batch for less than $3, which beats the $5 bag of frozen tots at my grocery store by a mile.
Who says tots are just for dinner? I served these at my weekend brunch with a side of sriracha mayo for dipping, and they were the perfect side for eggs Benedict and mimosas. So versatile! I will say, my first batch was a little too salty so go easy on the salt if you’re using salted seasonings too.
Guys, I can barely boil water without burning it, and I nailed these on the first try. The instructions were super straightforward, no fancy tools needed, and they tasted just like the tots I loved as a kid from the school cafeteria but better. My roommate thought I ordered takeout lmao.