
tater tots ingredients

title 1
tater tots ingredients
⏱️ cook time 25 minutes
🍽️ servings 4
⚡ Difficulty easy

intro

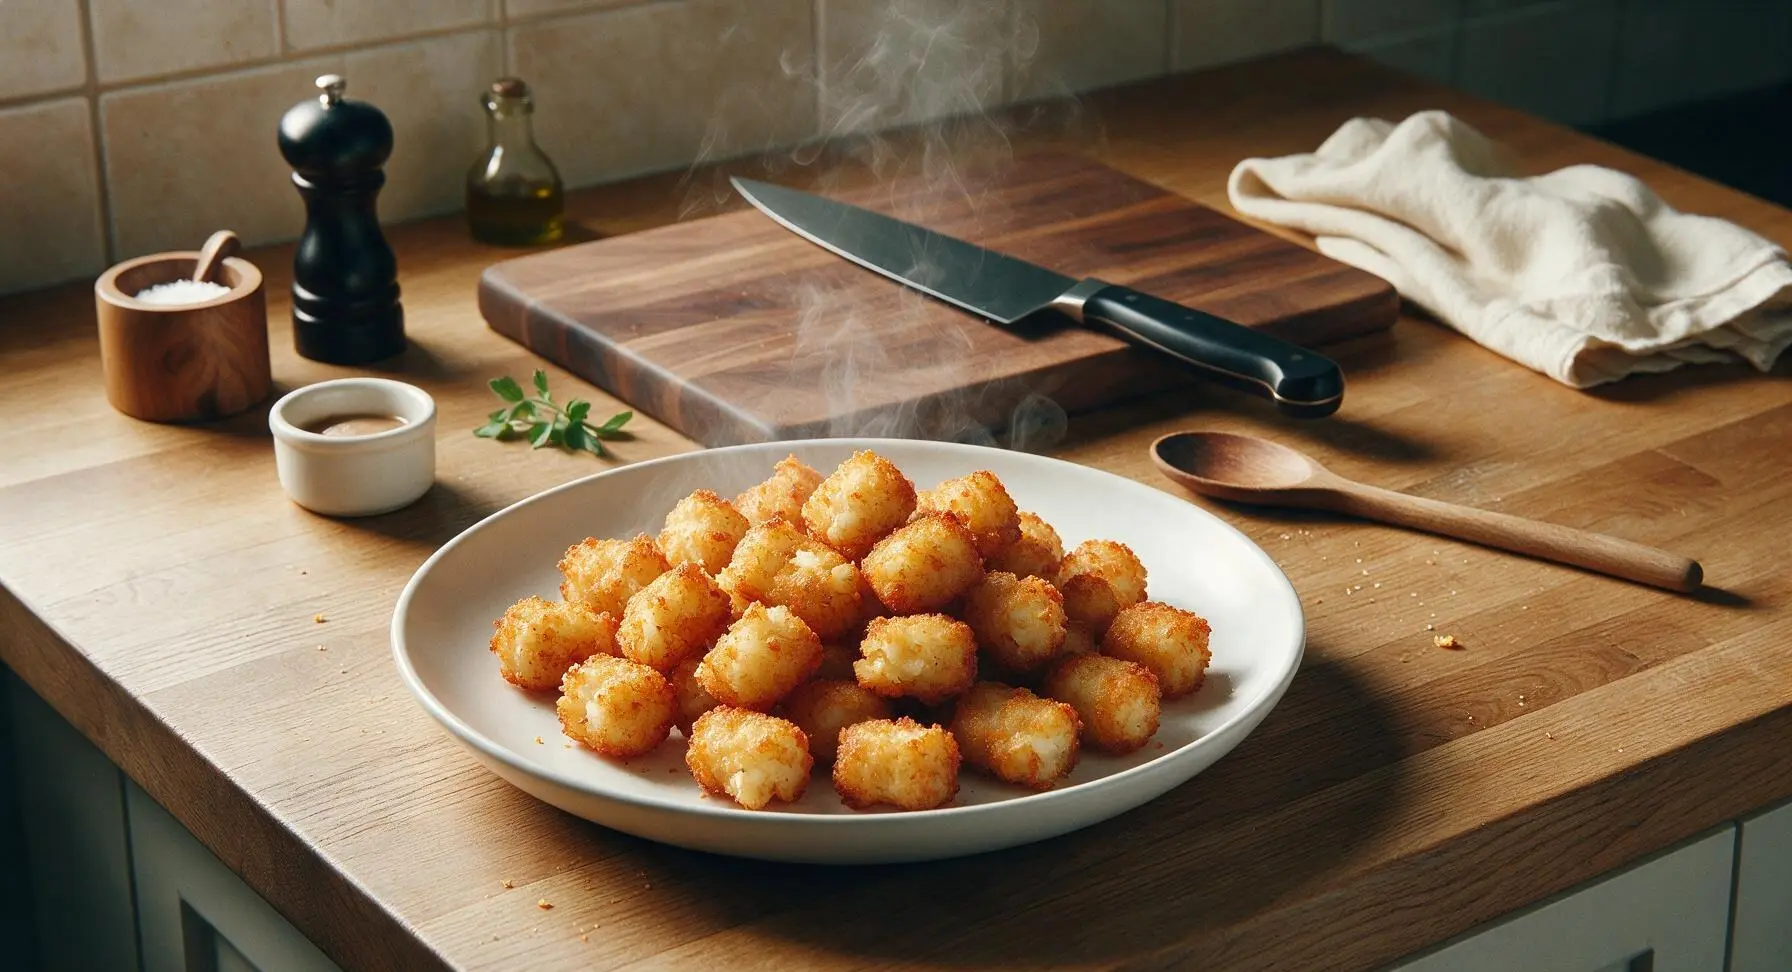
Crisp, golden homemade tater tots with fluffy, seasoned potato centers—far better than frozen, perfect for dipping and sharing on casual game nights.

Ingredients
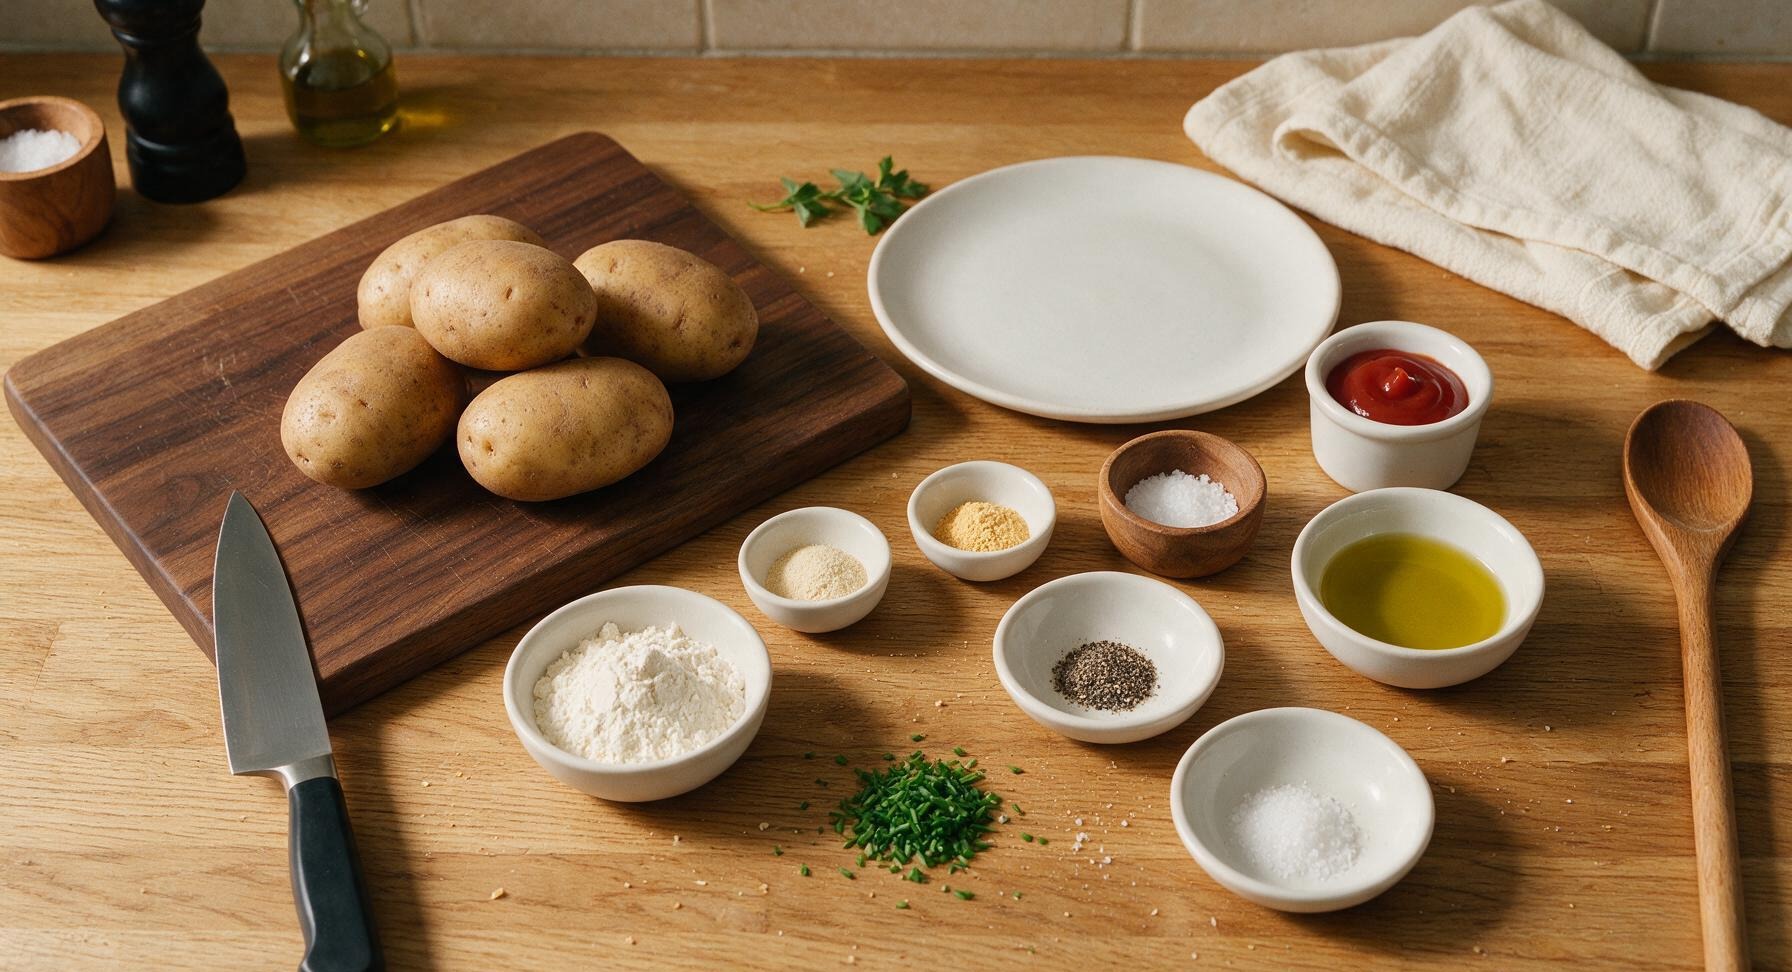
Russet potatoes 900g (about 4 medium)
All-purpose flour 2 tablespoons
Garlic powder 1 teaspoon
Onion powder 1 teaspoon
Kosher salt 1.5 teaspoons, divided
Freshly ground black pepper 1/2 teaspoon
Extra-virgin olive oil 3 tablespoons
Fresh chives, finely chopped 1 tablespoon
Ketchup, for serving 1/4 cup

Steps

1

Parboil Potato Chunks

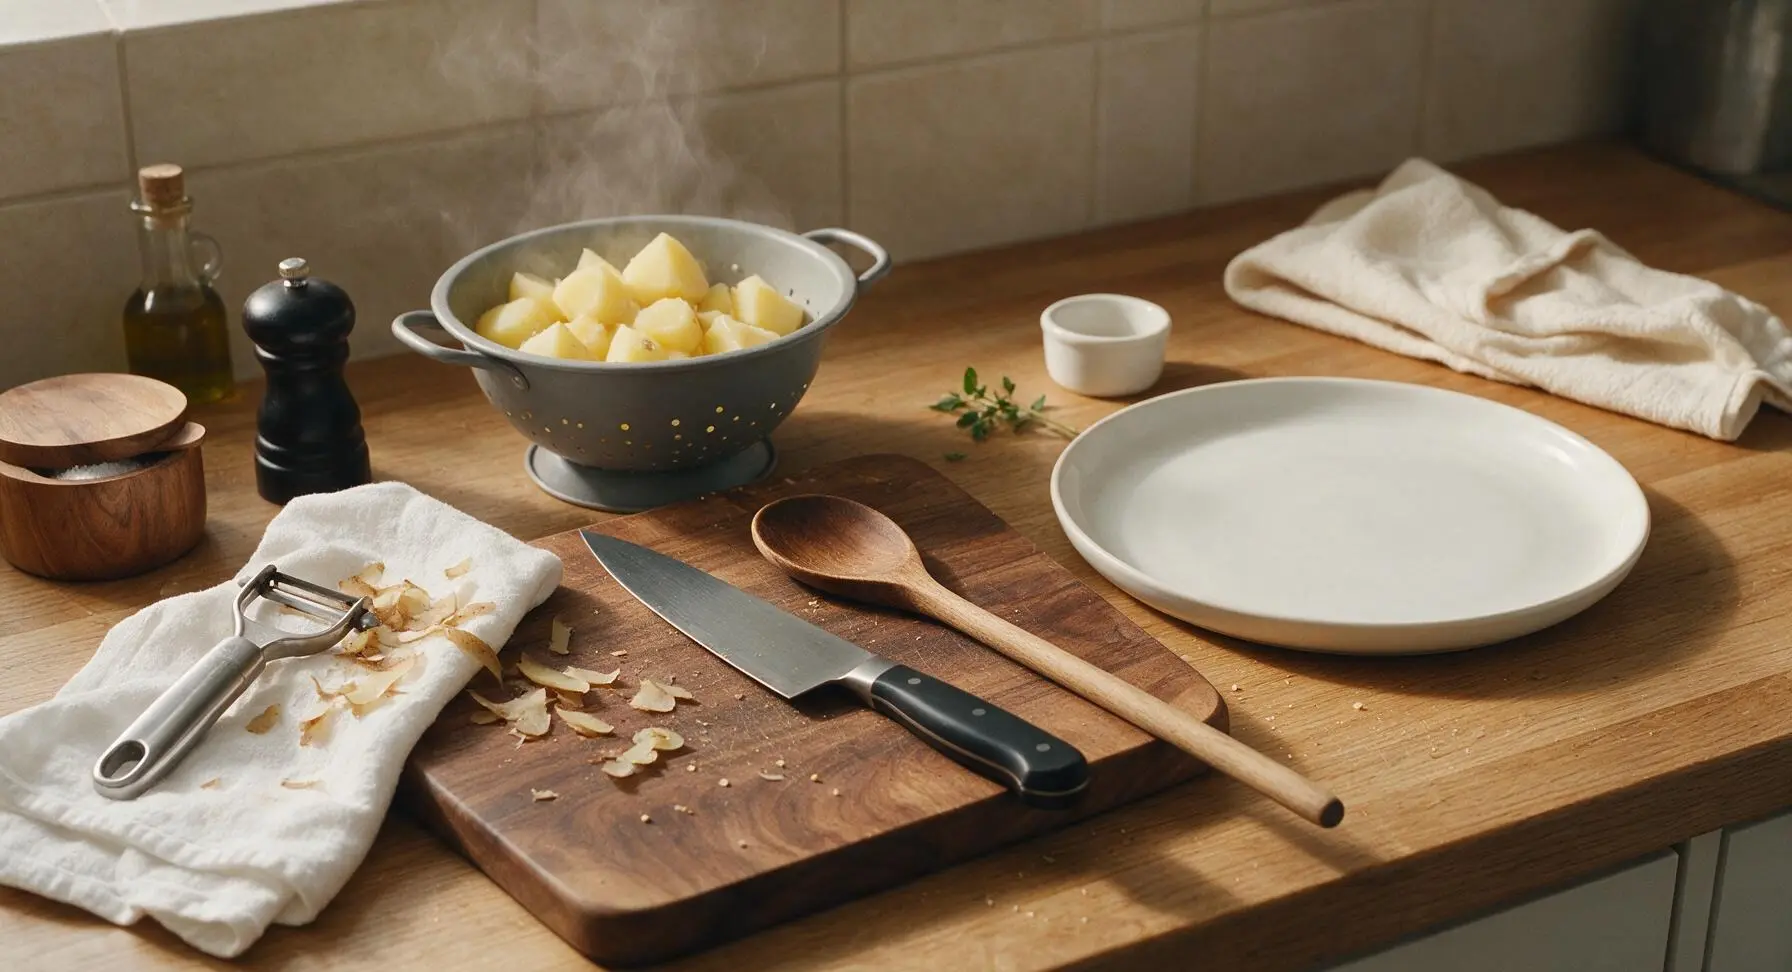
Scrub and peel the 4 russet potatoes, cut into 5cm (2-inch) even chunks. Place chunks in a pot of heavily salted boiling water, and cook for exactly 7 minutes at a rolling boil. Potatoes should be firm enough to grate, with a slightly tender outer layer—they will not be fully cooked through, and a fork will meet firm resistance when inserted into the center. Drain immediately in the grey colander, and let cool for 5 minutes until safe to handle.
Step 1
step1:Parboil Potato Chunks
2

Grate Cooled Potatoes

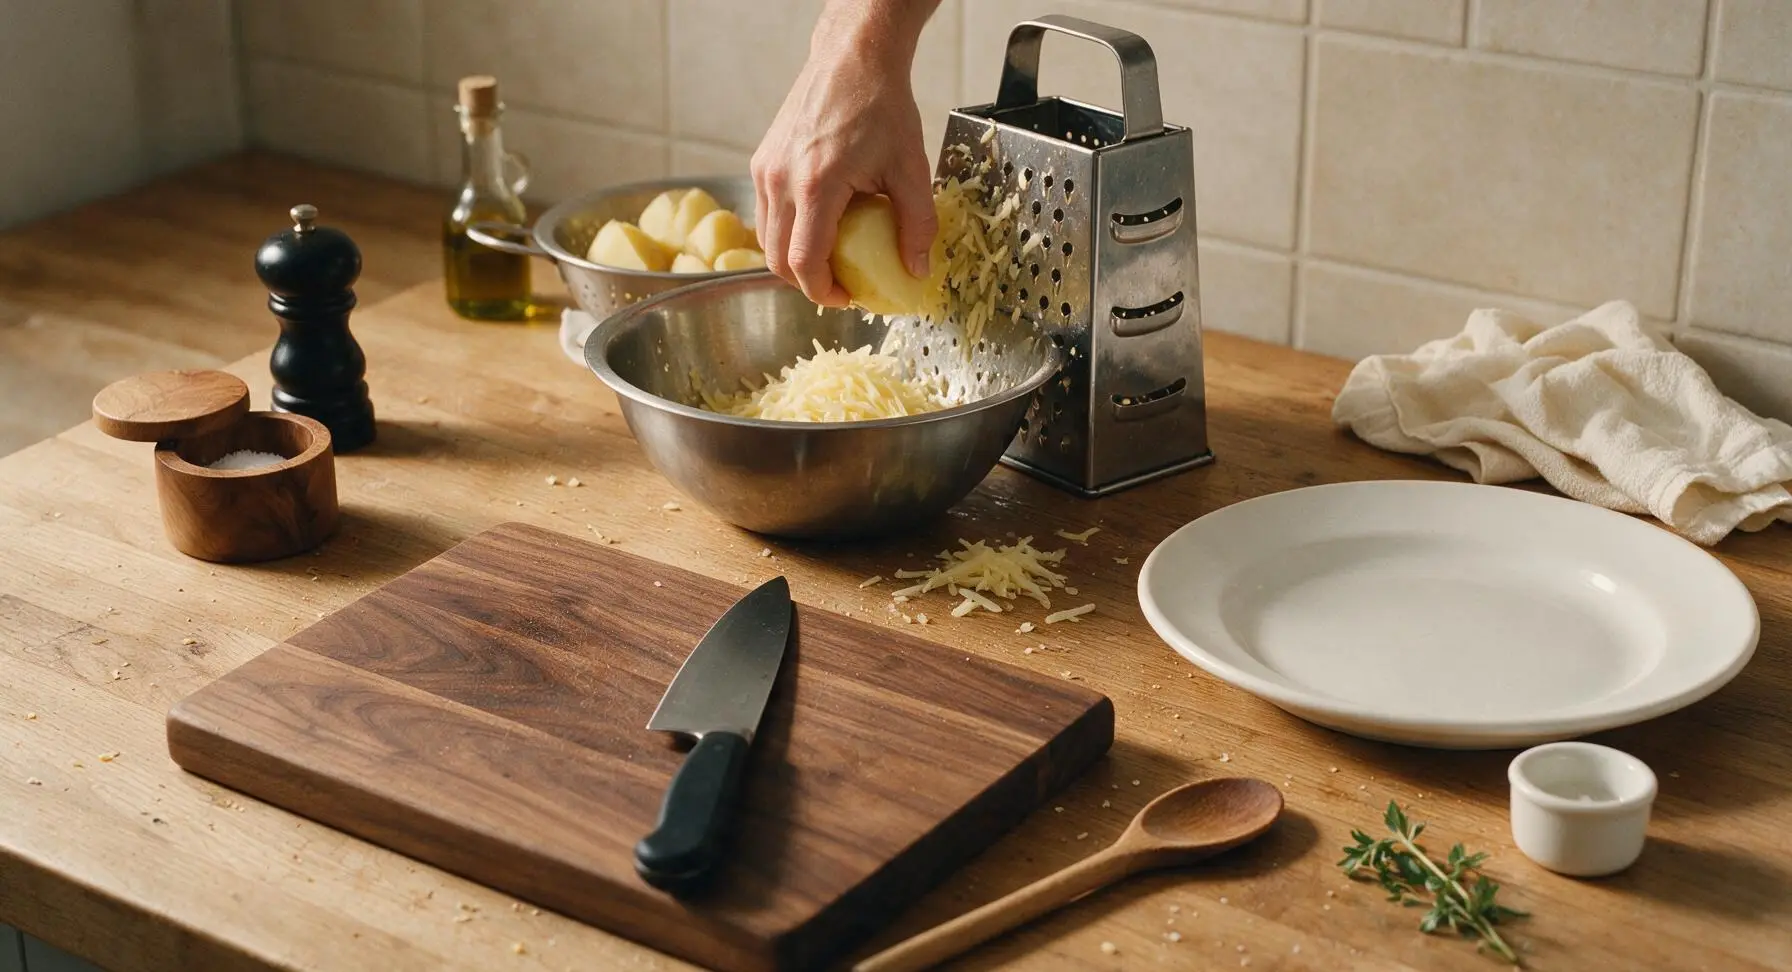
Once potato chunks are cool enough to touch, hold each chunk against the large holes of the stainless steel box grater, and grate into the stainless steel mixing bowl. Grate only until you have coarse, short shreds—do not over-grate into a mushy paste. Stop if potatoes become too warm or start to break down into a smooth texture.
Step 2
step2:Grate Cooled Potatoes
3

Remove Excess Moisture

Transfer all grated potato shreds to the center of the white cotton kitchen towel. Gather the towel edges tightly to form a pouch, and squeeze firmly over the colander for 2-3 minutes, until no more starchy liquid drips from the towel. You should extract at least 1/2 cup of cloudy starchy water; this step is critical to ensure crispy, not soggy, tater tots. Return the dried shreds to the mixing bowl.
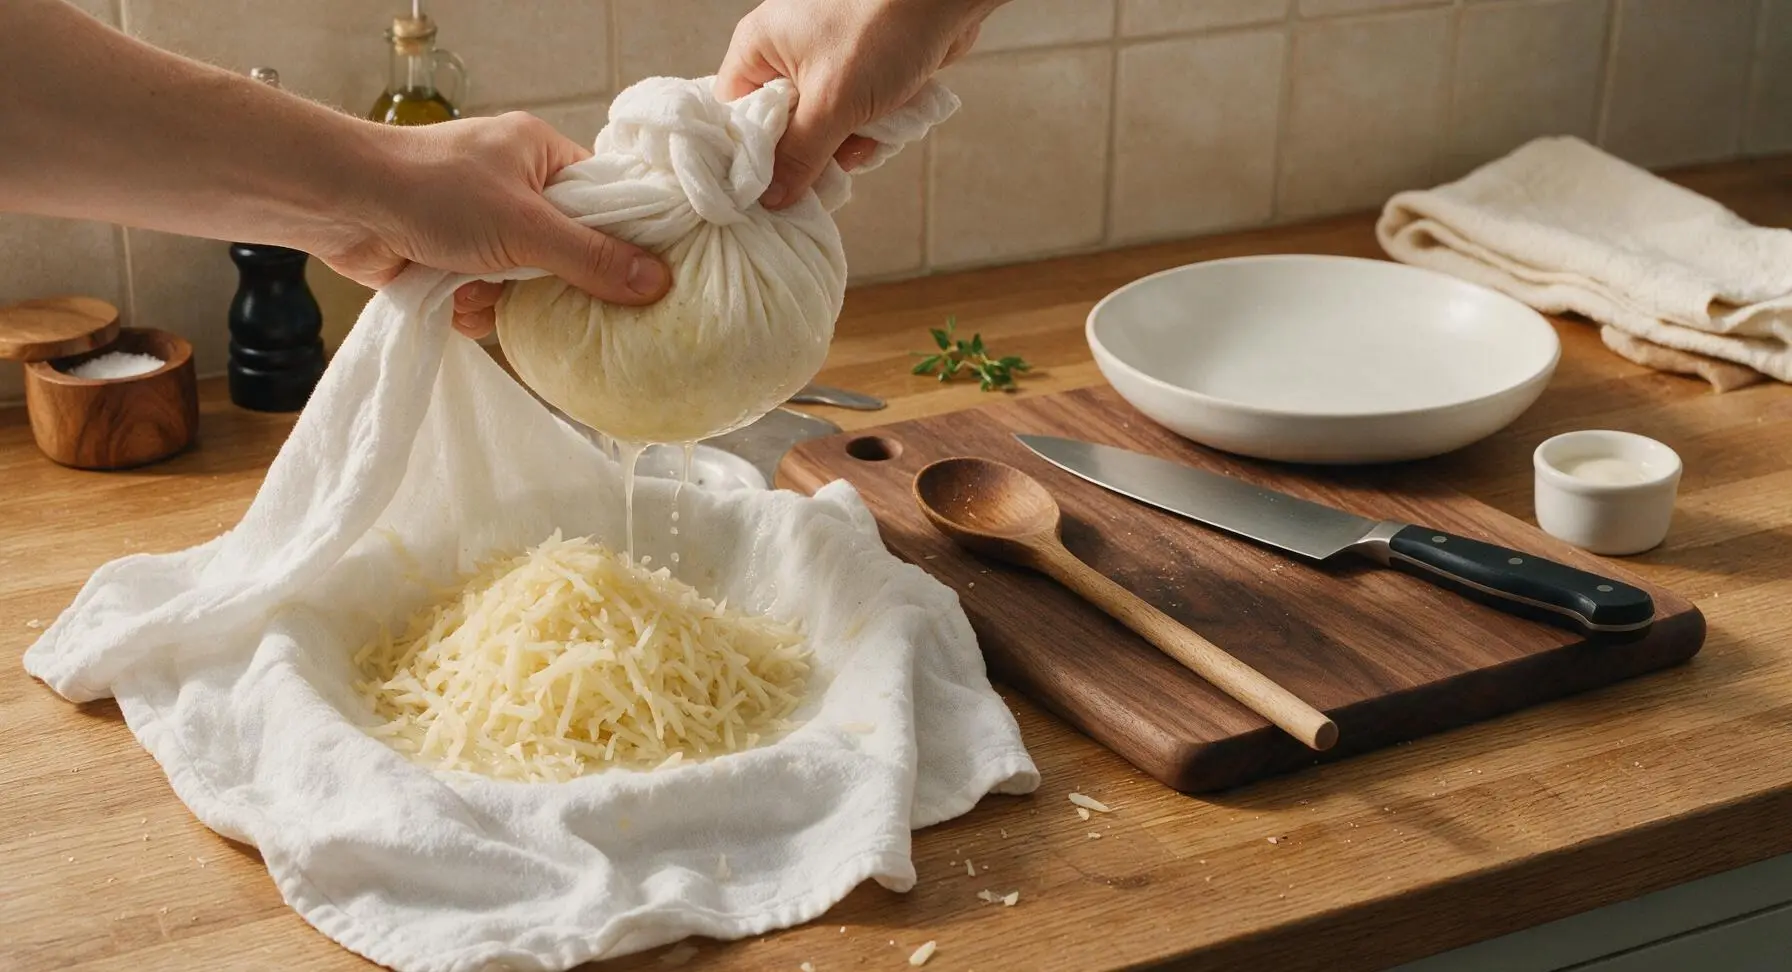
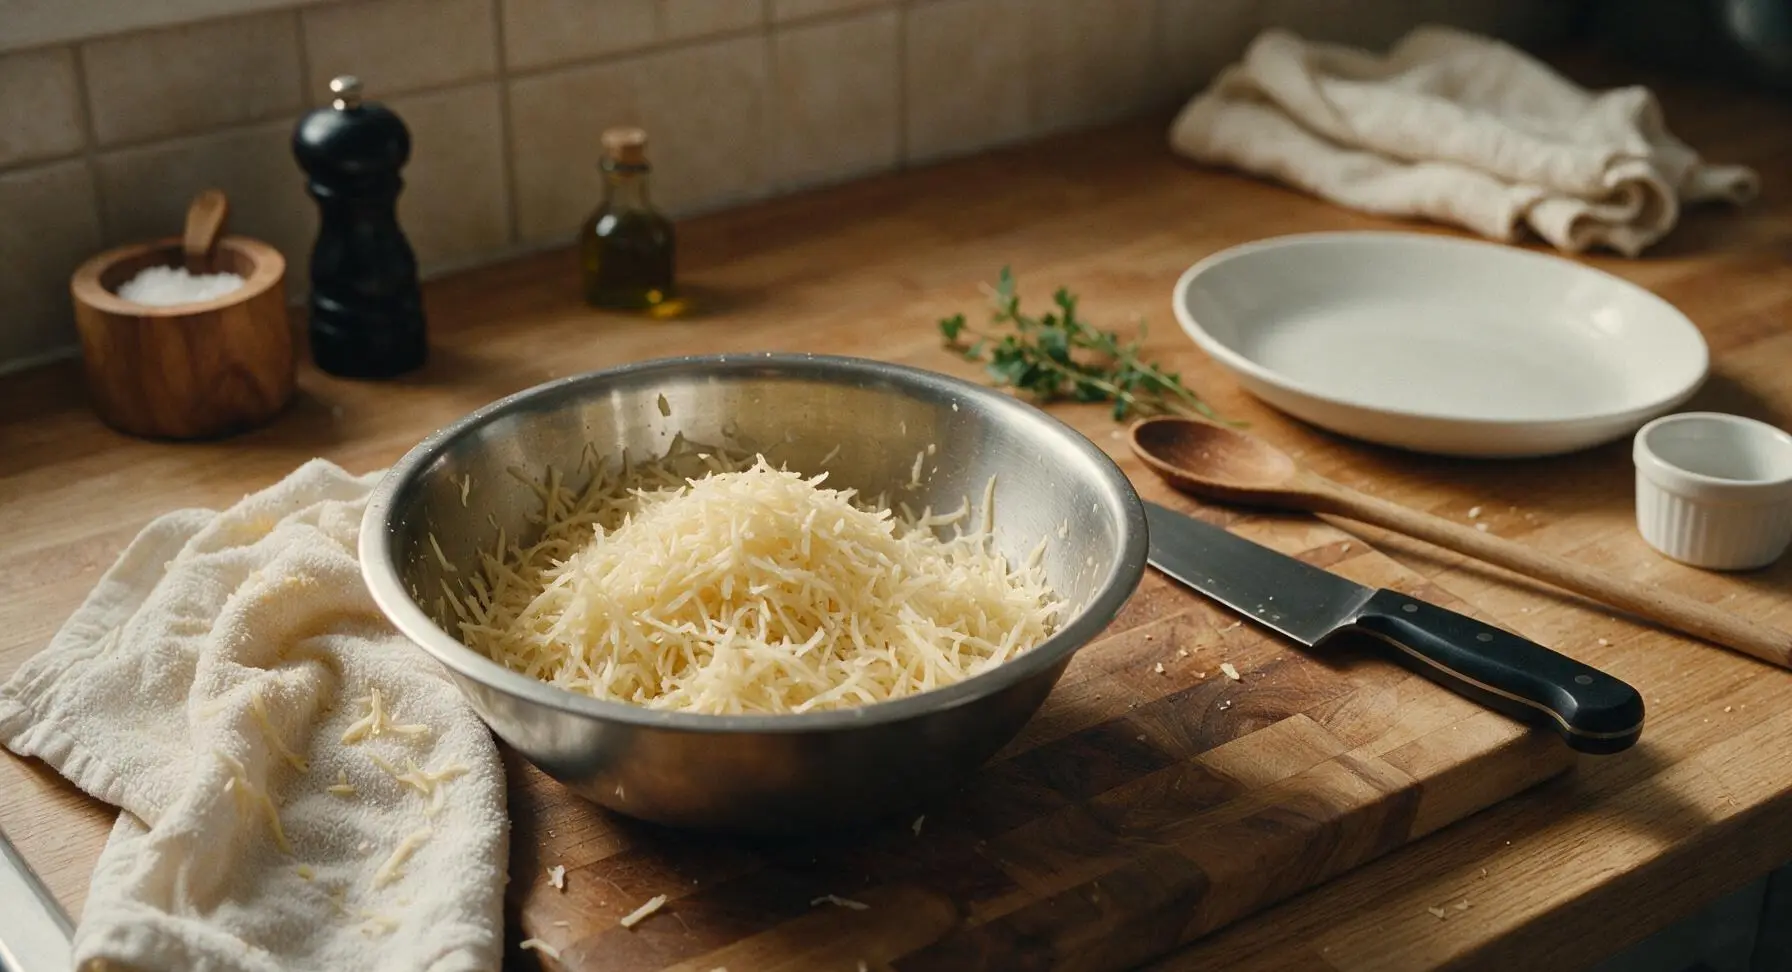
Step 3
step3:Remove Excess Moisture
Step 3
step3:Remove Excess Moisture
4

Mix in Seasonings

Add the 2 tablespoons all-purpose flour, 1 teaspoon garlic powder, 1 teaspoon onion powder, 1 teaspoon kosher salt, and 1/2 teaspoon black pepper to the dried potato shreds. Toss gently with your fingers until all shreds are evenly coated with the flour and spice mixture, taking care not to mash the shreds. The mixture should hold together slightly when squeezed into a clump, without falling apart.
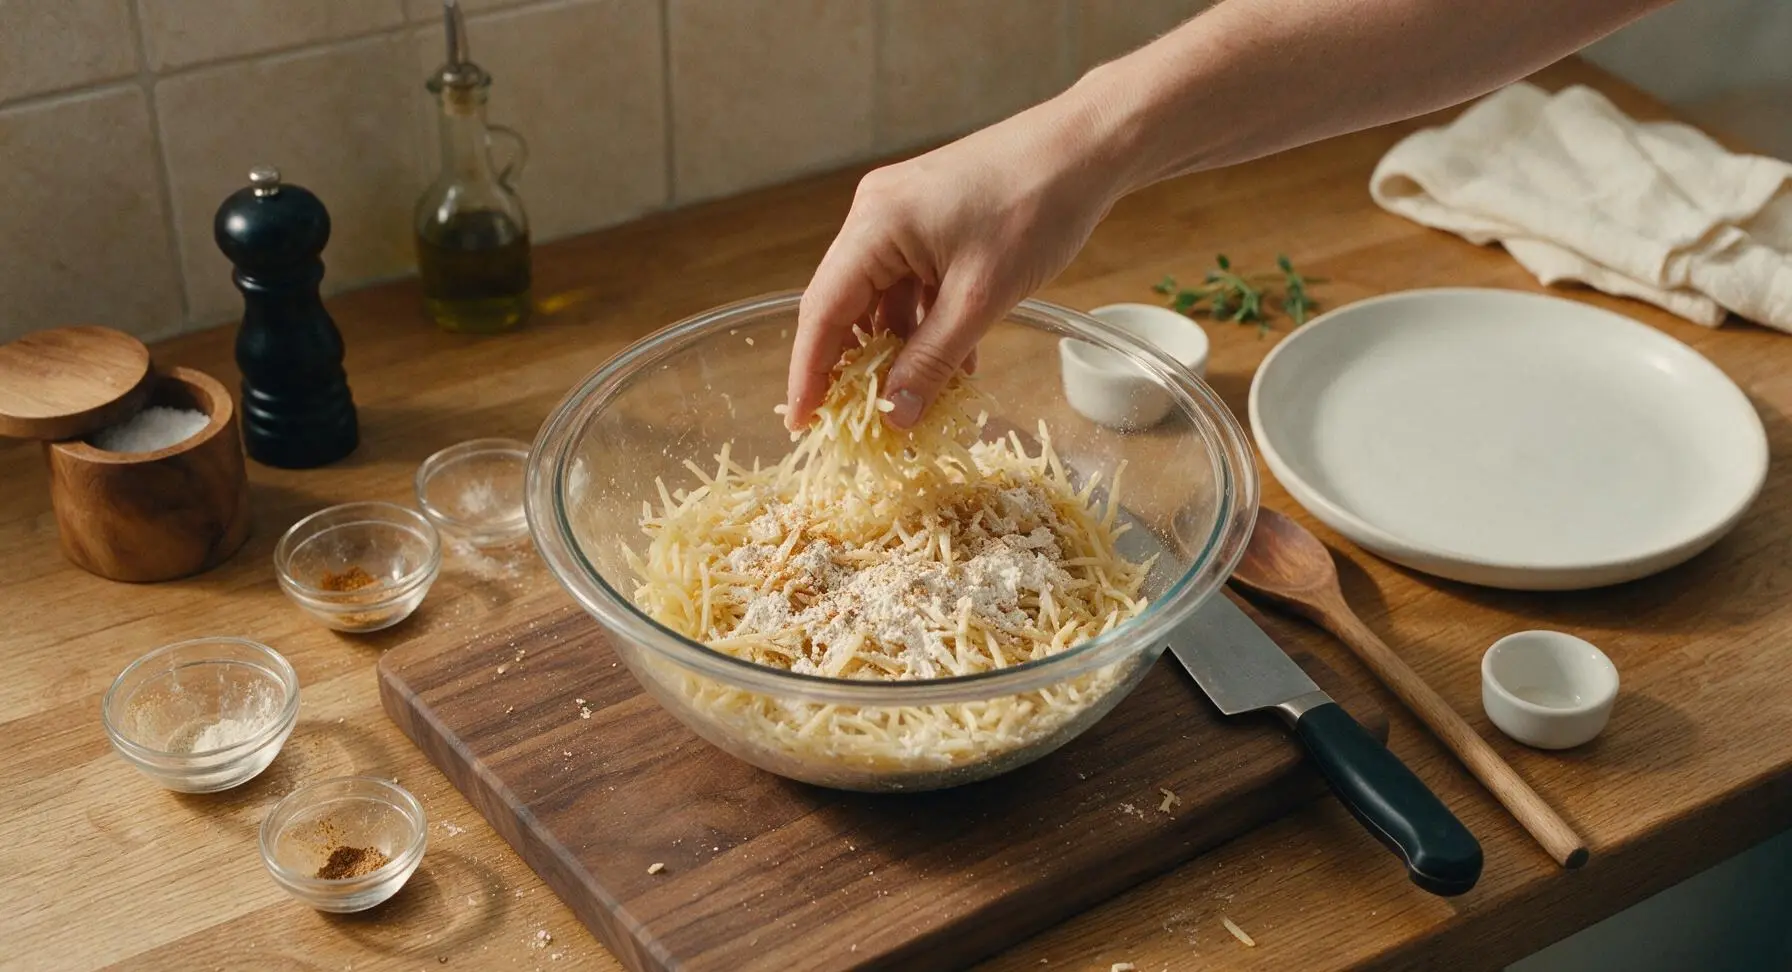
Step 4
step4:Mix in Seasonings
5

Form Tater Tots

Scoop 1-tablespoon portions of the potato mixture, and squeeze firmly between your palms to compact, then roll into small 3cm (1.25-inch) long cylinder shapes. Set formed tots on a small square of parchment paper pulled from the roll at back right, leaving 1cm of space between each tot. You should yield approximately 32 evenly sized tots.
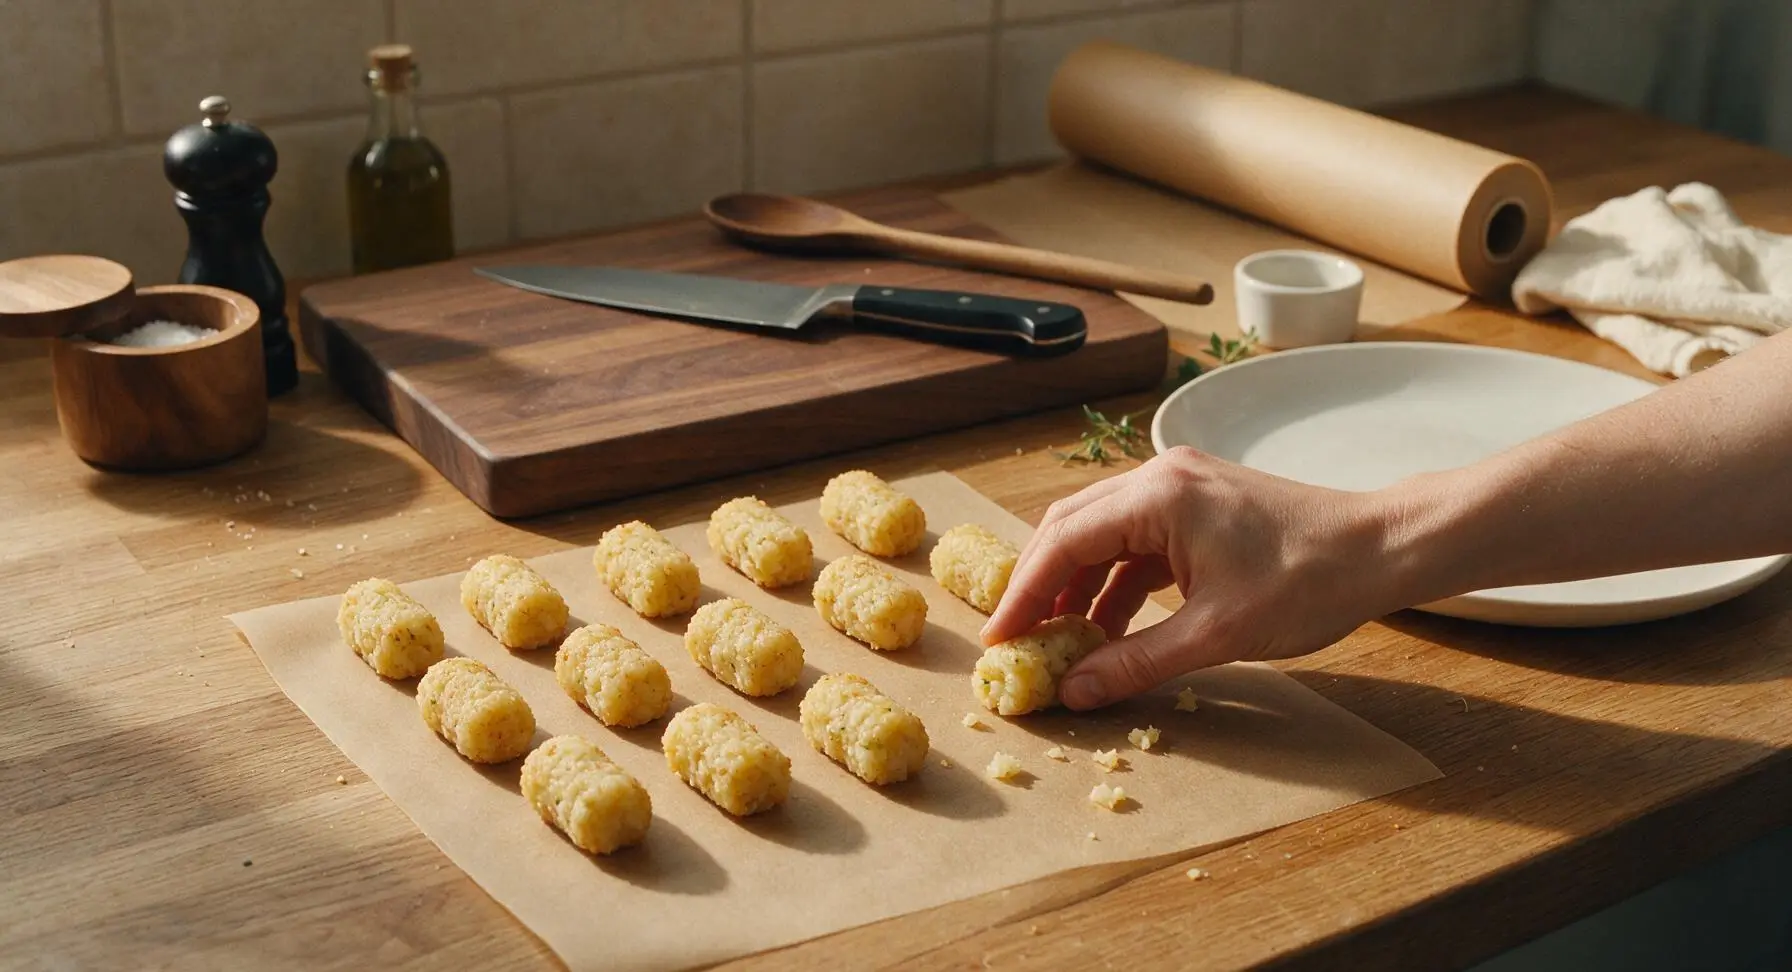
Step 5
step5:Form Tater Tots
6

Heat Oil in Skillet

Place the 10-inch cast iron skillet on the burner to the right of the counter, add 3 tablespoons olive oil, and heat over medium heat for 3 minutes until the oil shimmers but does not smoke. Test oil readiness by dropping a single potato shred into the pan: it should sizzle immediately on contact.
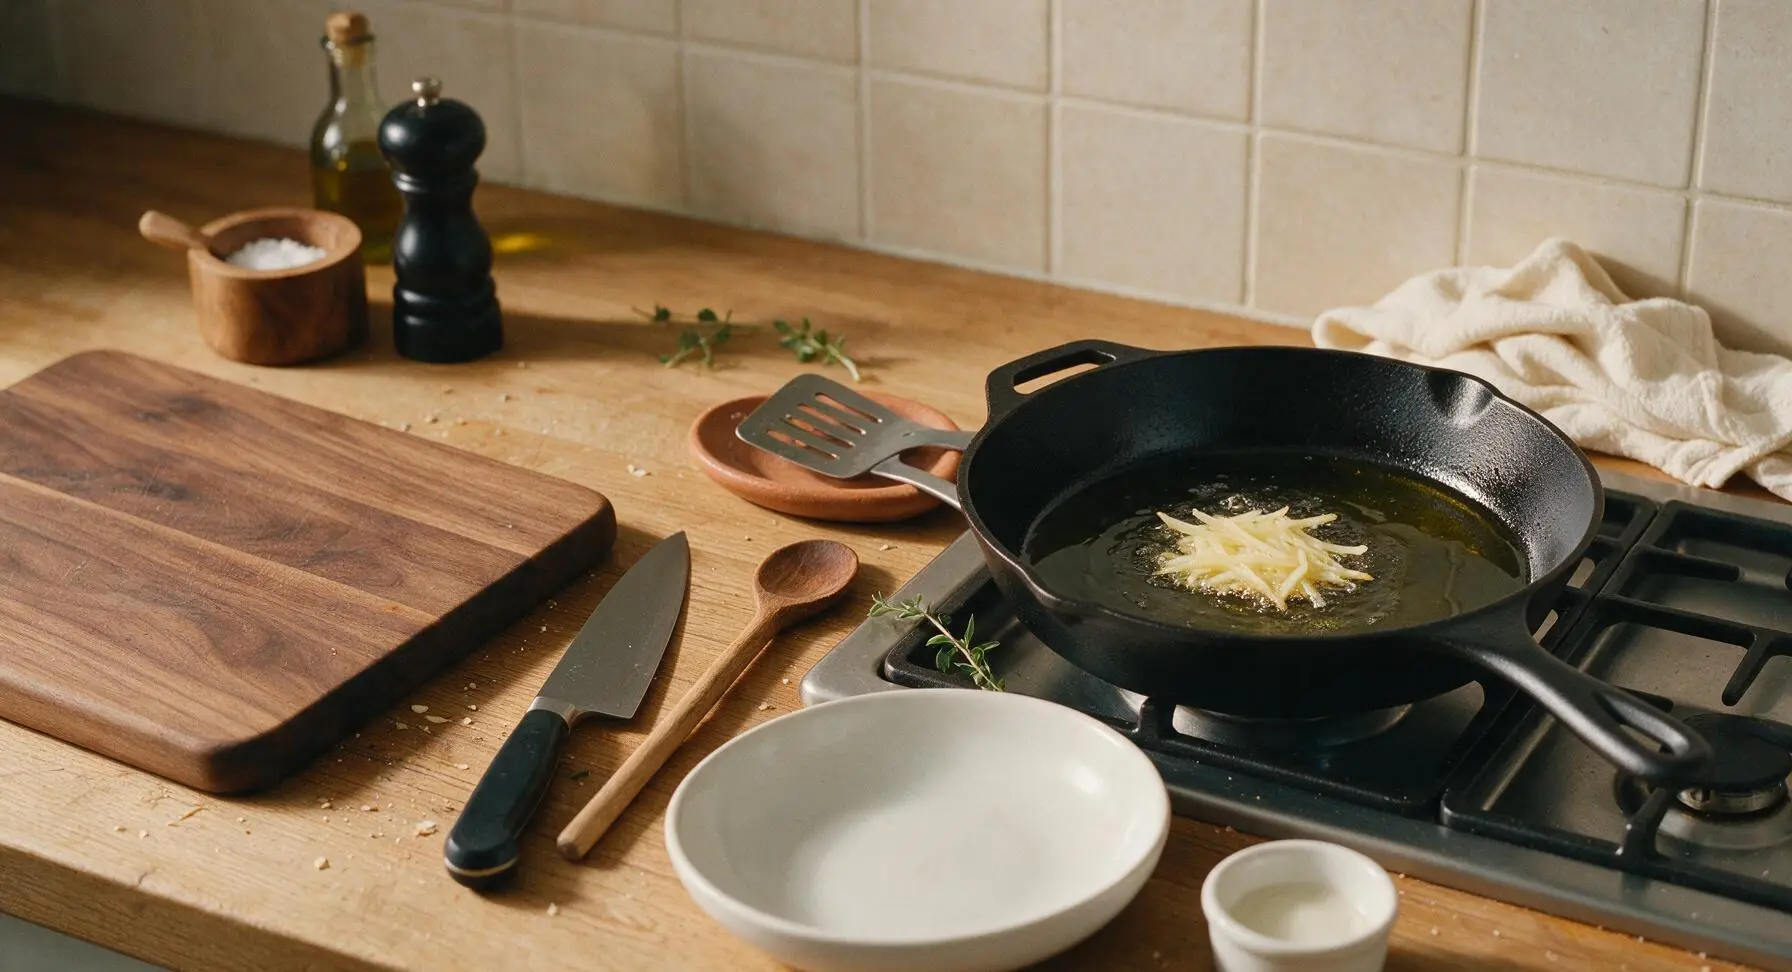
Step 6
step6:Heat Oil in Skillet
7

Fry Until Golden Crisp

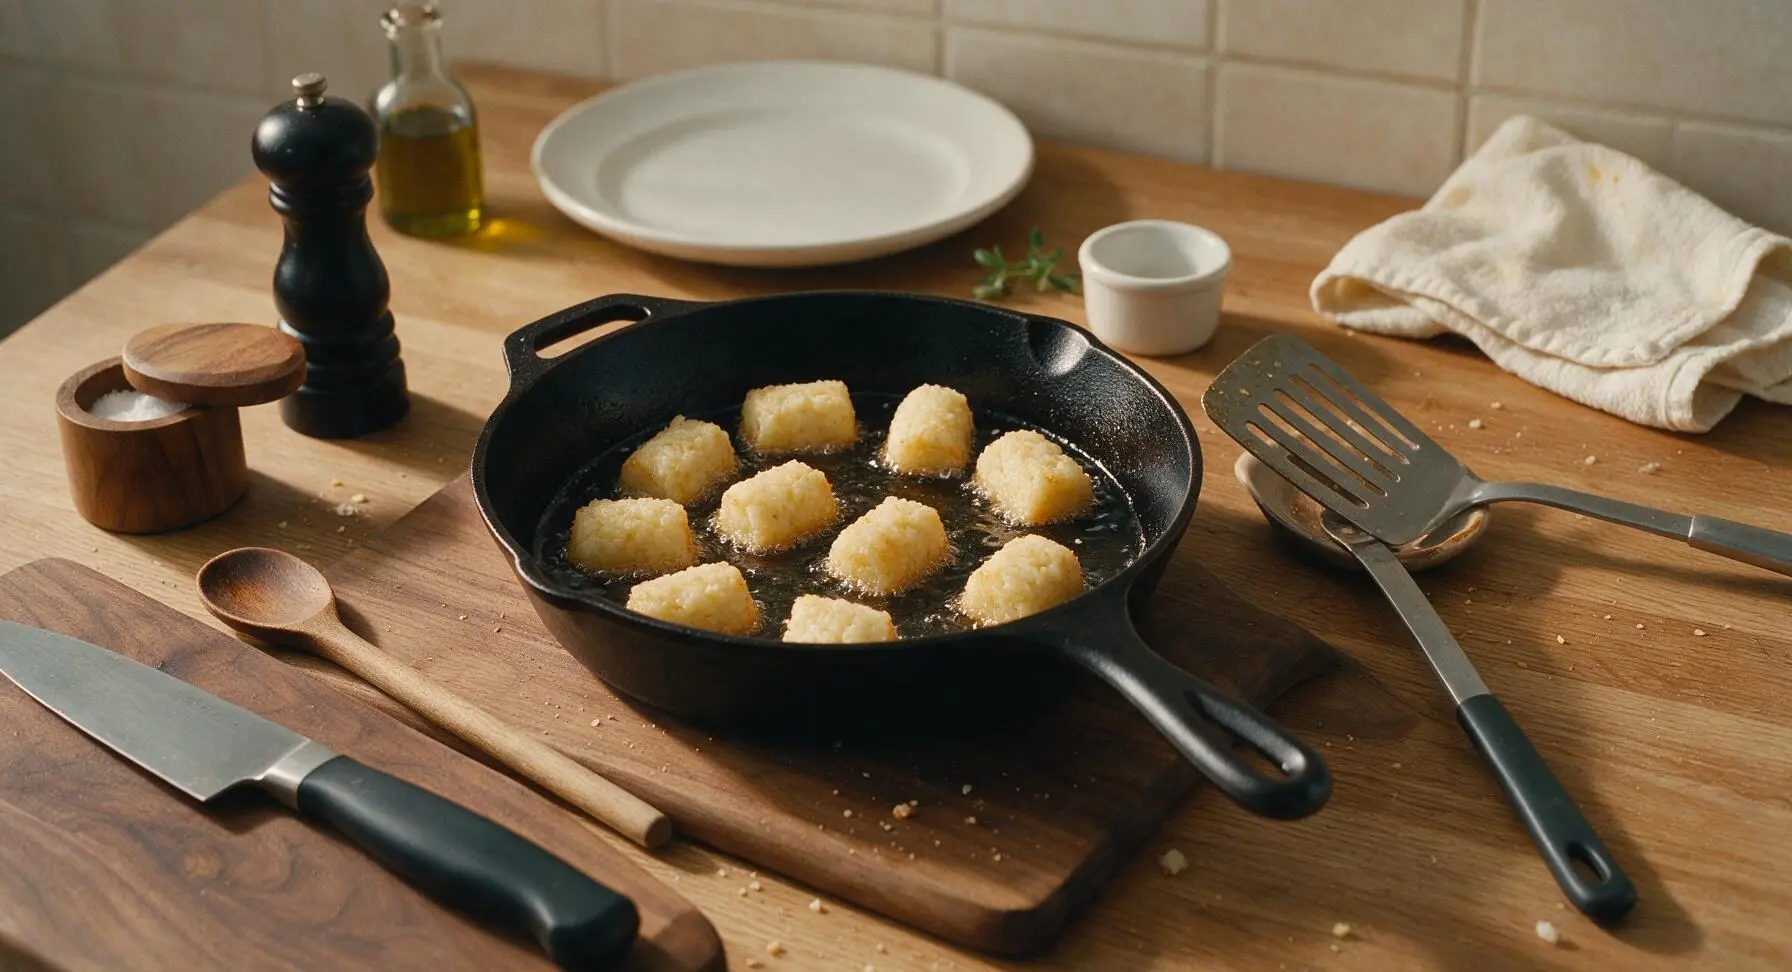
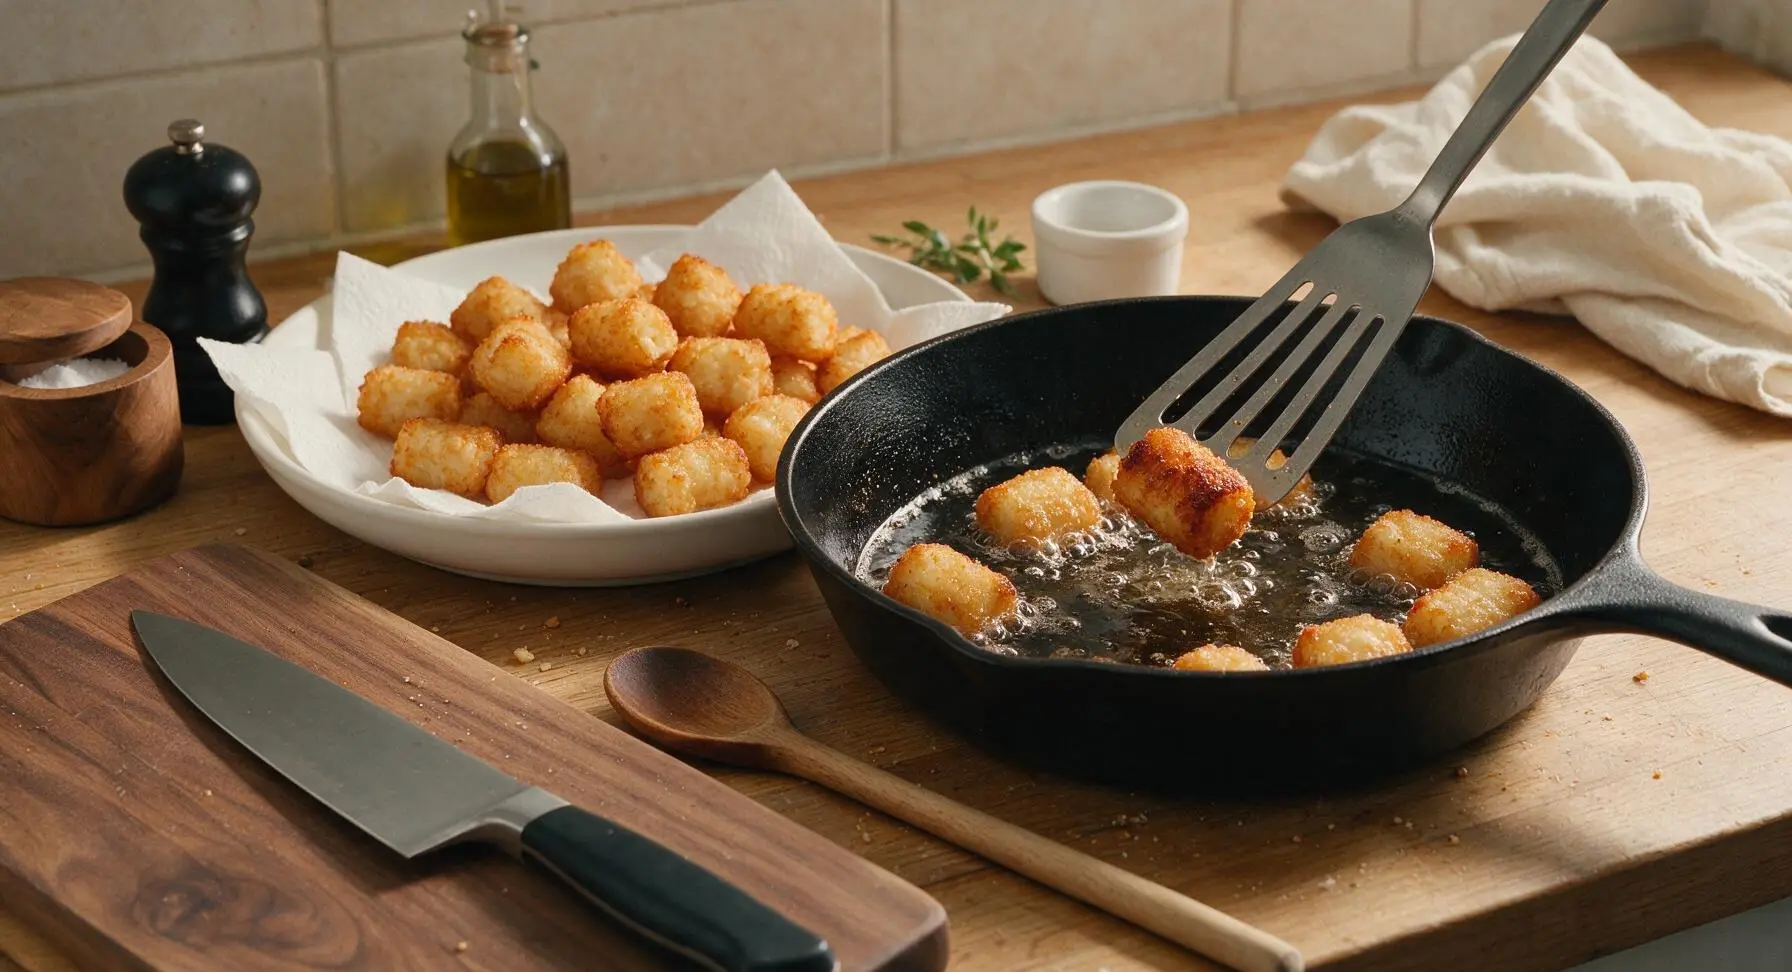
Working in batches of 8 tots at a time to avoid crowding the pan, place the formed tots in the hot oil. Cook for 4 minutes per side, turning gently with the slotted spatula, until all sides are deep golden brown and crispy, approximately 12-14 minutes total per batch. Transfer cooked tots to a paper-towel lined plate, and sprinkle immediately with the remaining 0.5 teaspoon kosher salt while hot.
Step 7
step7:Fry Until Golden Crisp
Step 7
step7:Fry Until Golden Crisp
8

Plate and Garnish Tots

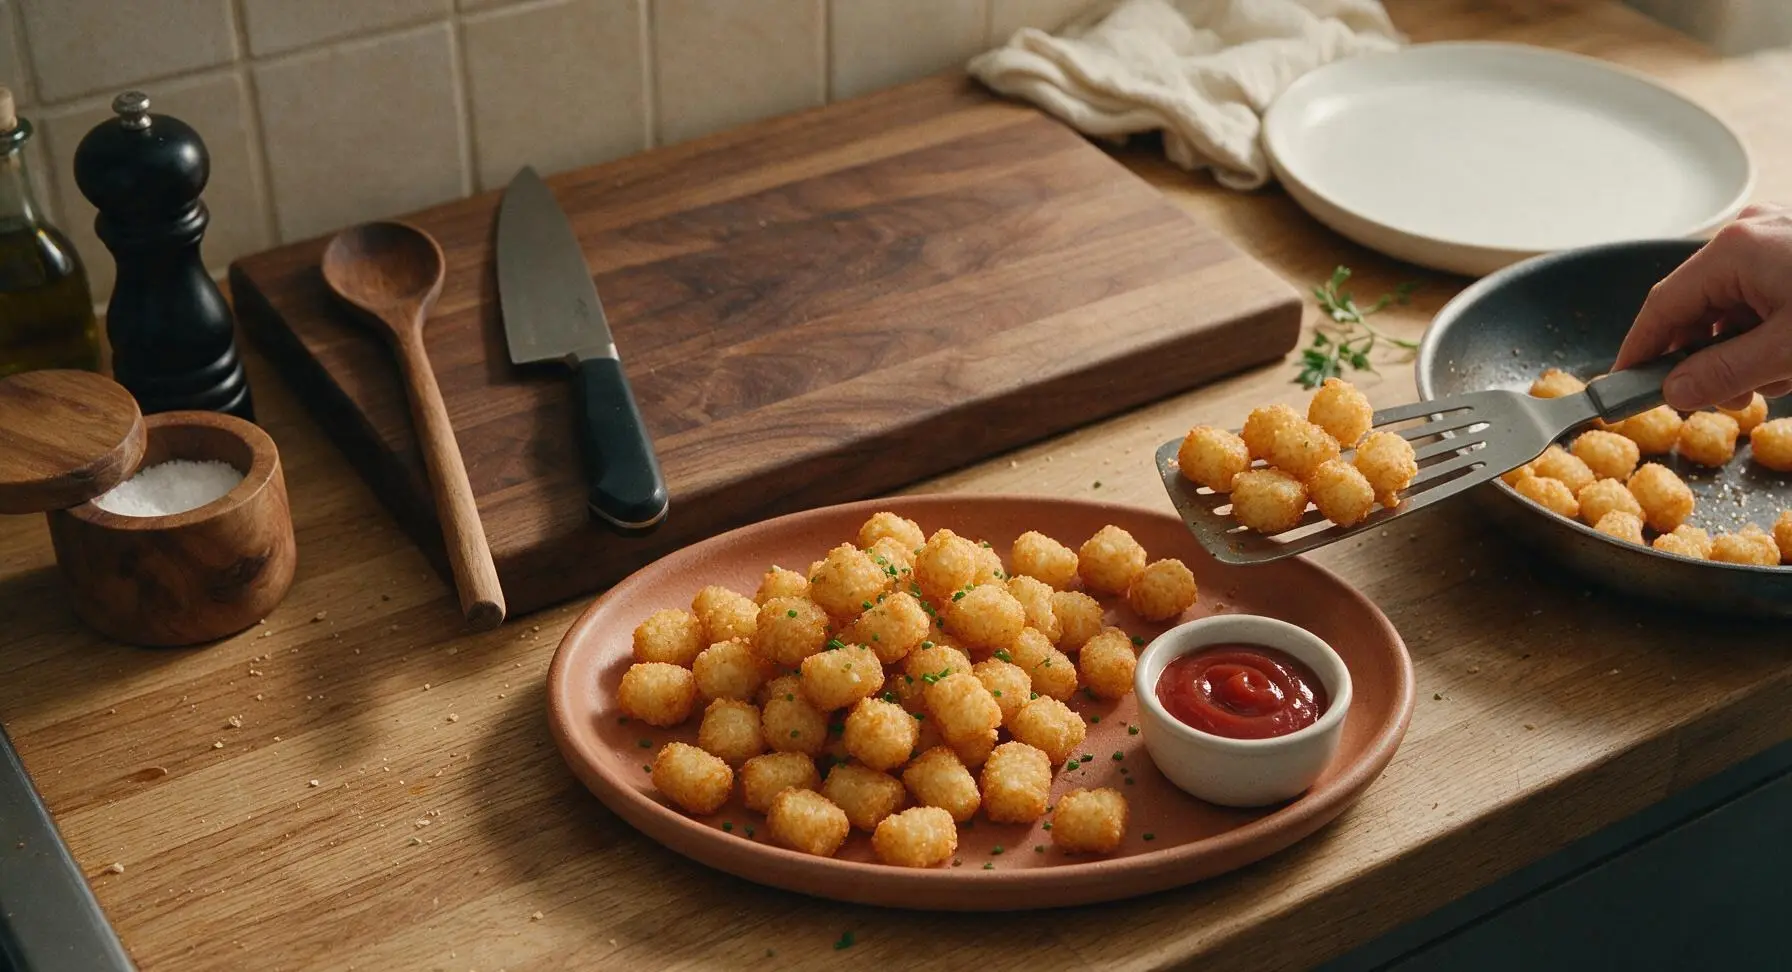
Transfer all hot, crispy tater tots to the matte terracotta serving platter, piling them in a loose mound. Sprinkle the top with finely chopped fresh chives, and set the small white ramekin filled with ketchup on the platter rim for dipping. Serve immediately while hot and crispy.
Step 8
step8:Plate and Garnish Tots

Tips

1.Squeeze every last drop of moisture from the grated potatoes: excess starchy water will cause tots to steam instead of fry, resulting in soggy, mushy centers rather than crisp exteriors. For extra-dry shreds, let them rest on a layer of paper towels for 10 minutes after squeezing before adding seasonings.
2.Never overcrowd the cast iron skillet when frying: too many tots in the pan at once drops the oil temperature rapidly, leading to uneven browning and greasy, oil-soaked tots. Work in batches of 8, and wait 1 minute between batches for the oil to return to a shimmering hot temperature.
3.Avoid mashing potato shreds when mixing seasonings or shaping tots: keeping shreds distinct creates the signature light, crumbly tater tot texture, rather than a dense, flat hash brown-like patty. Squeeze shapes gently just enough to hold together, no tighter.


✨ You May Also Like

Side Dishes
🍜 India

Velvety, aromatic all-purpose curry sauce perfect for tossing with roasted veggies, grilled protein, or rice for fast, cozy, flavorful meals.

⏱️ 25 minuteSide Dishes ★ 4.8
Side Dishes
🍜 Spain

Tender, starchy boiled yuca tossed in bright, garlicky citrus mojo sauce—an iconic, zesty side that pairs beautifully with roasted pork, grilled meats, and rice and beans.

⏱️ 40 minuteSide Dishes ★ 5
Side Dishes
🍜 United States

Tender, paper-thin potato flatbread, a beloved Norwegian-American Minnesota Christmas staple, griddled until softly spotted and served warm with butter.

⏱️ 1 hour 30Side Dishes ★ 4.6
Side Dishes
🍜 United States

Rich, deeply savory cured salt pork, a long-lasting kitchen staple perfect for frying crispy as a side or adding umami to stews, beans, and chowders.

⏱️ 7 days (2Side Dishes ★ 4.9
Side Dishes
🍜 United States

Crispy, tangy classic Southern fried green tomatoes with a crunchy cornmeal crust, served hot for a nostalgic, comforting summery bite.

⏱️ 25 minuteSide Dishes ★ 4.9
Side Dishes
🍜 United States

Moist, golden-crusted savory muffins with sweet corn, zesty jalapeño, and melted cheddar, perfect for pairing with smoky summer grilled fare.

⏱️ 30 minuteSide Dishes ★ 4.9

tater tots ingredients:Frequently Asked Questions

1.Why does this recipe use Russet potatoes instead of other potato varieties? ▾
Russet potatoes are non-negotiable here for the best texture. Their high starch content and relatively low moisture level create that signature fluffy, light interior and shatteringly crisp exterior. Waxy varieties like red potatoes or Yukon Golds hold too much excess moisture, which leads to soggy, dense tots that won’t crisp up no matter how long you cook them.
2.Can I make these tots ahead of time and freeze them for quick meals or game days? ▾
Absolutely! Once you shape the raw, uncooked tots, arrange them in a single layer on a parchment-lined baking sheet and freeze until solid, about 2 hours. Transfer them to a sealed freezer bag, and they’ll keep for up to 3 months. Don’t thaw them when you’re ready to cook—just add 2 to 3 minutes to your cook time for perfectly crisp results.
3.Why do my homemade tater tots always turn out soggy instead of crispy? ▾
Sogginess almost always traces back to excess potato moisture or incorrect cooking temperature. After shredding your Russets, squeeze them as dry as possible with a clean kitchen towel or cheesecloth to wring out every last bit of starchy liquid. Also, make sure your cooking oil is fully preheated to 375°F, and don’t overcrowd the pan, which drops oil temp fast.
4.Do I have to deep fry these tots, or can I bake them for a lighter option? ▾
You don’t have to deep fry for great results! For crispy baked tots, preheat your oven to 425°F, arrange shaped tots in a single layer on a wire rack set over a rimmed baking sheet, spritz lightly with olive oil, and bake 30 to 35 minutes, flipping halfway. The elevated rack lets hot air circulate all around for even crispness without deep frying.
5.What role does the all-purpose flour play in this tater tot recipe? ▾
That small amount of all-purpose flour acts as a gentle binder to hold the shredded potato shape together as the tots cook, so they don’t fall apart while frying or baking. It also helps build a light, crisp outer crust as it cooks, rather than leaving you with loose, shredded potato clumps that separate when you pick them up to dip.
6.Can I add extra seasonings or mix-ins to the base tater tot recipe? ▾
Of course! The garlic powder, onion powder, and kosher salt make a delicious, versatile base, but you can mix in finely chopped add-ins like shredded sharp cheddar, crumbled cooked bacon, smoked paprika, a pinch of cayenne, or fresh chives to match your taste. Just keep mix-ins small so they don’t break apart the tot structure as they cook.
7.How do I tell when my tater tots are fully cooked and ready to eat? ▾
Whether you’re frying or baking, properly cooked tater tots will be a deep, even golden brown all over, and feel light and crisp when you lift them with tongs—undercooked tots feel dense and heavy. Deep fried batches usually take 3 to 4 minutes total, while baked tots take 30 to 35 minutes, with a fluffy hot center.
8.What dips pair best with these crispy homemade tater tots? ▾
These crispy, sturdy tots pair perfectly with classic dips like ketchup, spicy sriracha mayo, warm cheddar cheese sauce, sour cream and chive dip, or tangy ranch dressing. For casual game night spreads, set out 2 to 3 dip options so guests can mix and match—the tots hold up great to thick, creamy dips without falling apart.

Comments (6)

2 days ago

OMG these are a total game changer! I’ve tried so many homemade tater tot recipes that turn out soggy in the middle, but these stayed perfectly crispy even after I let them sit on the plate for 10 minutes while I got the rest of burger night ready. My kids devoured half the batch before we even sat down for dinner, already asking when I’m making them again. So easy too, I didn’t think 25 minutes was doable but it totally was!

1 day ago

That makes us so happy to hear! We love that these are quick enough for busy weeknight dinners, and it sounds like your kids give them the best possible seal of approval. Pro tip: toss a little parmesan in the coating next time for an extra savory twist!

1 week ago

Brought these to our neighborhood block party potluck last weekend and people were hovering over the platter asking for the recipe the whole time. I added a little extra cajun seasoning to the batch for a tiny kick, and it paired so well with the dip I brought. Zero leftovers, 10/10, will absolutely be making these for every get together from now on.

3 days ago

Wait, do these hold up well if I make them ahead for weekly meal prep? I’m always looking for easy side dishes I can batch cook on Sundays to pack with my lunches for work. Worried they’ll get mushy if I reheat them in the microwave, has anyone tried reheating them in the air fryer?

2 days ago

I reheated mine in the air fryer at 400 for 3 minutes earlier this week and they got just as crispy as when I first made them! The microwave does make them a little soggy so definitely skip that if you can. I pre-portioned them into little containers with ketchup packets and it was the easiest work lunch side all week.

1 day ago

Great question! They hold up beautifully for meal prep if you store them in an airtight container in the fridge for up to 4 days. Like Liz said, a quick reheat in the air fryer or even a toaster oven will bring the crisp right back — microwaves tend to make them soft, so we recommend avoiding that if crispy tots are your goal!

2 hours ago

Just made these in my dorm air fryer and they turned out SO good! Wait the recipe says 25 minutes cook time, mine were done in like 20? Did I do something wrong? They taste amazing, super crispy, just wasn’t sure if I cut the potatoes too small or something. Also tossed a little shredded cheddar in a couple of them and *chef’s kiss*

30 minutes ago

Nah you didn’t mess up! Air fryers run super different temp-wise, mine also cooked faster than the recipe said. As long as they’re crispy and golden on the outside and cooked through inside you’re good. The cheddar addition sounds insane, I’m trying that next batch!

5 days ago

So happy I found this recipe! A lot of store bought tater tots have hidden gluten fillers, so making them at home means I can control exactly what goes in them. I used gluten free flour to coat them and they came out perfectly crispy, no weird gritty texture at all. My whole family loved them, even my sister who swears by the frozen store-bought brand.

yesterday

Wait, is there a trick to getting the potatoes shredded right? I tried this last night and my shreds were way too long, so the tots kept falling apart when I tried to fry them. They tasted good but they looked like a total mess, lmao. I definitely want to try again because the flavor was there, I just need to nail the shape.

2 hours ago

I had the same issue my first batch! I squeezed all the excess water out of the shredded potatoes and then gave them a quick extra chop with a knife to make the shreds shorter, and they held together perfectly the second time. Don’t skip squeezing the water out, that’s the big one for both crispiness and keeping them from falling apart!

30 minutes ago

Holly is totally right! The two biggest tricks for tots that hold their shape are squeezing every last bit of moisture out of the shredded potatoes (we use a clean kitchen towel to wring them out!) and giving the shreds a quick rough chop so they’re not too long. You’ve got this on your next batch — the fact that the flavor was already there is half the battle!



