
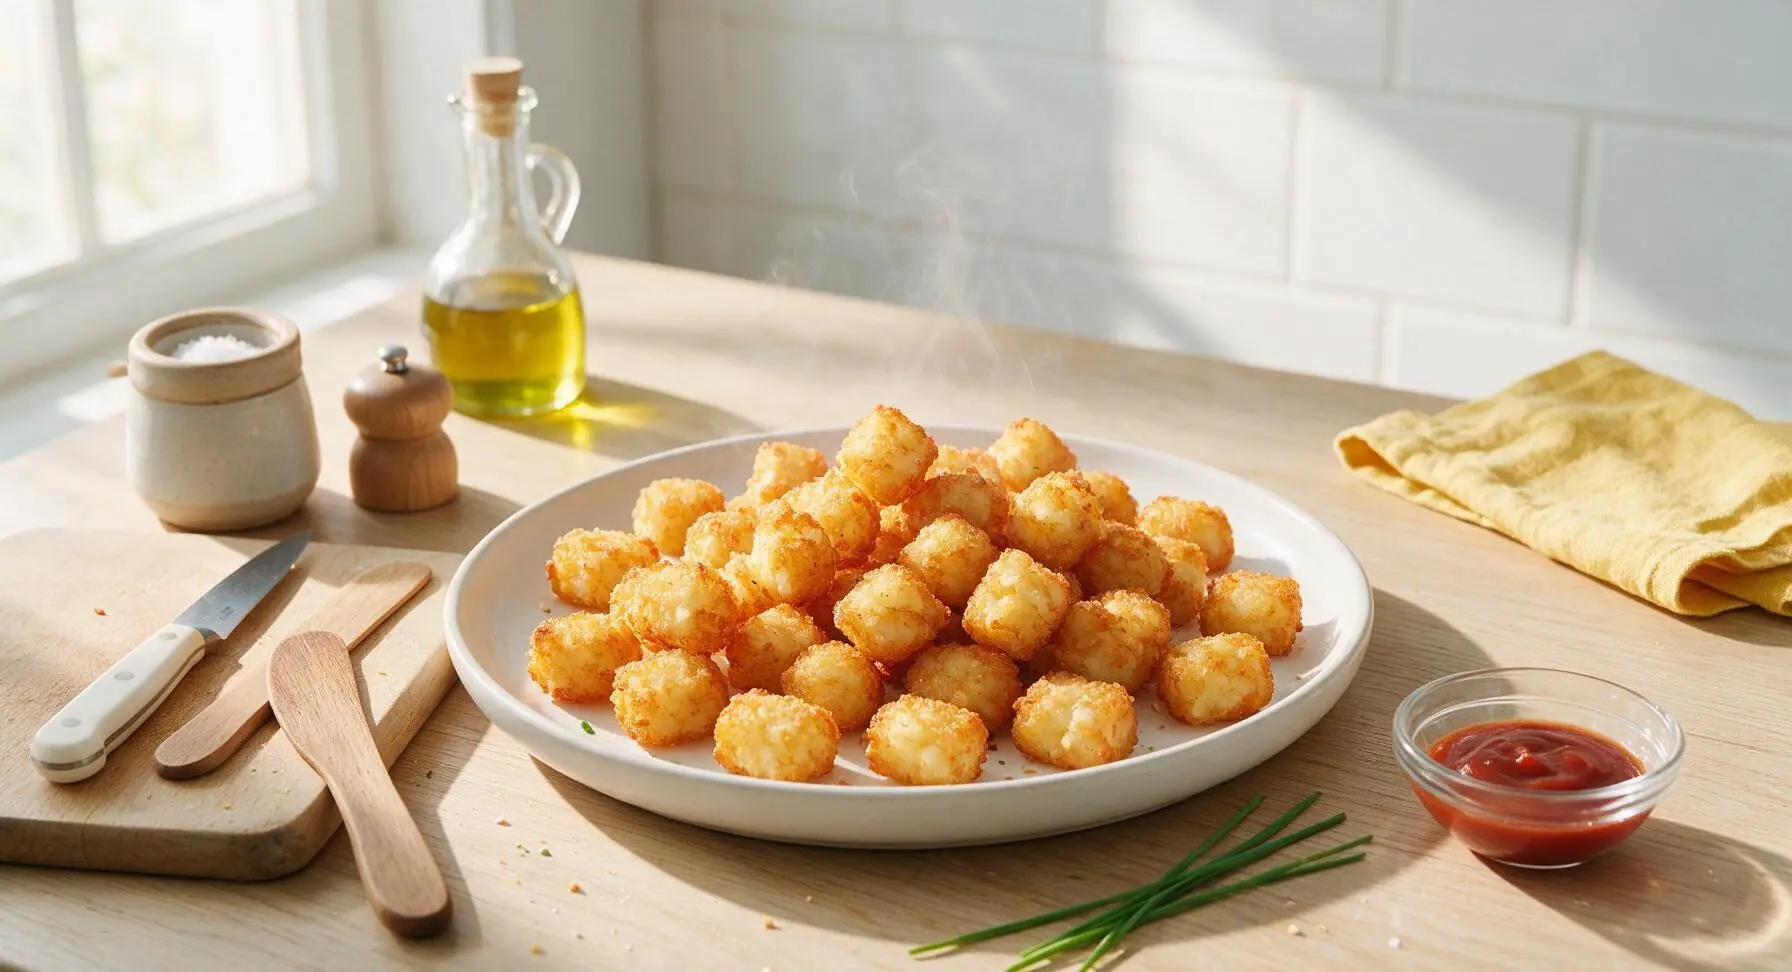
tater tots oven

title 1
tater tots oven
⏱️ cook time 35 minutes
🍽️ servings 4
⚡ Difficulty easy

intro

Ultra-crispy golden oven-baked tater tots with fluffy seasoned potato centers, no deep frying required. A classic, shareable side perfect for casual game night gatherings.

Ingredients
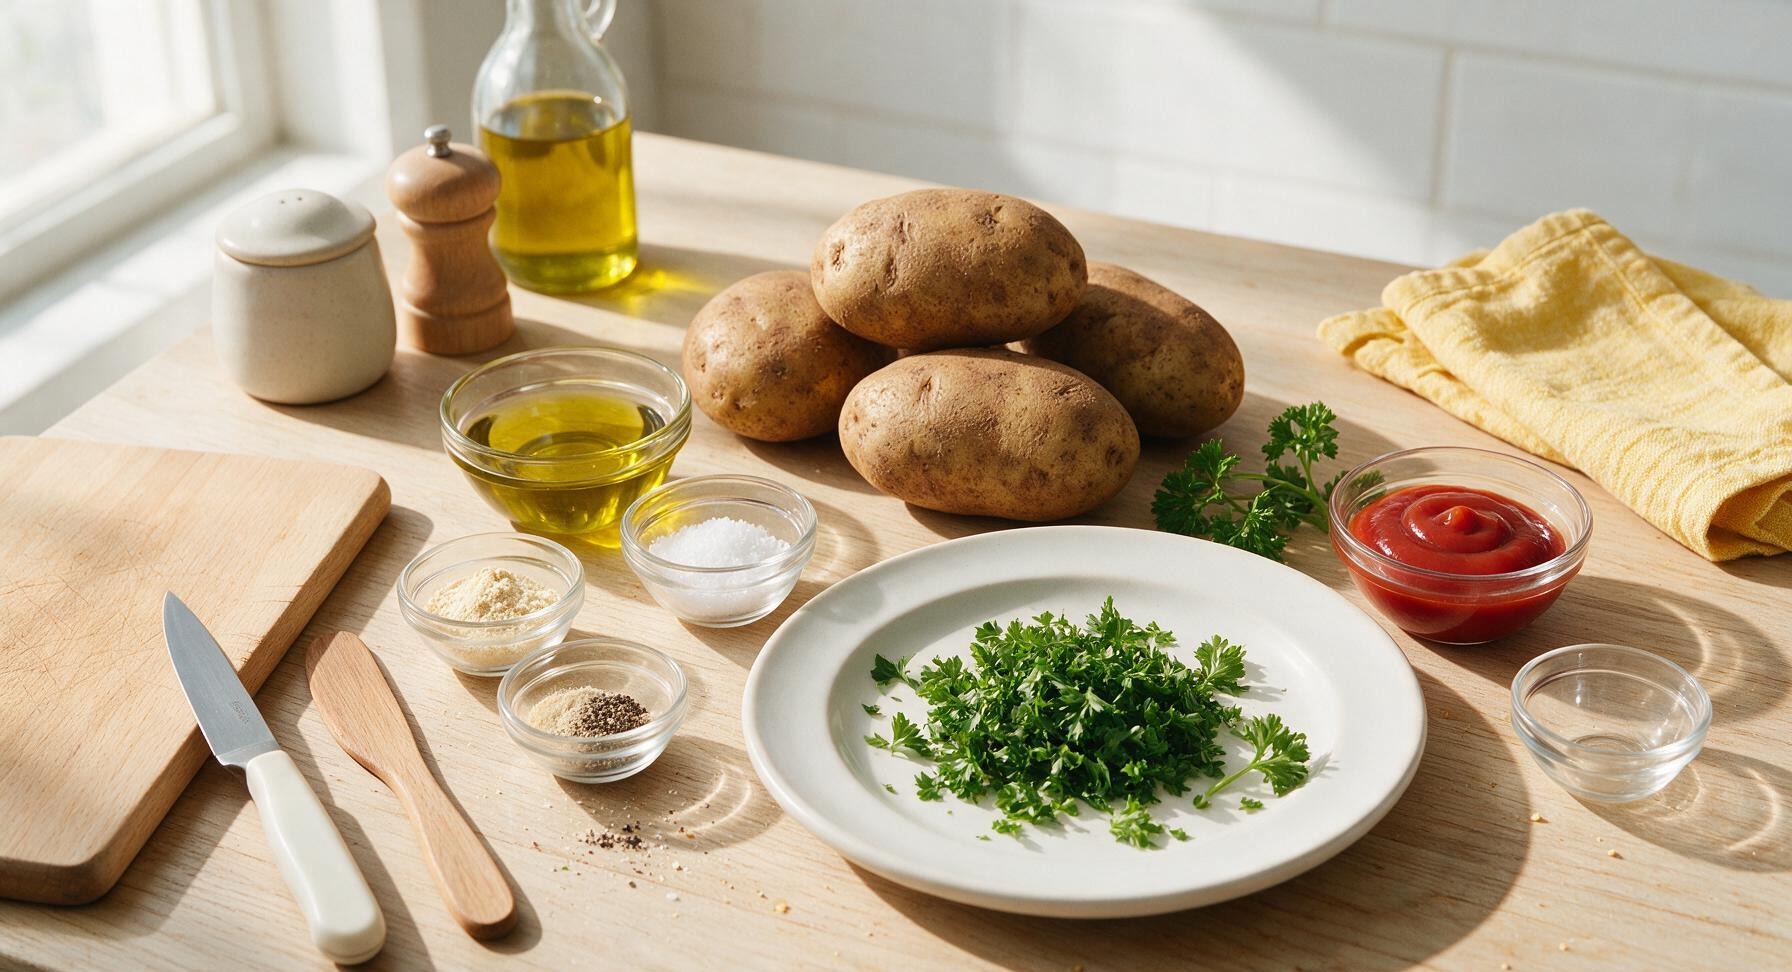
Russet potatoes 900g (about 4 large)
Extra-virgin olive oil 2 tablespoons
Kosher salt 1.5 teaspoons
Garlic powder 1 teaspoon
Onion powder 0.5 teaspoon
Freshly ground black pepper 0.5 teaspoon
Fresh curly parsley 2 tablespoons (chopped, for garnish)
Ketchup 0.5 cup (for serving)

Steps

1

Prep Pan and Preheat Oven

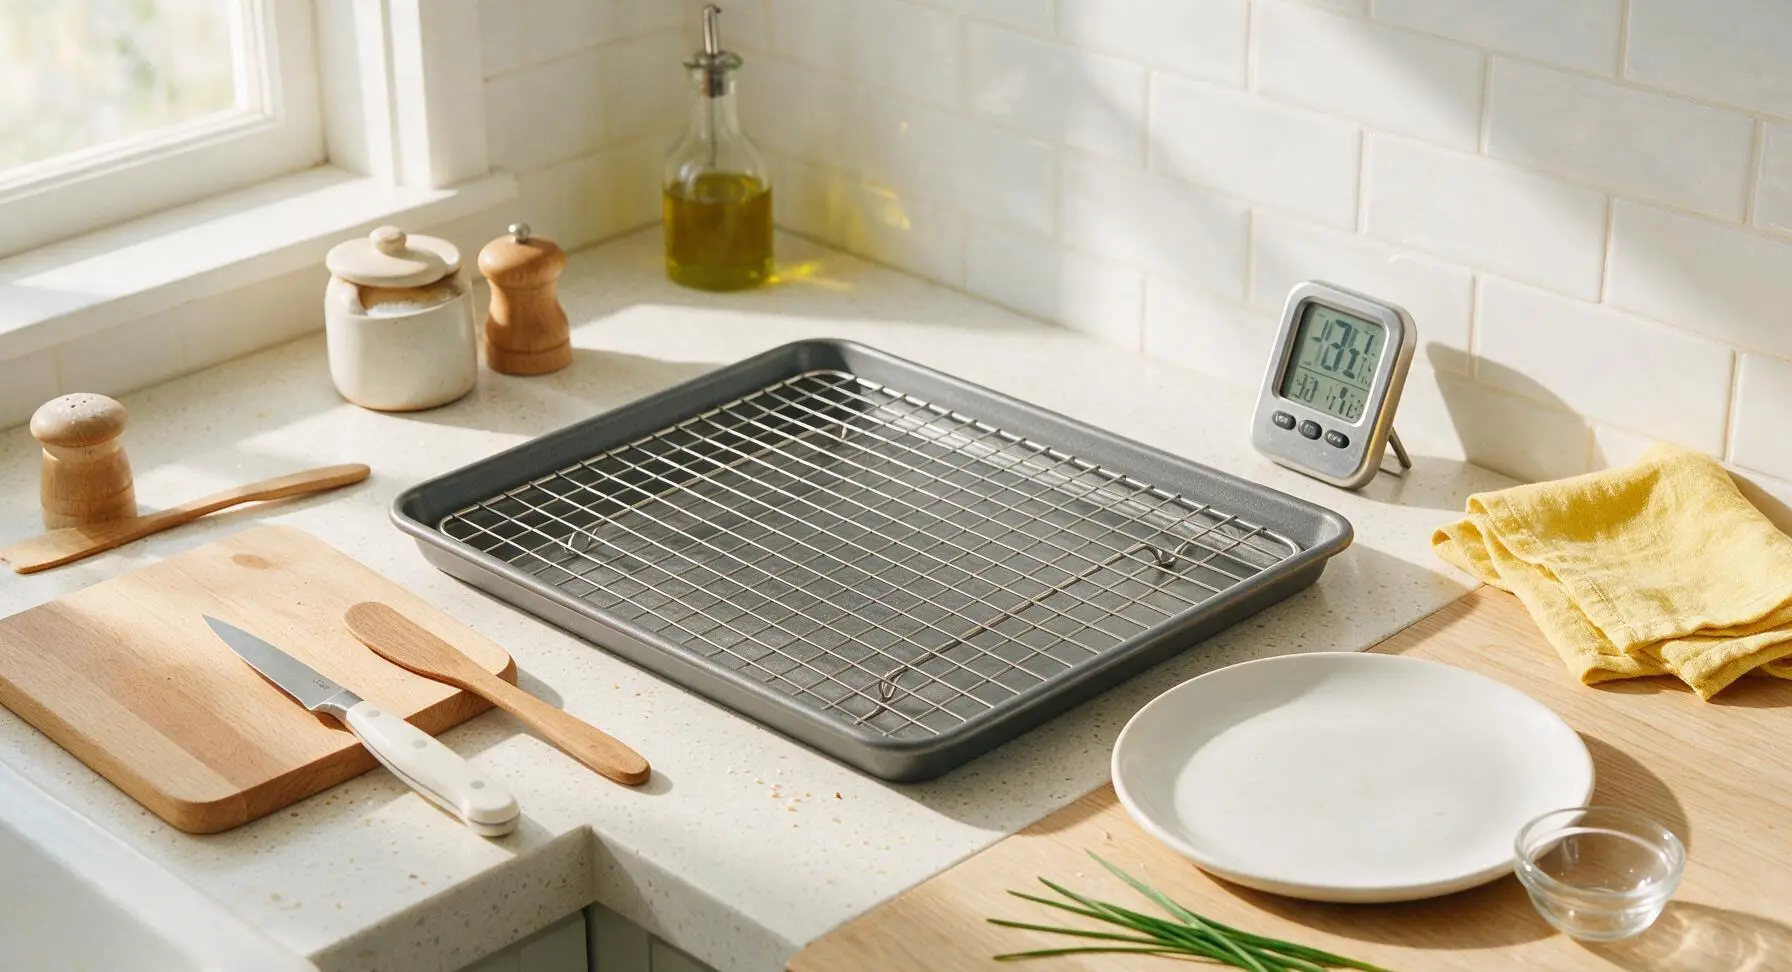
Adjust oven rack to the middle position, preheat oven to 425°F (220°C). Place the stainless steel wire cooling rack inside the large matte dark grey rimmed baking sheet, ensuring it sits flat 1cm above the pan surface. Do not line the pan or rack with parchment paper, foil, or excess cooking spray, as these will prevent maximum crisping.
Step 1
step1:Prep Pan and Preheat Oven
2

Grate Russet Potatoes

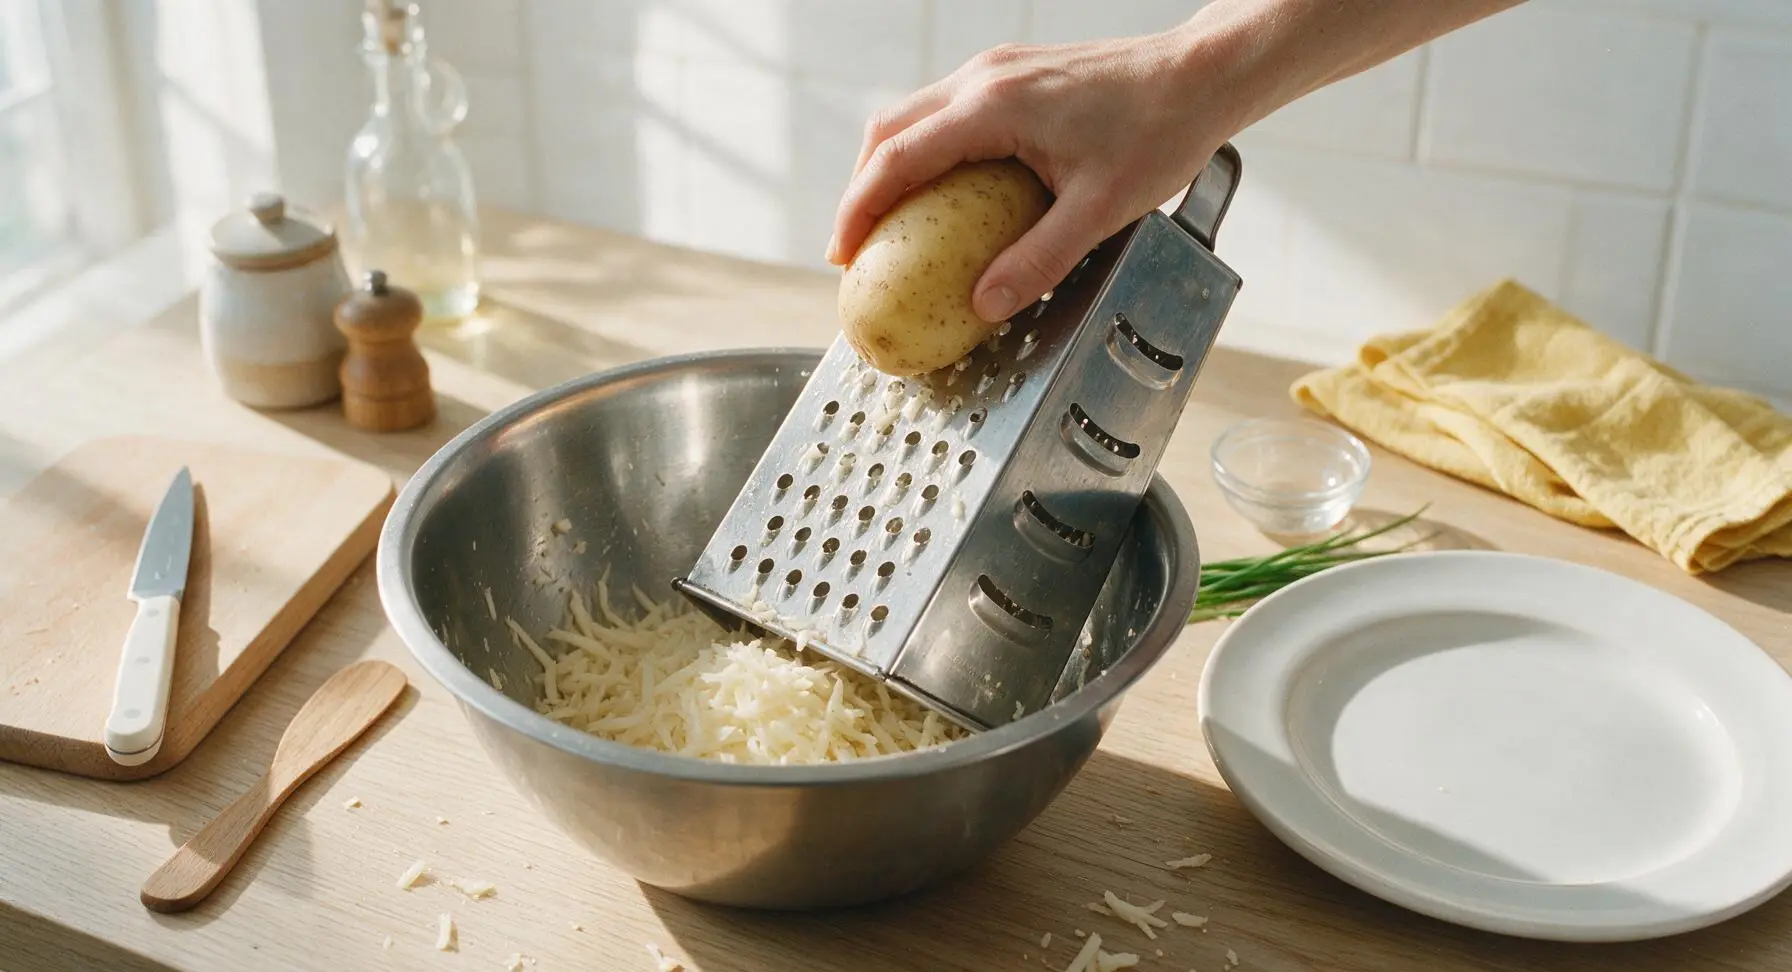
Scrub russet potatoes clean; peeling is optional for extra texture and fiber. Hold each potato against the large holes of the stainless steel box grater, grating into coarse shreds directly into the 24cm stainless steel mixing bowl. Stop grating when you reach the tough, starchy core of each potato to avoid mushy tots.
Step 2
step2:Grate Russet Potatoes
3

Squeeze Shreds Dry

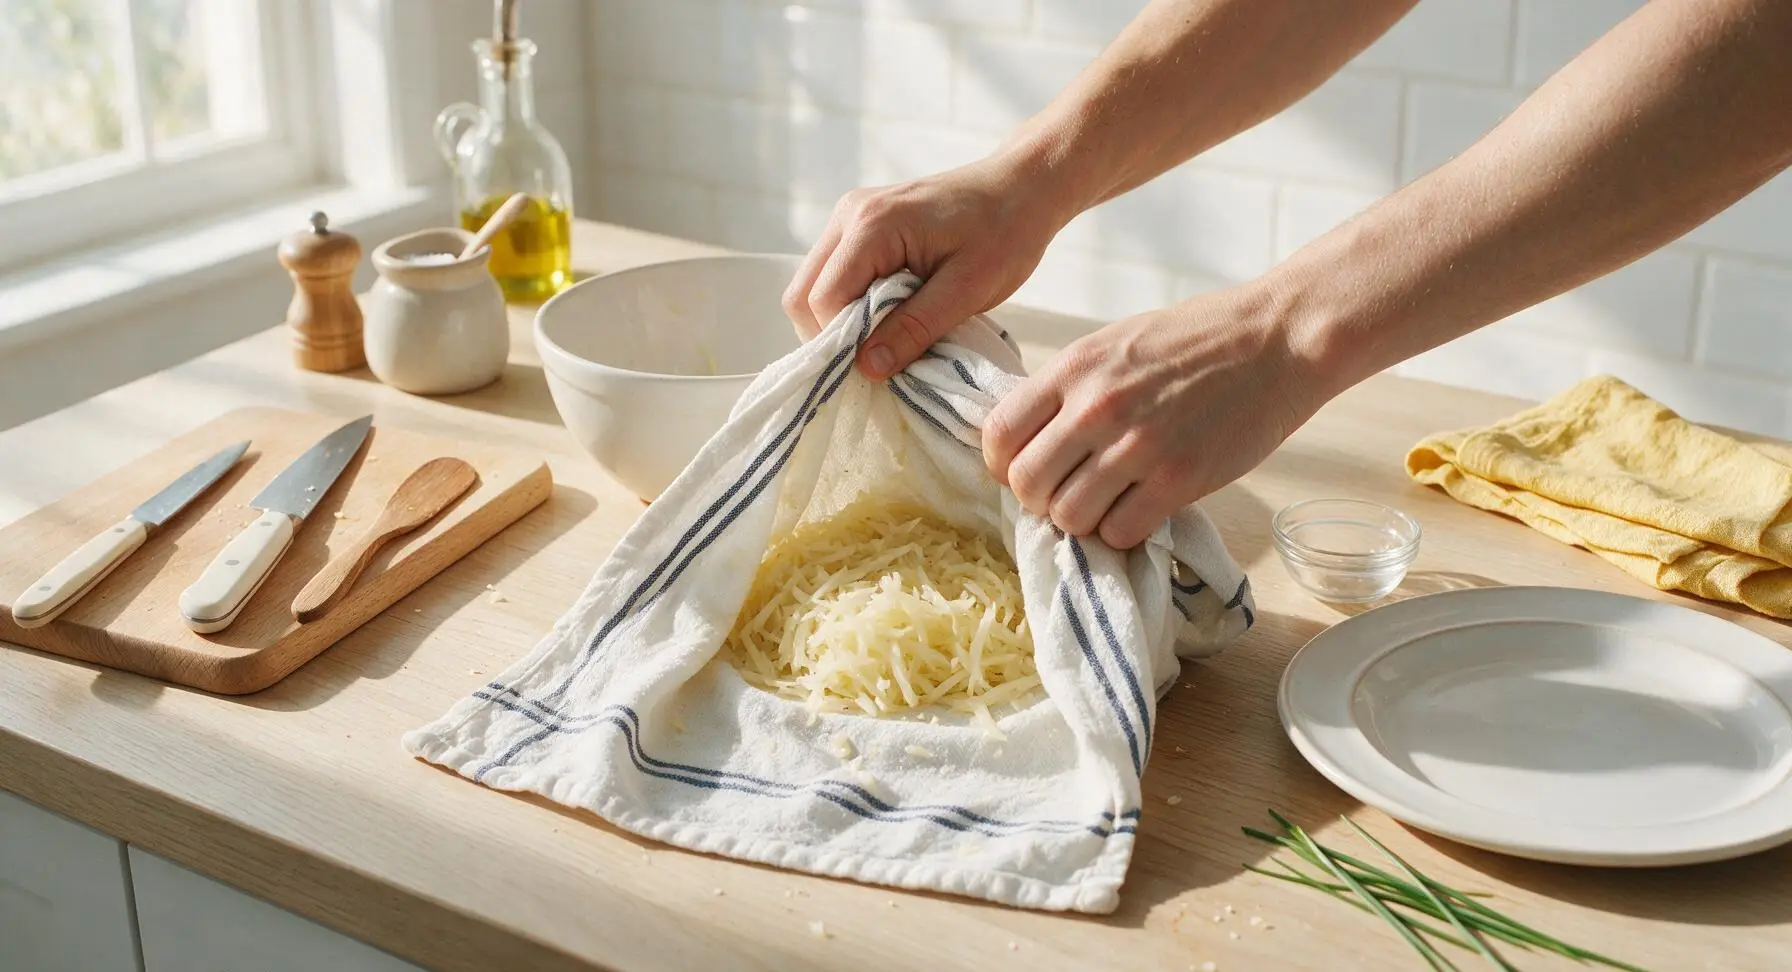
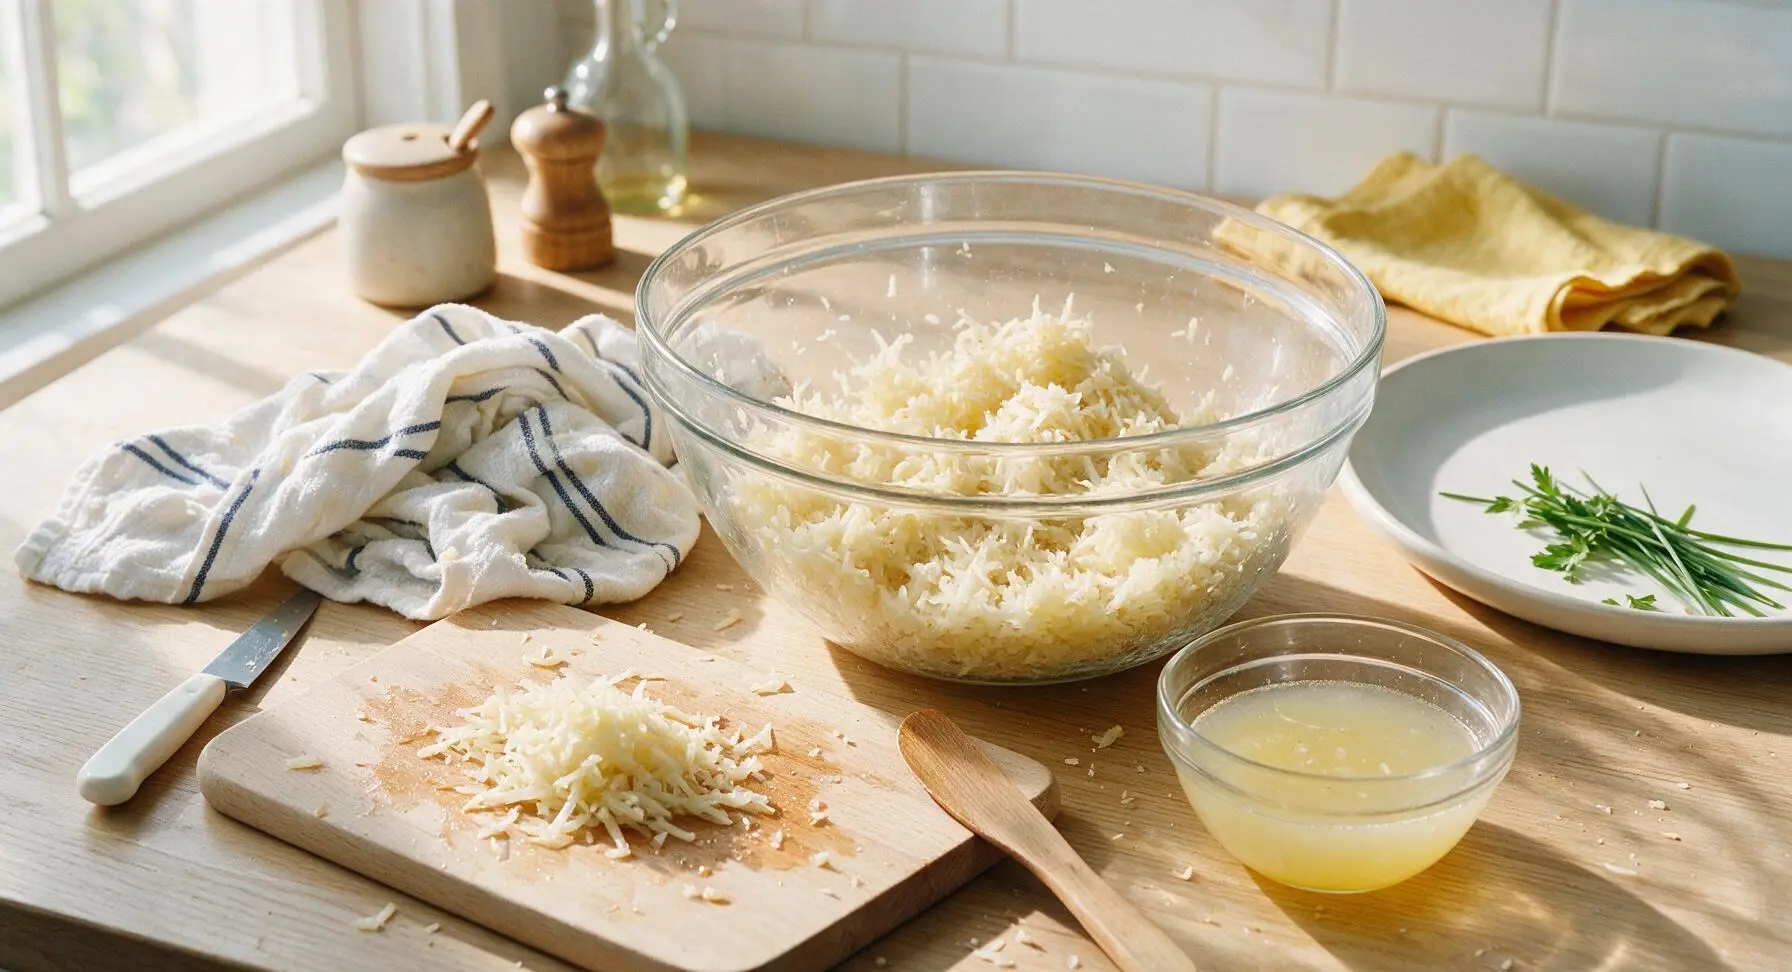
Transfer all grated potato shreds to the center of the white cotton kitchen towel with thin navy stripes. Gather the towel edges tightly to form a sealed pouch, then squeeze firmly over the sink for 2-3 minutes until no more starchy, cloudy liquid drips out. Aim to remove at least ½ cup of liquid; finished shreds should feel dry and crumbly, not damp or clumpy.
Step 3
step3:Squeeze Shreds Dry
Step 3
step3:Squeeze Shreds Dry
4

Season Potato Mixture

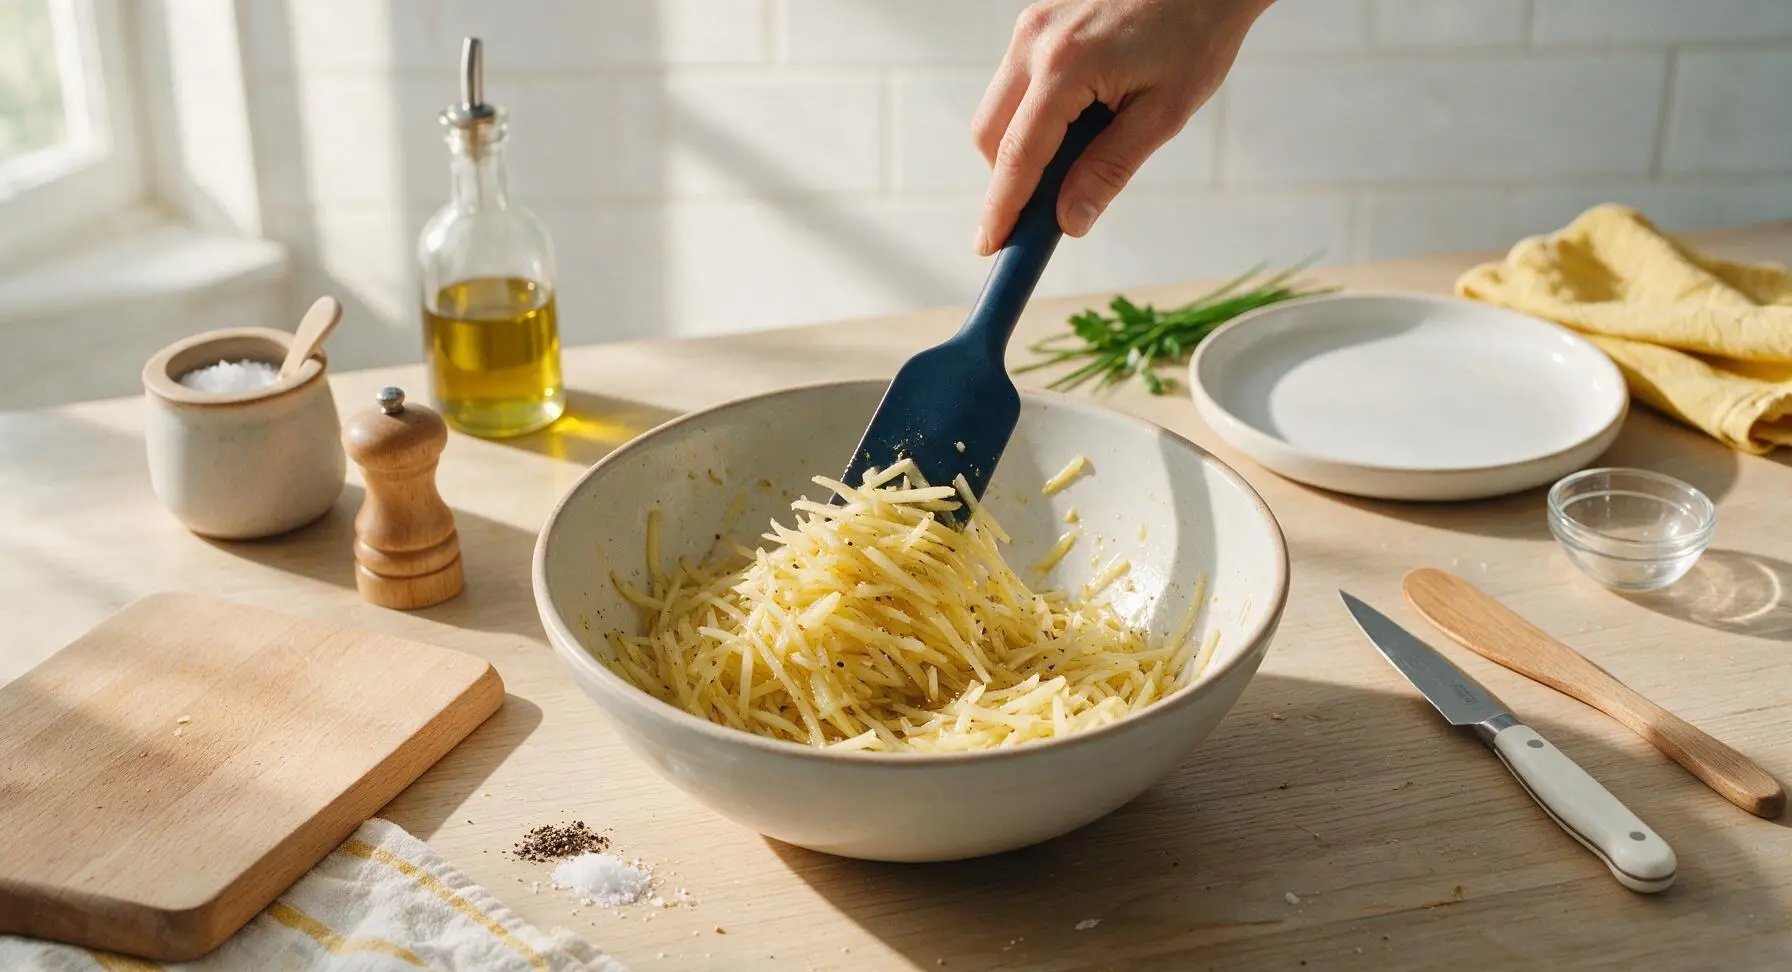
Add 2 tablespoons extra-virgin olive oil, 1.5 teaspoons kosher salt, 1 teaspoon garlic powder, 0.5 teaspoon onion powder, and 0.5 teaspoon freshly ground black pepper to the dried potato shreds in the mixing bowl. Use the matte navy-handled silicone spatula to toss thoroughly for 1 minute, until every shred is evenly coated in oil and spices, with no clumps of seasoning left at the bowl bottom.
Step 4
step4:Season Potato Mixture
5

Shape Tater Tots

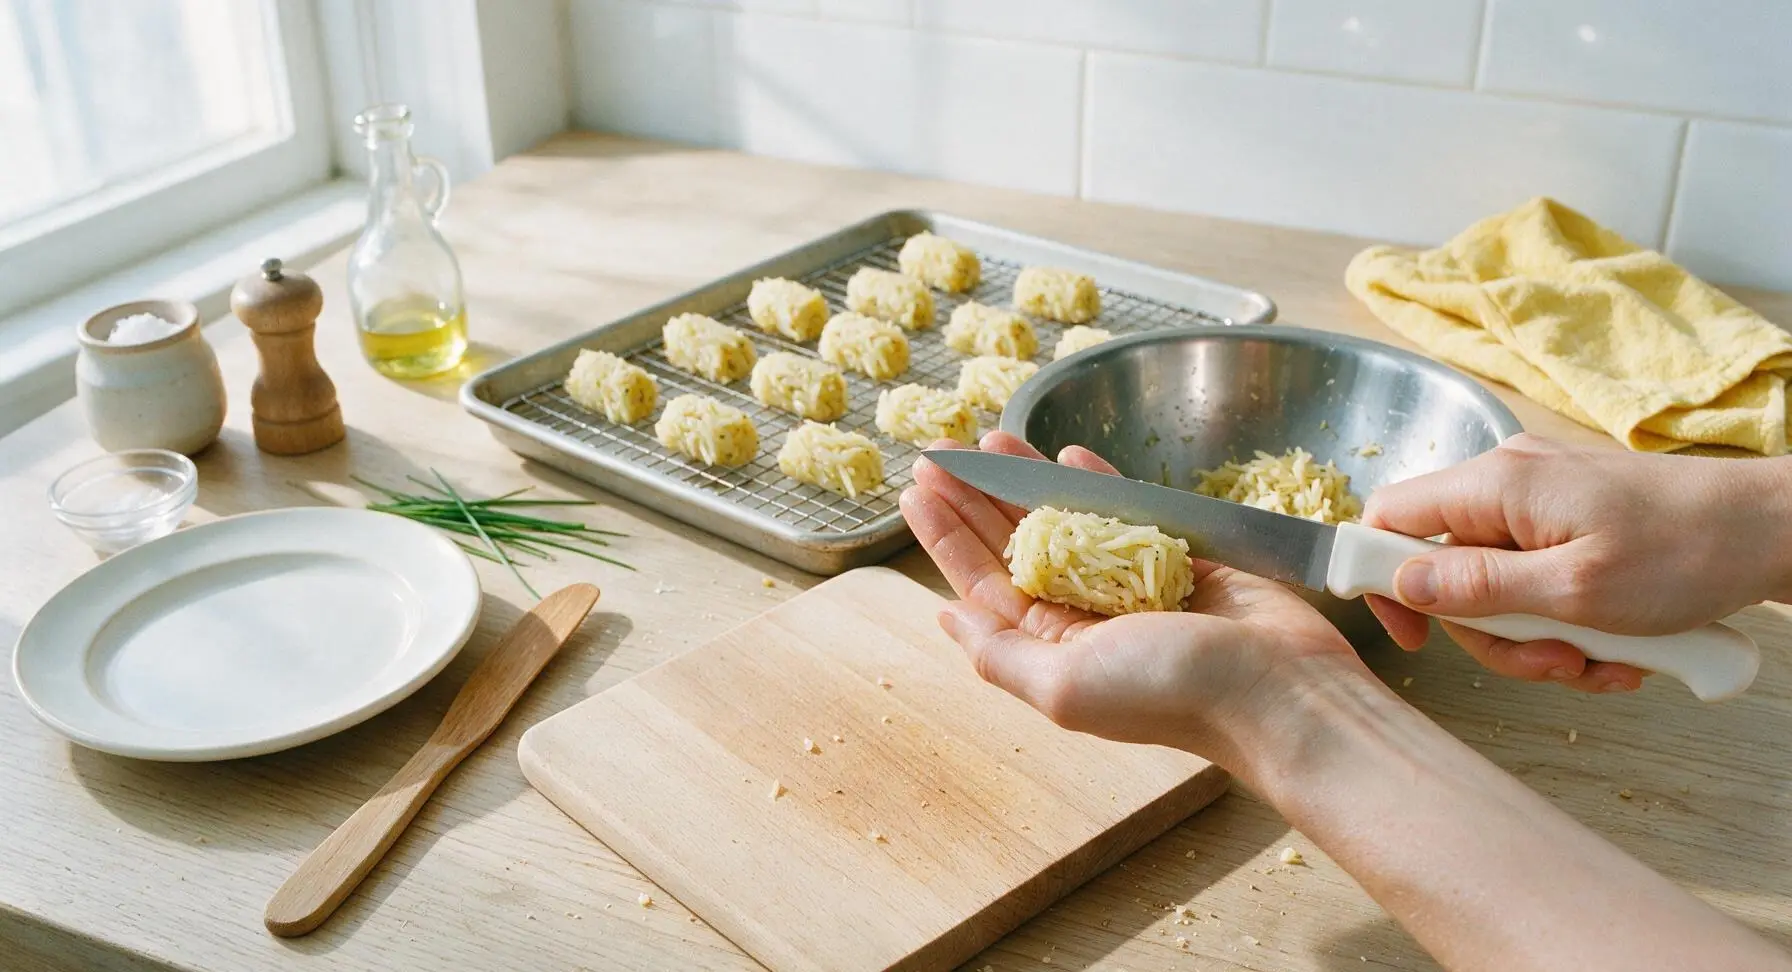
Scoop 1-tablespoon portions of the seasoned potato mixture, squeezing firmly between your palms to form tight, cylindrical tots approximately 3cm long and 1.5cm wide. Tightly packed shreds prevent tots from falling apart during baking. Arrange each shaped tot 1cm apart on the wire rack set inside the prepared baking sheet as you work.
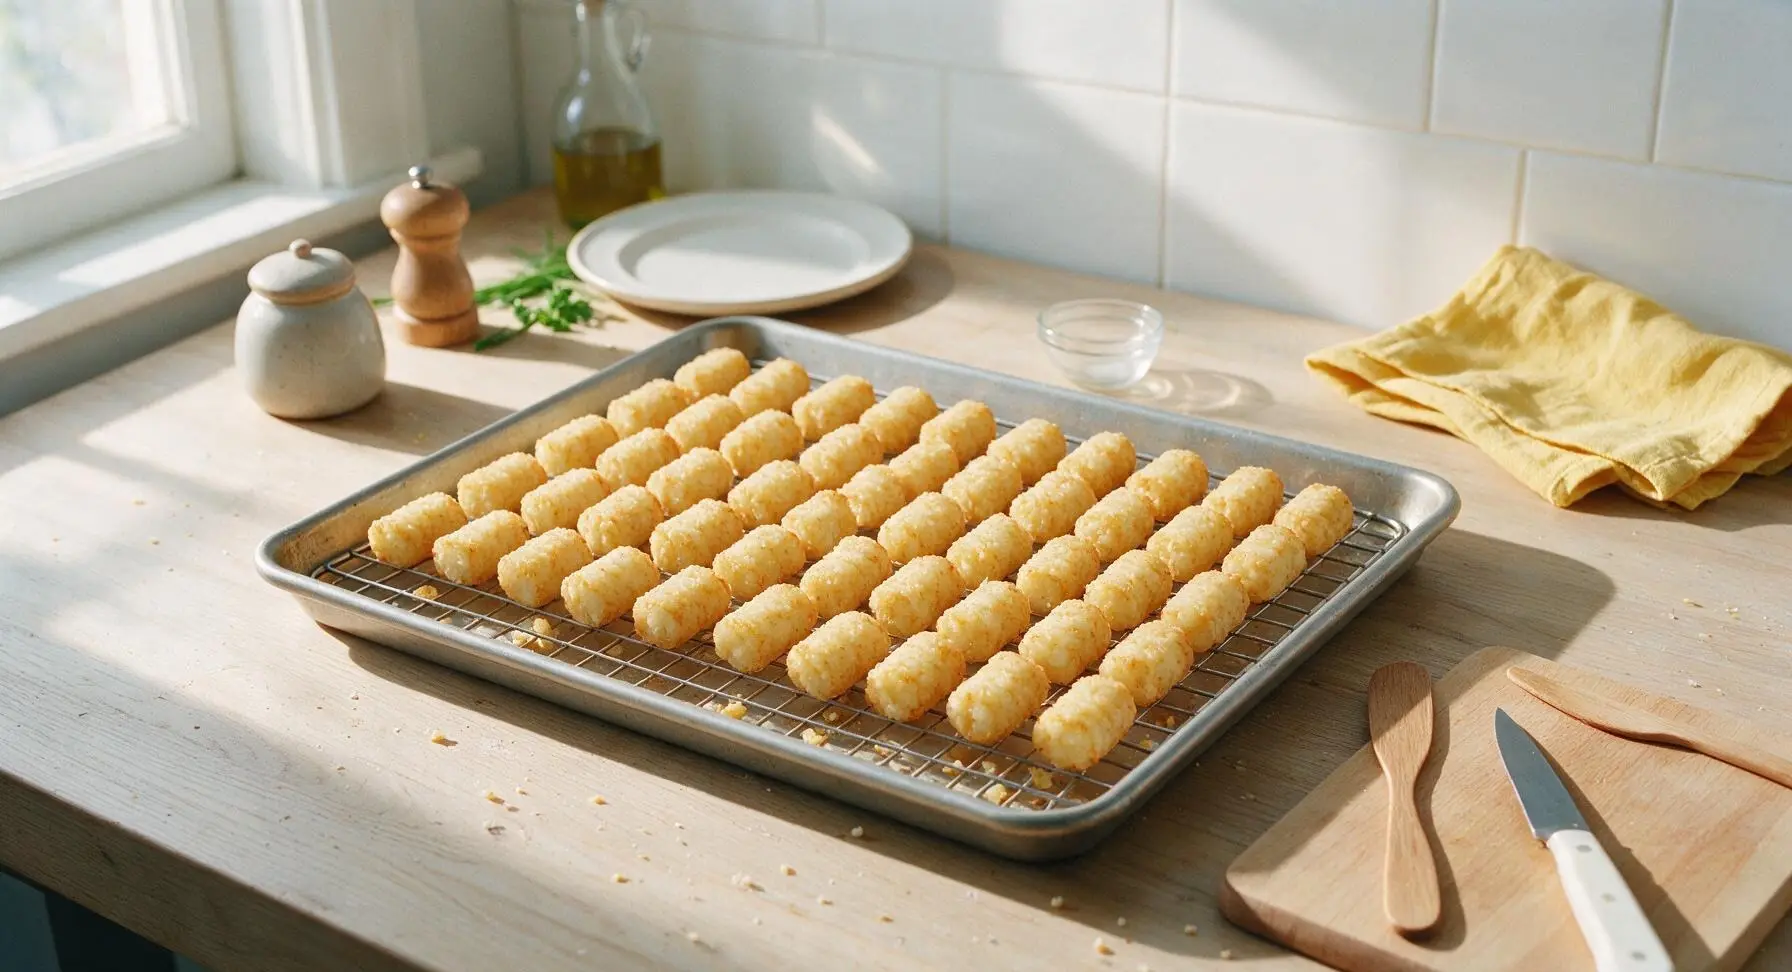
Step 5
step5:Shape Tater Tots
Step 5
step5:Shape Tater Tots
6

Bake Until Crisp

Place the baking sheet with the rack of tots on the middle oven rack. Bake for 20 minutes at 425°F (220°C), then use the stainless steel silicone-tipped tongs to carefully flip each tot. Bake for an additional 15 minutes, until tots are deep golden brown on all sides, with crunchy edges and no soft, pale uncooked spots remaining.
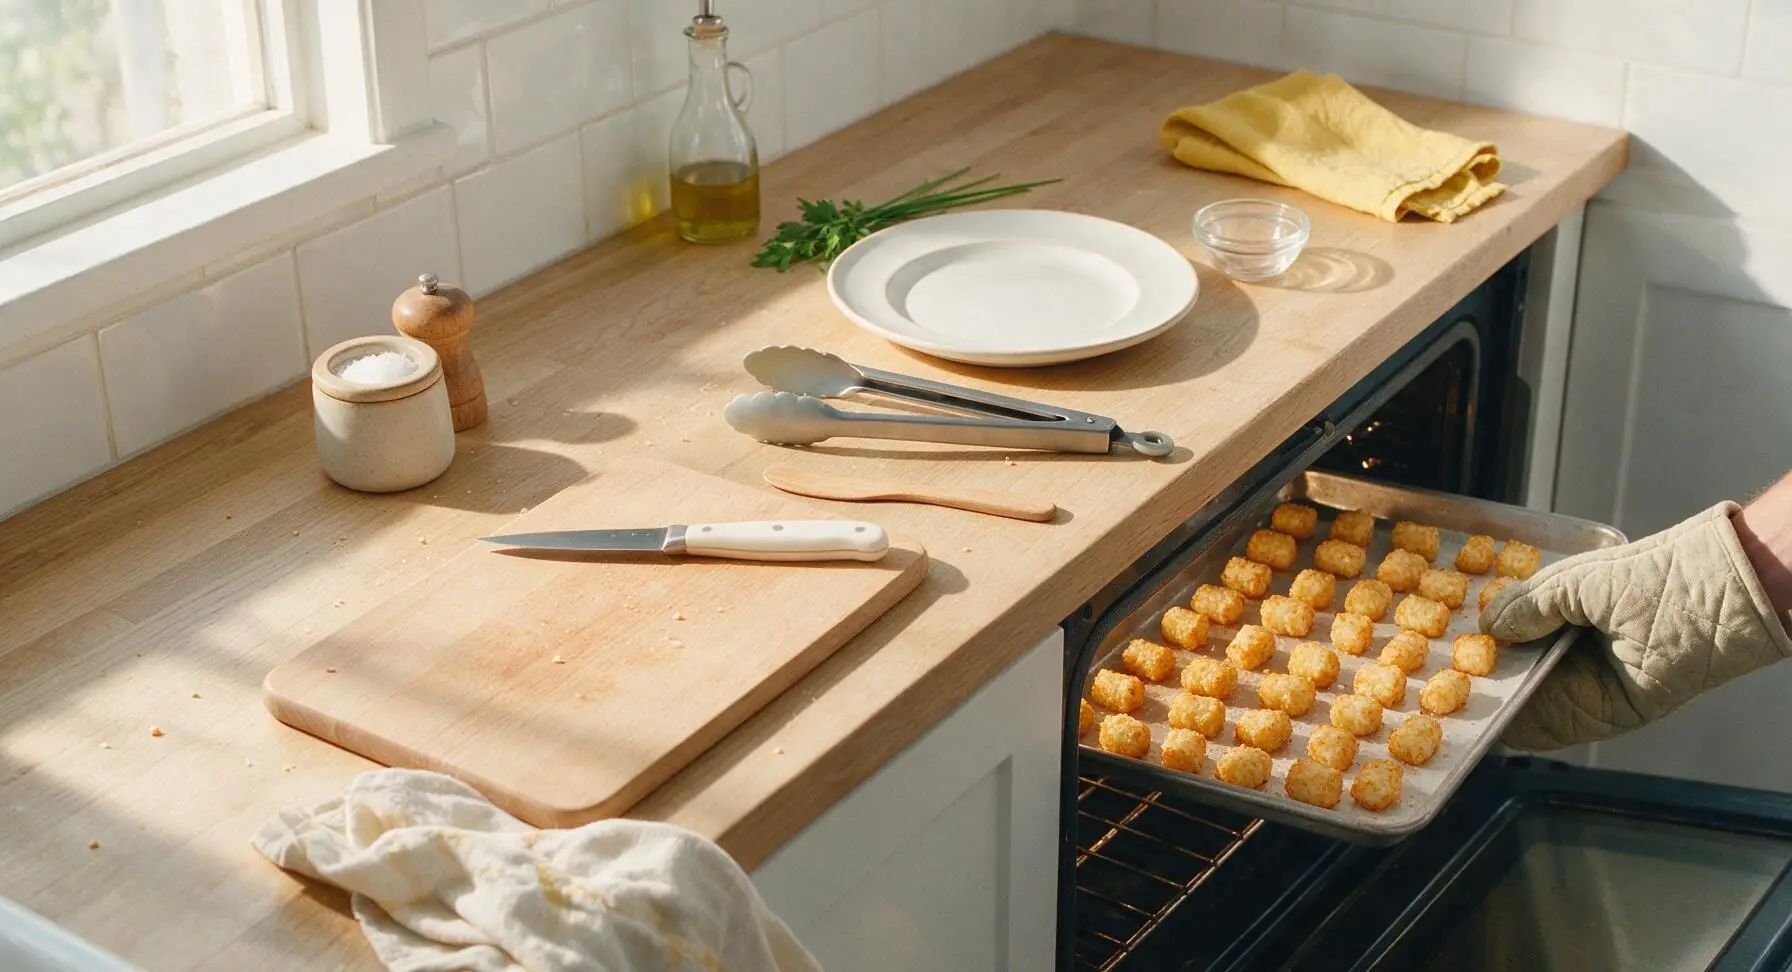
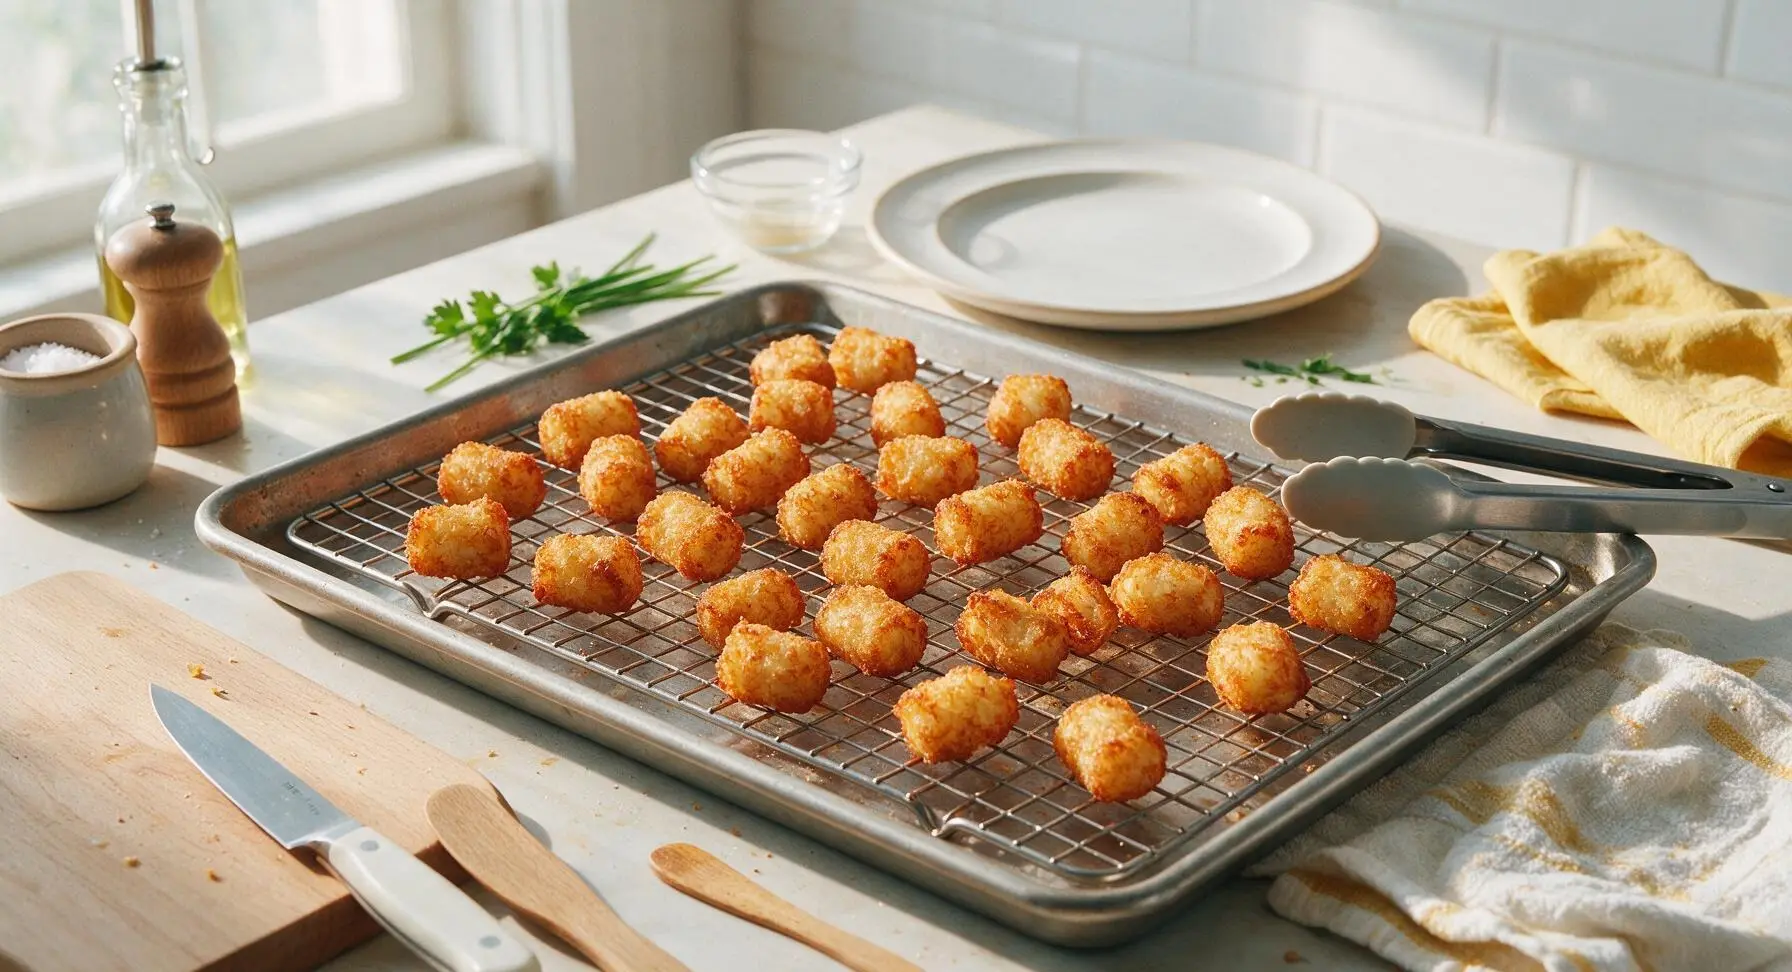
Step 6
step6:Bake Until Crisp
Step 6
step6:Bake Until Crisp
7

Plate and Serve

Remove the baking sheet from the oven, let tots rest on the rack for 2 minutes to crisp further as they cool slightly. Transfer the hot tots to the matte cream oval serving platter, sprinkle with a pinch of extra flaky salt and 2 tablespoons chopped fresh parsley. Set the 9cm matte white ramekin of ketchup beside the platter for dipping.
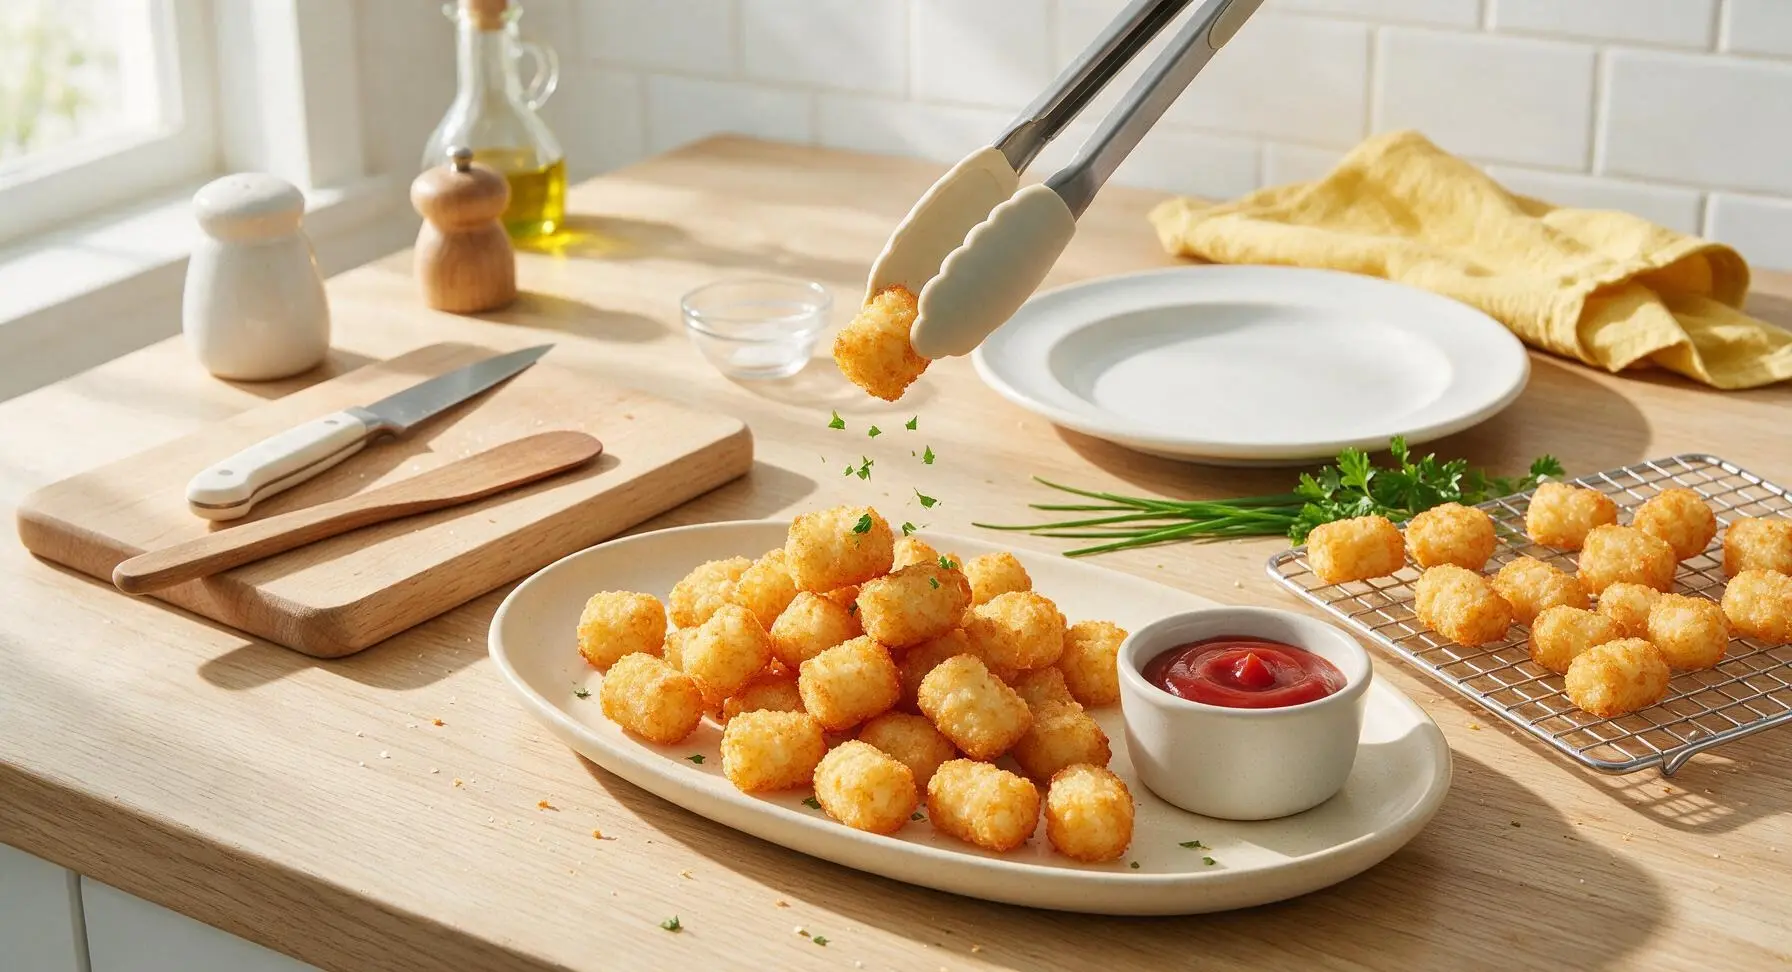
Step 7
step7:Plate and Serve

Tips

1.Skip the parchment paper or foil liner: elevating tots on a wire rack allows 360-degree hot air circulation, and direct contact with the metal rack wicks away excess moisture to create crunchy bottoms instead of soggy, steamed spots.
2.Don’t rush the potato-squeezing step: leftover moisture in the shreds turns to steam in the oven, leading to mushy, soft tots instead of the signature crispy exterior and light, fluffy interior. For extra dry shreds, pat them with paper towels after squeezing in the towel.
3.Flip tots gently halfway through baking: using tongs to turn each tot individually ensures even browning on all sides, rather than leaving pale, soft spots where the tot touched the rack. Avoid shaking the pan, as this can break apart loosely packed tots.


✨ You May Also Like

Side Dishes
🍜 India

Velvety, aromatic all-purpose curry sauce perfect for tossing with roasted veggies, grilled protein, or rice for fast, cozy, flavorful meals.

⏱️ 25 minuteSide Dishes ★ 4.8
Side Dishes
🍜 Spain

Tender, starchy boiled yuca tossed in bright, garlicky citrus mojo sauce—an iconic, zesty side that pairs beautifully with roasted pork, grilled meats, and rice and beans.

⏱️ 40 minuteSide Dishes ★ 5
Side Dishes
🍜 United States

Tender, paper-thin potato flatbread, a beloved Norwegian-American Minnesota Christmas staple, griddled until softly spotted and served warm with butter.

⏱️ 1 hour 30Side Dishes ★ 4.6
Side Dishes
🍜 United States

Rich, deeply savory cured salt pork, a long-lasting kitchen staple perfect for frying crispy as a side or adding umami to stews, beans, and chowders.

⏱️ 7 days (2Side Dishes ★ 4.9
Side Dishes
🍜 United States

Crispy, tangy classic Southern fried green tomatoes with a crunchy cornmeal crust, served hot for a nostalgic, comforting summery bite.

⏱️ 25 minuteSide Dishes ★ 4.9
Side Dishes
🍜 United States

Moist, golden-crusted savory muffins with sweet corn, zesty jalapeño, and melted cheddar, perfect for pairing with smoky summer grilled fare.

⏱️ 30 minuteSide Dishes ★ 4.9

tater tots oven:Frequently Asked Questions

1.Why do my oven-baked tater tots always turn out soggy instead of crispy? ▾
Sogginess almost always stems from excess moisture or overcrowding. First, squeeze as much starchy liquid out of your shredded russet potatoes as possible before shaping, preheat your oiled baking sheet first, and spread tots in a single layer with space between them so they roast, not steam. Skip parchment paper for extra crisp, too.
2.Can I use a different type of potato instead of russets for this recipe? ▾
Russets are ideal because their high starch, low moisture content creates that perfect fluffy center and crisp crust, but you can substitute Yukon Golds in a pinch. Just note Yukon Golds have higher moisture, so squeeze shredded potatoes extra thoroughly to remove excess liquid, and add 2-3 minutes of bake time for matching crispness.
3.Is squeezing the water out of the shredded potatoes really a necessary step? ▾
Absolutely—this is non-negotiable for crisp tots. Shredded russets release a ton of starchy moisture as they sit, and if that stays trapped, your tots will steam instead of crisping in the oven. Use a clean kitchen towel or cheesecloth to squeeze firmly until no more liquid drips out; you’ll be shocked how much water comes out.
4.What oven temperature works best for crispy tater tots that don’t burn? ▾
Aim for 425°F (220°C) for the ideal balance of crispy golden exterior and fluffy, fully cooked center. Any lower, and the outside won’t crisp fast enough before the inside turns mushy; any higher, and the edges and seasoning will burn before the potato cooks through. Make sure your oven is fully preheated first, too.
5.Can I add extra seasonings beyond garlic powder, onion powder, and kosher salt? ▾
Of course! Those three are the classic, crowd-pleasing base, but you can mix in smoked paprika, black pepper, a pinch of cayenne for heat, grated parmesan, or dried ranch seasoning when you toss the potatoes in oil. Just go light on add-ins at first so you don’t overpower the natural, toasty potato flavor.
6.How do I keep tater tots from sticking to the baking sheet? ▾
The easiest trick is to preheat your lightly oiled baking sheet in the oven for 5 minutes before adding the tots—when cold potato hits hot oiled metal, it sears immediately instead of gluing to the pan. Use a thin metal spatula to flip them halfway through baking, and skip gummy non-stick spray for best results.
7.Can I make these tater tots ahead of time for game night gatherings? ▾
You can prep shaped, uncooked tots up to 24 hours ahead: arrange them in a single layer on a tray, cover tightly, and store in the fridge. When ready to bake, pop them straight onto the preheated oiled sheet with no need to bring to room temp. You can also freeze shaped tots for up to 3 months, adding 5 minutes to bake time straight from frozen.
8.Do I have to flip the tater tots halfway through baking? ▾
For evenly golden, crisp tots on all sides, yes—flip them once at the 20-minute mark using a thin, stiff spatula. Flipping lets every side make direct contact with the hot pan, so you don’t end up with one pale, soft side and one overly dark crispy side. Don’t flip too early, though, or the tots will break apart before the crust sets.
9.Why are my tater tot centers dense instead of light and fluffy? ▾
Dense centers usually happen if you overwork the shredded potato when shaping tots, or if you undercook them. Gently press squeezed shredded potato into small tot shapes instead of compacting them as hard as you can—you want a little air trapped inside for fluff. Bake until the outside is deep golden, roughly 40-45 minutes total.
10.Can I use an air fryer instead of a conventional oven for this recipe? ▾
Absolutely! Air fryers work fantastically for crispy tater tots with even less oil. Toss your shaped tots in the same olive oil and seasonings, then cook in a single layer at 400°F for 18-22 minutes, shaking the basket halfway through. Don’t overcrowd the basket—cook in batches if needed to keep air circulating for maximum crisp.
11.How much olive oil do I need to use to get crispy tots without them being greasy? ▾
You only need about 1 ½ tablespoons of extra-virgin olive oil per 2 pounds of russet potatoes. Toss the squeezed shredded potato in oil until every shred is lightly coated, and add a thin drizzle to the preheated baking sheet. Too much oil will make tots greasy and soggy, so resist the urge to douse them—you need far less than you think.
12.What are the best dips to serve with these tater tots for game night? ▾
Classic ketchup is always a crowd favorite, but you can mix it up with spicy sriracha mayo, warm cheese sauce, sour cream and chive dip, honey mustard, or creamy ranch dressing. Since the tots have a simple, savory garlic and onion seasoning, they pair well with almost any creamy, tangy, or cheesy dip your group enjoys.
13.Can I make these tater tots work for gluten-free or vegan guests? ▾
This base recipe is naturally vegan and gluten-free as written! The only ingredients are russet potatoes, extra-virgin olive oil, kosher salt, garlic powder, and onion powder, so there are no animal products or gluten-containing additives. Just double-check any extra seasonings or dips you serve are also labeled appropriately to meet your guests’ dietary needs.

Comments (5)

2 days ago

OMG these are a total game changer! I’ve tried so many oven-baked tater tot recipes that come out soggy no matter what I do, but these were perfectly crispy all the way around. My kids devoured half the pan before I even got the burgers on the table for our family dinner last night. 10/10 will be making these every week from now on!

yesterday

Did you flip them halfway through like the recipe says? I’m always nervous I’ll mess that up and end up with sad, soggy tots for my kid’s birthday cookout this weekend!

2 hours ago

So thrilled your family loved them! Flipping halfway through is key for all-around crispness, and making sure your oven is fully preheated before sliding the tray in helps a ton too. Hope the birthday cookout is a hit!

1 week ago

Brought these to our neighborhood potluck last weekend and they were gone in 10 minutes flat! Everyone was hounding me for the recipe, I felt like a celebrity. I tossed mine with a little extra parmesan and garlic powder right before baking and it was chef’s kiss. So easy too, I didn’t have to spend hours prepping to feed a big crowd.

5 days ago

The parmesan garlic addition sounds insane! I’m making these for our college football tailgate this Saturday, definitely gonna steal that trick. Do you think they’d hold up for a couple hours in an insulated carrier?

5 minutes ago

SO good! I’m a total beginner in the kitchen and these were basically impossible to mess up. Cook time was spot on, no random guesswork needed. Dipped mine in spicy mayo and it hit so good after my evening lecture. Only mistake I made was not making a double batch, I ate every last tater tot by myself oops.

yesterday

I’ve been a frozen tater tot snob for years, fully convinced you can only get that perfect crunch from a deep fryer. Color me wrong! These have the ideal crispy outer shell and fluffy potato inside, no greasy mess all over my stovetop to clean up later. I did have to leave mine in for an extra 4 minutes because my ancient apartment oven runs super cool, but that was an easy adjustment.

30 minutes ago

So happy you gave the oven method a chance! Oven temperatures can vary wildly between models, especially older apartment ones, so adding a few extra minutes when yours runs cool is exactly the right call. Thanks for sharing that tip for other readers!

2 weeks ago

These are now a non-negotiable staple in my weekly meal prep! I bake a big batch on Sunday and they reheat perfectly in the toaster oven on a wire rack during the work week—no sogginess at all, way better than microwaving. Way cheaper and tastier than grabbing takeout tots on my lunch break, I’ve saved so much money already this month!

1 week ago

Wait you reheat these for meal prep? I always thought leftover tater tots would turn to mushy garbage, that wire rack tip is a game changer for me. My twin toddlers are obsessed with tots so this would make school lunch prep so much easier.

3 days ago

Love the wire rack reheating hack! We’re so glad these are fitting perfectly into your meal prep routine, that makes our day. If you want to mix up the flavor for future batches, try tossing them with a little cajun seasoning or smoked paprika before baking for a fun, spicy twist!



