
tater tots pioneer woman
intro
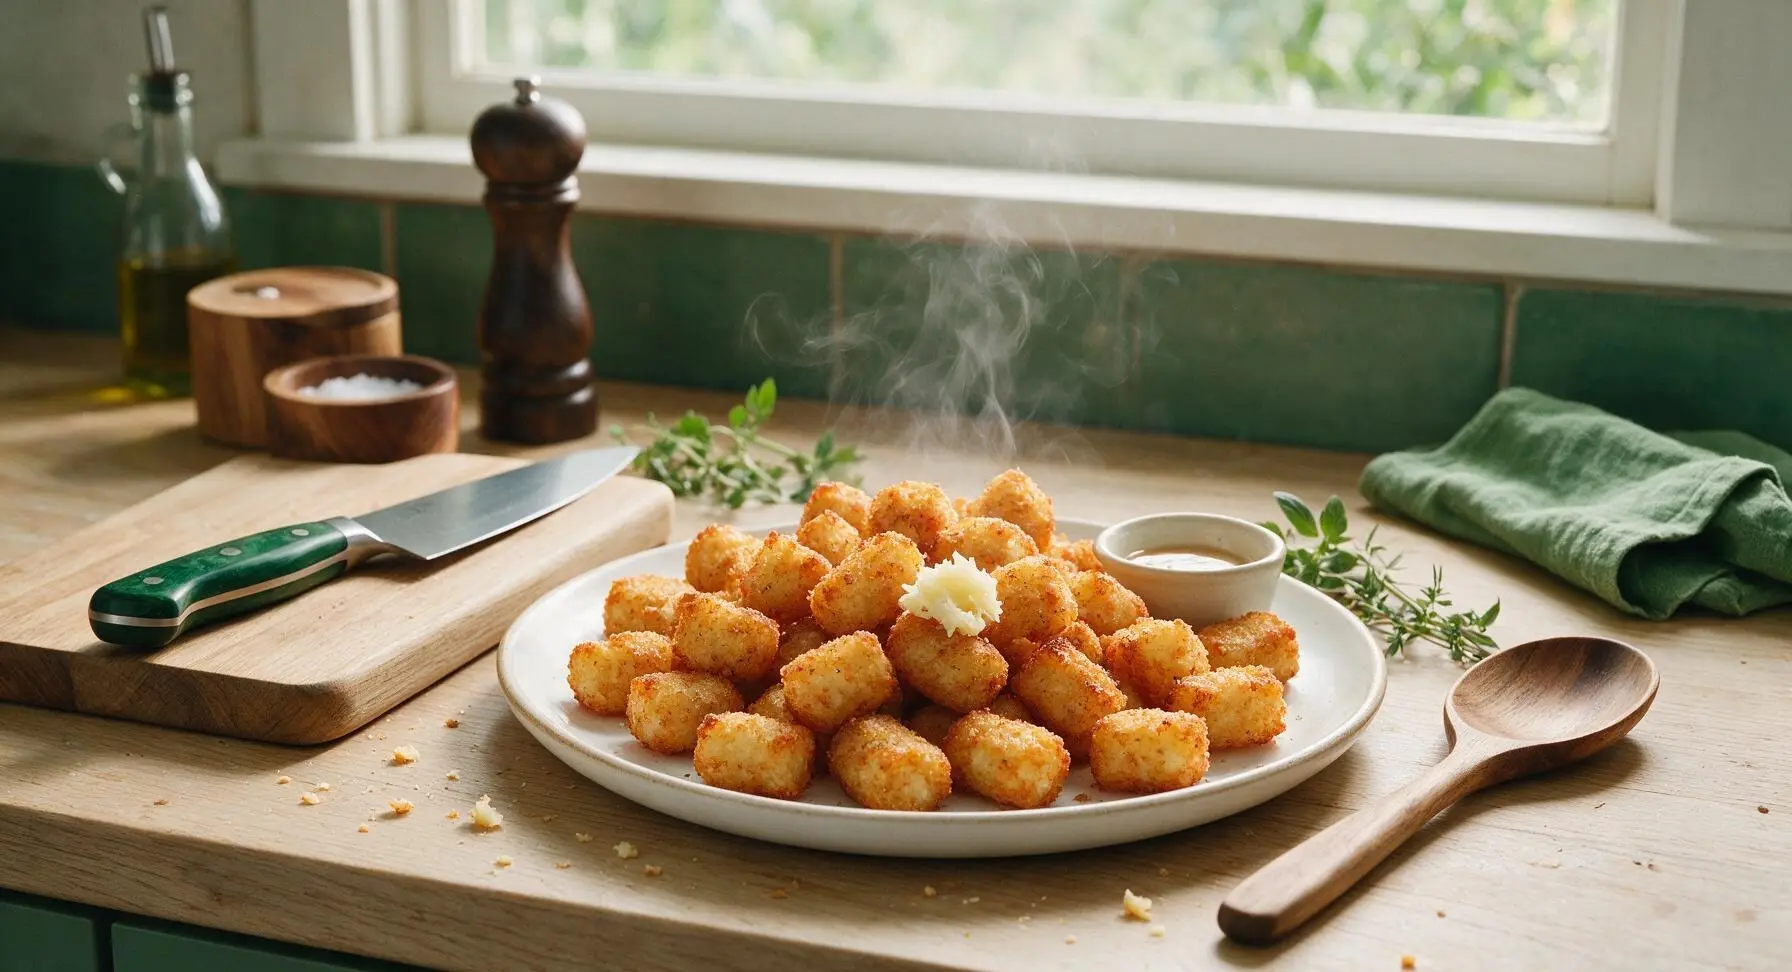
Crispy golden homemade tater tots in classic Pioneer Woman style: fluffy shredded potato center, crunchy seasoned crust, perfect for casual sharing and dipping.
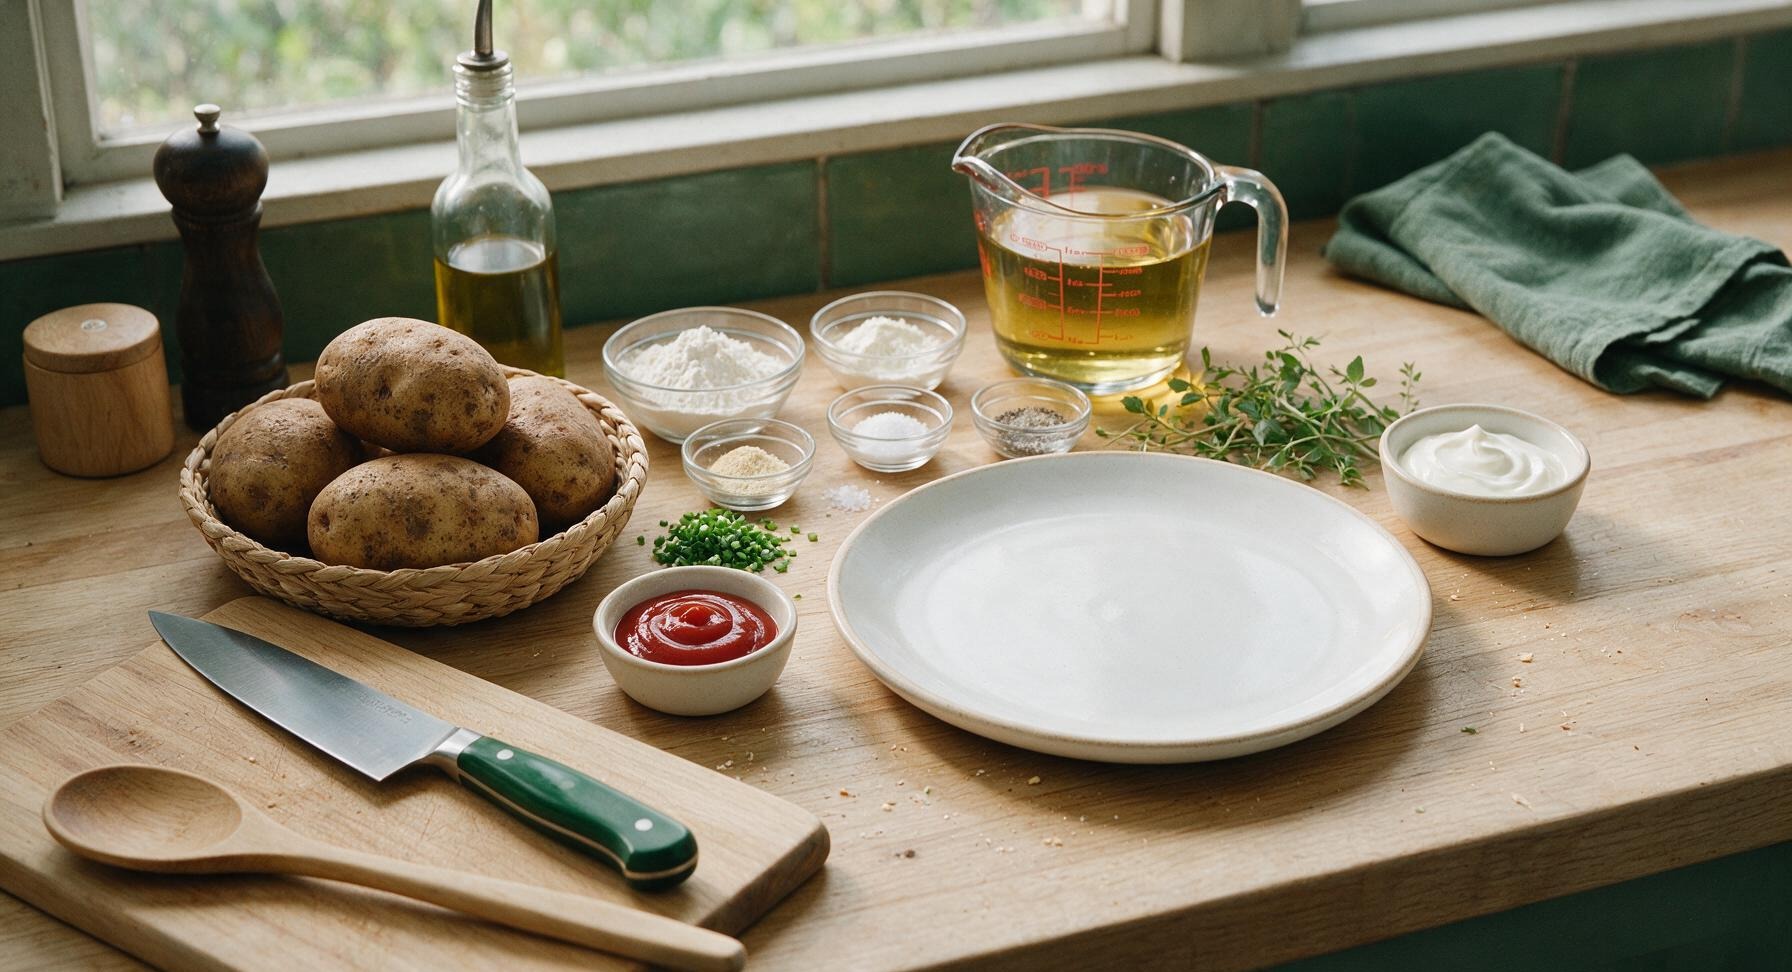
Ingredients
Steps
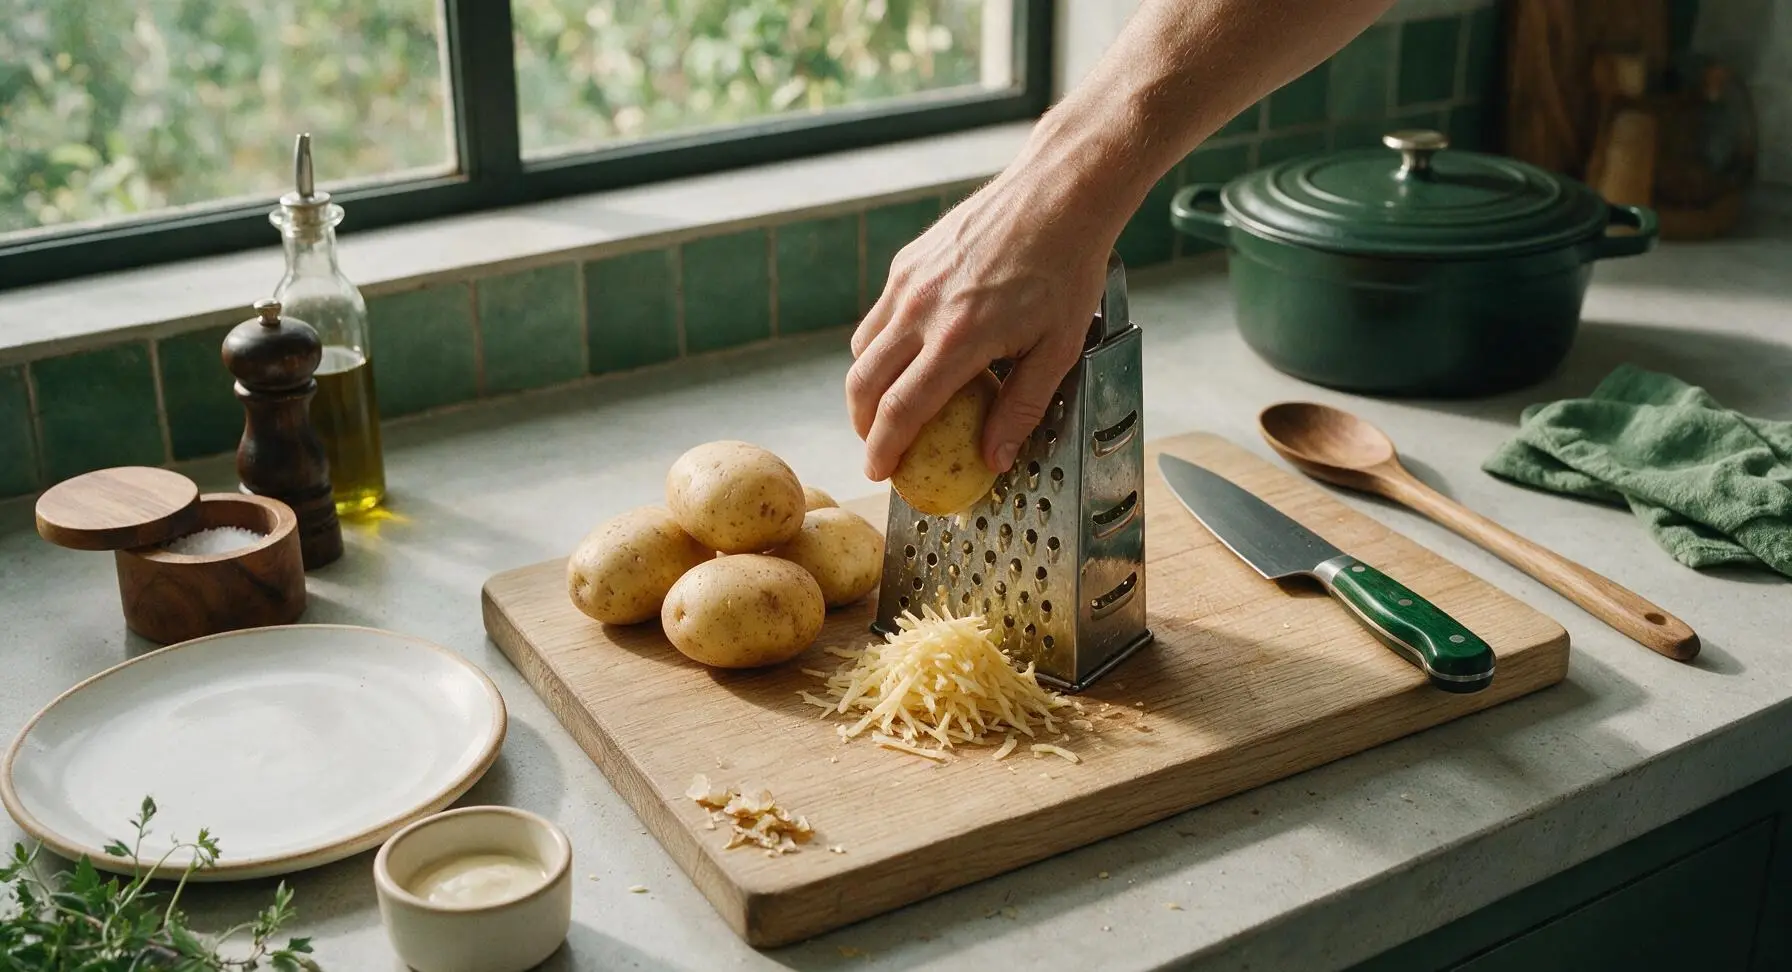
Grate scrubbed potatoes
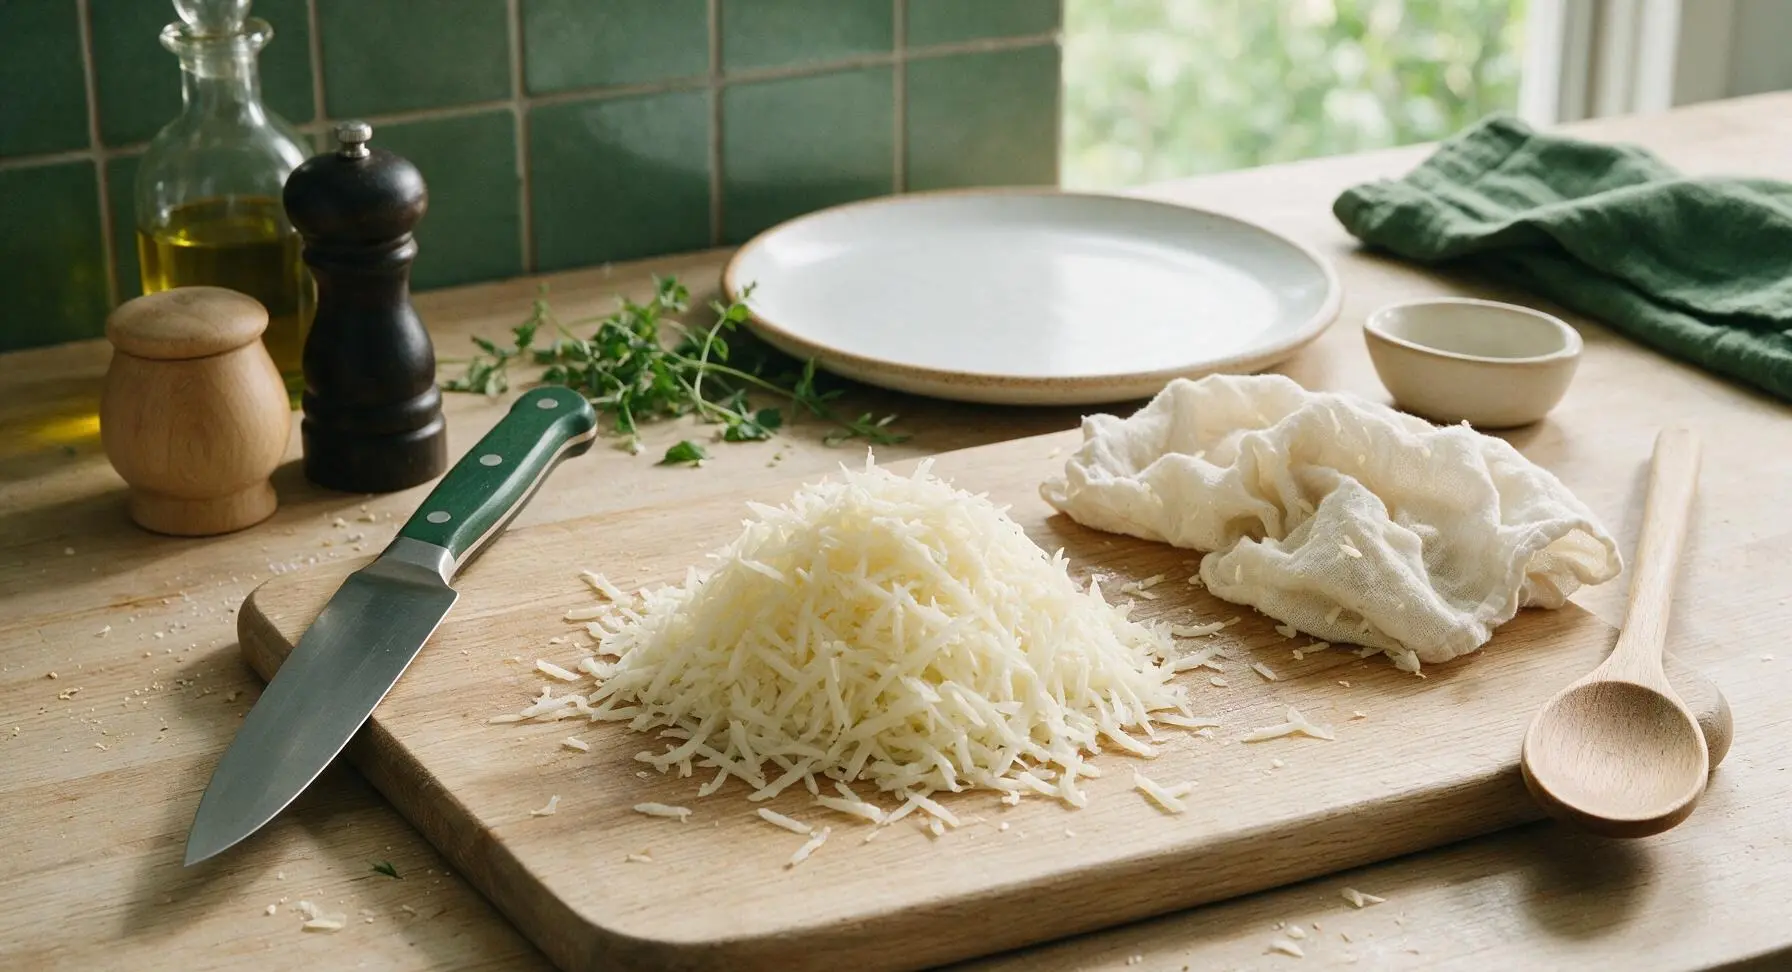
Scrub 2 pounds (about 4 medium) russet potatoes thoroughly under cool running water; there is no need to peel them for that classic rustic, textured tater tot crust. Using the large holes of the stainless steel box grater, shred all potatoes directly onto the acacia wood cutting board, creating long, thin shreds. Discard any large, tough, ungrated peel chunks that come loose as you work.
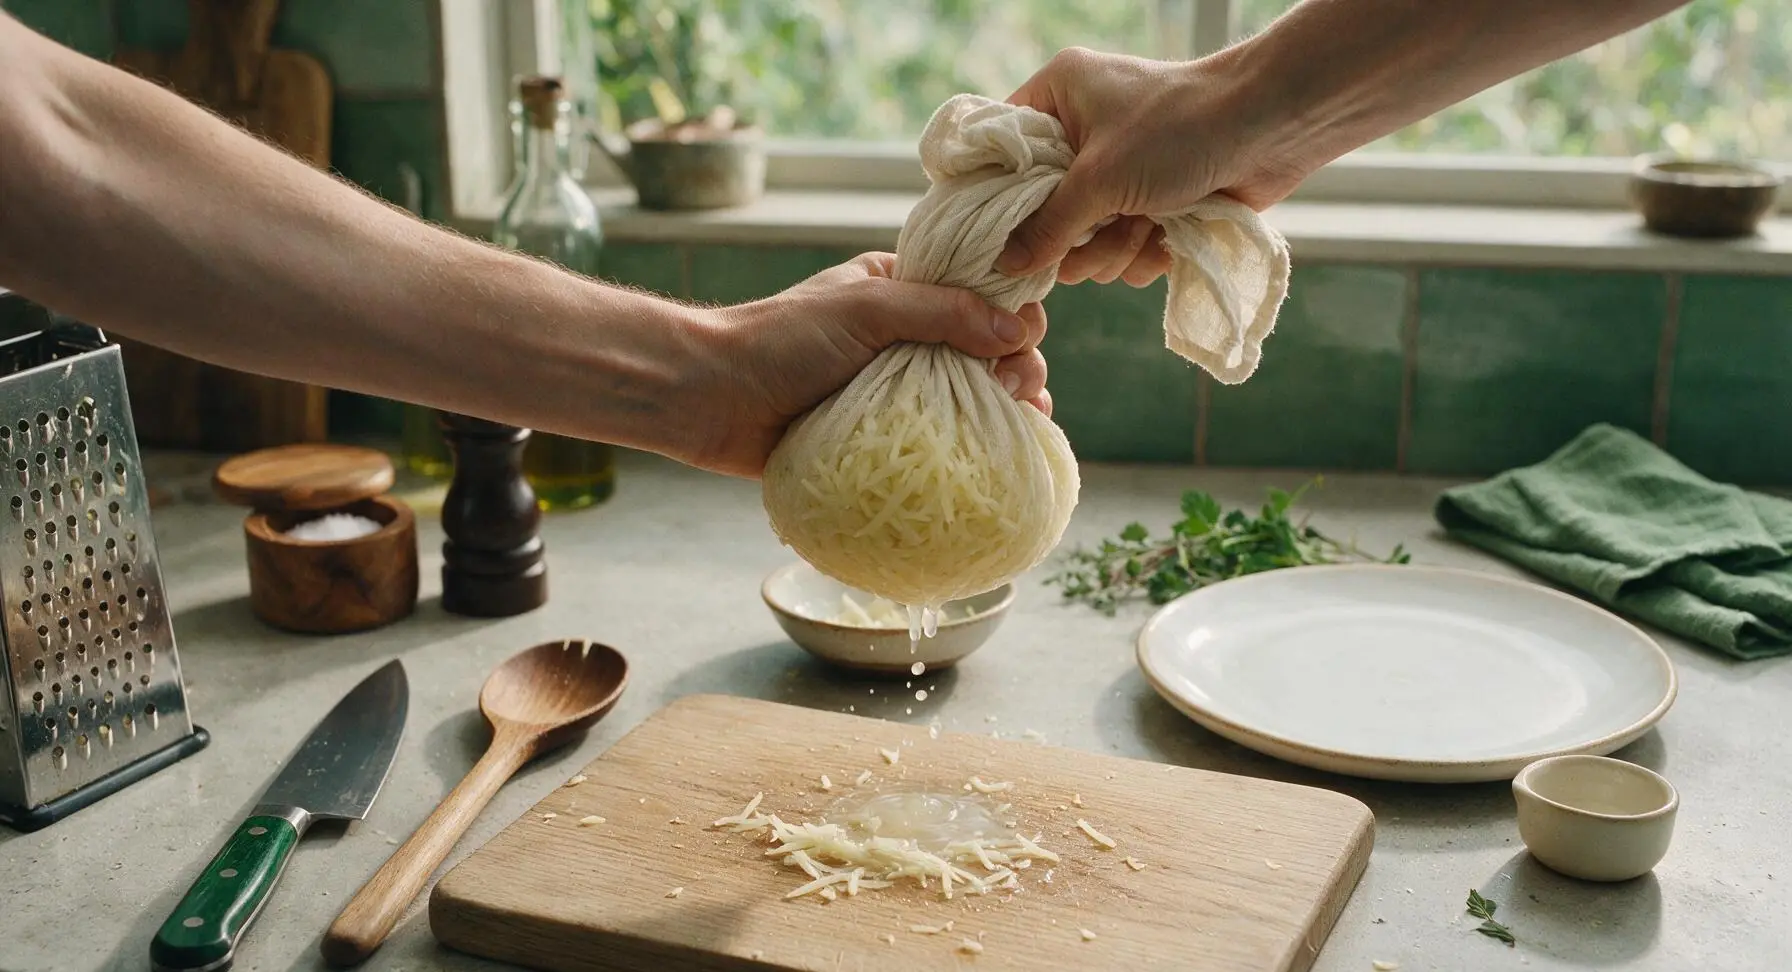
Squeeze out moisture
Gather all shredded potato into the center of the unbleached cotton cheesecloth. Wrap the cloth tightly around the shreds, then squeeze firmly over a small discarded bowl for 2-3 minutes, until no more cloudy starchy liquid drips from the bundle. Removing all excess moisture is critical for crispy (not soggy) tater tots; you will extract roughly 1/2 cup of starchy liquid total from the potatoes.
Season potato mixture
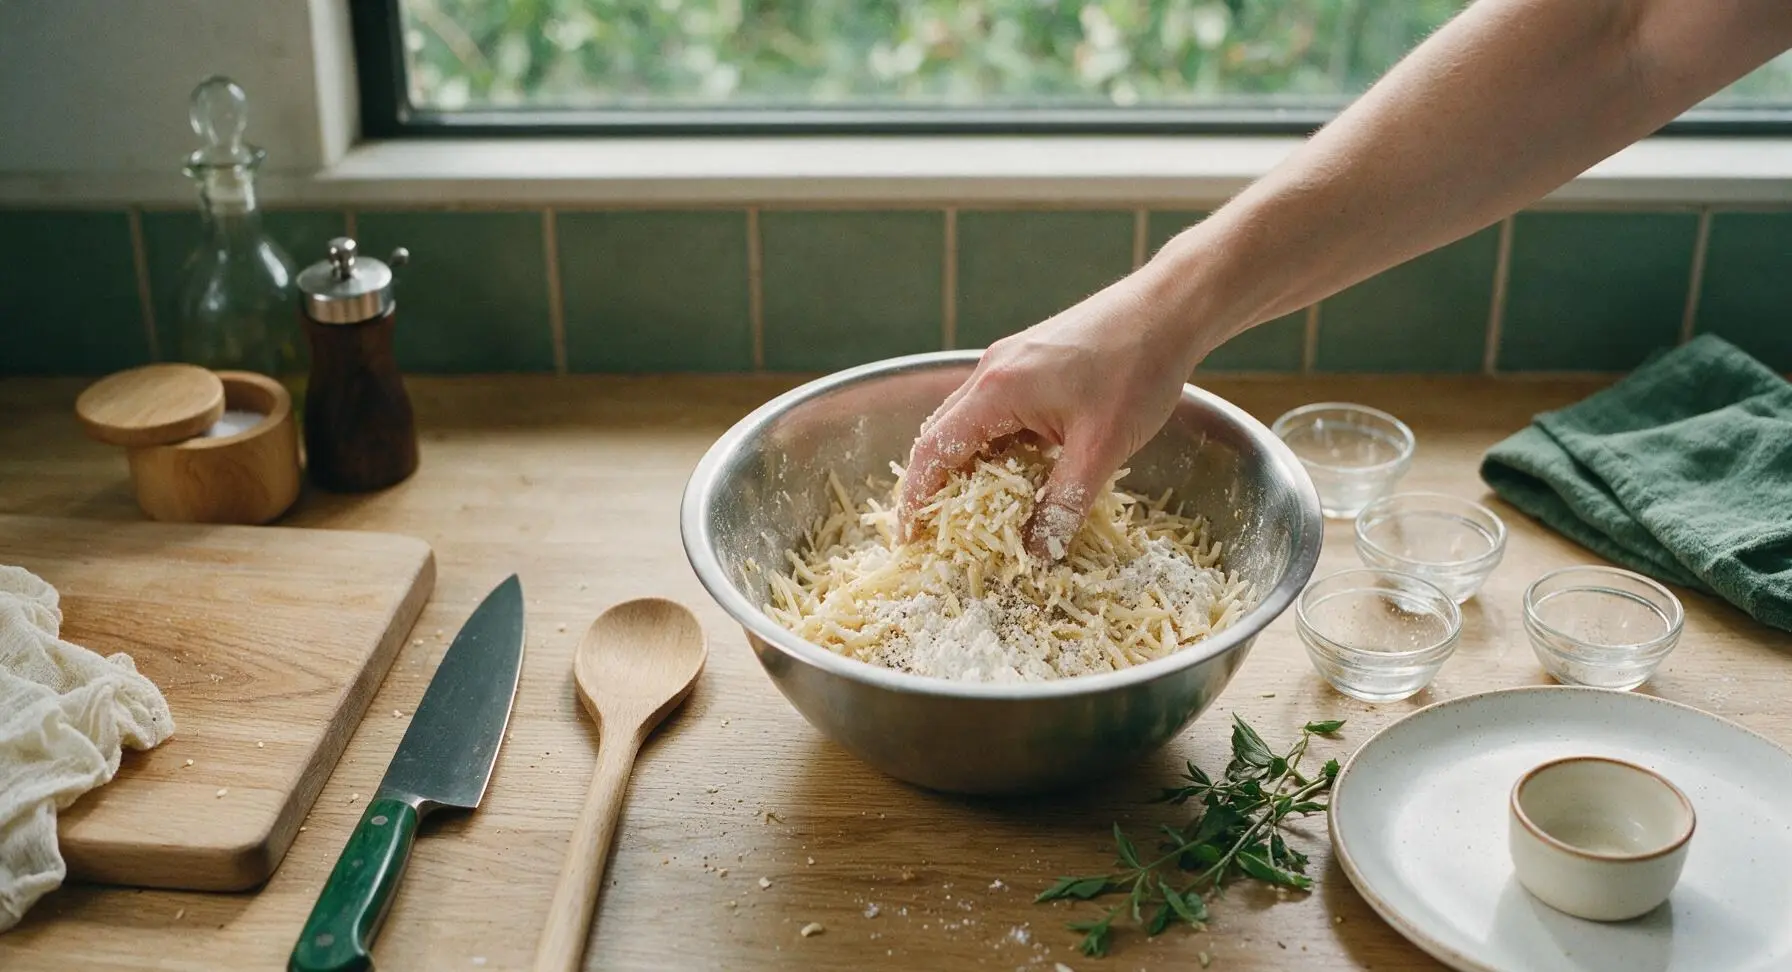
Transfer the dry shredded potato to the large stainless steel mixing bowl positioned to the right of the cutting board. Add 2 tablespoons all-purpose flour, 1 tablespoon cornstarch, 1 teaspoon garlic powder, 1 teaspoon onion powder, 1 teaspoon kosher salt, and 1/2 teaspoon freshly ground black pepper. Toss thoroughly with clean hands until every potato shred is evenly coated in the flour and spice mixture, with no dry clumps of flour left at the bottom of the bowl.
Shape tater tots
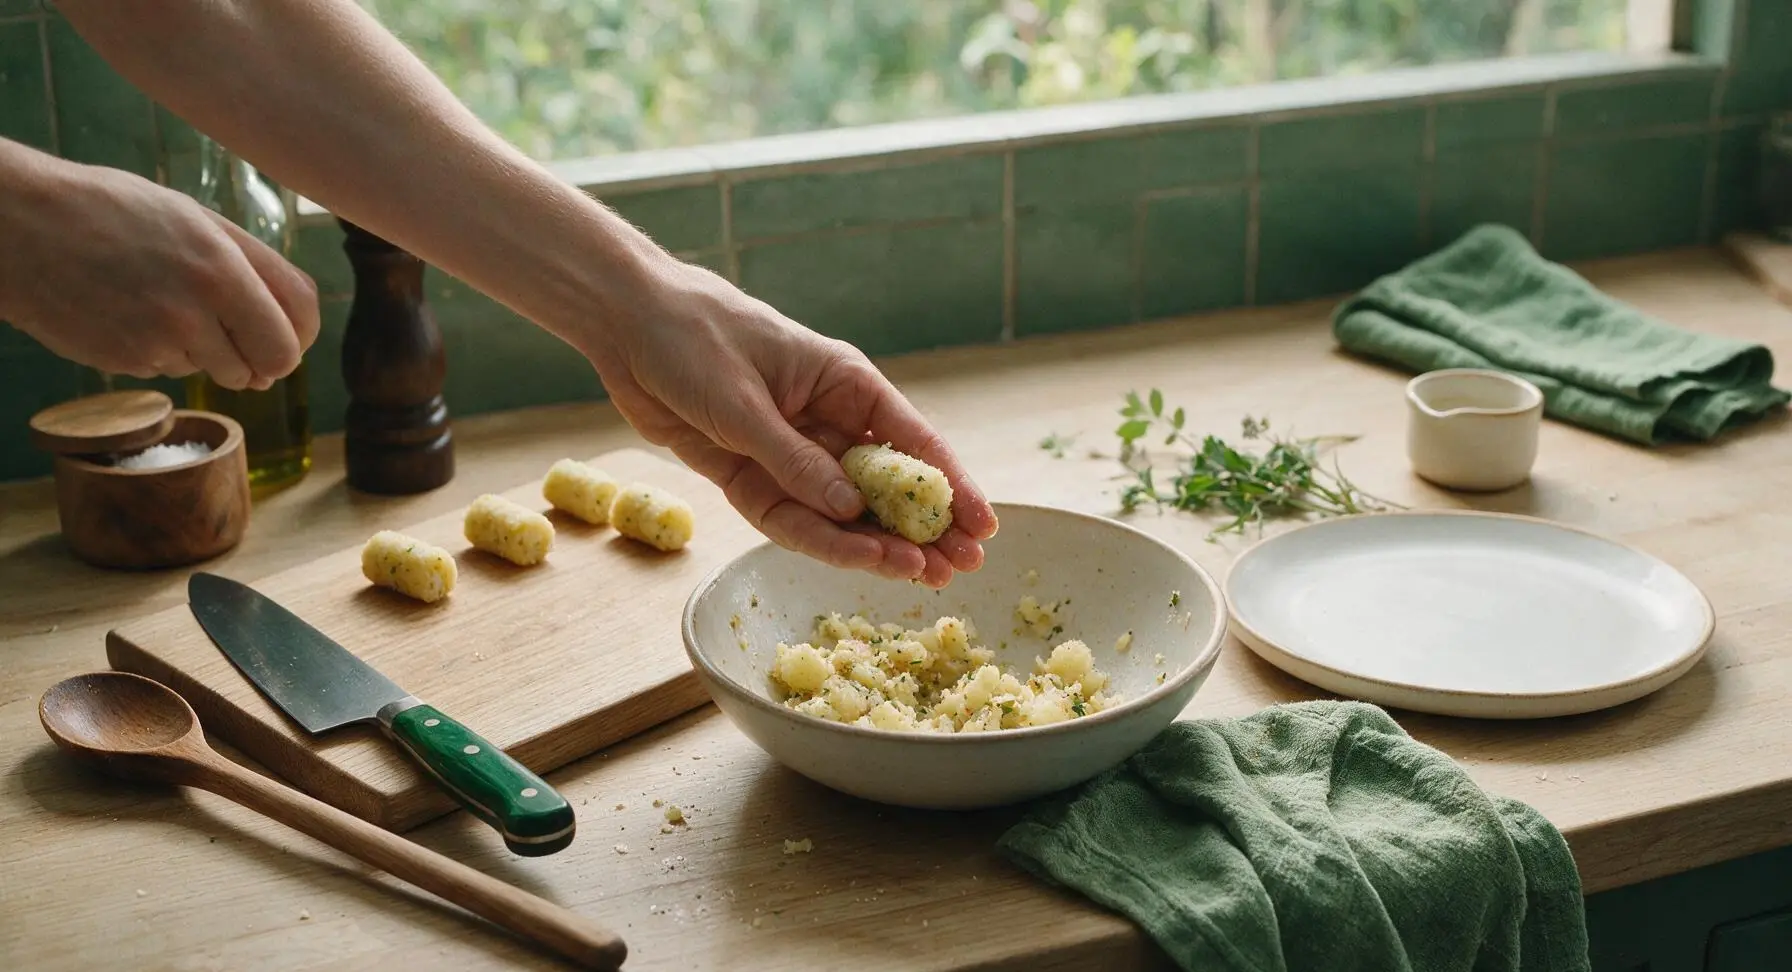
Scoop 1-tablespoon portions of the seasoned potato mixture, squeezing firmly in your palm to compress into small, cylindrical tater tot shapes roughly 1 inch long and 1/2 inch wide. Set shaped tots in a single layer on the empty section of the acacia cutting board as you work; you will yield roughly 40 tots total. Compacting the mixture tightly prevents tots from falling apart while frying.
Heat frying oil
Place the 5L matte black enameled cast iron Dutch oven in its fixed back-right counter position. Pour 4 cups of canola oil into the pot, then clip the stainless steel deep fry thermometer to the pot edge. Heat oil over medium heat until it reaches exactly 375°F (190°C); do not let oil exceed 385°F, as it will burn the outside of the tots before the fluffy interior cooks through.
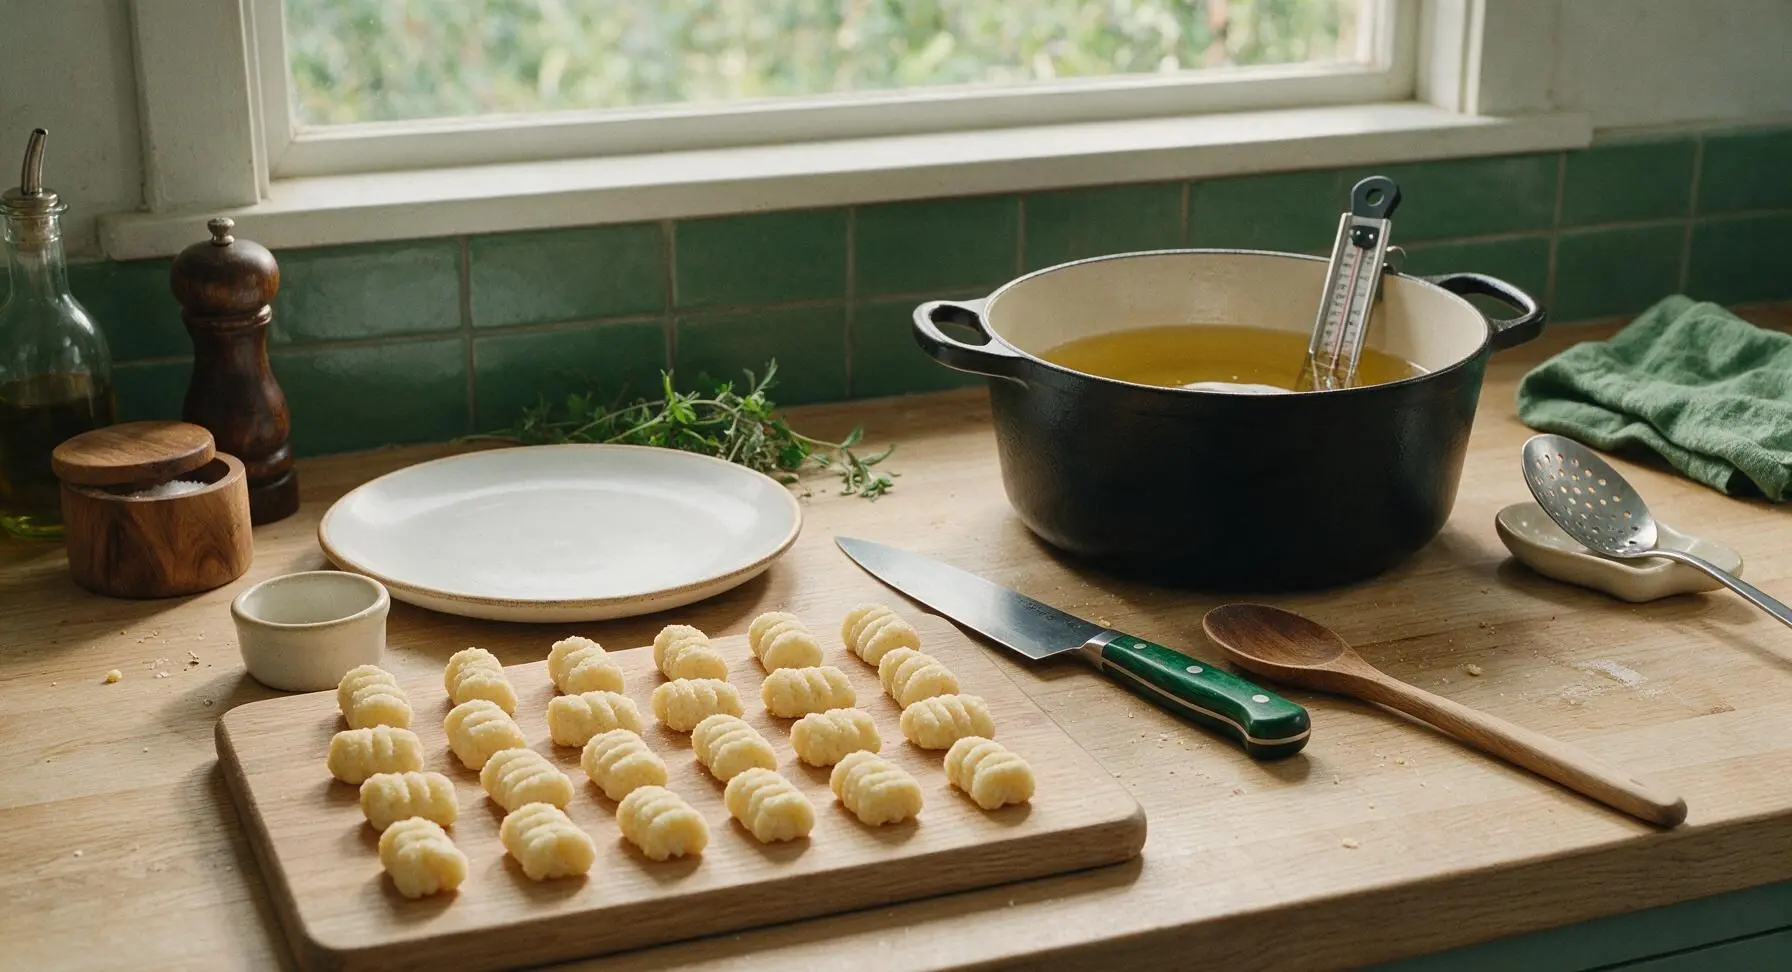
Fry tots in batches
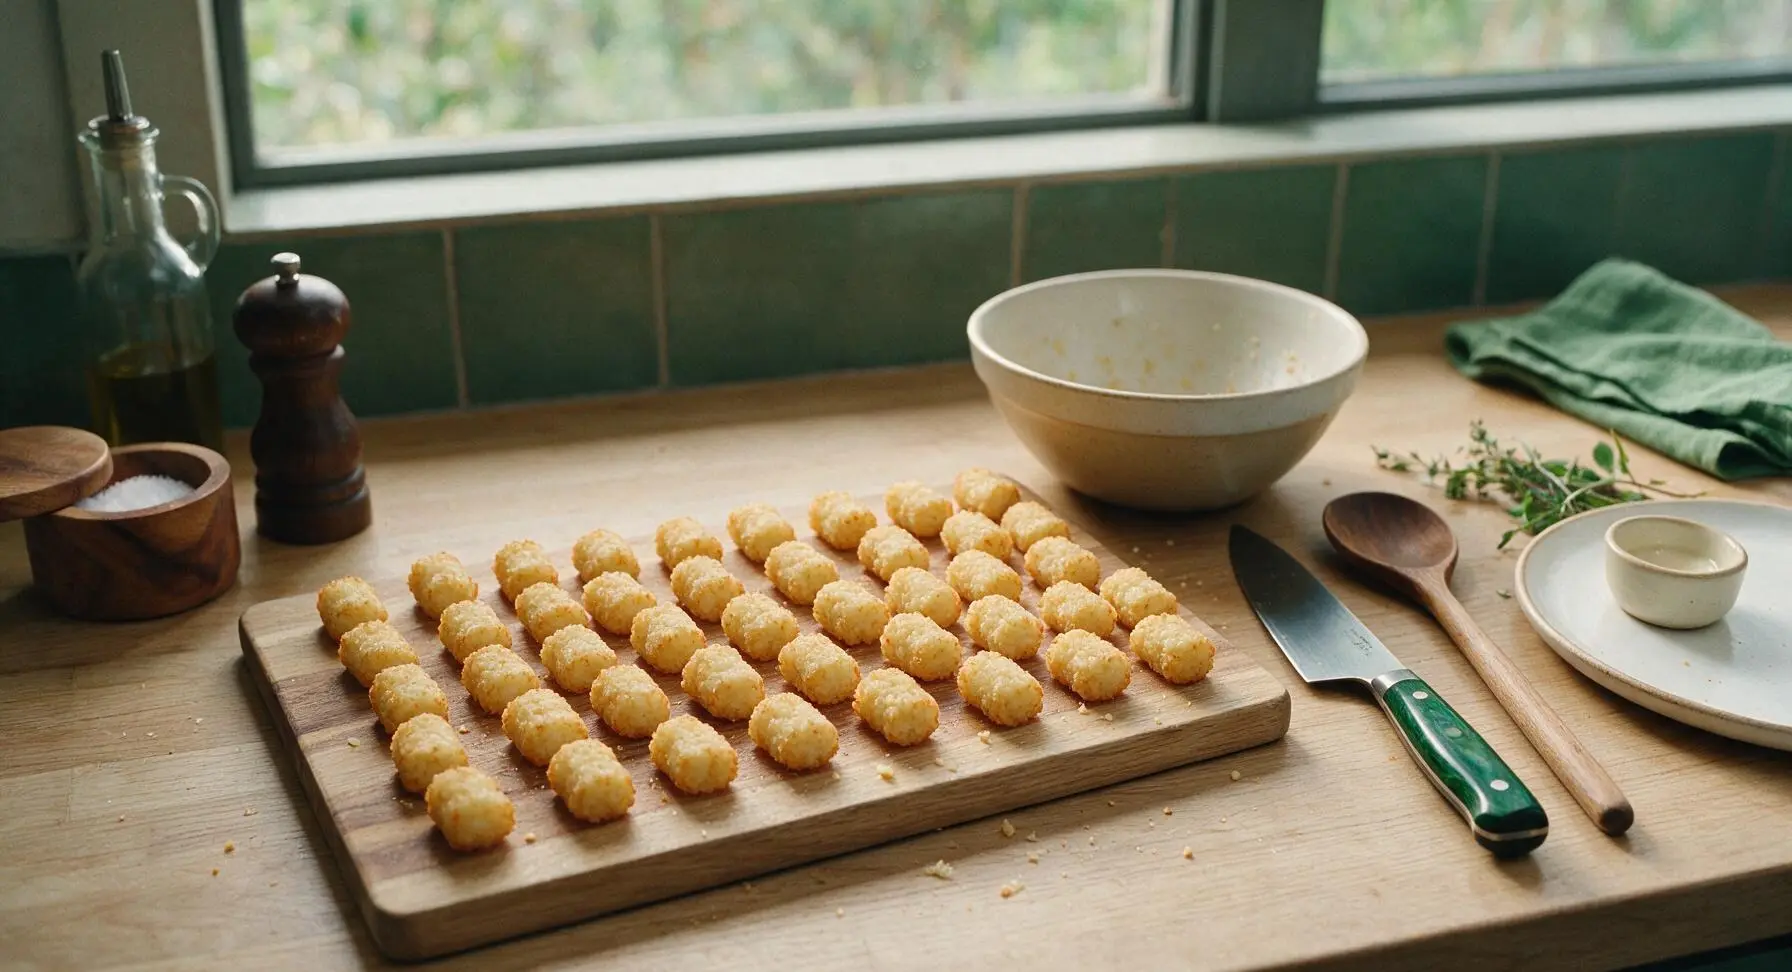
Carefully lower 8-10 tater tots at a time into the hot oil using the slotted spoon; do not overcrowd the pot, as this drops oil temperature and leads to soggy, greasy tots. Fry each batch for 3-4 minutes, turning once halfway through cooking, until tots are deep golden brown and crispy on all sides. Wait for oil to return to 375°F between each batch.
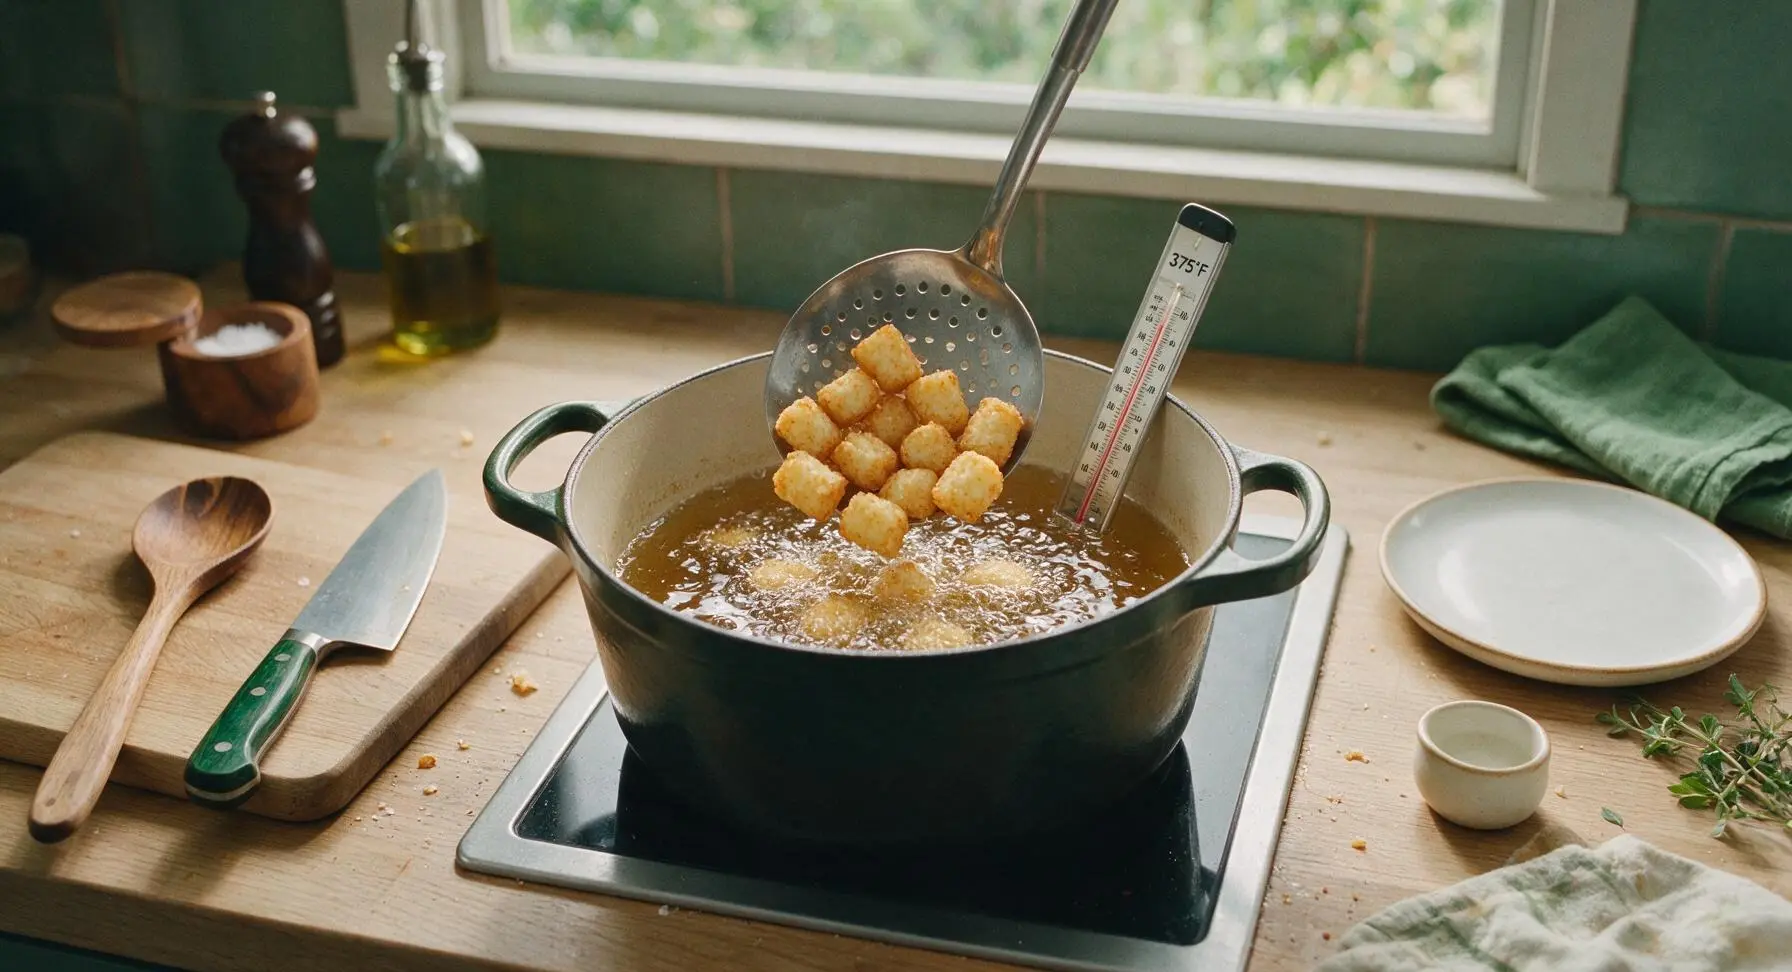
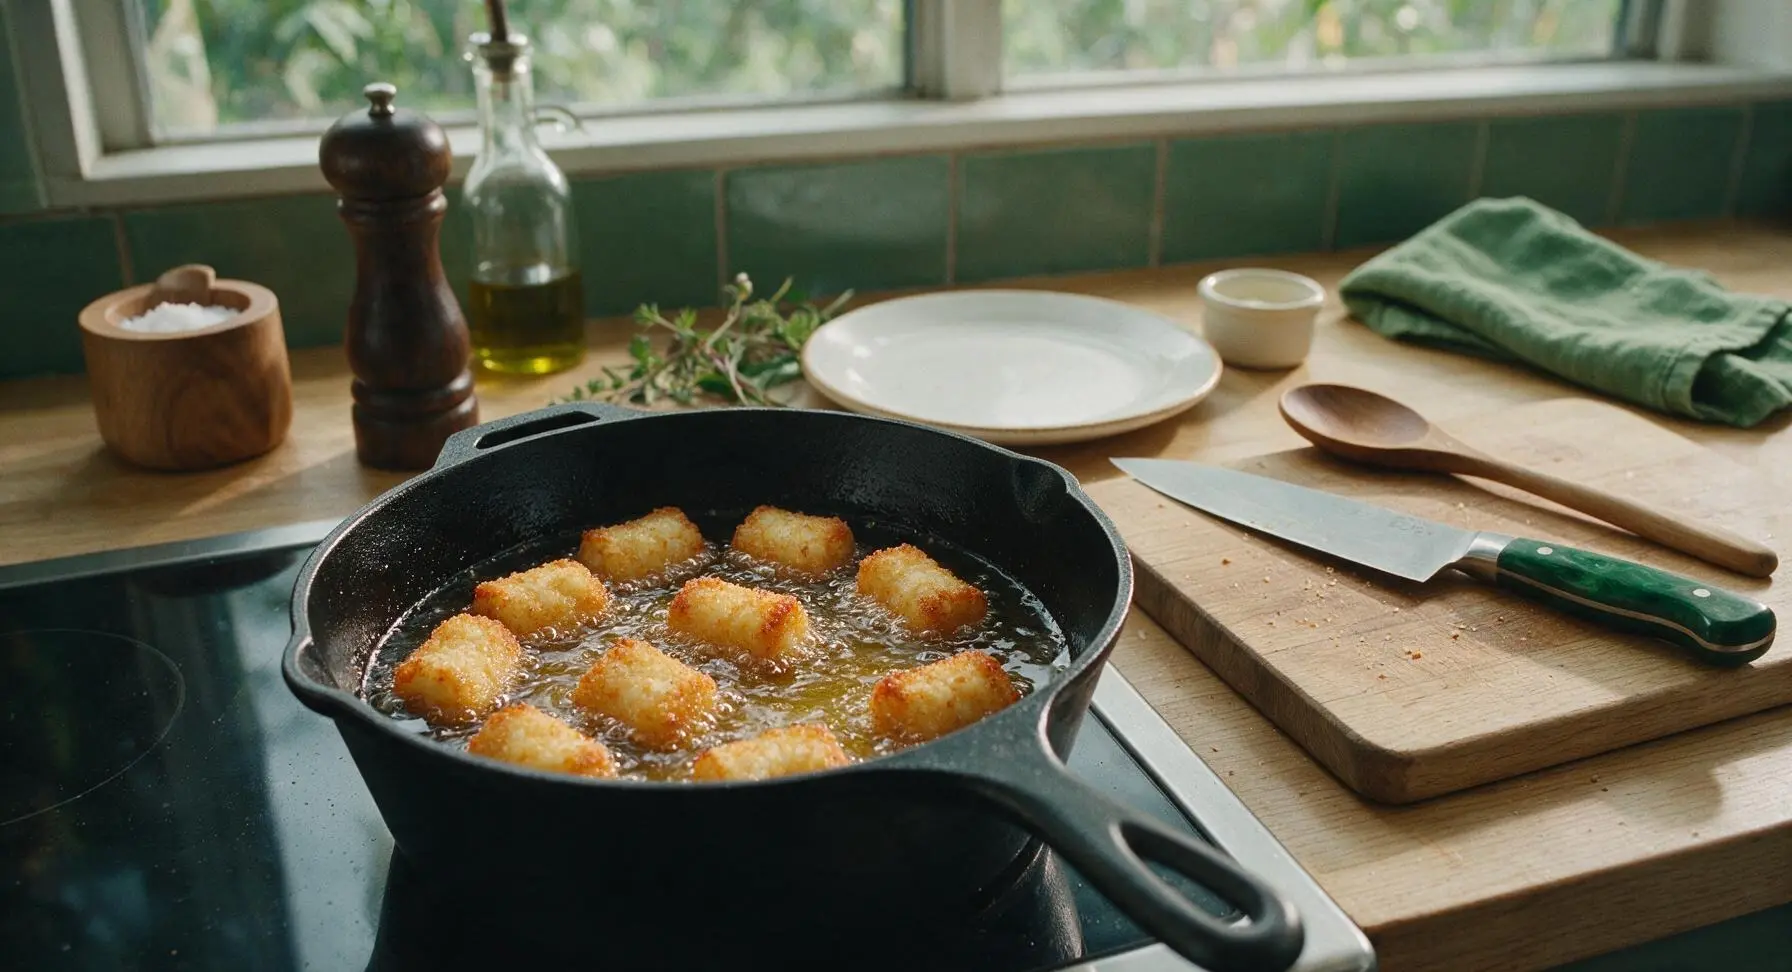
Drain and salt tots
Use the slotted spoon to lift cooked tots from the oil, letting excess oil drip back into the pot for 2 seconds, then transfer them to the paper-towel lined cream stoneware platter. Immediately sprinkle hot tots with a pinch of flaky sea salt from the oak salt cellar while the oil is still glistening on the surface, so the salt adheres evenly. Repeat the frying process with all remaining batches.
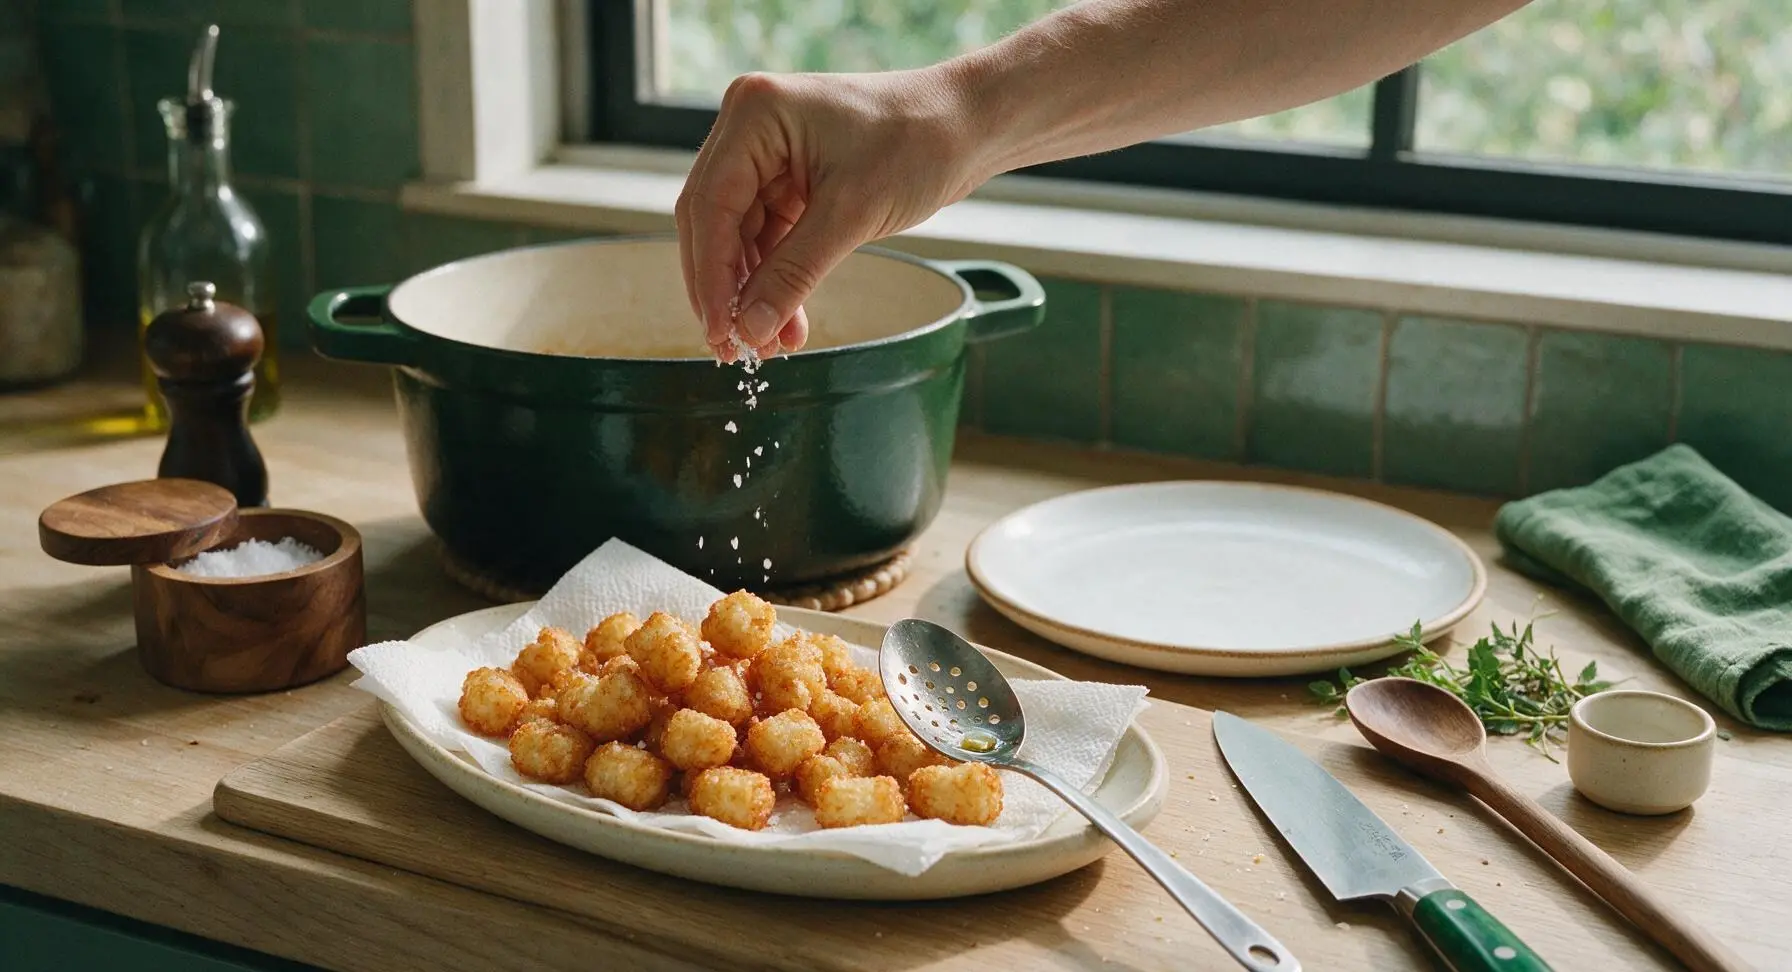
Garnish and serve
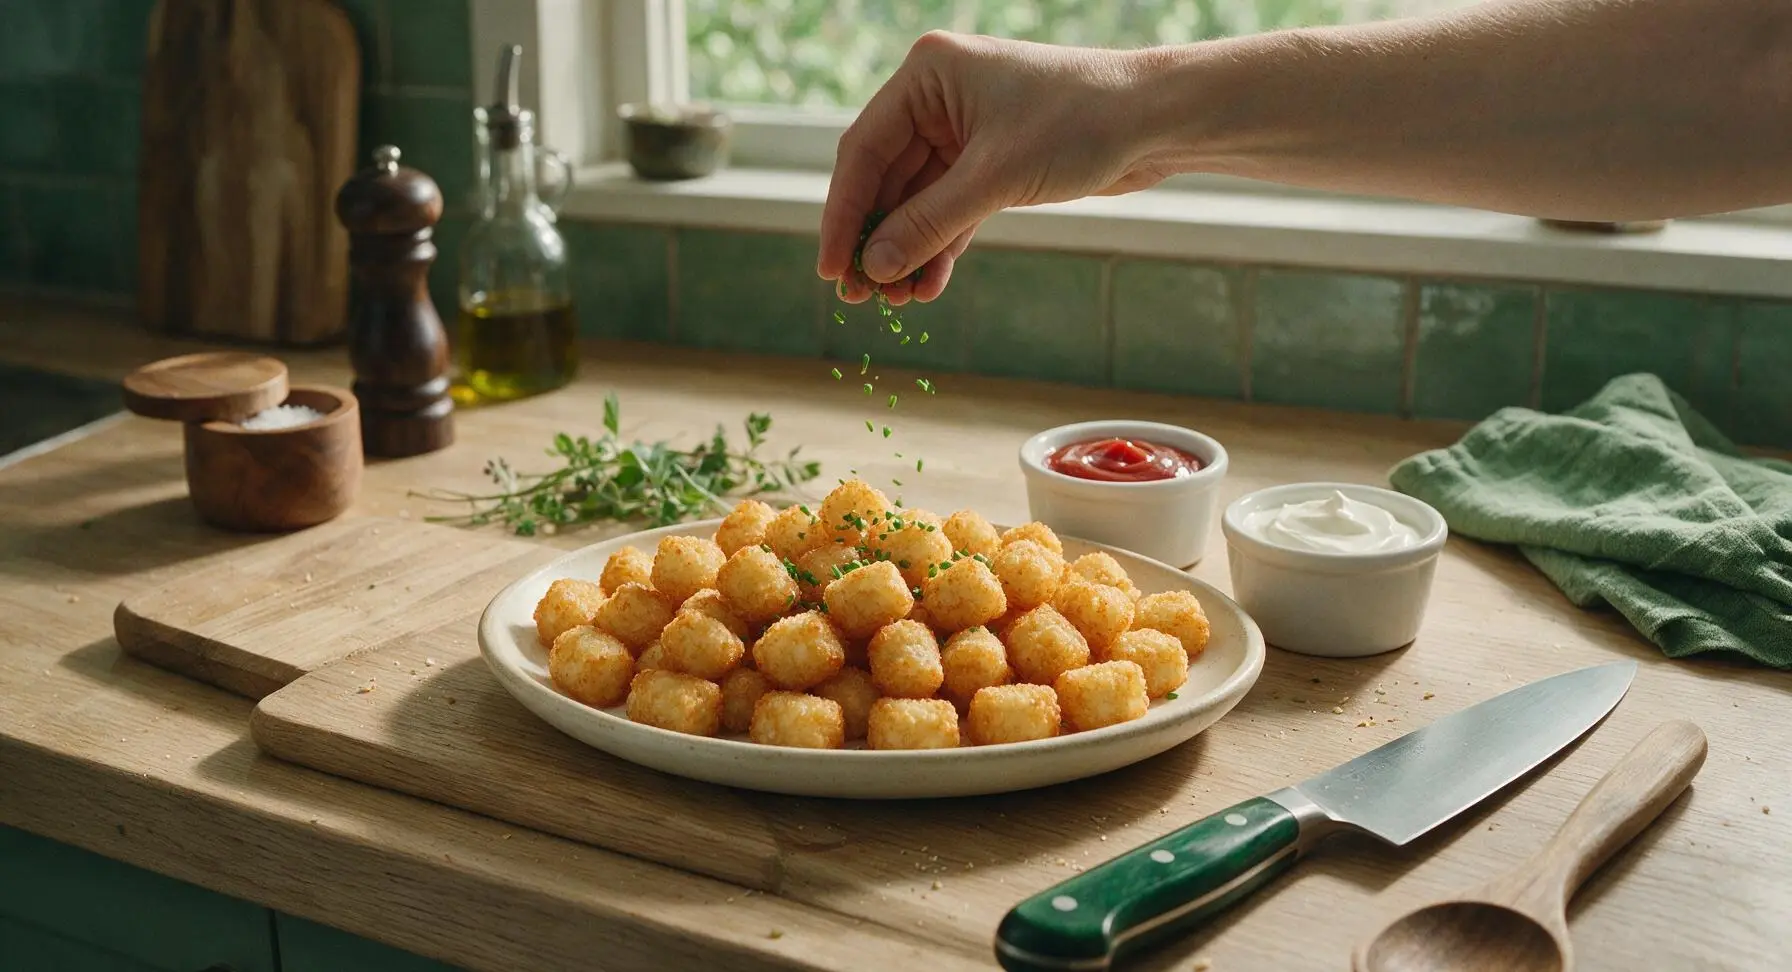
Once all tots are fried and drained, carefully lift and discard the oil-soaked paper towels from the serving platter. Finely chop the fresh chives, then sprinkle them evenly over the hot pile of tater tots. Serve immediately alongside the two white ramekins filled with ketchup and sour cream for dipping, while tots are still hot and crisp.
Tips
2.Monitor oil temperature closely with a thermometer: oil that is too cool (below 350°F) will make tots absorb excess oil and turn heavy and greasy, while oil that is too hot (above 400°F) will burn the outer crust black before the potato inside cooks through.
3.For a lower-oil baked alternative, arrange shaped tots on a parchment-lined baking sheet, spray all sides generously with olive oil cooking spray, and bake at 425°F for 25 minutes, flipping halfway through, for a crispy exterior without deep frying. Baked tots will be slightly less crunchy but just as flavorful.






OMG these homemade tater tots are a total game changer! I made them for our Sunday family dinner last night and even my super picky 7 year old asked for seconds. The outside is so perfectly crispy, way better than the frozen bagged ones I usually grab. 10/10 will be adding these to our weekly rotation!
Dude, as someone who’s basically been living off frozen meals since sophomore year, these were so easy to make I couldn’t believe it. Only took 25 minutes like the recipe says, and they came out SO crispy. I dipped mine in ranch and hot sauce, chef’s kiss.
Brought these to our neighborhood block party last weekend and they were gone in 10 minutes flat! Everyone was saying how SO good they were and asking me for the recipe, I can’t believe how simple they are. The crispy exterior and fluffy inside is exactly what tater tots should be. Will definitely be making these for every potluck from now on.
Wait a second, do these hold up well for meal prep? I make lunch for the whole week every Sunday and I’m always looking for easy sides that reheat nicely without getting soggy.
So happy to find a tater tot recipe that doesn’t have any weird hidden fillers! These are naturally gluten free as long as you use gluten free flour right? I made them last night for my celiac bestie and we both devoured half the batch.
Was worried homemade tater tots would be a huge hassle but this recipe is actually so easy? I’ve made them twice now, once with regular russet potatoes and once with sweet potatoes (don’t @ me) and both versions slapped. Sweet potato tots with cinnamon sugar dip is my new obsession.
Help! My first batch came out a little soggy 😭 What did I do wrong? I followed the directions but they didn’t get that crispy crunch everyone is talking about.
My husband said these are better than the fast food tater tots we used to get on road trips! I served them with cheeseburgers last night and it felt like such a fun, retro dinner. The whole kitchen smelled amazing while they were baking too.
Has anyone tried making these in the air fryer instead of the oven? I don’t love heating up my whole oven for small batches, especially in the summer when it’s 90 degrees out.
My toddler is going through a super picky “only crunchy food” phase and these saved dinner last night! My kids loved them so much — I cut them into tiny little stick shapes so my youngest could dip them in ketchup himself and he ate a whole serving without throwing any on the floor. Total win for mom!
This recipe is so affordable! A 5 pound bag of potatoes is like $3 and it made enough tots for my roommate and I to have for dinner plus leftovers for lunch the next day. Way cheaper than buying frozen name brand tots, and they taste 100x better.
Added a little garlic powder, paprika, and parmesan cheese to the potato mixture before baking and oh my GOD. Cheesy, garlicky, crispy perfection. I will never make plain tots again.
These are going to be my go-to game day snack this football season. I tested a batch for the guys during the preseason game last weekend and they were begging for more. Way better than the frozen party tots I usually buy for watch parties.
Swapped the regular flour for chickpea flour and skipped any egg wash (I just sprayed them really well with olive oil spray) and they came out perfectly crispy! Great easy vegan side dish, even my non-vegan brother thought they were great.
Made these for brunch this weekend alongside scrambled eggs and bacon and it was chef’s kiss. They’re way more impressive than pulling out a frozen bag, but they take barely any extra effort. My brunch guests thought I spent hours in the kitchen, little did they know it was 25 minutes total.
Finally! A homemade tater tot recipe that actually stays crispy and doesn’t turn into mushy potato glop after 10 minutes out of the oven. I’ve tried like 3 other recipes and they all failed, but this one nailed it. The high heat method? Genius.
I’ve been making tater tots from scratch for 40 years and this recipe is just as good as my old handwritten one! The tip to grate the potatoes on the larger holes of the box grater makes such a difference in texture, I’ll be using that trick from now on.