
thanksgiving casserole

title 1
thanksgiving casserole
⏱️ cook time 35 minutes
🍽️ servings 8
⚡ Difficulty easy

intro

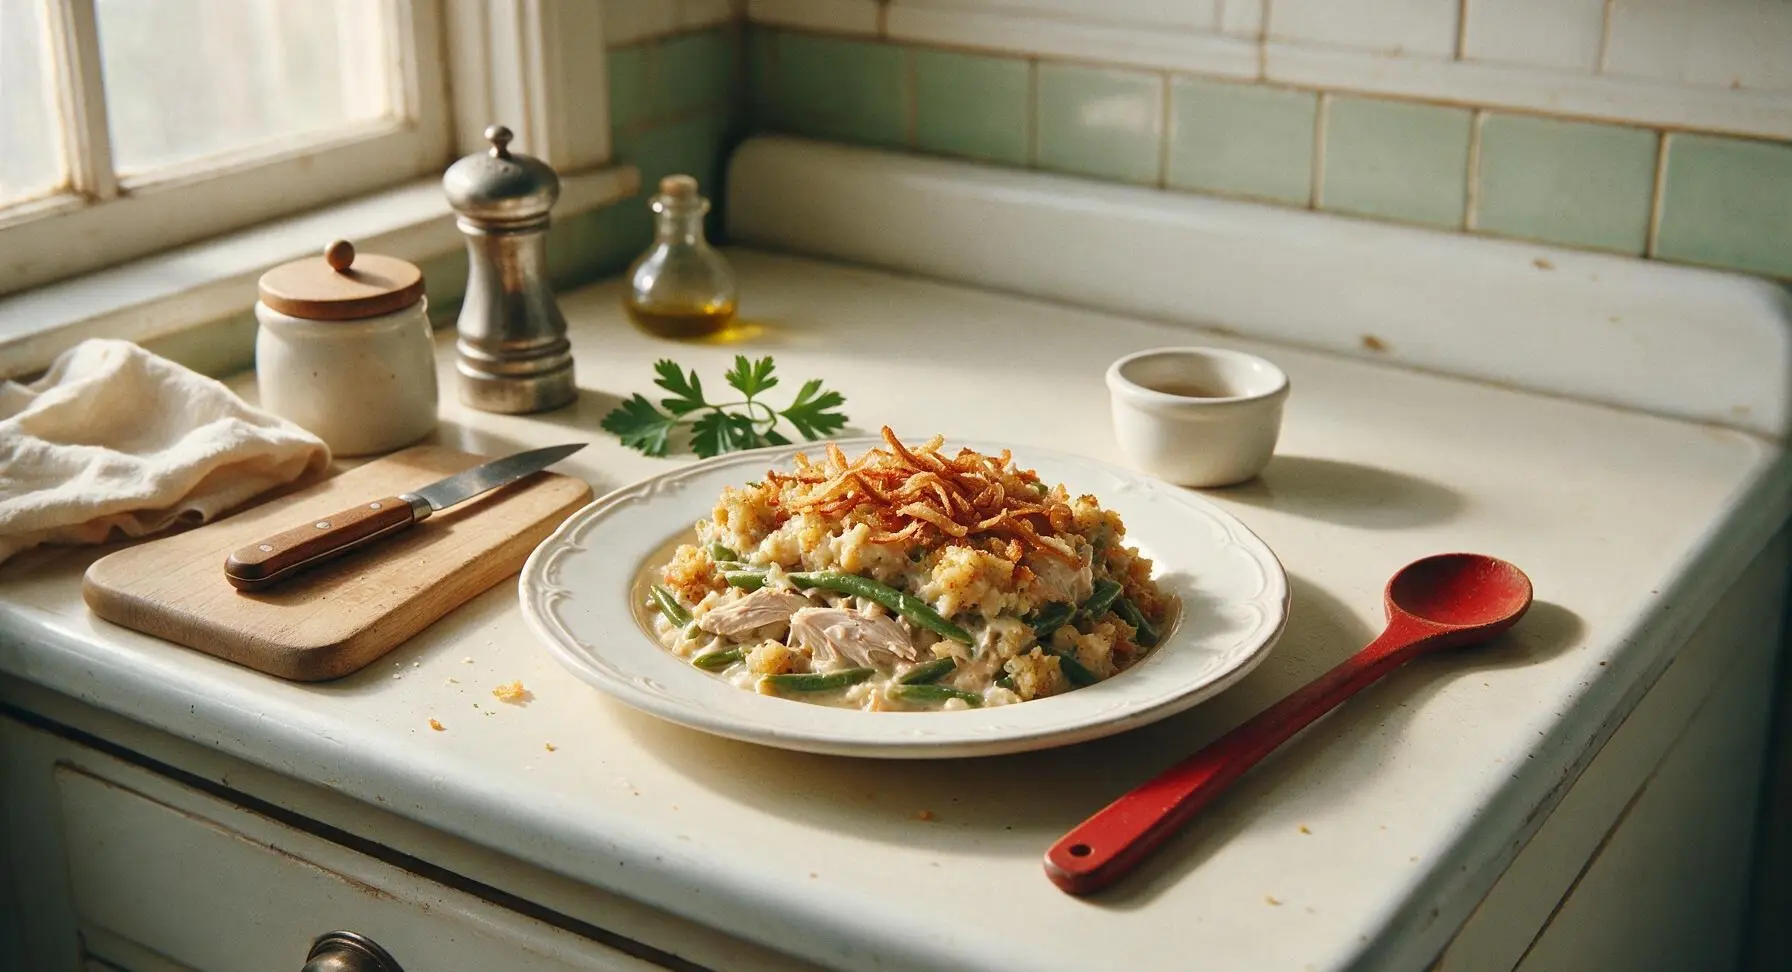
Creamy, savory layered Thanksgiving casserole loaded with tender turkey, buttery stuffing, crisp green beans, and crispy fried onion topping— the ultimate cozy, crowd-pleasing holiday table staple.

Ingredients
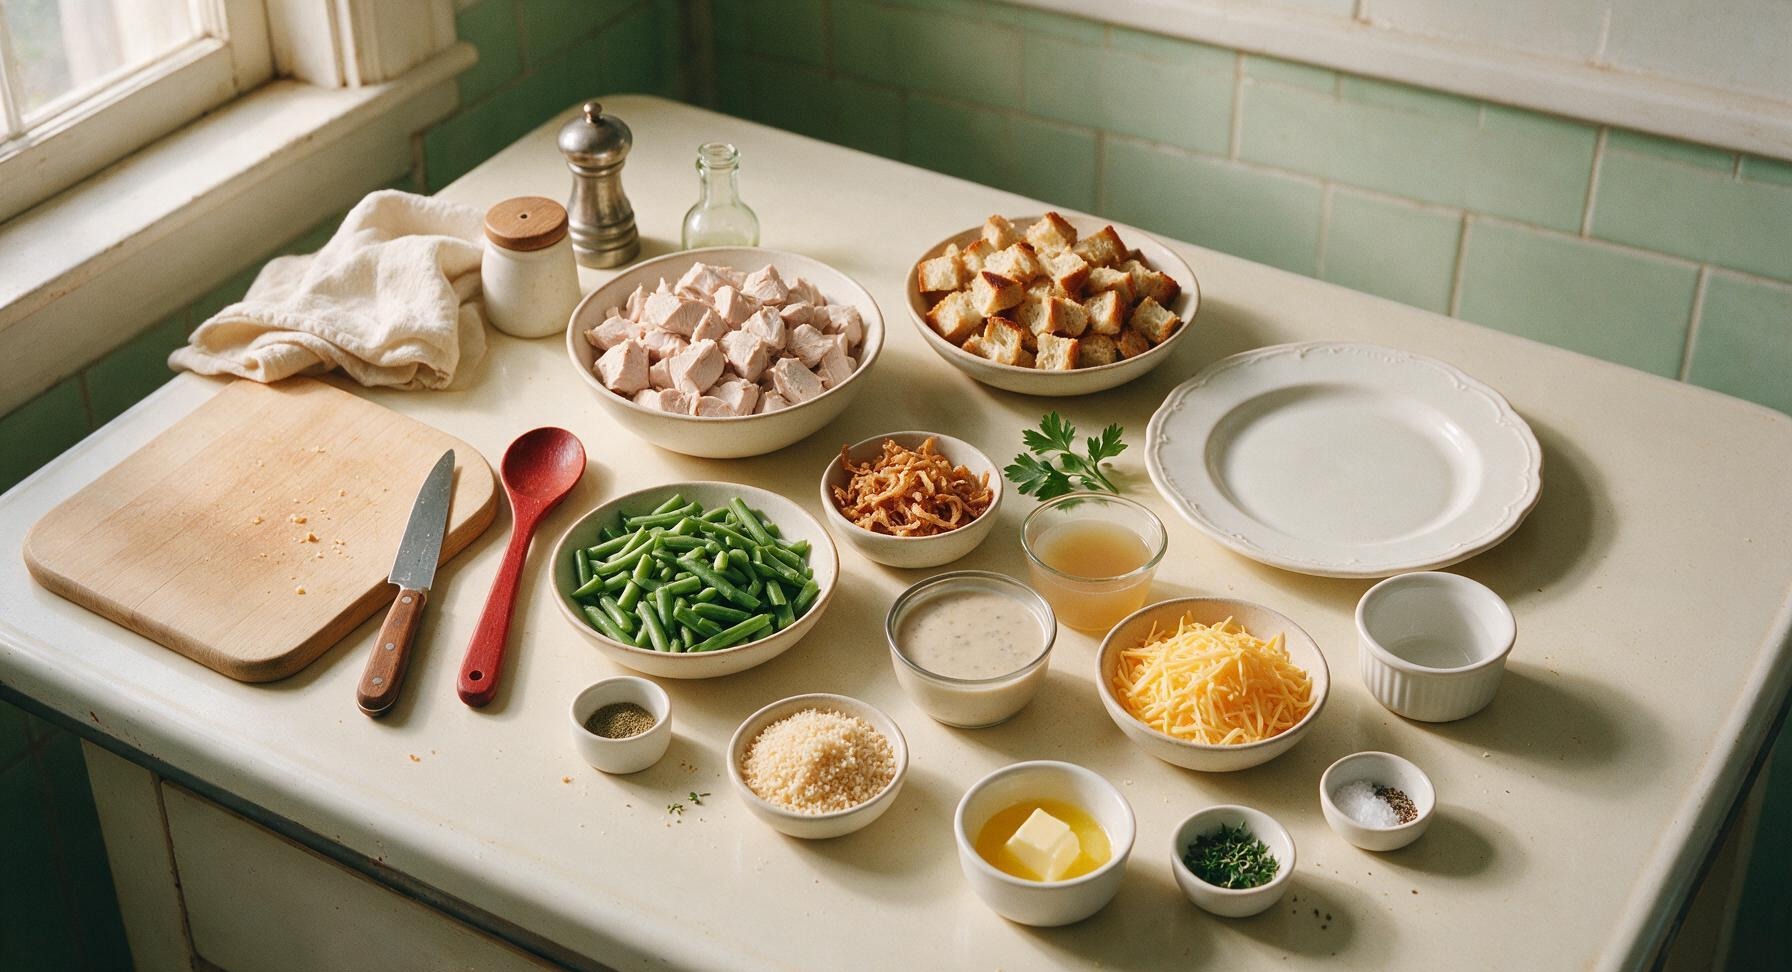
Cooked turkey breast, cubed into 1/2-inch pieces 3 cups (450g)
Toasted sourdough bread cubes (1/2-inch, for stuffing) 2 cups (120g)
Fresh green beans, trimmed and cut into 1-inch pieces 2 cups (200g)
Crispy fried onions 1 cup (60g)
Condensed cream of mushroom soup 1 can (10.5 oz / 298g)
Low-sodium chicken broth 1/2 cup (120ml)
Shredded sharp cheddar cheese 1 cup (113g)
Unsalted butter, melted 2 tbsp (28g)
Panko breadcrumbs 1/4 cup (15g)
Dried ground sage 1 tsp
Fresh thyme leaves, chopped 1 tbsp
Kosher salt 1 tsp
Freshly ground black pepper 1/2 tsp

Steps

1

Preheat Oven and Prep Dish

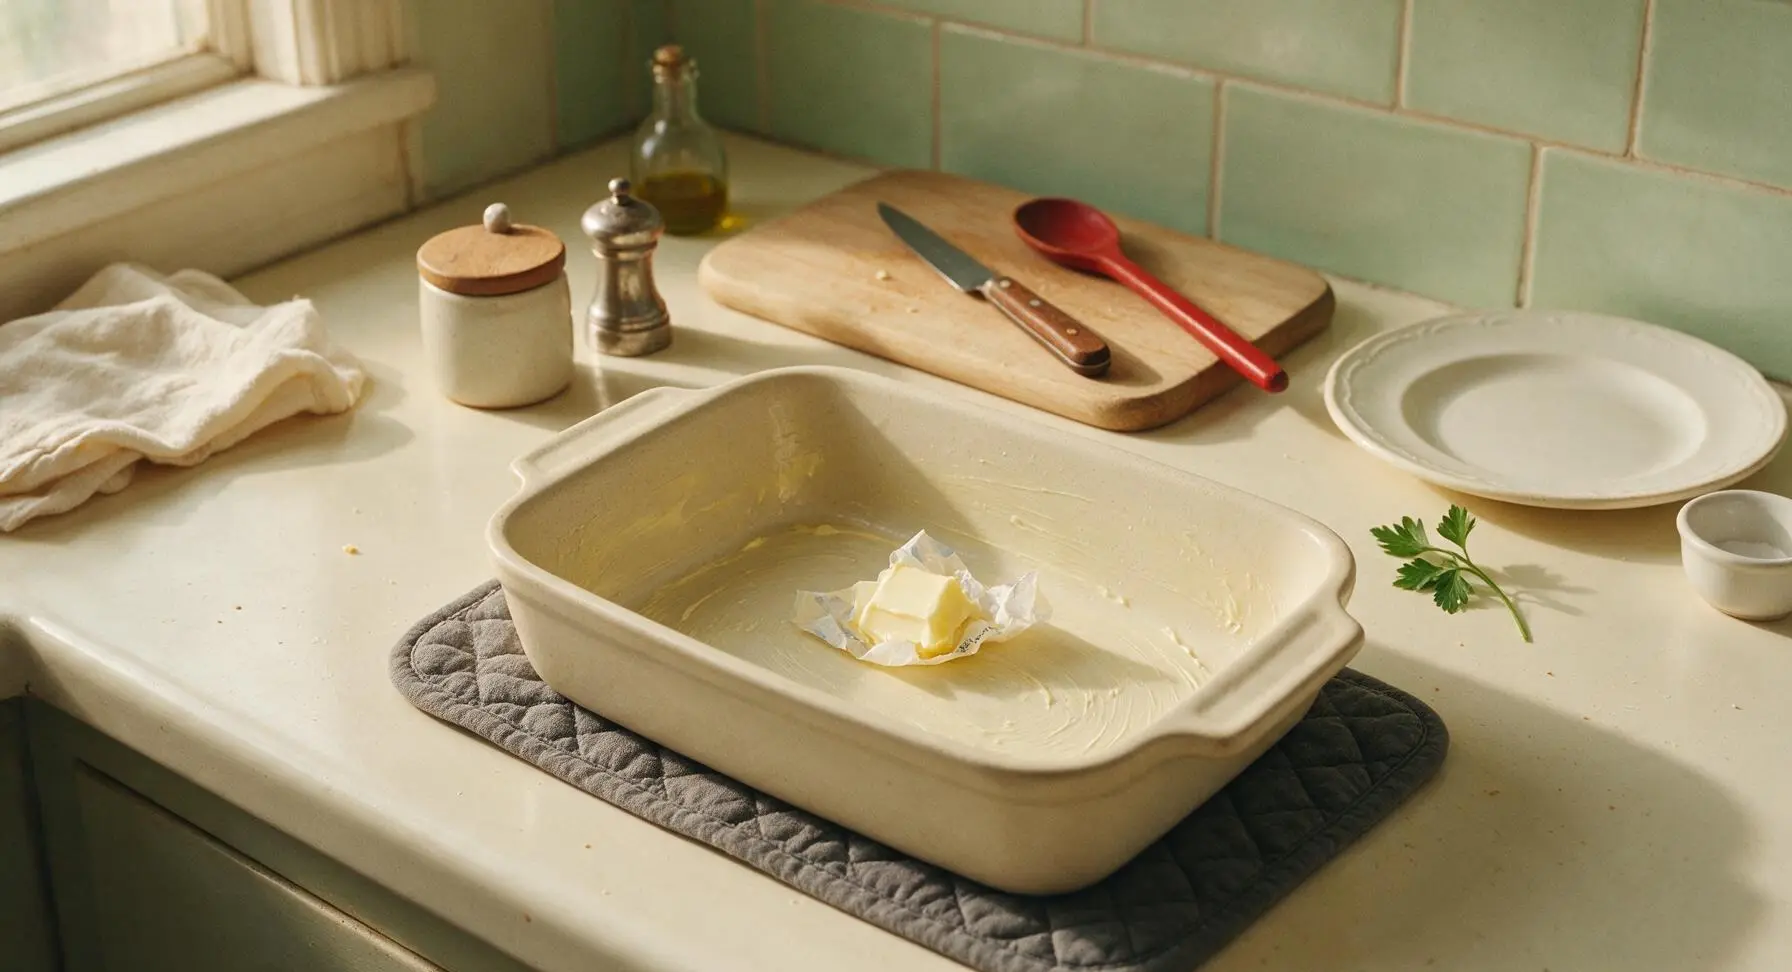
Adjust your oven rack to the middle position and preheat to 375°F (190°C). Use a small scrap of butter to lightly grease the entire interior surface of the 9x13 inch matte cream stoneware casserole dish, then set the greased dish back on the quilted charcoal gray pot holder in its fixed position. Light greasing prevents the cheese and bread layers from sticking to the dish as it bakes.
Step 1
step1:Preheat Oven and Prep Dish
2

Blanch Fresh Green Beans

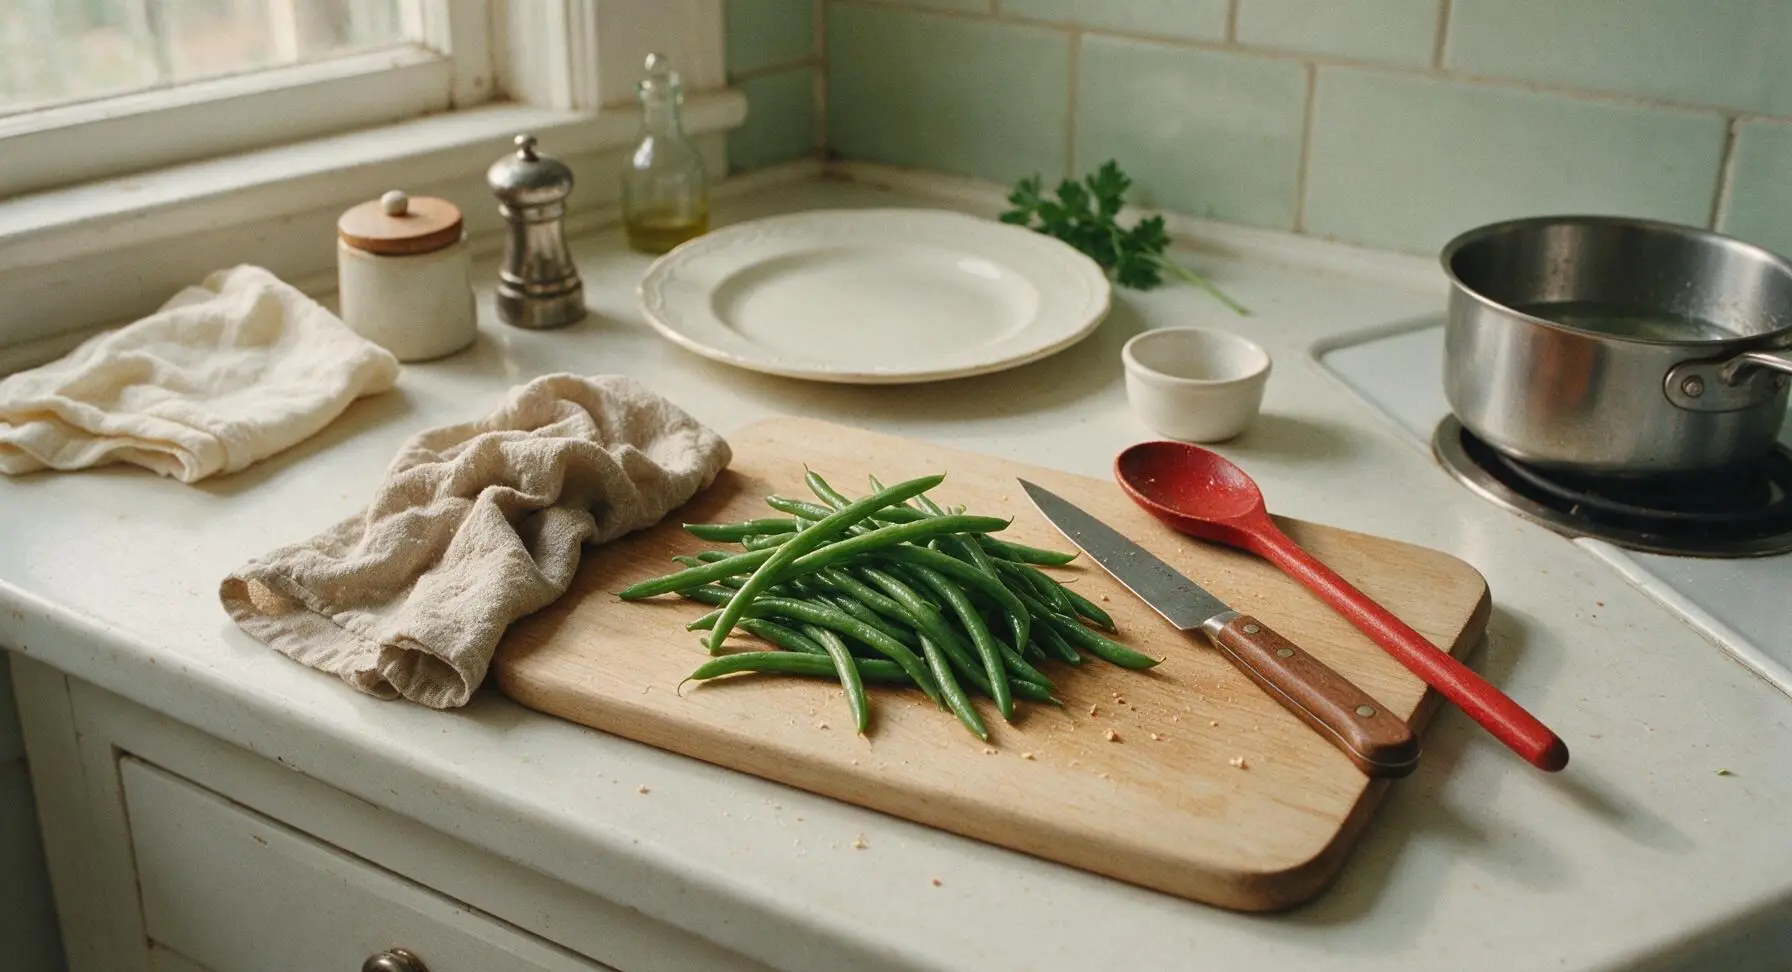
Bring 2 quarts of heavily salted water to a rolling boil in the 2-quart stainless steel saucepan. Add the trimmed, 1-inch cut green beans and cook for exactly 2 minutes, until they turn bright emerald green and are crisp-tender (not soft). Drain immediately and submerge the beans in ice water for 3 minutes to halt the cooking process and lock in their bright color, then pat them completely dry with the oat-colored linen towel.
Step 2
step2:Blanch Fresh Green Beans
3

Mix Creamy Casserole Base

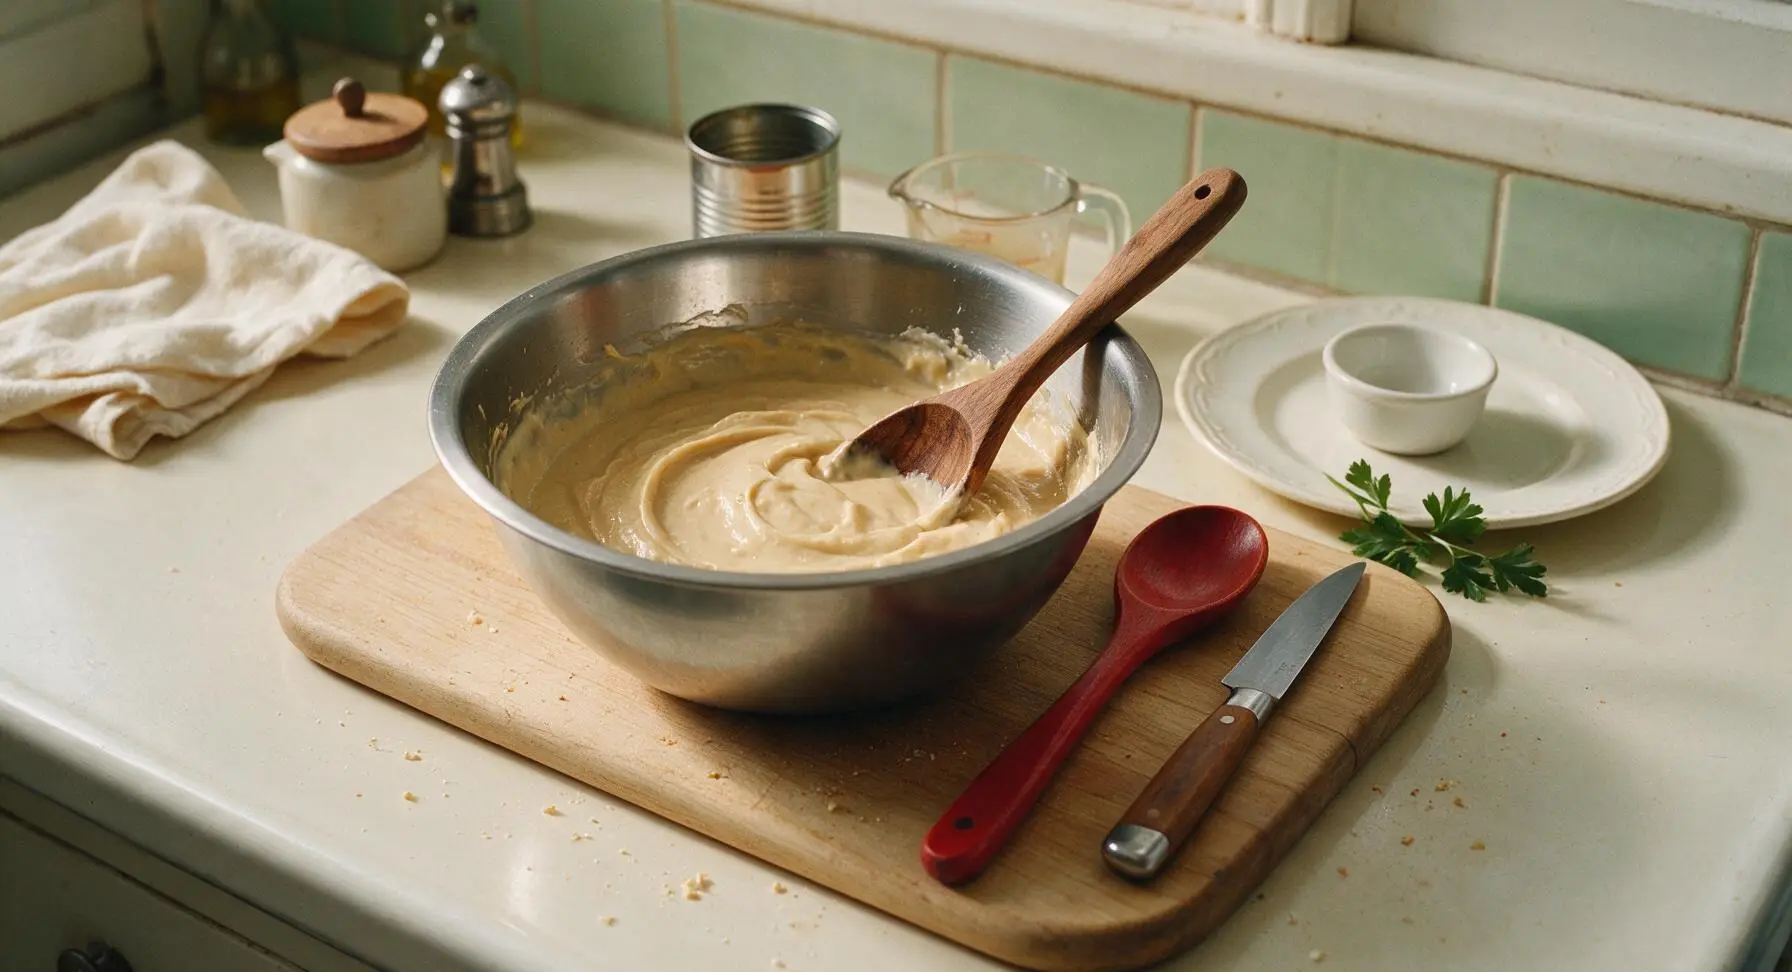
Place the 26cm brushed stainless steel mixing bowl on the center of the maple cutting board. Add the condensed cream of mushroom soup, low-sodium chicken broth, dried ground sage, chopped fresh thyme, 1/2 tsp kosher salt, and 1/4 tsp freshly ground black pepper to the bowl. Stir thoroughly with the hand-carved walnut mixing spoon until the mixture is completely smooth, with no lumps of condensed soup remaining; the base should be thick enough to evenly coat the back of the spoon.
Step 3
step3:Mix Creamy Casserole Base
4

Layer Casserole Fillings

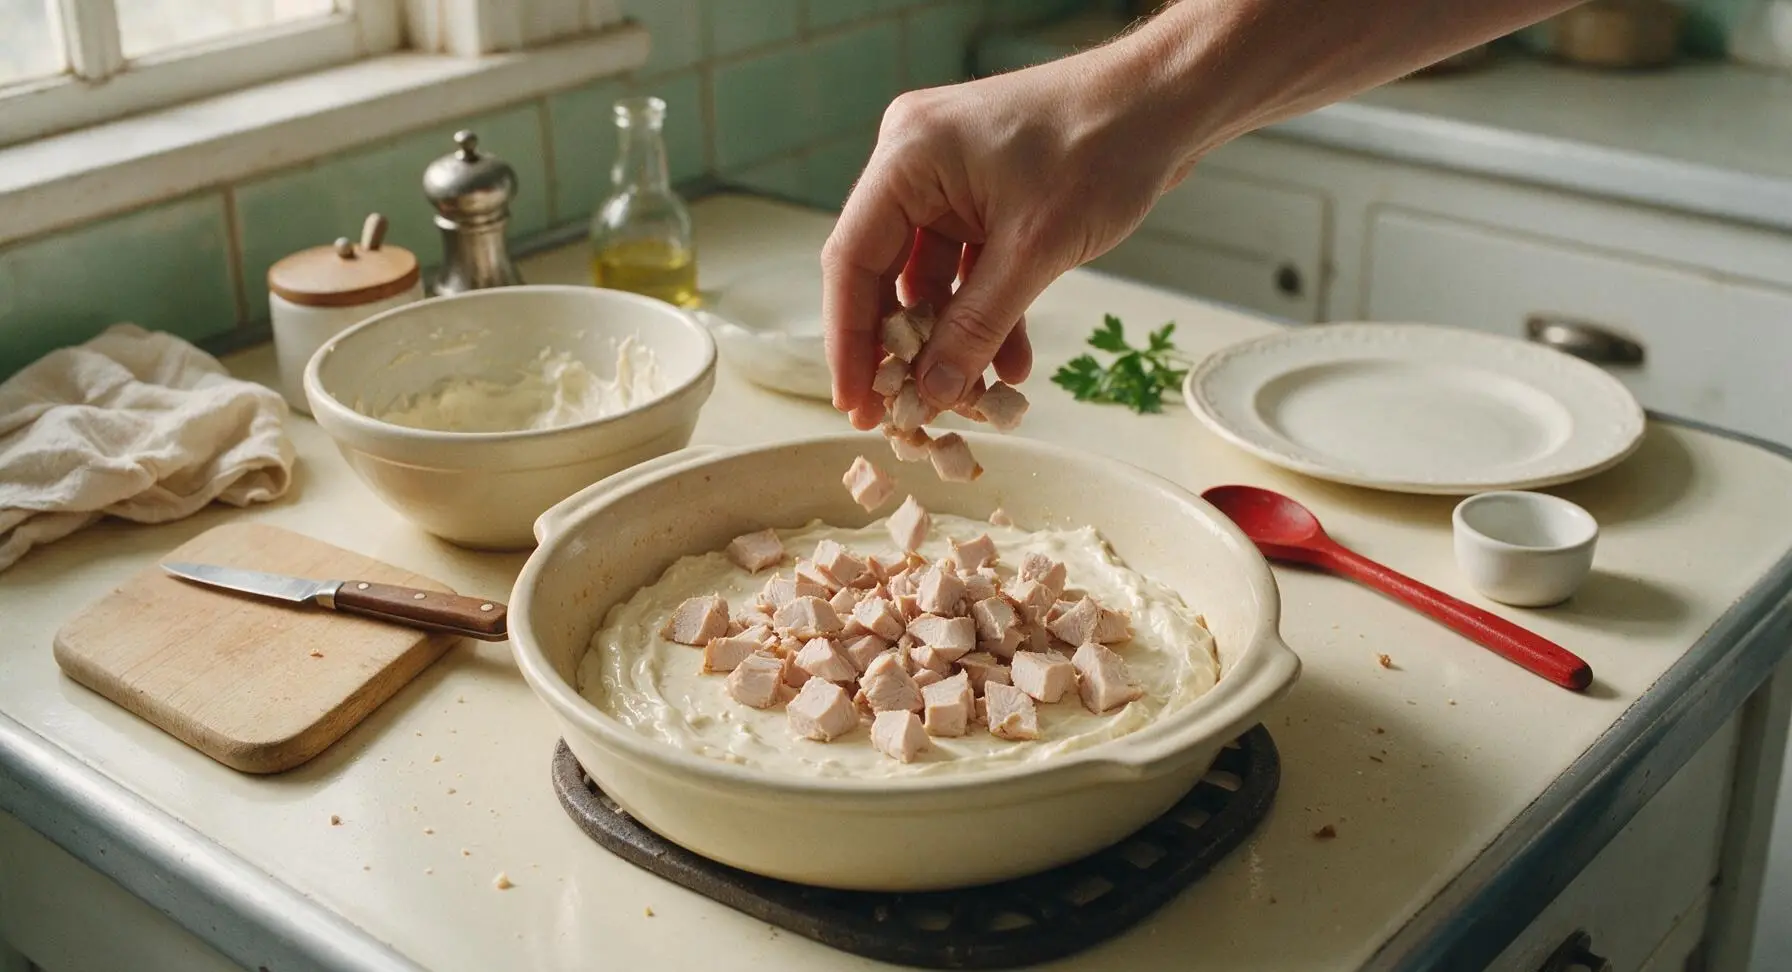
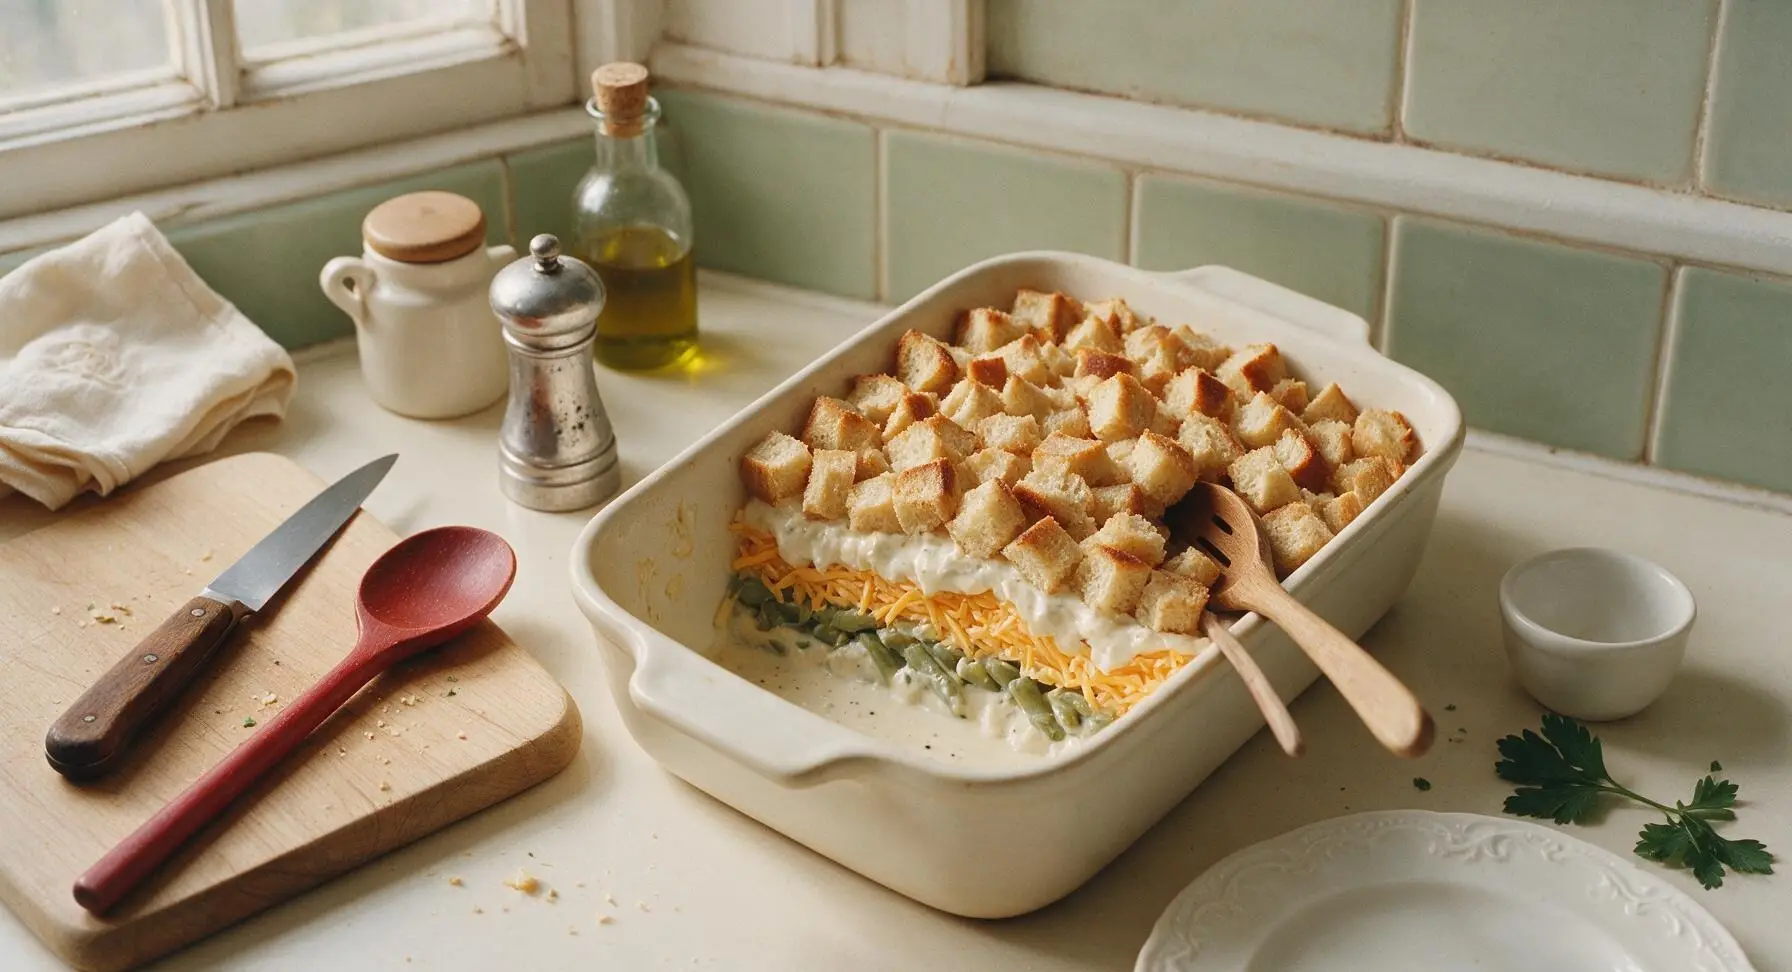
Pour half of the creamy base into the greased casserole dish, spreading it evenly across the bottom with the silicone spatula. Top with an even layer of cubed cooked turkey, followed by the patted-dry blanched green beans, then half of the shredded sharp cheddar cheese. Pour the remaining creamy base over the cheese layer, spreading it gently to cover, then top with an even layer of toasted sourdough bread cubes, pressing lightly so the bread absorbs some of the creamy liquid without getting crushed.
Step 4
step4:Layer Casserole Fillings
Step 4
step4:Layer Casserole Fillings
5

Add Crispy Top Layer

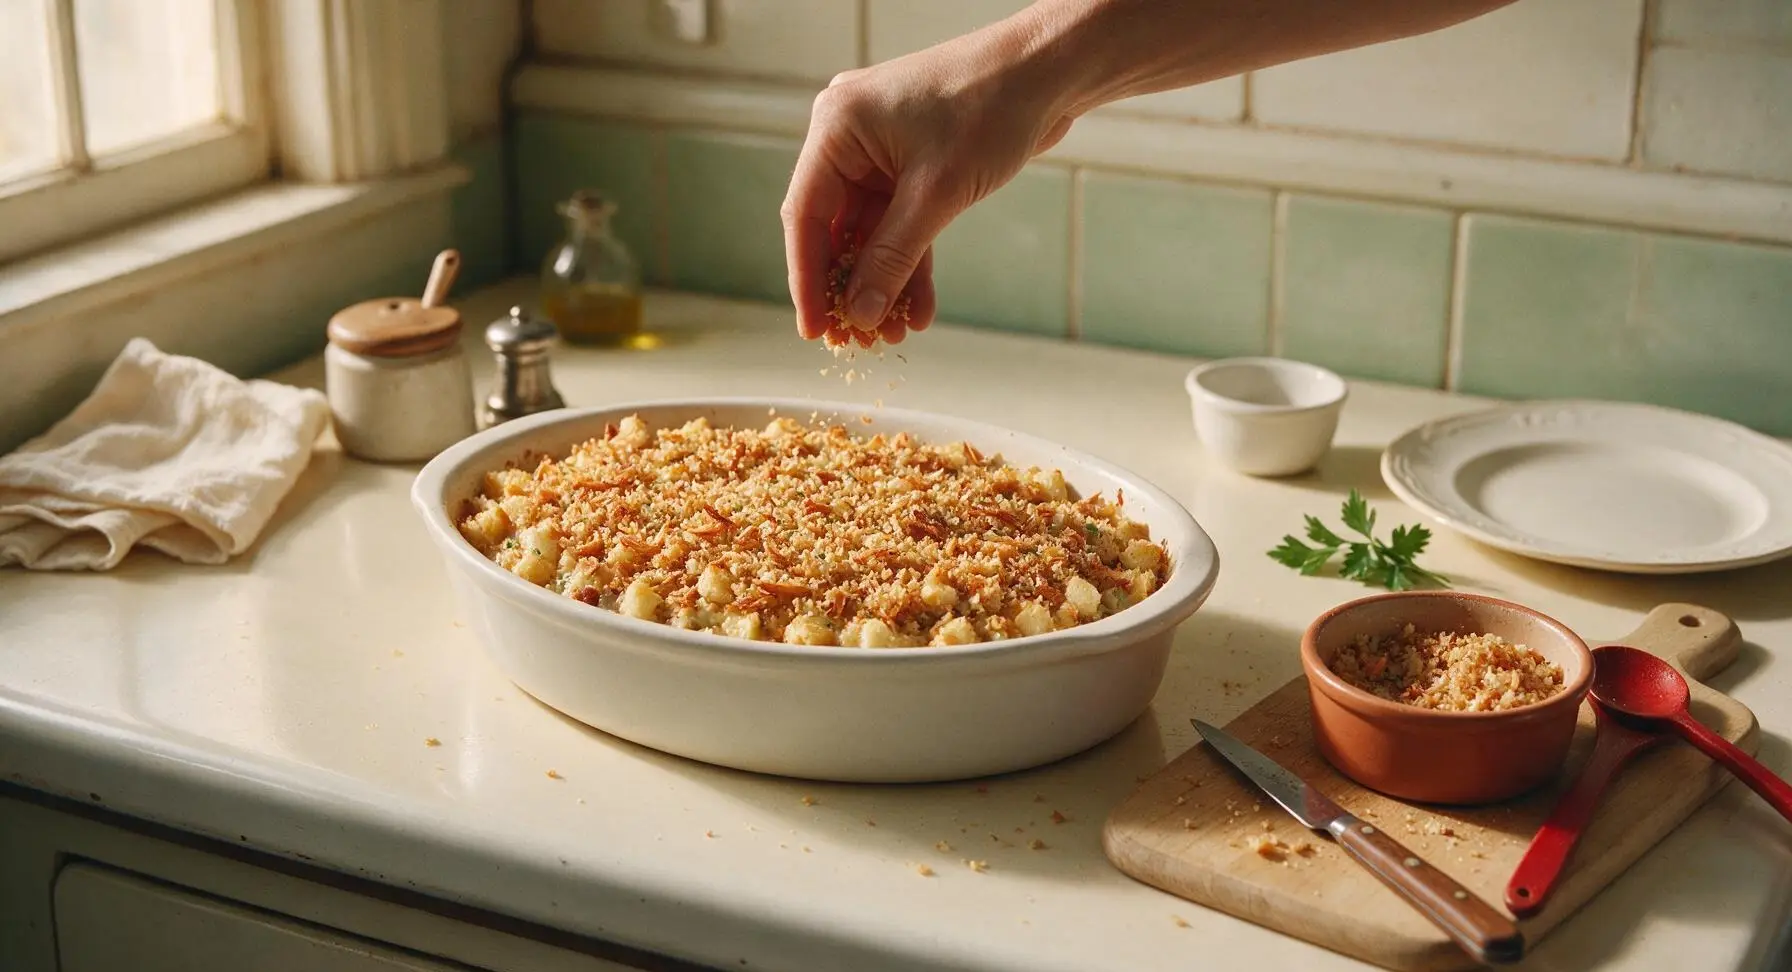
Scoop the melted unsalted butter into one of the matte terracotta ramekins, then add the panko breadcrumbs, remaining 1/2 tsp kosher salt, 1/4 tsp black pepper, and 3/4 cup of the crispy fried onions. Stir with the tip of the chef knife until the crumbs and onions are evenly coated in butter. Sprinkle this mixture evenly over the bread cube layer, then top with the remaining 1/2 cup of shredded cheddar cheese.
Step 5
step5:Add Crispy Top Layer
6

Bake Until Golden Bubbly

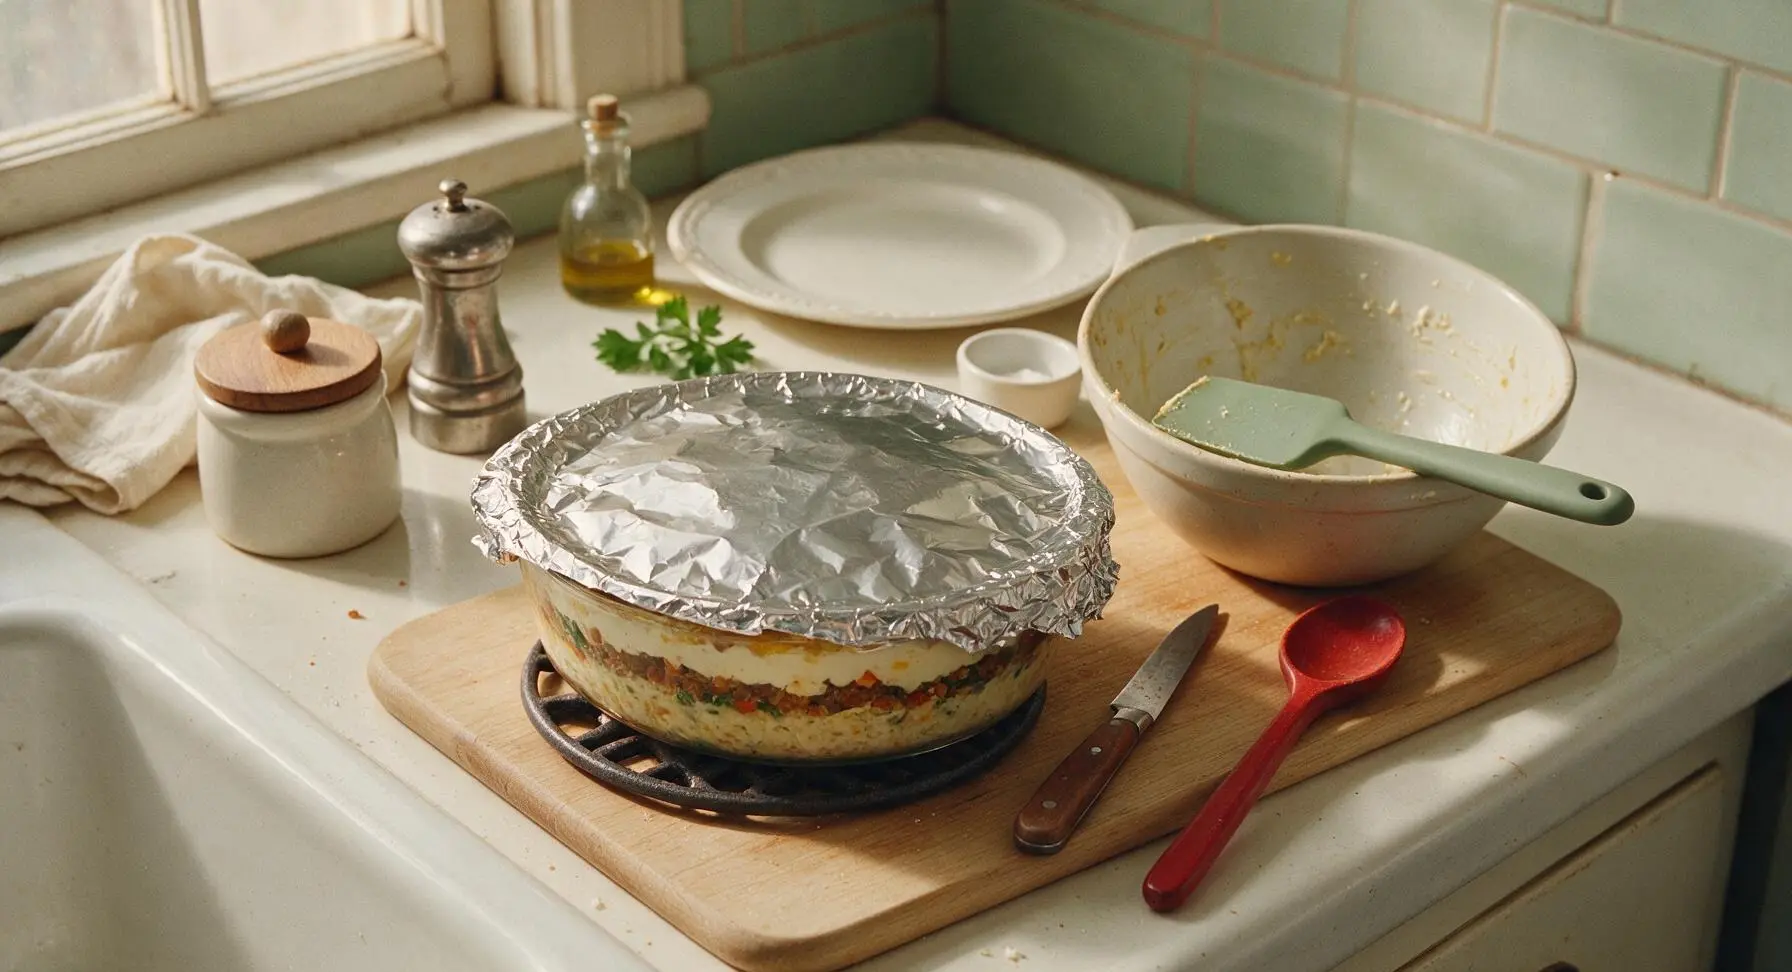
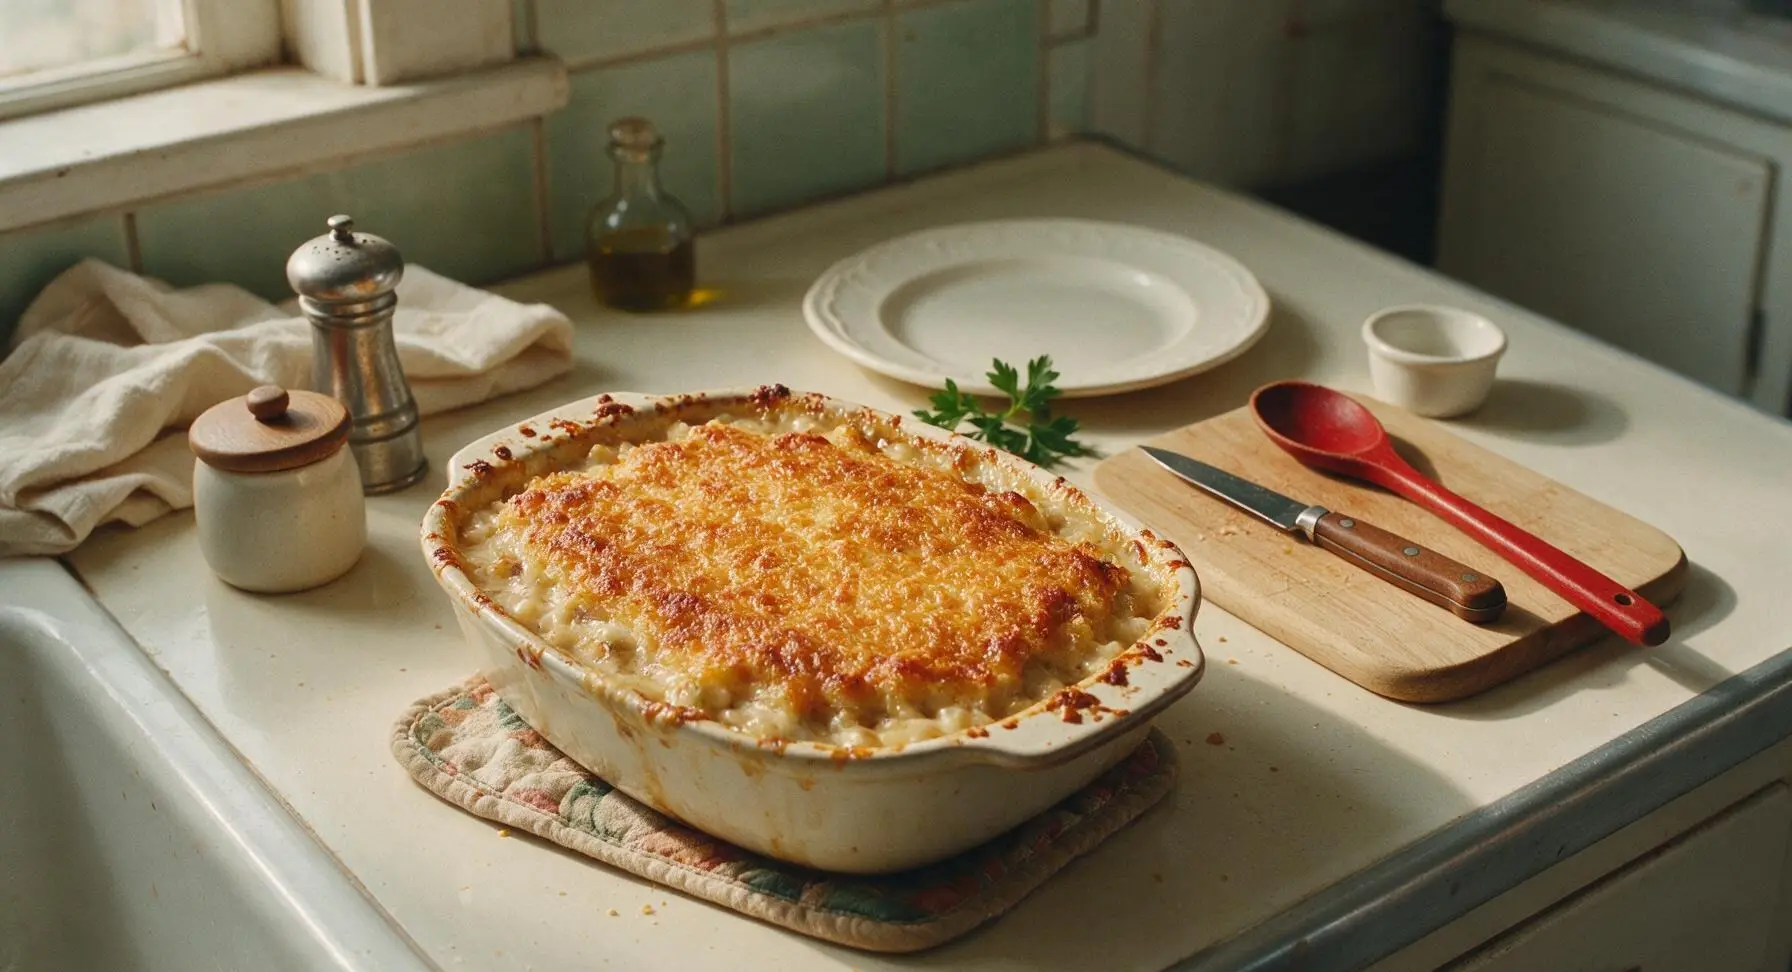
Cover the casserole dish tightly with a sheet of aluminum foil, crimping the edges to seal in steam. Transfer to the preheated 375°F (190°C) oven and bake for 25 minutes covered. Remove the foil, then continue baking for 10 additional minutes, until the edges of the casserole are actively bubbling, the crumb top is deep golden brown, and the cheese is fully melted and slightly crisped in spots.
Step 6
step6:Bake Until Golden Bubbly
Step 6
step6:Bake Until Golden Bubbly
7

Rest and Finish Garnish

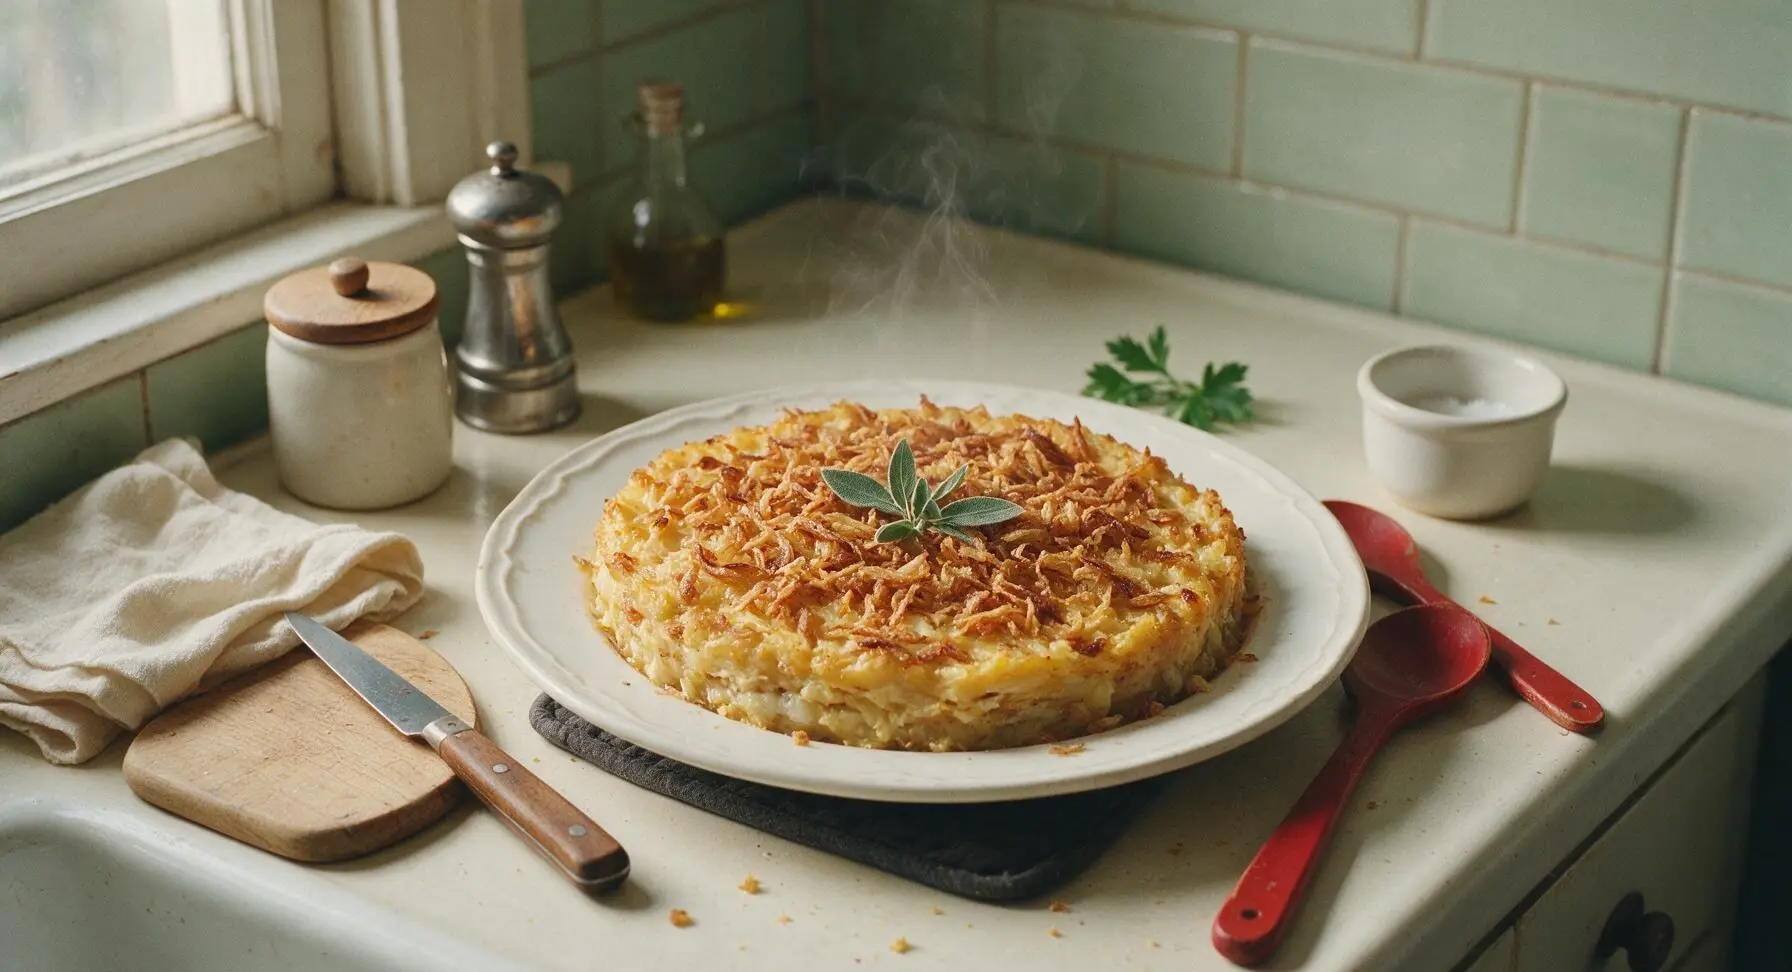
Let the baked casserole rest for 10 full minutes on the pot holder at room temperature to allow the layers to set, which prevents runny slices when serving. Sprinkle the remaining 1/4 cup of crispy fried onions across the warm top, then tuck a few small fresh sage leaves from the herb bunch in the center for a bright, aromatic garnish.
Step 7
step7:Rest and Finish Garnish

Tips

1.Pat blanched green beans completely dry before layering: residual water on the bean surface will thin the creamy base as it bakes, leading to a runny casserole instead of clean, set layers.
2.Toast sourdough bread cubes for 5 minutes at 375°F before assembling: toasting dries out the bread surface so it holds texture instead of turning mushy when it absorbs the creamy sauce, creating a light, fluffy stuffing layer.
3.Let the casserole rest the full 10 minutes after baking: this cooling time lets the hot creamy filling thicken and set, so scoops hold their neat shape on the plate instead of sliding apart, similar to resting a lasagna.


✨ You May Also Like

Side Dishes
🍜 India

Velvety, aromatic all-purpose curry sauce perfect for tossing with roasted veggies, grilled protein, or rice for fast, cozy, flavorful meals.

⏱️ 25 minuteSide Dishes ★ 4.8
Side Dishes
🍜 Spain

Tender, starchy boiled yuca tossed in bright, garlicky citrus mojo sauce—an iconic, zesty side that pairs beautifully with roasted pork, grilled meats, and rice and beans.

⏱️ 40 minuteSide Dishes ★ 5
Side Dishes
🍜 United States

Tender, paper-thin potato flatbread, a beloved Norwegian-American Minnesota Christmas staple, griddled until softly spotted and served warm with butter.

⏱️ 1 hour 30Side Dishes ★ 4.6
Side Dishes
🍜 United States

Rich, deeply savory cured salt pork, a long-lasting kitchen staple perfect for frying crispy as a side or adding umami to stews, beans, and chowders.

⏱️ 7 days (2Side Dishes ★ 4.9
Side Dishes
🍜 United States

Crispy, tangy classic Southern fried green tomatoes with a crunchy cornmeal crust, served hot for a nostalgic, comforting summery bite.

⏱️ 25 minuteSide Dishes ★ 4.9
Side Dishes
🍜 United States

Moist, golden-crusted savory muffins with sweet corn, zesty jalapeño, and melted cheddar, perfect for pairing with smoky summer grilled fare.

⏱️ 30 minuteSide Dishes ★ 4.9

thanksgiving casserole:Frequently Asked Questions

1.Can I make this casserole ahead of time to cut down on Thanksgiving day prep? ▾
Absolutely! Assemble the full casserole (hold off on adding the top fried onion layer) up to 2 days in advance, cover tightly, and refrigerate. When ready to bake, remove the cover, add the fried onions, and tack on 10-15 minutes of bake time to account for the cold dish, until it’s bubbly and hits 165°F internally.
2.Can I use leftover roasted Thanksgiving turkey instead of freshly cooked turkey breast? ▾
Definitely—this recipe is made for leftover turkey! Chop leftover roasted turkey (white, dark, or a mix works great) into uniform ½-inch cubes so it layers evenly. Skip any overly dry, crispy edge pieces if you can, and stick to tender, juicy meat for the best texture in every bite.
3.Do I need to pre-cook fresh green beans before layering them into the casserole? ▾
Yes, blanch them first for ideal texture. Boil trimmed, cut green beans for 3 minutes, then plunge immediately into ice water to stop cooking and lock in their bright color. This keeps them crisp-tender, not mushy or raw, after baking, so they hold up against softer stuffing and turkey layers.
4.What can I substitute for condensed cream of mushroom soup if I don’t have it? ▾
You have plenty of easy swaps! Use an equal amount of condensed cream of chicken, cream of celery, or thick homemade creamy mushroom sauce if you prefer to skip canned soup. If using homemade, match the thick, pourable consistency of condensed soup so the casserole doesn’t turn out runny as it bakes.
5.My sourdough cubes aren’t pre-toasted—how do I prep them for the stuffing layer? ▾
It’s quick to toast them at home! Toss ½-inch sourdough cubes with 2 tablespoons of melted unsalted butter, spread in a single layer on a baking sheet, and bake at 375°F for 8-10 minutes, stirring once halfway, until golden and crisp on the edges. Cool fully before layering to avoid sogginess.
6.Can I add extra layers like mashed potatoes or cranberry sauce to the casserole? ▾
Totally—this casserole is super customizable! Add a 1-inch layer of cooled leftover mashed potatoes between the turkey and green bean layers, or swirl a thin layer of whole-berry cranberry sauce under the stuffing for a sweet-tart kick. Just avoid overpacking the dish or adding overly wet layers to prevent sogginess.
7.How do I keep the stuffing layer from getting mushy as the casserole bakes? ▾
The key is using fully toasted, dry sourdough cubes for the stuffing layer, and not over-saturating them with soup or turkey juices. If your turkey is extra juicy, toss the bread cubes with a light dusting of grated parmesan before layering to create a thin moisture barrier that prevents sogginess.
8.What size baking dish do I need to make this casserole? ▾
A 9x13-inch deep ceramic or glass baking dish works perfectly, giving you enough room to stack all core components without overflow as it bubbles. If you only have smaller dishes, split the casserole between two pans, reduce bake time by 5-10 minutes, and check for bubbly edges and a 165°F internal temp to confirm doneness.
9.Can I adjust this recipe to be gluten-free for guests with dietary restrictions? ▾
Absolutely, with a few simple swaps. Use certified gluten-free toasted sourdough cubes for the stuffing, pick a gluten-free condensed cream of mushroom soup, and confirm your crispy fried onions are gluten-free (many store-bought versions use wheat flour, so double-check labels). All other core ingredients are naturally gluten-free.
10.What can I use instead of turkey for guests who don’t eat poultry? ▾
You have lots of great options! Swap the cubed turkey for equal amounts of diced cooked ham, roasted butternut squash, or rinsed, seasoned chickpeas for a vegetarian version. Just cut any swap into uniform ½-inch pieces so it layers evenly and is easy to scoop alongside the other components.
11.Should I cover the casserole with foil while it bakes? ▾
Yes, cover the dish tightly with aluminum foil for the first 35 minutes of baking at 375°F to help layers heat through evenly without burning the fried onion topping. Remove the foil for the final 10-12 minutes of baking to let the top onions crisp up to a deep golden, and let edges bubble slightly.
12.How long will leftover casserole stay good in the refrigerator? ▾
Properly stored in an airtight container, leftovers will keep for 3 to 4 days in the fridge. Reheat individual portions in the microwave or 350°F oven until the internal temperature hits 165°F. The fried onion topping will soften in storage, so sprinkle on extra fresh fried onions when reheating to bring back crunch.
13.Can I freeze this casserole to prep it more than a couple days ahead? ▾
You can freeze the fully assembled, unbaked casserole (skip the top fried onion layer for now) for up to 3 months, wrapped tightly in a double layer of plastic wrap and foil. Thaw fully in the fridge for 24 hours before baking, add the fried onions, and bake as directed, adding 5-10 minutes if needed to heat through.
14.Can I use frozen green beans instead of fresh for this recipe? ▾
Absolutely, frozen green beans work great here! Skip the blanching step, but thaw them completely and pat very dry with paper towels before layering to remove excess moisture from ice crystals that would make the casserole watery. Cut whole frozen beans into 1-inch pieces, then layer just like fresh blanched beans.

Comments (19)

2 days ago

OMG this casserole was an absolute game changer for our Friendsgiving potluck last weekend! I was stressing about making something that traveled well and didn’t take all day, and this 35 minute cook time is chef’s kiss. Every single person asked for the recipe, even my picky cousin who hates Thanksgiving food lmao. 10/10 will be making this for actual Thanksgiving too!

yesterday

Wait did you make it the night before and reheat it? I’m thinking of prepping this for my office potluck and don’t want it to get soggy!

yesterday

Great question! You can absolutely assemble this the night before, keep it covered in the fridge, and bake it right before you head out—just add 5-7 minutes to the cook time if it’s cold from the fridge. If you’re reheating a fully cooked casserole, cover with foil and bake at 350 for 15 minutes and it’ll taste just as fresh!

1 week ago

My kids LOVED this! I was so tired of making separate Thanksgiving sides that the grown ups liked and the kids would pick at, and this layered casserole is the perfect middle ground. The layers are so fun for them to help stack too, which kept them occupied for 10 whole minutes while I prepped the turkey. SO good, already added this to our weekly rotation even outside of holiday season!

1 week ago

That makes our day to hear! We love when recipes get kids involved in the kitchen, and it’s even better when it works for weeknights too, not just holidays. Thanks for sharing!

3 days ago

Super easy to throw together after a long morning hike last weekend when we had friends over for an early Thanksgiving test run. I added a little extra crispy fried onions on top because that’s my favorite part of holiday sides, and it turned out perfect. No notes, will make again.

5 days ago

Wait, can I swap the regular bread stuffing for a gluten free version without messing up the layers? I’m hosting Thanksgiving this year and two of my guests are gluten free, so I’m trying to find sides that work for everyone without making two separate dishes.

3 days ago

I did this last week when I tested the recipe! Used a GF herb stuffing mix and it tasted identical, no one at my dinner party even noticed it was gluten free. Just make sure your cream of mushroom soup is GF too if you go that route!

2 days ago

Great swap recommendation from CeliacCook! The gluten free stuffing works perfectly as a 1:1 swap here, and as they mentioned, just double check any canned ingredients you use to make sure they’re certified GF if you’re cooking for guests with celiac. It’ll still turn out delicious!

1 week ago

I’m a total beginner in the kitchen and this was so easy to make for my dorm Friendsgiving! I was scared I’d mess up a whole Thanksgiving meal for my roommates, but this came together in like 40 minutes total (counting prep) and everyone raved. Way better than the sad dining hall Thanksgiving options lmao

5 days ago

Wait did you make this in a regular dorm oven? My dorm has those tiny countertop ovens and I’m wondering if a 9x13 pan will fit!

2 weeks ago

This is good, but I added a layer of collard greens between the turkey and the mashed potato layer and it took it to a whole other level. Gave it that little southern kick that felt right for our family Thanksgiving spread. Will definitely be making my modified version for years to come!

2 weeks ago

That sounds like such a delicious, personal twist! We love when people add their own family favorite touches to recipes—collard greens are such a perfect addition for a southern style spread. Thanks for the idea!

3 days ago

Meal prepped this on Sunday for lunches all week and it held up so good! I portioned it out into single serve containers and just popped them in the microwave for 2 minutes at lunchtime. The layers didn’t get mushy at all, which is always my biggest fear with casserole meal prep. Great recipe!

yesterday

Full transparency: I hate traditional Thanksgiving food. I think it’s all bland and mushy, but my partner begged me to make a casserole for his family’s dinner so I picked this easy one. Y’all… I actually went back for seconds. The layers have way more texture than I expected, and the savory flavor isn’t boring at all. I might actually look forward to Thanksgiving sides now lmao

2 hours ago

Oh my god same! I always skip the sides at Thanksgiving because they’re so bland, this is the first one that actually sounds good enough to try. Adding to my list!

30 minutes ago

That’s the best review we could ask for! We designed this to have lots of different textures in every bite so it doesn’t feel like one big mushy mess, so we’re thrilled even self-proclaimed Thanksgiving haters enjoy it. Hope it’s a hit at the family dinner!

5 days ago

Made this for my book club potluck earlier this week and it was the first dish gone! I was worried it would be too heavy since we had a bunch of appetizers and dessert, but the portion sizes were perfect and it was so flavorful. Several people asked for the link to the recipe before they left, which is always the sign of a win in my book.

3 days ago

Did you serve it warm or room temp? My book club does potlucks where food sits out for a couple hours while we talk, so I don’t want to serve something that’s gross cold.

1 week ago

Cooked this on my pellet grill instead of the oven (because why turn on the oven when the grill works?) at 375 for 30 minutes and it had the best little smoky flavor on top. My whole family thought I was a genius, little do they know how dead simple this recipe actually is. 10/10, will grill again.

30 minutes ago

As someone who burns toast 50% of the time, I was shocked how easy this was to pull off. The instructions are so straightforward, no fancy ingredients or weird techniques. Cook time was exactly 35 minutes like the recipe said, no guessing if it was done. Perfect for people who don’t cook much but still want to bring something impressive to holiday events.

5 minutes ago

We’re so glad this worked for you! We designed this recipe specifically to be approachable for cooks of all skill levels, so even if you’re just starting out, you can end up with a delicious, impressive dish without the stress. Happy cooking!

2 weeks ago

Wait a second, this is perfect for using up all the random Thanksgiving leftovers! I had leftover turkey, leftover mashed potatoes, leftover green bean casserole, and I just layered them all like the recipe said instead of using fresh ingredients, and it was insane. Why have I never thought to do that before? Game changer for leftover season.

1 week ago

OH that’s such a good idea! I always end up throwing out so many leftovers after Thanksgiving because I get sick of eating the same thing on repeat, this is such a fun way to repurpose them.

1 week ago

That’s such a clever hack! This recipe is actually super versatile for repurposing leftovers—you can swap in leftover roasted veggies, leftover ham, even leftover mac and cheese as a layer and it’ll turn out great. We love this idea for cutting down on food waste after the holidays!

2 days ago

I have a tiny apartment oven that’s notoriously bad at cooking things evenly, but this casserole turned out perfectly! The layers all cooked through at the same time, no burnt edges, no cold middle. I didn’t even have to adjust the cook time, which never happens for me. So impressed.

yesterday

Same! My oven is from the 90s and runs 25 degrees hot, so I turned it down 25 and baked for 35 and it was perfect. No more burnt edges for us lmao

3 days ago

I’ve been hosting Thanksgiving for 18 years and I’m always looking for new sides to add to the spread so we don’t get stuck in the same old routine. This casserole is going straight into the permanent rotation. It’s familiar enough that my traditionalist in-laws won’t complain, but different enough to feel new. Perfect balance.

2 hours ago

Is there an easy way to make this vegan? My whole family is omnivore but I’m vegan, and I don’t want to have to make a separate whole dish for myself on Thanksgiving. Would love to be able to eat the same sides as everyone else!

30 minutes ago

I made a vegan version last week! Used plant based butter for the mashed potatoes, vegan cream of mushroom soup, lentils instead of turkey, and vegan stuffing. It was so good even my meat loving brother ate two servings!

5 minutes ago

That swap list is perfect! You can absolutely make this vegan with simple 1:1 swaps for all the dairy and meat components, and it’ll still have all the cozy, savory flavor of the original. We recommend adding a little extra nutritional yeast to the mashed potato layer for a cheesy, umami kick if you have it on hand!

1 week ago

Made this for our pre-Thanksgiving football tailgate last weekend and it was a hit! Kept it warm in the cooler on the way to the stadium and served it with little paper plates, and people were coming back for thirds. Way better than the usual chips and dip we bring. Will be making this for regular season tailgates too, not just holidays.

yesterday

I added a layer of sharp cheddar between the green bean and stuffing layer and oh my GOD it was so good. The cheese gets all melty and gooey and mixes with the other flavors perfectly. 10/10, if you’re a cheese person you have to try this addition.

2 hours ago

Wait that sounds insane, I’m doing this. Do you think shredded pepper jack would work too for a little kick?

30 minutes ago

Adding cheese is such a fantastic call! Sharp cheddar is perfect here, and pepper jack would add such a fun, spicy kick that pairs so well with the savory herb stuffing. We might have to test that version ourselves this year!

5 days ago

This was pretty good, but next time I make it I’ll leave the fried onions off the top until the last 10 minutes of cook time. Mine got a little too burnt and crispy for my taste when I put them on at the start like the recipe said. Flavor was great otherwise, just a small texture thing for me.

just now

I’m hosting my first ever Thanksgiving this year and I’m so stressed about getting all the sides done on time. How far in advance can I prep the individual layers so I don’t have to do everything the morning of? I want to be able to enjoy the day with my family instead of being stuck in the kitchen the whole time!

just now

So excited for your first Thanksgiving! You can prep all the individual layers (mashed potatoes, cooked turkey, green bean filling, stuffing) up to 3 days in advance and store them in separate airtight containers in the fridge. Then assemble the casserole and bake it day of, or assemble it the night before and bake it day of as we mentioned earlier. That’ll cut down on so much day-of work so you can enjoy time with your guests!



