
Three Cheese Grilled Cheese
intro
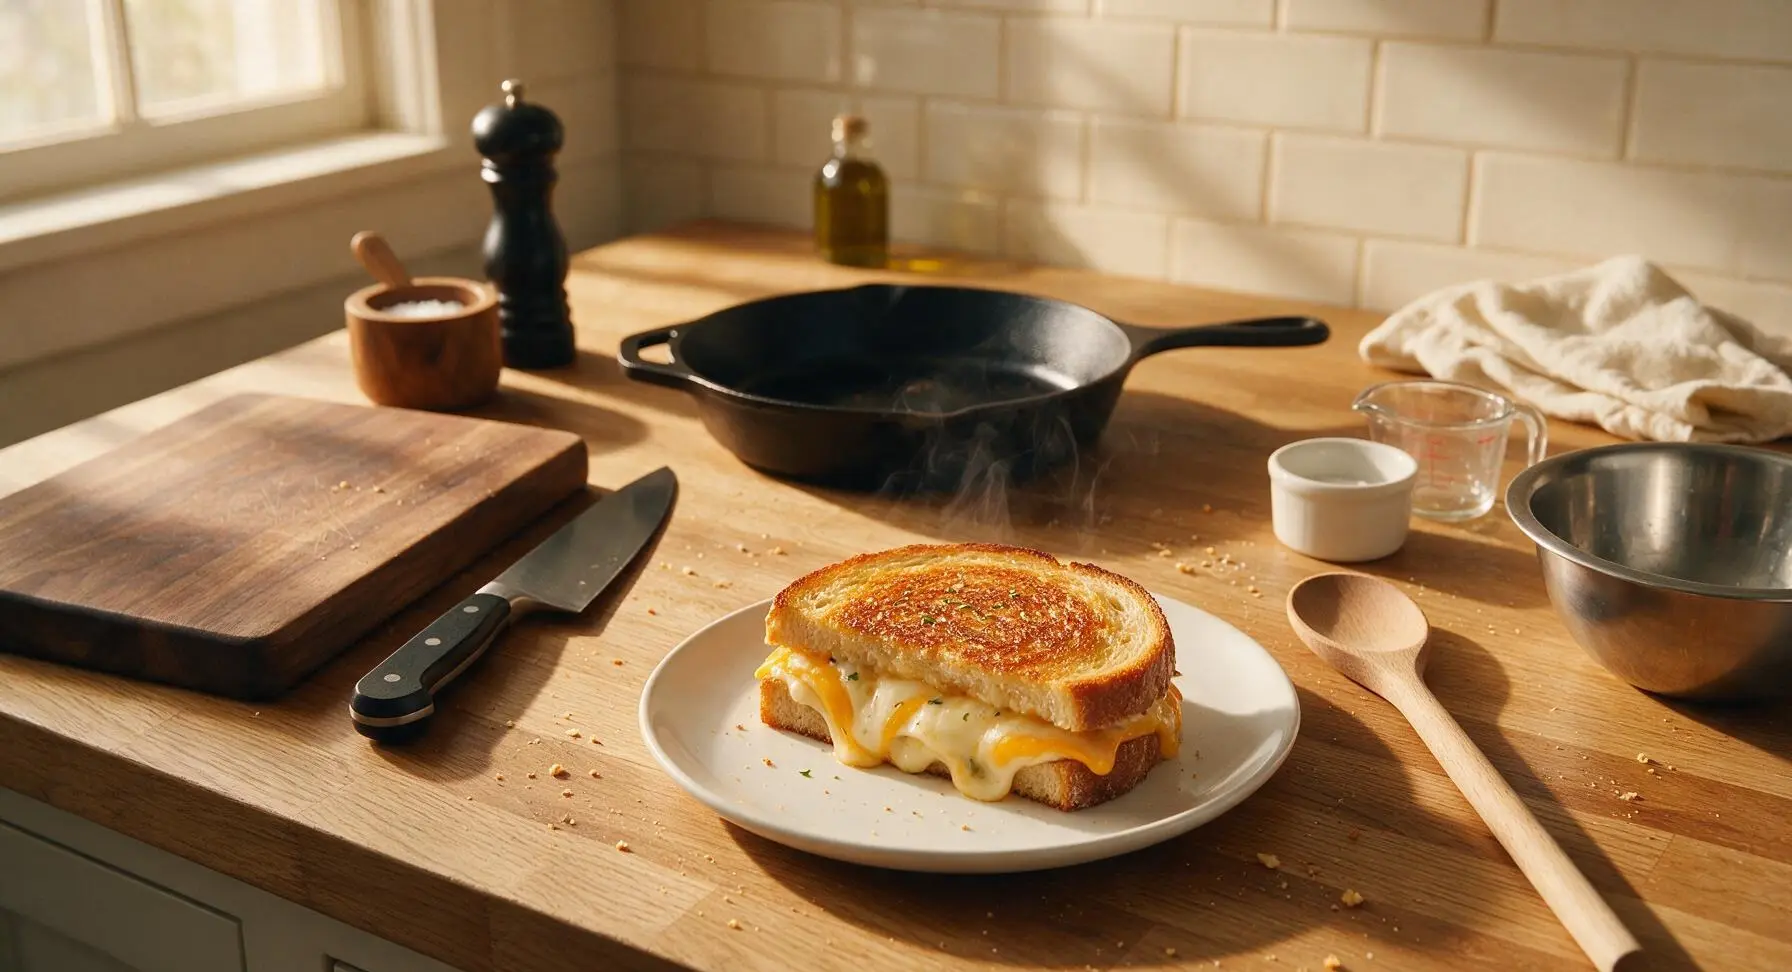
Crispy golden buttery sourdough oozing with three perfectly melted cheeses, this classic comfort food is rich, satisfying, and ready in minutes for cozy cold-weather meals.
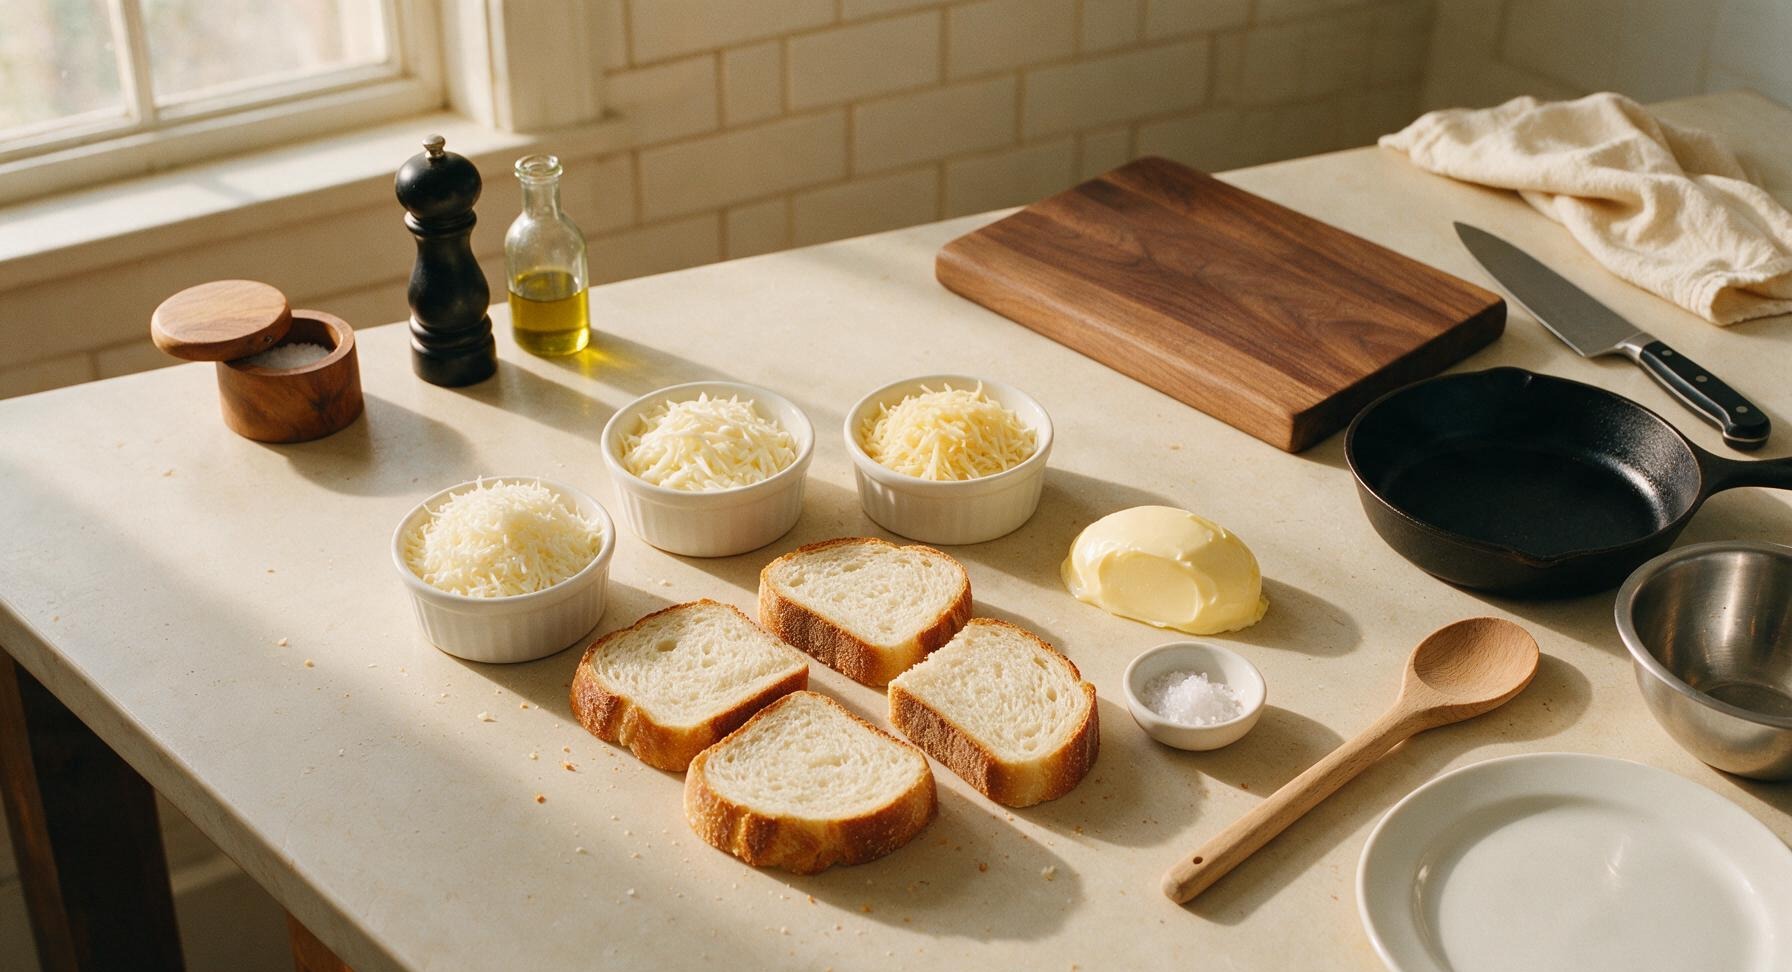
Ingredients
Steps
Shred the Cheeses
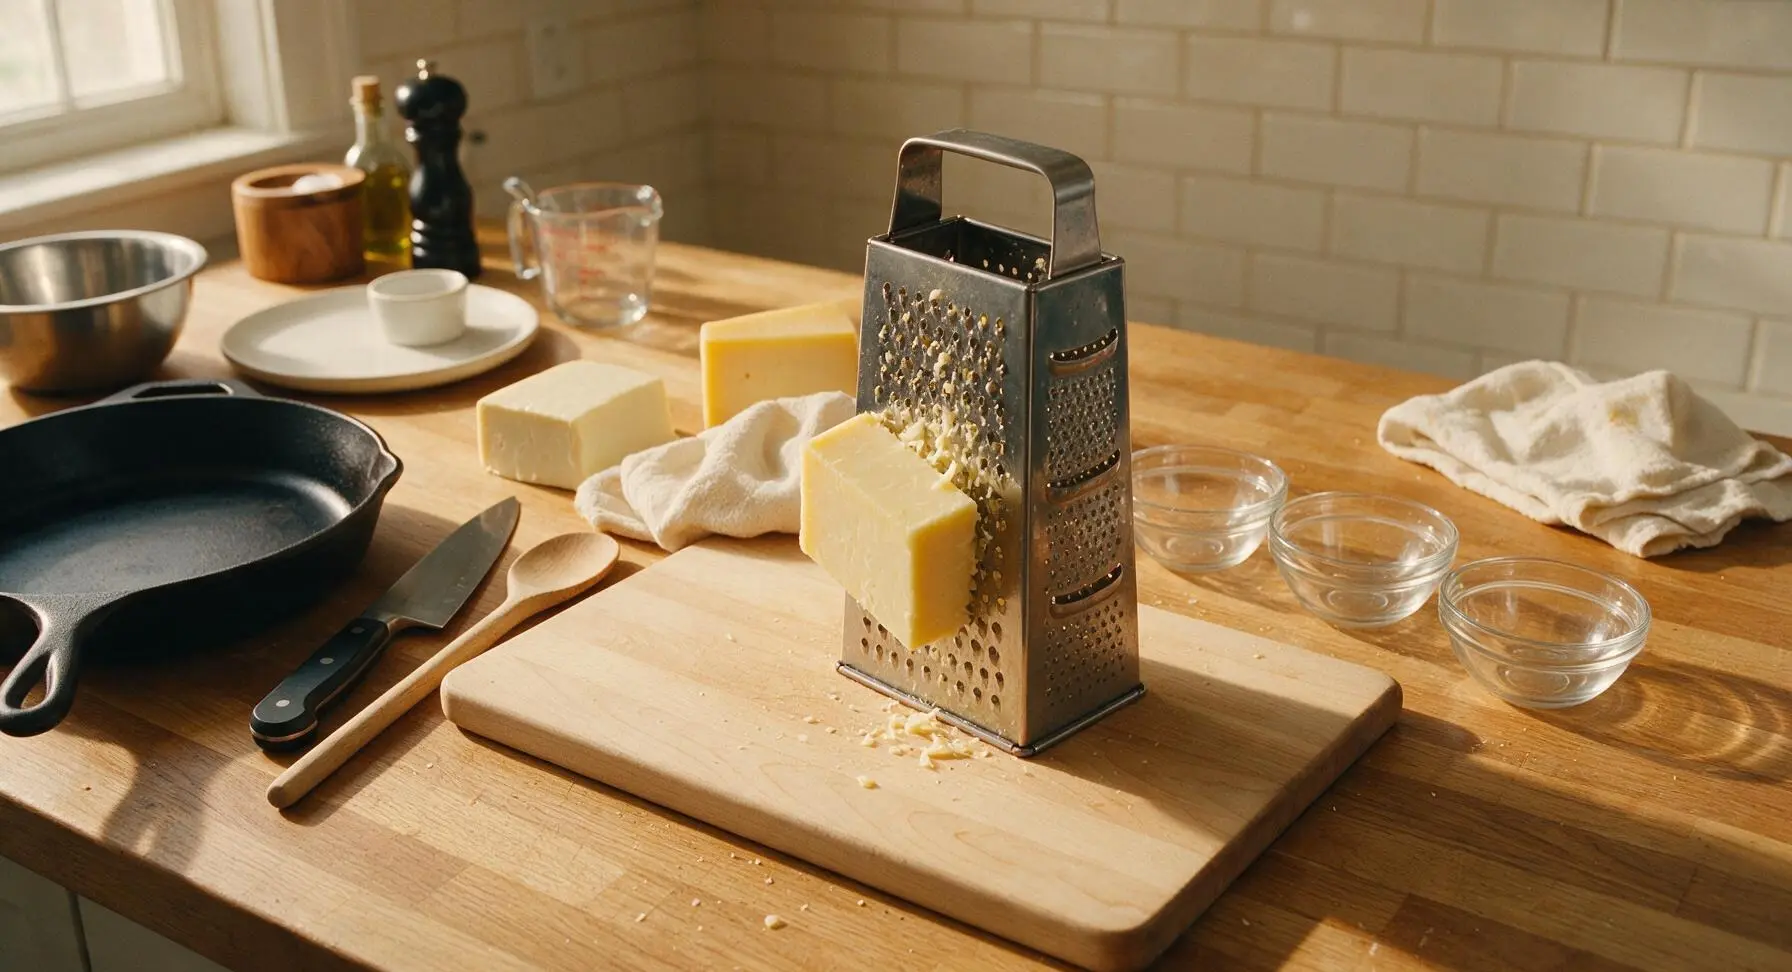
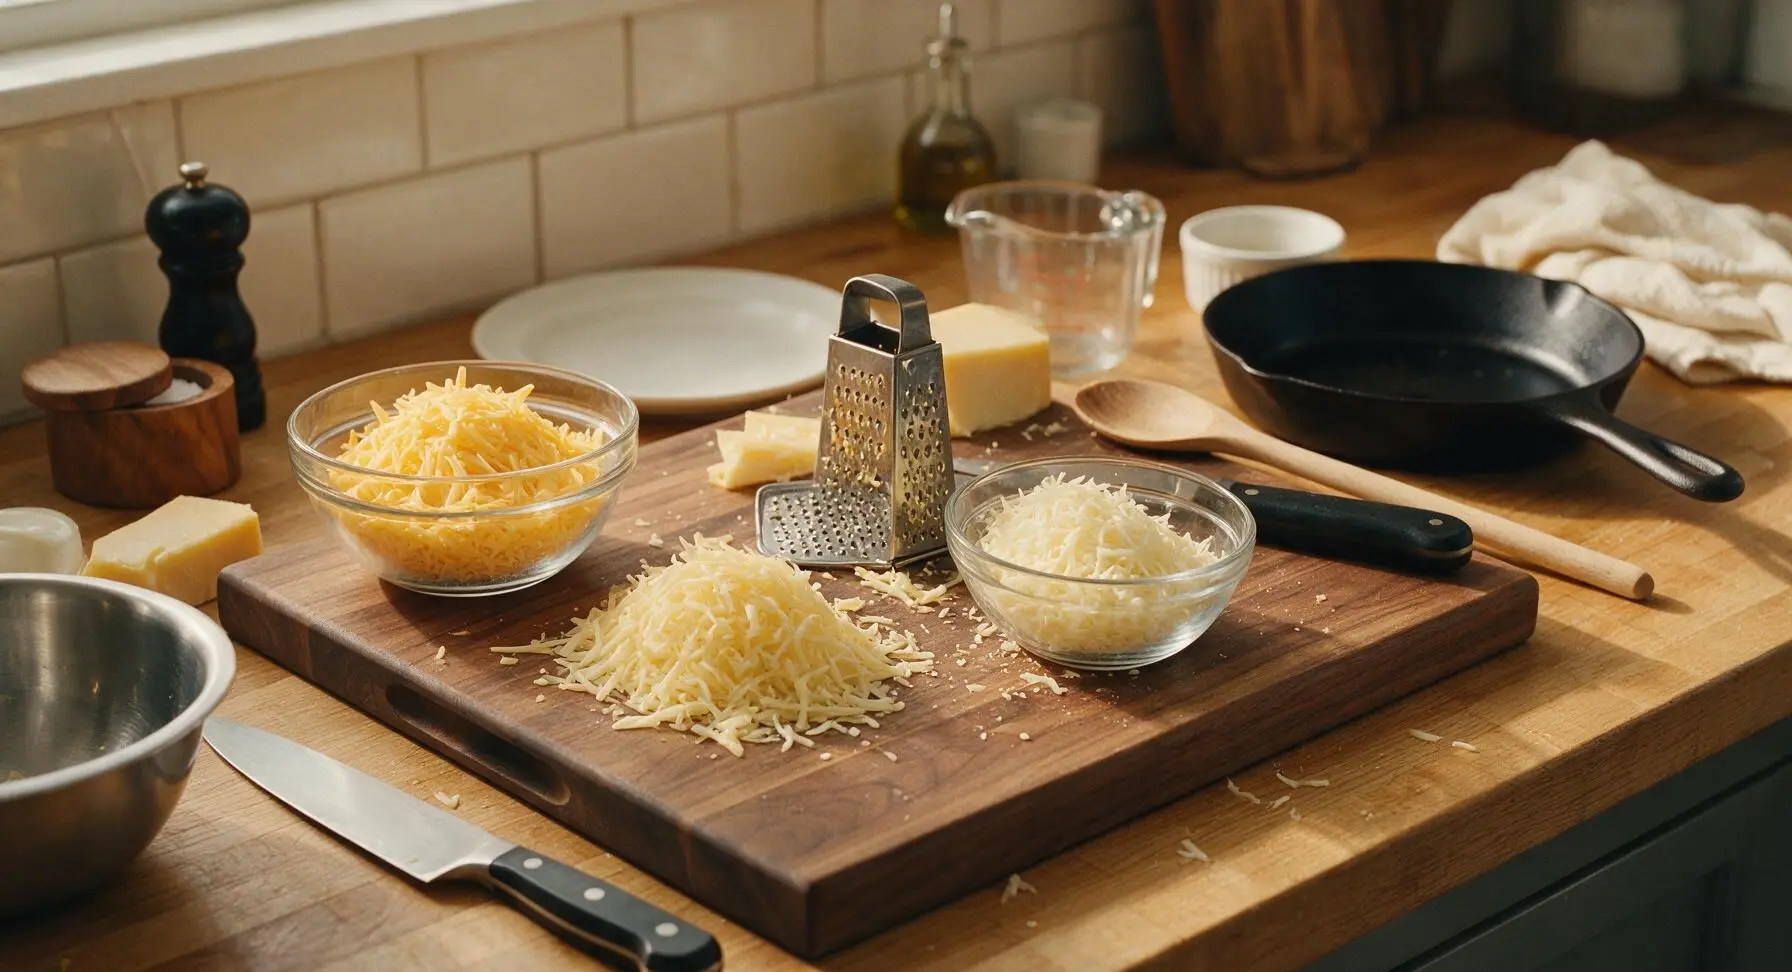
Place the box grater on the maple cutting board. Use the coarse shred side to shred 85g sharp white cheddar, 55g low-moisture mozzarella, and 55g Gruyère separately into the three clear glass prep bowls. Toss the shredded cheeses lightly together in one bowl once shredded to create an even mix; do not pack the cheese tightly. Discard any large, hard cheese rind pieces before shredding.
Butter Bread Slices
Lay all four sourdough slices flat on the maple cutting board. Use the stainless steel butter spreader to spread 1/2 tablespoon of room-temperature unsalted butter evenly across one entire side of each bread slice, all the way to the crust edges. The buttered side will be the outer, crispy surface of the sandwich, so ensure full, even coverage without thick clumps.
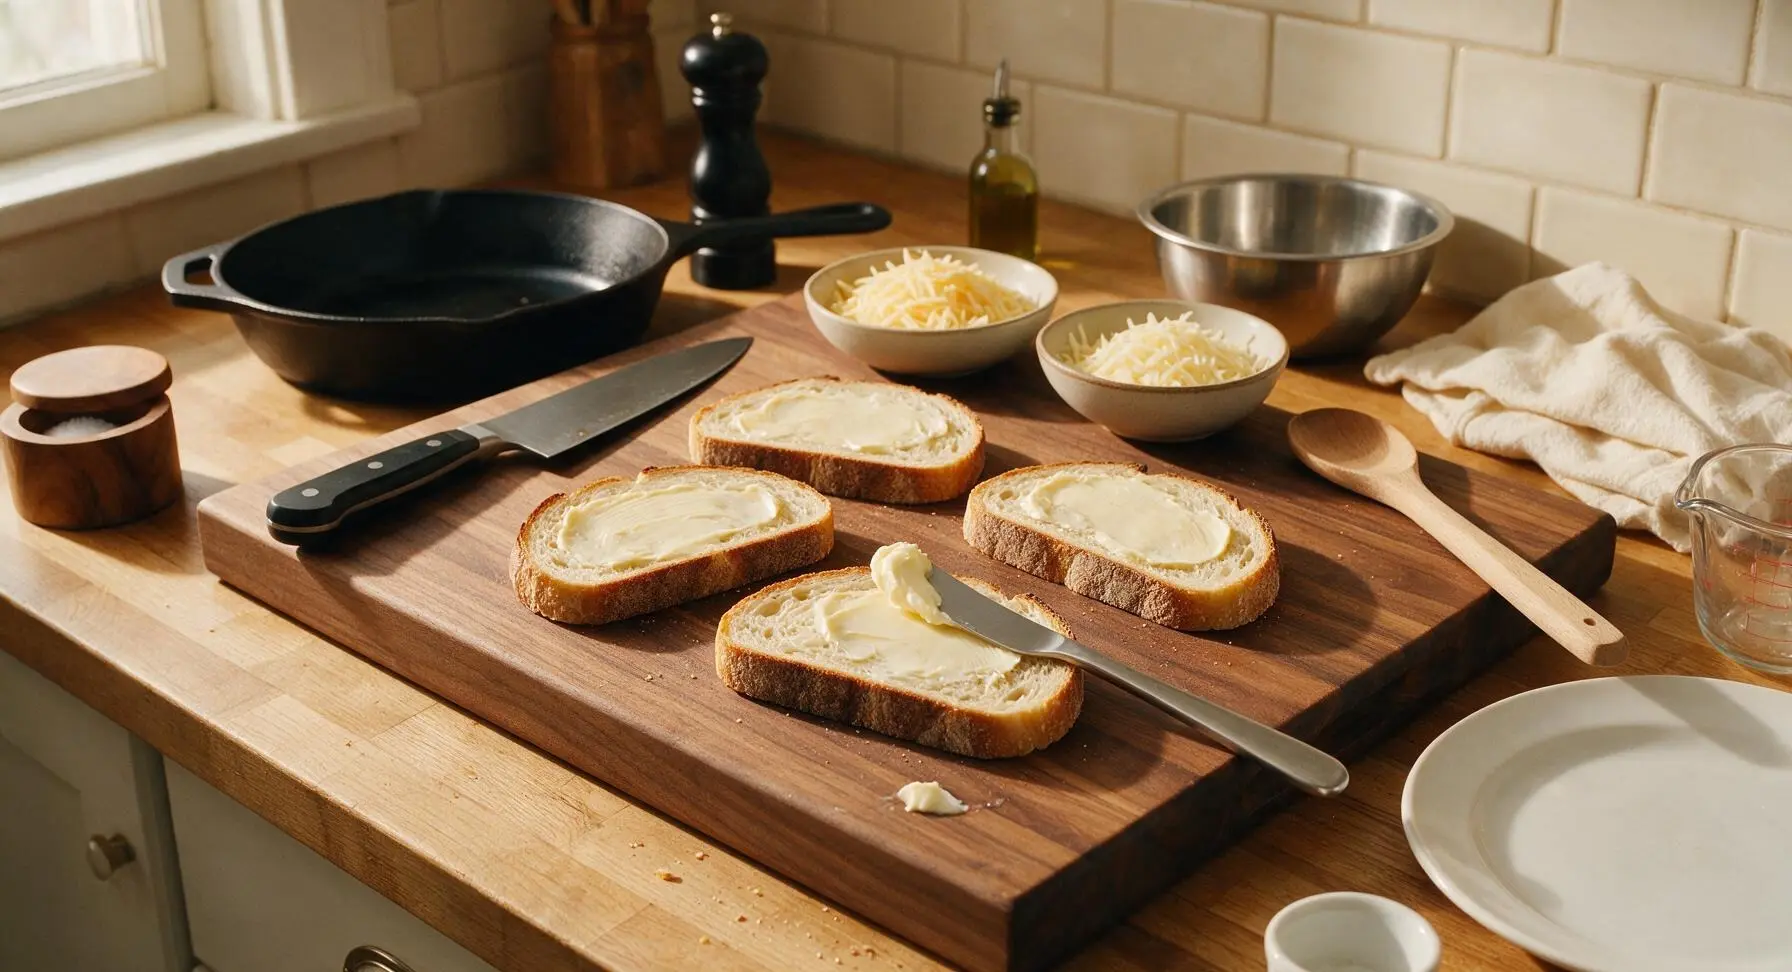
Preheat the Skillet
Place the 10-inch seasoned carbon steel skillet on the induction cooktop zone over medium-low heat (325°F / 160°C). Allow the pan to preheat for 3 minutes; do not add extra butter or oil to the pan, as the butter on the bread will provide all the fat needed for crisping. Test pan readiness by sprinkling a single drop of water: it should sizzle gently and evaporate slowly over 3 seconds, not jump violently or evaporate instantly (a sign the pan is too hot).
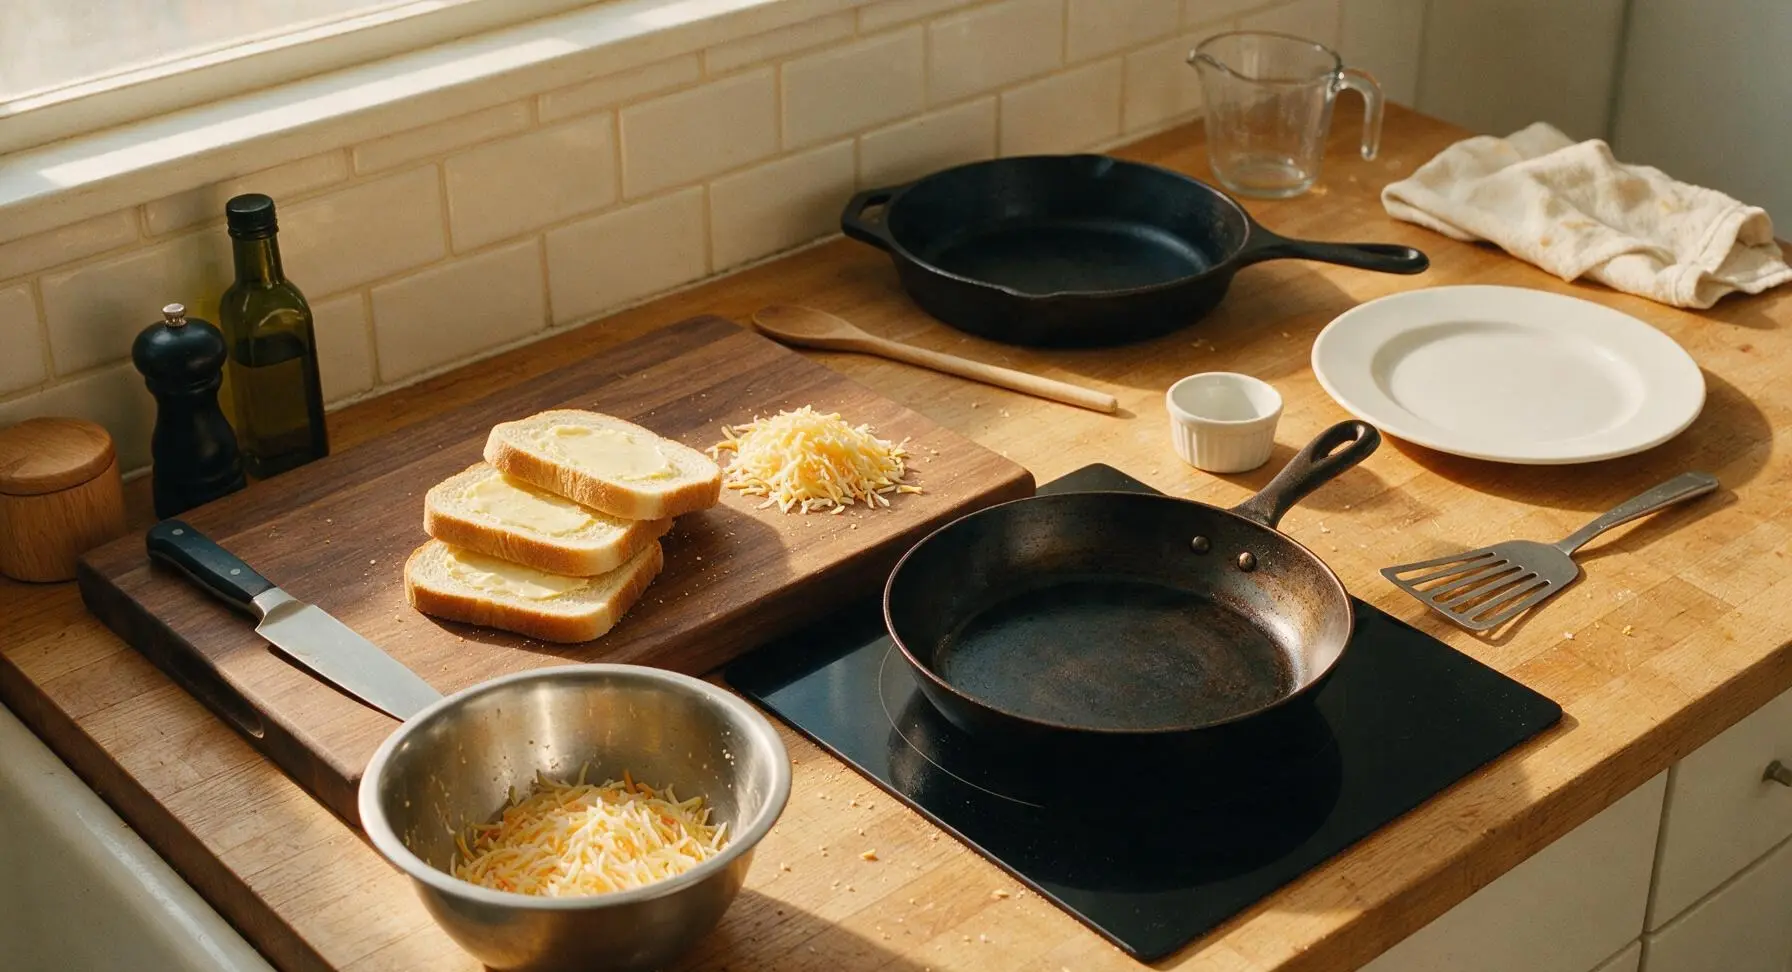
Assemble Sandwiches
Flip two of the bread slices so the buttered side faces down on the cutting board. Pile half of the mixed shredded cheese evenly across each unbuttered face, spreading the cheese to within 5mm of the crust edges to avoid excessive oozing while cooking. Top each cheese pile with the remaining two bread slices, buttered side facing up, pressing very gently to adhere the layers. Do not press so hard that cheese squeezes out the sides before cooking.
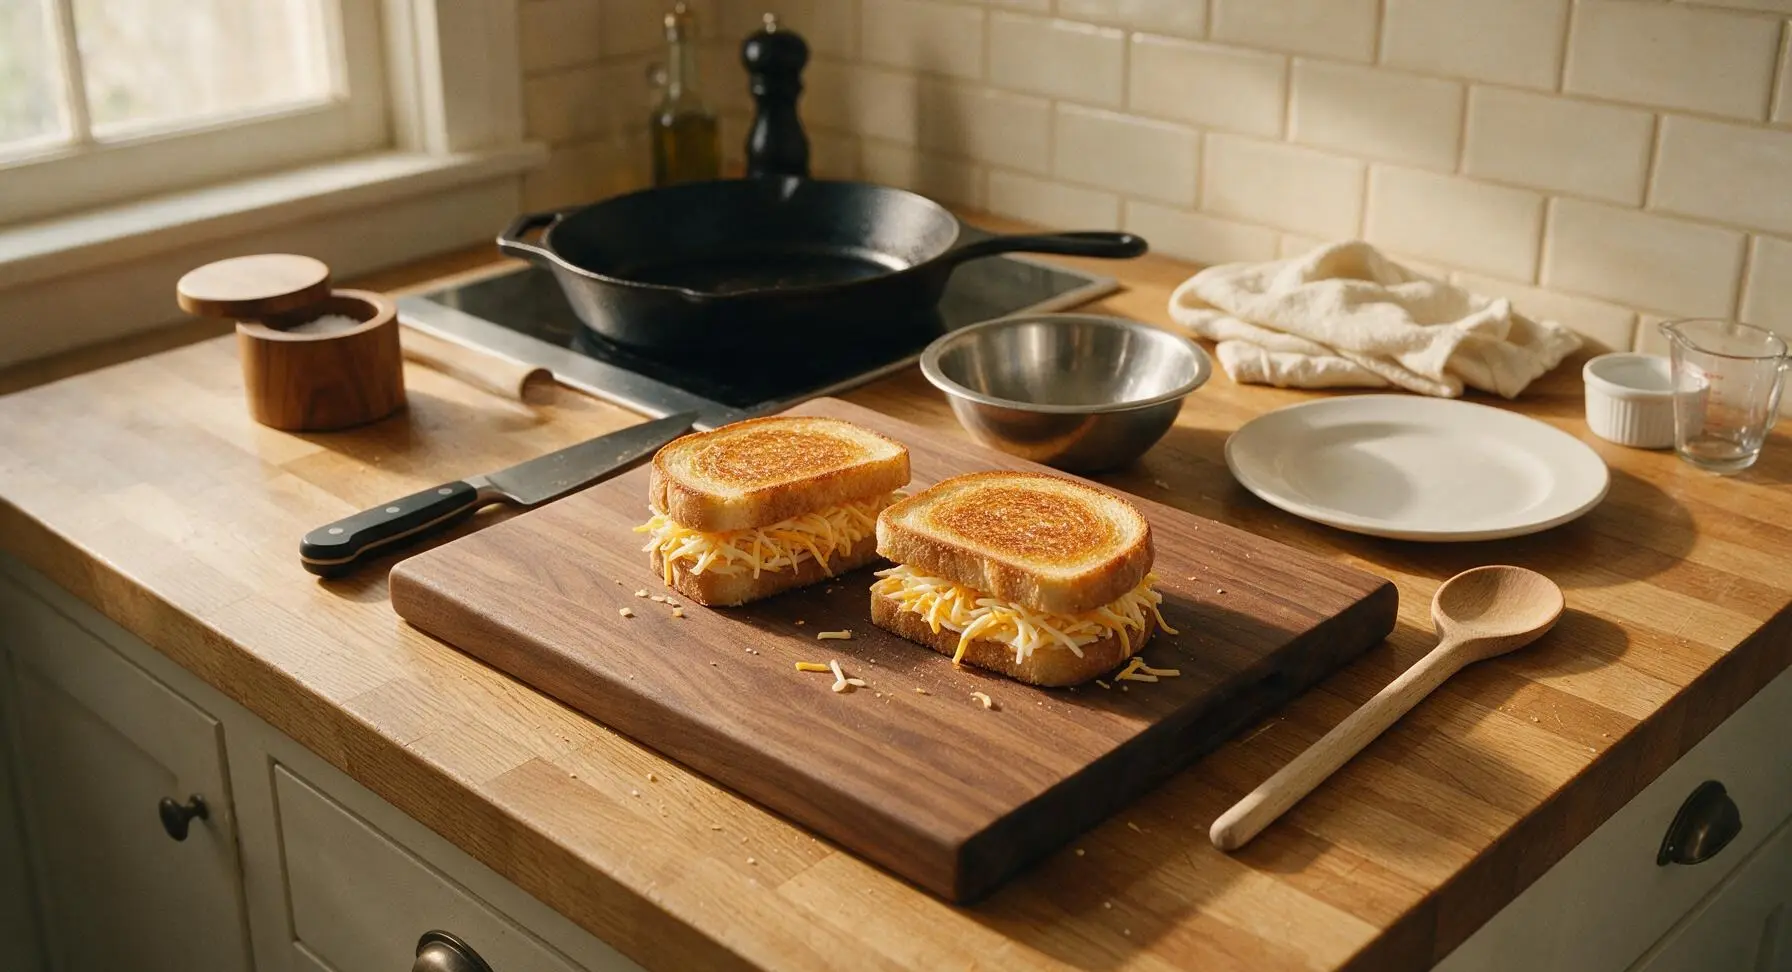
Grill First Side
Carefully lift both assembled sandwiches with the turner spatula and place them in the preheated skillet. Cook for 4 to 5 minutes on the first side, adjusting heat to medium if the pan is too cool, or low if bread browns faster than 3 minutes. The bread is ready to flip when the surface touching the pan is deep golden brown, crisp to the touch, and the cheese closest to the pan has started to soften and turn translucent.
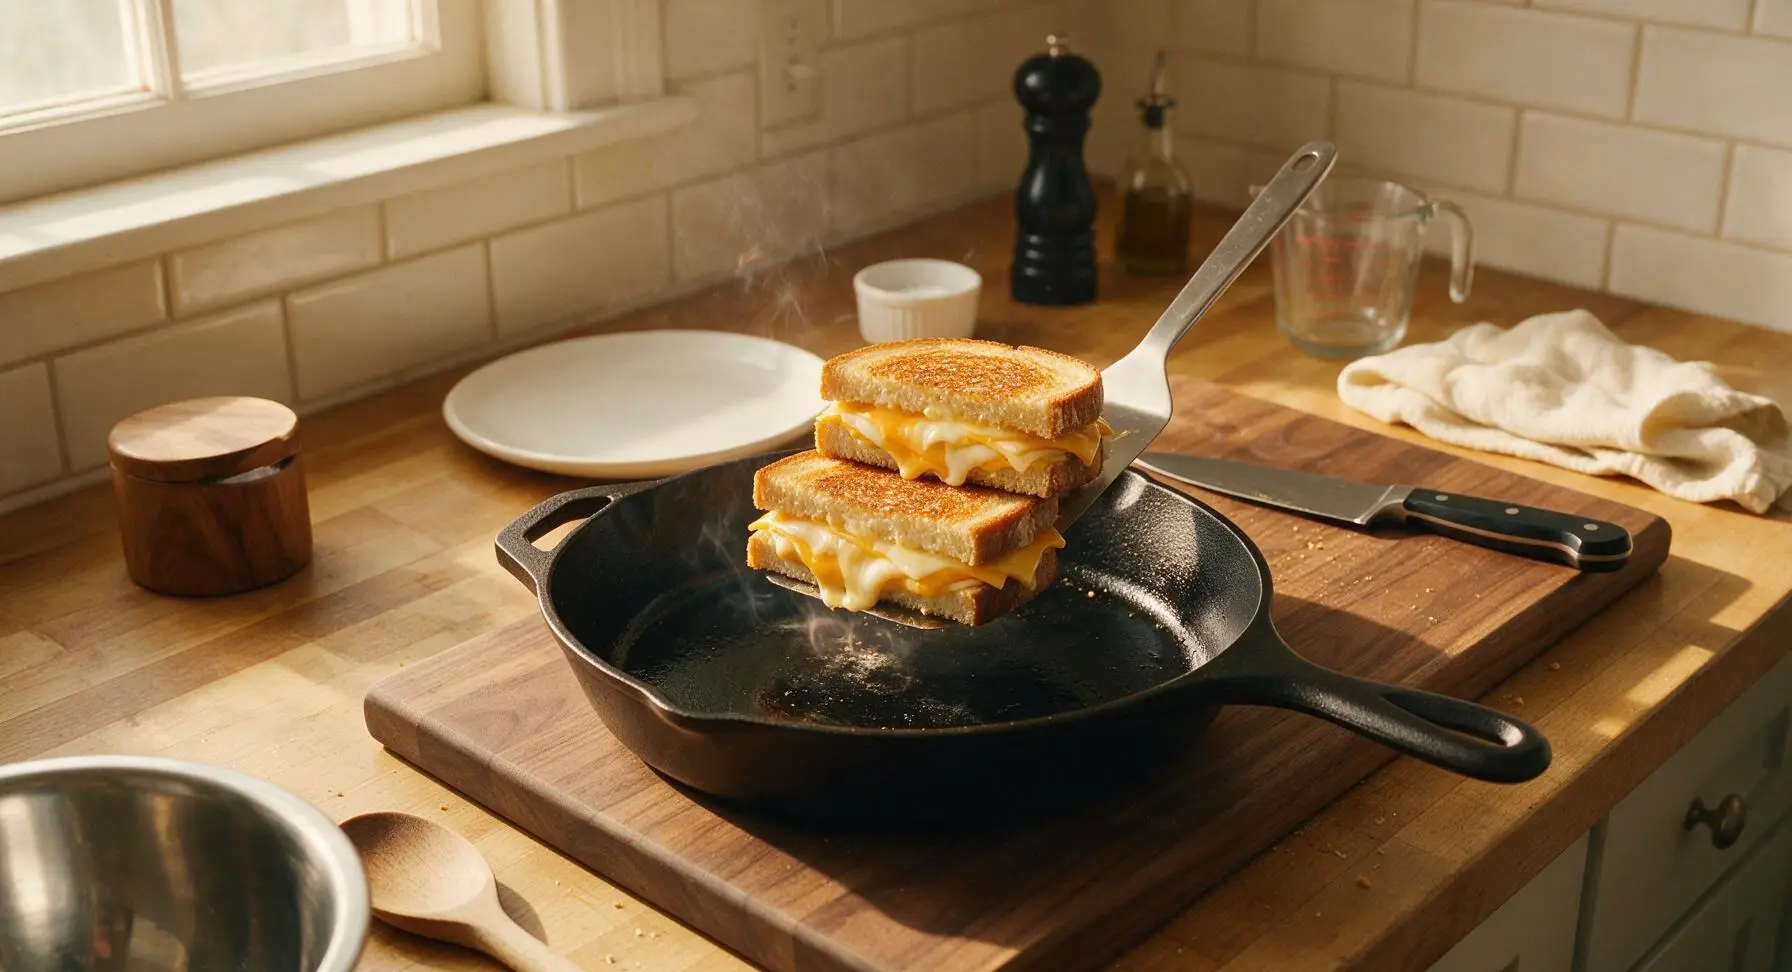
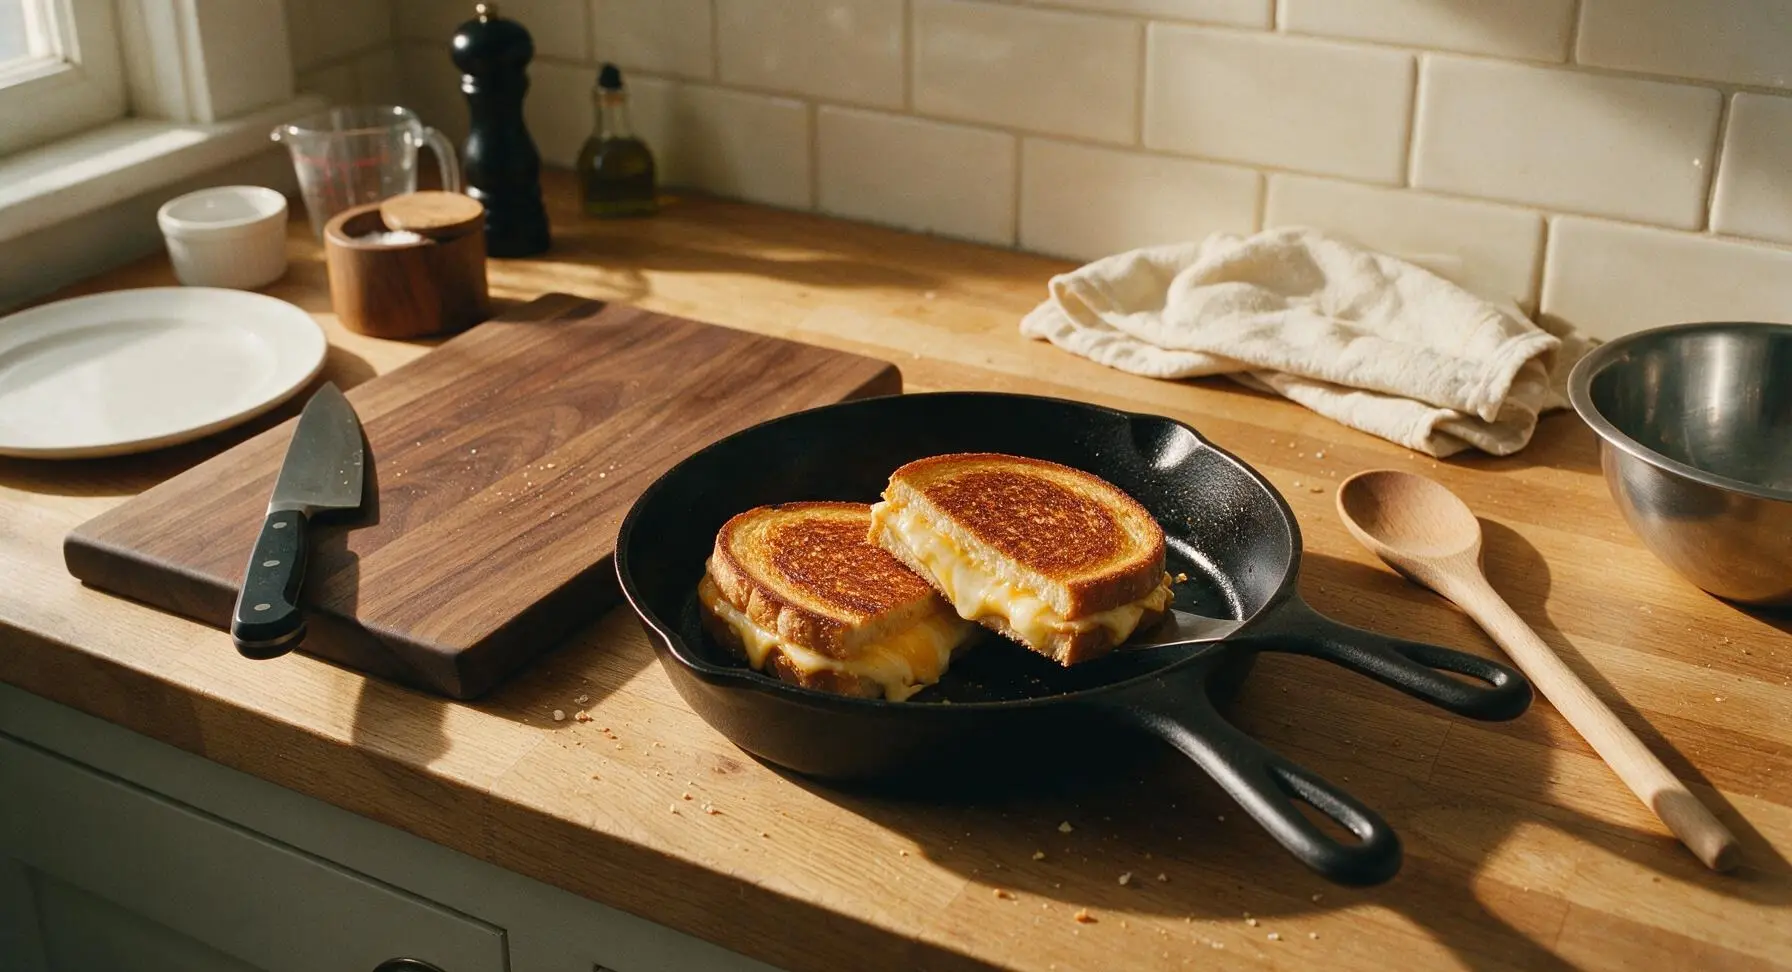
Flip and Finish Cooking
Use the turner spatula to flip both sandwiches gently, taking care not to squeeze cheese out the sides. Cook the second side for another 3 to 4 minutes, until the surface is equally golden and crisp, and all cheese in the center is fully melted with no remaining firm, crumbly shreds. If the bread browns too quickly before cheese melts, reduce heat to low and cover the pan with a lid for 1 minute to trap steam and melt cheese through without burning the crust.
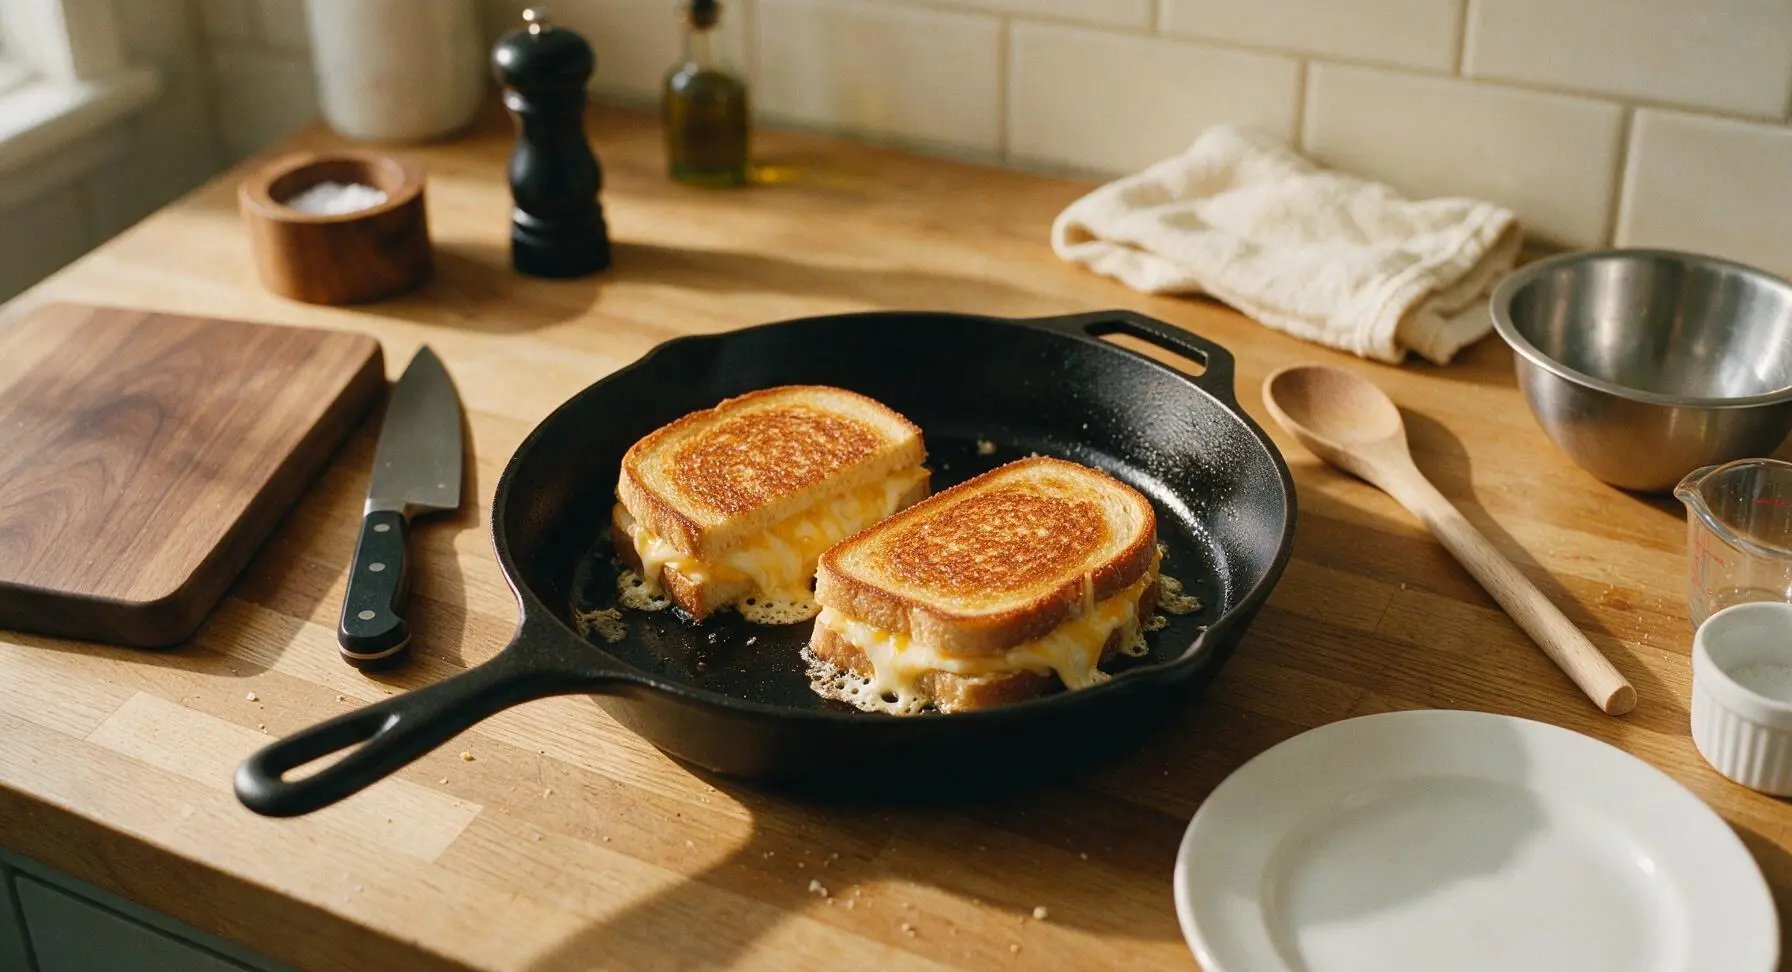
Rest and Season
Transfer the cooked sandwiches from the skillet back to the maple cutting board. Let them rest for 1 minute to allow the cheese to set slightly (this prevents all the cheese from running out when sliced), then sprinkle the top crisp surface with a light pinch of flaky sea salt, about 1/8 tsp per sandwich.
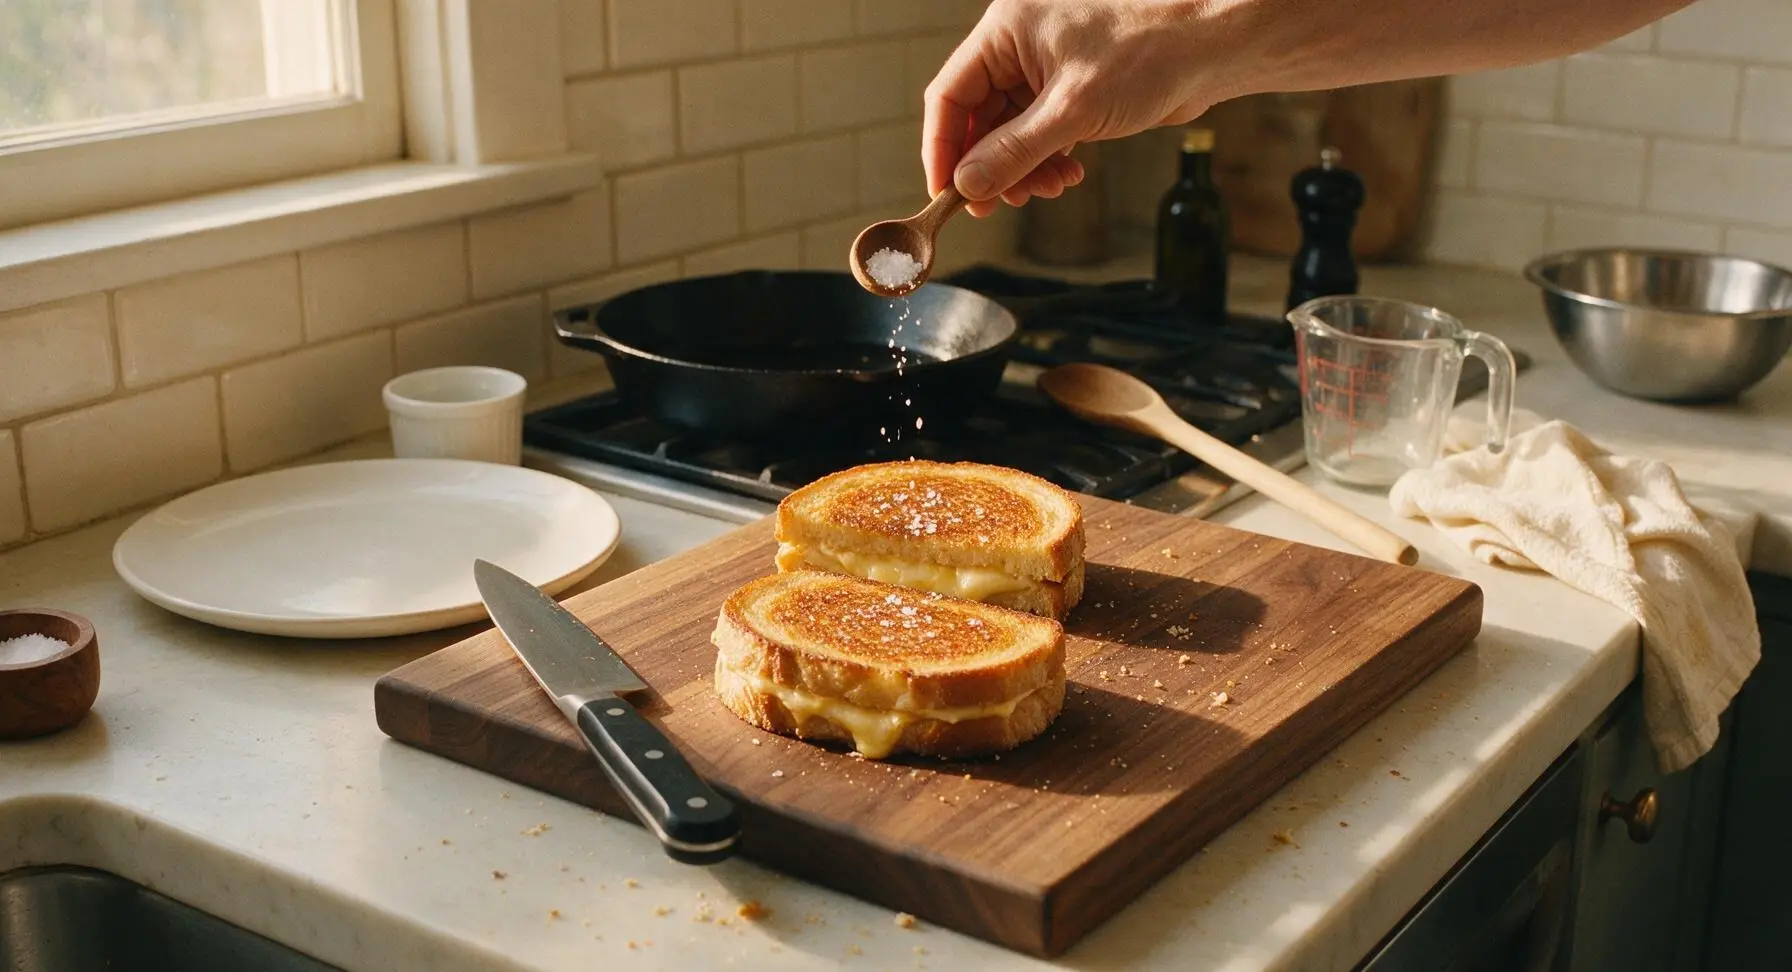
Slice and Plate
Use the serrated bread knife to cut each sandwich diagonally into two equal triangles, using a gentle sawing motion to avoid pressing the cheese out of the crust. Arrange two triangles per cream white ceramic lunch plate, with cut sides facing outward to show the melted cheese filling. Serve immediately while warm and oozing.
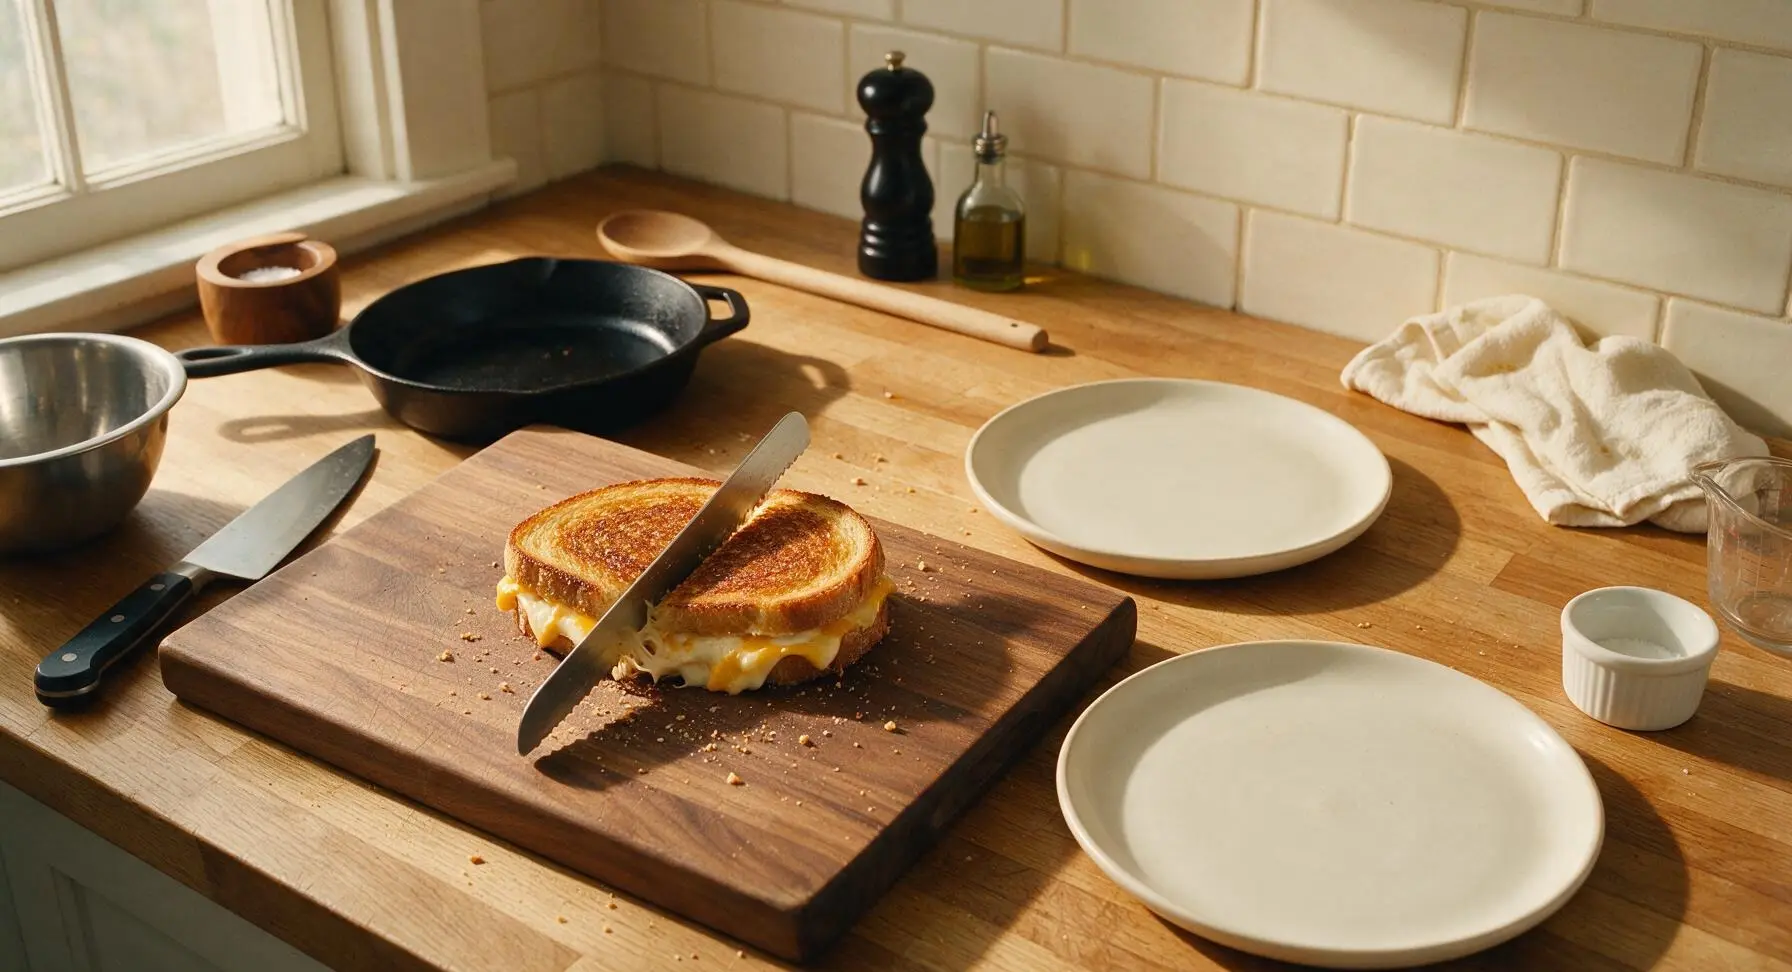
Tips
2.Cook over steady medium-low heat, not high heat: high heat will burn the butter and bread crust in as little as 2 minutes, long before the thick layer of cheese in the center has time to fully melt, leading to a charred, bitter crust with firm, unmelted cheese inside.
3.Let the cooked sandwich rest for 1 full minute before slicing: this short rest lets the melted cheese thicken slightly from its runny, liquid hot state, so it stretches in long, satisfying strands instead of pouring out the sides of the sandwich the moment you cut into it.






OMG this three cheese grilled cheese is a total game changer for our weeknight dinners! My kids usually turn their noses up at anything that isn't chicken nuggets, but they devoured these in 5 minutes flat. I used a little extra sharp cheddar since I had it on hand and it was SO good. The 10 minute cook time is perfect for those busy nights after soccer practice, too!
I made a big batch of these for our neighborhood potluck last weekend and people were practically begging for the recipe! The three cheese blend is chef’s kiss—no sad, single-slice American cheese grilled cheese here. I added a thin spread of dijon to the bread after seeing someone suggest it in an old comment and wow, that little tang cuts through the richness so well. Easy enough for a quick workday lunch, fancy enough to serve to guests, 10/10.
As someone who can barely boil water without messing it up, this recipe was so easy to follow! 10 minutes total cook time? Perfect for when I’m cramming for midterms and don’t want to blow my budget on takeout. I mixed mozzarella, provolone, and cheddar just like the recipe said and the cheese pull was insane. My roommate even came out of his room to ask what I was making because it smelled so good lmao
I swapped the regular sourdough for my favorite gluten-free artisan bread and this still turned out perfectly crispy! I was worried the cheese would slide off or the bread would get soggy, but following the tip to butter the outside of the bread really made all the difference. Such a cozy lunch for rainy Pacific Northwest days.
Dude. I added a little sprinkle of parmesan to the buttered outside of the bread before frying and it got this crispy, salty cheese crust that was out of this world. 10 minutes, zero fancy ingredients, better than any grilled cheese I’ve gotten at a sit-down restaurant. Will be making this at least once a week from now on.
I’ve been making grilled cheese for 50 years and I have to say, this three cheese blend is the best combination I’ve ever tried. I served it with a side of creamy tomato soup for my bridge club lunch and everyone asked for the recipe. So simple, so flavorful—proof you don’t need complicated ingredients to make something truly delicious.
I pre-assembled these on Sunday and kept them wrapped in parchment paper in the fridge for quick lunches all week. They toast up perfectly even after being stored for a few days! Just make sure you don’t overstuff them with cheese or it oozes out all over the pan when you cook them (learned that the hard way on the first one lmao). Super easy, great for weekly meal prep.
Made this at 2am after a night out with friends and it hit DIFFERENT. The cheese was all melty, the bread was crispy, zero notes. 10/10 would make again when the munchies hit. Way better than waiting 45 minutes for Uber Eats delivery, that’s for sure.
I made these for my kid’s after school snack and they said it’s better than the ones I make on the outdoor grill in the summer. High praise! I added a couple slices of crispy bacon to mine because why not, and it was chef’s kiss. Easy enough for the kids to help make, too, which is a fun little weekend activity.