
toasted cheese sandwich

title 1
toasted cheese sandwich
⏱️ cook time 8 minutes
🍽️ servings 2
⚡ Difficulty easy

intro

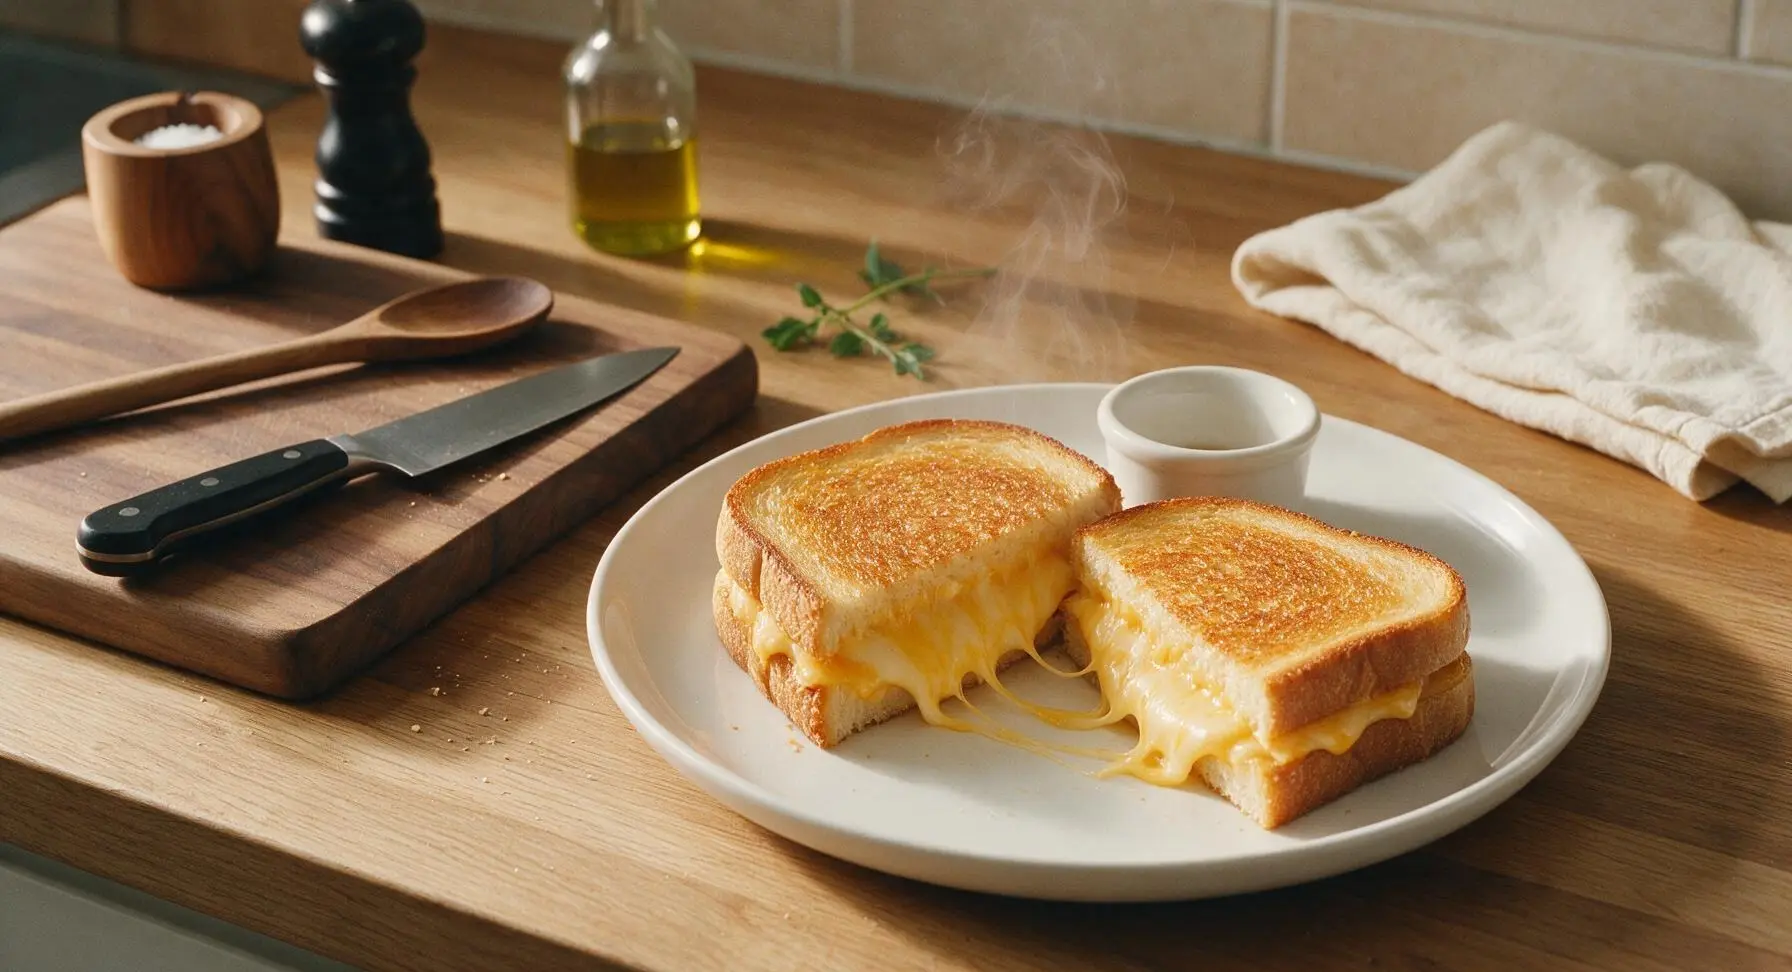
Crisp golden buttery bread oozing with smooth, stretchy melted cheddar—this classic toasted cheese sandwich is the ultimate quick, cozy comfort food for busy days.

Ingredients
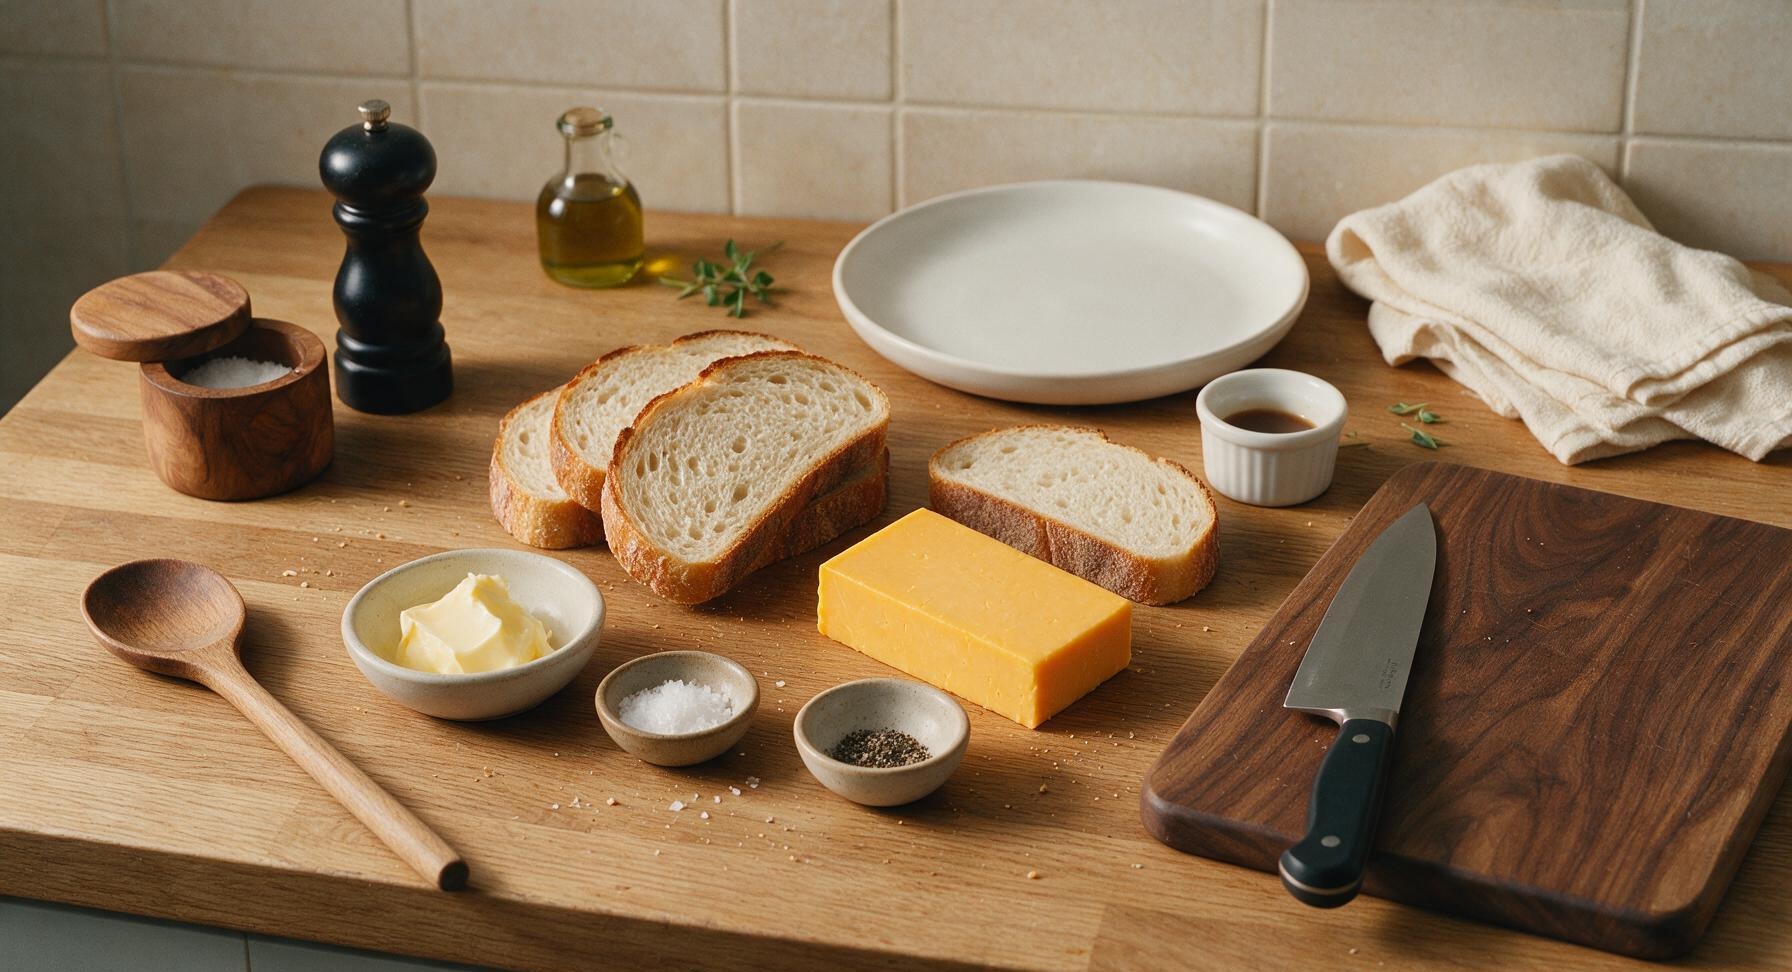
Sourdough sandwich bread (1.5cm thick slices) 4 slices
Sharp yellow cheddar cheese 90g
Unsalted butter, softened 20g
Flaky sea salt 1/4 tsp
Freshly ground black pepper 1/8 tsp

Steps

1

Prep Bread and Cheese

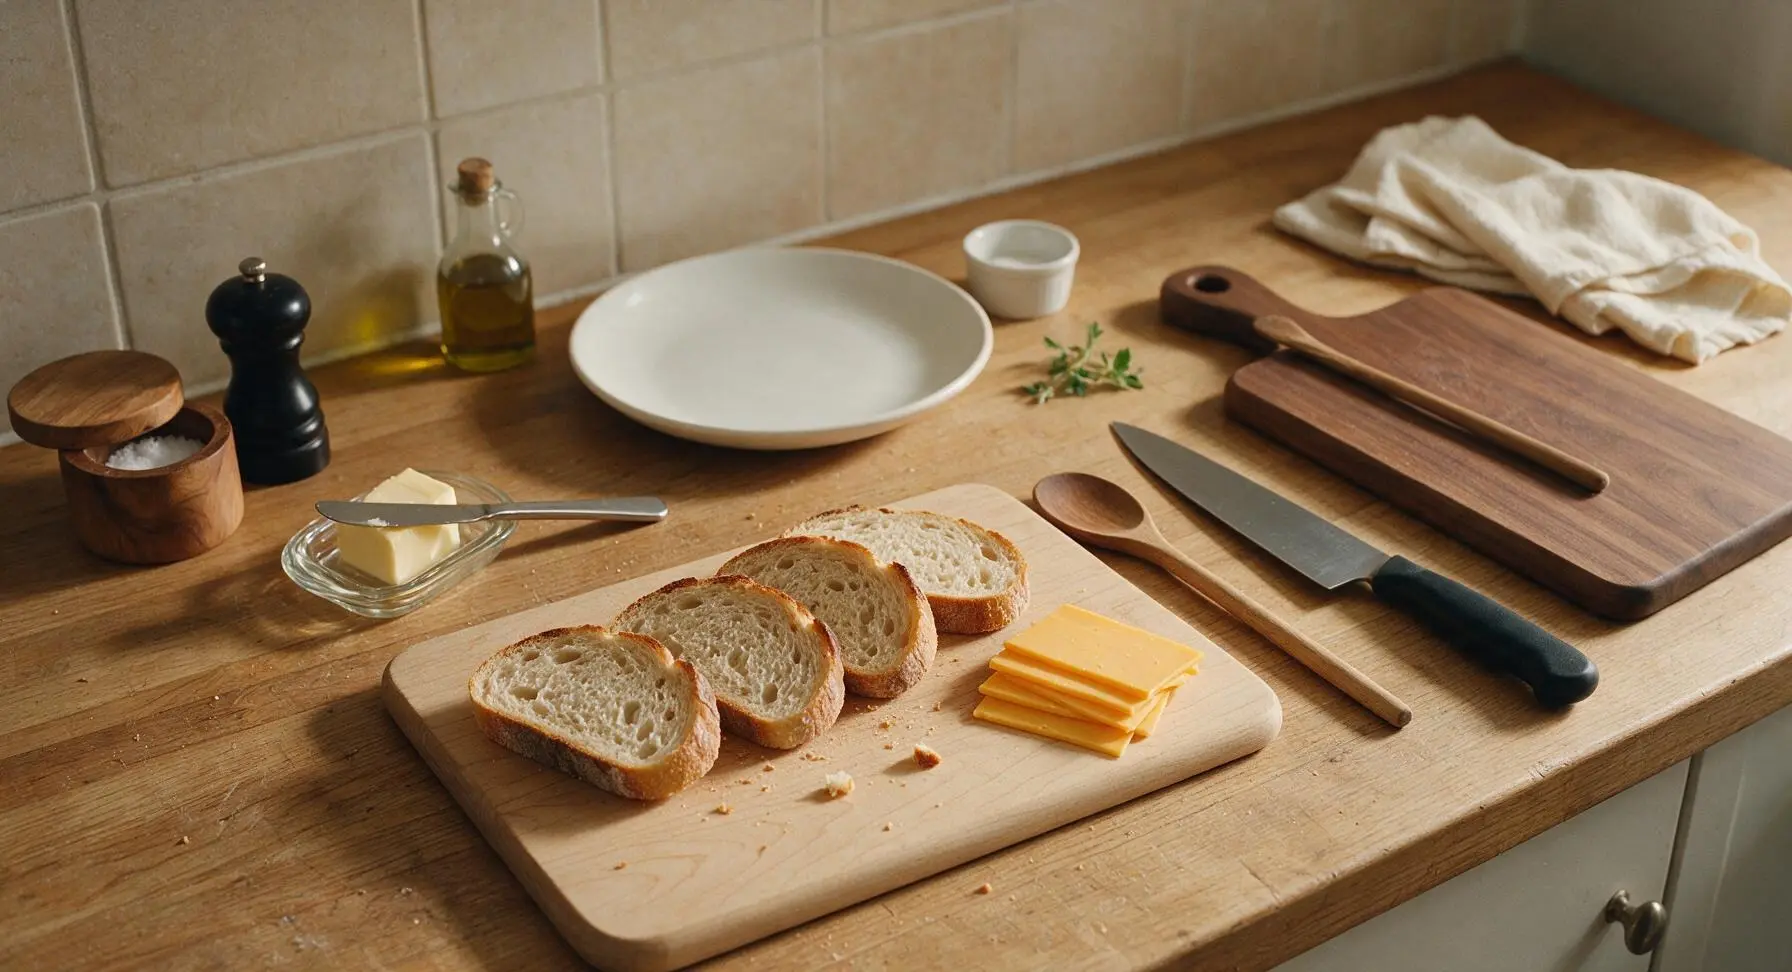
Set the light maple cutting board at center front of the counter. Lay 4 slices of sourdough bread flat on the board. Slice the sharp cheddar into even 3mm thick slices, dividing 90g total into two equal 45g portions, enough to cover 2 of the bread slices completely without hanging over the edges (overhanging cheese will burn and stick to the skillet during cooking). Brush loose crumbs off the board as you work.
Step 1
step1:Prep Bread and Cheese
2

Butter Bread Slices

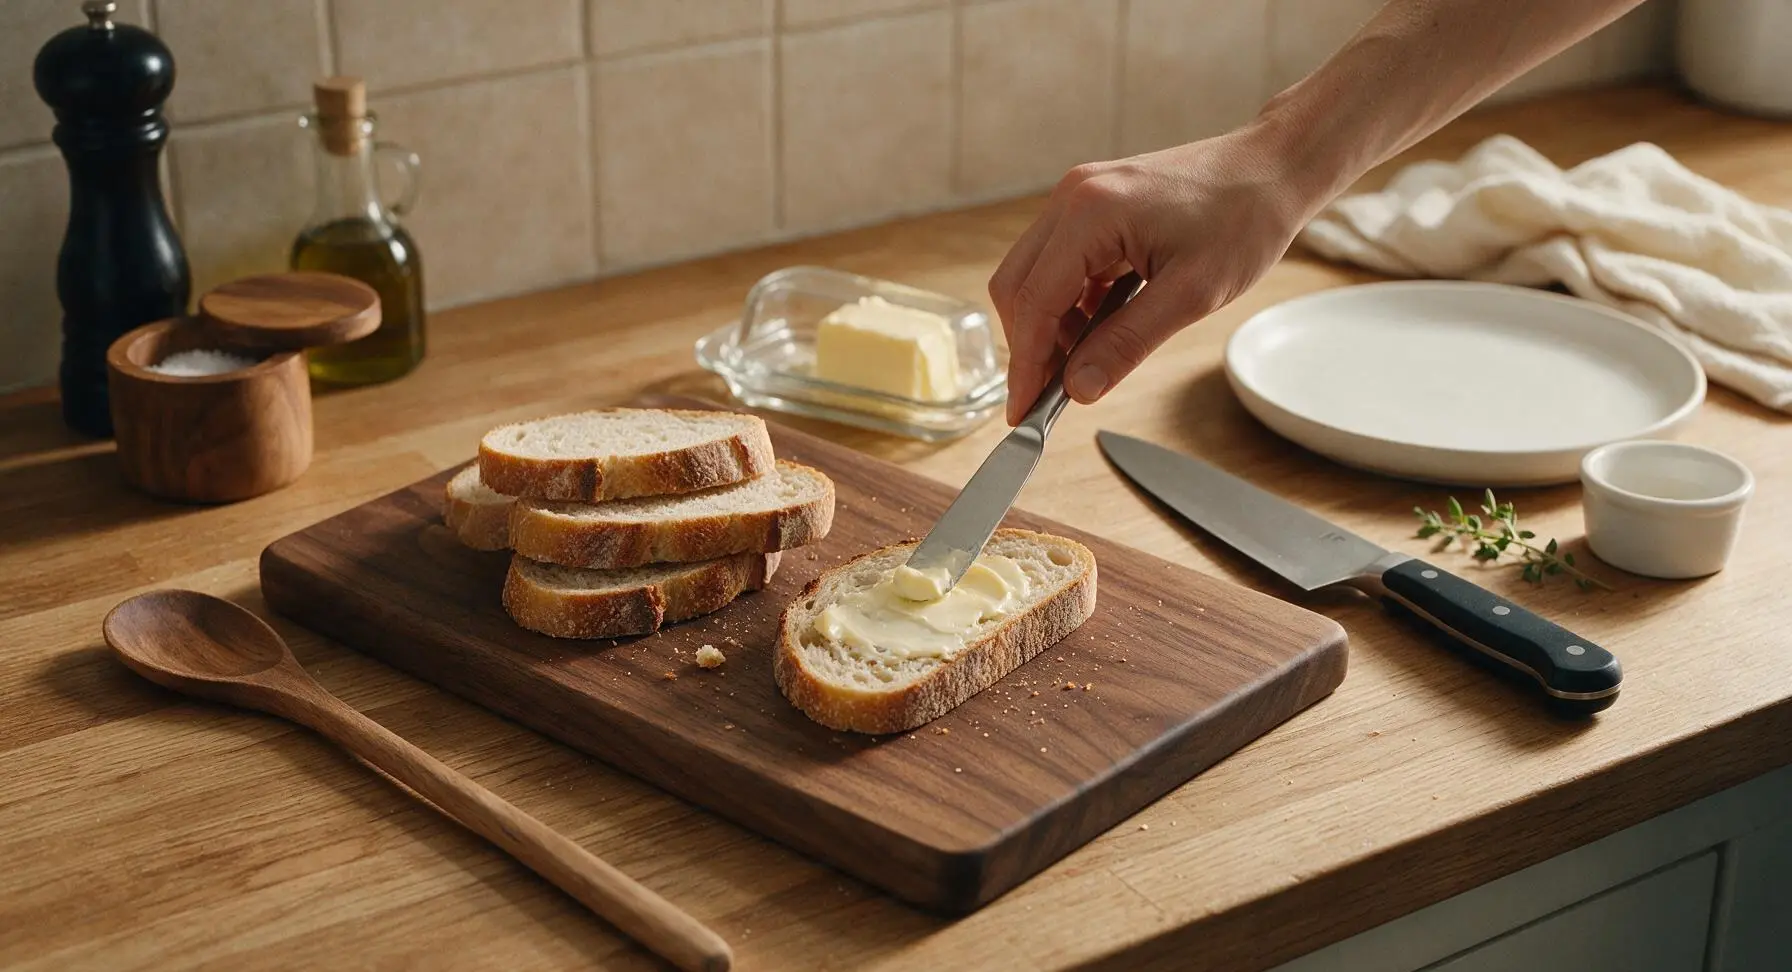
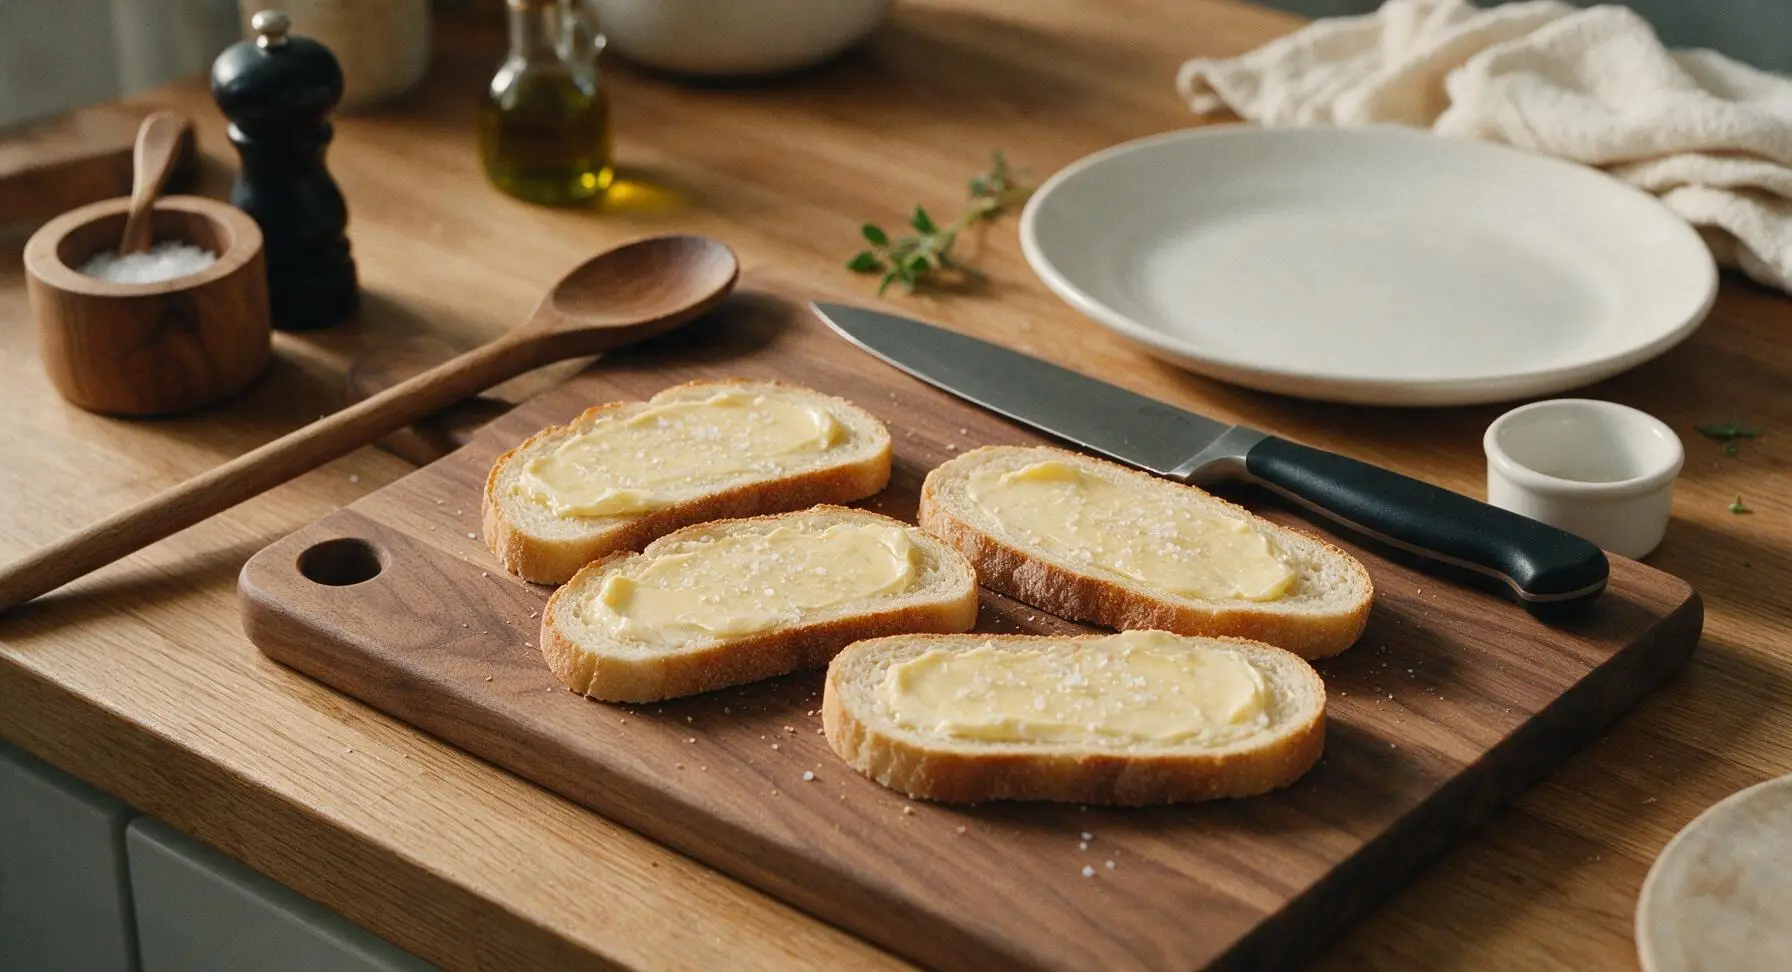
Use the stainless steel butter knife to spread 5g of softened unsalted butter evenly across one entire side of each bread slice, coating all the way to the edges. The butter layer should be thin but fully covering, with no dry bread spots visible—this creates the uniformly crisp, golden crust. Sprinkle a tiny pinch of flaky sea salt over the buttered surface of each slice.
Step 2
step2:Butter Bread Slices
Step 2
step2:Butter Bread Slices
3

Assemble Sandwich Layers

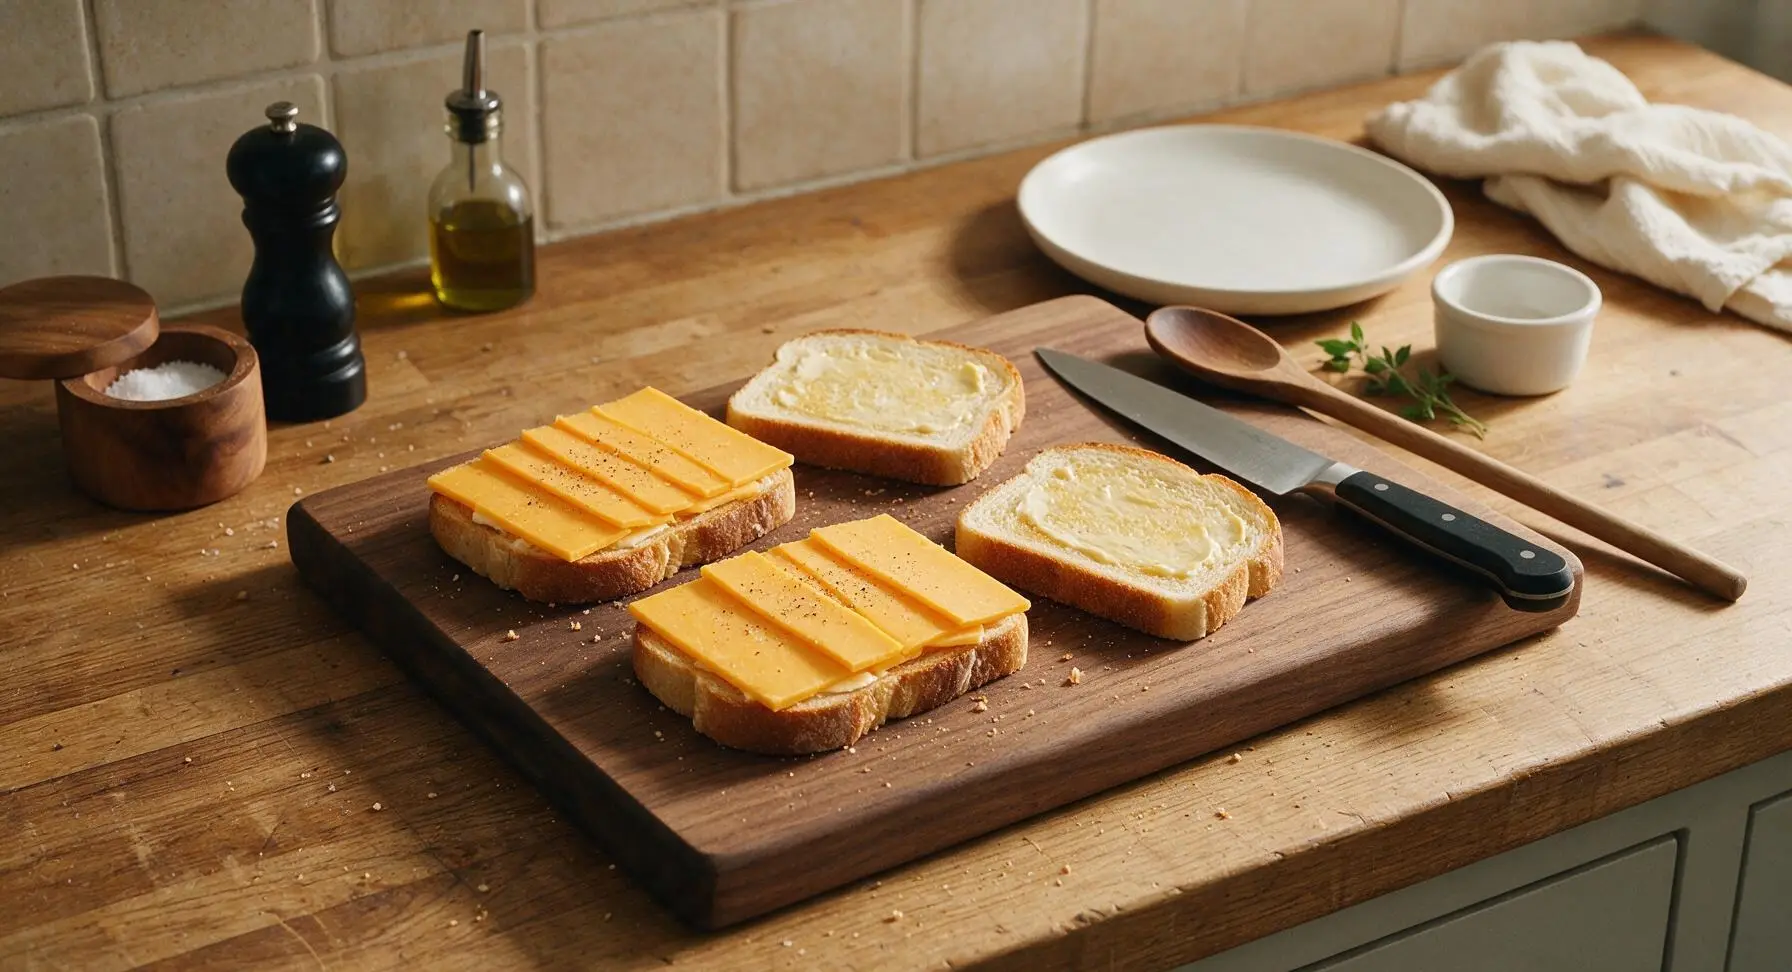
Flip 2 of the buttered bread slices over so the buttered side faces down against the cutting board. Arrange the 45g portions of thinly sliced cheddar in an even layer across the unbuttered side of these 2 slices, making sure no cheese hangs over the crust edge. Sprinkle a tiny pinch of freshly ground black pepper over the cheese, then top with the remaining 2 bread slices, buttered side facing up. Press down gently on each sandwich with the palm of your hand to adhere the layers.
Step 3
step3:Assemble Sandwich Layers
4

Preheat Cooking Skillet

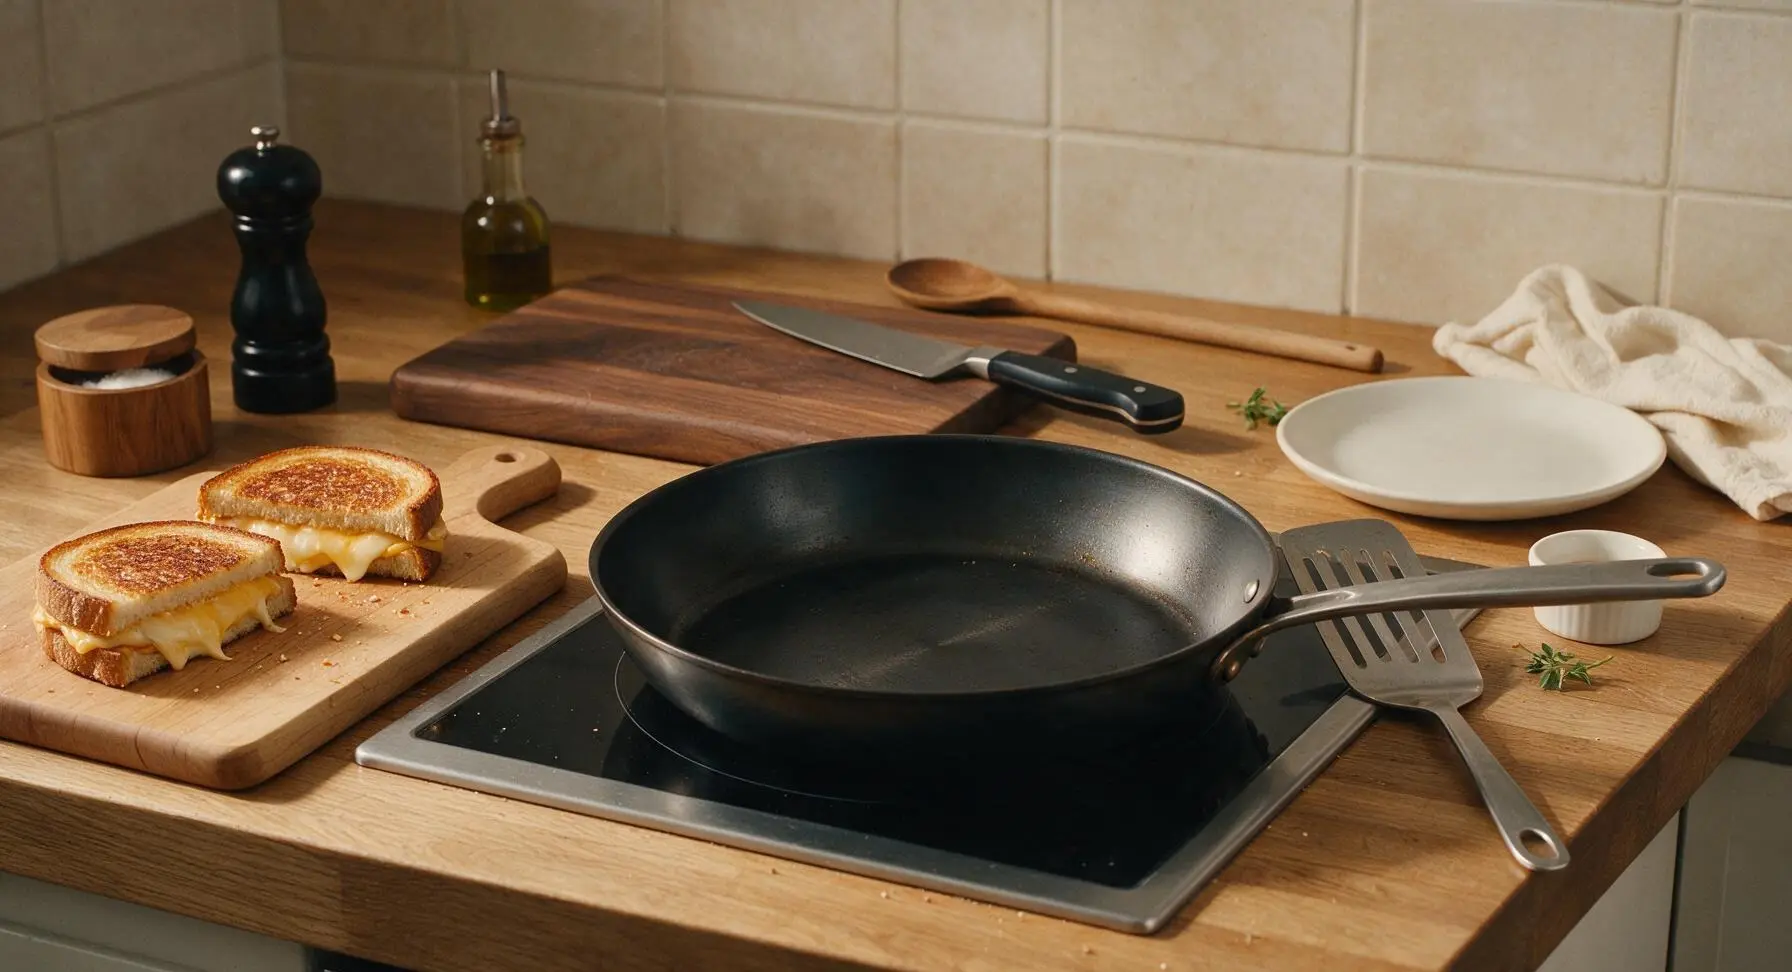
Place the 25cm carbon steel nonstick skillet on the center burner of the induction cooktop, set to medium-low heat (160C/320F). Let the skillet preheat for 2 minutes—do not heat on high, as this will burn the bread before the cheese has time to melt. Wipe the maple cutting board clean of crumbs and set it to the left of the cooktop, out of the active cooking zone. Rest the stainless steel spatula on the right edge of the skillet for easy access.
Step 4
step4:Preheat Cooking Skillet
5

Cook First Side Golden

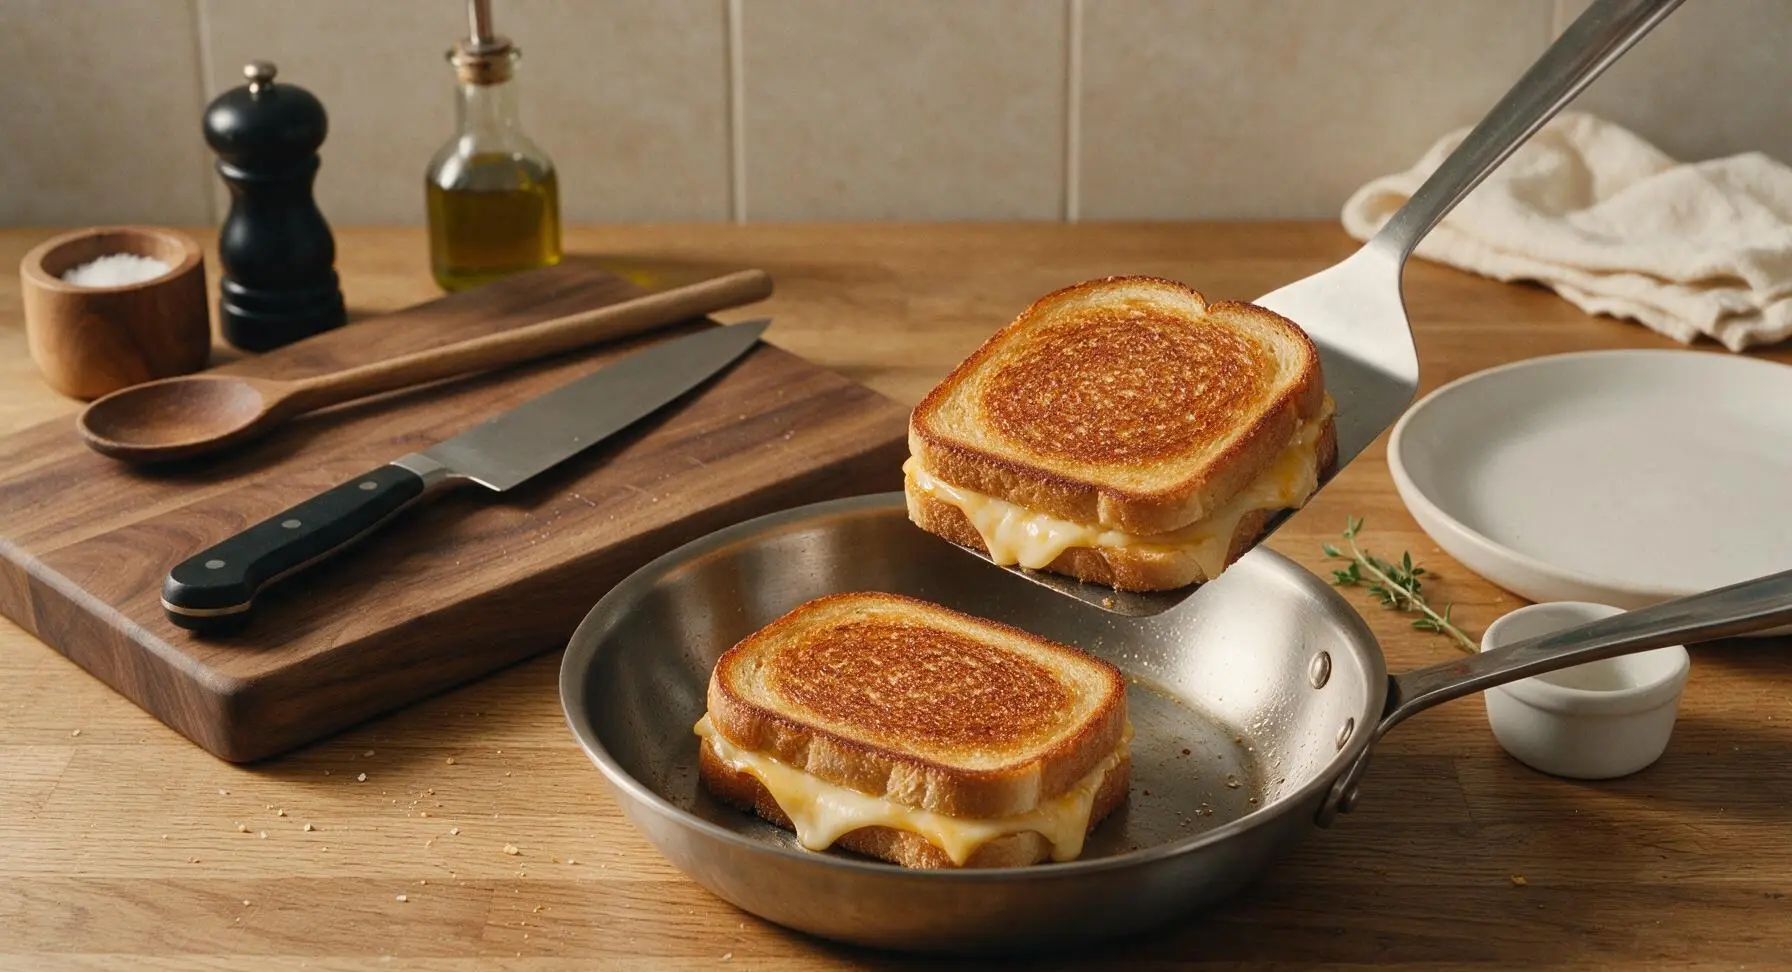
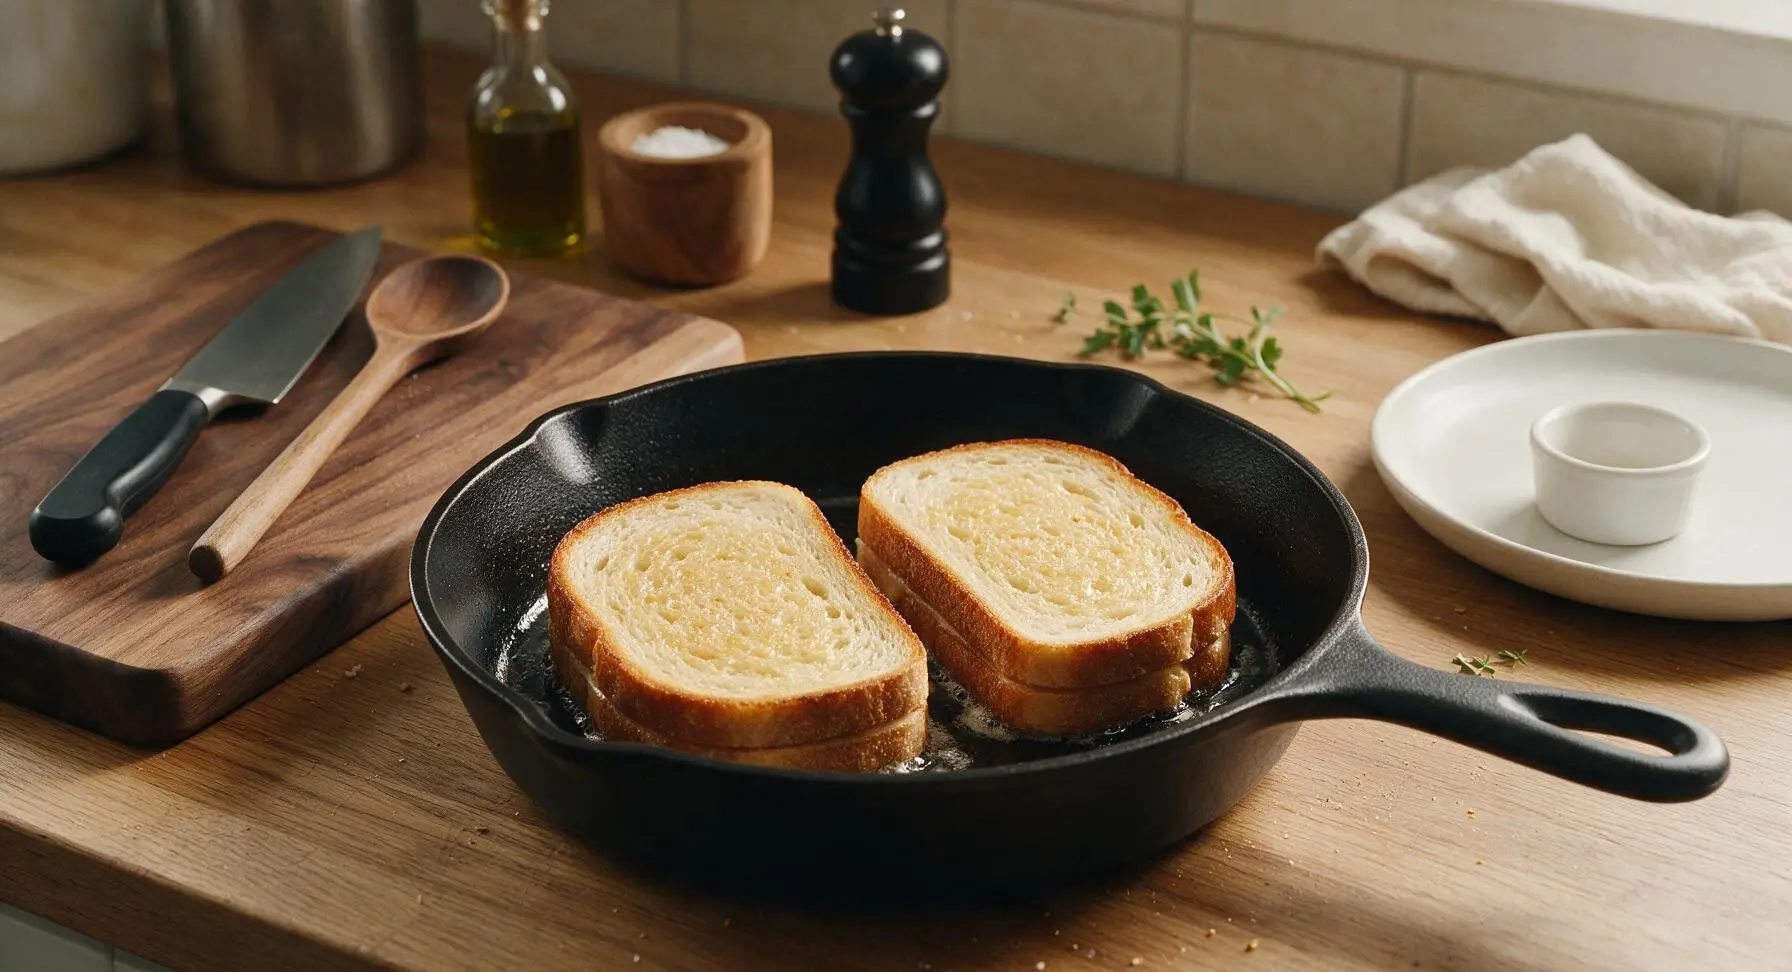
Carefully place both assembled sandwiches in the preheated skillet, leaving 1cm of space between them to ensure even cooking. Cook for 3 minutes, resisting the urge to press down hard with the spatula (this squeezes out melted cheese and creates dry, dense bread). The finished first side should be an even deep golden brown, with crisp edges, no dark burnt spots.
Step 5
step5:Cook First Side Golden
Step 5
step5:Cook First Side Golden
6

Flip and Melt Cheese

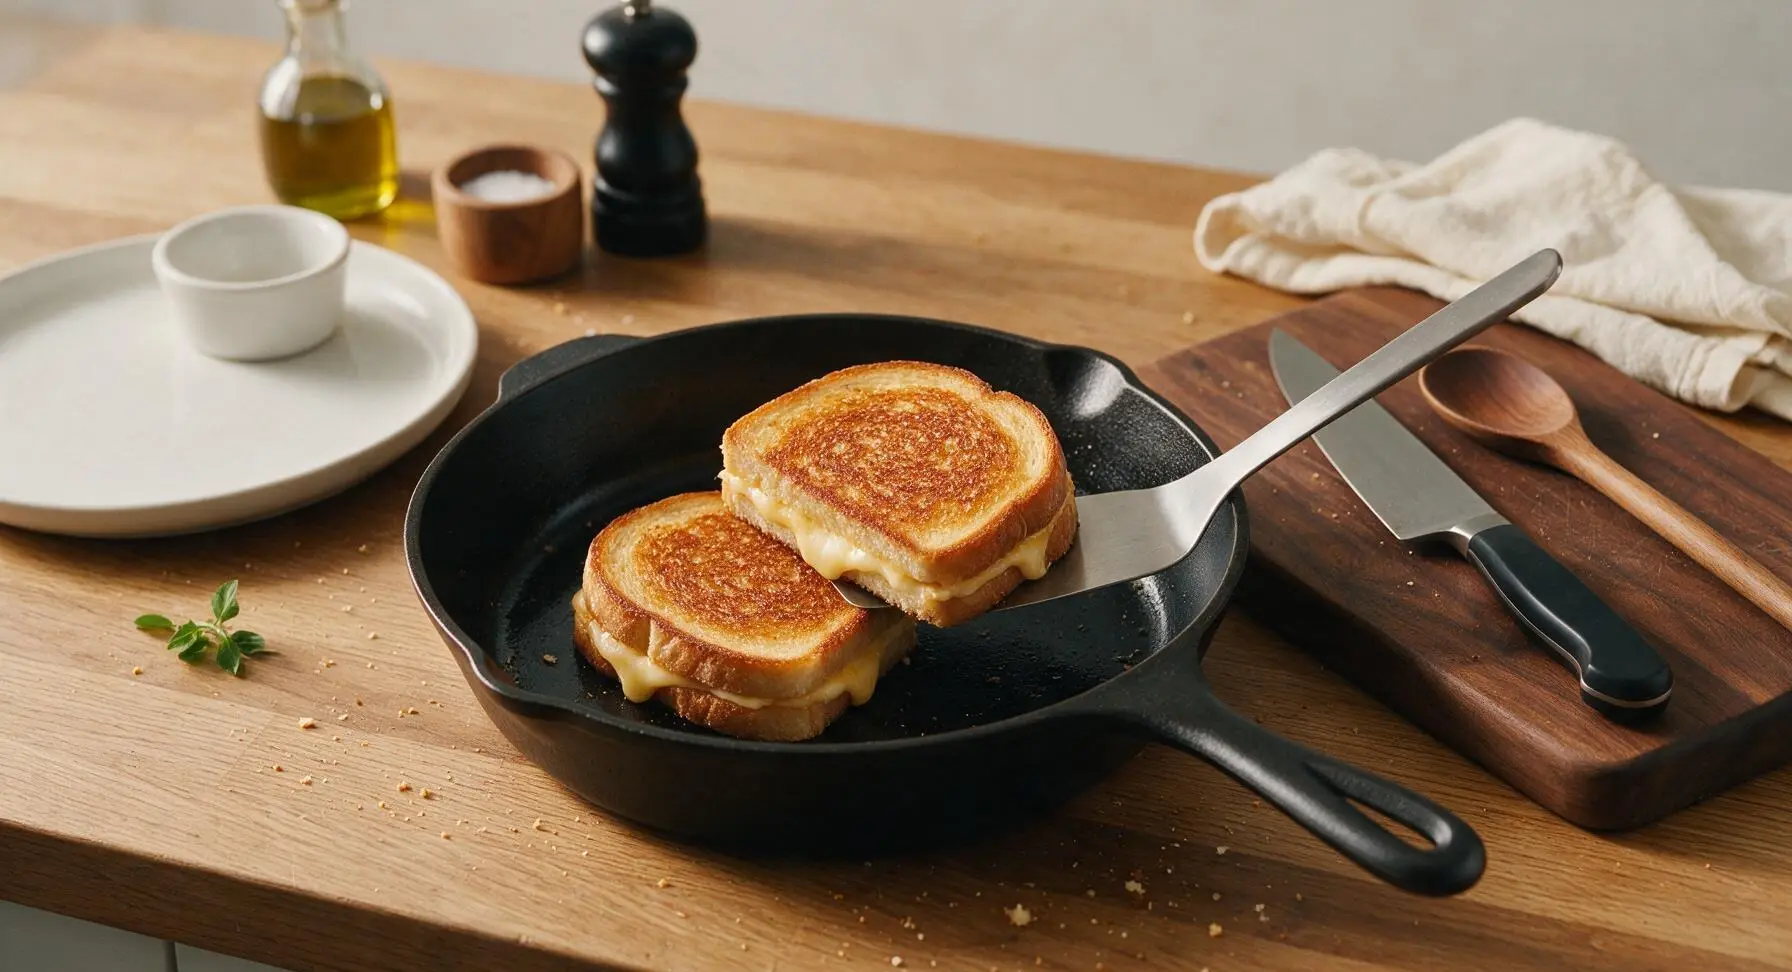
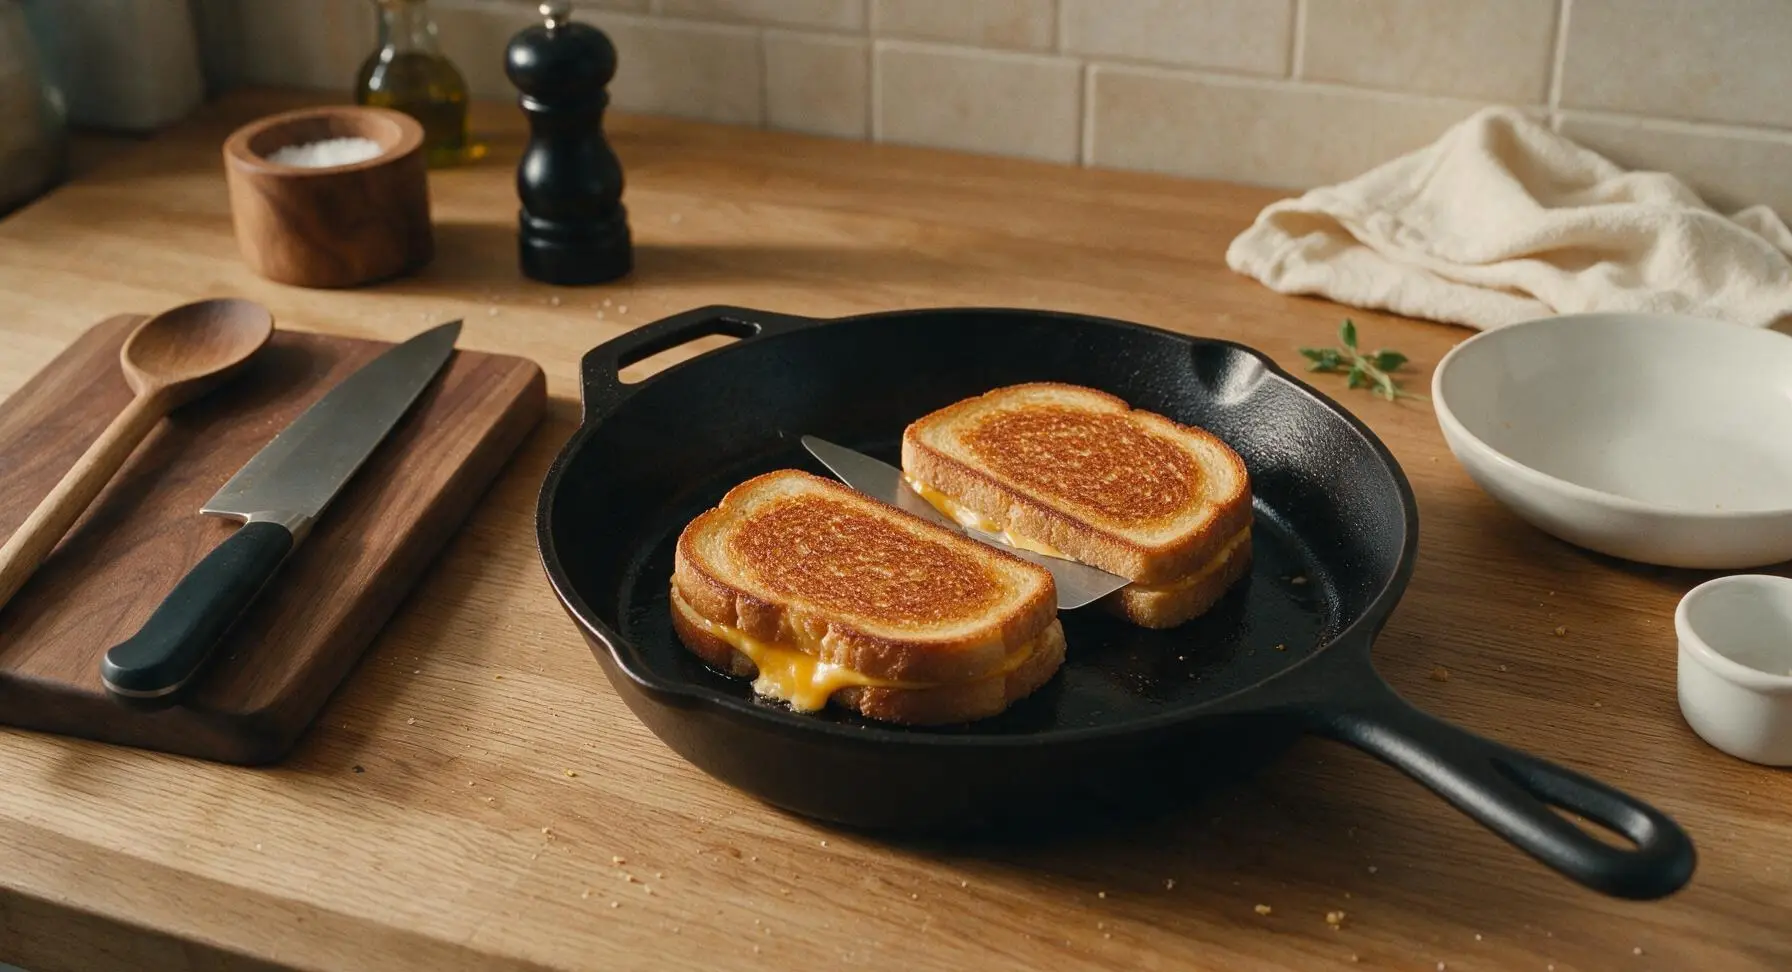
Slide the flexible stainless steel spatula under the center of each sandwich, then flip them gently in one smooth motion to avoid tearing the bread. Cook the second side for another 3 minutes, until it matches the golden brown color of the first side, and the cheese is fully melted and oozing slightly at the edges. If the bread browns too quickly, turn the heat down by one setting to ensure cheese melts fully before the crust burns.
Step 6
step6:Flip and Melt Cheese
Step 6
step6:Flip and Melt Cheese
7

Rest and Plate Sandwiches

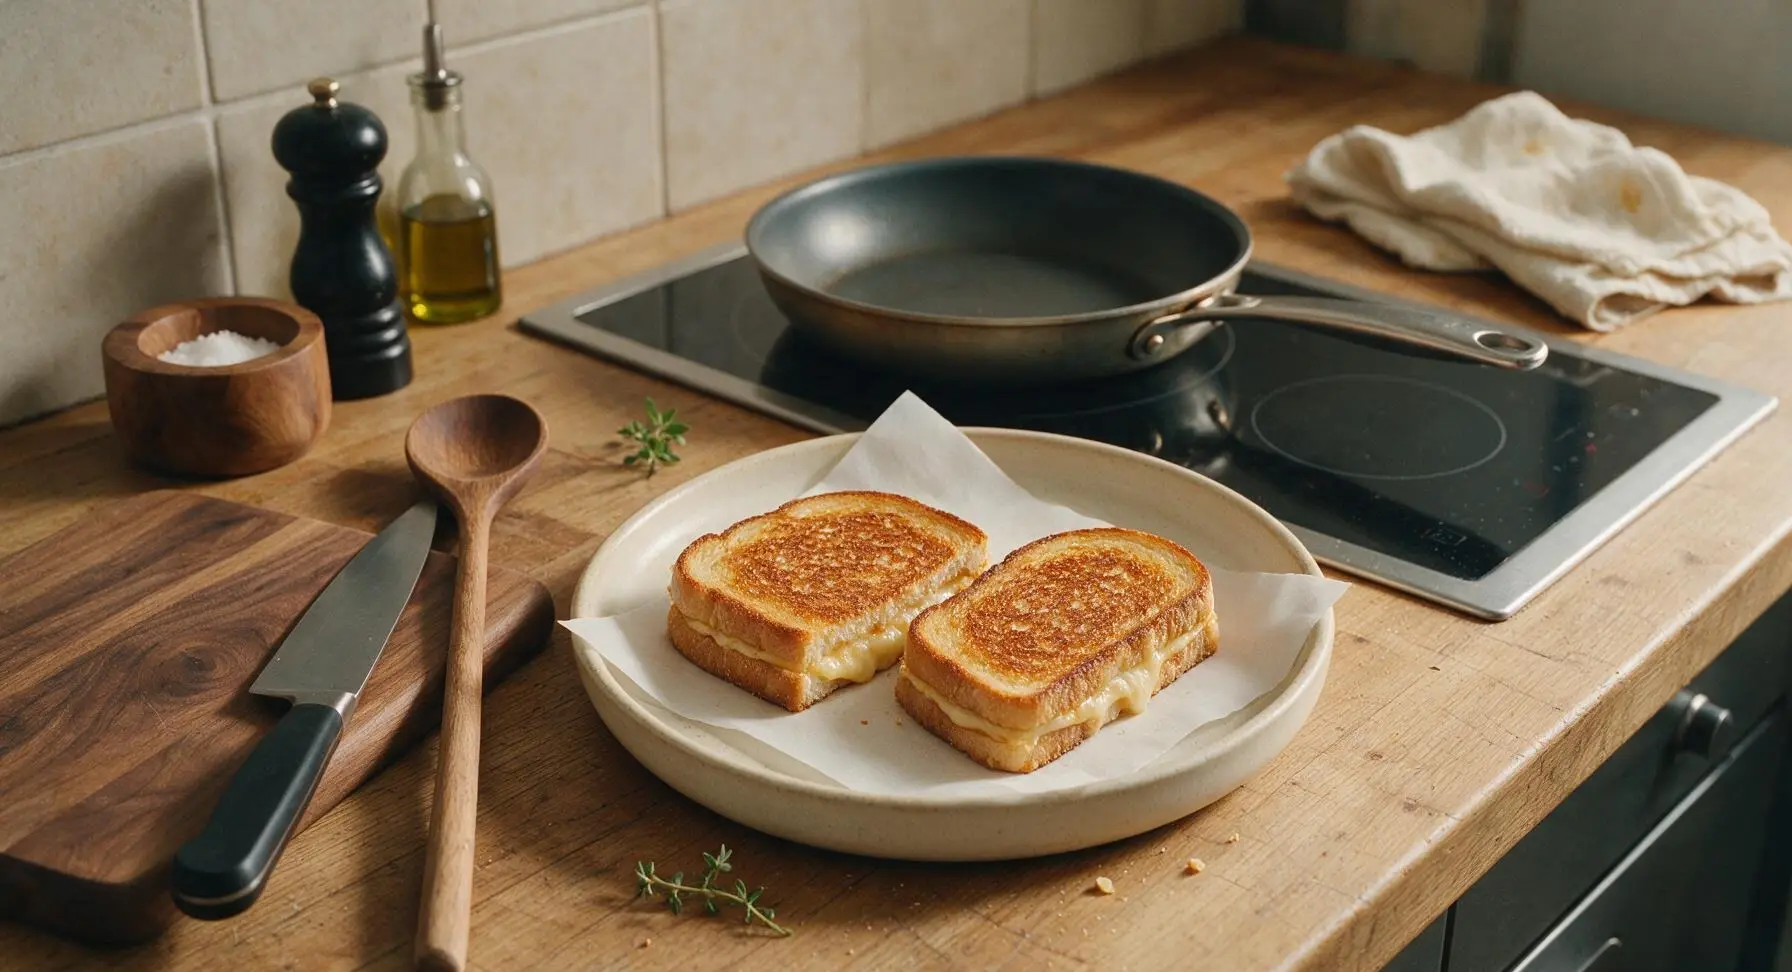
Transfer both cooked sandwiches to the matte cream stoneware dinner plate lined with the plain white deli sheet, positioned at center front of the counter. Let them rest for 1 minute before cutting diagonally into two triangles each—this resting step lets the cheese set slightly so it does not all run out when cut. Tuck a tiny sprig of fresh thyme plucked from the wall pot next to the sandwiches for a subtle fresh garnish.
Step 7
step7:Rest and Plate Sandwiches

Tips

1.Use room temperature softened butter, not cold or melted butter, for spreading: Cold butter tears soft bread and leaves uneven bare patches, while melted butter soaks deep into the bread and creates a greasy, rather than crisp, crust.
2.Cook on medium-low heat (160C/320F) instead of high heat: High heat will toast the bread to a dark burnt brown in 60 seconds, but leaves the cheese solid and unmelted in the center. Medium-low heat slowly toasts the bread while giving the cheese time to fully melt into a smooth, stretchy texture.
3.Let the sandwich rest for 1 full minute after cooking before cutting: Cutting immediately causes all the hot, runny melted cheese to pour out the sides, leaving you with dry bread. The short rest lets the cheese thicken slightly so it stays stretchy between bites instead of running onto your plate.


✨ You May Also Like

Lunch
🍜 United States

Creamy, salty, tangy nostalgic Midwestern sandwich pairing rich peanut butter with crisp briny dill pickles for a fast, satisfying no-cook meal.

⏱️ 5 minutesLunch ★ 4.6
Lunch
🍜 United States

Crispy, melty pressed sandwich layered with savory roast pork, ham, Swiss cheese, pickles, and tangy mustard: a beloved Cuban-American comfort classic.

⏱️ 25 minuteLunch ★ 4.9
Lunch
🍜 United States

Hearty, briny New Orleans pressed sandwich stacked with cured Italian meats, provolone, and zesty olive salad, served cold for bold, portable flavor.

⏱️ 1 hour 20Lunch ★ 4.7
Lunch
🍜 United States

A tangy, creamy Southern American staple, this no-cook cheesy sandwich is packed with sharp cheddar and sweet pimentos for a satisfying, portable bite.

⏱️ 1 hour 15Lunch ★ 4.8
Lunch
🍜 United States

Crispy Cajun-spiced fried shrimp piled on crusty French bread with tangy remoulade and fresh toppings, the iconic Louisiana street food sandwich.

⏱️ 35 minuteLunch ★ 4.4
Lunch
🍜 United States

Stacked, savory deli-style corned beef sandwich with melted Swiss, tangy mustard, and crisp griddled rye— a fast, hearty, satisfying classic.

⏱️ 15 minuteLunch ★ 4.9

toasted cheese sandwich:Frequently Asked Questions

1.Why does this recipe call for 1.5cm thick sourdough slices instead of regular thin sandwich bread? ▾
Thin-sliced bread burns easily before the cheese fully melts, and often turns soggy from melted butter. The 1.5cm thick sourdough has a sturdy, open crumb that crisps to a perfect golden crunch, holds in stretchy melted cheddar without excess oozing, and adds a subtle tang that balances the rich, buttery, cheesy flavor.
2.Can I use pre-shredded cheddar instead of grating it fresh from a block? ▾
I don’t recommend it! Pre-shredded cheddar is coated in potato starch and anti-caking agents that prevent it from melting smoothly, so you won’t get that iconic stretchy, oozing texture. Grate sharp yellow cheddar fresh off the block right before making your sandwich for the silkiest, most even melt every time.
3.What heat setting should I use to cook the sandwich so the bread doesn’t burn before the cheese melts? ▾
Stick to medium-low heat, no higher! High heat will crisp and burn the buttery bread in under a minute, leaving the cheese in the center completely solid. Medium-low lets the butter slowly toast the bread to a perfect golden crisp over 3-4 minutes per side, giving the cheddar enough time to fully melt through.
4.Why use unsalted butter instead of salted butter for toasting? ▾
Salted butter has wildly inconsistent sodium levels across brands, which can make your finished sandwich overly salty before you add any finishing seasoning. Softened unsalted butter lets you control the salt level exactly, spreads smoothly for an even crisp, and lets you add flaky sea salt to taste right after cooking.
5.How much cheddar should I use per sandwich for that perfect oozing, stretchy pull? ▾
Aim for about 2 ounces (roughly ½ cup freshly grated) of sharp yellow cheddar per sandwich. That amount is enough to create that satisfying, stretchy pull when you cut into it, but not so much that it oozes out of the bread edges and burns on your pan while cooking.
6.Do I need to put a lid on the pan while the sandwich cooks? ▾
Yes, loosely covering the pan with a lid for the first 2 minutes of cooking on each side traps gentle steam, which helps the cheddar melt evenly all the way through without you needing to crank the heat. Just don’t seal the lid tight, or trapped condensation will make your crisp bread turn soggy.
7.When should I add the flaky sea salt and black pepper for the best flavor? ▾
Add both right after you take the finished sandwich off the pan, while the butter on the bread is still warm and glistening. The heat will help the flaky salt stick and the pepper release its aromatic oils, giving you bright pops of seasoning instead of salt that dissolves completely into butter while cooking.
8.Can I swap the sharp yellow cheddar for a different cheese if I don’t have it on hand? ▾
You can, but stick to cheeses that melt smoothly for the best result! Great swaps include mild white cheddar, Gruyère, or fontina. Avoid crumbly cheeses like feta or hard aged cheeses like parmesan as your main cheese, since they won’t melt into that smooth, stretchy texture this classic is known for.
9.Why does my bread turn out soggy instead of crisp and golden? ▾
Sogginess almost always traces back to one of three common mistakes: using bread that’s too thin, cooking on heat that’s too low so butter soaks into the crumb instead of searing it crisp, or spreading cold, firm butter that tears bread and soaks in unevenly. Use softened butter, preheat your pan to medium-low, and stick to thick sourdough for perfect crunch every time.
10.Should I butter the outside of the bread only, or the inside too? ▾
Only butter the outer sides of the bread slices that will touch the hot pan. Buttering the inner sides that touch the cheese creates a barrier that keeps the bread from adhering to the melted cheddar, leading to sliding slices and a less cohesive bite. The dry inner surface bonds perfectly with melted cheese for an ideal, neat sandwich texture.

Comments (8)

2 days ago

OMG this is so much better than my usual sad microwave cheese melt! I used sharp cheddar like the recipe suggested and cooked it on medium low for the full 8 minutes, the crust was perfectly crispy and the cheese was all melty all the way through. My kids begged for seconds after school yesterday, total game changer for quick weeknight lunches!

1 day ago

Wait did you use salted or unsalted butter on the bread? I always mess that up and it comes out too greasy!

1 day ago

Great question! We recommend salted butter for that extra savory kick, just spread a thin even layer all the way to the edges of the bread to avoid soggy spots! If you prefer less salt, unsalted works perfectly with a tiny pinch of flaky sea salt on top of the butter.

3 days ago

I’ve been tweaking my toasted cheese recipe for literal years and can’t believe how perfect this basic version turns out. No fancy add-ins needed, just good sourdough bread, real butter, and melty American cheese like the recipe says. Cook time was exactly 8 minutes on my stovetop, no burnt edges, no unmelted cheese in the middle. 10/10, will be making this every Sunday for football watch parties from now on.

2 days ago

So happy to hear it’s a hit for your watch parties! If you ever want to mix it up for game day, a little sprinkle of paprika or a dash of hot sauce in the cheese layer goes a long way without overpowering that classic flavor.

2 hours ago

This is the easiest weeknight win ever! I threw this together last night when I got home late from work and had zero energy to cook, paired it with a cup of tomato soup and it hit every single spot. No fancy skills required, total no-brainer even when you’re dead tired after a long day.

1 week ago

First time making anything other than ramen in my dorm and this turned out SO good! I only had plain white sandwich bread and pre-sliced cheddar, used a little pan on my hot plate and it came out crispy just like the photo. My roommate stole half of it and is already asking me to make it again tomorrow. Only reason it’s not 5 stars is I burned the first side a little because I got distracted scrolling TikTok, oops.

6 days ago

Pro tip: set a timer for 4 minutes per side as soon as you put the sandwich in the pan! I used to burn mine all the time too until I stopped trying to multitask while it cooks.

5 days ago

So glad you gave it a try even with basic dorm supplies! That 4 minute per side timer trick is spot on — low and slow is the secret to getting that perfectly melted cheese without burning the bread. Great call!

5 days ago

I made a whole batch of these cut into little triangles for our neighborhood potluck last weekend and they were gone in 10 minutes flat! Everyone was asking for the recipe, I can’t believe how something so simple is such a crowd pleaser. I did half with American cheese and half with pepper jack for a little kick, both were huge hits.

3 days ago

Wait I was at that potluck! I had the pepper jack one, it was amazing I’ve been looking for this recipe ever since! So glad I found it 😂

2 weeks ago

I swapped the regular sourdough for my favorite gluten free white bread and followed the rest of the recipe exactly, and it came out perfect! I’ve had so many bad gluten free grilled cheeses that were either soggy or crunchy in a bad way, but the thin butter layer and low heat made the bread get that perfect crispy toast texture. Obsessed!

2 weeks ago

That’s such a fantastic swap! We’re so glad it worked out with gluten free bread — a lot of people don’t realize that lower heat works way better for gluten free loaves to keep them from getting too dried out or soggy. Thanks for sharing the tip!

yesterday

Told my kids we were having ‘gourmet artisanal toasted cheese sandwiches’ for dinner last night and they groaned until they took the first bite. Even my super picky 7 year old who only eats chicken nuggets ate his whole sandwich without complaining. My wife said it’s the best thing I’ve cooked all month, so that’s a massive win. No notes, perfect recipe.

30 minutes ago

Wait, is this really only 8 minutes cook time? I feel like every other toasted cheese recipe says 15+ minutes and I never have that kind of time on busy weekday mornings before work. Tried it today for breakfast and y’all weren’t kidding — 4 minutes a side, perfectly done, I was out the door on time with a hot breakfast. Total game changer for real.

10 minutes ago

Same! I used to skip breakfast entirely because I thought making a hot sandwich would take too long, this takes less time than waiting for my coffee to brew now. I add a slice of ham sometimes for extra protein, so good!

just now

So stoked this fits into your busy morning routine! That ham addition sounds delicious — it adds just enough salt and protein to keep you full straight through lunch, no mid-morning snack runs needed.



