
toasted tuna sandwich
intro
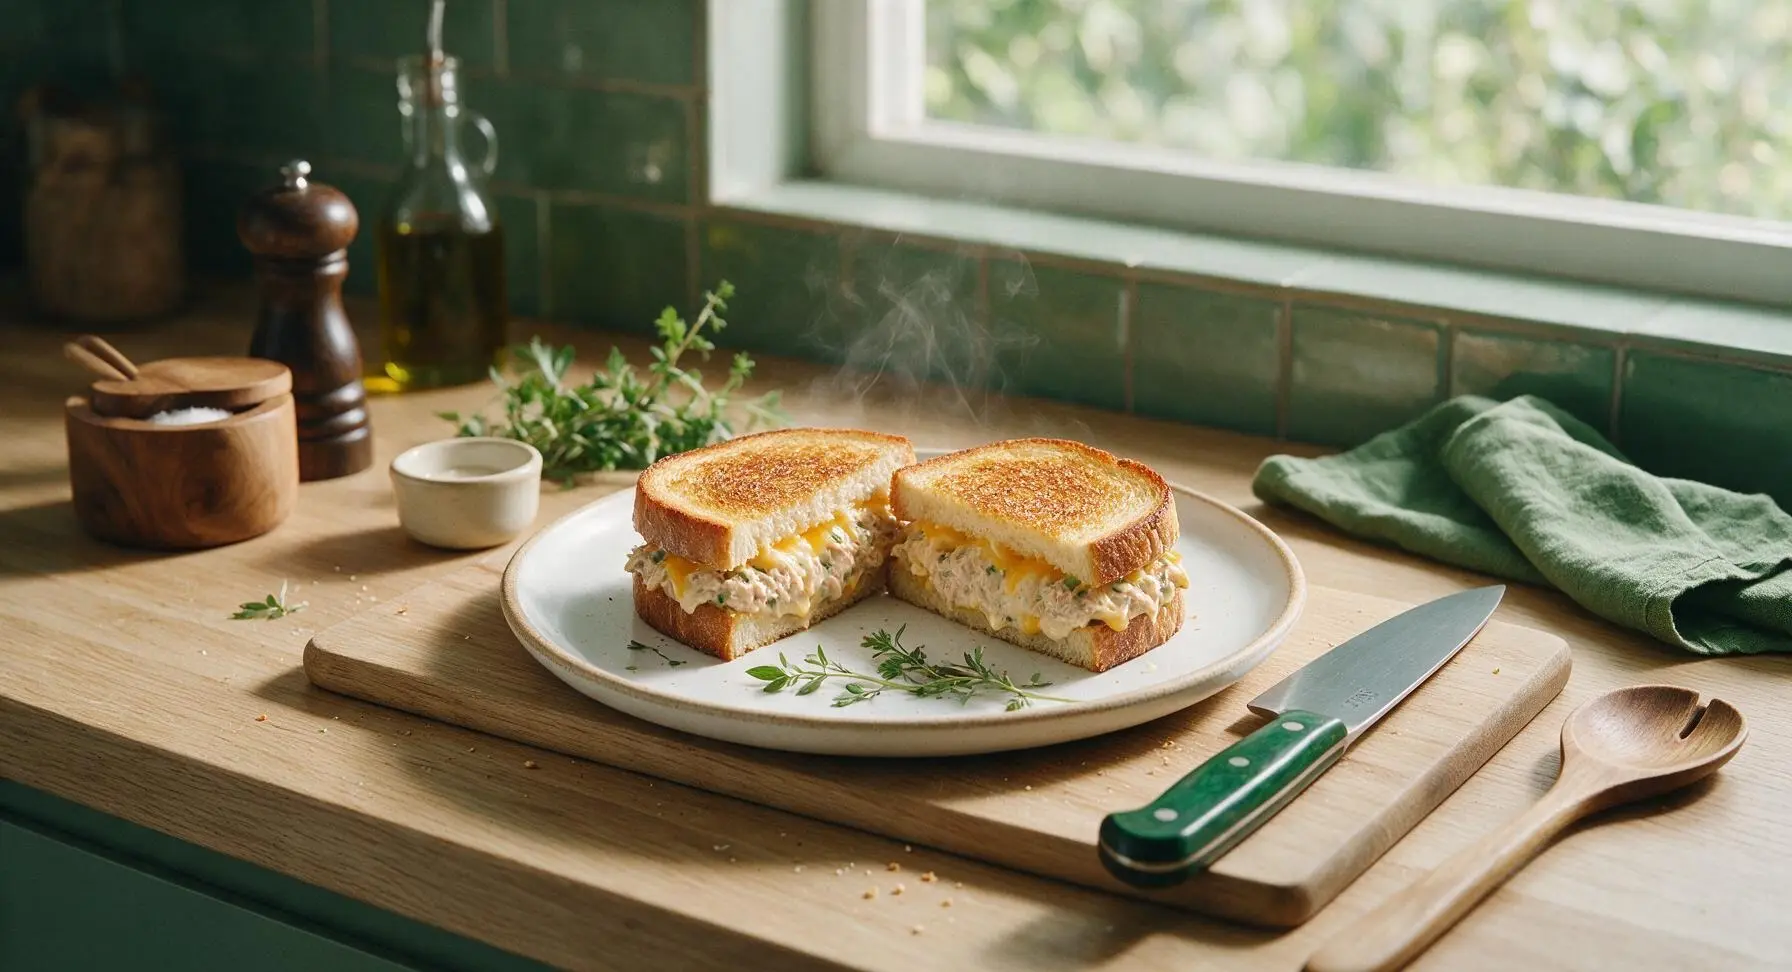
Crispy buttery golden bread, creamy tangy tuna filling, and melted cheddar make this classic toasted tuna sandwich a fast, satisfying, endlessly customizable lunch.
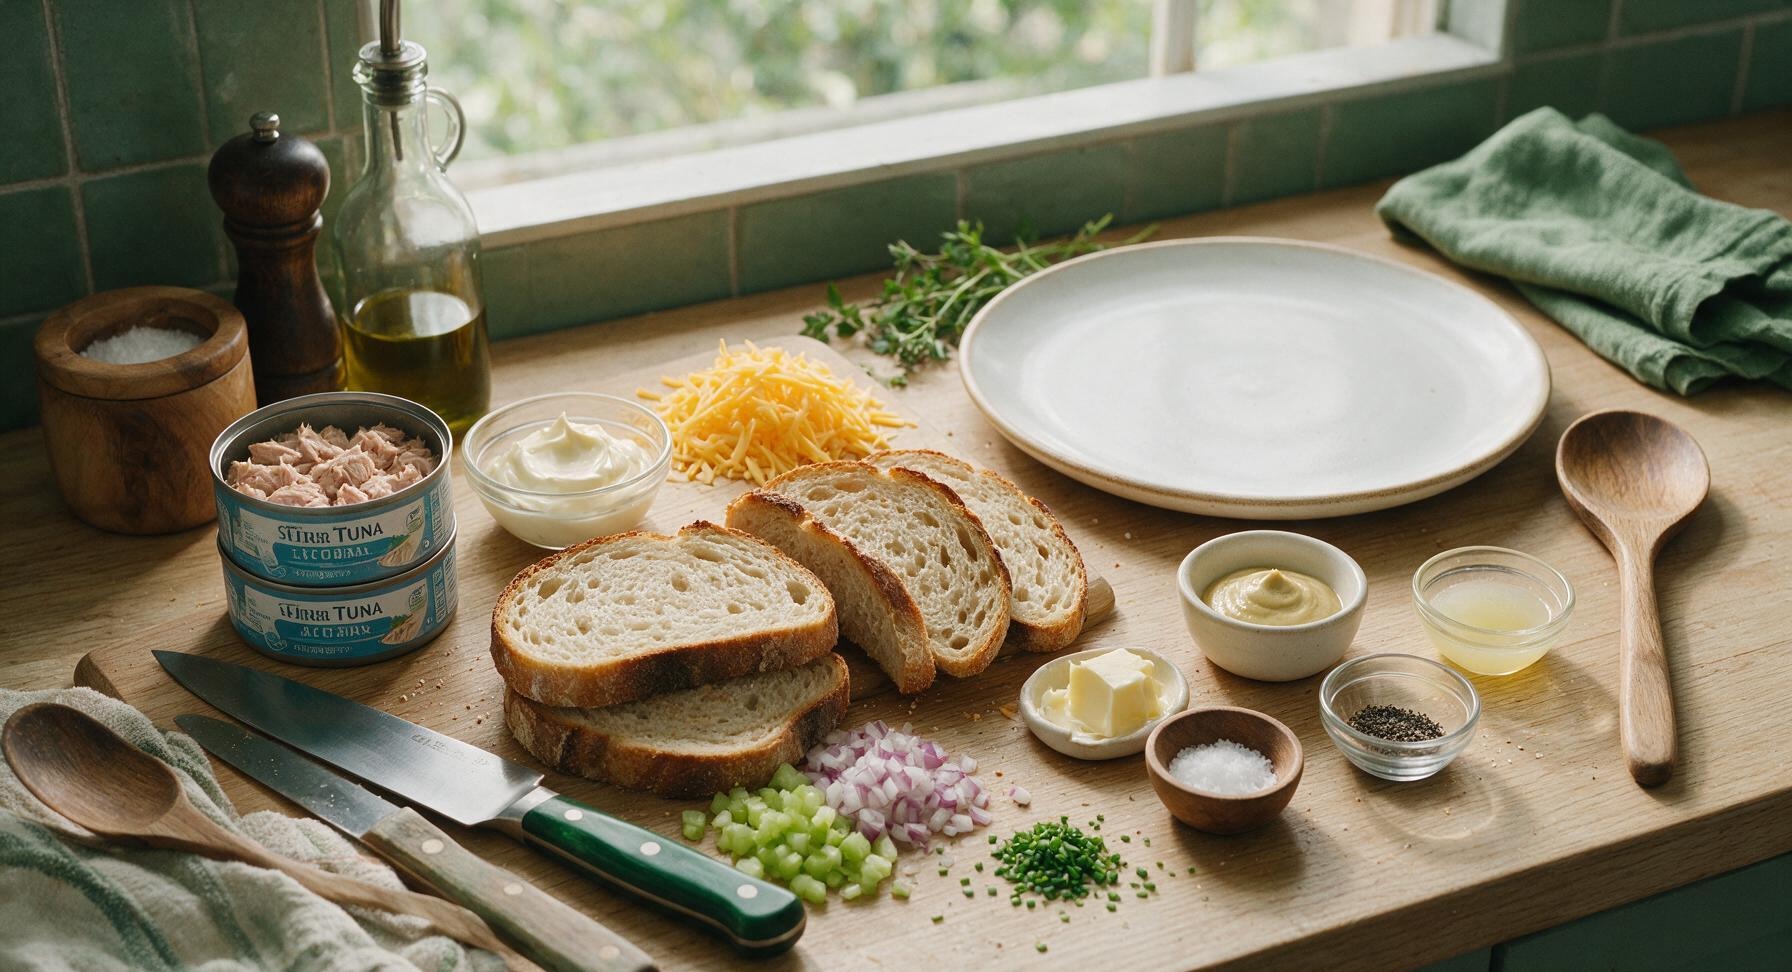
Ingredients
Steps
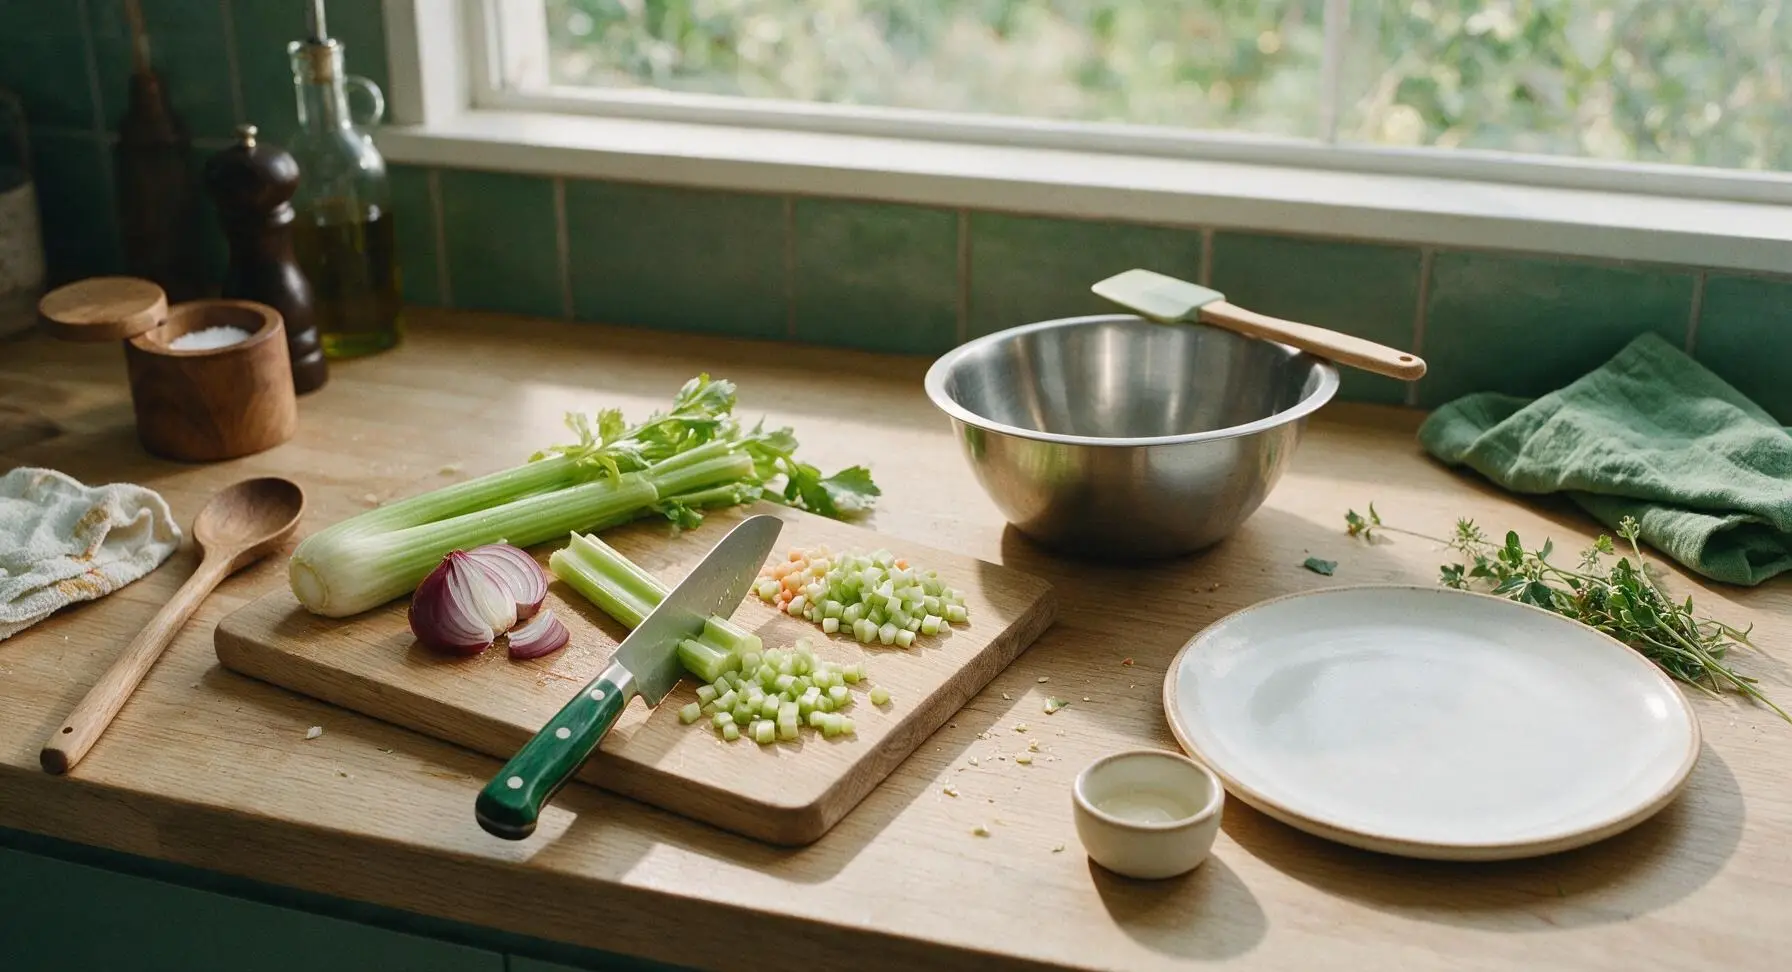
Dice Aromatic Vegetables
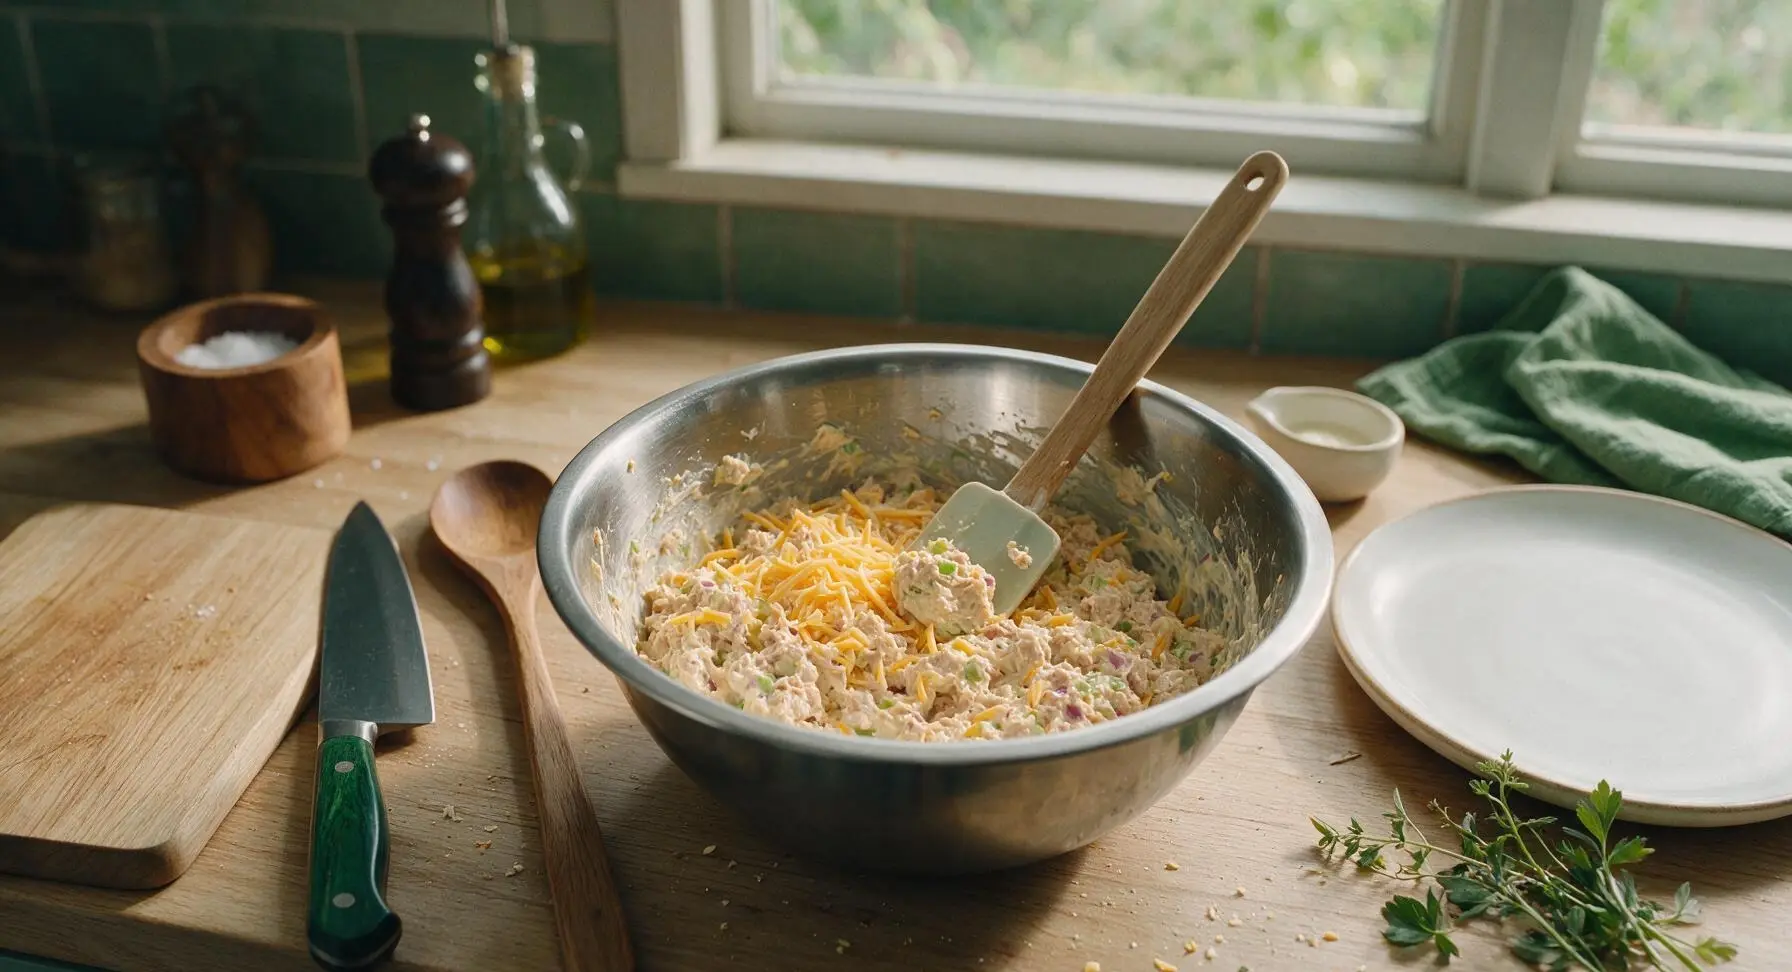
Place the small celery stalk and quartered red onion on the bamboo cutting board. Using the santoku knife, dice both vegetables into uniform 3mm pieces, pulling out and discarding any tough, stringy celery ribs as you work. Transfer the finished diced vegetables to the stainless steel mixing bowl. Avoid mashing the celery while cutting, as this will release excess moisture and make the filling watery.
Mix Tuna Filling
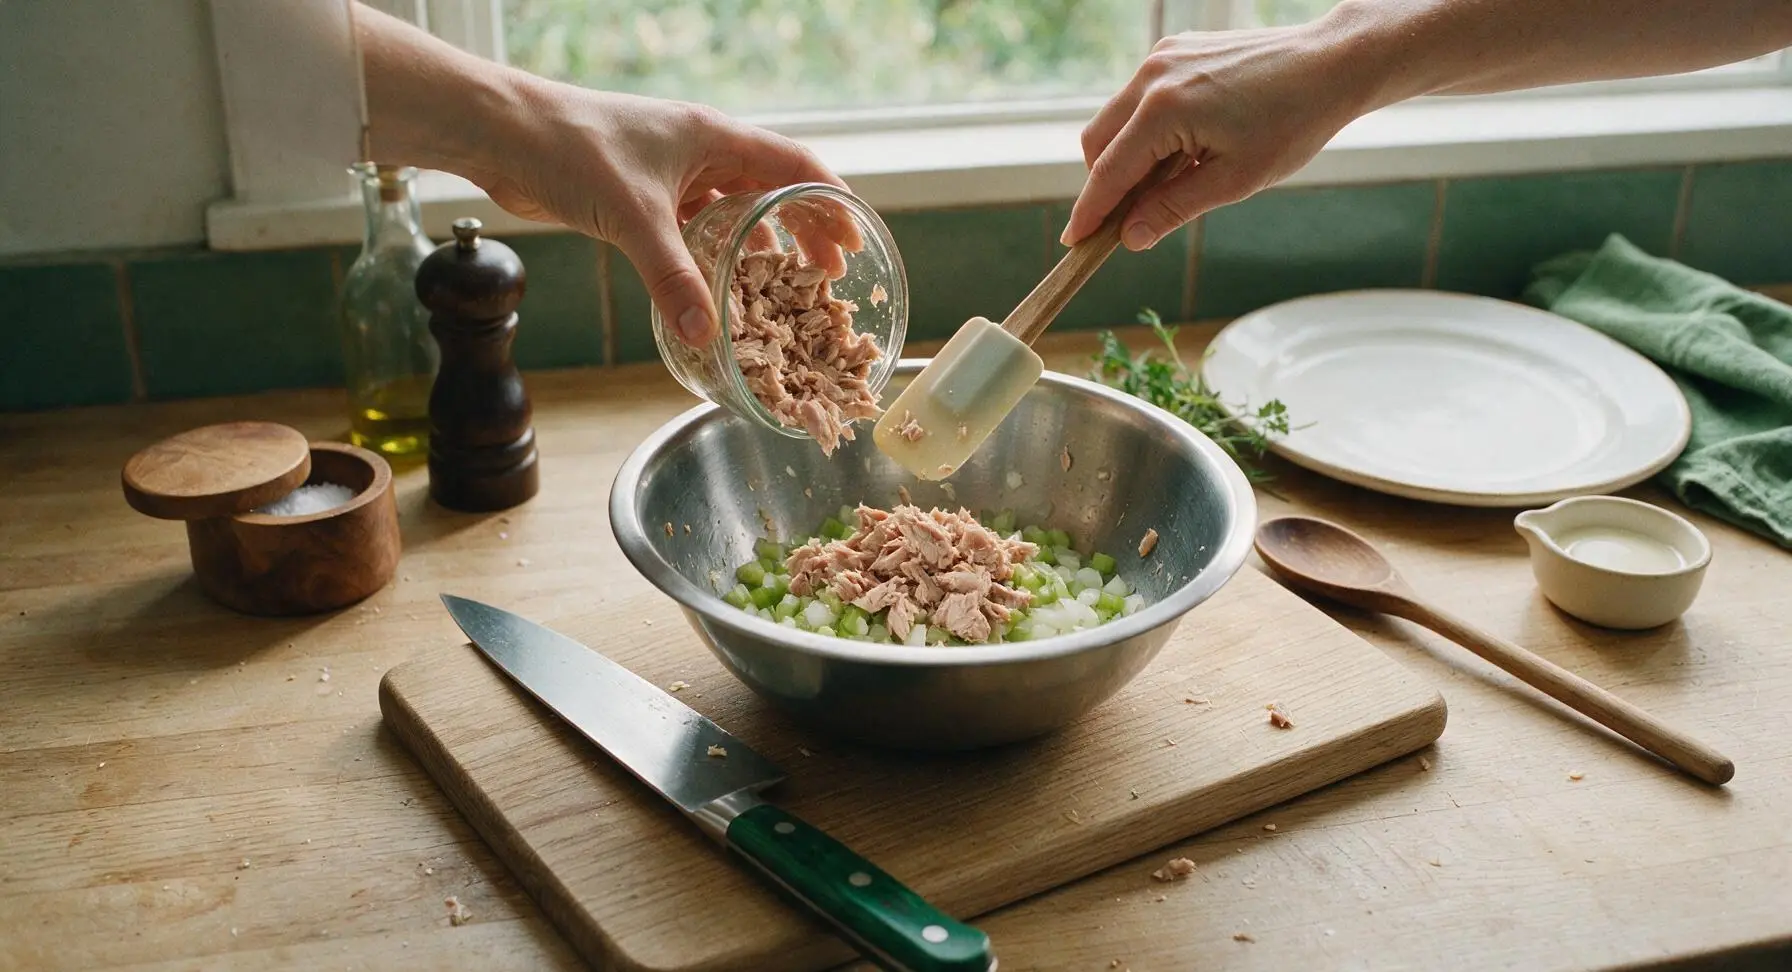
Add the fully drained flaky tuna to the mixing bowl on top of the diced celery and onion. Use the silicone spatula to break the tuna into fine, even flakes, leaving no large clumps. Add 2 tablespoons mayonnaise, Dijon mustard, fresh lemon juice, kosher salt, and black pepper, stirring until evenly combined. The finished filling should hold together when pressed gently with the spatula, with no dry crumbly spots or runny excess mayo. Fold in half of the shredded cheddar cheese (20g total), reserving the remaining 20g to add during sandwich assembly.
Butter Bread Slices
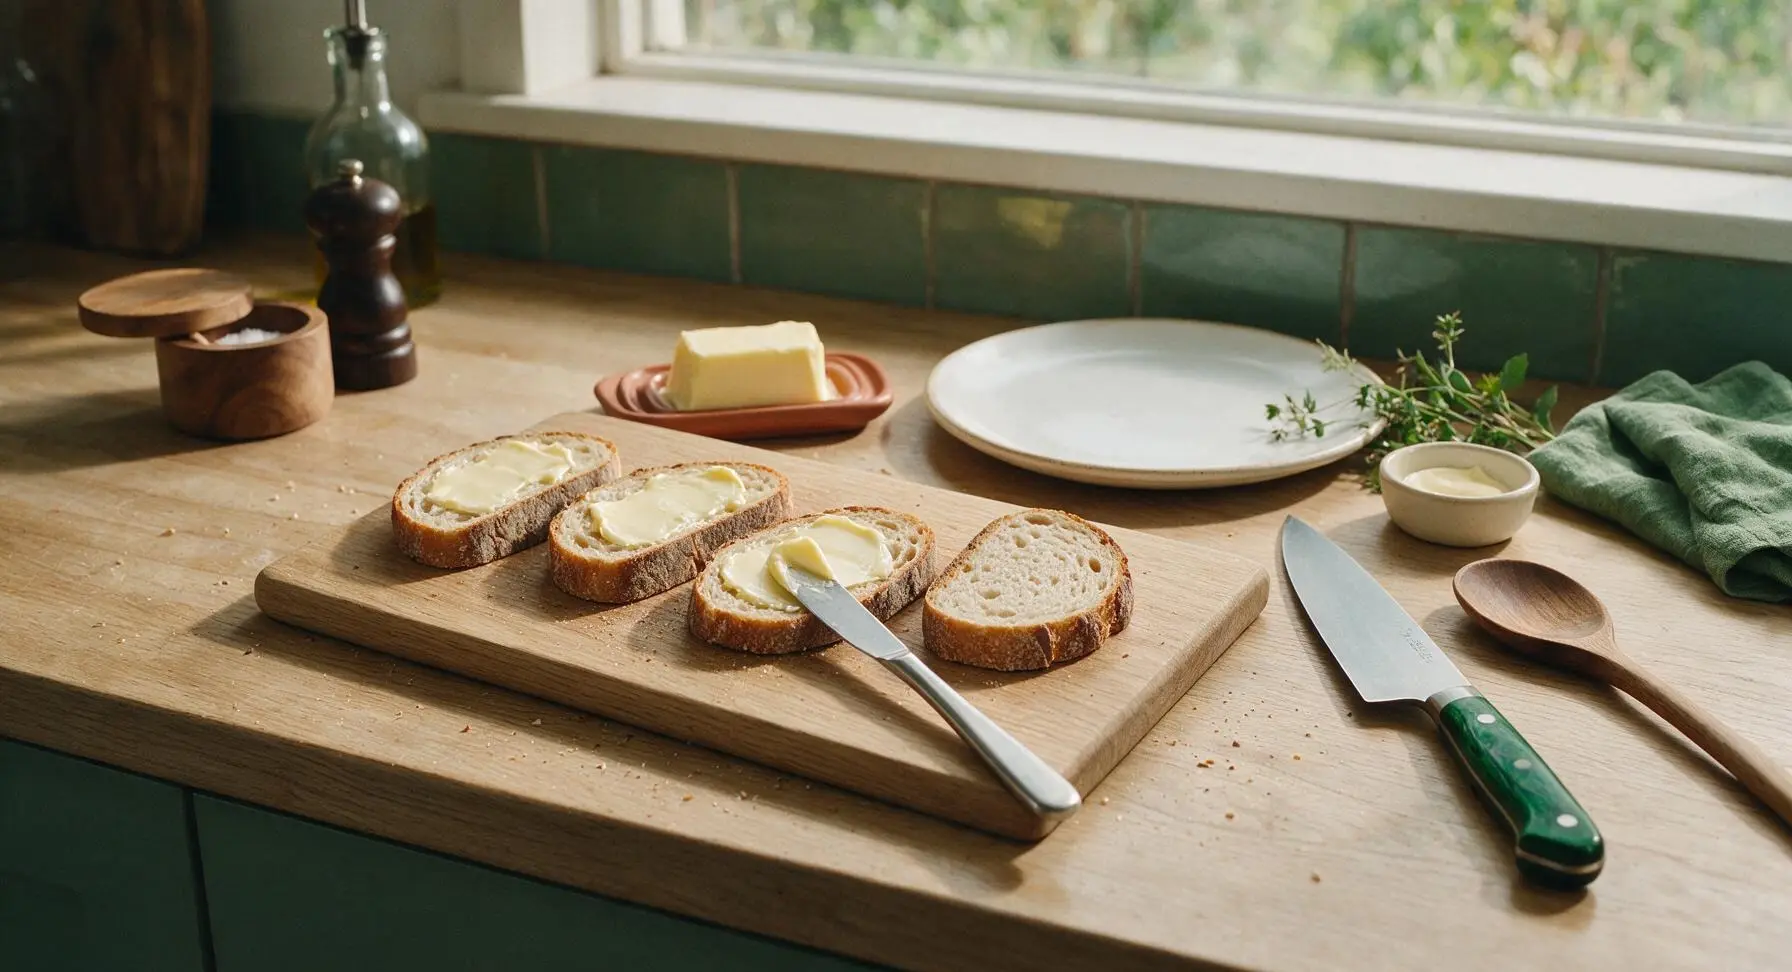
Lay all four sourdough slices flat on the bamboo cutting board. Using the stainless steel butter knife, spread a thin, even layer (about 3/8 tablespoon per slice) of softened butter across one full side of each bread slice, covering edge to edge. The buttered sides will form the crispy outer crust of the sandwich during toasting; take care to cover every spot, as dry bread patches will burn unevenly and leave bitter, charred spots.
Assemble Sandwich Layers
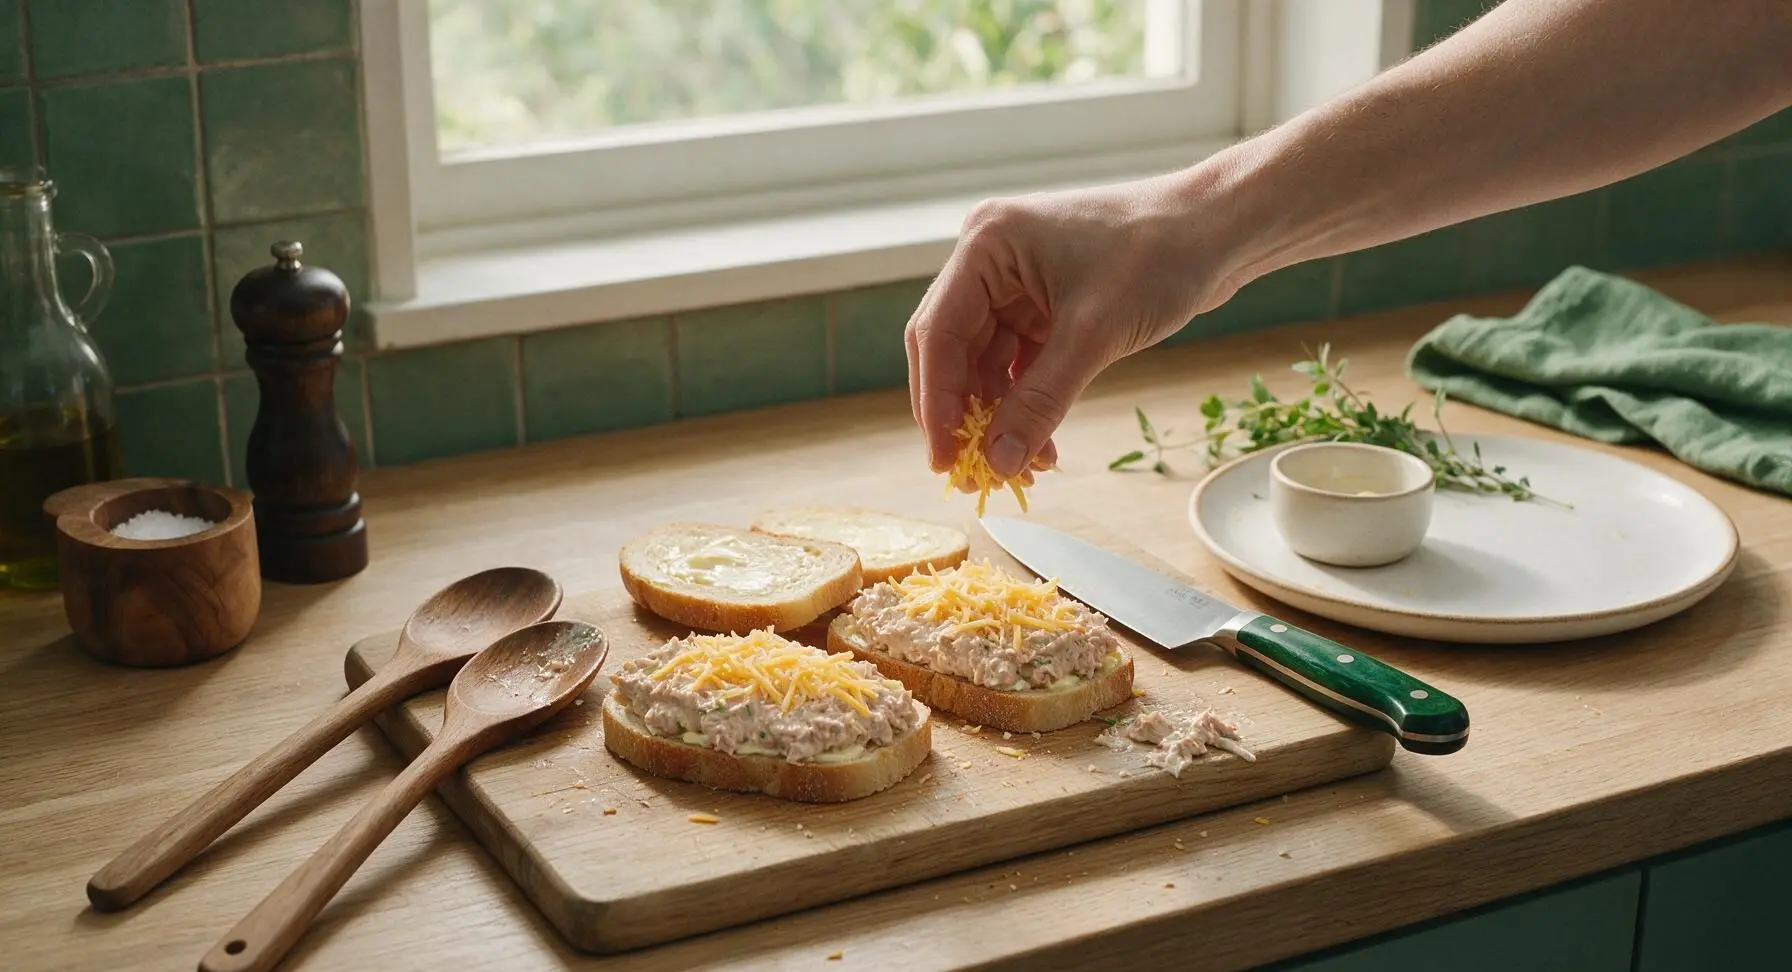
Flip two of the bread slices so their buttered sides face down on the cutting board. Divide the tuna salad mixture evenly between these two slices, spreading it into a 1cm thick even layer right to the bread edges. Sprinkle the reserved shredded cheddar cheese (10g per sandwich) evenly over the tuna filling. Top with the remaining two bread slices, buttered side facing up, pressing gently to adhere the layers. Avoid overstuffing the sandwiches, as excess filling will leak out during toasting and burn in the pan.
Preheat Cooking Skillet
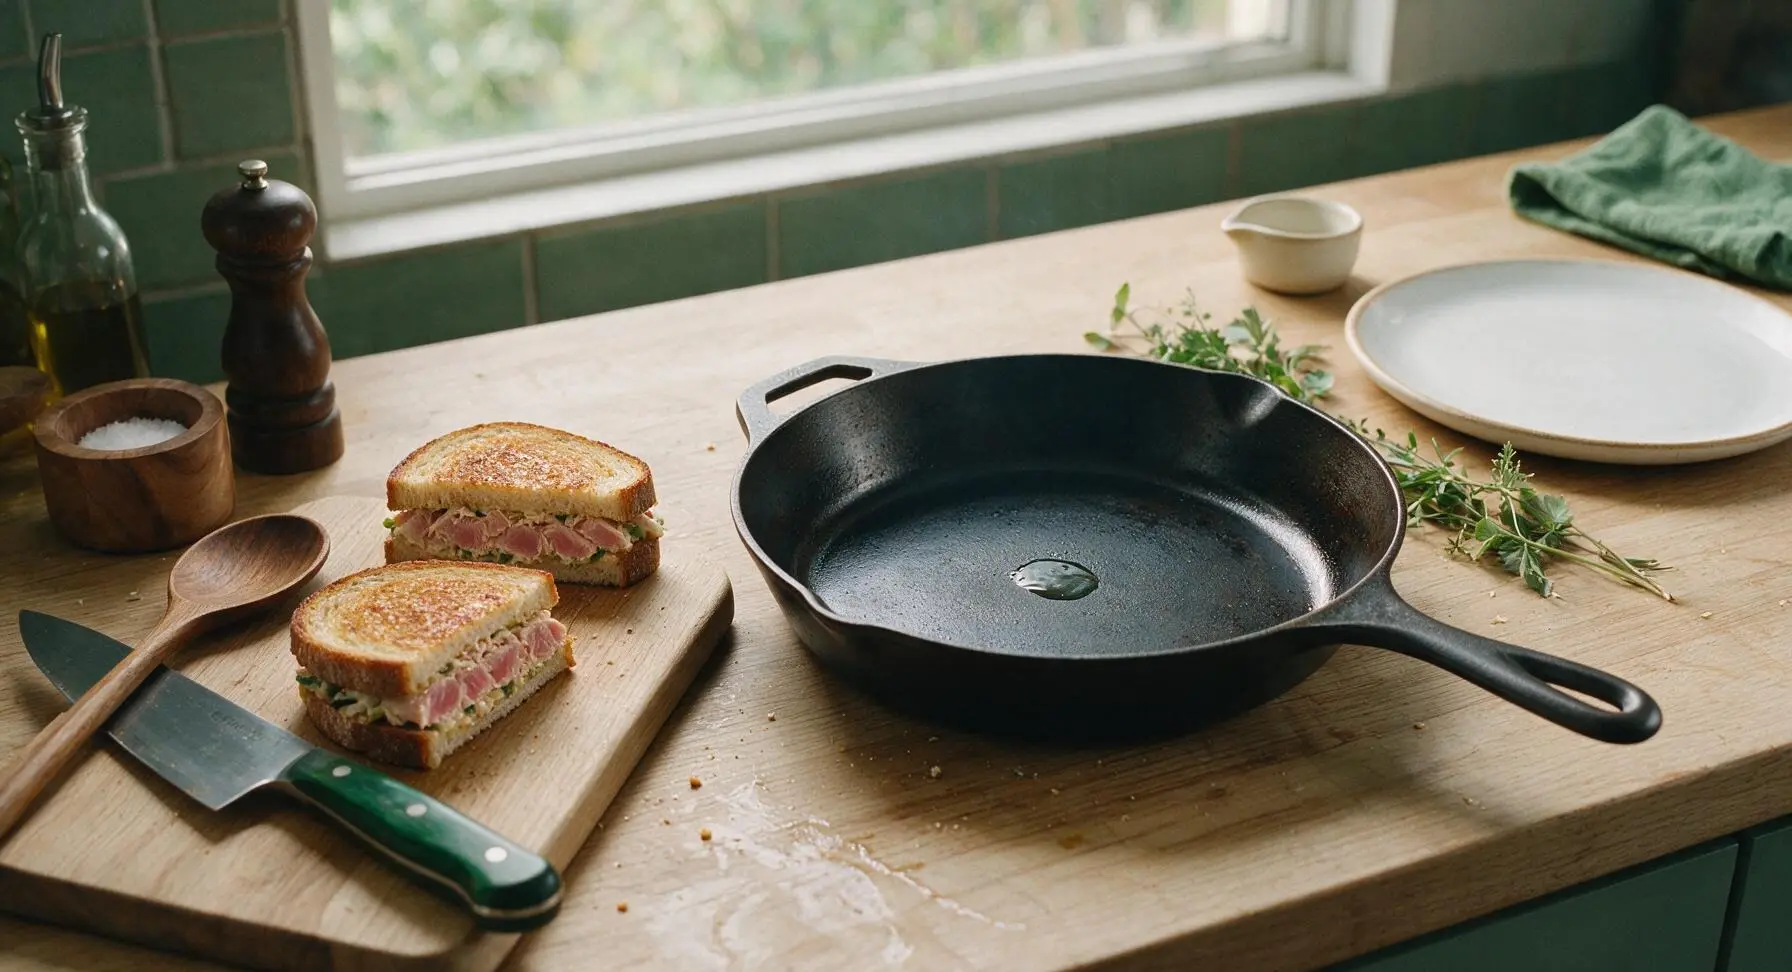
Retrieve the seasoned carbon steel skillet from storage and place it in its fixed position 15cm to the right of the mixing bowl. Heat over medium-low heat (325°F / 160°C) for 2 minutes, until a drop of flicked water sizzles and evaporates slowly over 3 seconds. Do not use higher heat, as this will burn the butter before the filling warms through and the cheese melts.
Toast First Sandwich Side
Carefully place one assembled sandwich into the preheated skillet. Cook for 2 to 2.5 minutes over medium-low heat, watching closely, until the bottom bread slice is a uniform deep golden brown, crispy around the edges, and the cheddar at the filling seam begins to bubble. Do not press down on the sandwich with the spatula during cooking, as this will squeeze creamy filling out of the sides and onto the pan.
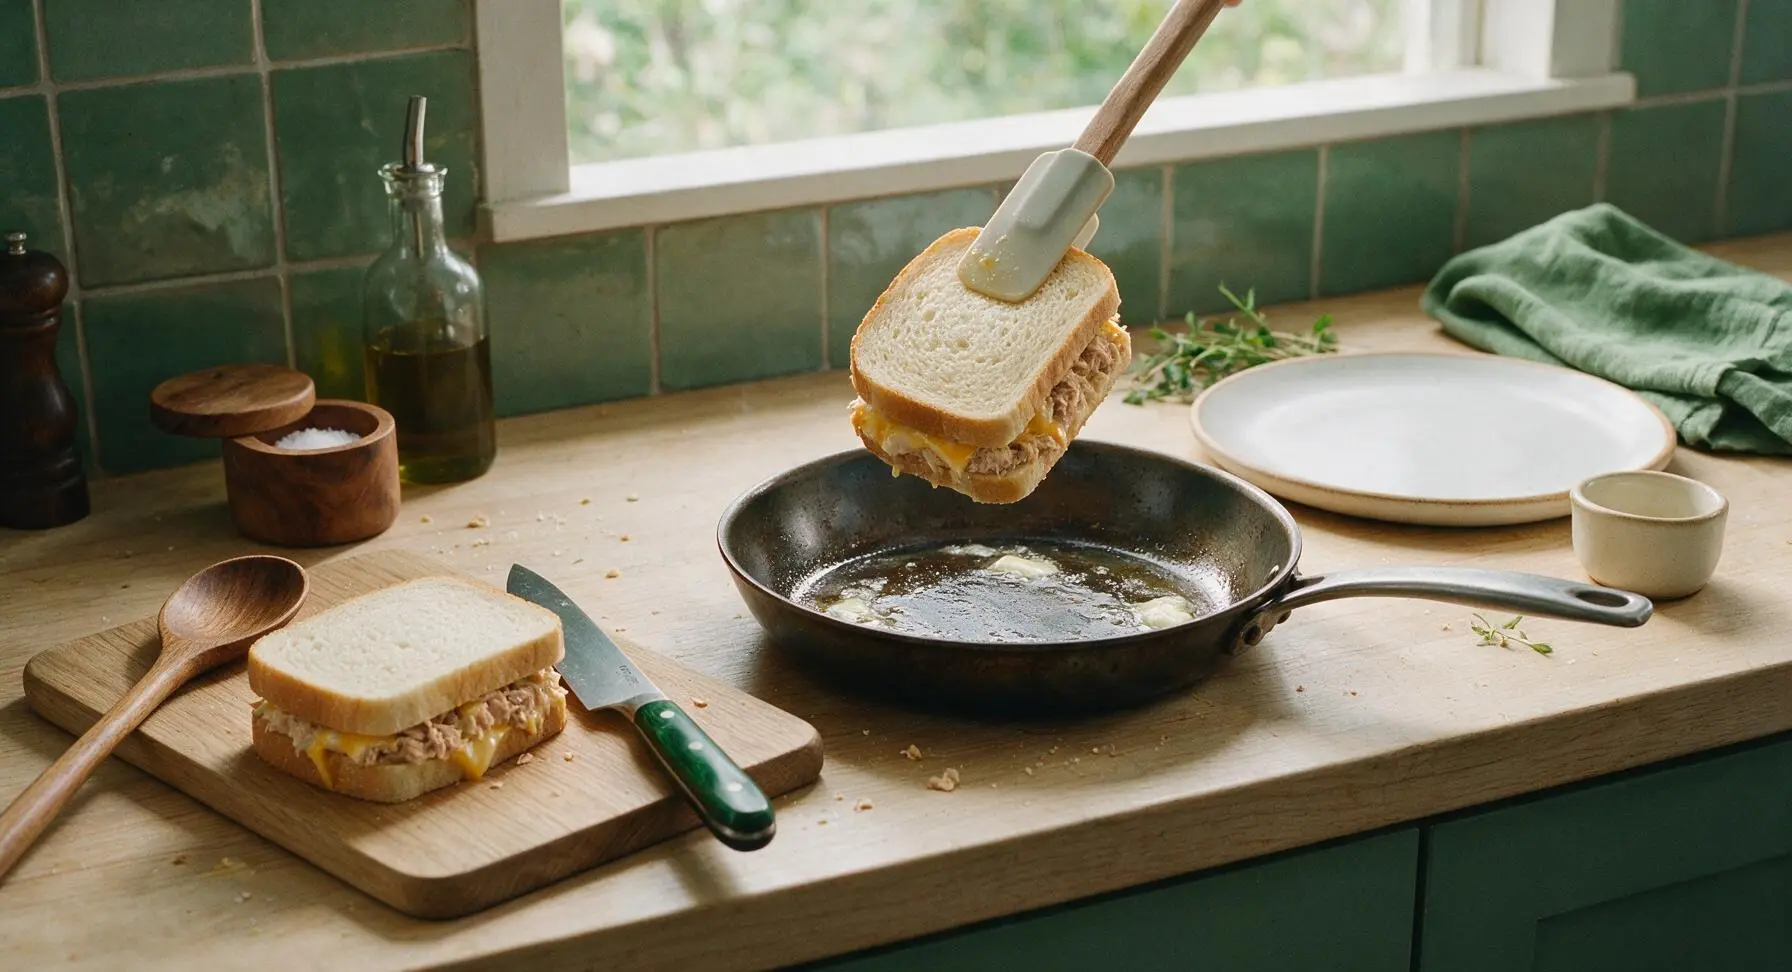
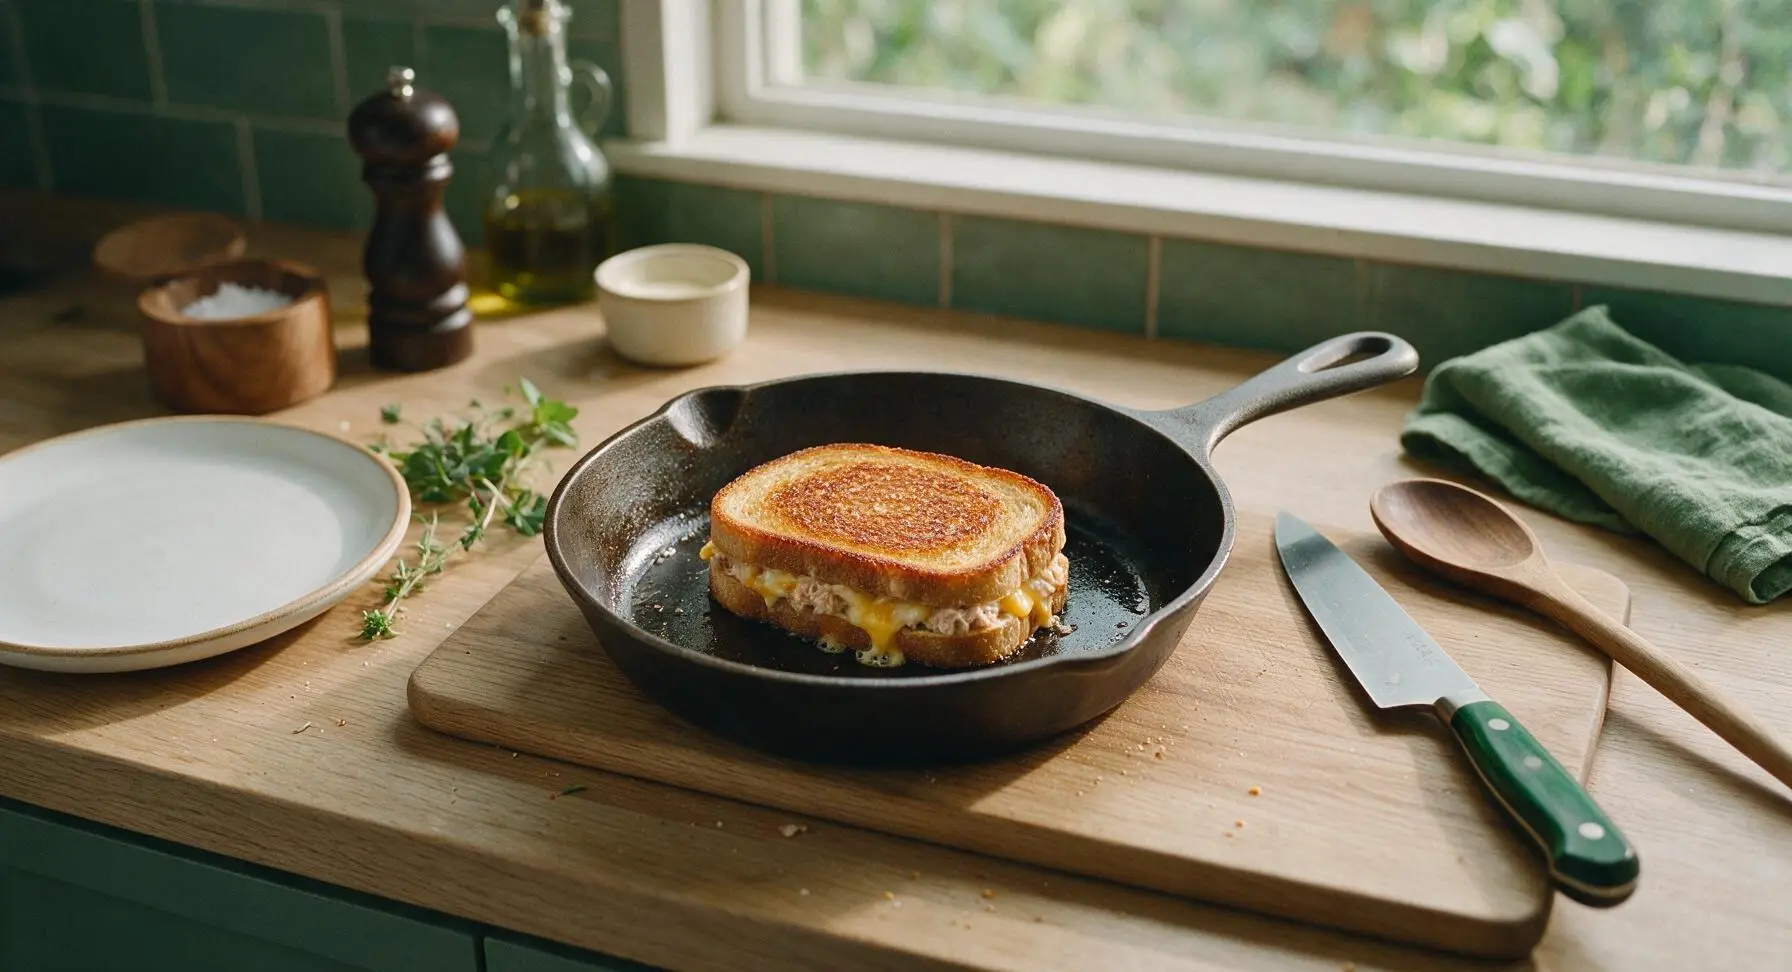
Flip and Finish Toasting
Use the silicone spatula to gently slide under the sandwich and flip it to the second side, taking care not to tear the crispy bread crust. Cook for an additional 1.5 to 2 minutes, until the second side matches the deep golden crispness of the first, and the internal filling is warm with fully melted cheddar. Remove the first finished sandwich to a clean corner of the cutting board, then repeat the toasting process for the second sandwich, lowering heat slightly if the pan begins to smoke.
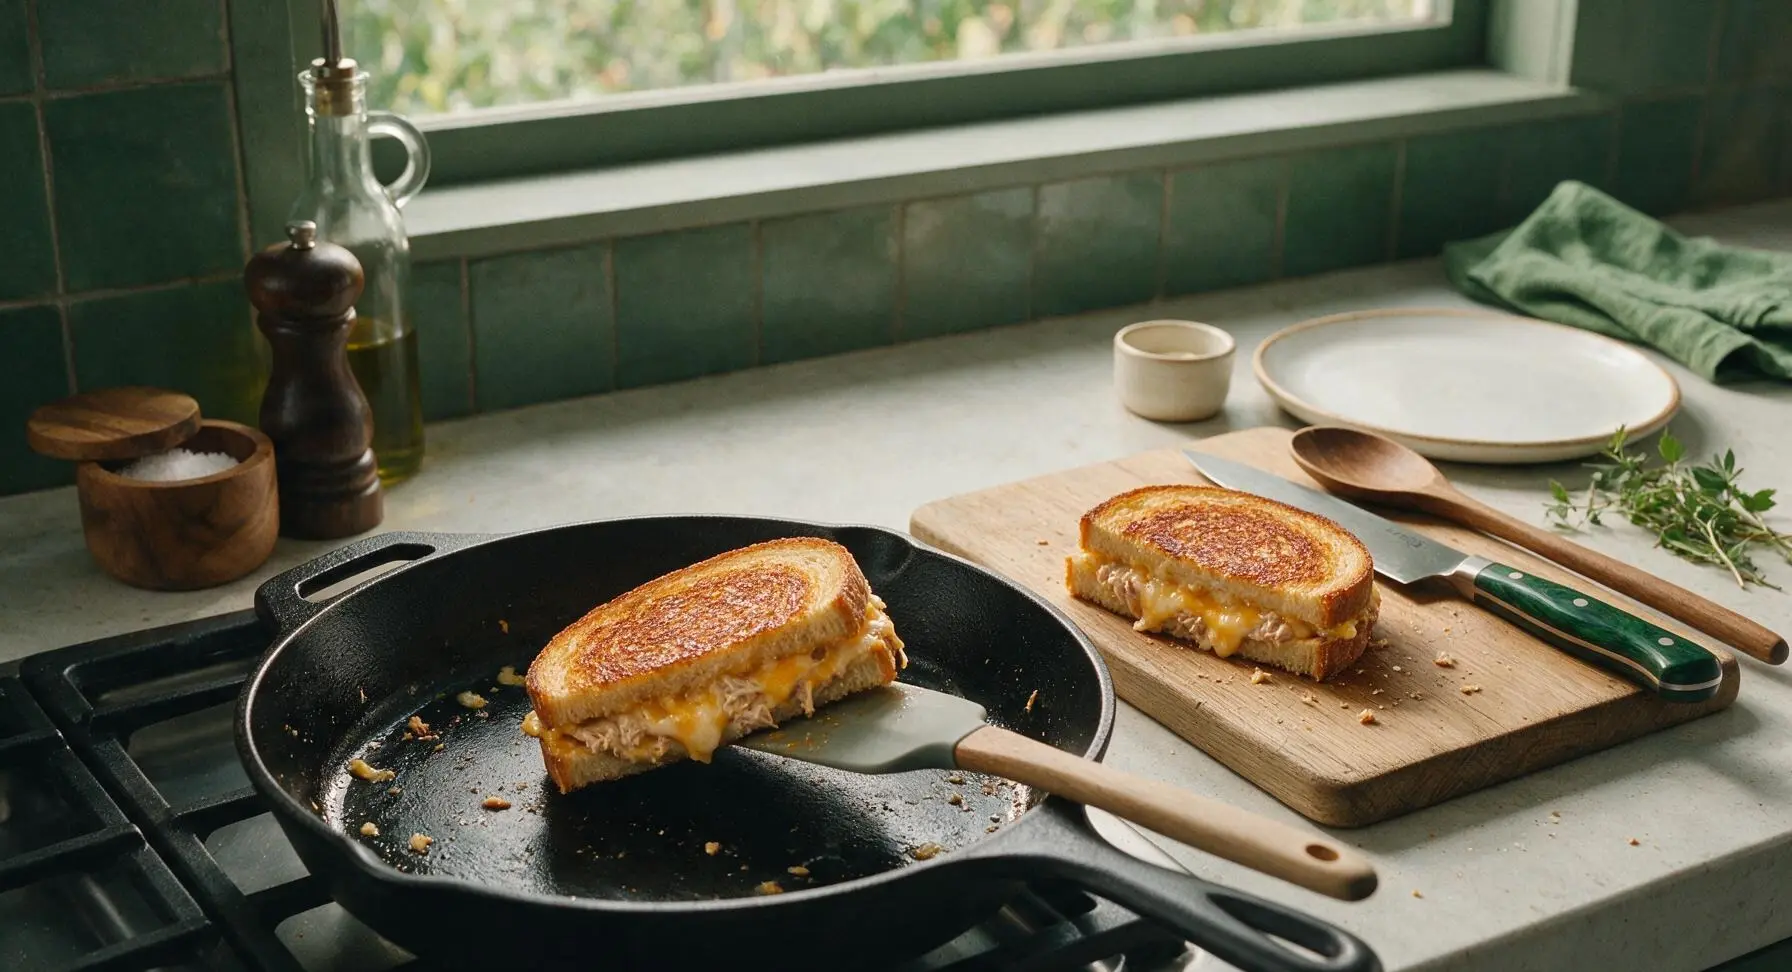
Cut and Plate Sandwiches
Once both sandwiches are fully toasted, transfer them to the center of the bamboo cutting board. Use the santoku knife to cut each sandwich diagonally in half with one smooth, gentle sawing motion, avoiding hard downward pressure that would squeeze out filling. Arrange the four triangular halves slightly offset on the top off-white stoneware dinner plate, cut sides angled to show the creamy filling. Sprinkle finely chopped fresh chives evenly over the sandwich tops, adding a light twist of black pepper if desired. Serve immediately while the bread is crisp and the filling is warm.
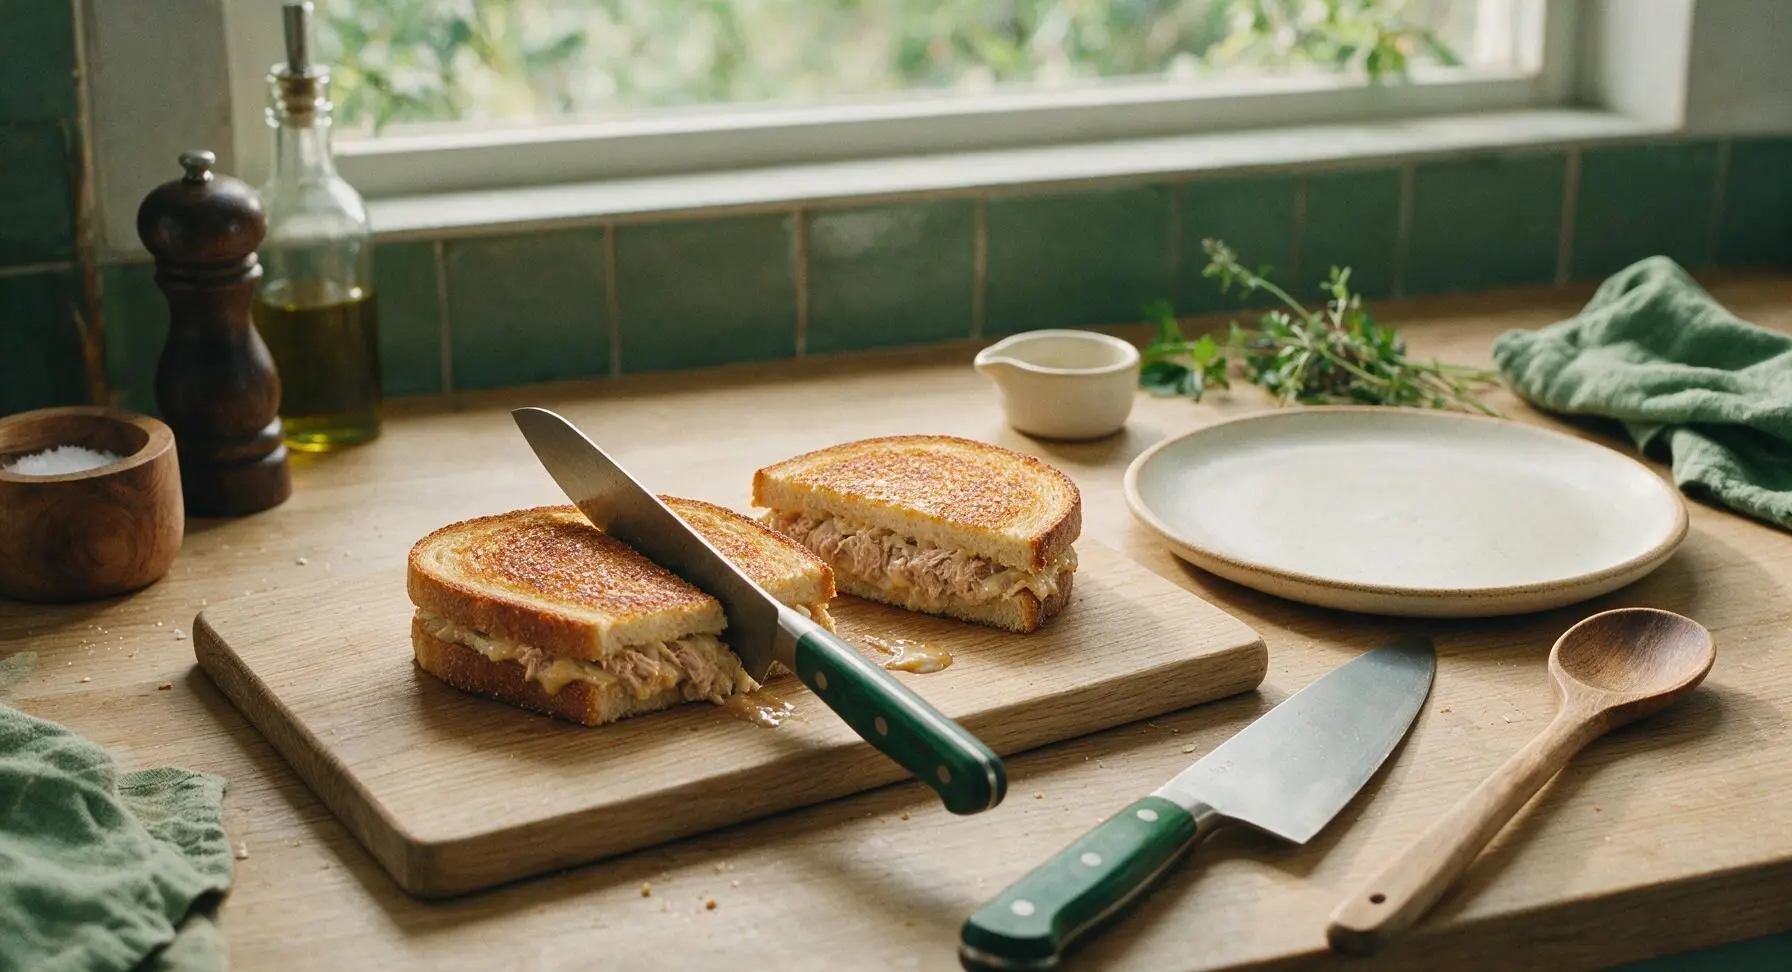
Tips
2.Soften butter to room temperature (65°F / 18°C) before spreading on bread. Cold, hard butter will tear soft sourdough slices and leave uneven patches, leading to splotchy toasting and dry, burnt spots on the crust.
3.Resist the urge to press sandwiches down with a spatula while toasting. Pressing squeezes out creamy filling and compresses the bread, resulting in a flat, greasy sandwich with less textural contrast between crispy crust and soft filling.






OMG this is the easiest tuna melt adjacent sandwich I’ve ever made for my kids after school! Cook time is literally 8 minutes flat, no fancy ingredients, and my 7 and 9 year old devoured theirs before I even got a bite of my own. Used a little extra dill pickles in the tuna mix because we’re a pickle-obsessed household, 10/10 will make again for weeknight quick dinners.
Perfect for dorm cooking! I don’t have a fancy toaster oven, just a regular pan on my tiny hot plate and this came out crispy and so good. Only knock is I wish there was a note about draining the tuna really well otherwise the bread gets soggy, I learned that the hard way on my first try.
Made these cut into quarters for our neighborhood block party potluck last weekend and they were GONE in 10 minutes. People kept asking me for the recipe! Who knew a basic toasted tuna sandwich could be such a crowd pleaser? I added a thin slice of cheddar on half of them for people who like a little cheese, total game changer.
I’ve been making tuna sandwiches wrong my whole life??? Toasting the bread first before adding the tuna mix makes all the difference, no more sad soggy lunch. This is going into my regular work from home lunch rotation for sure.
Threw these on the flat top griddle out on the patio instead of using the stovetop, got that perfect golden crispy crust on the sourdough. My wife said it’s better than the diner version we get on weekends. SO good.
Used gluten free sourdough for this and it worked perfectly! Held up great to toasting, didn’t fall apart when I picked it up. Only change I made was adding a little celery for crunch, will absolutely make again for quick lunches between work meetings.
Wait I’m 22 and just learning to cook for myself and this was the first recipe I didn’t mess up??? The steps are so straightforward, no weird measurements, and it tastes like something I’d pay $12 for at a café. I’m so proud of myself lol.
Made a big batch of the tuna mix on Sunday for meal prep, and toasted up the bread fresh each morning for work lunches all week. Saved me so much money on takeout! Even my picky teen took one to school this week and said it was better than the school lunch line.
Solid recipe, but it’s missing a little something for me. I added a dash of hot sauce and a sprinkle of black pepper and it got way closer to the bodega tuna sandwiches I grew up on. Still easy to make, just needs a little extra zing in my opinion.
I’ve been making tuna sandwiches for over 50 years and I have to say, the tip to toast the bread on medium low so it doesn’t burn before it gets crispy is one I’m stealing. Made these for my bridge club yesterday and all the ladies asked for the trick. Perfect, easy recipe.
Great high protein quick meal after the gym! I added an extra can of tuna (in water, obviously) and a little Greek yogurt instead of all mayo to bump up the protein, came out super creamy without being heavy. Ate two sandwiches after my long run and felt perfectly fueled.
Made these for lunch today when it was pouring rain and I didn’t want to run to the grocery store. I already had all the ingredients in my pantry and fridge, zero extra trip needed. Cozy, crispy, exactly what I was craving.
Made a platter of these for the football watch party at my house last Sunday, served with potato chips and pickles on the side. Way easier than making burgers or wings, and every single guy at the party was raving. Game day food doesn’t have to be complicated!
Finally, a tuna sandwich recipe that doesn’t turn into a mushy mess halfway through eating! I’ve tried so many recipes and they always go soggy, but the tip to toast the bread well and drain the tuna fully is 100% the secret. Crispy from first bite to last.
Full transparency: I hated tuna sandwiches my whole life until I tried this recipe. My partner made them for lunch last weekend and I was so skeptical, but the crispy toast, the perfectly seasoned tuna, the little bit of onion and celery? It converted me. I even asked for seconds, who am I??
Cut these into little star shapes with my cookie cutter for my toddler’s lunch and he ate every single bite without throwing any on the floor! That’s a massive win in our house, 5 stars just for that alone. We’ll be having these at least once a week now.
Wrapped these up tight in foil and stuffed them in my pack for a day hike up in the Rockies. They held up perfectly even after a few hours in the pack, no sogginess, and tasted so good at the summit with a cold seltzer. Way better than packing energy bars for a change.