
Tomato Grilled Cheese
intro
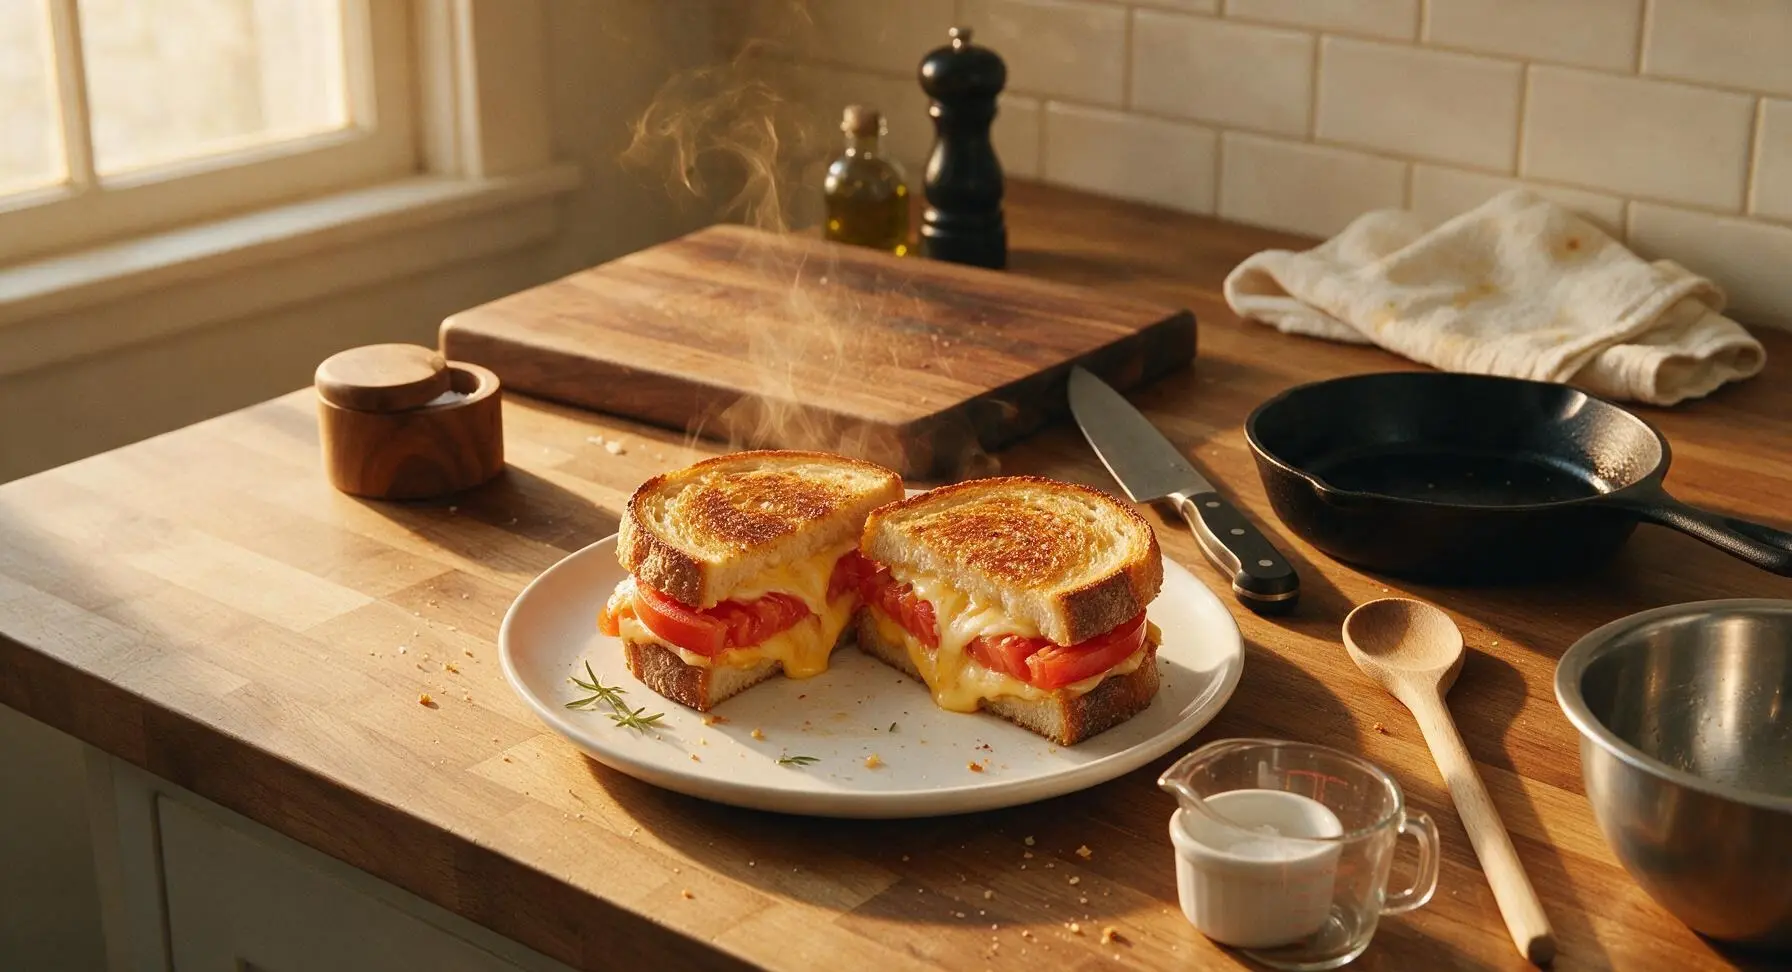
Crispy buttery sourdough, melted stretchy cheddar, and juicy ripe summer tomato make this upgraded grilled cheese the ultimate fast, cozy comfort food.
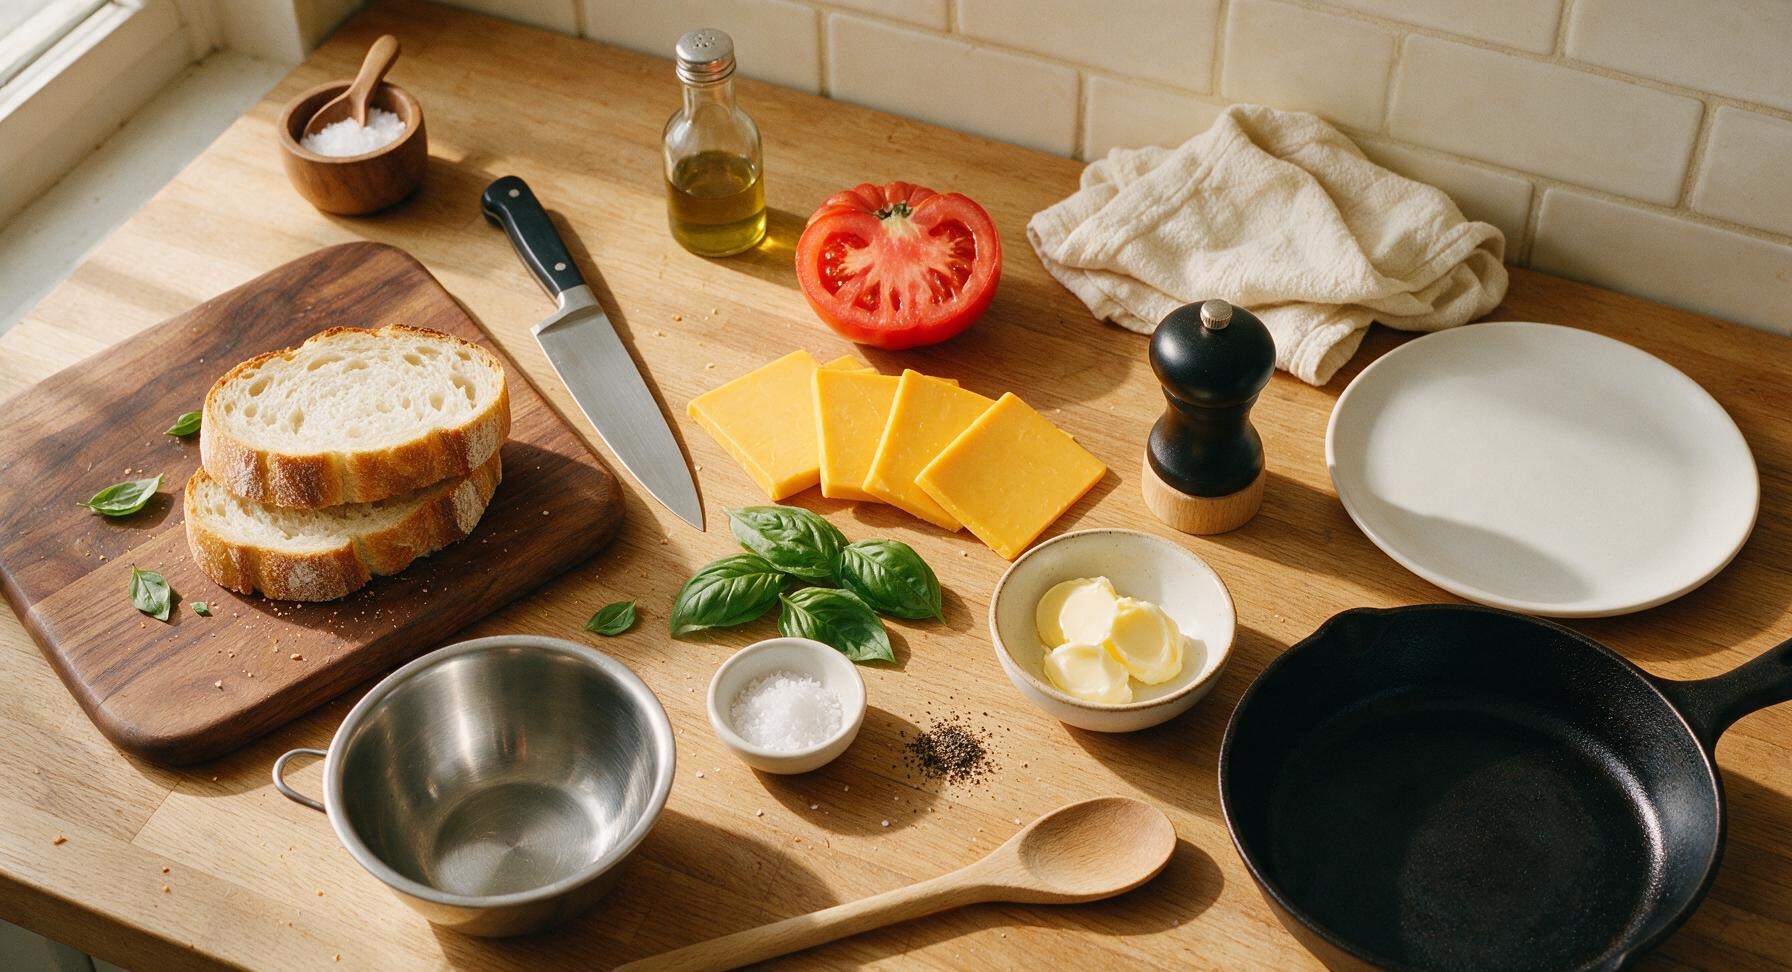
Ingredients
Steps
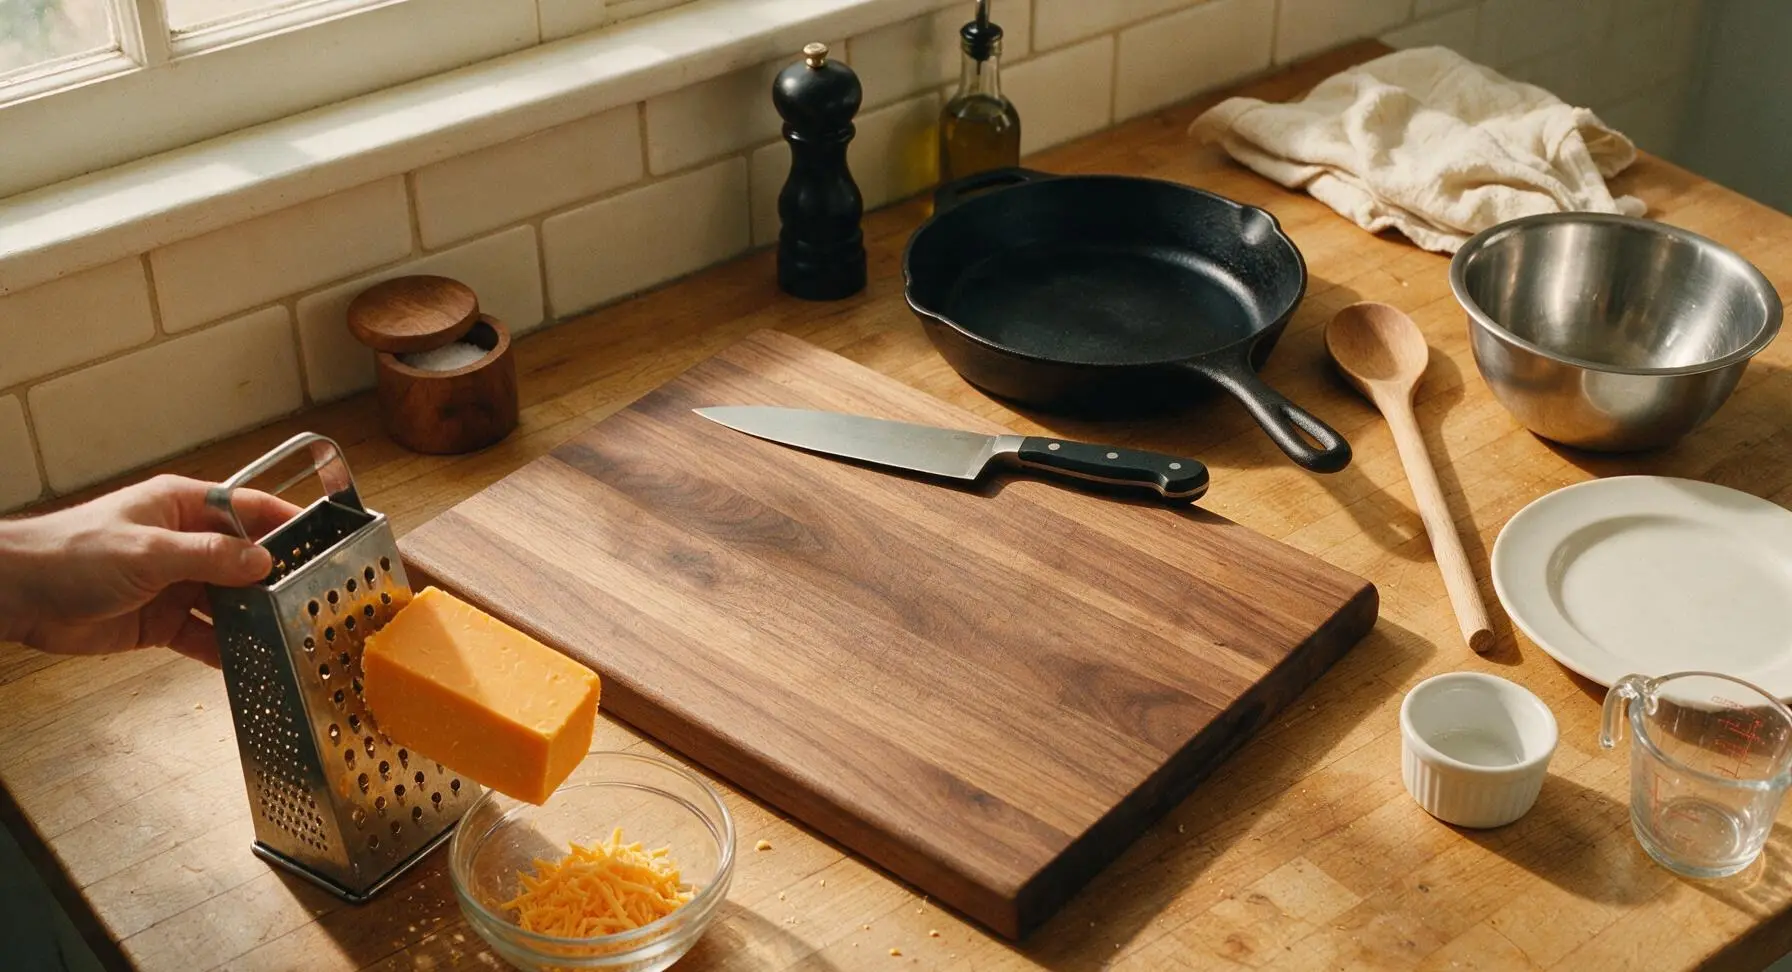
Grate the cheddar cheese
Place the stainless steel box grater on the left side of the maple cutting board. Grate the full 110g block of sharp cheddar using the grater's large holes, collecting all grated cheese in the clear glass prep bowl. Avoid pre-shredded cheese, as it contains anti-caking agents that prevent smooth, even melting. Set the bowl of grated cheese next to the cutting board when finished.
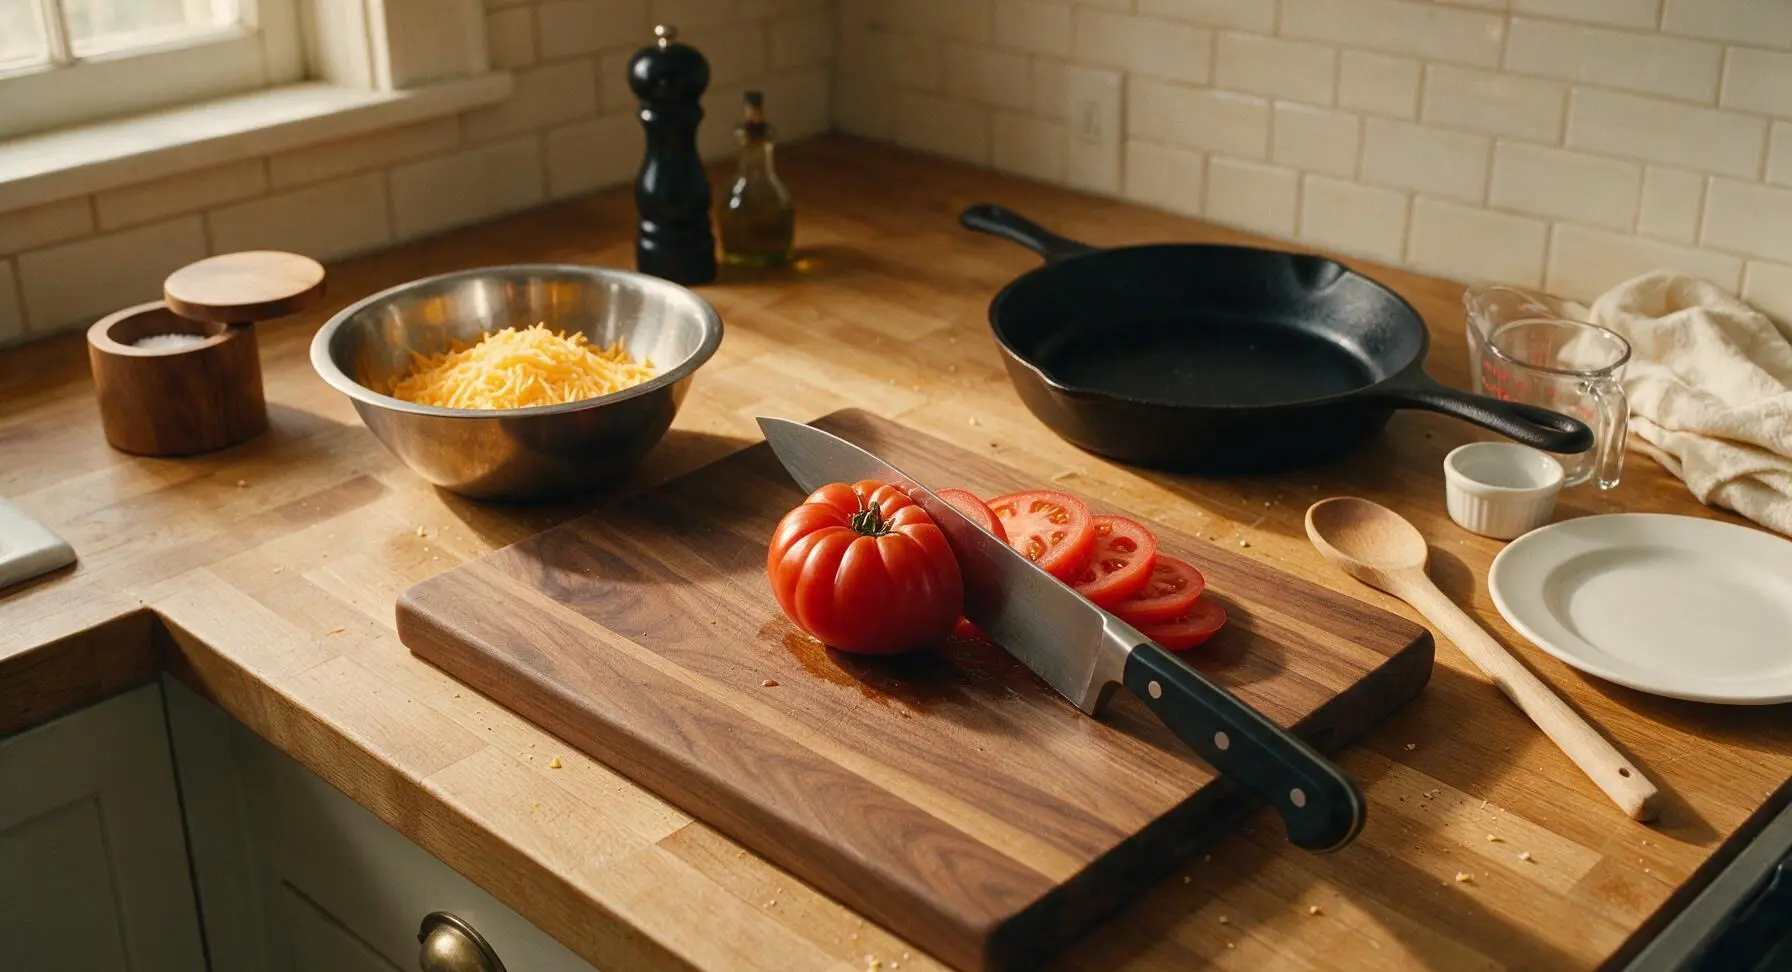
Slice and pat tomatoes
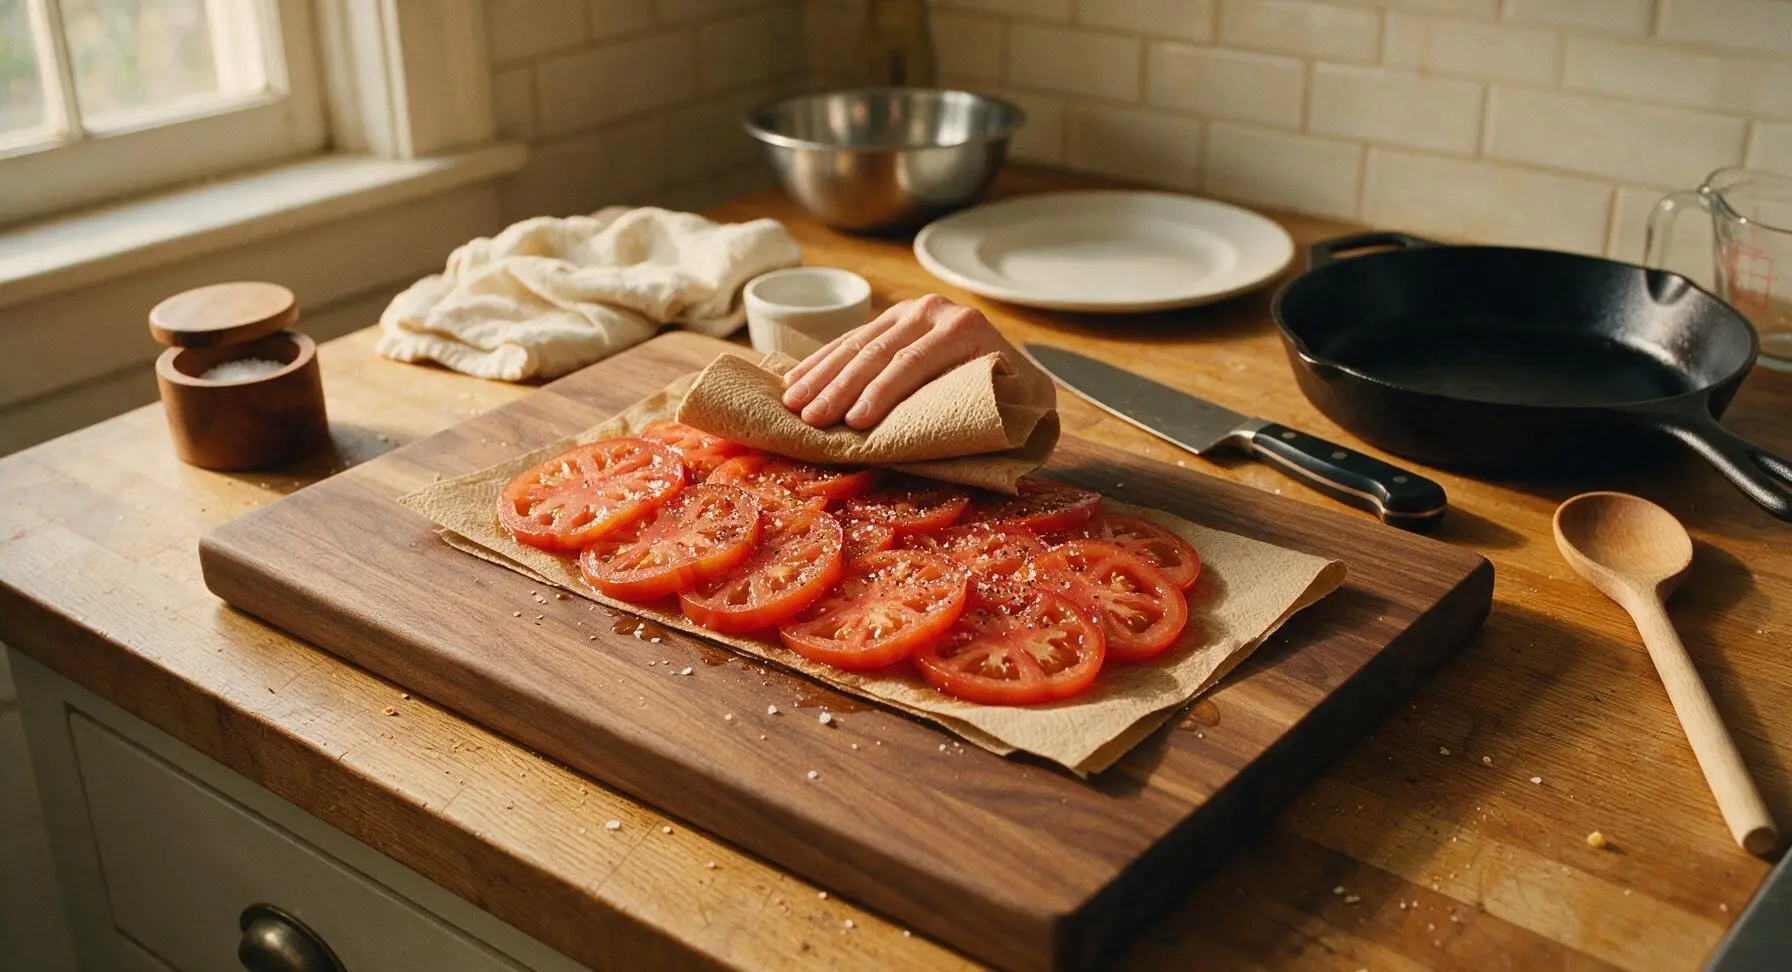
Place the whole heirloom tomato on the center of the maple cutting board. Use the chef knife to cut the tomato into even 6mm (1/4 inch) thick slices, discarding the tough green stem end. Lay the slices flat on a folded unbleached paper towel, then pat the top surface gently with a second paper towel to remove excess surface moisture—this critical step prevents soggy sandwich bread. Lightly season the dried tomato slices with a pinch of flaky sea salt and black pepper.
Butter bread slices
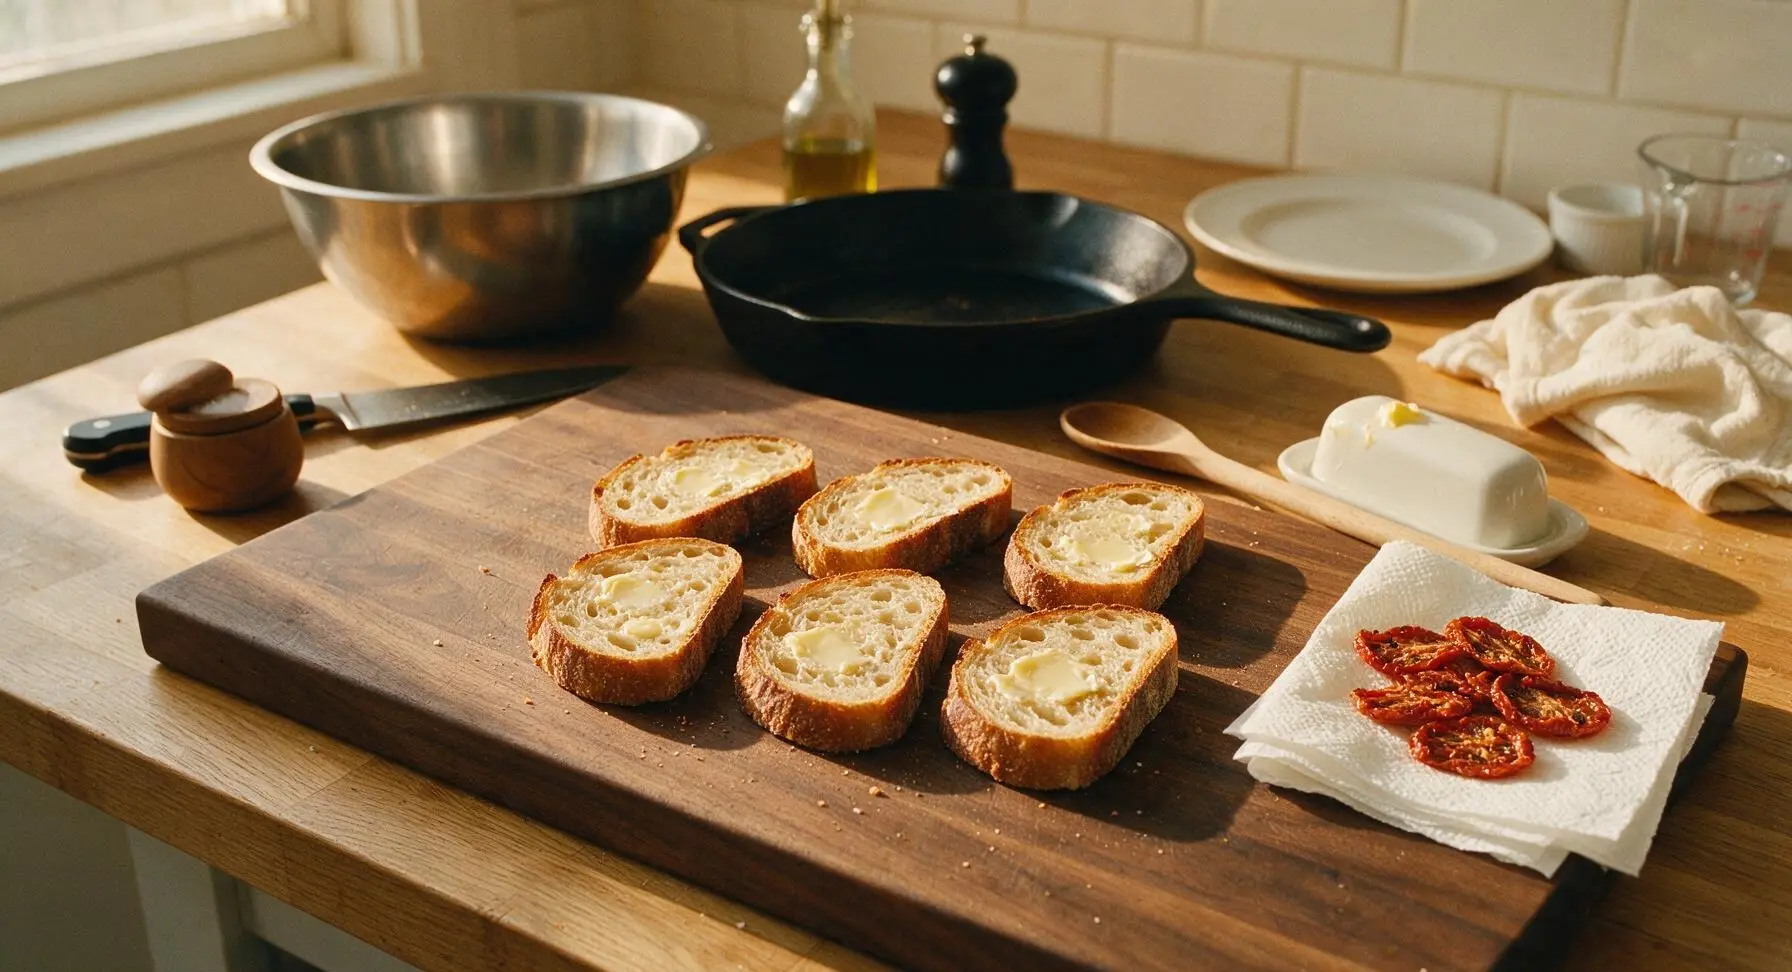
Lay all 4 slices of sourdough flat on the maple cutting board. Spread 1/2 tablespoon of softened salted butter evenly across one full side of each bread slice, spreading all the way to the crust edges to ensure even crisping. The buttered side will form the crispy outer surface of the sandwich, so gaps in butter will result in dry, pale bread spots. Flip all slices over so the unbuttered side faces up for sandwich assembly.
Layer sandwich fillings
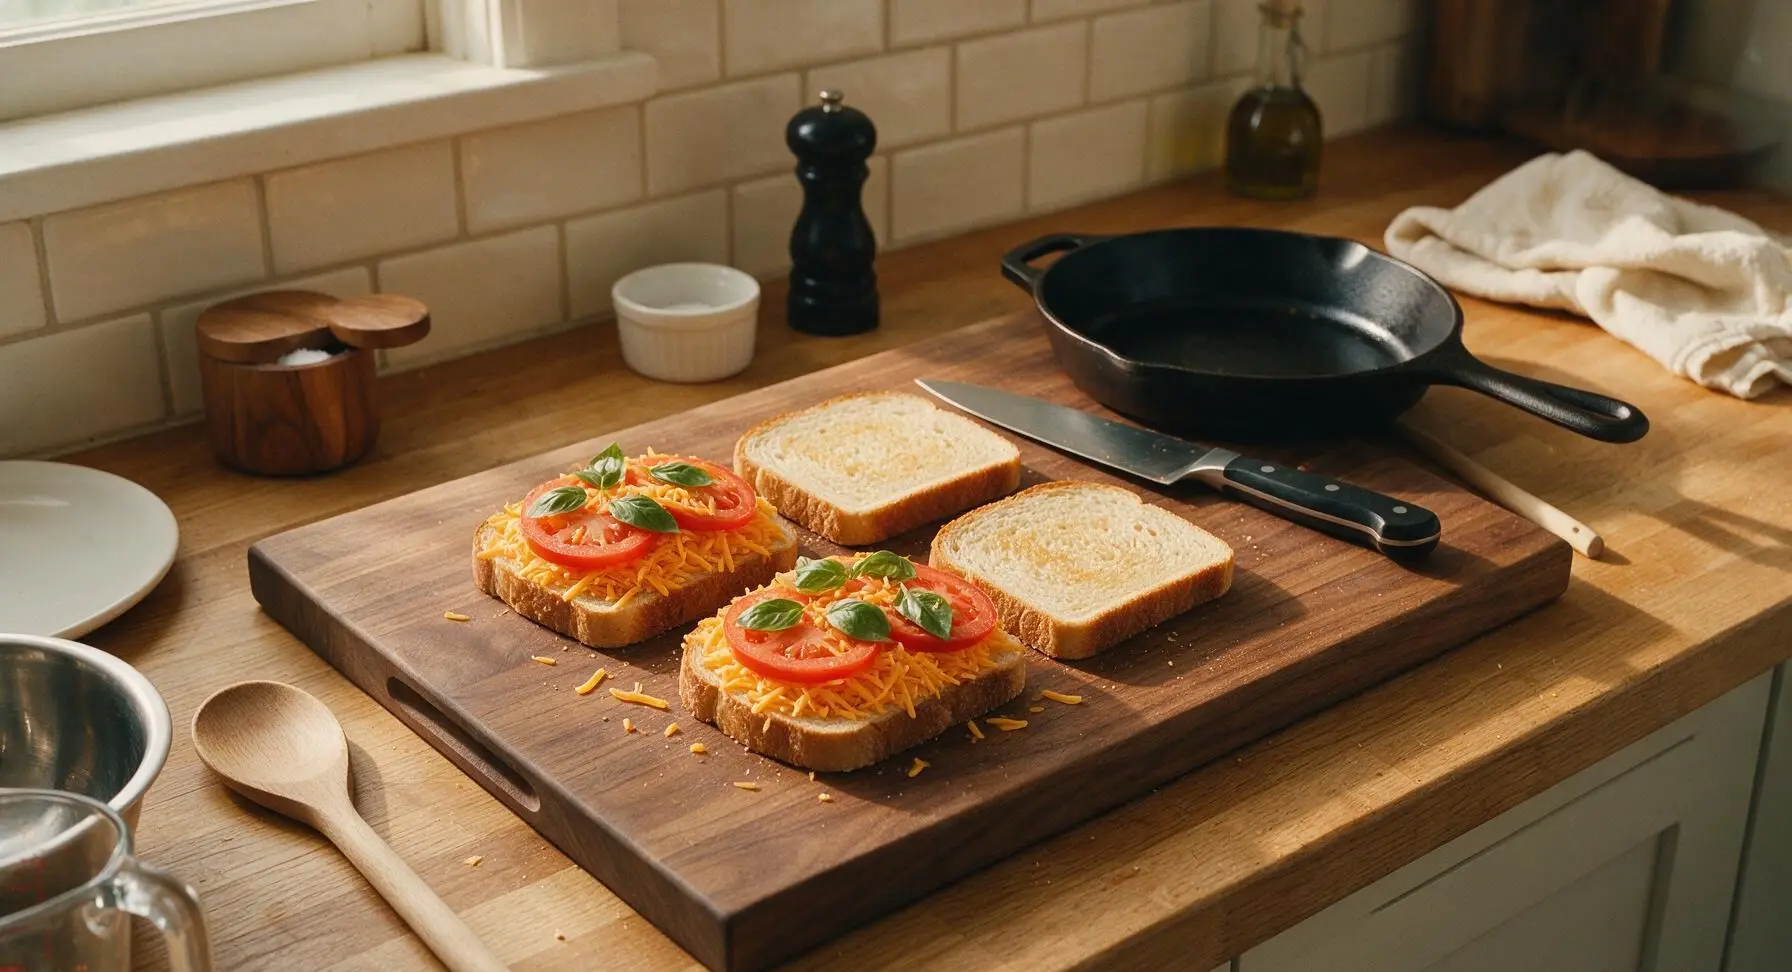
Divide half of the grated cheddar evenly across the unbuttered side of two bread slices, spreading cheese in a thin even layer right to the bread edges. Top the cheese with 2-3 dried tomato slices per sandwich, tucking 2 fresh basil leaves under each tomato layer, then add the remaining grated cheddar on top of the tomatoes. Place the remaining two bread slices on top, buttered side facing out, and press down gently on each sandwich to compact the layers slightly. The top cheese layer ensures the bread adheres to the filling as it melts.
Preheat the skillet
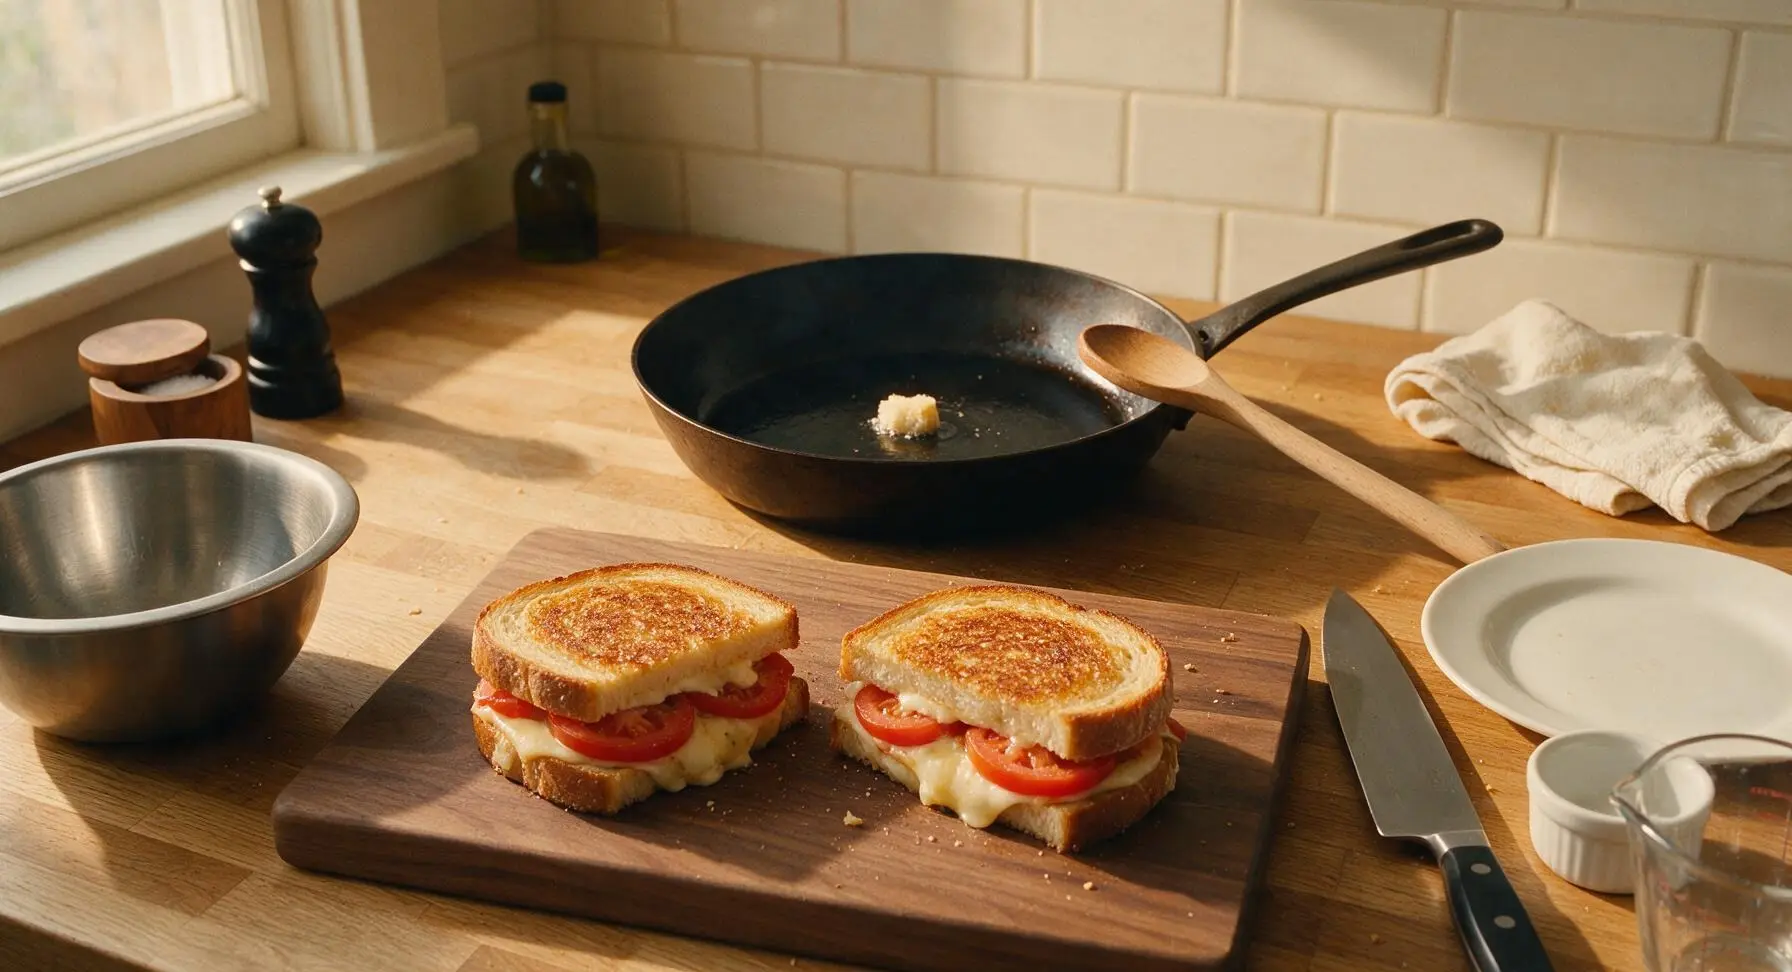
Place the 10-inch seasoned carbon steel skillet on the rear center of the cooking zone, preheating over medium-low heat for 2 minutes. Test the heat by dropping a single small bread crumb into the pan: it should sizzle gently and turn pale golden in 10 seconds, not burn instantly. If the crumb blackens quickly, reduce the heat to low to avoid burnt bread before the center cheese melts.
Cook first sandwich side
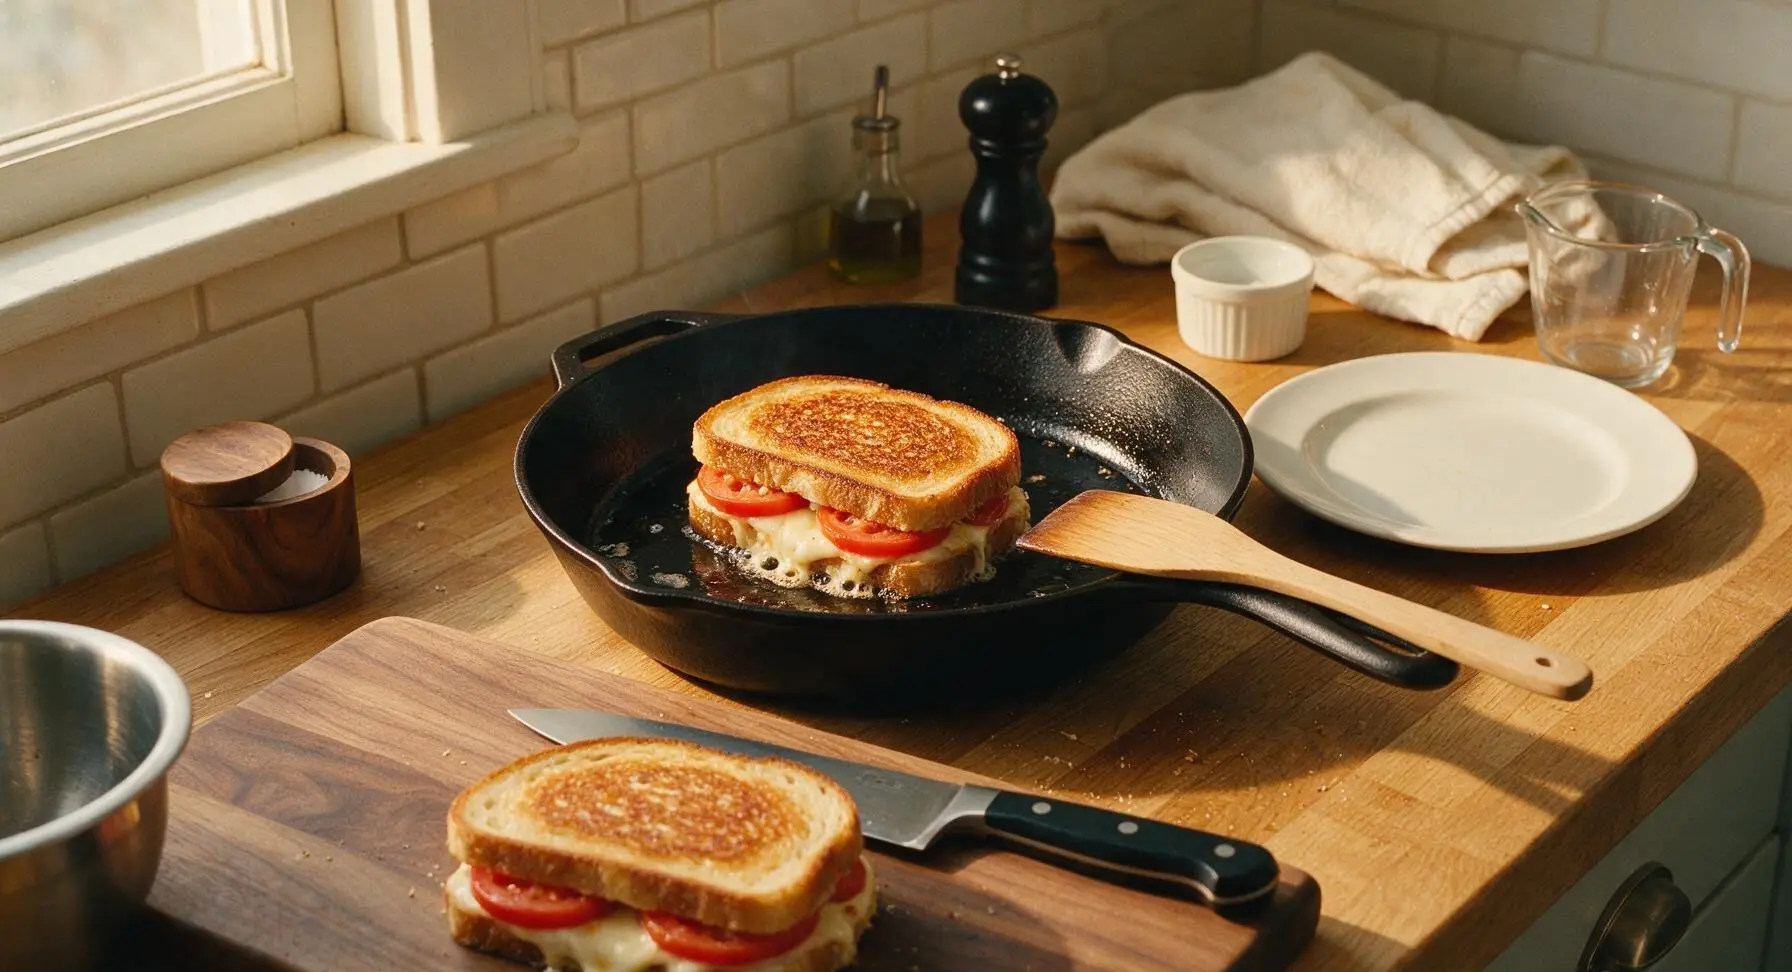
Carefully place one assembled sandwich into the preheated skillet. Cook for 3-4 minutes over medium-low heat, resisting the urge to press down hard on the sandwich with the spatula (this squeezes out melted cheese and creates dry spots). The bread is ready to flip when the surface touching the pan is deep golden brown and crispy, and the cheese closest to the pan has started to melt and bubble at the edges.
Flip and finish cooking
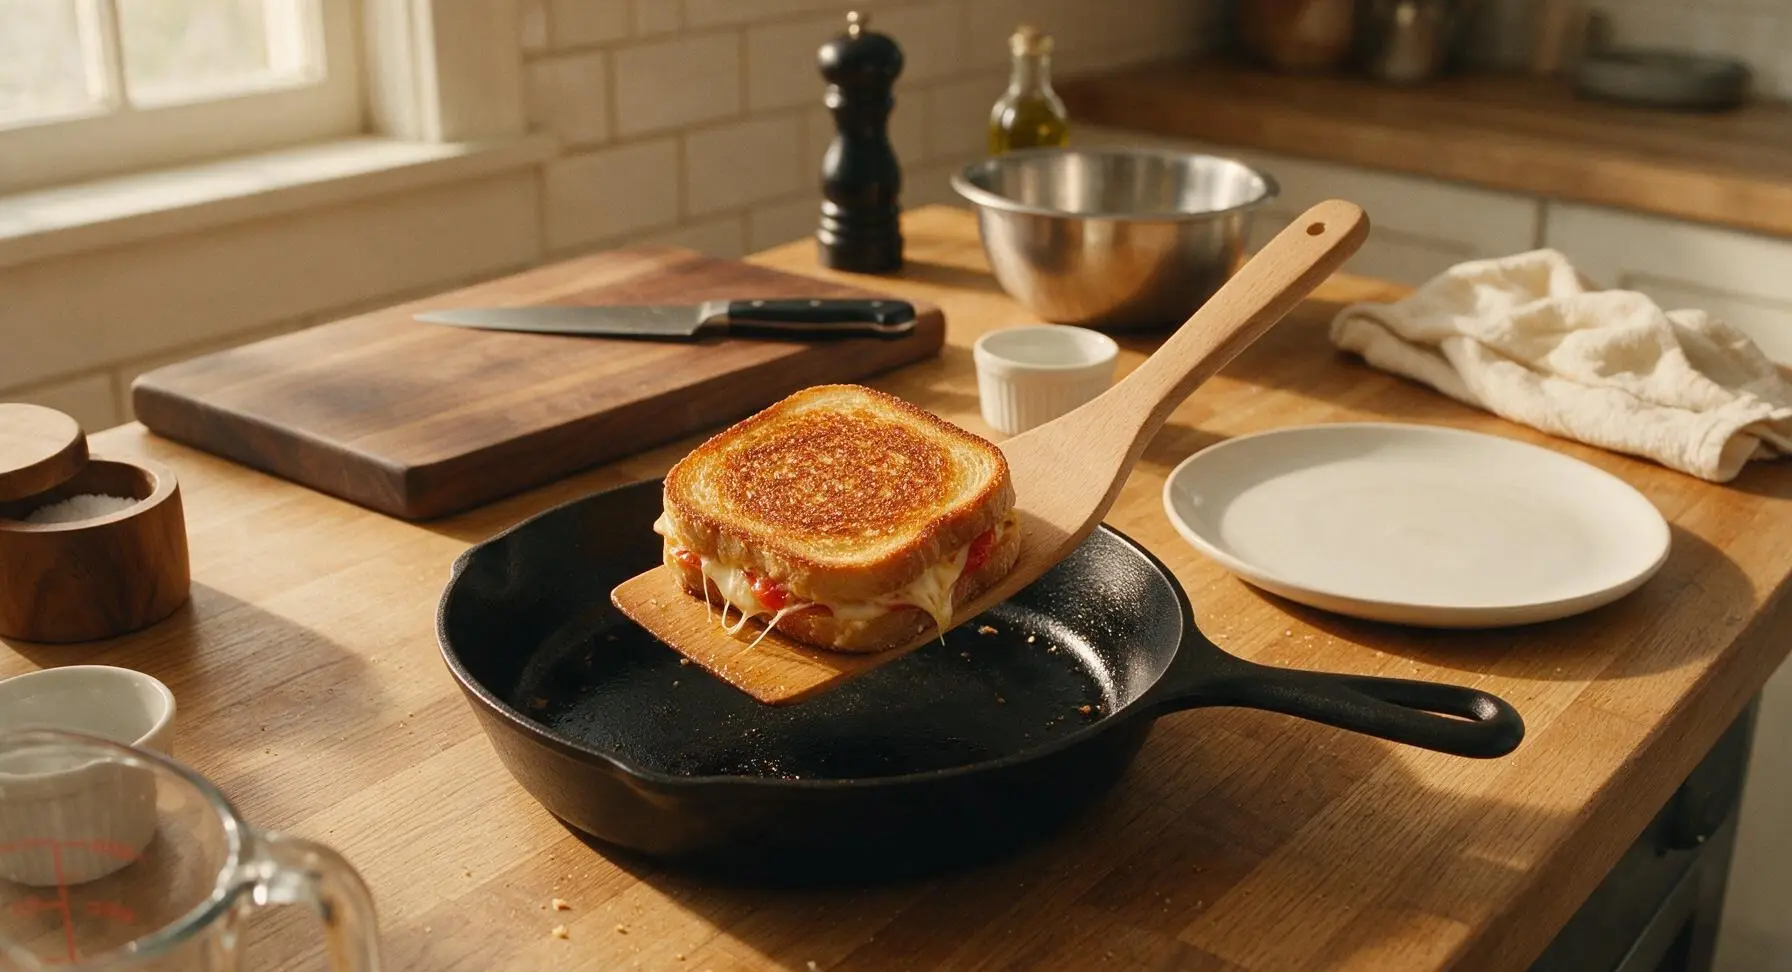
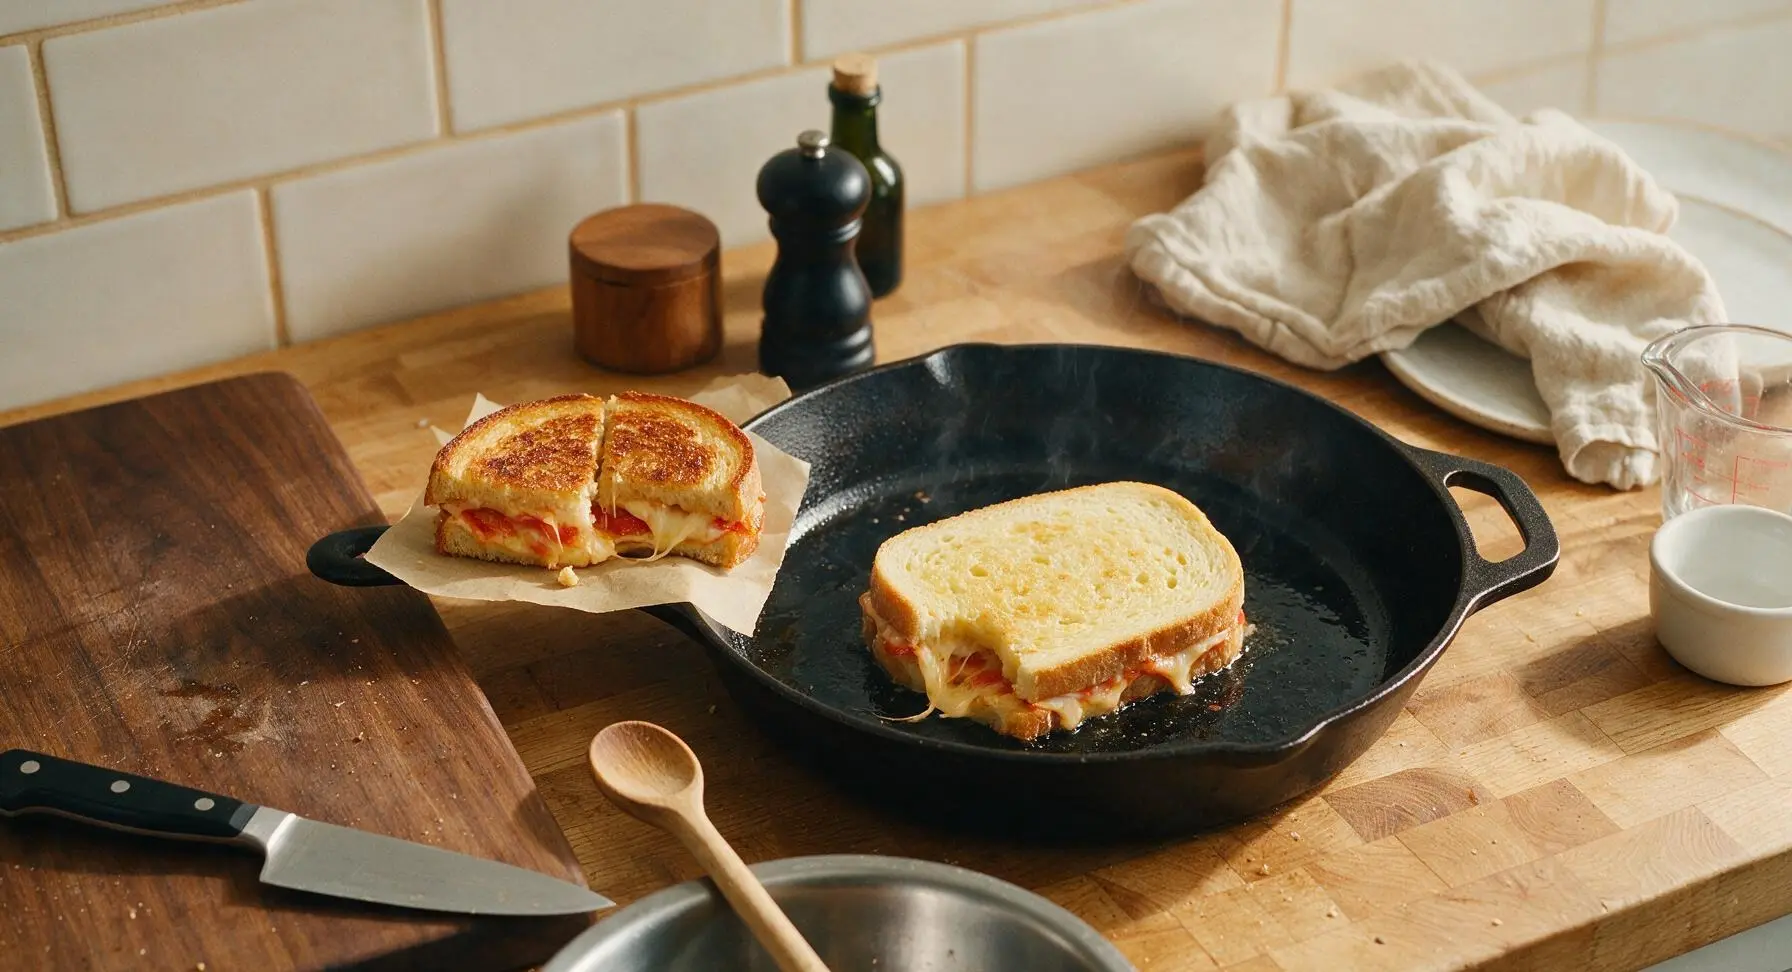
Slide the beech wood spatula fully under the center of the sandwich, then flip it quickly and gently to the second side. Cook for another 2-3 minutes, until the second side is equally golden brown and crispy, and all cheese in the center is fully melted and stretchy when you gently lift a bread corner. Transfer the first cooked sandwich to a small square of parchment to rest for 1 minute, then repeat the cooking process with the second sandwich.
Cut and plate sandwiches
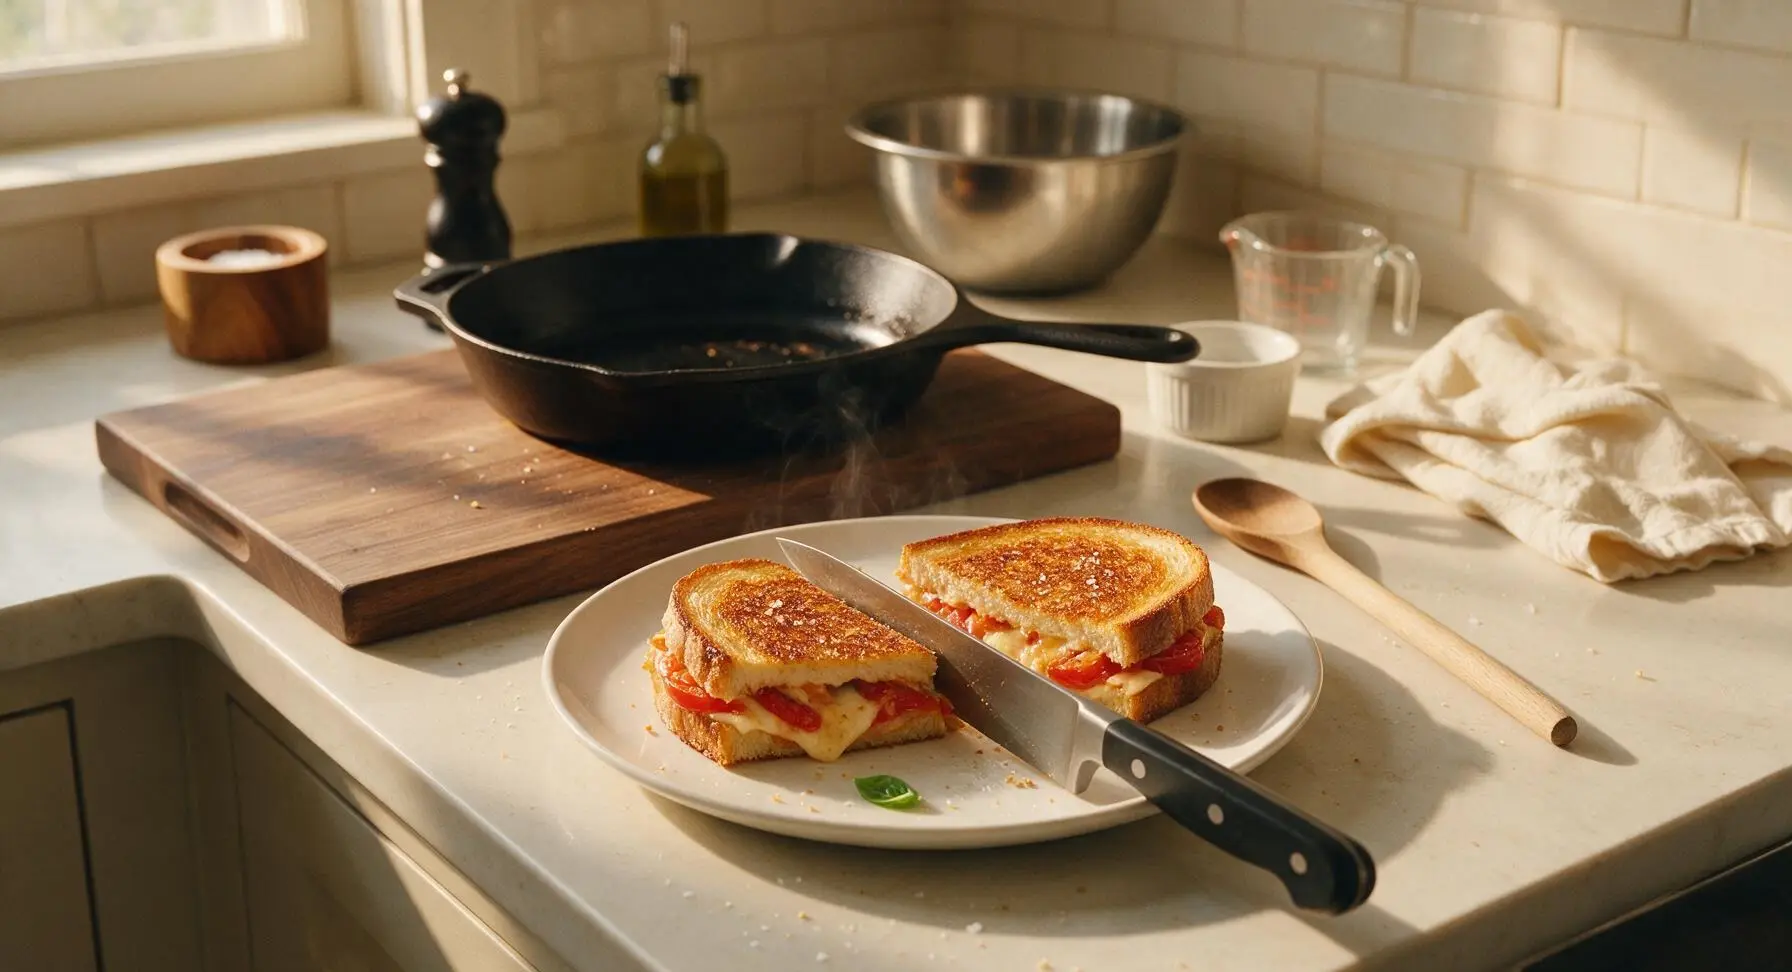
Once both sandwiches are cooked and have rested for 1 minute (this allows the cheese to set slightly so it does not run out when cut), transfer them to the cream white ceramic dinner plate. Use the chef knife to cut each sandwich diagonally into two triangular halves. Sprinkle the crispy crusts with a tiny pinch of flaky sea salt, and tuck one small fresh basil leaf on the plate for garnish.
Tips
2.Grate your own cheese from a block instead of using pre-shredded packaged cheese: pre-shredded cheese is coated in potato starch and anti-caking agents that prevent it from melting into the smooth, stretchy texture that defines a perfect grilled cheese.
3.Cook over medium-low heat instead of high heat: high heat will burn the butter and bread crust before the cheese in the sandwich center has time to fully melt, leading to a charred outside and cold, un-melted cheese inside.
4.Let cooked sandwiches rest for 1 minute before cutting: this short rest allows the melted cheese to set slightly, so it does not gush out of the cut sides and make a mess when you take the first bite.






OMG this is the easiest weeknight dinner ever! Threw this together last night when I got home late from work, paired it with a quick side salad and my boyfriend asked if we could have it again tonight. The tomato adds such a nice juicy pop that regular grilled cheese is missing. SO good!
Made this for my roommates during our Sunday football watch party and it was a total hit. I added a little sprinkle of garlic powder to the butter on the bread and wow, chef’s kiss. Way better than the plain grilled cheese we usually make for game days.
Perfect quick meal to prep for busy work lunches! I make a batch on Sunday, wrap them individually, and they reheat great in the office toaster oven. The tomato doesn’t get soggy if you pat the slices dry first, pro tip!
I’ve been making grilled cheese for my grandkids for 40 years and never thought to add fresh tomato! Made this when they visited last weekend and even my pickiest 7-year-old granddaughter ate every bite without complaining. What a nice little upgrade to a classic.
Made this after a long morning hike last weekend, it came together in literally 8 minutes just like the recipe says. Used sourdough bread and heirloom tomatoes from the farmers market, tasted like a fancy cafe sandwich for a fraction of the cost.
Brought a platter of cut up tomato grilled cheese bites to our neighborhood potluck last week and they were gone in 10 minutes! People kept asking me for the recipe, I felt like a celebrity. Will absolutely be making these again for the next block party.
Quick question before I make this for my kids’ dinner tonight! I tried adding tomato to grilled cheese once a few months back and it made the whole sandwich super soggy, total flop. Do you cook the tomato first, or put it in raw? Any tips to avoid the sogginess would be awesome!
Game changer! I added a thin layer of pepper jelly to the bread before adding the cheese and tomato, and the sweet-spicy kick was unreal. This is going into my regular weeknight rotation for sure.
This was my first time ever making grilled cheese from scratch (I know, sad, I’m 22 and just moved out of my parents’ house!) It turned out so good! The only thing is I burned the first side a little because I had the heat up too high. Any tips for getting that perfect golden crisp without burning?
Used dairy free cheddar and vegan butter for this and it still tasted absolutely amazing! I was worried the non-dairy cheese wouldn’t melt right, but it got perfectly gooey paired with the fresh tomato. 10/10 for my fellow lactose intolerant besties.
What cheese works best for this? I’ve got American, provolone, and mozzarella in my fridge right now, would a blend work? I don’t feel like running to the grocery store just for cheese.
Added a couple slices of crispy turkey bacon to mine for extra protein and it was chef’s kiss. Perfect post-workout meal that doesn’t require a ton of time or cleanup. I’ll be making this at least once a week now.
Made this for my partner when they were home sick with a cold yesterday, and they said it was the best comfort food they’d ever had. It was so warm and gooey, exactly what you need when you’re feeling under the weather. Thank you for such a simple, perfect recipe!
Bro I made this in my dorm room sandwich press last night and it was so much better than the dining hall grilled cheese. I used the pre-sliced tomato from the salad bar and shredded cheese from the dining hall too, zero extra grocery run needed. Total game changer for lazy dorm meals.
I was so excited to make this but mine turned out super soggy! I think I sliced my tomatoes too thick and didn’t dry them enough. Bummed because the flavor was amazing, I just couldn’t get past the mushy bread.
My kids LOVED this! I cut the sandwiches into little star shapes with a cookie cutter and served them with tomato soup for dipping, and they both asked for seconds. Even my 4-year-old who says he ‘hates tomatoes’ ate every single bite. Win for mom!
Made this for a lazy weekend brunch with my girlfriends, served with mimosas and crispy hash browns. Everyone was raving about it! We did a little build your own grilled cheese bar with different cheeses, tomato slices, and add-ins like pesto and caramelized onions. 10/10 will host again just to serve these.
This is such a cheap meal to make! I already had bread, cheese, and butter at home, grabbed a single tomato from the produce stand for 79 cents, and made enough for two people for under $3 total. Perfect for when you’re broke at the end of the pay period.
Wait a second, I’ve been putting tomato on my grilled cheese for years and I thought I invented it! Jokes aside, this recipe cooks perfectly in 8 minutes exactly like it says — no undercooked cheese, no burnt bread, perfect every time. I like to add a sprinkle of parmesan to the outside of the bread for an extra crispy crust, trust me on that.