
tomato pesto grilled cheese
intro
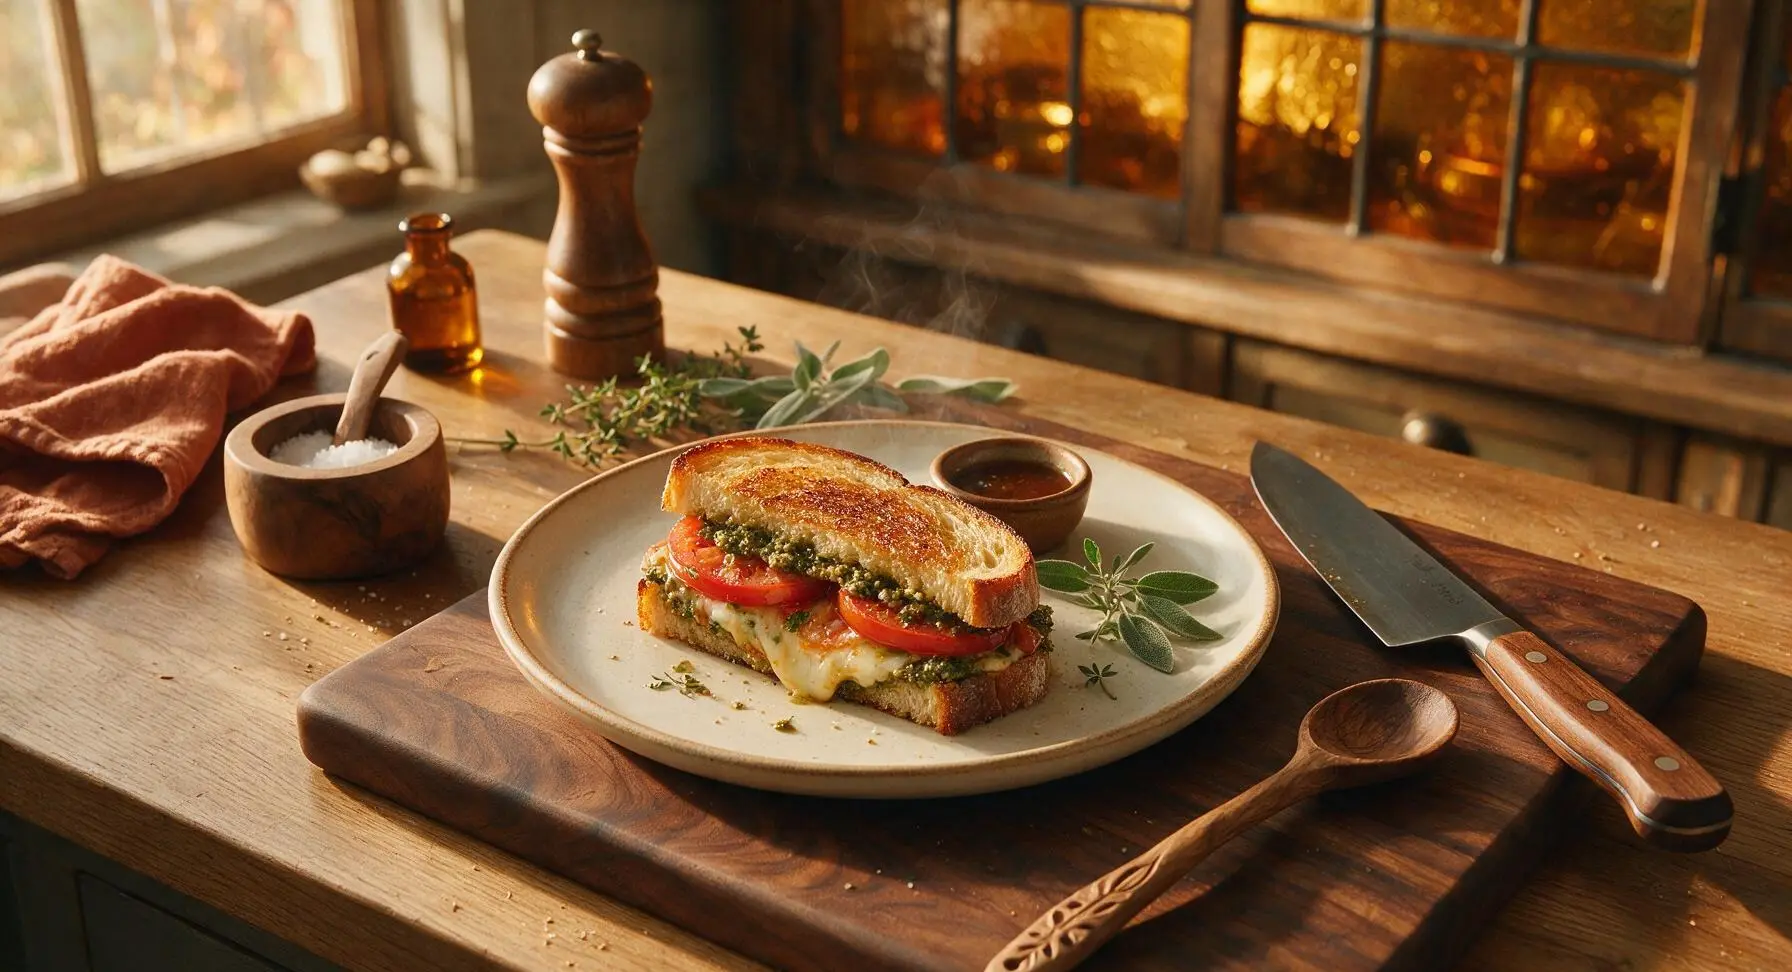
Crispy buttery sourdough layered with nutty basil pesto, juicy ripe summer tomato, and gooey melted cheese: a bright, elevated twist on classic comfort food.
Ingredients
Steps
Slice Core Ingredients
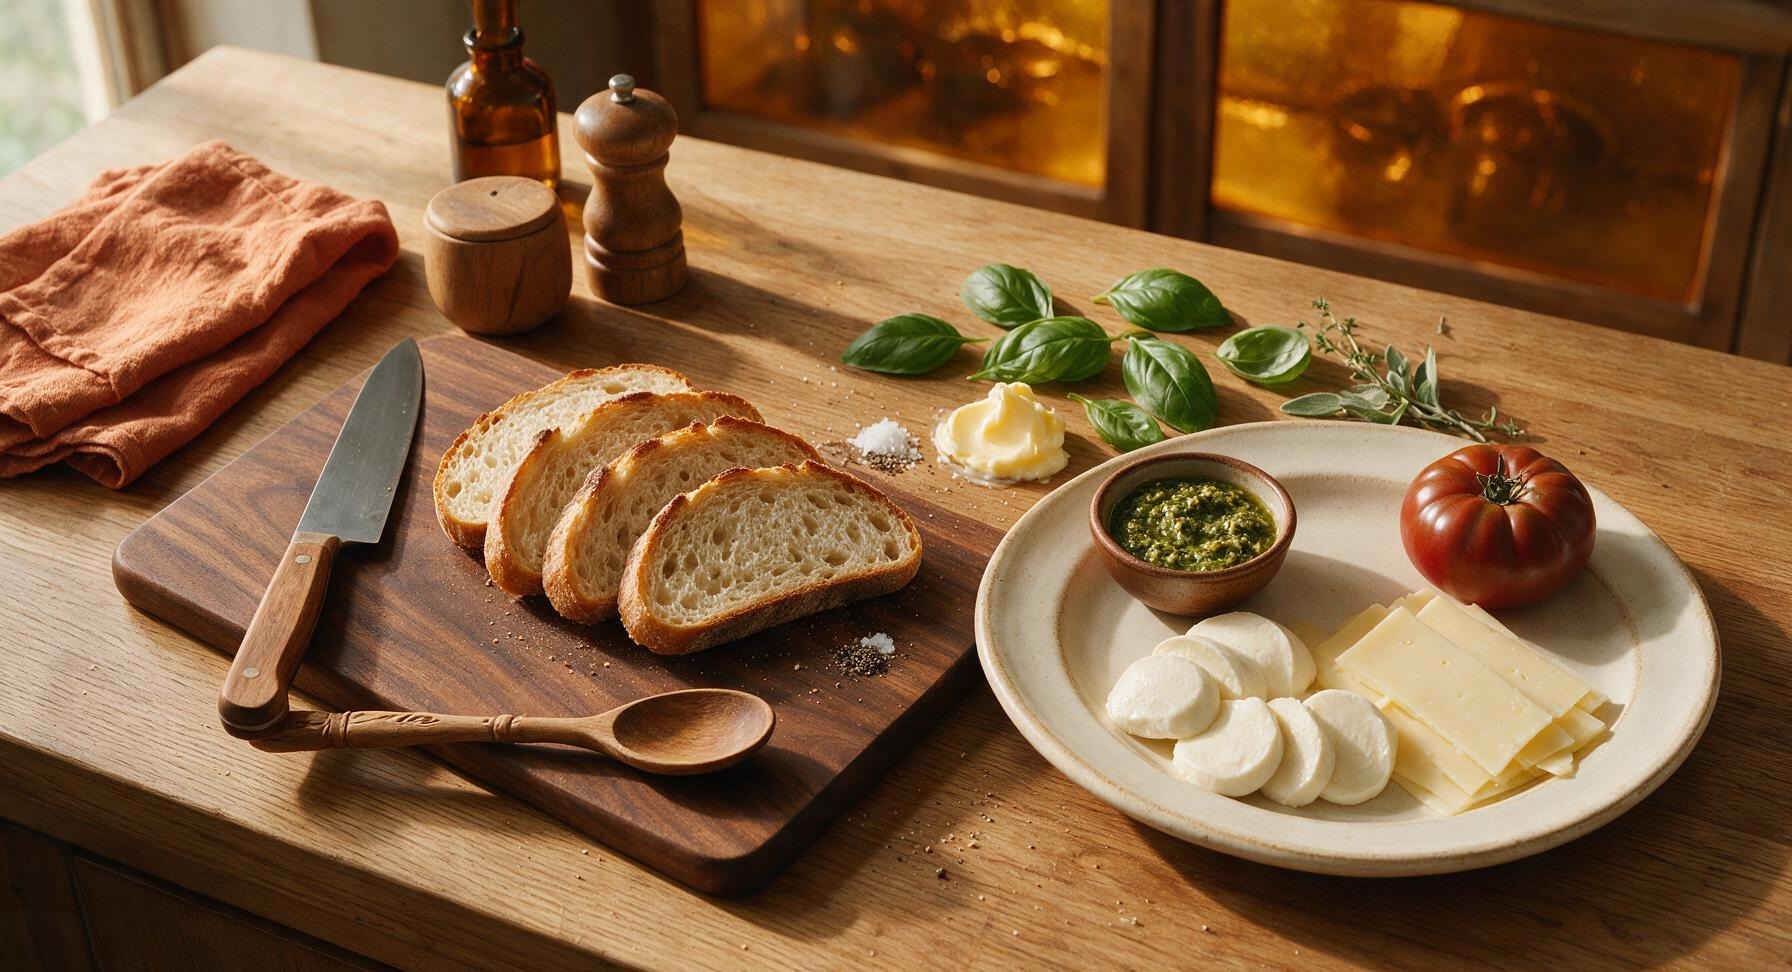
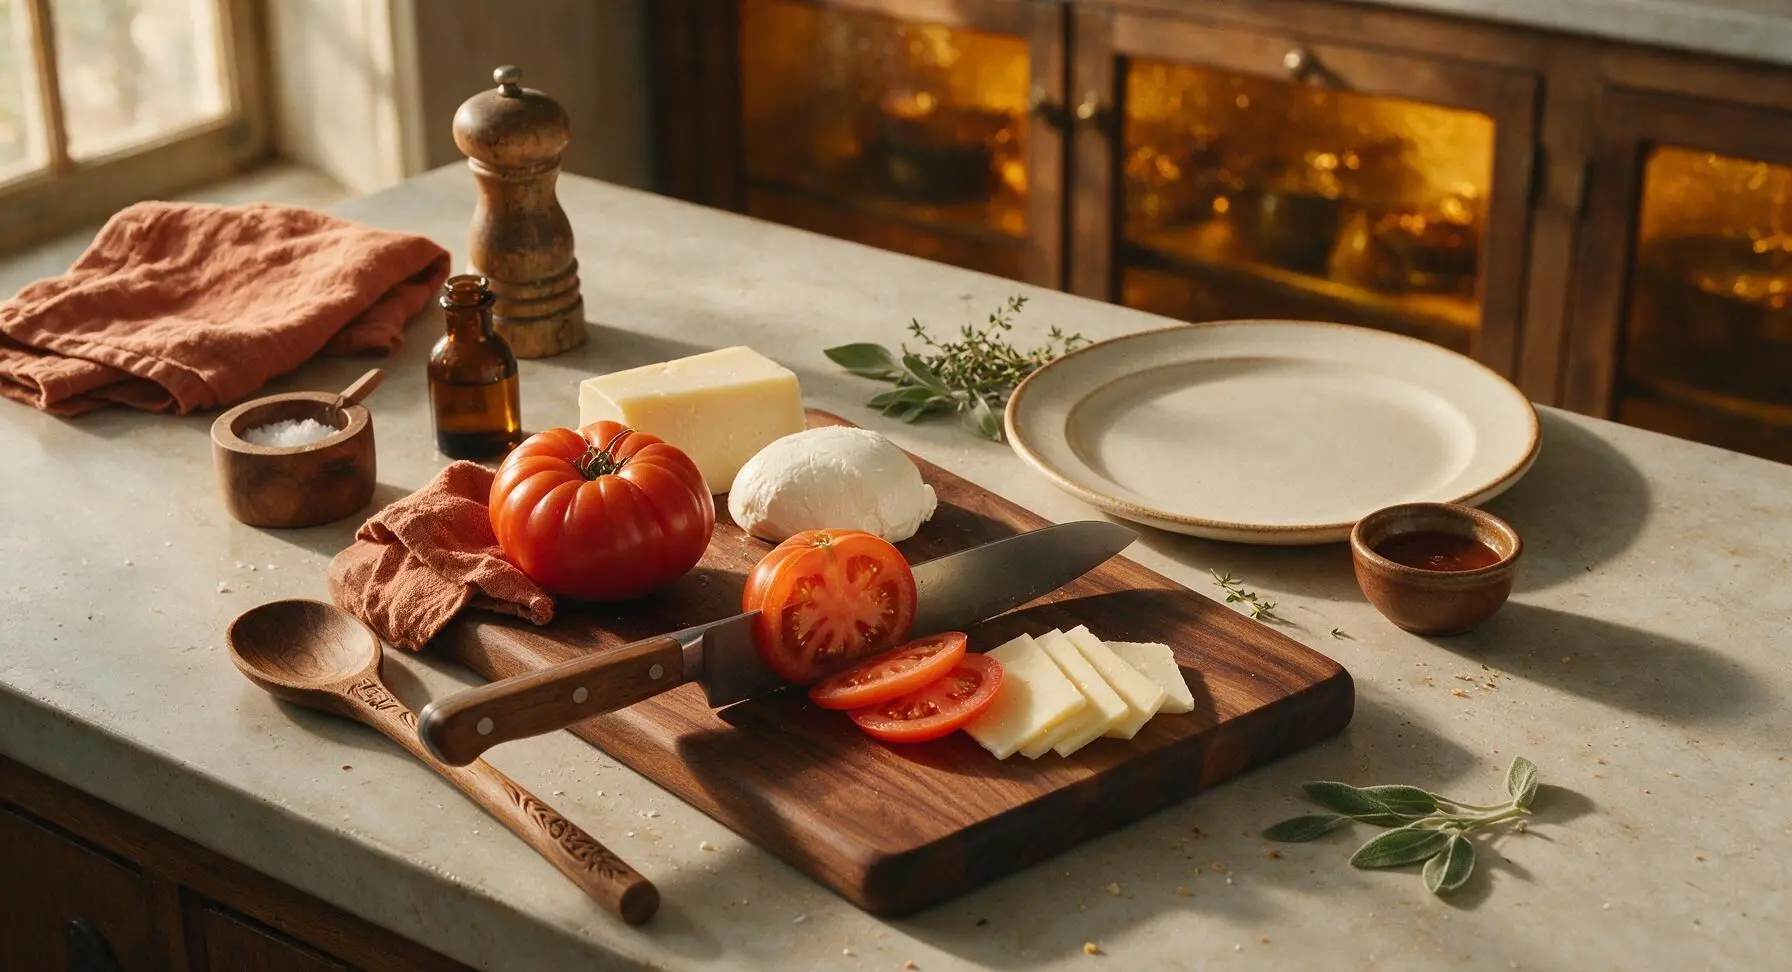
Place the ripe heirloom tomato and block of white cheddar on the light maple cutting board. Using the 8-inch chef knife, slice the tomato into 1/2cm thick rounds, discarding the tough stem end. Pat tomato slices gently with a clean corner of the sage linen towel to remove excess juice and seeds (this prevents soggy bread). Slice cheddar into thin, even 3mm slices, and tear mozzarella into 1/2cm thick slices, patting mozzarella dry with the towel to remove excess whey. Set all sliced ingredients in a neat pile on the edge of the cutting board.
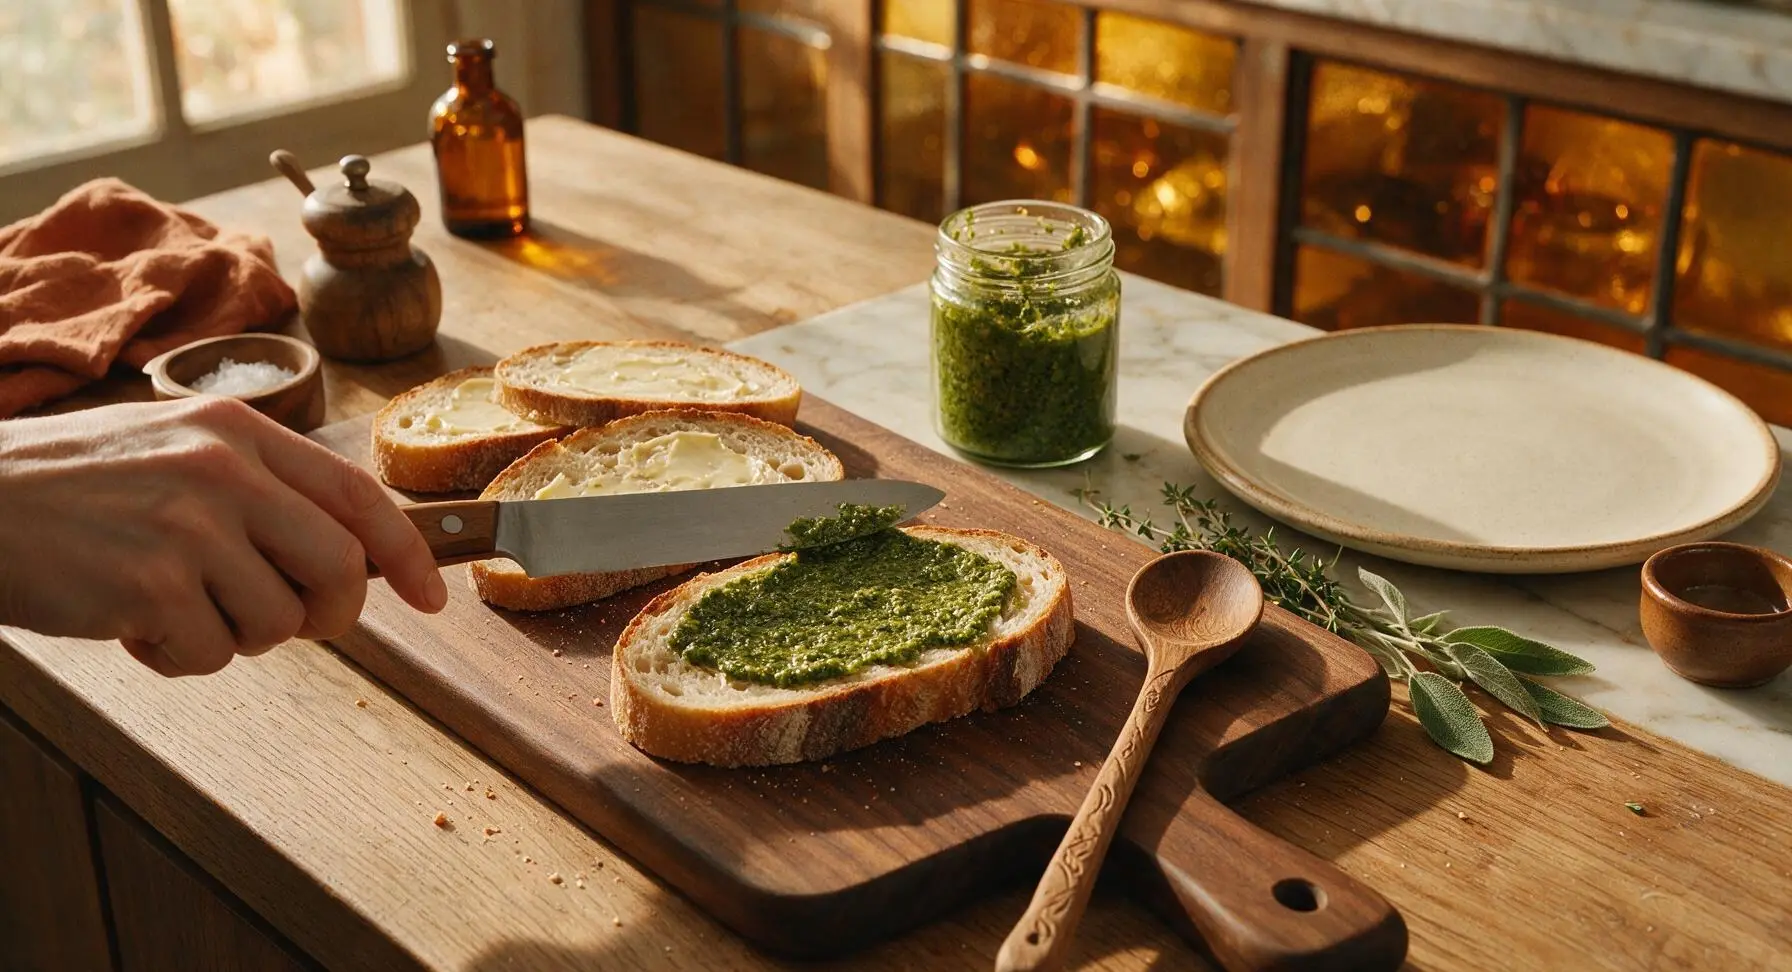
Butter Bread Slices
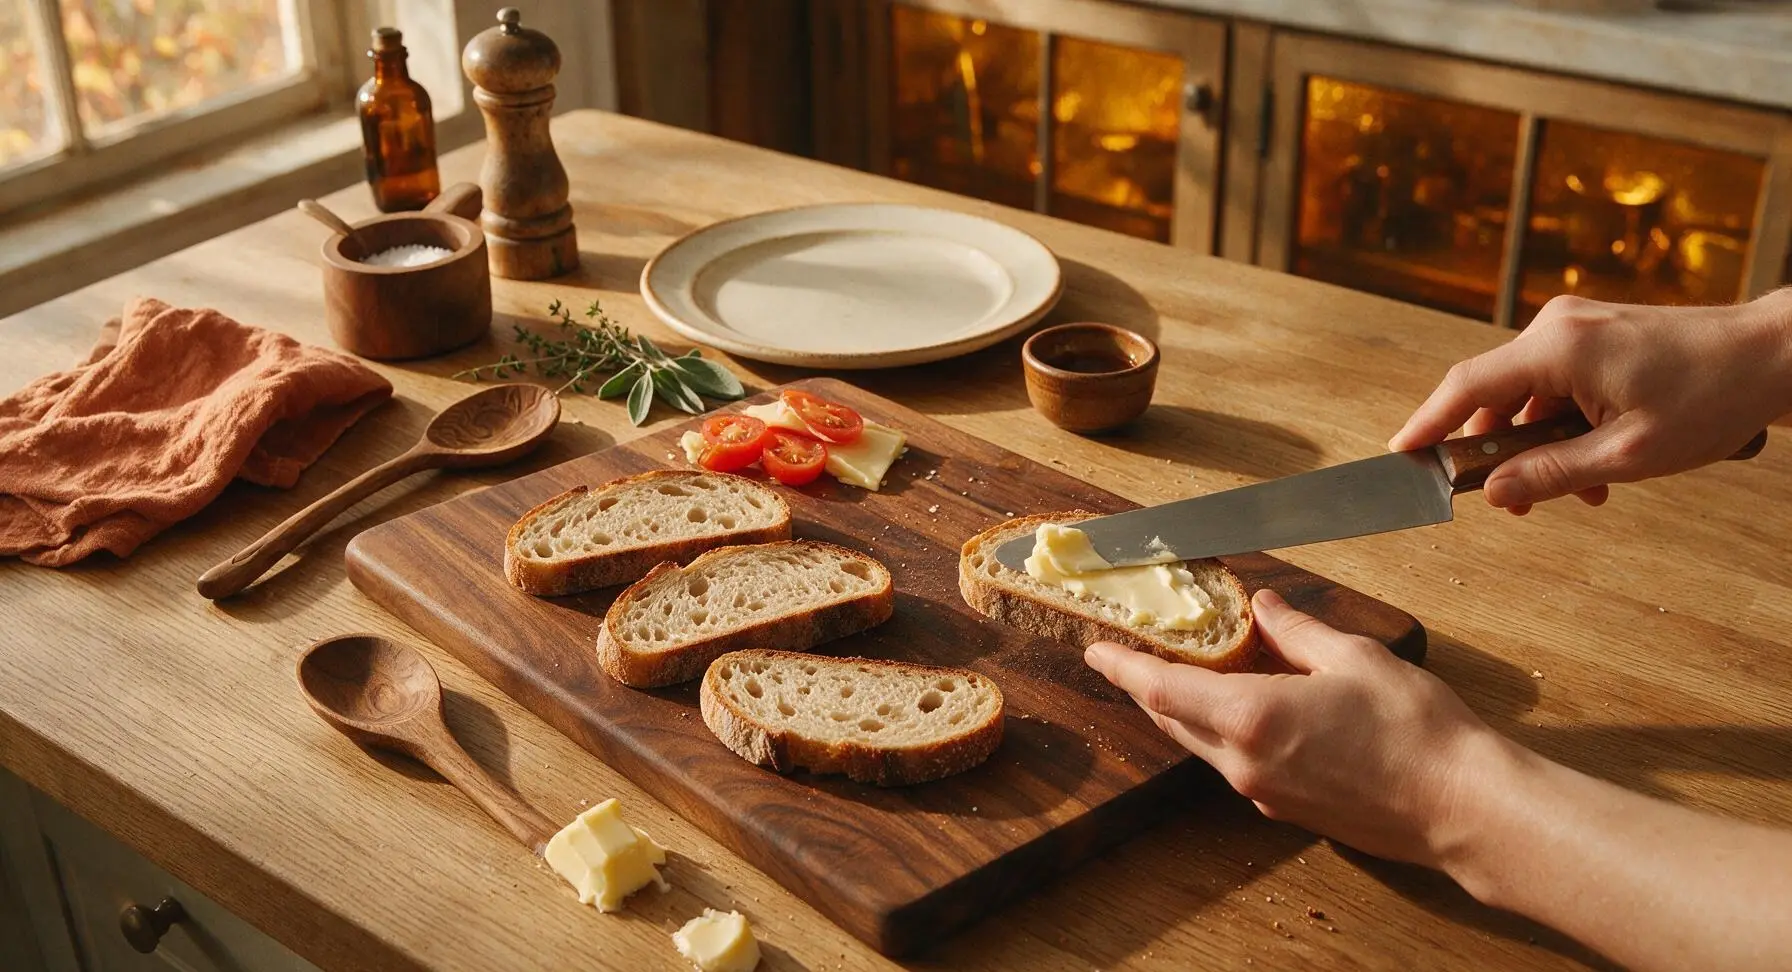
Lay all 4 sourdough slices flat on the dry section of the maple cutting board. Wipe the chef knife clean of tomato and cheese residue, then use its flat side to spread 1/2 tablespoon of softened salted butter evenly across one full side of each bread slice, covering all the way to the crust edges for uniform crisping. The buttered sides will face outward against the hot skillet during cooking.
Spread Pesto on Bread
Flip all 4 bread slices so the buttered side faces down against the cutting board. Divide the 1/3 cup basil pesto evenly across the unbuttered side of each slice, spreading it in a thin, even layer all the way to the crusts, leaving a 1mm gap from the very edge to prevent pesto from oozing out during cooking.
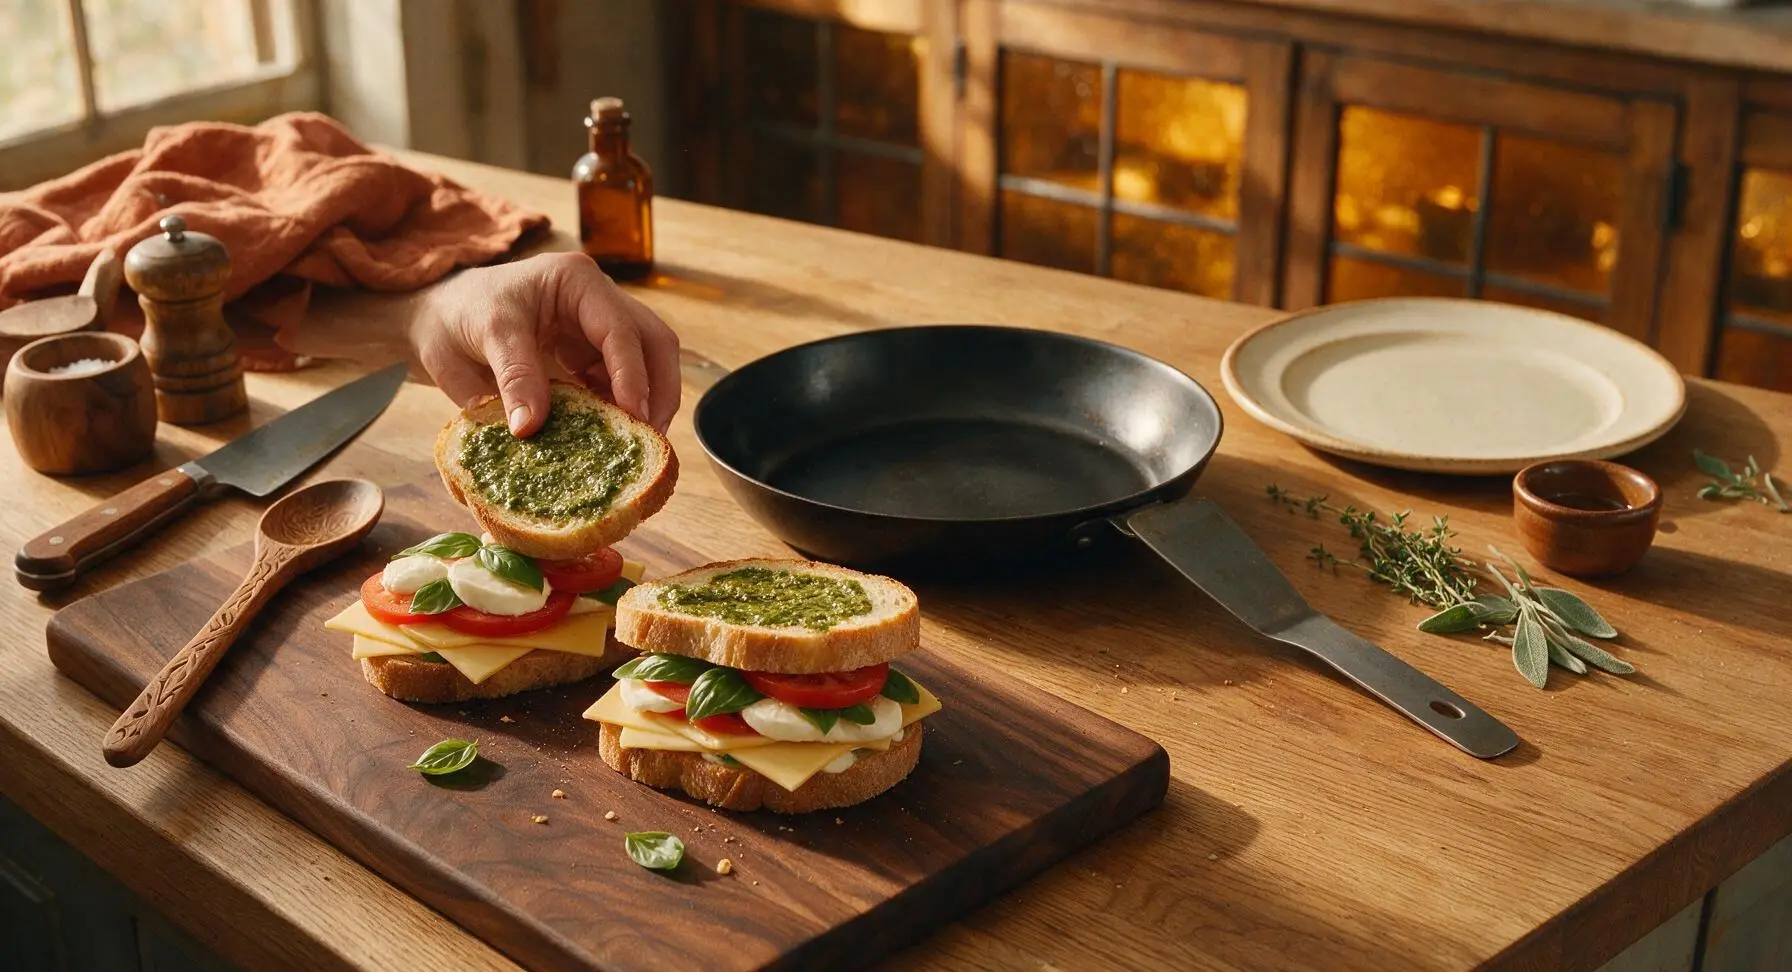
Layer Sandwich Fillings
Divide the sliced cheddar, patted-dry tomato slices, fresh basil leaves, and torn mozzarella evenly across two of the pesto-covered bread slices. Sprinkle the 1/8 teaspoon of freshly ground black pepper over the tomato layer, then top with the remaining two bread slices, pesto-side facing inward against the fillings. Press each sandwich down gently with the palm of your hand to compact layers slightly so they hold together during cooking. Place the matte black carbon steel skillet on the center of the counter to preheat over medium-low heat (325°F / 160°C).
Grill First Sandwich Side
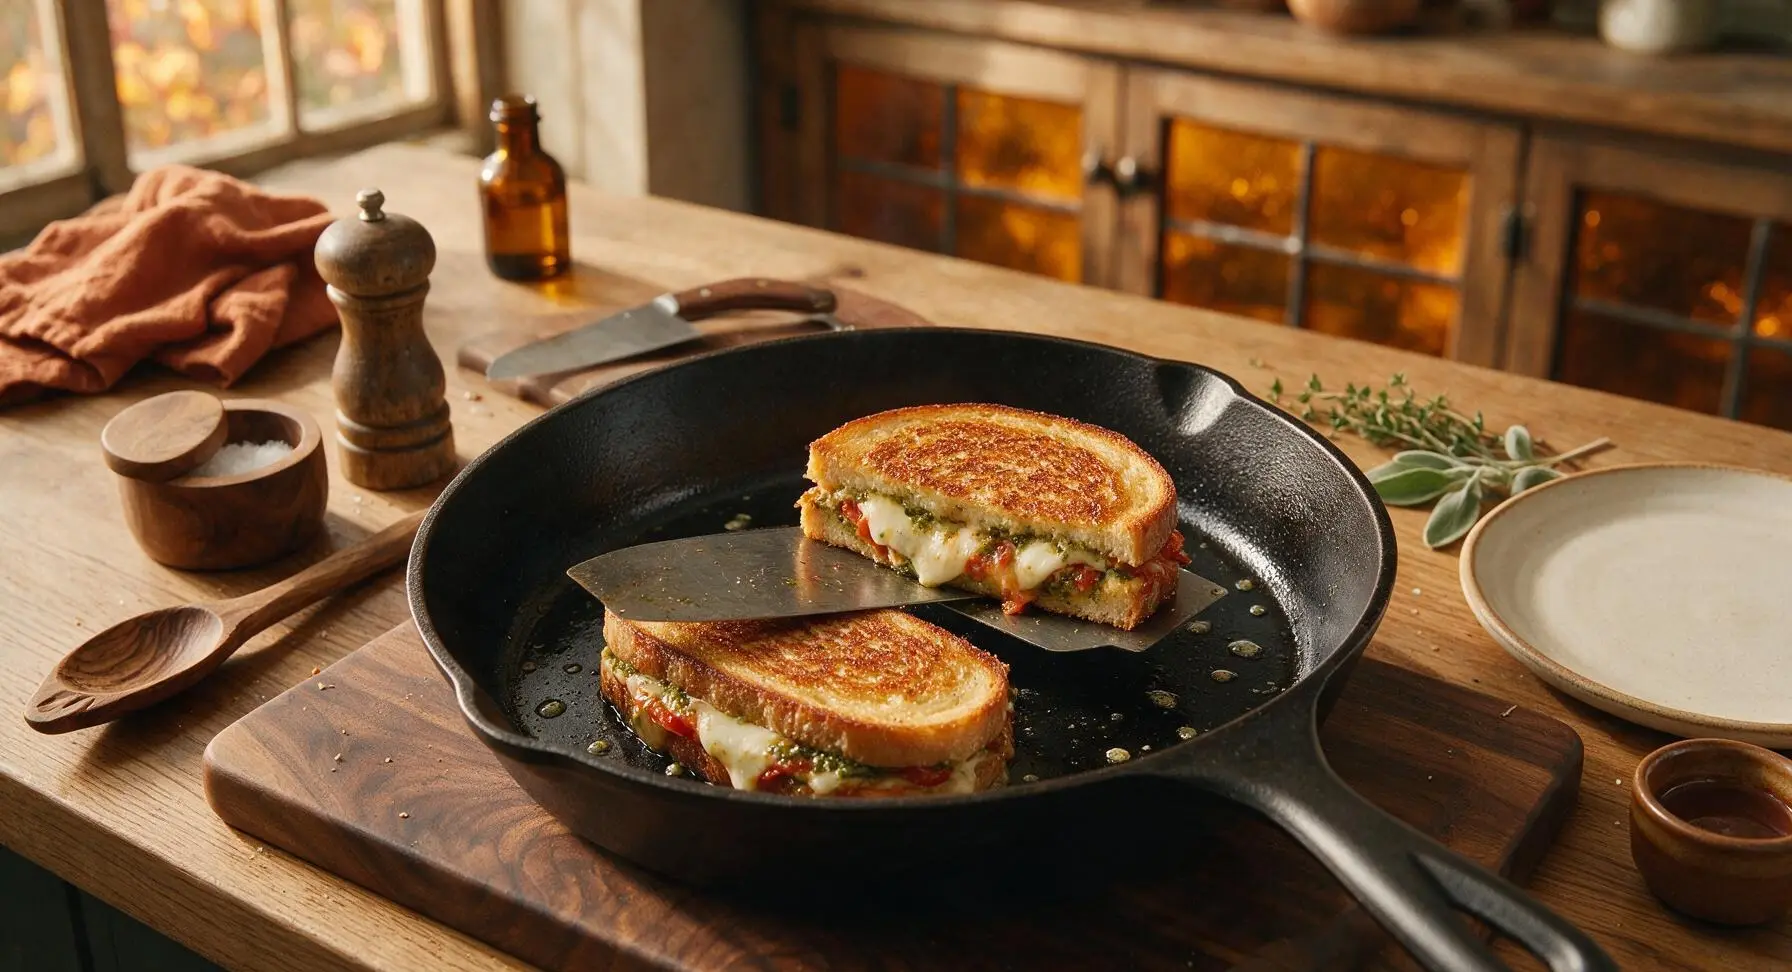
After 2 minutes of preheating, test the skillet temperature by sprinkling a single drop of water onto the surface — it should sizzle and dance across the pan when ready. Carefully place both assembled sandwiches into the dry skillet (buttered outer side against the pan surface). Cook for 3-4 minutes without moving, until the bottom bread is deep golden brown and crispy, and the cheese closest to the pan has started to melt. Do not press down hard on the sandwiches with the spatula while cooking, as this squeezes out melted cheese and creates a dry filling.
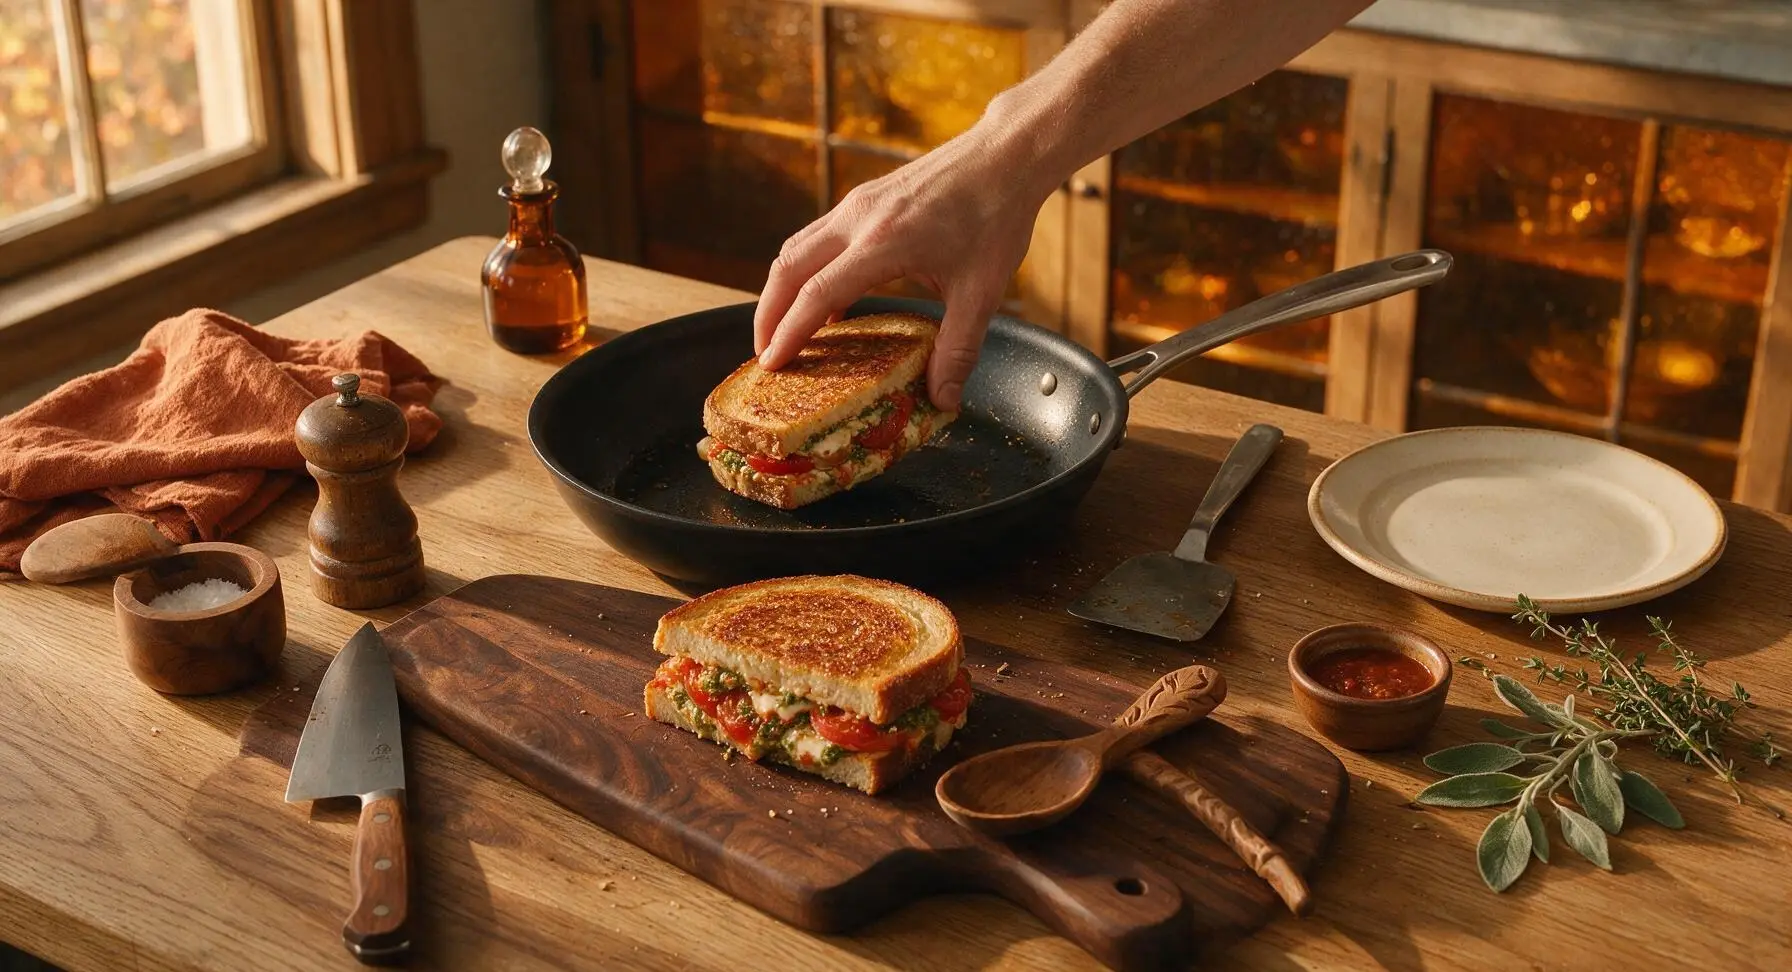
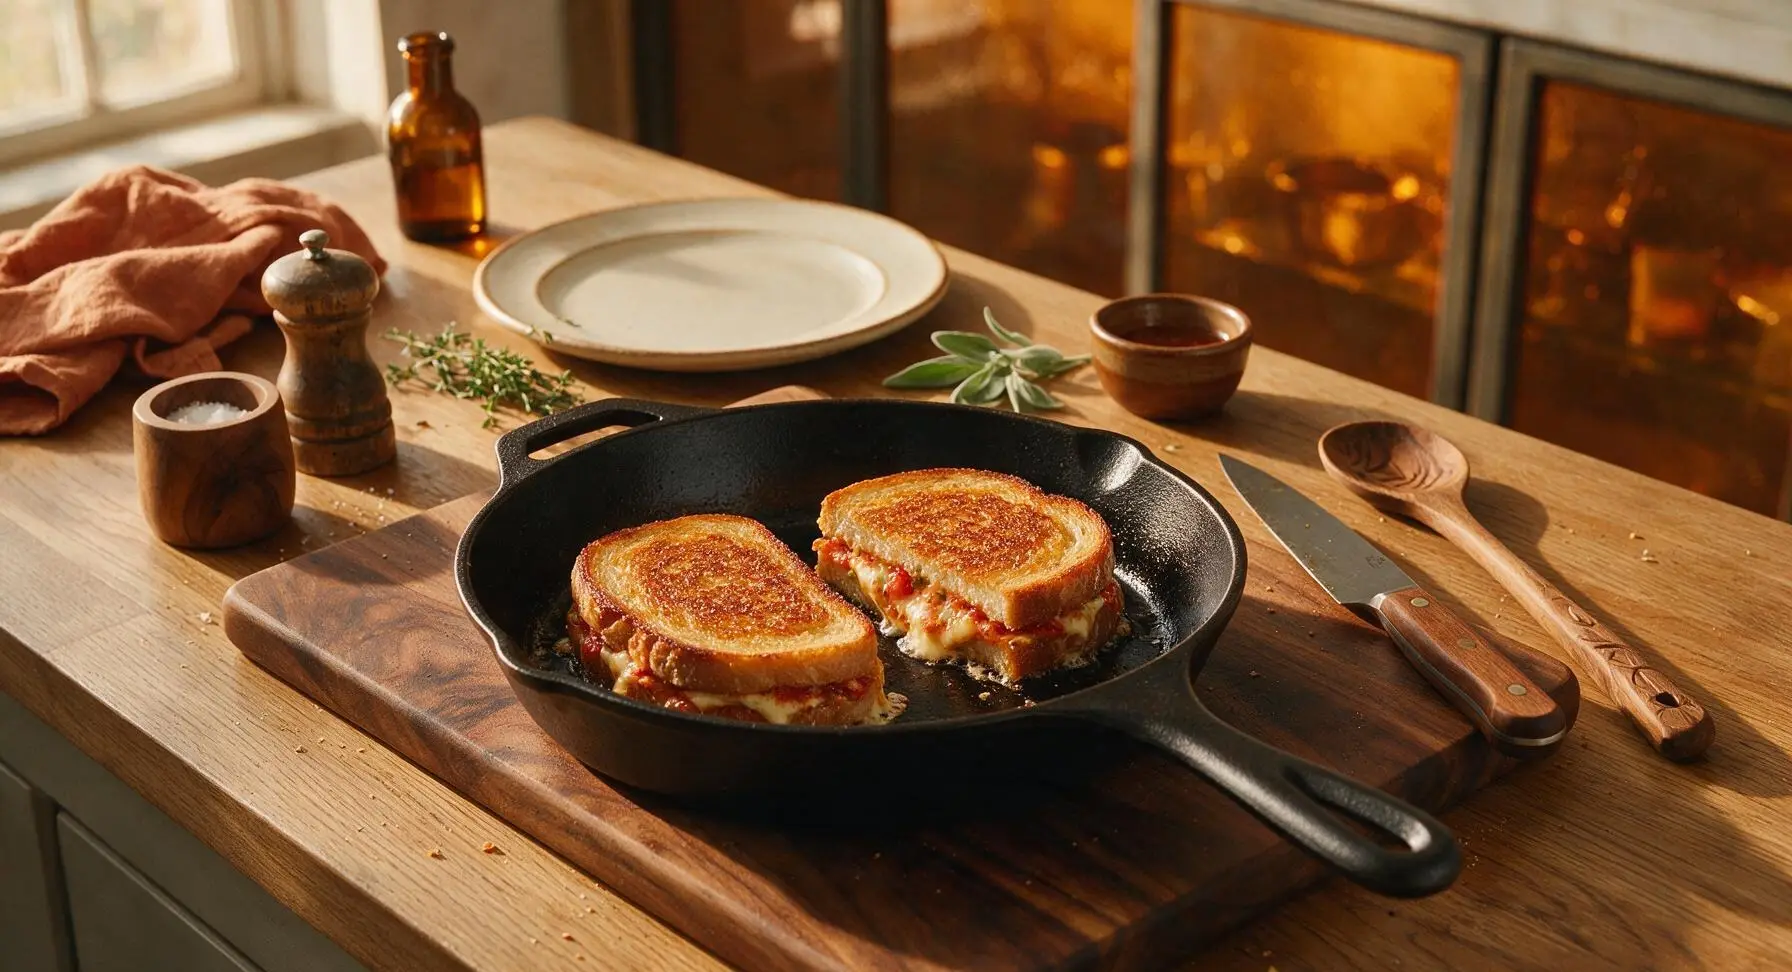
Flip and Finish Grilling
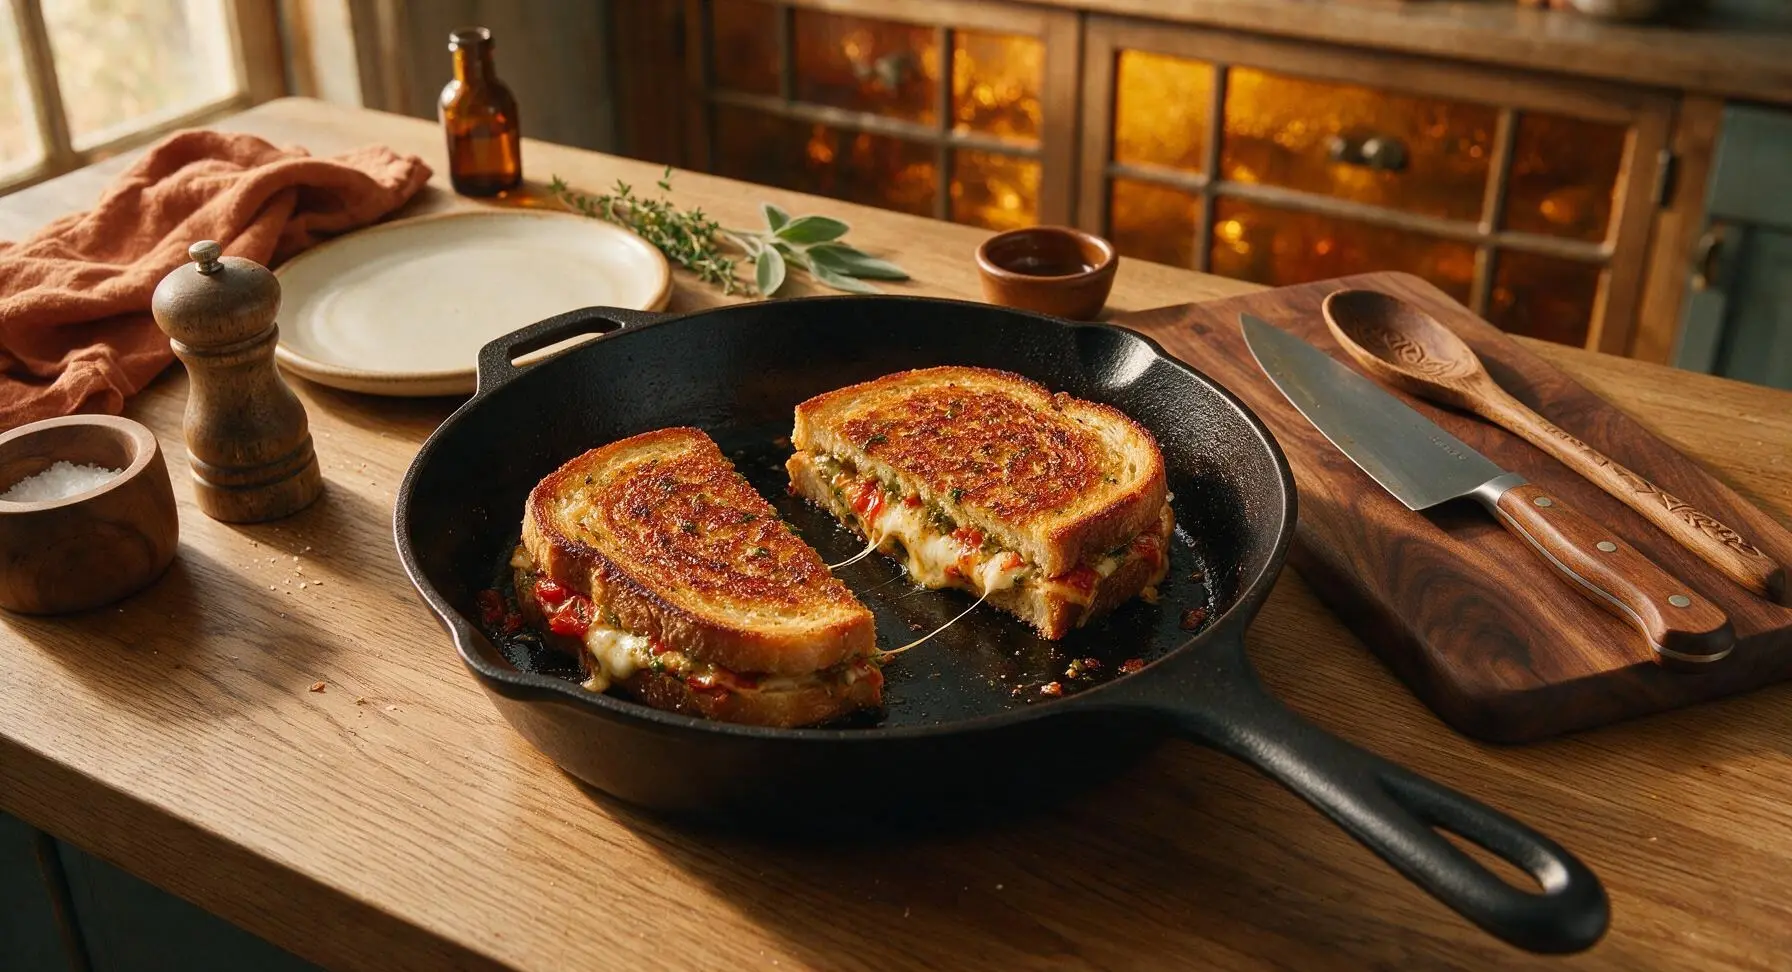
Slide the thin metal spatula fully under each sandwich, and flip carefully in one smooth motion to avoid tearing the bread or spilling filling. Cook for an additional 3-4 minutes on the second side, until the bread is equally golden and crispy, and all cheese in the center is fully melted and gooey. If bread browns faster than the cheese melts, reduce heat to low to avoid burning the crust.
Rest and Season Sandwiches
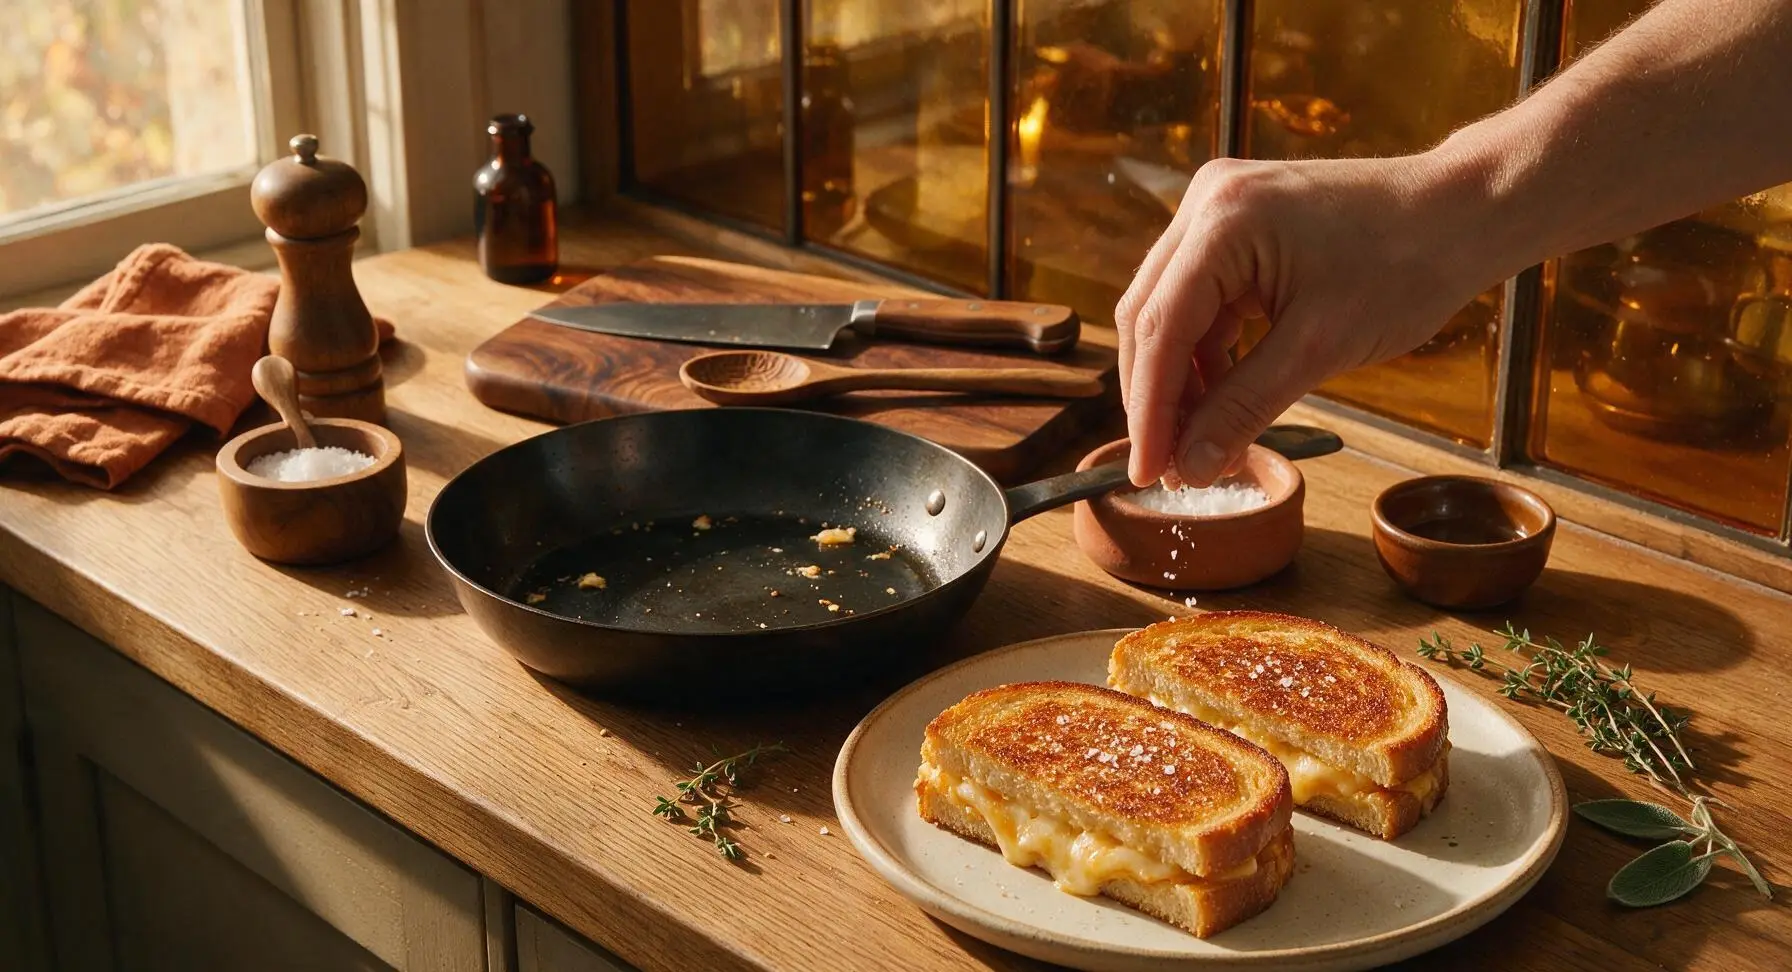
Use the metal spatula to transfer the cooked sandwiches from the skillet to the matte cream ceramic dinner plate. Let sandwiches rest for 1 minute to allow cheese to set slightly (this prevents filling from sliding out when cut). Sprinkle the top of each sandwich with the 1/4 teaspoon of flaky sea salt for a bright, salty crunch that cuts through the rich cheese and butter.
Cut and Plate Sandwiches
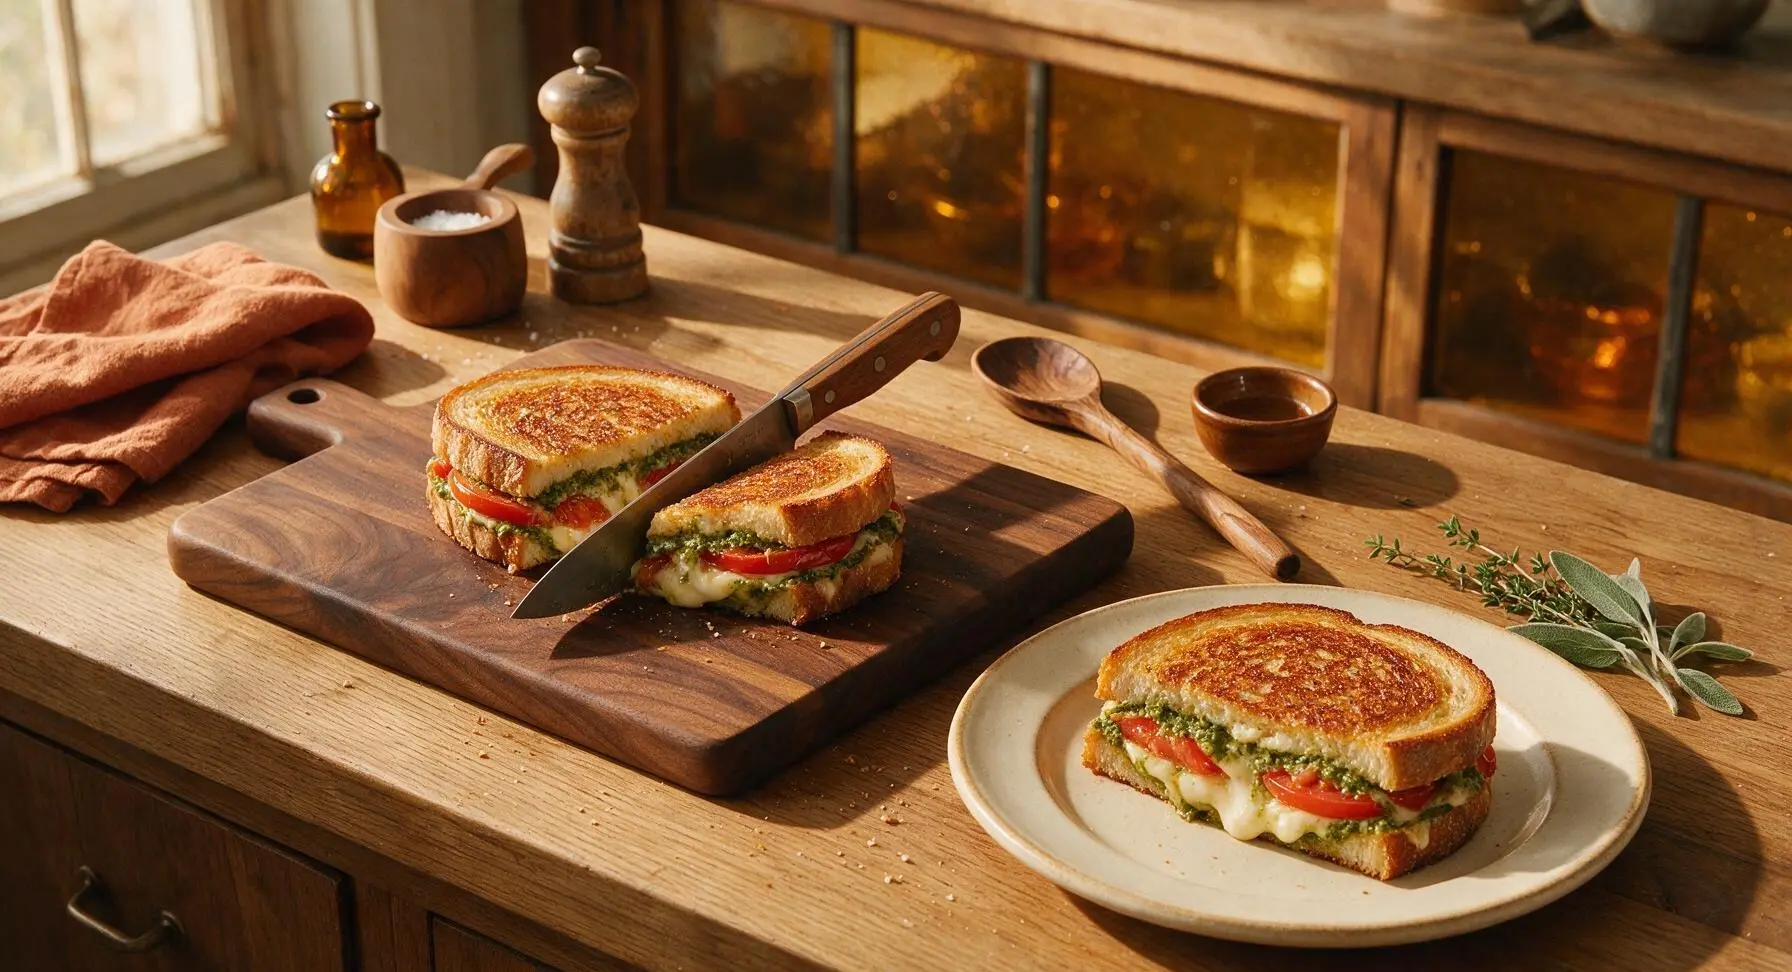
Transfer the rested sandwiches back to the maple cutting board. Use the chef knife to cut each sandwich diagonally into two equal triangular halves. Return the cut halves to the cream ceramic dinner plate, arranging them slightly offset to showcase the layered filling, then top with a single fresh basil leaf as garnish.
Tips
2.Cook over steady medium-low heat (325°F / 160°C) rather than high heat. High temperatures will burn the buttered bread exterior before the cheese in the center has time to fully melt, leading to a charred crust and cold, un-melted filling.
3.Let the cooked sandwiches rest for 1 full minute after removing them from the pan before cutting. This short rest allows the melted cheese to firm up slightly, so it does not all slide out the cut side when you slice, and helps the crispy crust set so it does not squish under the knife.






OMG this is such a game changer for busy weeknights! 10 minutes total cook time? I threw this together last night when my boys had soccer practice running late, and they both asked for seconds! I used store-bought sun-dried tomato pesto because I didn’t have time to make homemade, and it still tasted chef’s kiss. Will be adding this to our regular dinner rotation for sure!
SO good! I added a little sprinkle of red pepper flakes to mine for a tiny kick, and it paired perfectly with the tomato pesto and melty mozzarella. I was worried the pesto would make the bread soggy, but toasting it first like the recipe says kept everything perfectly crispy.
Wow, this is way better than the sad microwave meals I’ve been living on in my dorm. Super easy to make in my tiny shared kitchen, only needed a few ingredients, and it tasted like something I’d order at a fancy sandwich shop. 10/10 will make again for my roommates this weekend.
Has anyone tried this with gluten free sourdough? I’ve been looking for easy GF lunch ideas for my weekly meal prep, and this looks too good to pass up.
I made these for our neighborhood block party potluck last week, cut them into little bite-sized squares, and they were the first thing to disappear! Everyone was asking for the recipe, I felt like such a star. I did a mix of regular tomato pesto and spicy tomato pesto for variety, and both were a hit.
Solid recipe, super straightforward. I used provolone instead of mozzarella because that’s what I had in the fridge, and it was still really tasty. Only thing I’d say is don’t skimp on the butter on the outside of the bread, that’s what gives it that perfect golden crust.
This was good, but I felt like the pesto flavor was a little overpowering when I followed the recipe amounts? I used a pretty intense homemade basil-tomato pesto, so maybe that’s why. I cut the amount by half the second time I made it, and it was much better for my taste.
My 7 year old is the pickiest eater on the planet, and she DEVOURED this. I was fully expecting her to pick out the pesto parts and only eat the cheese and bread, but she asked if we could have it for dinner again tomorrow. Total win for dad cooking.
Made this for a lazy Saturday brunch last weekend, served with a side of tomato soup for dipping, and my partner said it’s the best grilled cheese he’s ever had. The tomato pesto adds such a bright, fresh twist that regular grilled cheese is missing now. Obsessed!
How long do these stay good in the fridge for? I want to make a batch on Sunday to grab for quick lunches at work, but I don’t want them to get soggy before I eat them.
I added a handful of fresh spinach leaves between the cheese slices for some extra greens, and it was chef’s kiss! The spinach got all wilted and yummy, didn’t make the bread soggy at all, and added a nice little veggie boost. So good.
Wait, is this better with sun-dried tomato pesto or regular tomato basil pesto? I have both in my pantry right now and can’t decide which to use for dinner tonight.
I’ve literally never made a grilled cheese that didn’t burn before, and this turned out perfectly golden on the first try! The tip to cook it on medium-low heat instead of high is what did it, I always used to crank the heat to make it faster and end up with charred bread and unmelted cheese. This is a new staple for me.
Made these for our weekly game night with friends last night, served with some garlic aioli for dipping, and everyone was raving. It was so quick to whip up between game rounds, I didn’t even miss any of the trivia. 10/10, will be making for every game night from now on.
My mom taught me how to make this after school today, and it’s way better than the plain cheese grilled cheese we usually make. The pesto is so flavorful, and it only took like 10 minutes so I didn’t even have to wait long to eat after getting home from school. I’m gonna make it for my little sister after her soccer practice next week!