1.Why won’t my sopaipillas puff up into those light, airy pillows when I fry them?
▾
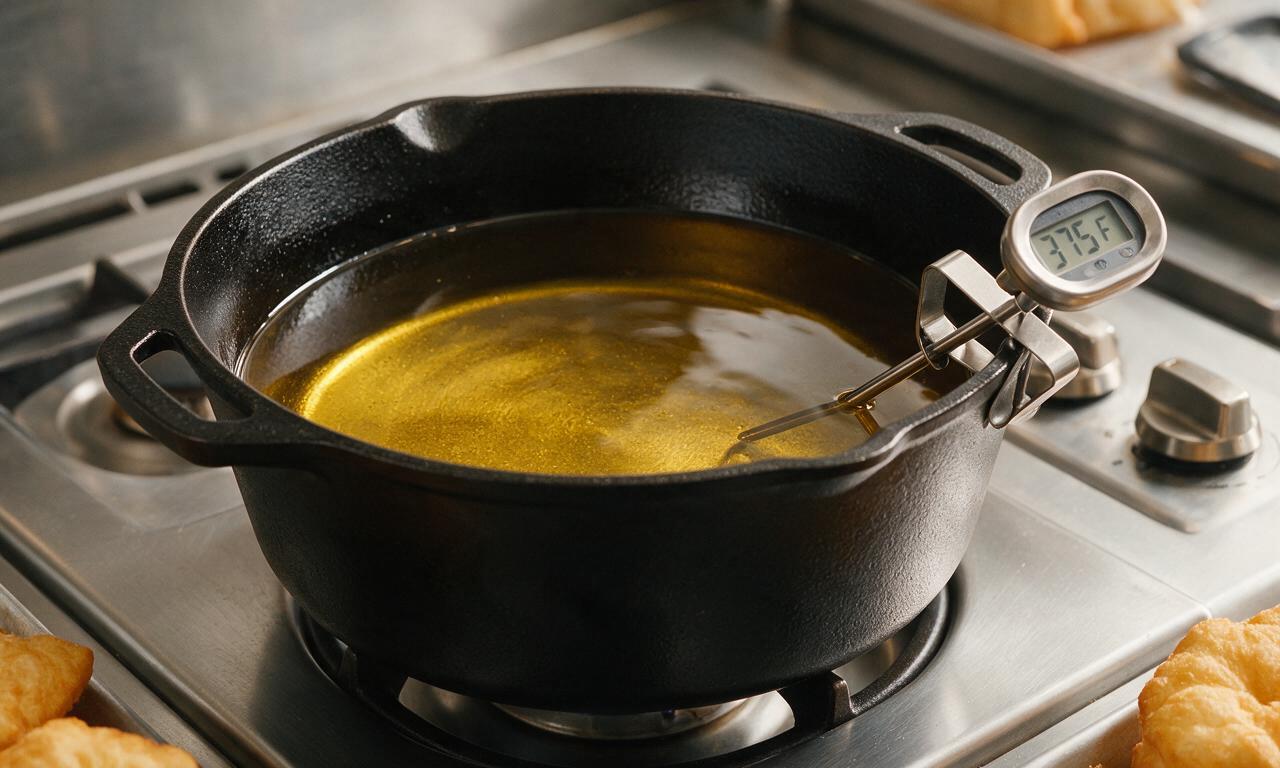
This almost always traces back to one of three easy fixes: your oil is too cool (keep it steady at 375°F), your dough is rolled thicker than 1/8 inch, or your baking powder is expired and can’t create the steam needed for lift. Also, don’t press cut dough edges shut—sealed edges trap steam inside instead of letting the dough expand evenly.
2.Can I substitute lard or butter for the vegetable shortening in this recipe?
▾
Absolutely! Lard will give you a richer, more old-fashioned regional flavor common in classic New Mexican sopaipillas, while butter adds a subtle creamy, dairy-forward note. Just make sure whichever fat you use is room temperature when you cut it into the flour, and note that butter has a lower smoke point, so watch your fry temp closely.
3.Do I have to serve sopaipillas with honey, or are there other traditional toppings?
▾
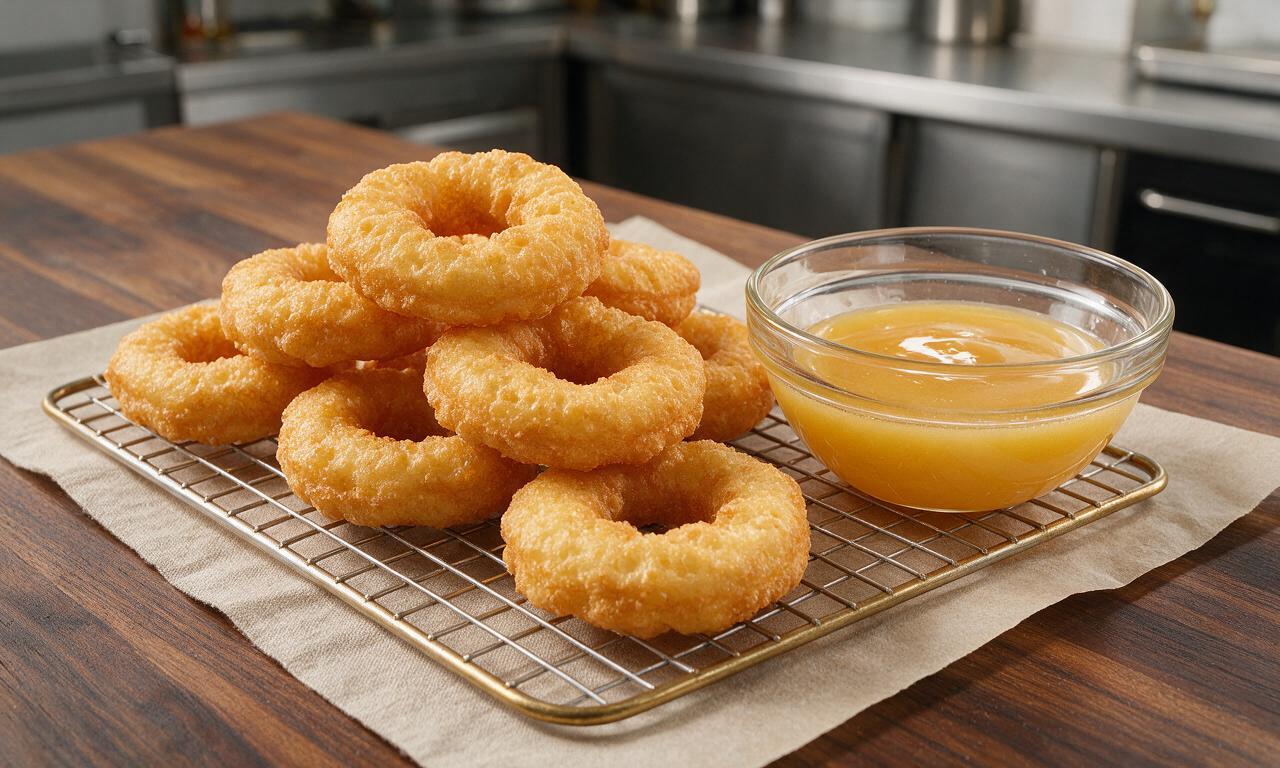
Warm honey for dipping is the most iconic, beloved pairing across Northern Mexico and the American Southwest, but you’ve got great flexible options. Try dusting fresh-fried sopaipillas with cinnamon sugar, drizzling them with cajeta, splitting them to stuff with refried beans and cheese, or serving them alongside green chile stew for a savory meal.
4.How do I avoid soggy, greasy sopaipillas instead of crisp-edged ones?
▾
The number one trick is holding a consistent 375°F fry oil temperature—if oil drops too low, dough soaks up excess grease instead of searing crisp on contact. After frying, drain sopaipillas on a wire rack set over a baking sheet instead of piling them on paper towels, which trap steam and turn edges soft and chewy within minutes.
5.Can I make the sopaipilla dough ahead of time?
▾
Definitely! Mix the dough as directed, wrap it tightly in plastic wrap, and store it in the fridge for up to 3 days before rolling and frying. Just let it rest on the counter for 20 minutes to come to room temperature first—this relaxes the gluten so the dough rolls easily without shrinking back, and gives you a more even puff.
6.What size and shape should I cut traditional sopaipillas?
▾
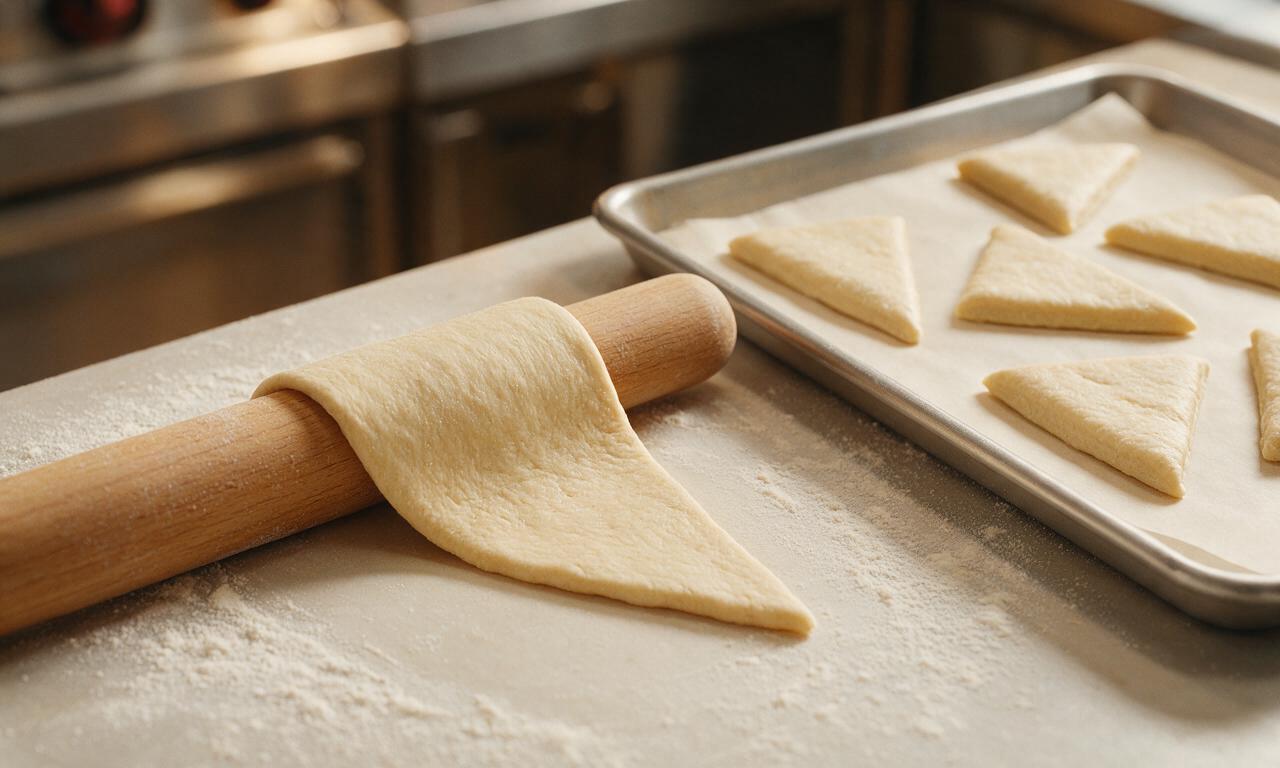
You don’t need any fancy cookie cutters for this! After rolling dough to an even 1/8-inch thickness, use a sharp knife or pizza cutter to slice it into 3 to 4 inch squares or triangles, the classic regional shape. Skip crimping or pressing the cut edges, as sealed edges will stop the dough from puffing fully when it hits hot oil.
7.Why does my dough keep shrinking back when I try to roll it out?
▾
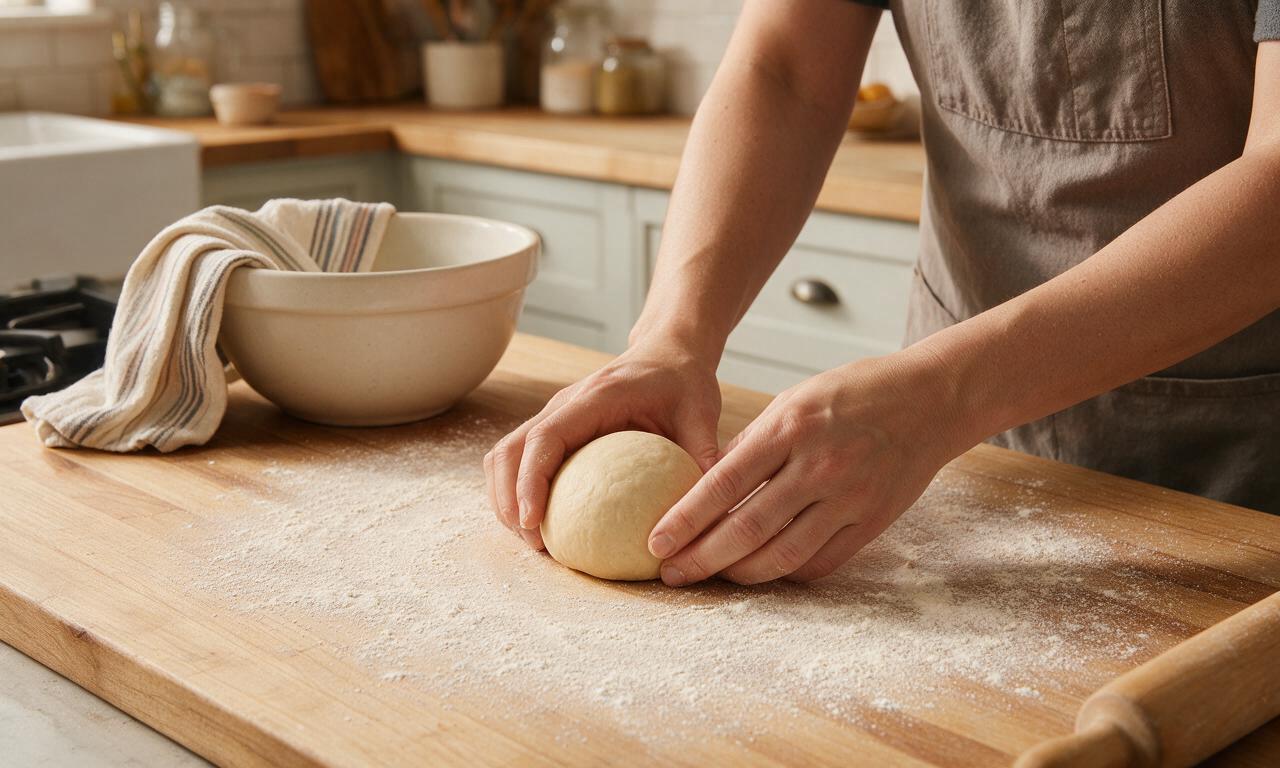
That’s a sure sign the gluten in the flour is too tight, usually from over-kneading the dough or trying to roll it straight out of the fridge. After you finish mixing the dough, let it rest covered for 20 minutes at room temperature. This short rest gives gluten time to relax, so dough stays flat and even instead of springing back under your rolling pin.
8.What type of oil works best for frying sopaipillas?
▾
Stick to neutral, high-smoke-point oils to avoid burnt, off-flavors: regular vegetable oil, canola oil, or refined peanut oil all work beautifully. Skip extra-virgin olive oil, toasted sesame oil, or other strongly flavored, low-smoke-point oils, as they’ll break down at 375°F and leave your sopaipillas with a bitter, unpleasant aftertaste.
9.Can I bake sopaipillas instead of frying them for a lighter option?
▾
You can, though they won’t have that exact same shatteringly crisp, ultra-airy fried texture. To bake, brush cut dough pieces with melted butter, arrange them on a parchment-lined baking sheet, and bake at 425°F for 10 to 12 minutes until puffed and golden. They’ll be more biscuit-like, but still delicious drizzled with honey.
10.How long do cooked sopaipillas stay fresh, and what’s the best way to reheat them?
▾
Sopaipillas are absolute best eaten warm within 30 minutes of frying, but leftovers will keep in an airtight container at room temperature for up to 2 days. To reheat, pop them in a 350°F oven for 3 to 4 minutes until crisp and warmed through—skip the microwave, which turns them chewy, tough, and soggy.
11.Do I need any special equipment to make homemade sopaipillas?
▾
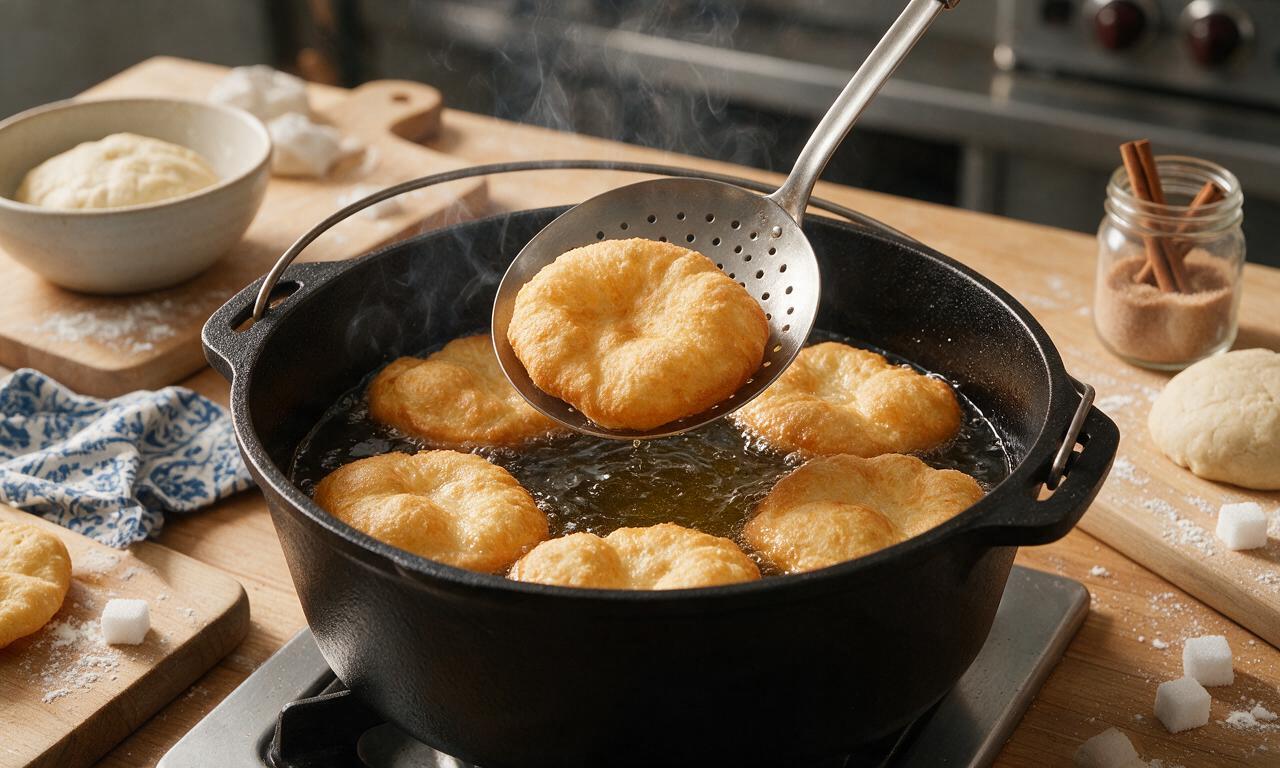
No fancy gadgets required! You’ll just need a mixing bowl, rolling pin, sharp knife or pizza cutter, a deep heavy-bottomed pot or Dutch oven for frying, a cheap candy/deep fry thermometer to track oil temp, and a slotted spoon to pull finished sopaipillas out. A wire rack for draining is helpful but not mandatory.
12.Can I make these sopaipillas gluten-free?
▾
Yes, with one simple swap! Replace the all-purpose flour with a 1:1 gluten-free all-purpose baking blend that includes xanthan gum, and add an extra 1/4 teaspoon of baking powder to boost lift. You may need an extra tablespoon of warm water to get that smooth, pliable dough texture, and be sure to roll it to the same 1/8-inch thickness for good puff.
13.How do I check if my fry oil is the right temp if I don’t have a thermometer?
▾
If you don’t have a deep-fry thermometer, drop a 1-inch scrap of dough into the pot: it should sizzle immediately, float to the surface, and turn light golden in about 30 seconds. If it browns faster, your oil is too hot; if it sinks and sits without sizzling, it’s too cool and will make greasy, dense sopaipillas.
14.Can I freeze uncooked sopaipilla dough to use later?
▾
Absolutely! After mixing, resting, and cutting the dough into shapes, lay the pieces flat on a parchment-lined baking sheet to freeze solid, then transfer them to a labeled freezer bag for up to 3 months. You don’t even need to thaw them first—fry straight from frozen at 375°F, adding just 30 seconds to total cook time for perfect puff.
15.Why are my sopaipillas dense and heavy instead of light and flaky?
▾
Dense sopaipillas almost always come from one of three easy missteps: overworking the dough, which develops tough, tight gluten; using expired baking powder that can’t create enough lift; or rolling the dough too thick, so the center can’t cook through and puff before the outside burns. Keep kneading gentle and aim for a consistent 1/8-inch thickness.
16.Are traditional sopaipillas supposed to be sweet or savory?
▾
The classic base dough is only lightly seasoned with fine sea salt, with no added sugar, so it works perfectly for both sweet and savory uses. Across the Southwest, you’ll find them served sweet with honey for breakfast or dessert, but they’re also commonly split open and stuffed with carne adovada, beans, or cheese for a hearty, savory meal.
17.What texture should I get when cutting shortening into the dry ingredients?
▾
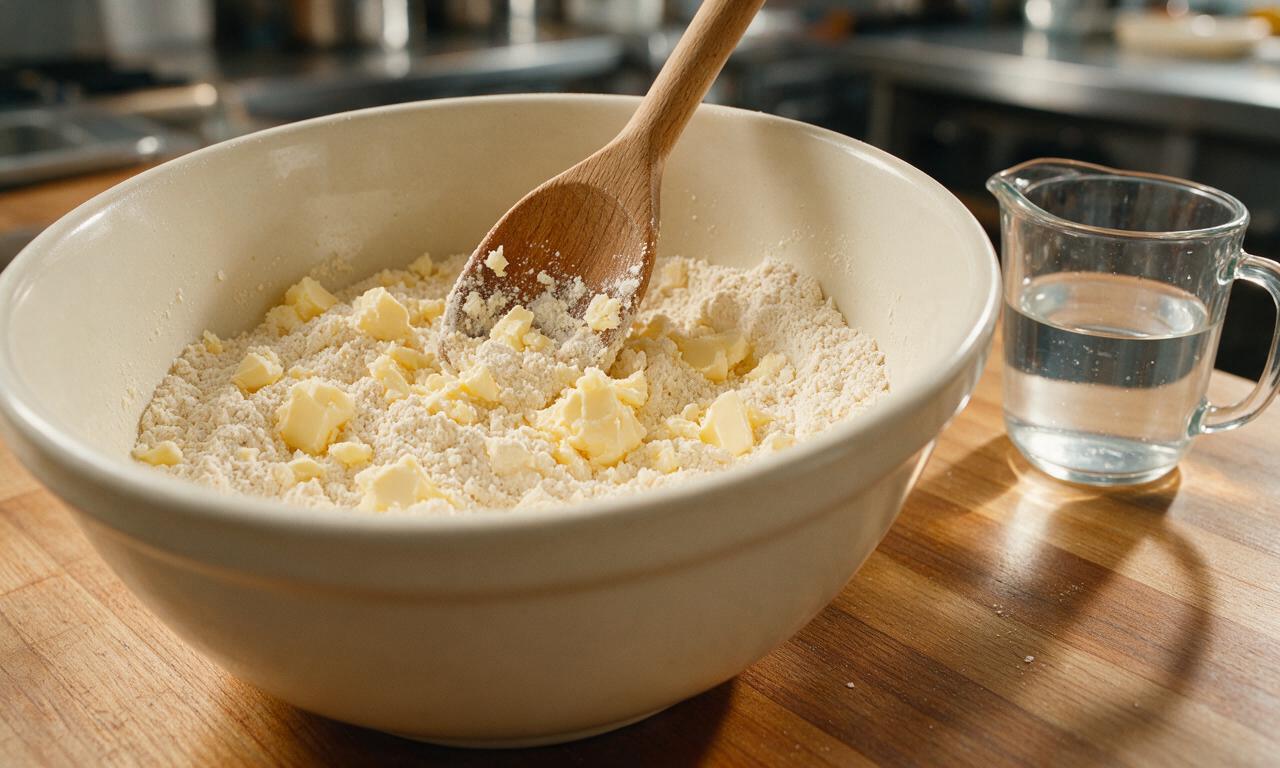
Work the room-temperature vegetable shortening into the flour, baking powder, and salt mix until it looks like coarse, crumbly sand with a few pea-sized bits of shortening left. Those small fat bits melt as the dough fries, creating tiny steam pockets that give sopaipillas their signature flaky, layered texture—don’t overmix it into a totally smooth paste.
18.Can I add extra flavorings like cinnamon or vanilla to the dough?
▾
You can absolutely customize the plain base dough to match your tastes, even though traditional recipes keep it unflavored. Add 1 teaspoon of ground cinnamon, a tablespoon of granulated sugar, or 1/2 teaspoon of vanilla extract to the dry ingredients for a warmer, sweeter dough that pairs beautifully with honey—just don’t add so much that the dough gets too heavy to puff.

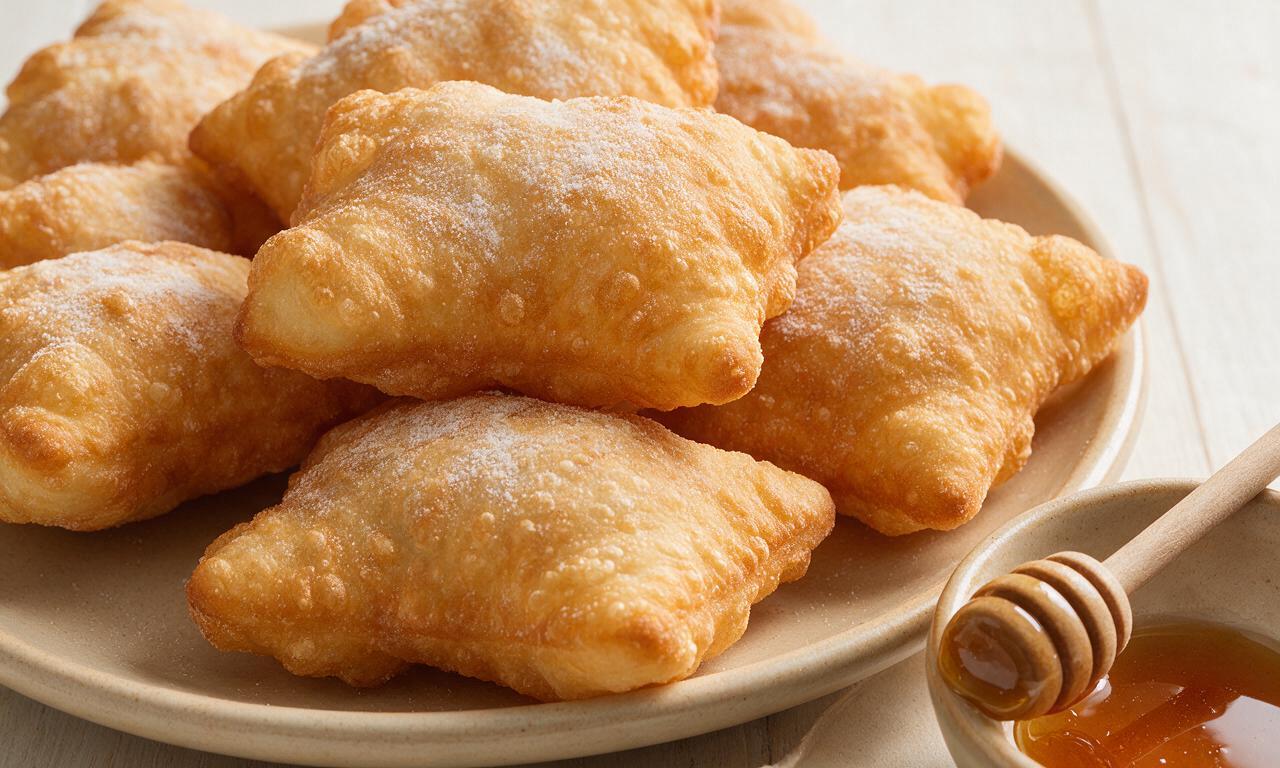
OMG these sopaipillas turned out SO good! I made them for our family taco night last night and my kids begged for seconds (and thirds, oops). I was worried they’d be too fussy since I’ve never fried dough at home before, but the easy difficulty rating was no lie—total no-brainer. Drizzled a little honey and dusted with cinnamon sugar, *chef’s kiss*.
Brought these to my neighborhood potluck over the weekend and they were gone in 10 minutes flat! People kept asking where I got the recipe, I felt like a total rockstar. Game changer tip: serve them with a side of cajeta for dipping, it’s next level.
Wait these are way easier than I thought they’d be? I’m a total beginner in the kitchen, only really make microwave meals usually, but I pulled these off for my roommates in right around 45 minutes start to finish, and we all ate way too many. Only note: I didn’t have a candy thermometer so I guessed on oil temp and a few got a little too dark, but they still tasted great.
I grew up eating sopaipillas on family trips to New Mexico and I’ve been chasing that flavor for years! This recipe is dead on—light, airy, not greasy at all. I made a half batch first to test and ended up making a full batch the next day because my partner wouldn’t stop talking about them. 10/10, will be making these at least once a month from now on.
SO good! I added a tiny pinch of ancho chile powder to the cinnamon sugar topping and it gave the best little warm kick, paired so well with the honey. My whole family raved, even my super picky teen who turns his nose up at everything I cook.
Tried these last night after seeing the recipe pop up on my feed, and wow. I always thought sopaipillas were something you could only get at restaurants, but these taste exactly like the ones I get at my favorite local Tex-Mex spot. Super straightforward instructions, no weird hard-to-find ingredients, 10/10. I’m even adding them to my weekly meal prep rotation for quick weekend treats, and already sent the link to my sister who lives in Denver.