
tri tip sous vide
intro
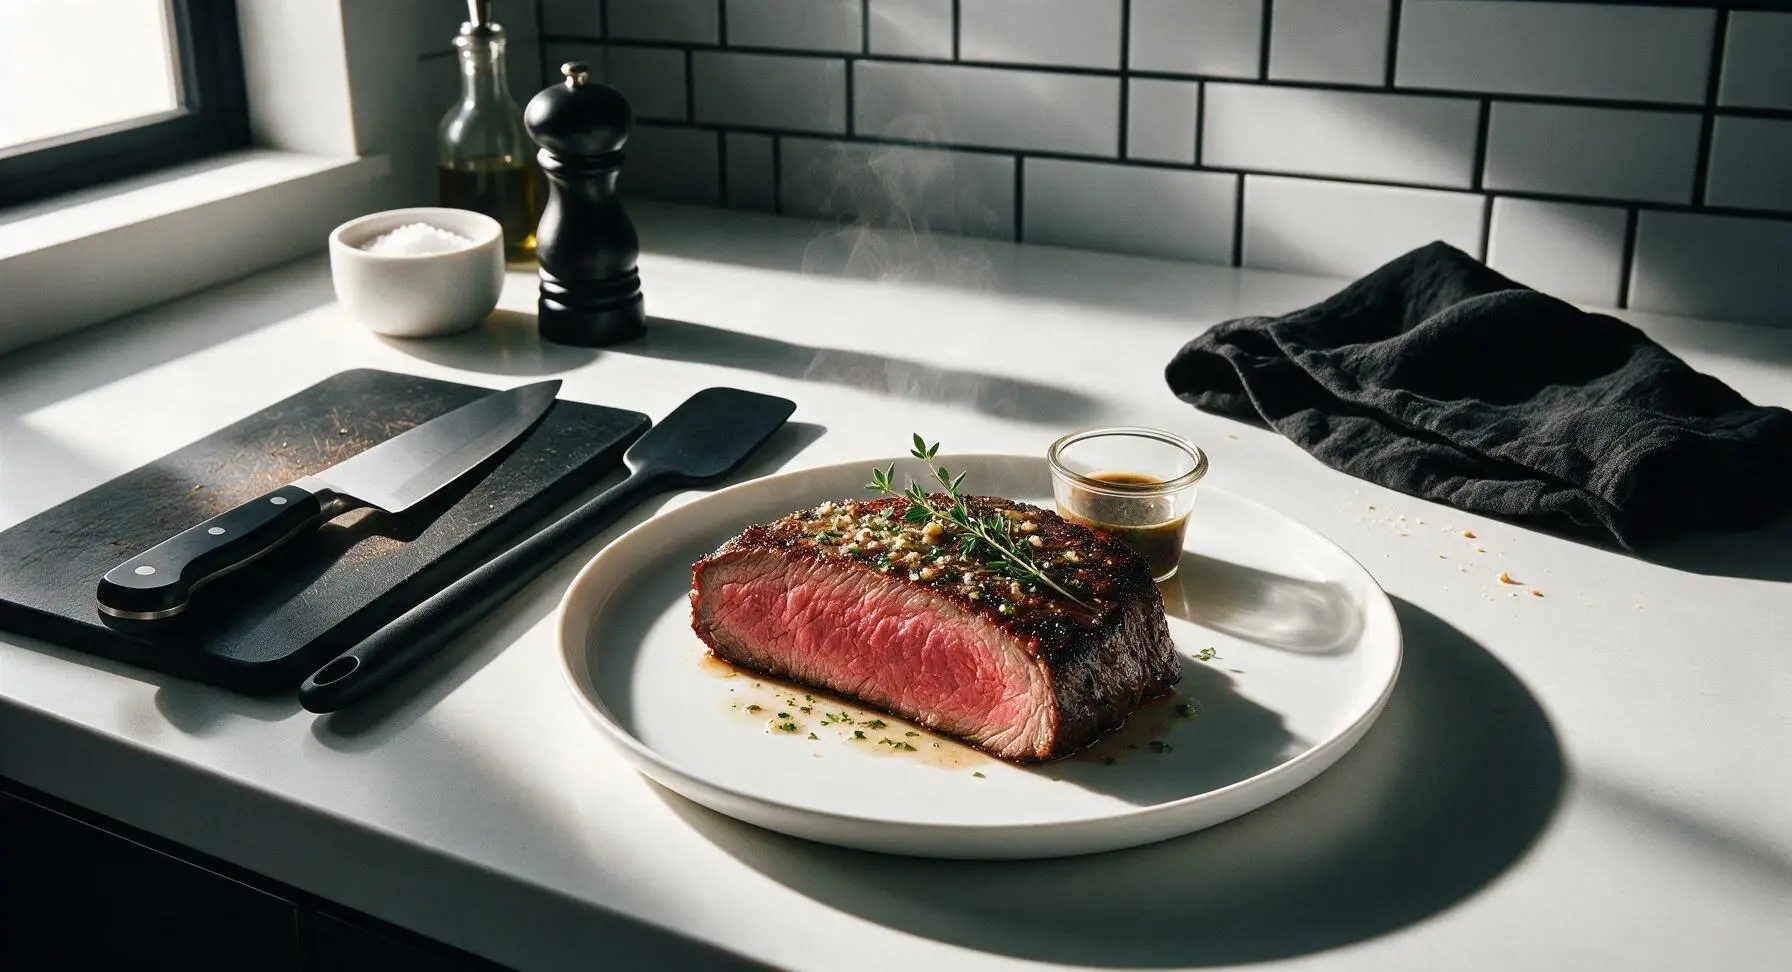
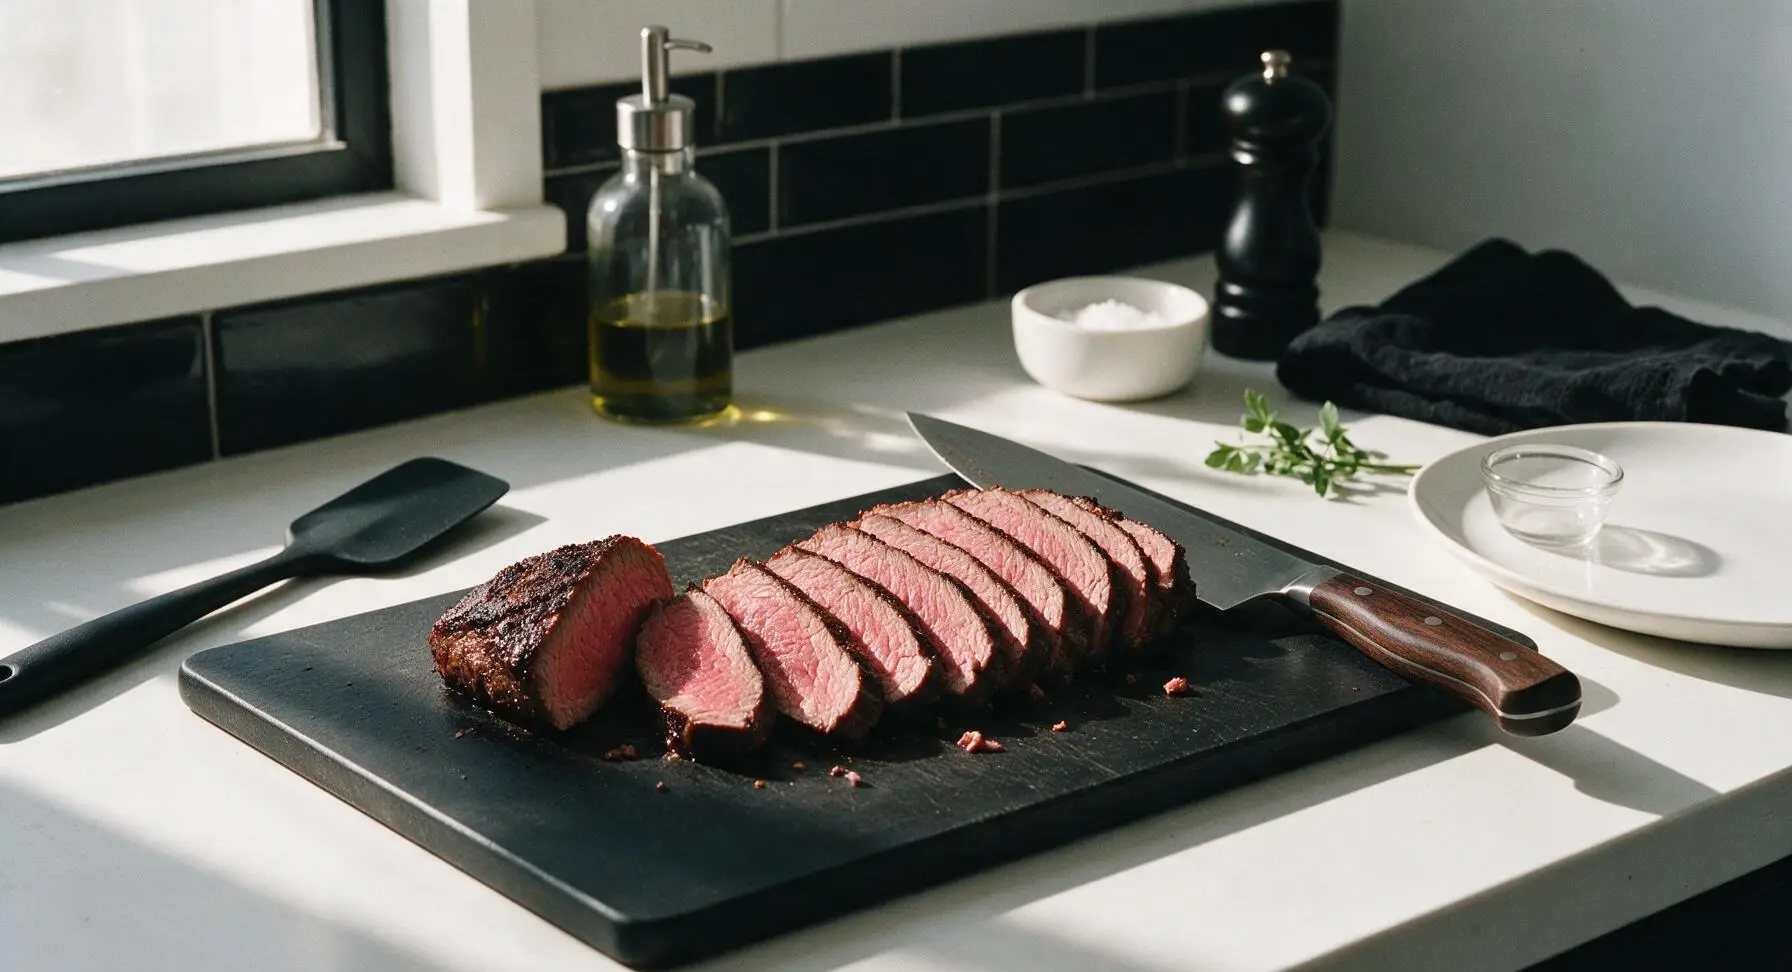
Perfectly even, edge-to-edge medium-rare tri tip with a caramelized crisp crust, infused with garlic and herb butter, juicy and tender without the gray overcooked band common with high-heat cooking.
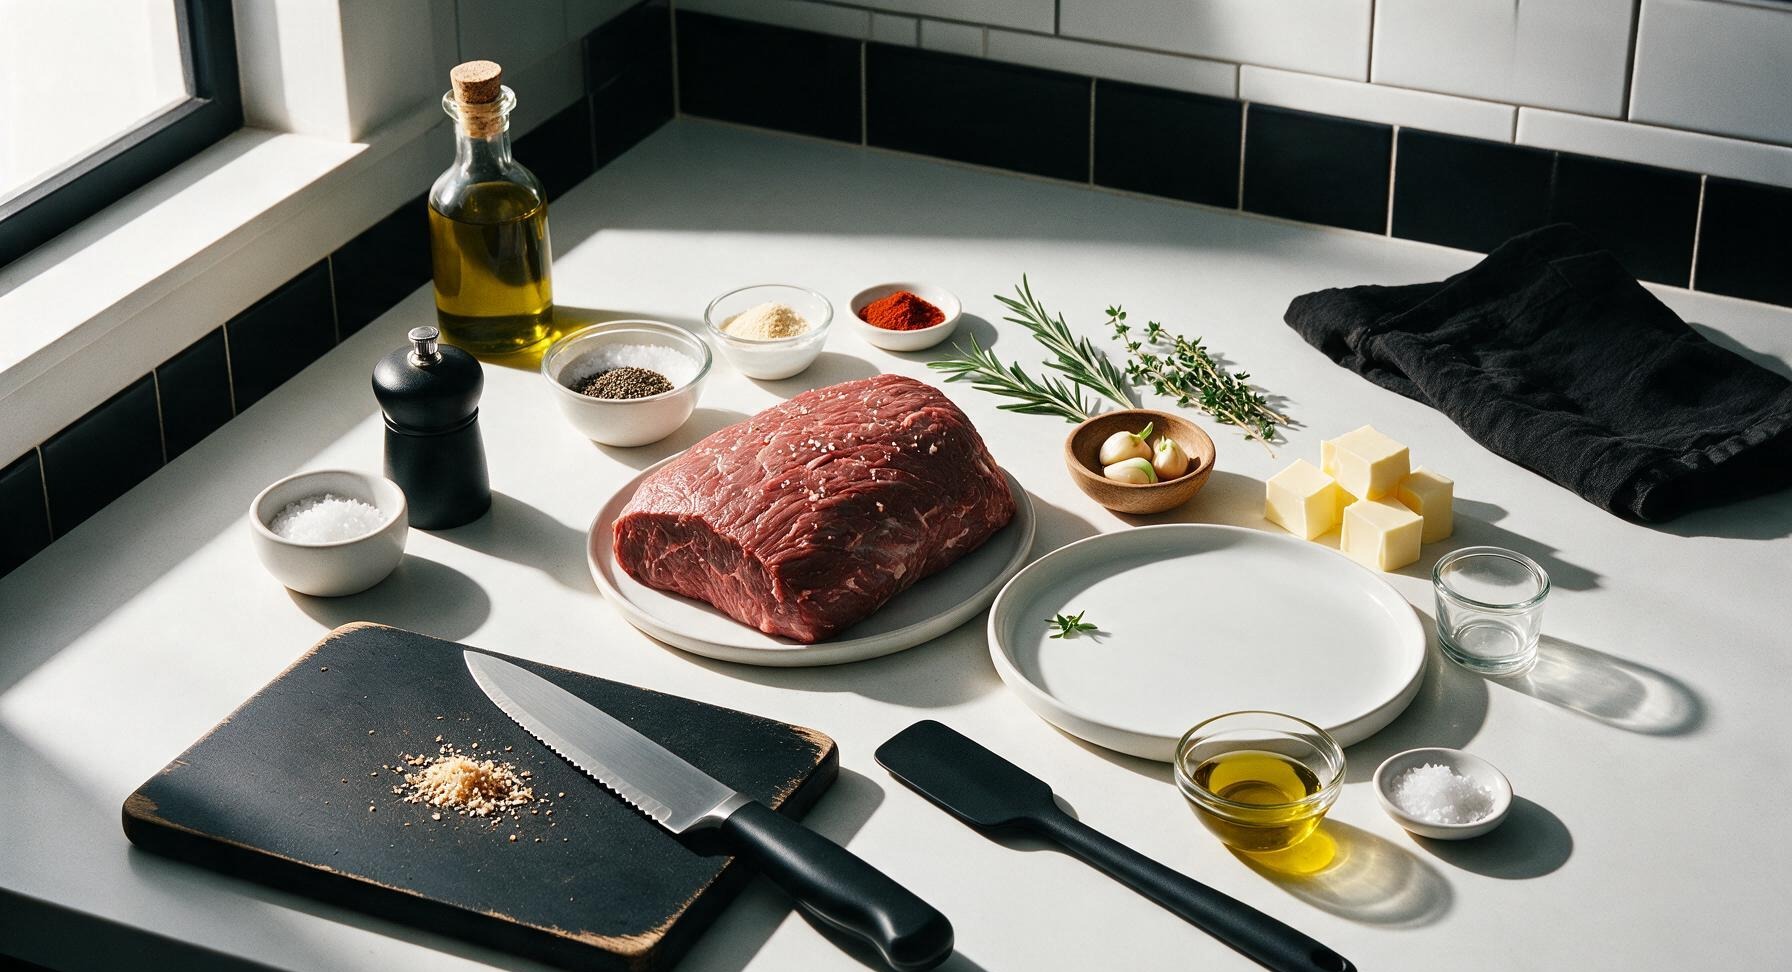
Ingredients
Steps
Trim and Season Roast
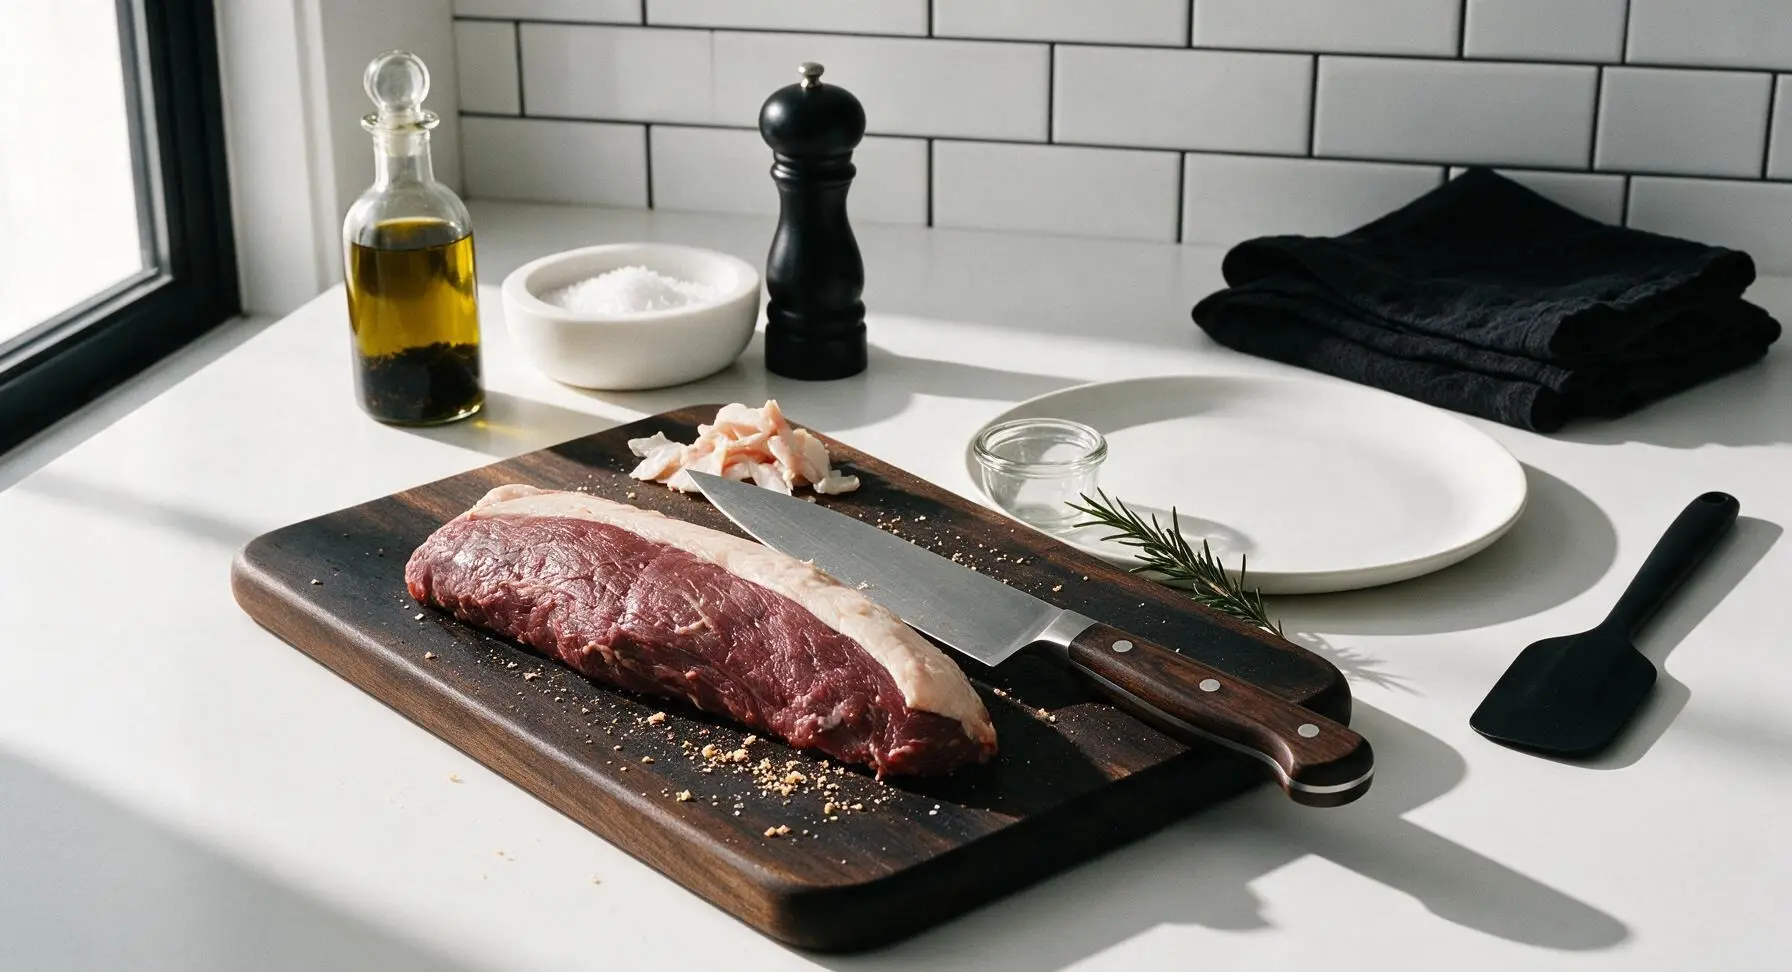
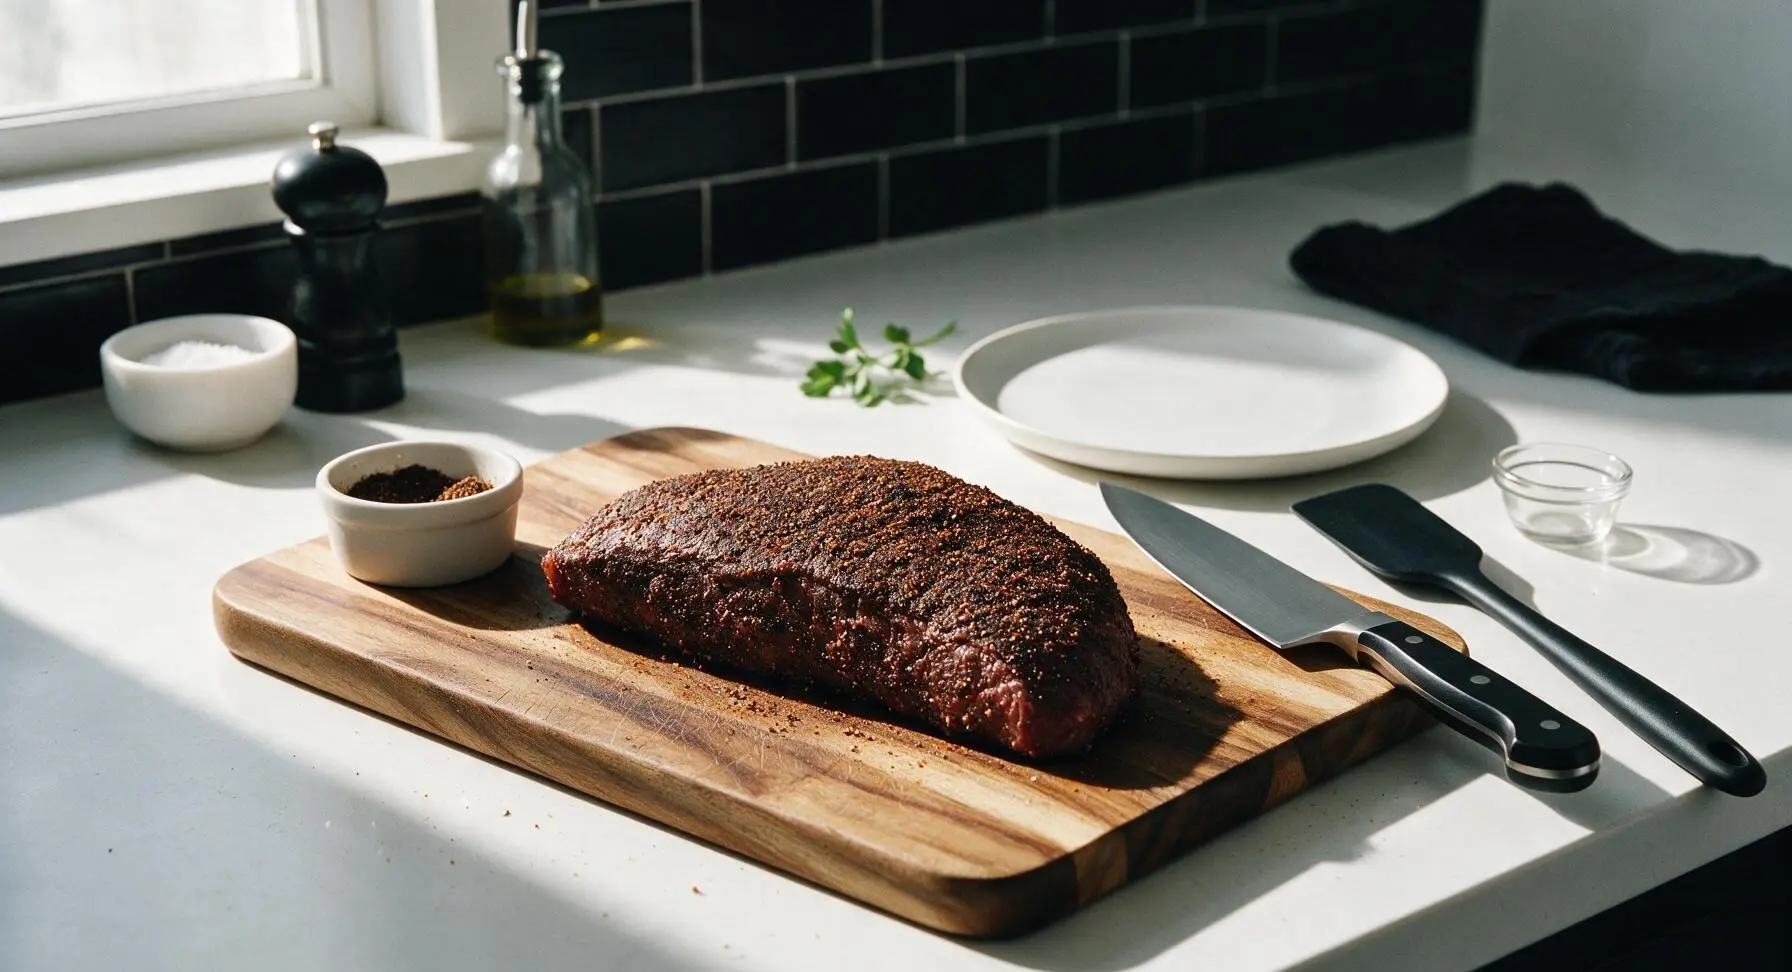
Place the 680g tri tip roast on the acacia wood cutting board. Use the 8-inch chef knife to trim away any thick silver skin and excess hard fat, leaving no more than 1/8 inch of fat cap on the surface. Pat the entire roast completely dry with paper towels, then rub all sides with 1 tablespoon of kosher salt, 1/2 tablespoon black pepper, the garlic powder, and smoked paprika, pressing the seasoning firmly into the meat. Let the seasoned roast rest at room temperature for 15 minutes while you preheat the sous vide bath.
Preheat Sous Vide Bath
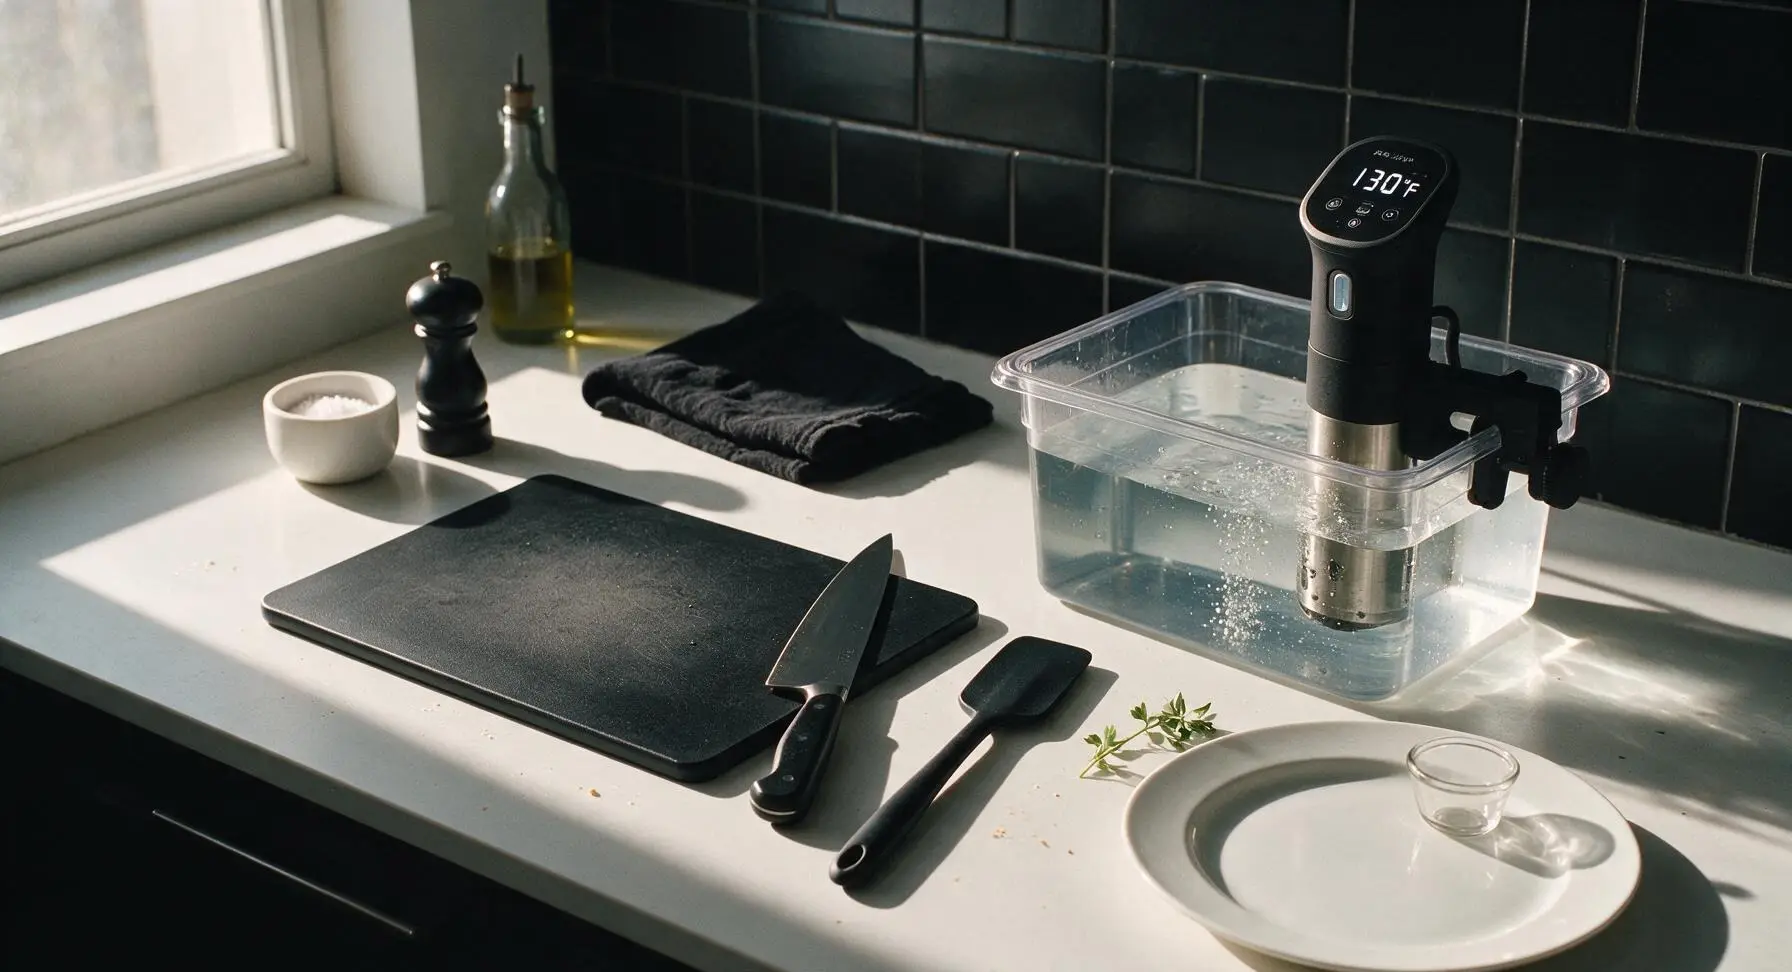
Attach the matte black sous vide immersion circulator to the 12-quart clear polycarbonate container, fill the container with water to the circulator’s marked fill line, and set the circulator to 130°F (54°C) for perfect medium-rare doneness. Wait 10-12 minutes for the water to reach and hold a steady temperature, confirming the reading with the instant-read thermometer if desired.
Vacuum Seal Roast
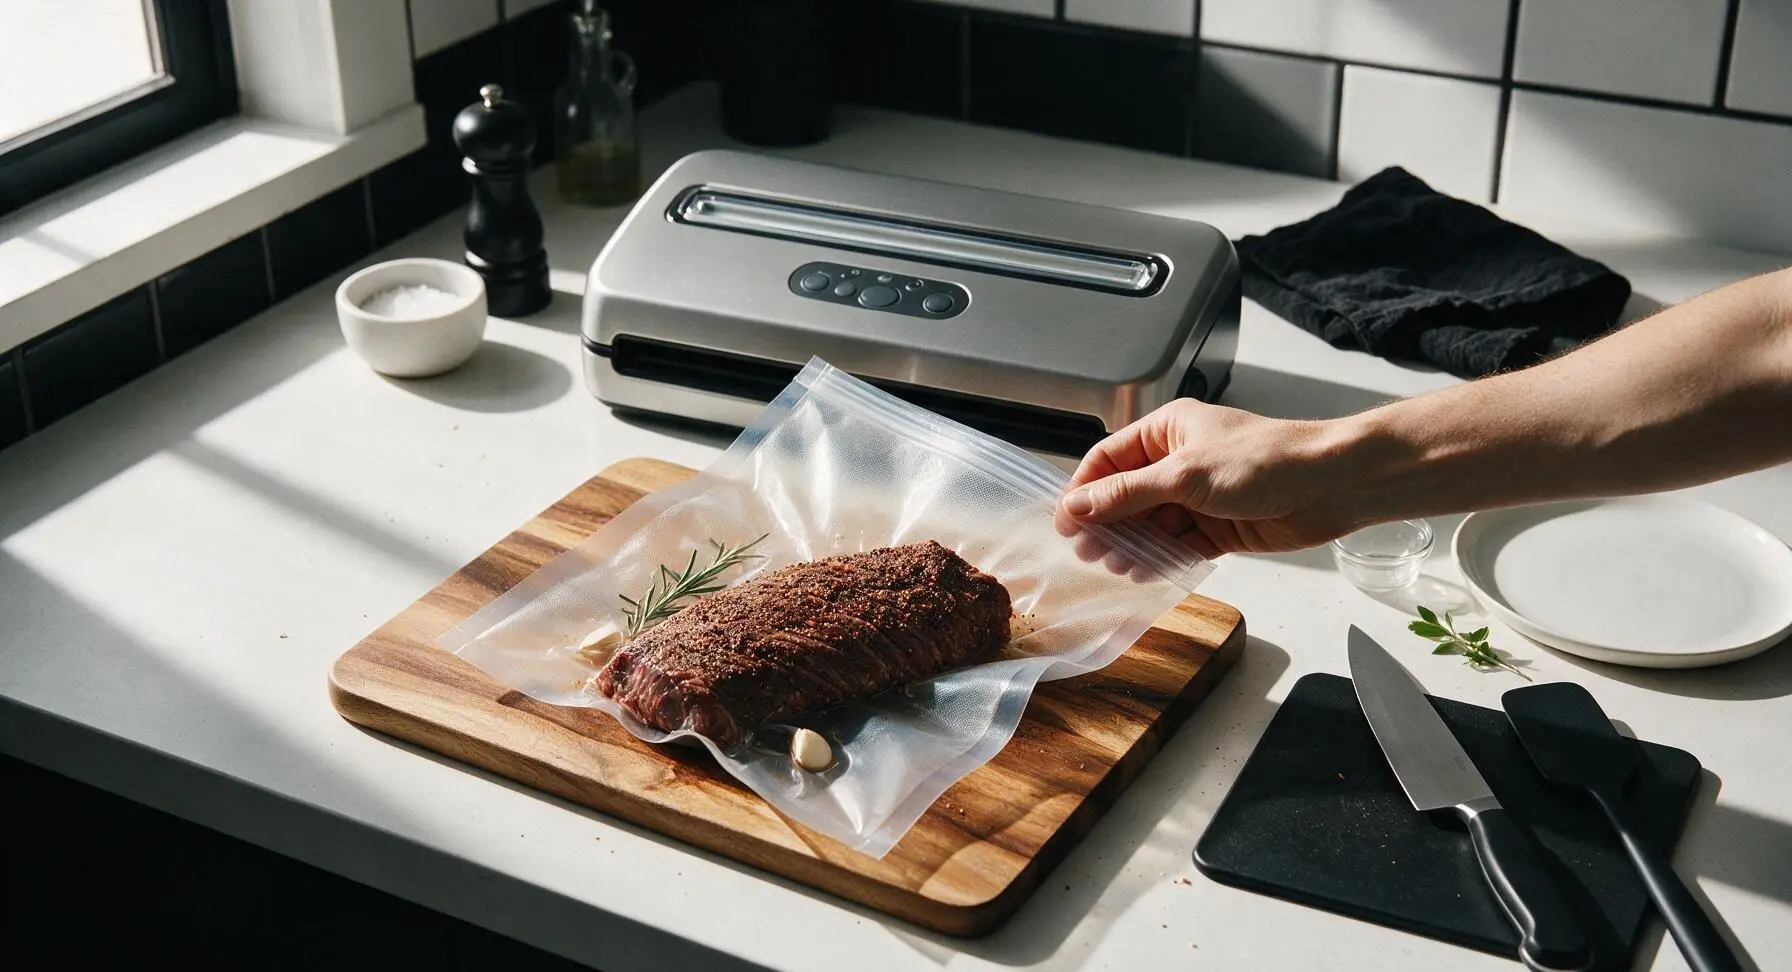
Place the seasoned tri tip into the 1-gallon BPA-free vacuum seal bag, add 1 crushed garlic clove and 1 sprig of rosemary to the bag for subtle aromatic flavor. Use the countertop vacuum sealer to remove all air from the bag and create a tight, airtight seal, ensuring no seasoning leaks out of the bag edge.
Cook Sous Vide Slowly
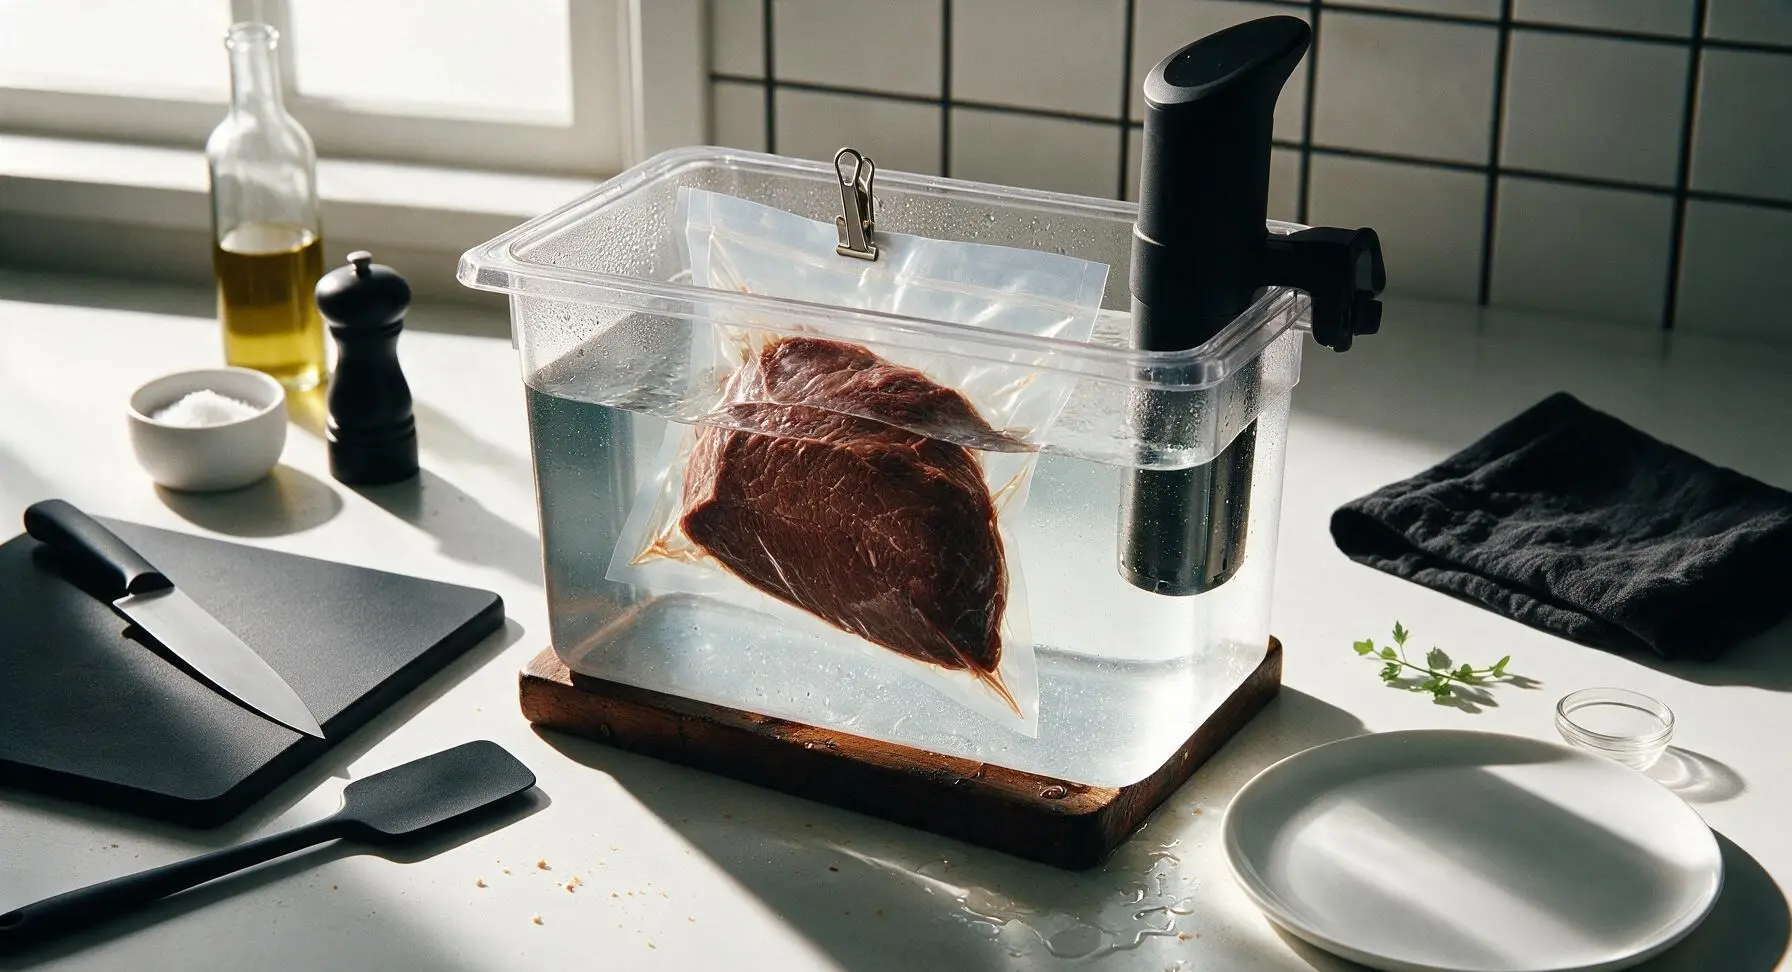
Lower the sealed bag of tri tip fully into the preheated 130°F water bath, ensuring the entire roast is submerged (use a small stainless steel clip to weigh the bag down if it floats). Cook for 2 hours and 30 minutes, checking the water level occasionally to top up if evaporation lowers it below the circulator sensor. The meat will cook evenly from edge to edge with no overcooked gray band.
Remove and Pat Dry
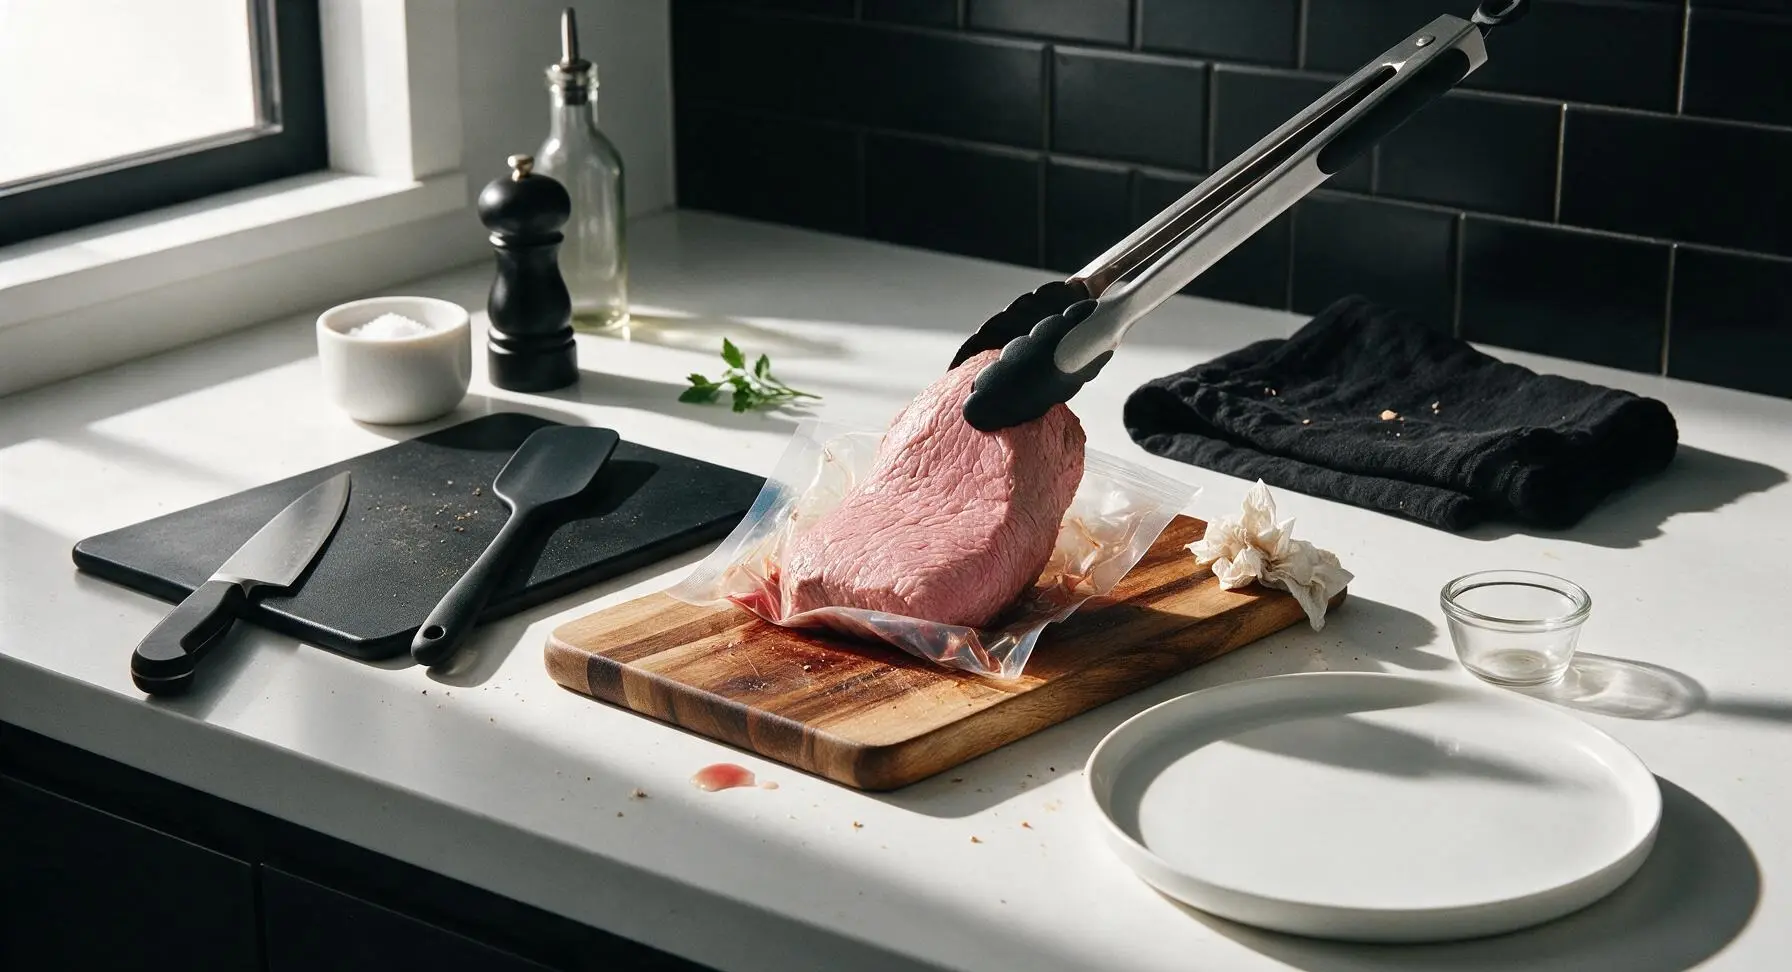
After the 2.5 hour cook time, use the silicone-tipped tongs to lift the sealed bag out of the water bath. Open the bag, carefully remove the tri tip, and transfer it back to the acacia cutting board. Discard the cooked herbs and garlic from the bag, then pat the entire surface of the roast completely dry with paper towels—this is critical for a crisp, deep sear. Season lightly with the remaining 1 tablespoon kosher salt and 1/2 tablespoon black pepper.
Sear for Crisp Crust
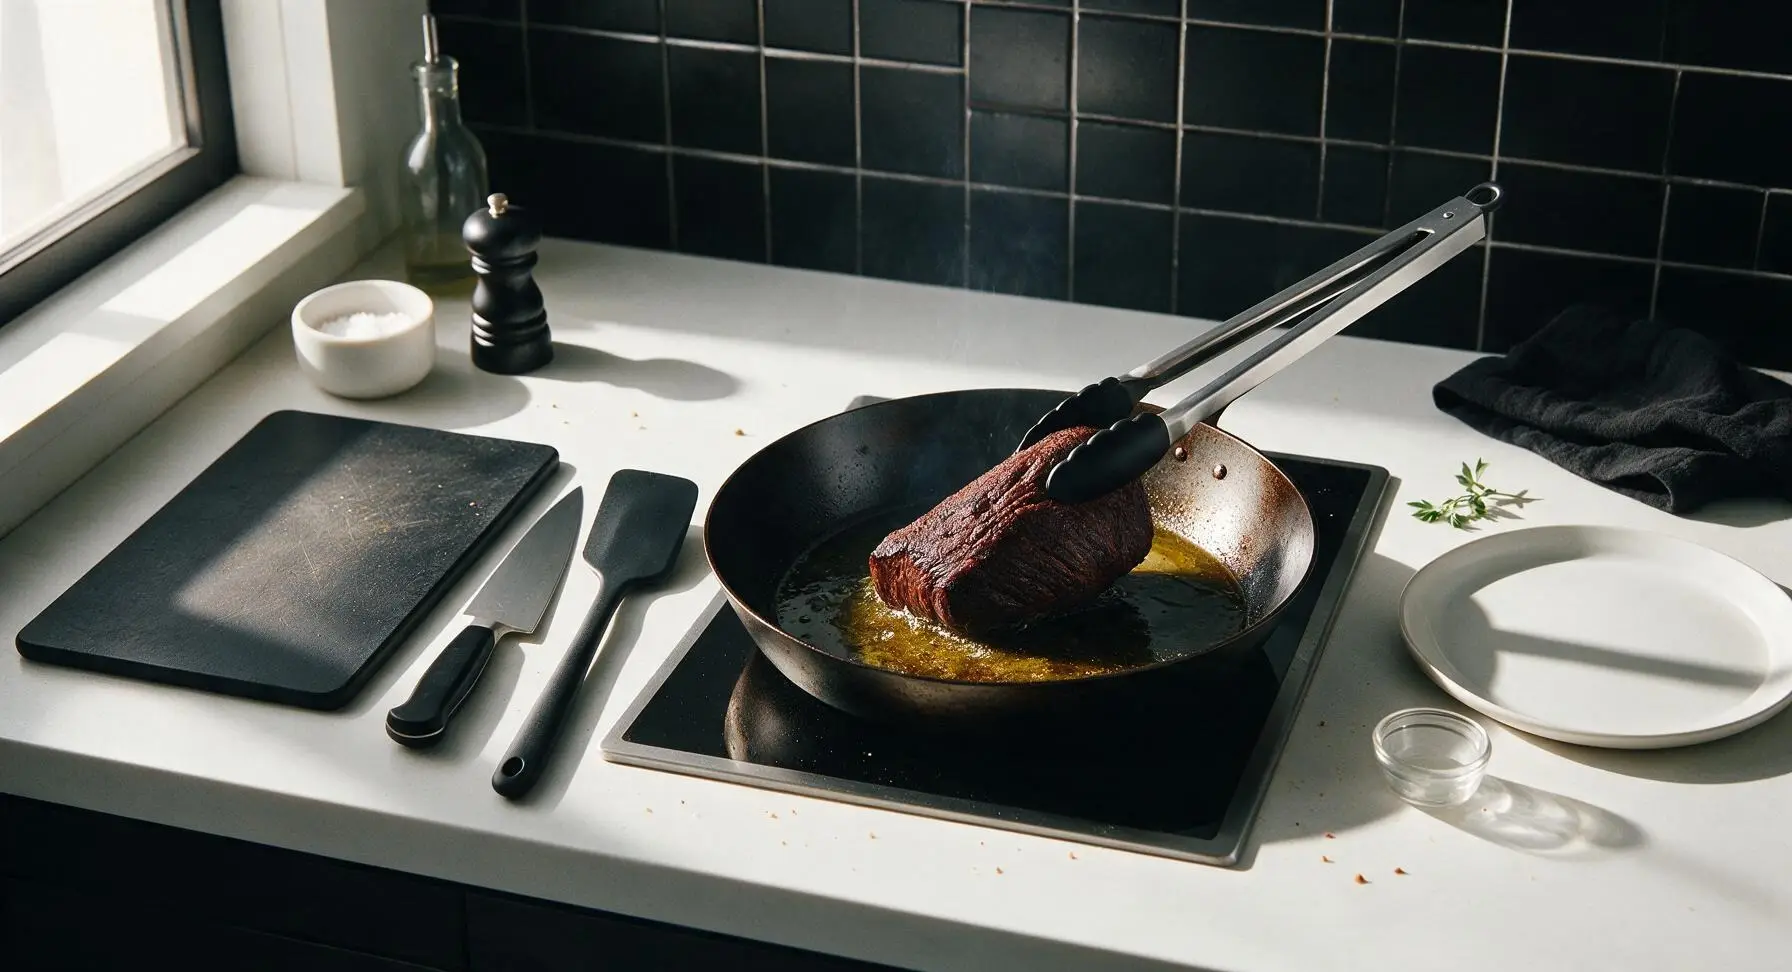
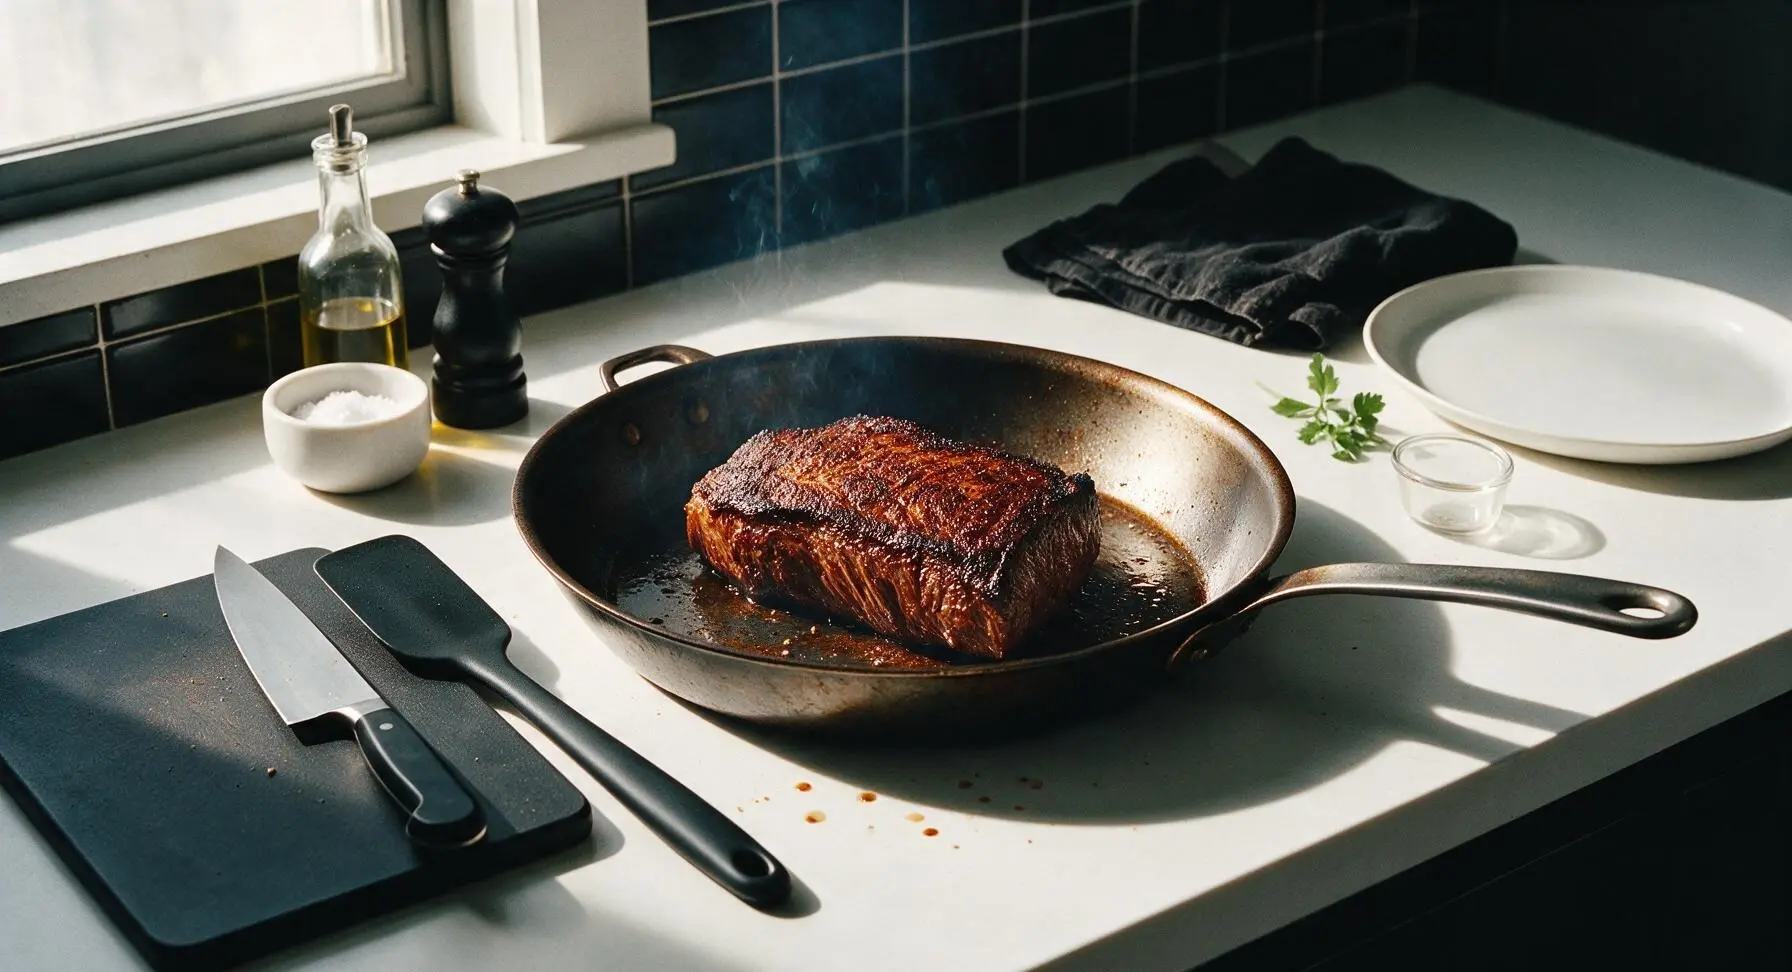
Heat the 12-inch seasoned carbon steel skillet over high heat until it just starts to smoke, add the 1 tablespoon olive oil. Carefully place the dried tri tip in the hot skillet, searing each side and edge for 45-60 seconds per surface until a deep, dark mahogany crust forms on all sides. Do not move the meat while searing to build a crisp, even crust.
Baste with Herb Butter
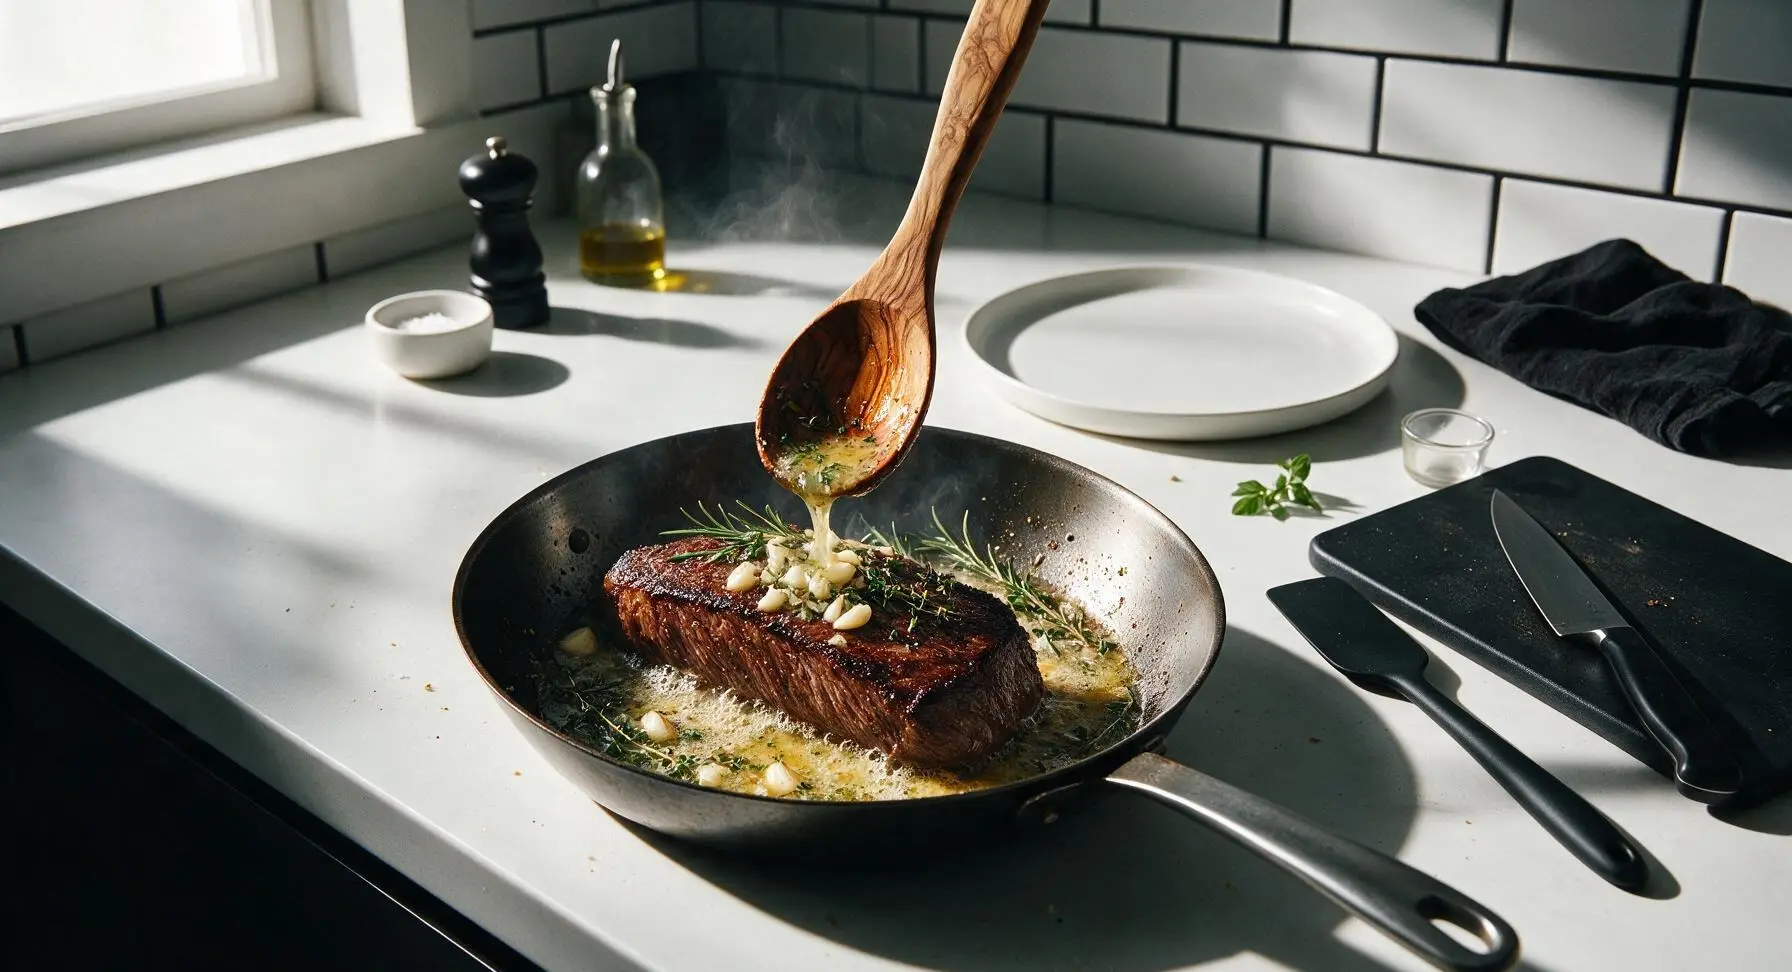
Reduce the heat to medium, add the 4 tablespoons unsalted butter, remaining 2 crushed garlic cloves, 1 rosemary sprig, and 2 thyme sprigs to the skillet. Once the butter is melted and foaming, tilt the pan slightly and use the long olive wood spoon to repeatedly spoon the hot, fragrant butter over the tri tip for 1 full minute, infusing the crust with garlic and herb flavor. Confirm the internal temperature reads 130°F on the instant-read thermometer for perfect medium-rare.
Rest and Slice Evenly
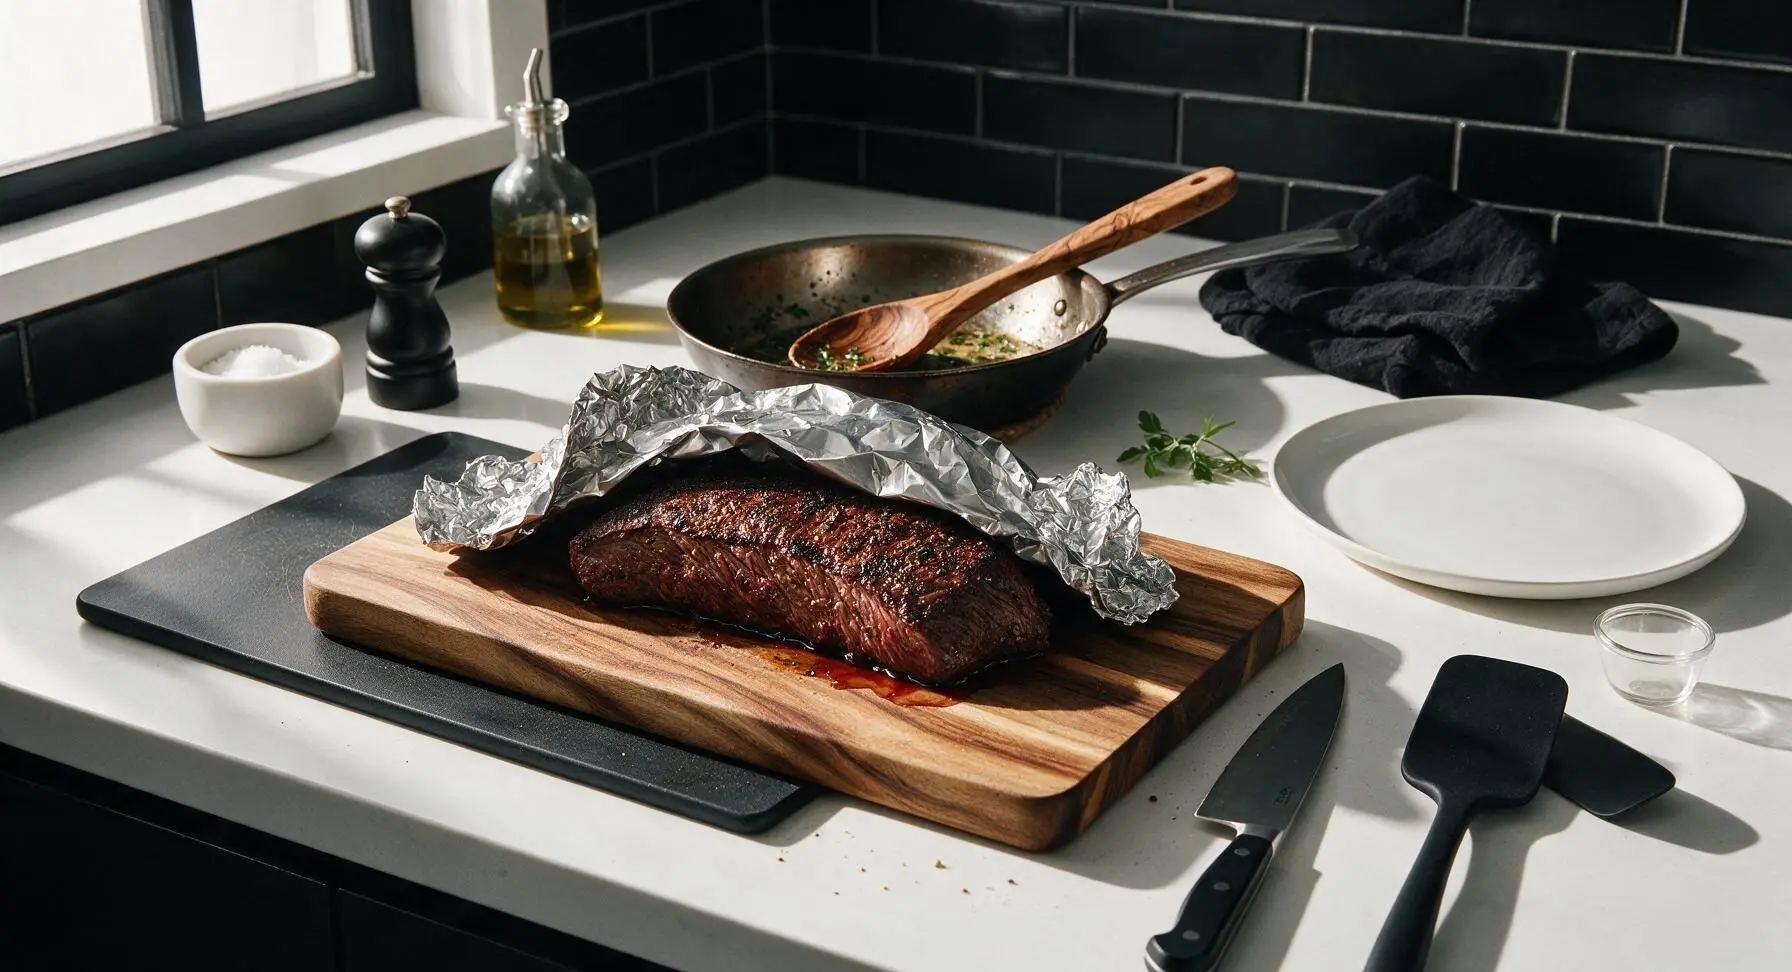
Transfer the seared tri tip from the skillet to the acacia cutting board, loosely tent with a small piece of aluminum foil, and let rest for 10 minutes to allow juices to redistribute. Use the chef knife to slice the tri tip against the grain into 1/4-inch thick slices, adjusting your angle as you go to account for the roast’s dual grain direction.
Tips
2.Adjust sous vide temperature for your preferred doneness: 125°F for rare, 130°F for medium-rare, 135°F for medium; avoid temperatures above 140°F, as the relatively lean tri tip will turn tough and dry even with precise sous vide cooking.
3.Note the dual grain direction on tri tip: the muscle fibers shift direction roughly halfway across the roast, so adjust your slicing angle as you cut to always slice against the grain, ensuring every bite is tender rather than chewy.






OMG, this sous vide tri tip recipe is a total game changer! I’ve always grilled tri tip over high heat and ended up with either charred outside and raw middle or well done all through, but this method gave me perfect medium-rare edge to edge. Served it at my weekend cookout and everyone asked for the recipe! My only tiny note is I wish the seasoning rub had a little more paprika, but that’s just personal preference.
Made this for Sunday family dinner last night and my kids loved it! Even my super picky 7 year old who says he “hates steak” ate two full slices. I paired it with roasted garlic potatoes and steamed broccoli, total hit. Will absolutely be adding this to our regular meal rotation.
SO good! I made a double batch on Sunday for meal prep, sliced it up thin, and it’s been perfect for lunch wraps and quick protein bowls all week. The cook time felt a little long for a weeknight, but since I did it on meal prep day it was totally hands off and worth every minute. No more sad desk lunches for me!
Tried this recipe last weekend and was a little skeptical of the 2 hour 45 minute cook time because I usually do sous vide tri tip for 2 hours flat, but holy cow it was so tender! I did add a quick sear on my cast iron after with some butter and garlic, which took it over the top. Only reason I’m not giving 5 stars is I wish there was a note about adjusting time for thinner vs thicker cuts.
This was my first time ever cooking tri tip, period, and I was so intimidated because I’ve heard it’s easy to mess up. The instructions were super clear, medium difficulty felt totally accurate, and the end result was better than the tri tip I’ve ordered at our local steakhouse! Cannot believe I made that at home.
Brought this to my neighborhood potluck last weekend and people were literally lining up for seconds. I made the quick horseradish cream sauce to go with it (saw the tip in the comment section of another sous vide recipe) and it was chef’s kiss. 10/10, will make for every summer gathering from now on.
Just got done making this, and it came out great even with my cheap no-name sous vide circulator that swings a couple degrees! I seared it on my gas grill for 2 minutes per side after to get that crispy crust. My only complaint is my house smelled like butter and beef for 2 days, totally worth it though.
Made this for my brother’s birthday BBQ and even my hard to impress father in law said it was the best tri tip he’s ever had. I used a coffee rub instead of the recommended seasoning because that’s what I had in the pantry, and it paired so well with the juicy, tender beef. Will definitely be making this again, probably next time with the actual recipe seasoning to compare!
Total newbie to sous vide here, just got my machine for Christmas and this was the third thing I’ve ever made with it. I was so nervous I’d mess it up, but the step by step instructions were so easy to follow! I did end up leaving it in the bath 20 minutes extra because I got caught up walking my dog, and it was still perfectly tender, no overcooking at all.
Made this on my last camping trip! Pre-cooked the tri tip in the sous vide at home before we left, kept it in the cooler, then seared it over hot camp coals when we got to the site and it was unreal. Everyone at the campsite was wandering over asking what we were cooking because it smelled so good.
I’m a Texas brisket guy through and through, so I was skeptical that a sous vide tri tip could hold up to smoked beef, but man was I wrong. It was so juicy, perfectly seasoned, and didn’t require me to tend a smoker for 12 hours. My wife said she prefers this to my brisket, which is a bold take, but I can’t even be mad because it was that good.
Made this for Father’s Day for myself (perks of being the dad who cooks, right?) and it was absolute perfection. I paired it with a blue cheese butter I melted over the top after searing, and a side of grilled asparagus. 10/10, would treat myself to this again any day.
Full transparency: I was a vegetarian for 8 years and only started eating red meat again 6 months ago, so I’m still learning how to cook beef properly. This recipe made me feel like a pro! The tri tip was so tender I didn’t even need a steak knife to cut it, and the seasoning was spot on. I did accidentally set the temp 2 degrees higher than recommended and it was still perfect, no toughness at all.
This is such a great base recipe! I swapped the regular salt for garlic salt, added a little pinch of cayenne for heat, and finished it with a squeeze of fresh lime after searing, and it was so bright and flavorful. It’s gluten free, low carb, and fits perfectly into my macro goals without feeling like “diet food” at all.
Grew up eating tri tip at family cookouts in California, so I’m super picky about how it’s prepared. I’ve tried half a dozen sous vide tri tip recipes online and this one is by far the best. The cook time is spot on for that perfect melt-in-your-mouth texture without being mushy, and the seasoning blend is simple but lets the beef flavor shine. Only thing I’ll do differently next time is add a little more black pepper, because I’m a pepper fiend.