
tuna mayo sandwich filler

title 1
tuna mayo sandwich filler
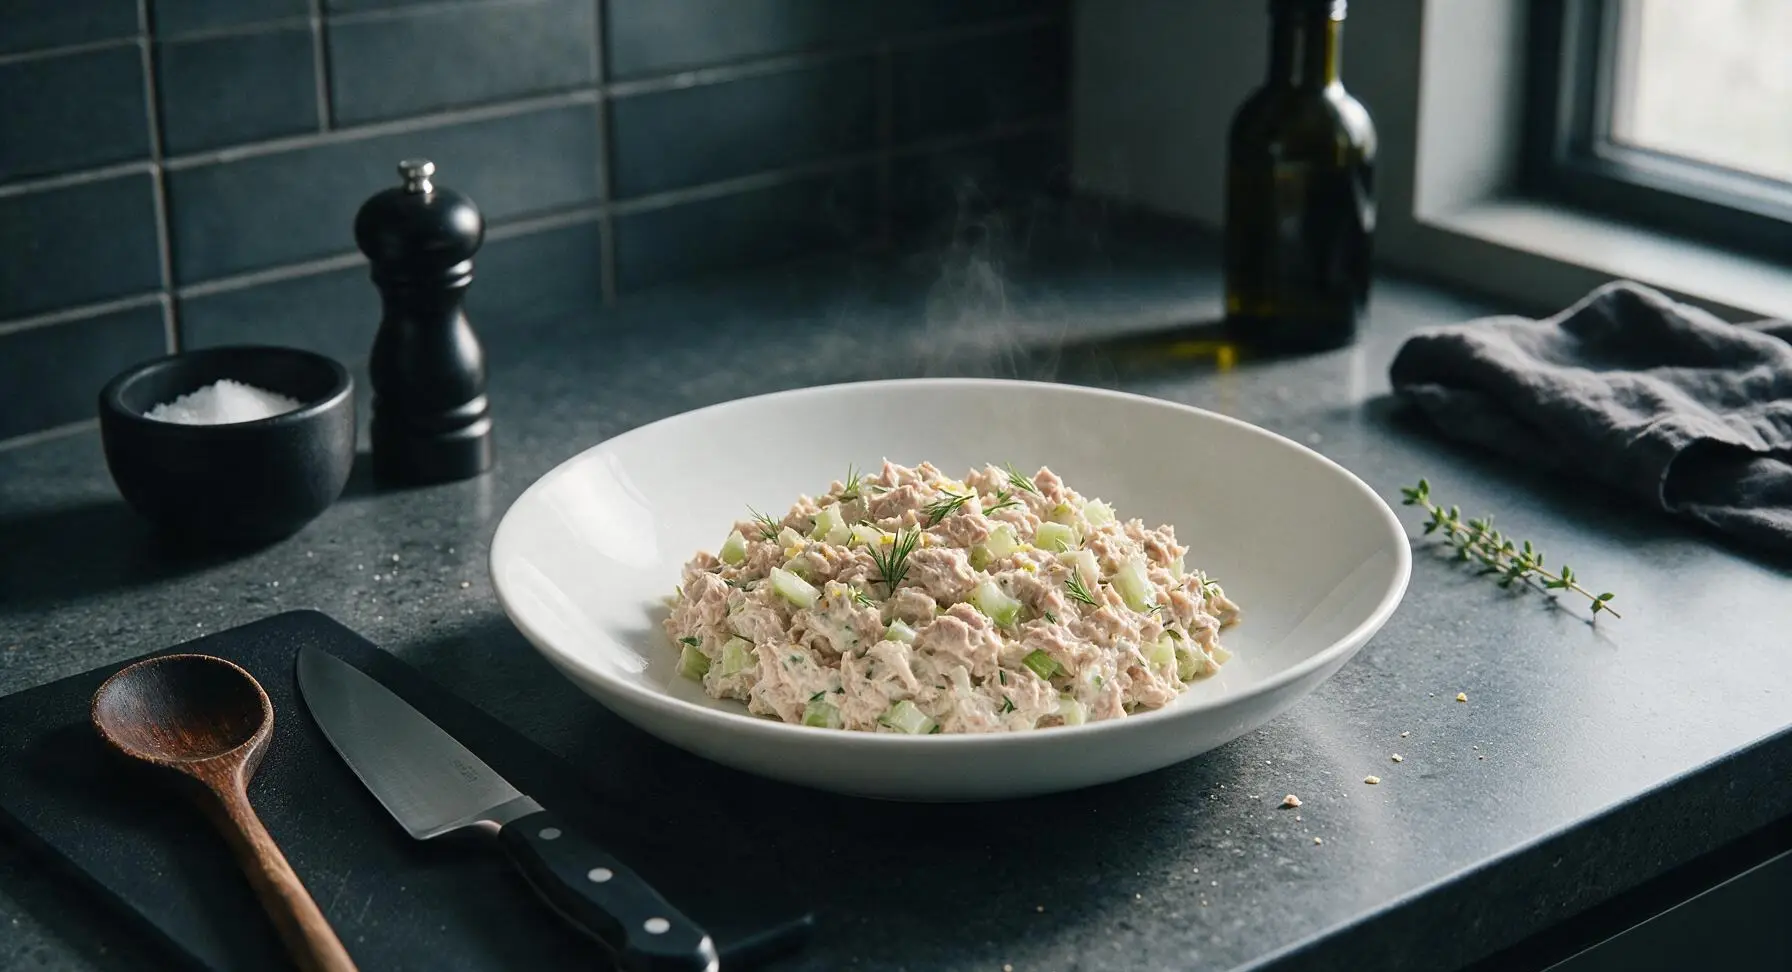
⏱️ cook time 0 minutes
🍽️ servings 4
⚡ Difficulty easy

intro

Creamy, briny tuna mayo sandwich filler with crisp celery, bright dill, and a hint of lemon—no watery, mushy texture, ideal for sandwiches, wraps, or summer picnic bites, ready in 10 minutes.

Ingredients
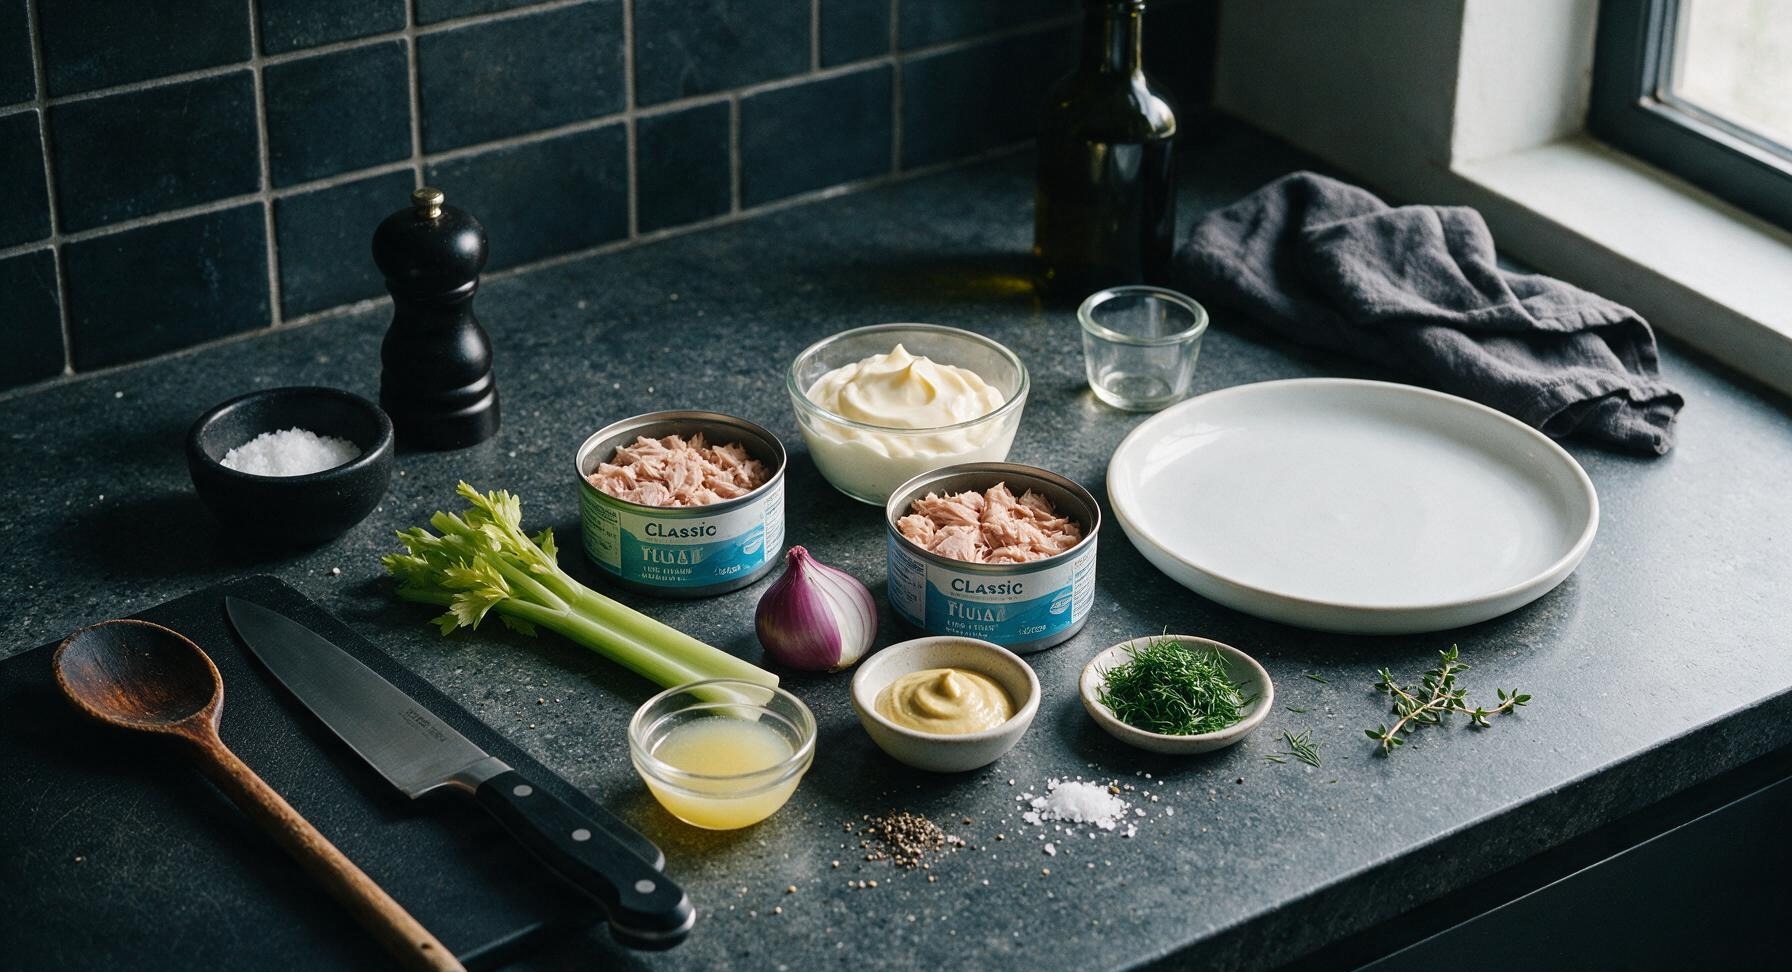
Canned light tuna (packed in water) 2 x 142g cans, drained
Full-fat mayonnaise 1/3 cup (75g)
Celery stalk 1 small (70g)
Red onion 1/4 small (30g)
Fresh lemon juice 1 tablespoon (15ml)
Dijon mustard 1 teaspoon (5g)
Fresh dill 2 tablespoons, chopped
Flaky sea salt 1/4 teaspoon
Freshly ground black pepper 1/8 teaspoon

Steps

1

Drain tuna thoroughly

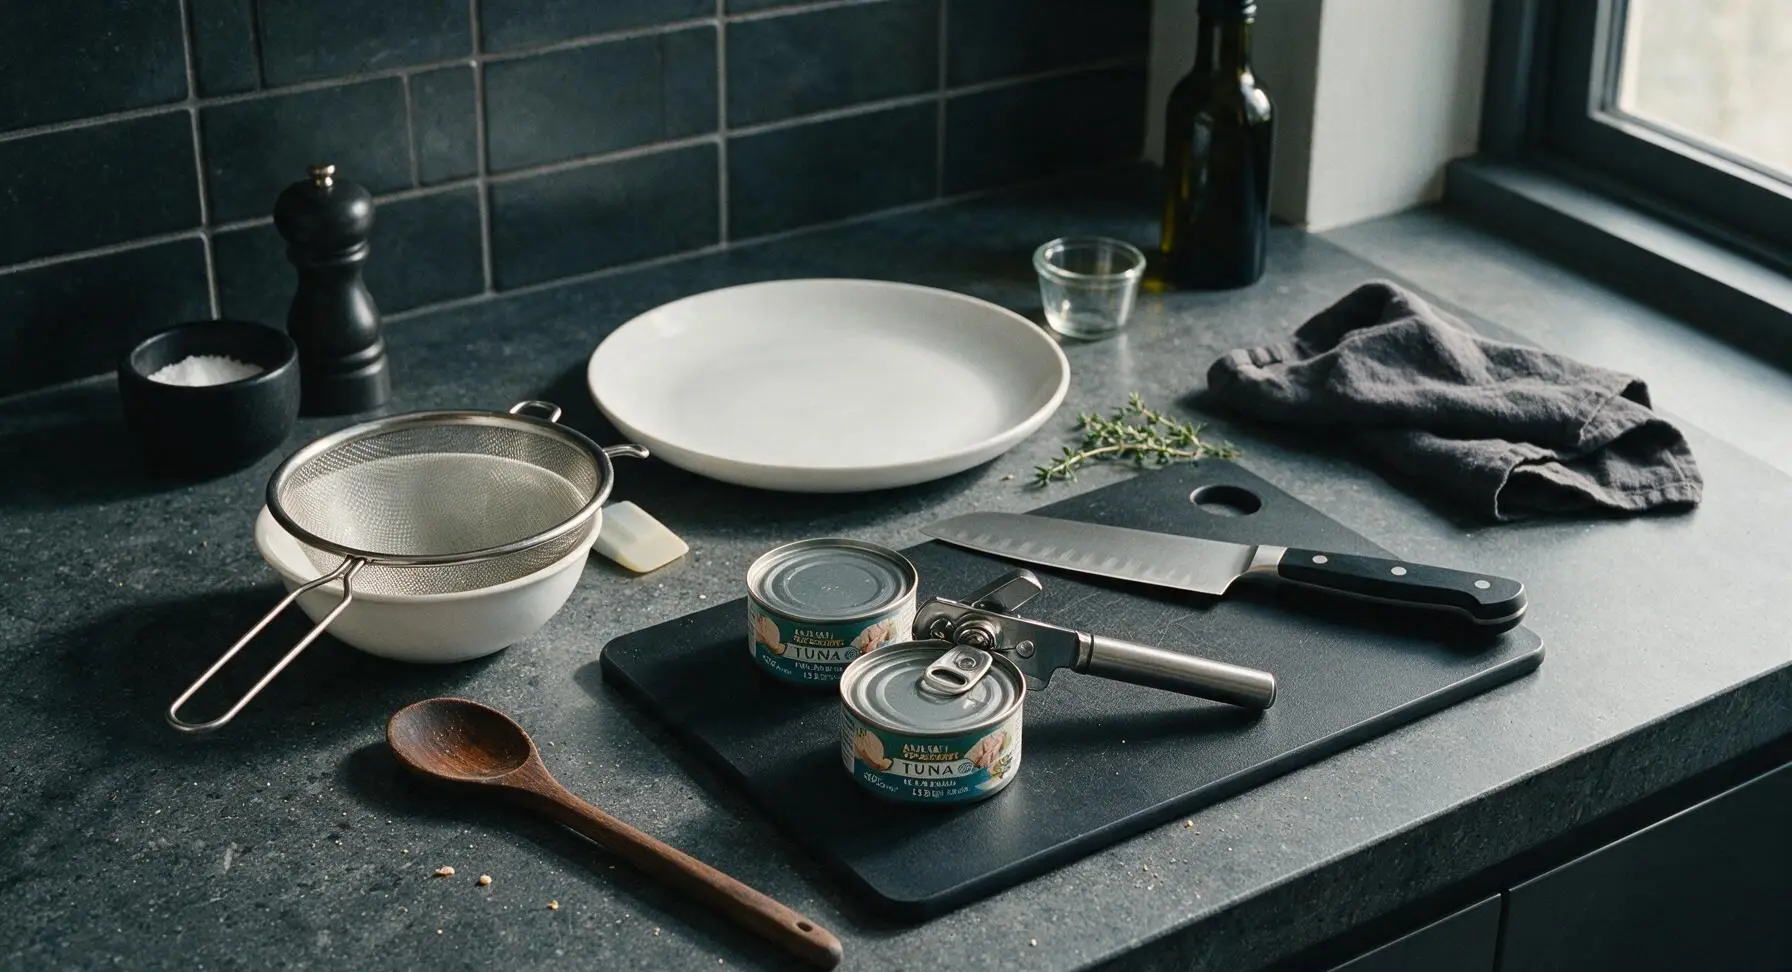
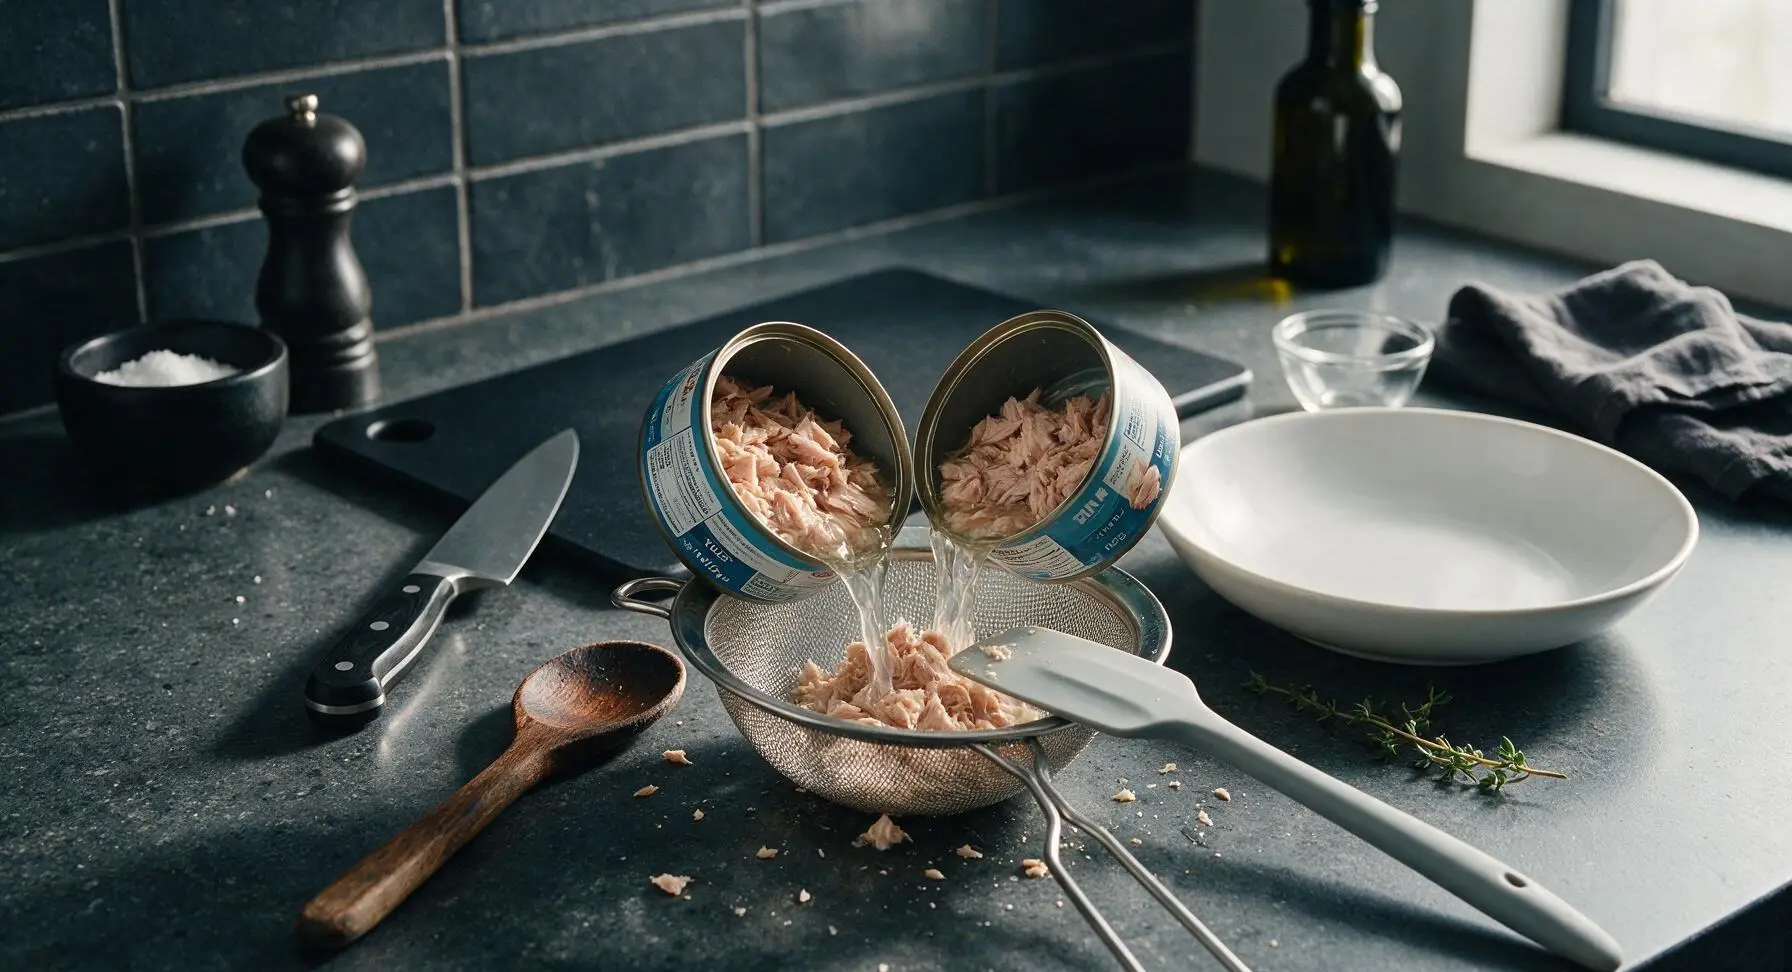
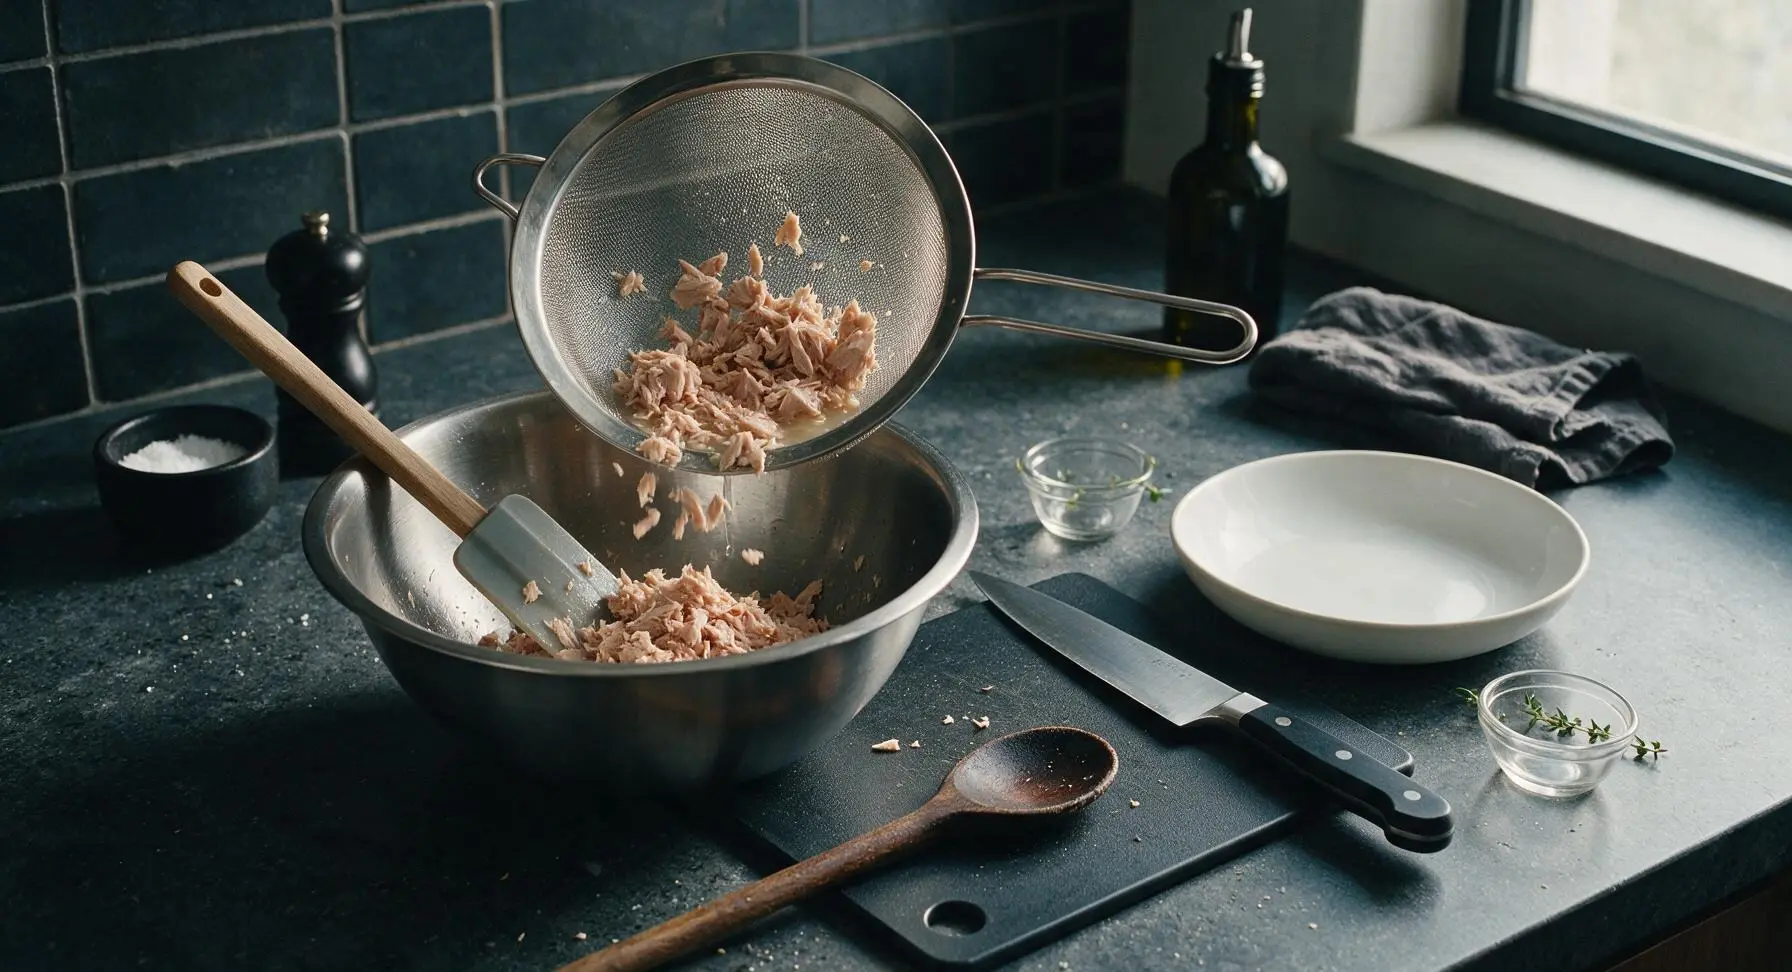
Use the stainless steel can opener to remove lids from both 142g cans of tuna. Hold each can over the fine-mesh stainless steel strainer to pour off all packing water, then tip the drained tuna into the strainer. Press lightly against the tuna with the silicone spatula to squeeze out trapped excess liquid—take care not to mash the tuna completely, as small flaky chunks create better texture. Let the tuna rest in the strainer for 2 minutes to ensure no free liquid remains, which will prevent a watery final filler.
Step 1
step1:Drain tuna thoroughly
Step 1
step1:Drain tuna thoroughly
2

Prep crisp vegetables

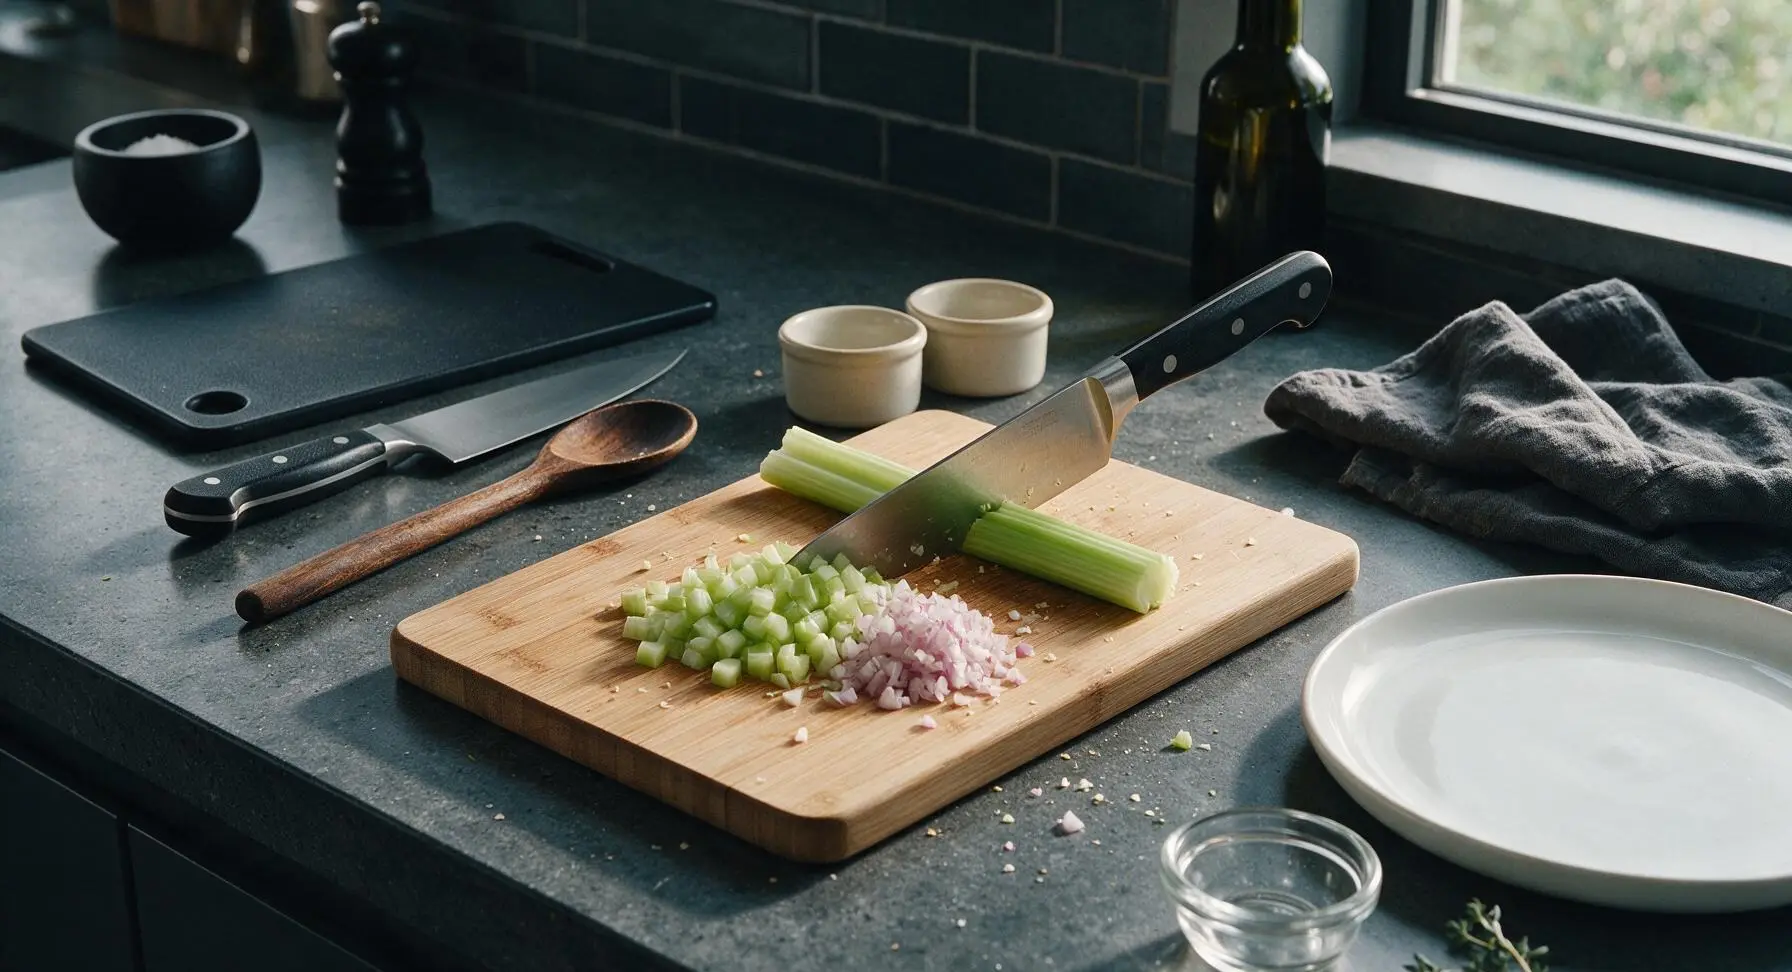
Place the small celery stalk and 1/4 red onion on the bamboo cutting board. Use the santoku knife to dice the celery into uniform 3mm pieces, and mince the red onion into even finer 2mm pieces—large, chunky onion pieces will overpower the mild tuna flavor. Transfer the diced celery and minced onion into the two separate small cream stoneware ramekins to keep them ready for mixing.
Step 2
step2:Prep crisp vegetables
3

Chop fresh dill

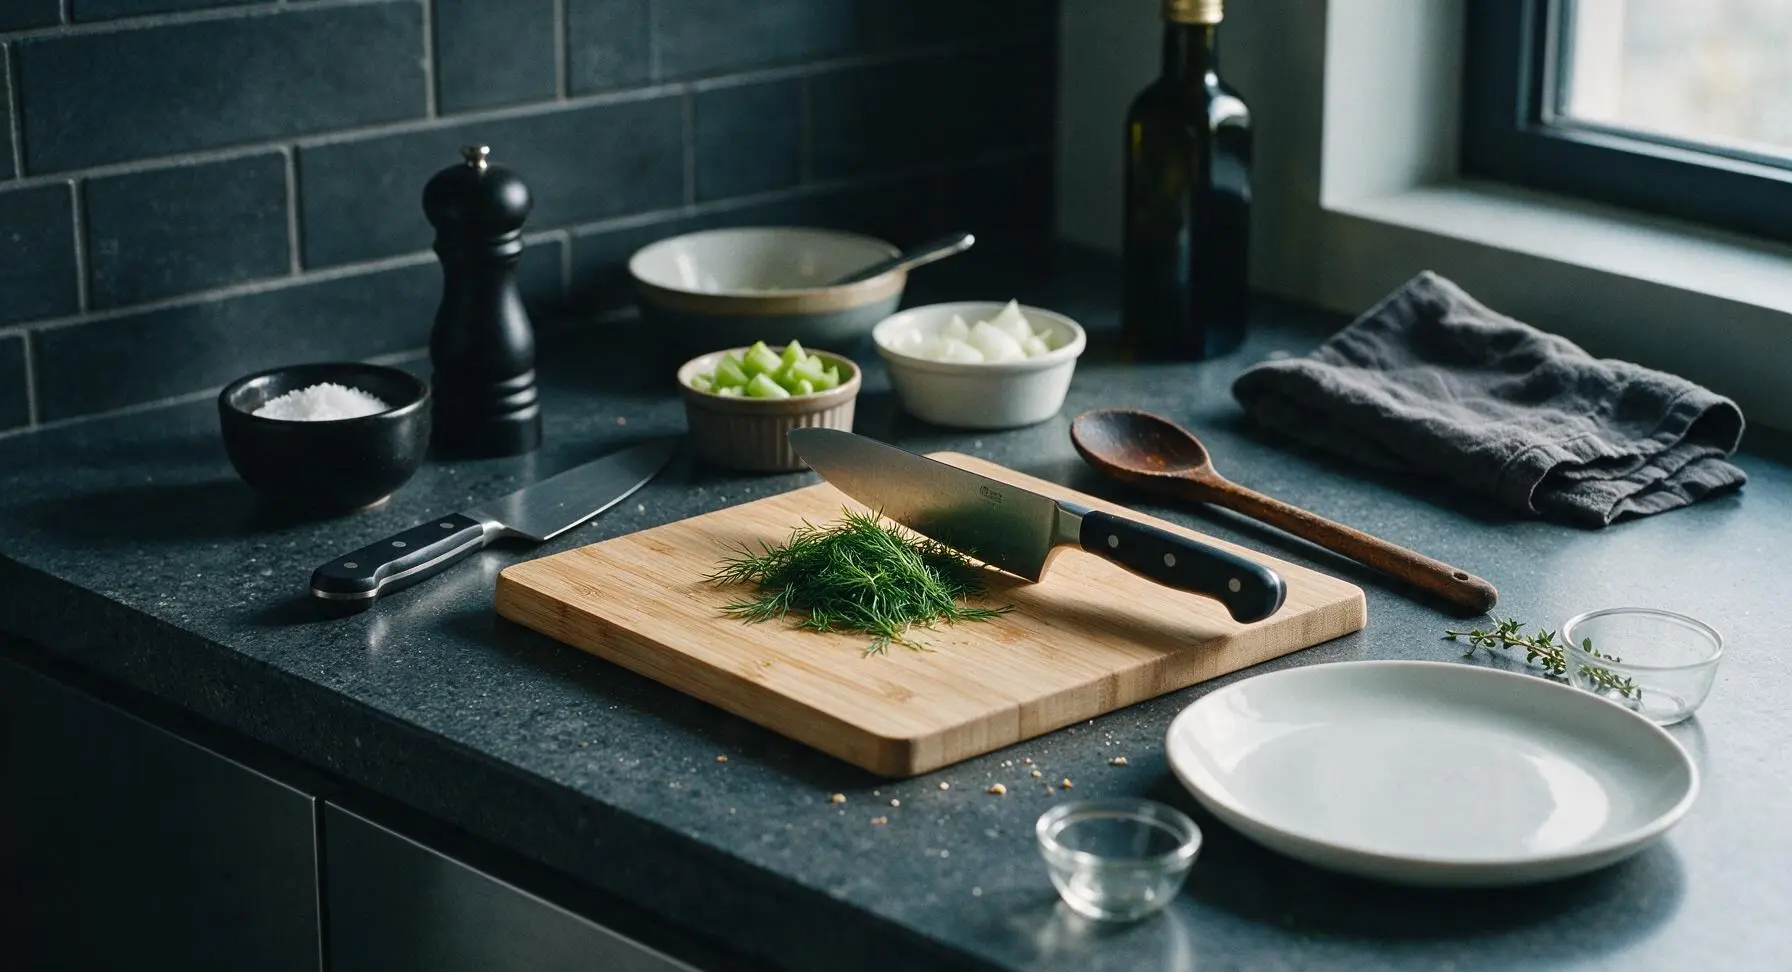
Gather 2 tablespoons of fresh dill fronds from the bunch in the glass bud vase, discarding any thick tough stems. Pile the dill on a clear corner of the bamboo cutting board, and chop finely with the santoku knife until the fronds are broken into small, even pieces. Set the chopped dill aside in a small pile on the edge of the cutting board.
Step 3
step3:Chop fresh dill
4

Add tuna to bowl

Lift the fine-mesh strainer holding the fully drained tuna, and tip all of the flaky tuna into the brushed stainless steel mixing bowl. Use the flexible silicone spatula to gently break the tuna into loose, uneven flakes, leaving some pea-sized chunks intact for a pleasant, non-pasty texture.
Step 4
step4:Add tuna to bowl
5

Mix flavor base

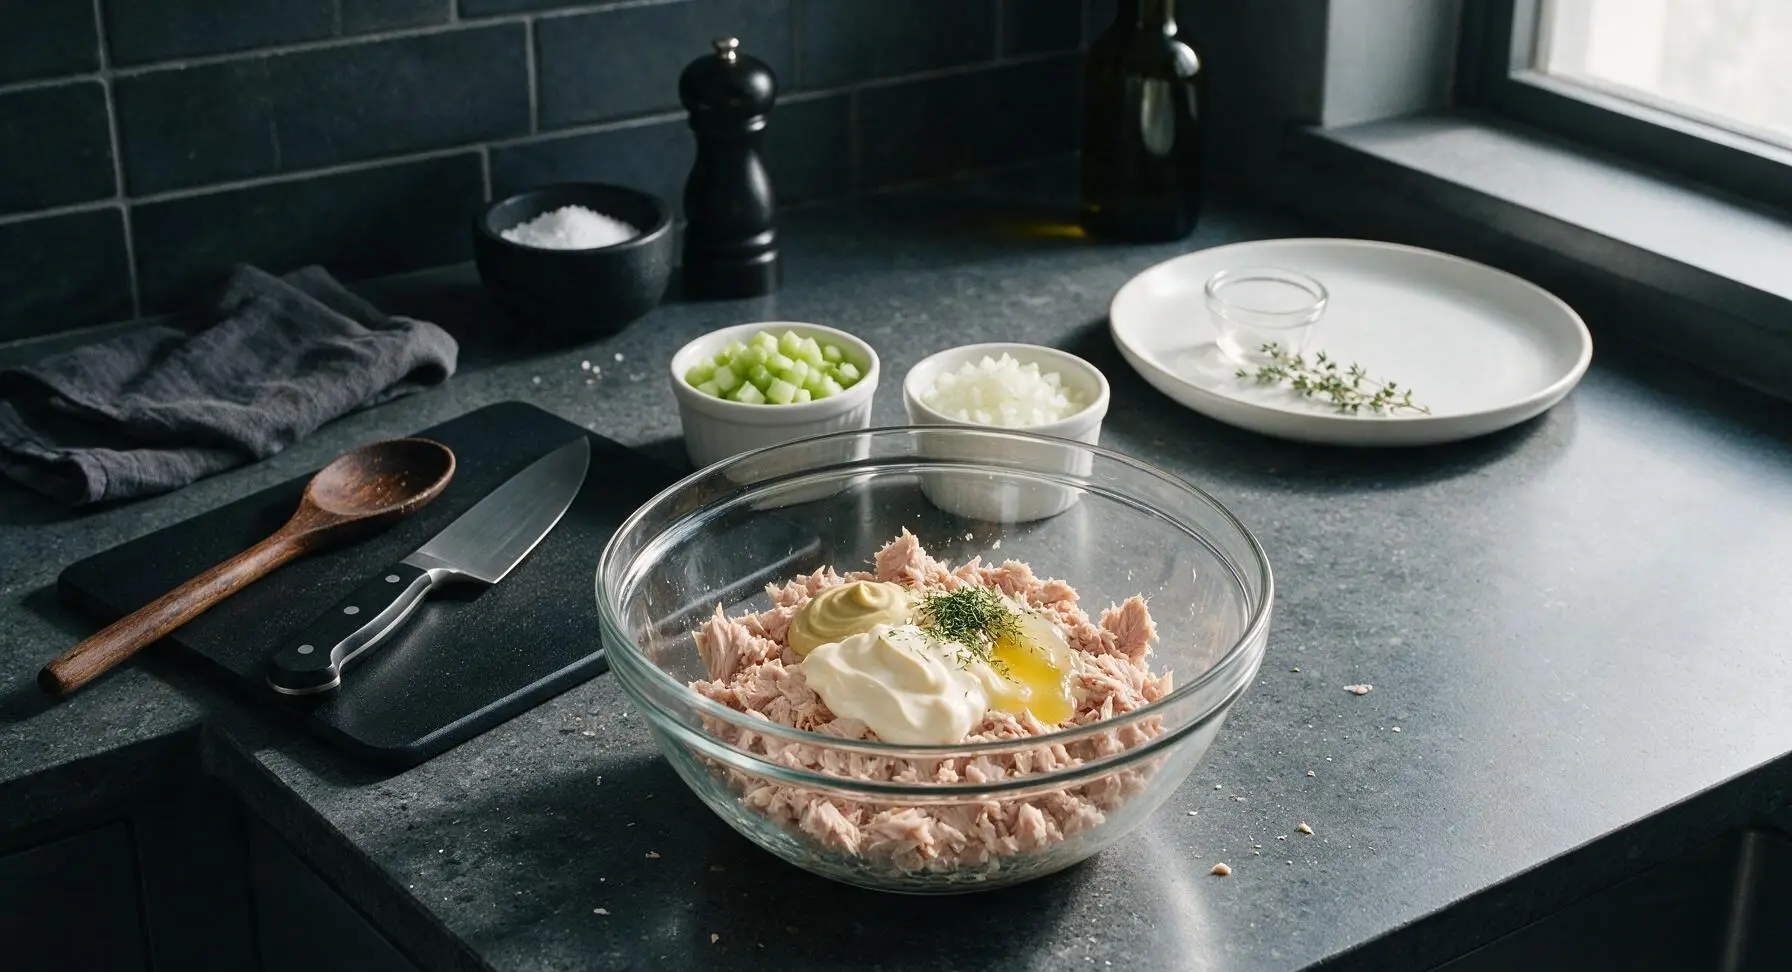
Add the full-fat mayonnaise, 1 teaspoon Dijon mustard, 1 tablespoon fresh lemon juice (squeezed from the half lemon on the terracotta saucer), chopped dill, 1/4 teaspoon flaky sea salt, and 1/8 teaspoon freshly ground black pepper to the mixing bowl with the tuna. Do not add the vegetables yet—mixing the flavor base first ensures even seasoning without overworking the crisp veg.
Step 5
step5:Mix flavor base
6

Fold ingredients gently

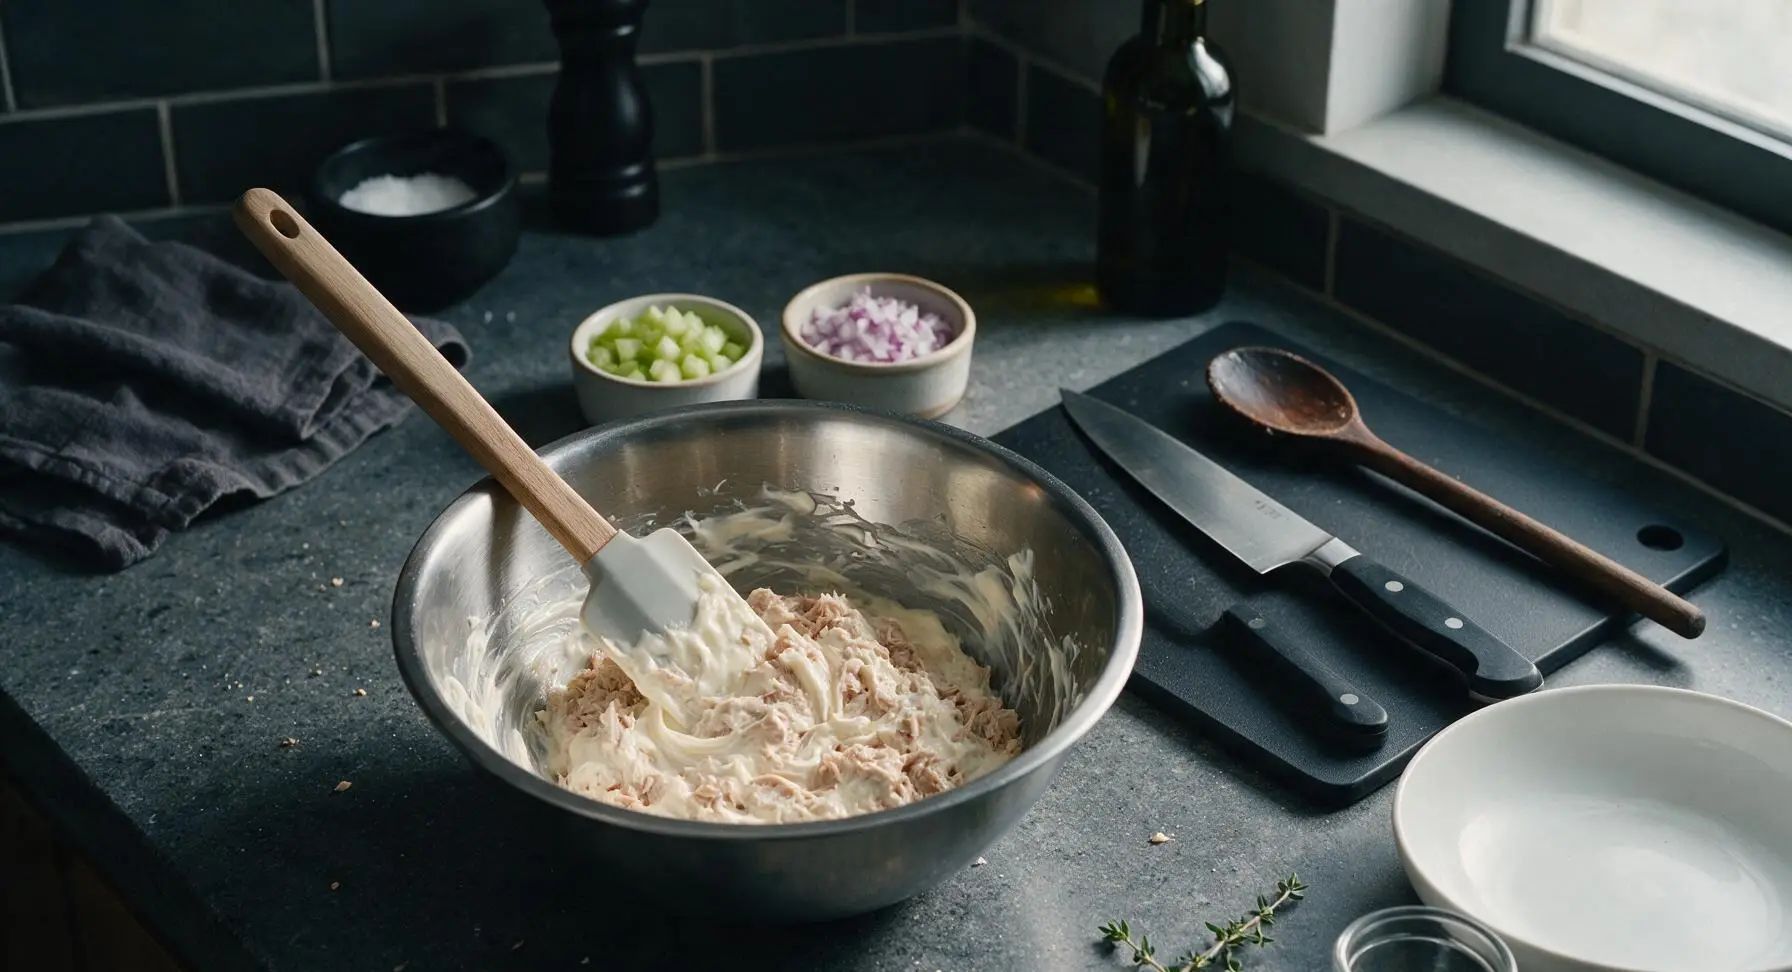
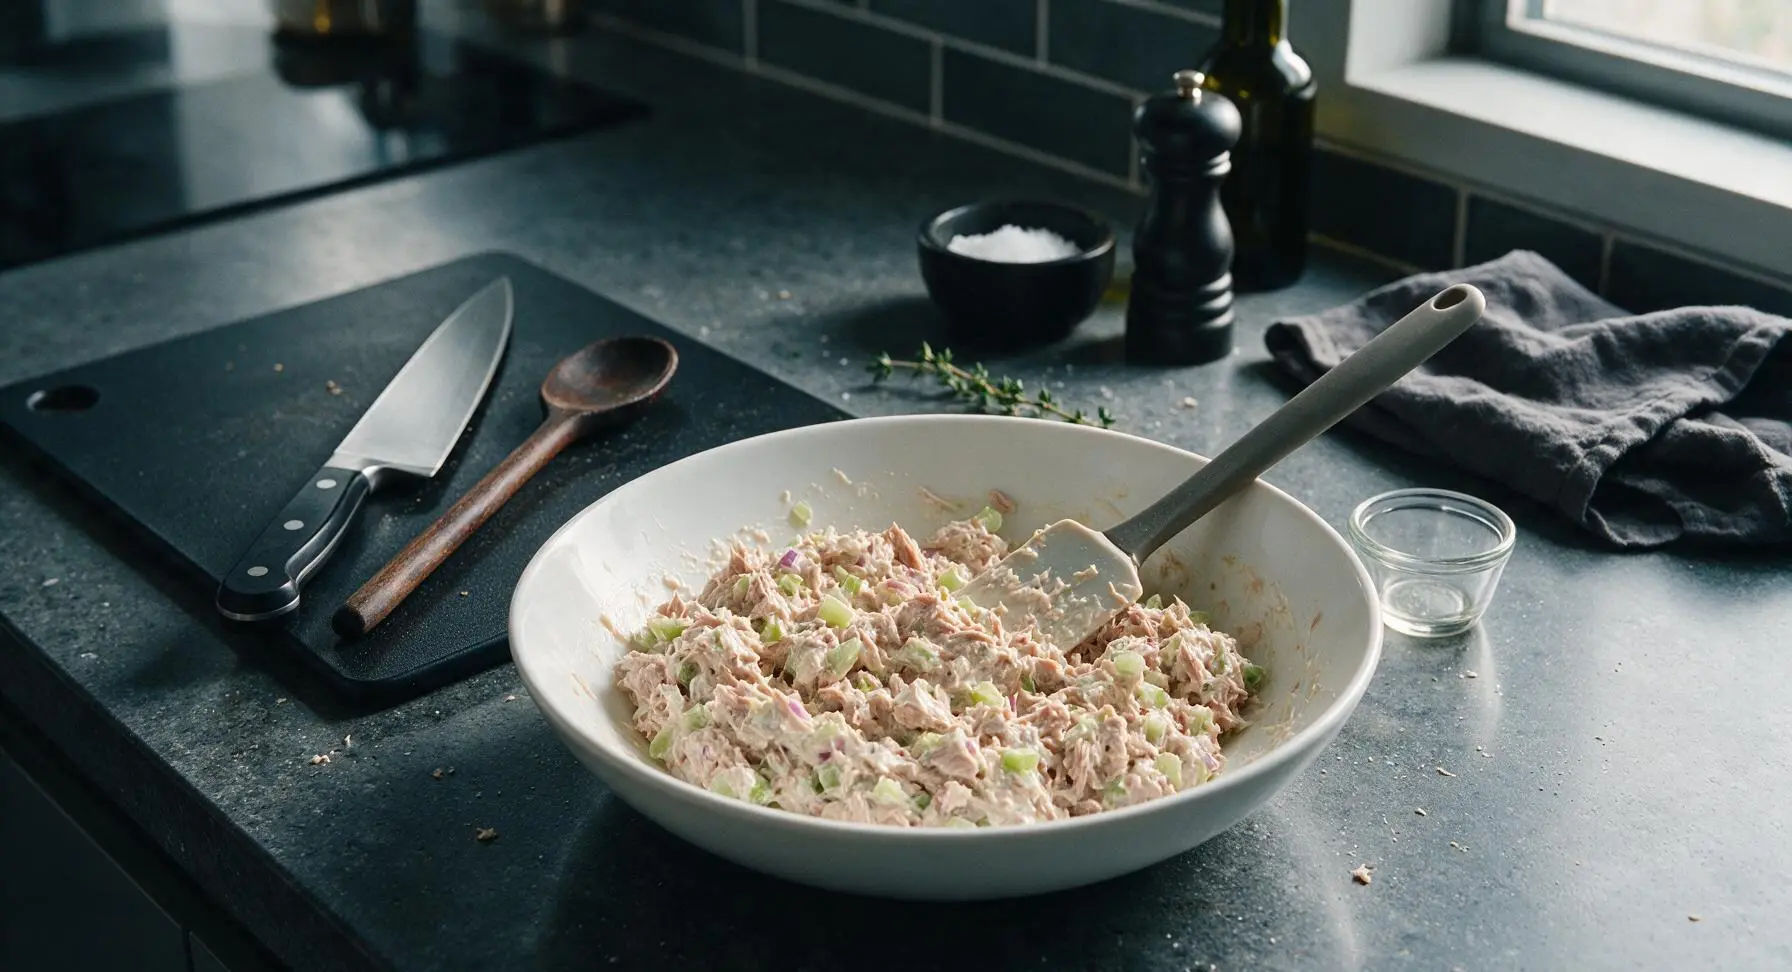
Use the silicone spatula to fold the tuna and flavor base together in slow, gentle turns, scraping the bottom and sides of the bowl to ensure every flake is evenly coated in mayo. Once the base is evenly mixed, add the diced celery and minced onion, folding just 3-4 times to distribute them evenly—overmixing will crush the celery and make the filler mushy.
Step 6
step6:Fold ingredients gently
Step 6
step6:Fold ingredients gently
7

Adjust and serve

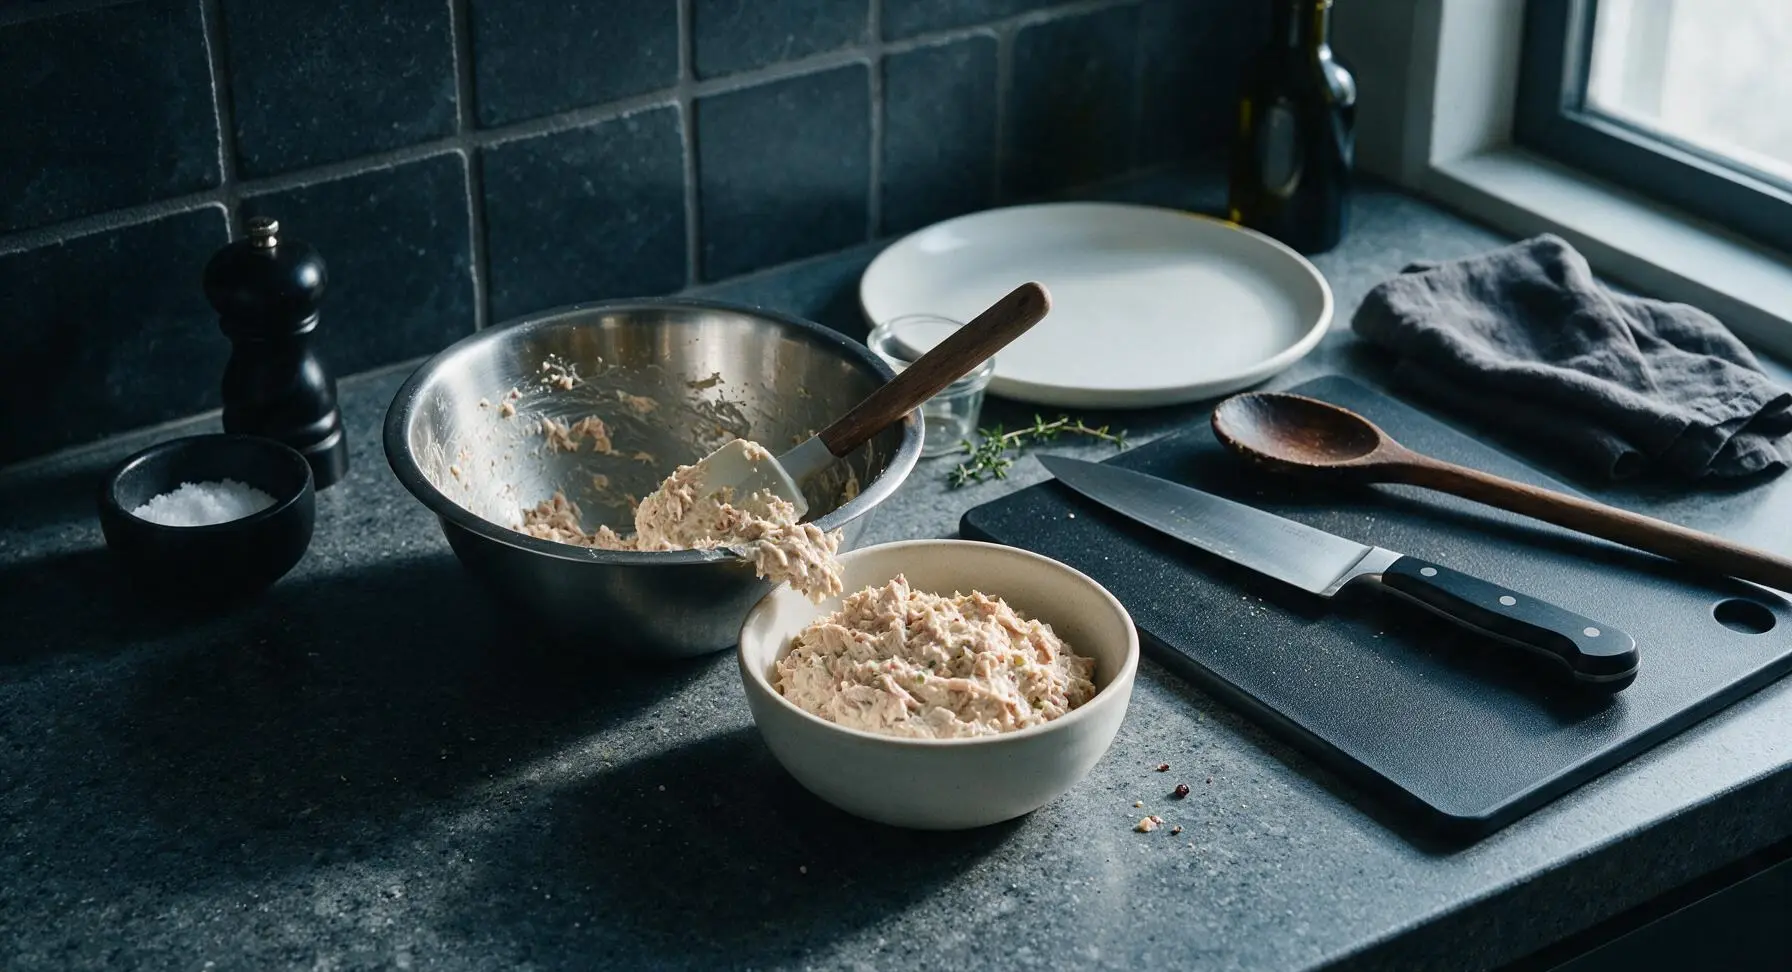
Take a small bite of the filler to check seasoning. Add an extra pinch of salt, squeeze of lemon, or crack of black pepper if needed, folding gently to incorporate. Do not overmix at this stage. Once seasoned to taste, transfer the finished filler to the matte cream white stoneware serving bowl, scraping all bits from the mixing bowl with the spatula.
Step 7
step7:Adjust and serve

Tips

1.Always drain tuna extremely well, and avoid using tuna packed in oil unless you prefer a very rich filler. Excess packing water or oil will make your sandwich filler runny, which will soggy out bread within an hour of assembly—critical if you are packing sandwiches for a picnic.
2.Use full-fat mayonnaise for the best texture and flavor. Low-fat mayo often has added starchy stabilizers and a thin, watery consistency that makes the filler taste flat, and it does not coat tuna flakes as smoothly as rich full-fat versions.
3.Fold in crisp celery and onion at the very end of mixing to preserve their crunch. If added too early and overmixed, the vegetables will release their natural water into the filler and turn soft, leading to a mushy texture instead of the ideal contrast of creamy tuna and bright, crisp bites.


✨ You May Also Like

Lunch
🍜 United States

Creamy, salty, tangy nostalgic Midwestern sandwich pairing rich peanut butter with crisp briny dill pickles for a fast, satisfying no-cook meal.

⏱️ 5 minutesLunch ★ 4.6
Lunch
🍜 United States

Crispy, melty pressed sandwich layered with savory roast pork, ham, Swiss cheese, pickles, and tangy mustard: a beloved Cuban-American comfort classic.

⏱️ 25 minuteLunch ★ 4.9
Lunch
🍜 United States

Hearty, briny New Orleans pressed sandwich stacked with cured Italian meats, provolone, and zesty olive salad, served cold for bold, portable flavor.

⏱️ 1 hour 20Lunch ★ 4.7
Lunch
🍜 United States

A tangy, creamy Southern American staple, this no-cook cheesy sandwich is packed with sharp cheddar and sweet pimentos for a satisfying, portable bite.

⏱️ 1 hour 15Lunch ★ 4.8
Lunch
🍜 United States

Crispy Cajun-spiced fried shrimp piled on crusty French bread with tangy remoulade and fresh toppings, the iconic Louisiana street food sandwich.

⏱️ 35 minuteLunch ★ 4.4
Lunch
🍜 United States

Stacked, savory deli-style corned beef sandwich with melted Swiss, tangy mustard, and crisp griddled rye— a fast, hearty, satisfying classic.

⏱️ 15 minuteLunch ★ 4.9

tuna mayo sandwich filler:Frequently Asked Questions

1.How do I prevent my tuna mayo filler from turning out watery and mushy? ▾
Start by draining your water-packed tuna extremely well—press it firmly against the can lid or a fine sieve for 30 seconds to squeeze out every last drop of excess moisture. Pat diced celery dry with a paper towel before mixing, too, and avoid over-stirring, as mashing the tuna too hard will break it down into a mushy paste.
2.What type of canned tuna works best for this classic sandwich filler? ▾
Canned light tuna packed in water, as listed in the recipe ingredients, works best—it has a mild, briny, not overly fishy flavor and light, flaky texture that pairs perfectly with creamy mayo. Albacore (white) tuna works too, but it has a firmer, steakier texture and stronger fish flavor that some find overpowering.
3.Can I use oil-packed canned tuna instead of water-packed for this recipe? ▾
You absolutely can, but it will shift the final texture and flavor. If you use oil-packed tuna, drain it extremely well—leftover oil will make the filler greasy instead of creamy—and cut back the mayonnaise by about 1 tablespoon per 5-ounce can to balance the extra richness so it doesn’t feel heavy.
4.Why do you recommend full-fat mayonnaise instead of low-fat or light versions? ▾
Full-fat mayonnaise creates that rich, cohesive, creamy texture that lets the filler hold up perfectly in sandwiches without separating. Low-fat and light mayo often have added water or stabilizers that can make the filling runny, oddly tangy, or thin, especially if it sits for a few hours at a summer picnic.
5.How fine should I chop the celery and red onion for this filler? ▾
Aim for a small, uniform ¼-inch dice for both celery and red onion. That size delivers a bright, satisfying crunch in every bite without big, overwhelming chunks that fall out of your sandwich. If you prefer milder onion flavor, you can dice it even finer or soak it in cold water for 5 minutes first to mellow the bite.
6.How long does it take to make this tuna filler from start to finish? ▾
This recipe comes together in just 10 minutes total, with no cooking required. All you need to do is drain the tuna, chop your veggies, stir together the tuna, mayo, veggies, dill, and lemon juice, and season to taste. It’s one of the fastest, most reliable quick lunches or picnic prep staples you can make.
7.Can I make this tuna filler ahead of time for a summer picnic? ▾
Yes, it’s perfect for prep-ahead picnic meals! Make it up to 24 hours in advance, store it in a tightly sealed airtight container in the fridge, and keep it chilled in an insulated cooler until you’re ready to assemble sandwiches. Follow food safety rules and don’t leave it out at room temperature for more than 2 hours.
8.I don’t have fresh dill on hand—can I use dried dill instead? ▾
You can substitute dried dill in a pinch, but use ⅓ the amount of fresh dill the recipe calls for, since dried herbs are far more concentrated. For the closest flavor match, add the dried dill 10 minutes before serving to let it rehydrate a bit, and add a tiny extra squeeze of lemon to brighten the muted dried herb flavor.
9.How much lemon juice should I add, and is bottled lemon juice an acceptable substitute? ▾
Start with 1 teaspoon of fresh lemon juice per 5-ounce can of tuna, then taste and add a little more if you want a brighter zing. Bottled lemon juice works in a pinch, but it has a sharper, preserved flavor than fresh, so cut the amount by ¼ to avoid making the filler taste overly tart or artificial.
10.What are some easy mix-ins to customize this classic tuna filler? ▾
There are tons of quick, tasty add-ins to switch up the flavor! Try a tablespoon of drained sweet pickle relish, a pinch of Old Bay seasoning, a sprinkle of chopped capers, a diced hard-boiled egg, or a dash of hot sauce for a little kick. Always drain wet add-ins well to avoid that unwanted watery texture.
11.How long will leftover tuna mayo filler stay fresh in the refrigerator? ▾
Stored in a tightly sealed airtight container, this filler will stay fresh for 3 to 4 days in the fridge kept at 40°F or below. Give it a quick stir before using, and discard any leftover that smells off, has a slimy texture, or has been left out at room temperature for more than 2 hours per food safety guidelines.
12.My raw red onion makes the filler taste too sharp and harsh—how do I fix that? ▾
Raw red onion can have an aggressive, biting flavor if it’s very fresh or not prepped correctly. To mellow it out, after dicing, soak the pieces in a bowl of ice cold water for 5 to 10 minutes, then drain and pat completely dry before mixing in. This removes the sharp bite without losing that nice crisp texture.
13.Can I use this tuna filler for dishes other than regular sliced-bread sandwiches? ▾
Absolutely! It’s incredibly versatile: stuff it into wraps or pita pockets, spoon it into lettuce wraps for a low-carb option, dollop it onto crackers or cucumber slices for quick picnic appetizers, or use it as a filling for halved cherry tomatoes or avocado boats for easy, casual party bites.
14.Should I flake the tuna super fine or leave it in bigger chunks for the best texture? ▾
Aim for a mix of small flakes and slightly larger, pea-sized chunks for the ideal mouthfeel. Flaking it too fine will make the filler feel like a smooth, boring paste, while leaving huge chunks will make it fall apart when you take a bite. Use a fork to gently break tuna apart after draining—don’t mash it aggressively.
15.Why does my homemade tuna mayo always turn out bland, and how do I fix it? ▾
Bland tuna filler usually comes from skimping on seasoning and acid. After mixing the base ingredients, taste and adjust: add a pinch of kosher salt and fresh black pepper, an extra tiny squeeze of lemon, or a light sprinkle of dill to amp up flavor. Remember, cold foods need a little extra seasoning to taste bright, not flat.
16.Can I freeze leftover tuna mayo filler to use later? ▾
I don’t recommend freezing this filler at all. The mayonnaise will separate and turn grainy and watery when it thaws, and the celery and onion will lose their crisp crunch and become mushy, leaving you with a very unappetizing texture that’s nothing like the fresh, creamy filler you started with.

Comments (9)

2 days ago

OMG this is the exact tuna mayo I grew up eating! No weird fancy add-ins, just straight up classic flavor. I made a big batch for my kids’ school lunches this week and they both came home asking for more tomorrow. SO good, way better than the sad pre-made tubs from the grocery store.

yesterday

Right?! I stopped buying pre-made tuna after I tried this recipe too, saves me so much money during the work week. I add a tiny pinch of dill sometimes but the base is perfect.

yesterday

So happy your kids are fans! This recipe is totally customizable too, so that pinch of dill sounds like a fantastic add-in for extra flavor.

1 week ago

Brought this to our neighborhood block party potluck last weekend and it was gone in 20 minutes! People kept coming up to ask for the recipe, I told them it was dead easy with zero cook time, nobody believed me. 10/10 will make again for every summer get together.

3 days ago

Game changer for my dorm meal prep! I don’t have a kitchen at all, so no cook time is literally a dream. I keep a couple cans of tuna and a jar of mayo in my mini fridge, whip this up in 2 minutes for sandwiches between classes. Only thing I added was a little black pepper, chef’s kiss.

2 days ago

Love that this works for dorm living! It’s such a versatile, no-fuss recipe that comes together super fast, perfect for busy class schedules. That extra black pepper is a great call.

5 minutes ago

Wait, has anyone tried adding a little diced celery or onion to this? I love a bit of crunch in my tuna salad but don’t want to mess up the classic vibe.

just now

I added 2 tbsp of finely diced celery last time I made it and it was incredible! Didn’t overpower the classic flavor at all, just gave it that nice little crunch you’re looking for.

just now

Diced celery or a tiny bit of finely chopped red onion are totally classic add-ins for a little texture! Just make sure to dice them super fine so they don’t fall out of your sandwich.

yesterday

Made this for a quick weeknight dinner when I didn’t feel like cooking after work, served it on toasted sourdough with a side of chips. So simple, so satisfying, no fancy ingredients needed. I’ll be keeping this in my regular rotation for busy nights.

5 days ago

Pro tip: Stir in a tablespoon of finely diced dill pickles and a tiny splash of pickle brine for the best tangy twist on this classic. Trust me, it’s life changing.

3 days ago

Just tried your pickle tip this afternoon and you are so right!!! That little tang cuts through the richness of the mayo so well, I’m never making it without pickles again.

2 weeks ago

This is my first time ever making tuna salad from scratch and it turned out perfect! I was always scared I’d mess up the mayo ratio but the measurements were so easy to follow. I even made extra to bring to my book club meetup tomorrow.

2 weeks ago

So proud of you for making it from scratch! It makes us so happy to hear even first-time cooks nail this recipe, hope your book club loves it as much as you do.

30 minutes ago

Packed this for our day hike last weekend, kept perfectly in the cooler and tasted so good after a few hours on the trail. No weird ingredients that get soggy, just solid, filling fuel for the whole family. Will definitely be making this for all our upcoming camping trips too.

2 hours ago

This is perfect for my gluten free diet! I serve it on gluten free bread or even in lettuce wraps for a light lunch, and it never disappoints. I love that it doesn’t have any hidden gluten ingredients, which is so hard to find with pre-made fillers.

30 minutes ago

So glad this works for your gluten free lifestyle! It’s so versatile, those lettuce wrap servings sound like such a fresh, light option for warmer days.



