
Turkey and Cheese Sandwich

title 1
Turkey and Cheese Sandwich
⏱️ cook time 4 minutes
🍽️ servings 2
⚡ Difficulty easy

intro

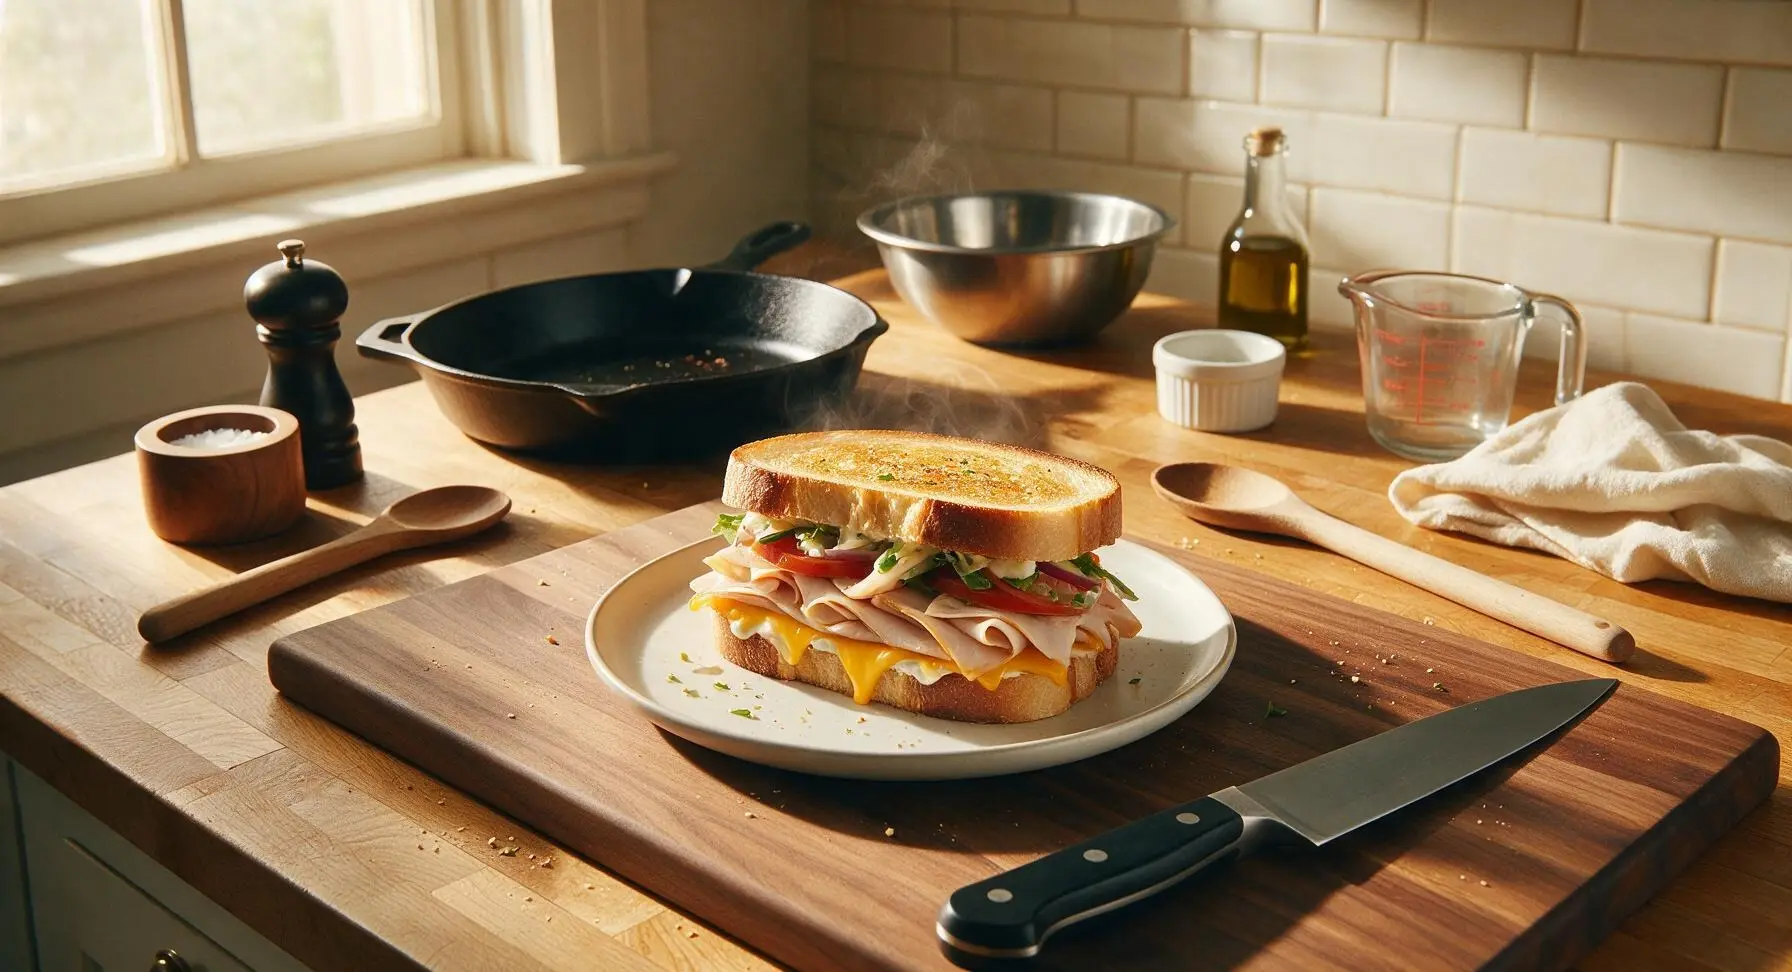
Crisp, creamy, and perfectly balanced, this classic deli-style turkey and cheese sandwich layers tender turkey, melty cheddar, and fresh fixings between toasty buttered bread for a no-fuss satisfying meal.

Ingredients
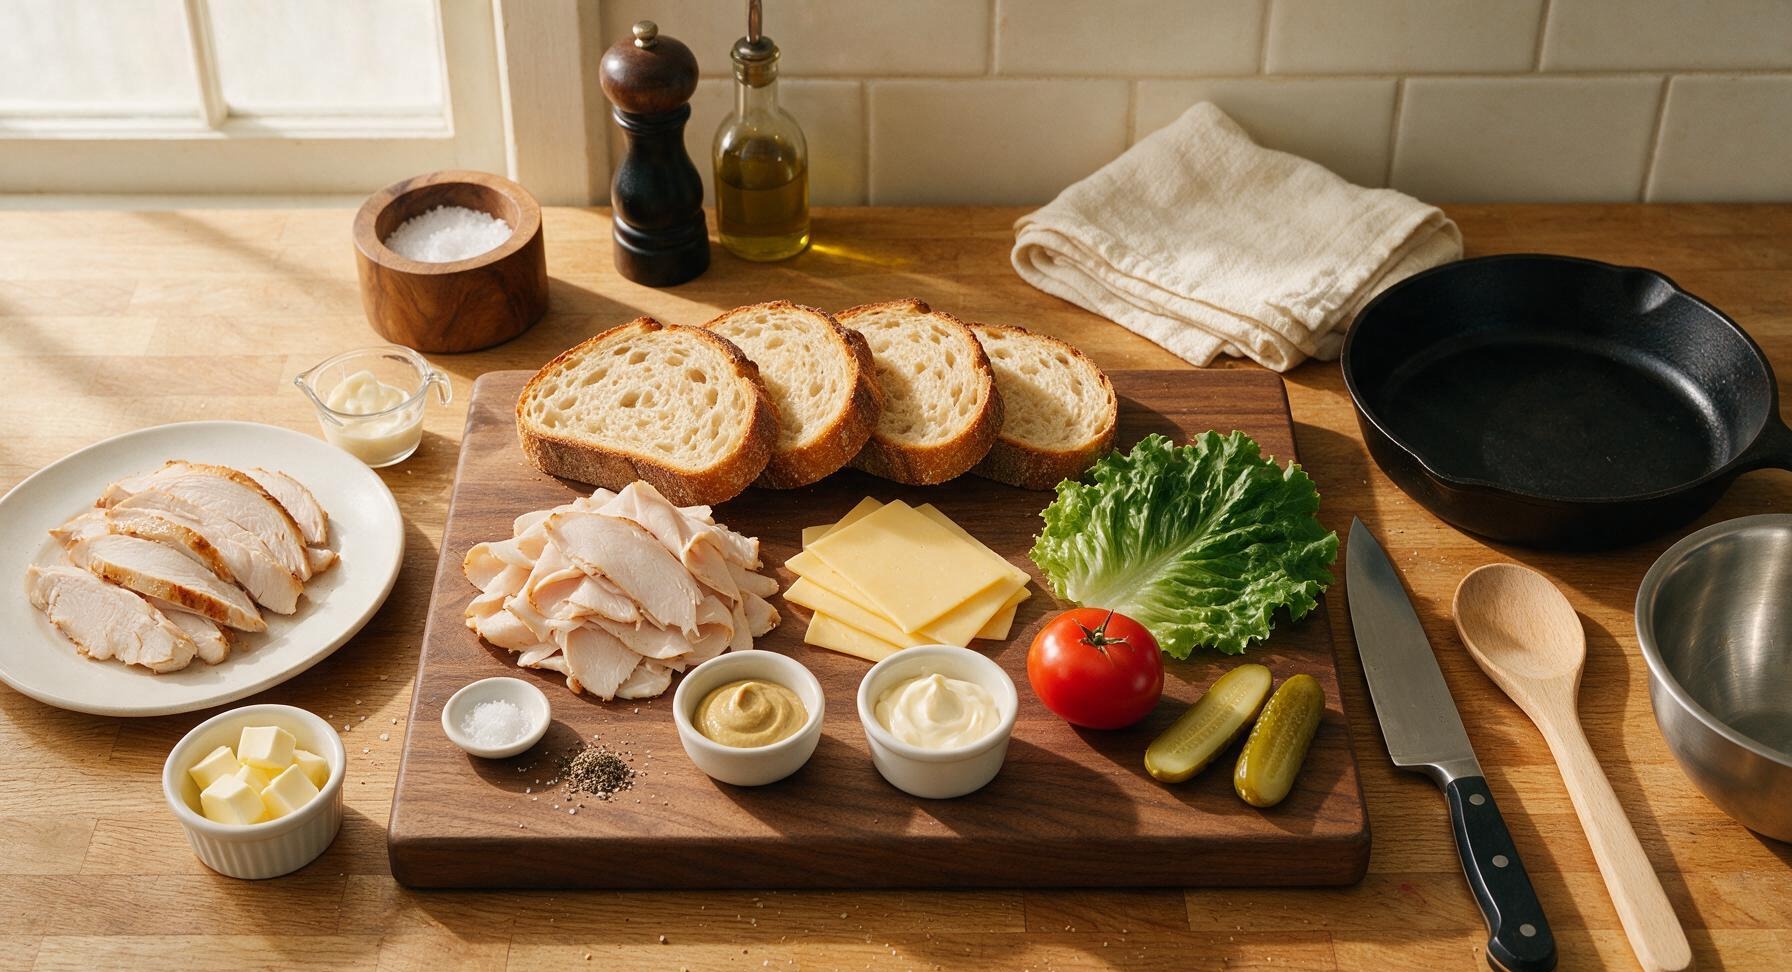
Sourdough bread 4 thick slices (1.5cm thick, ~120g total)
Thin-sliced roasted turkey breast 225g
Sharp cheddar cheese 4 thin slices (80g total)
Green leaf lettuce 2 large leaves
Roma tomato 1 small (100g)
Mayonnaise 2 tablespoons
Dijon mustard 1 tablespoon
Unsalted butter 1 tablespoon (14g)
Kosher salt 1/4 teaspoon
Freshly ground black pepper 1/8 teaspoon
Dill pickle spears 2 small

Steps

1

Prep Fresh Produce

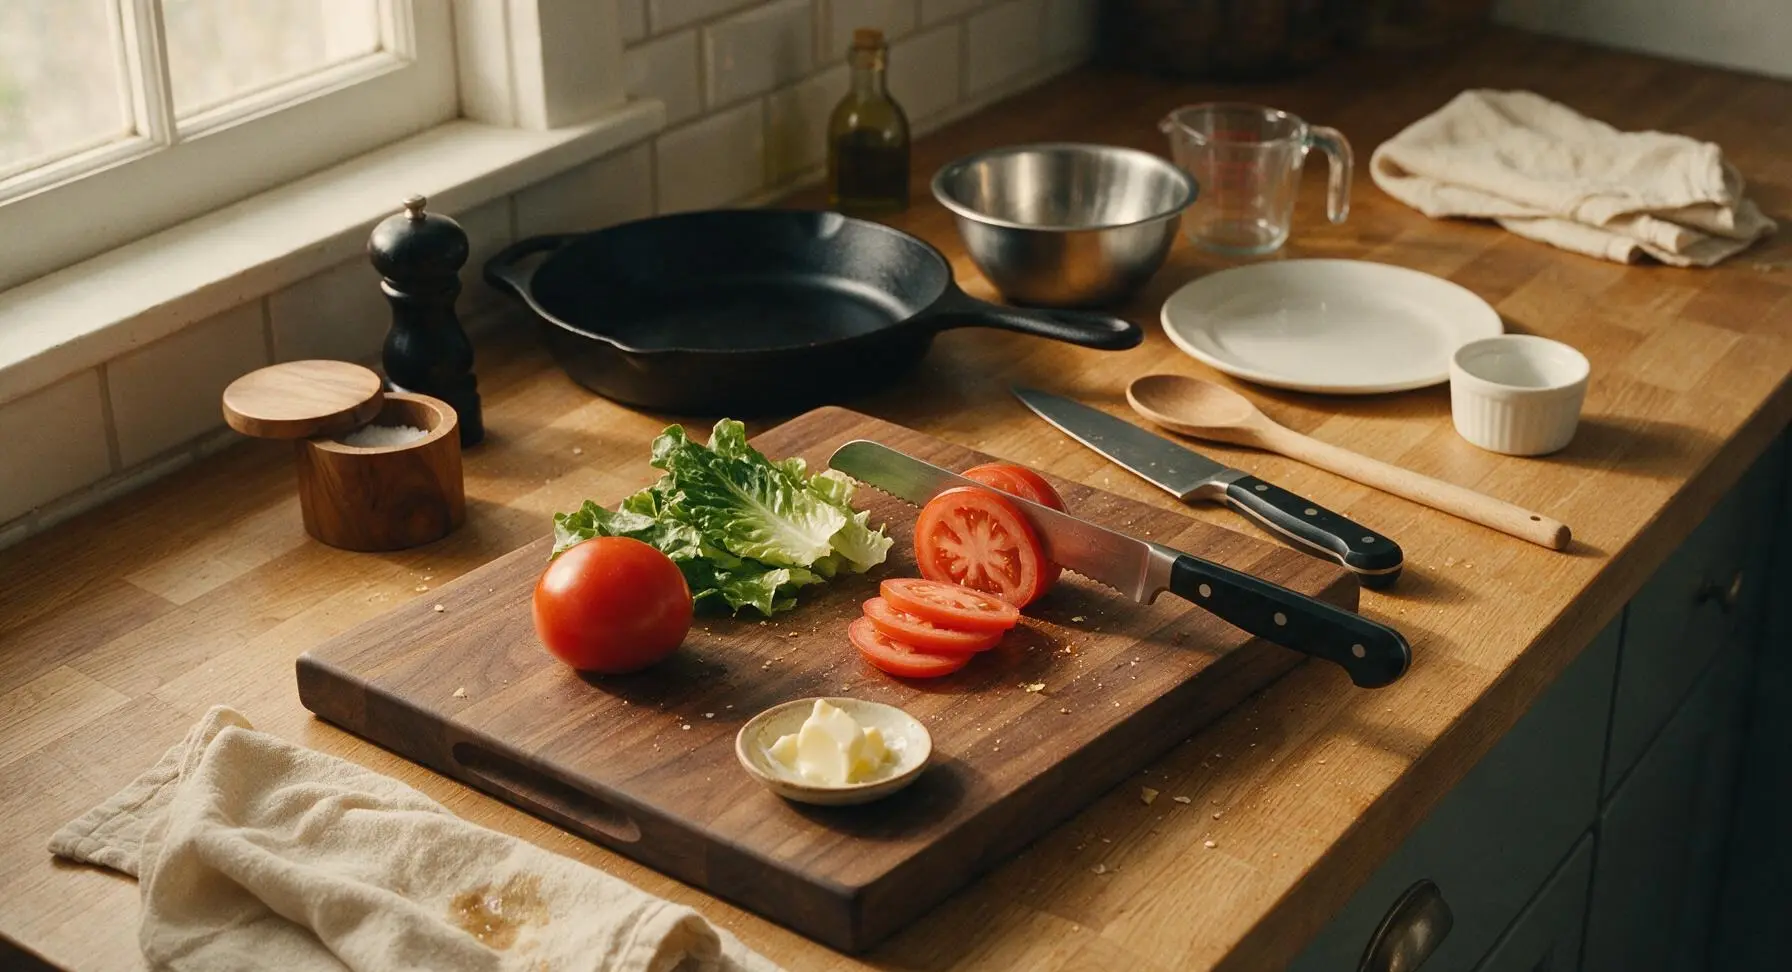
First, rinse the green leaf lettuce and roma tomato under cool running water, pat completely dry with the corner of the beige cotton kitchen towel. Place the tomato on the light maple wood cutting board, use the 8-inch serrated bread knife to cut it into 4 even 5mm-thick rounds, discarding the hard stem end. Tear the lettuce leaves into sizes that match the sourdough slices, removing any thick, tough central ribs. Set prepped produce aside on the clean edge of the cutting board.
Step 1
step1:Prep Fresh Produce
2

Spread Bread Condiments

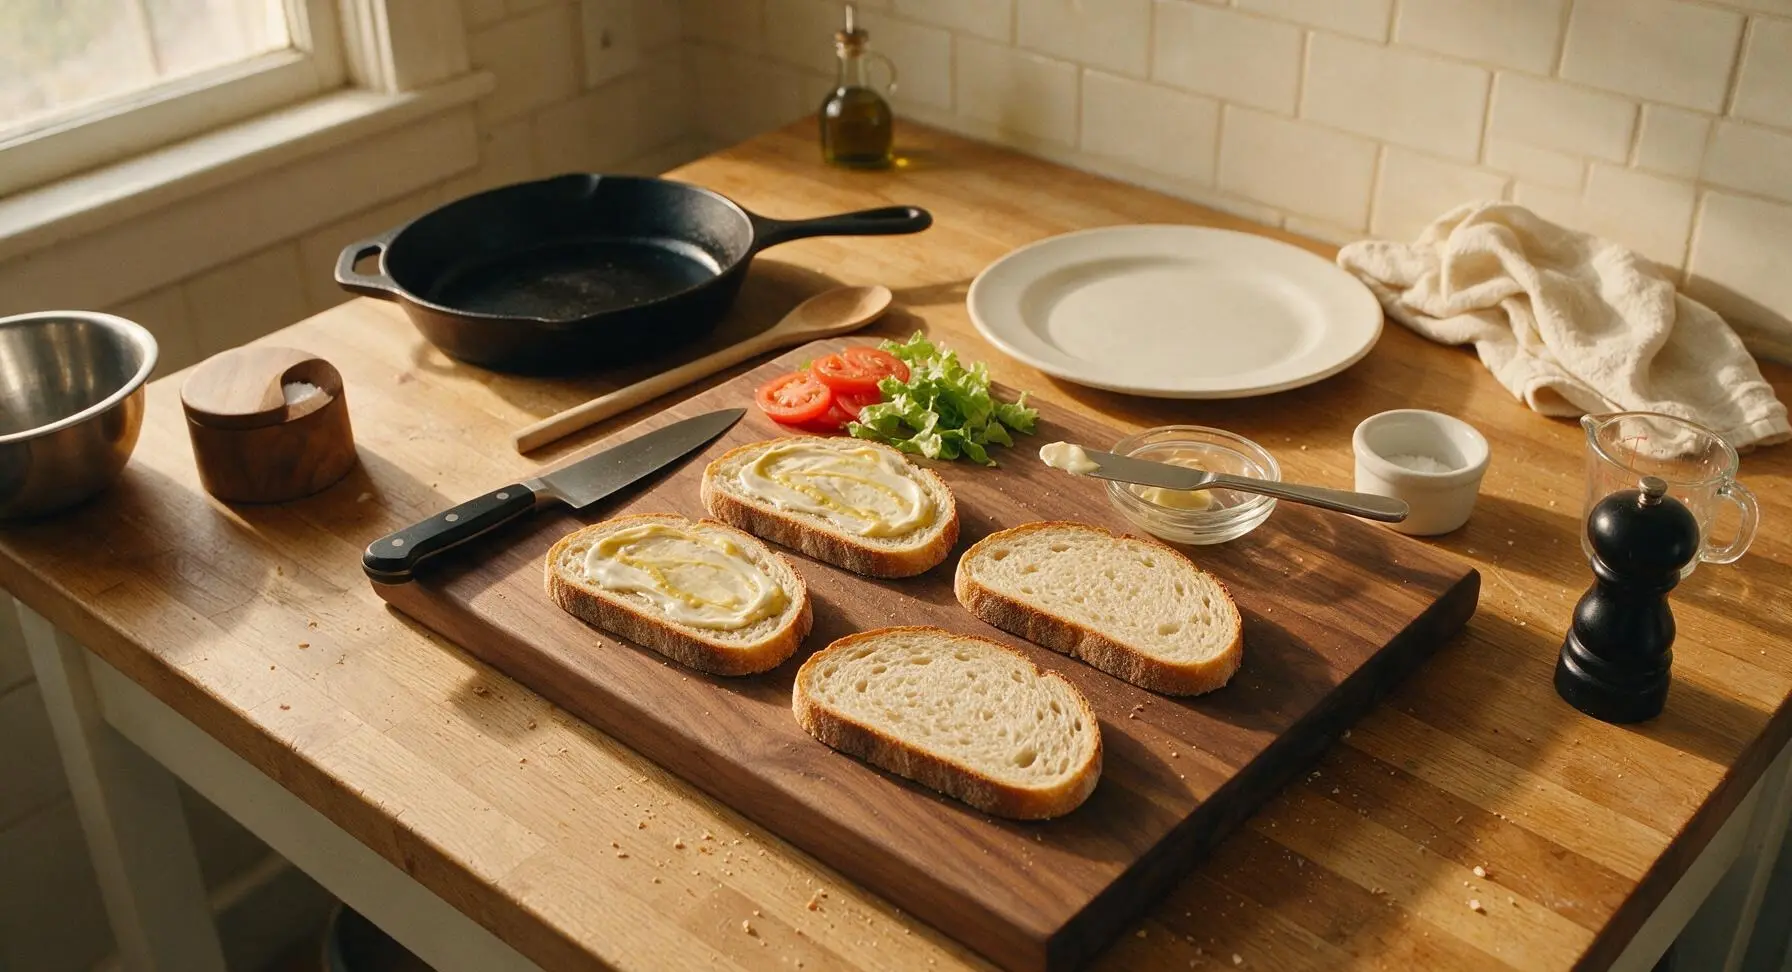
Lay all 4 slices of sourdough bread flat on the cutting board. Use the small stainless steel butter spreader to evenly coat one side of each bread slice with 1/2 tablespoon of mayonnaise (2 tablespoons total across all slices), then spread 1/2 tablespoon of Dijon mustard over the mayonnaise on two of the slices (1 tablespoon total). Sprinkle a light 1/8 teaspoon pinch of kosher salt and black pepper over the condiment-coated surfaces to add subtle depth of flavor.
Step 2
step2:Spread Bread Condiments
3

Layer Sandwich Fillings

On the two mustard-coated bread slices, stack fillings evenly in this order to prevent sogginess: 1 slice of sharp cheddar cheese (placed directly against the condiment to create a moisture barrier), half the sliced turkey (112g, loosely folded for light texture), two tomato rounds, one portion of torn lettuce, and a second slice of cheddar cheese. Top each stack with the remaining two bread slices, mayonnaise-side facing inward toward the fillings, pressing down gently to compact the sandwich slightly so fillings stay secured when lifted.
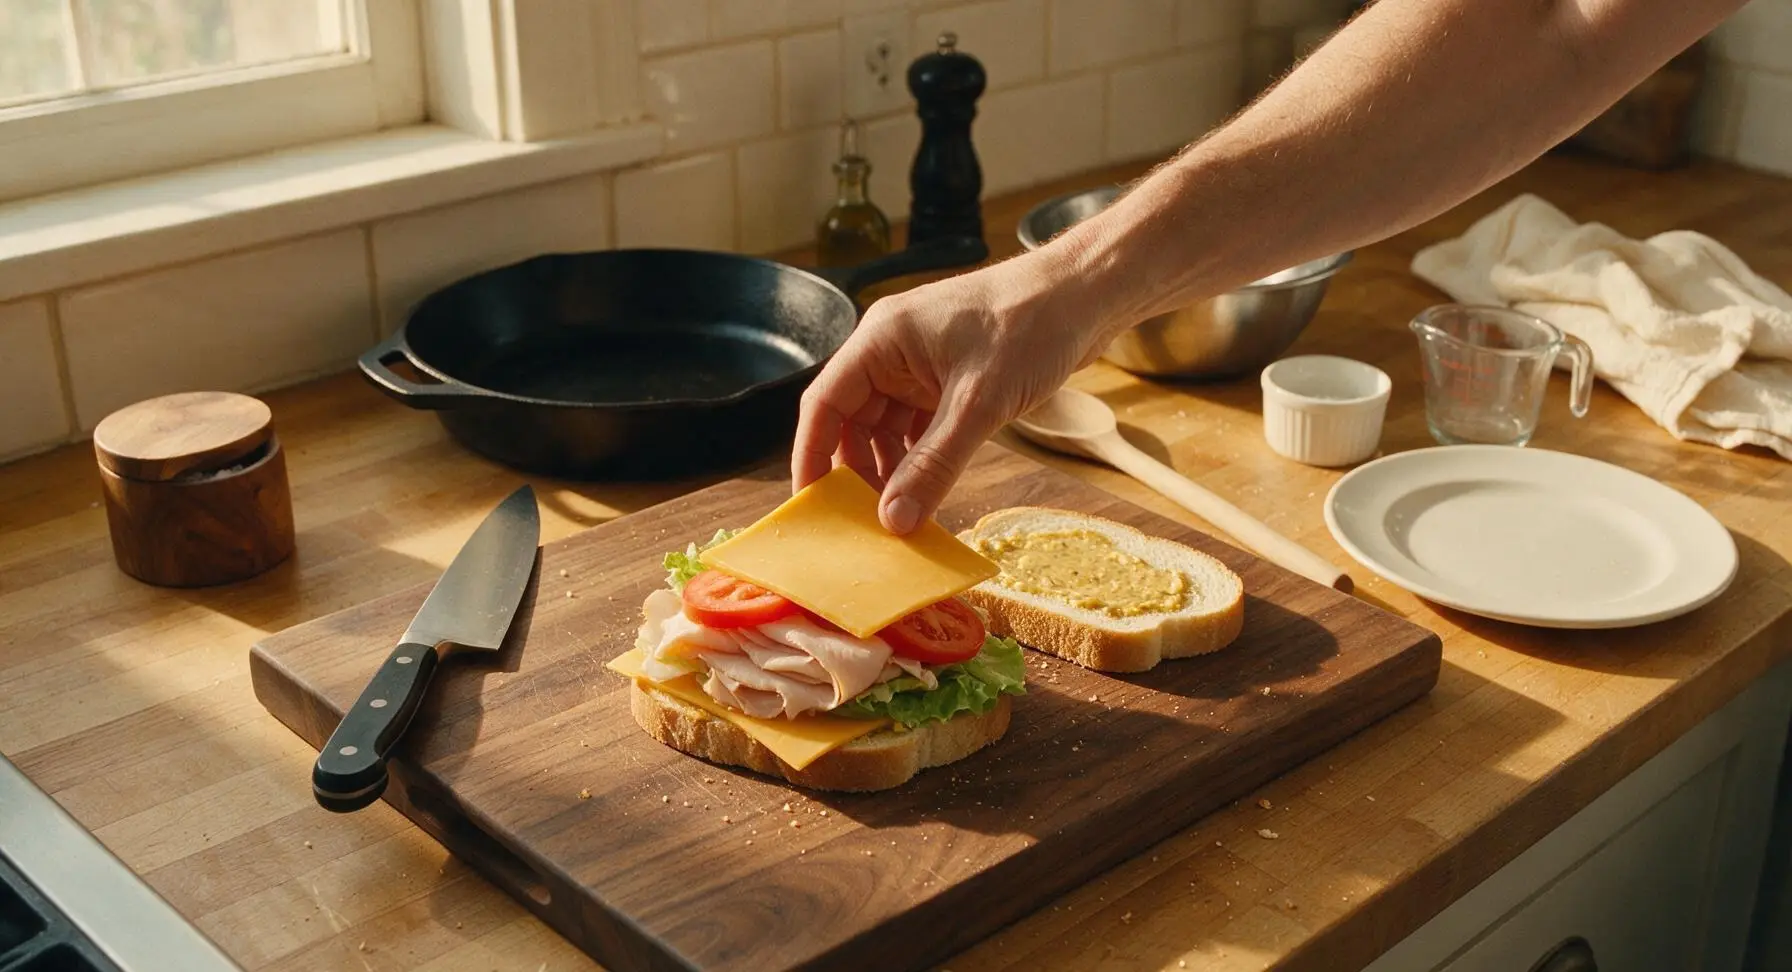
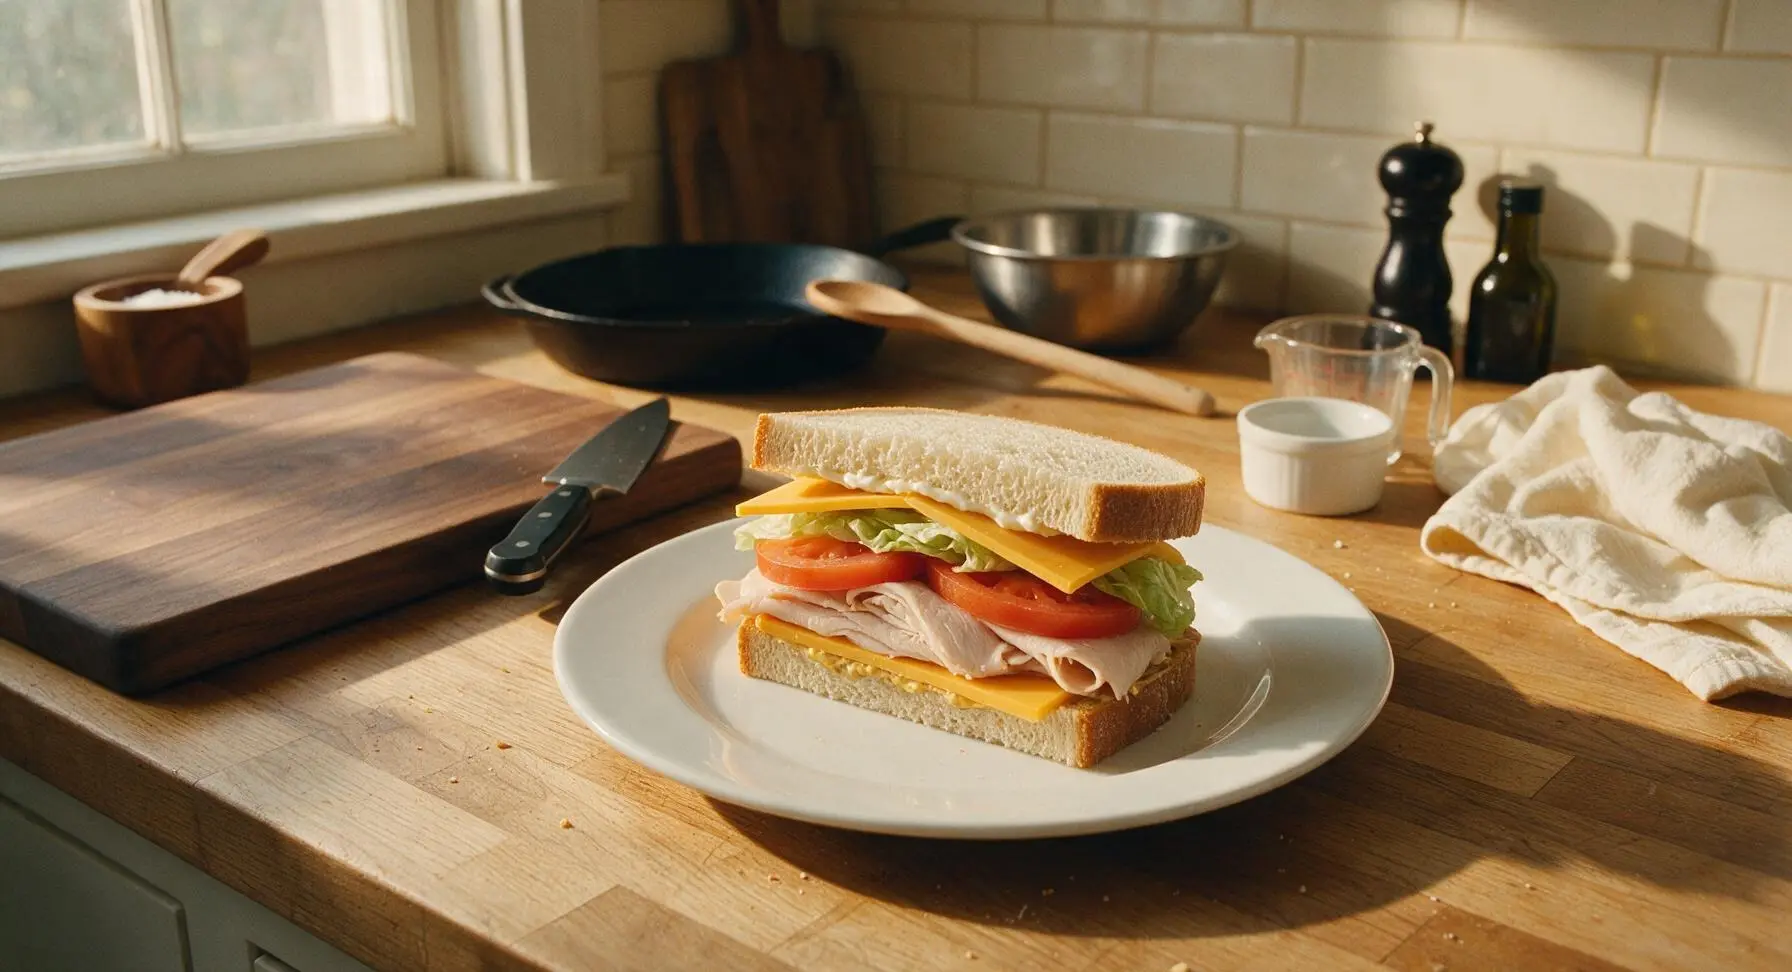
Step 3
step3:Layer Sandwich Fillings
Step 3
step3:Layer Sandwich Fillings
4

Butter Bread Exteriors

Soften the unsalted butter to room temperature for easy spreading, then use the clean butter spreader to coat the top outer surface of each assembled sandwich with a thin, even layer of butter (about 1.5 teaspoons per sandwich). This buttered exterior creates a crisp, golden, non-stick crust when toasting, rather than pale, soggy bread.
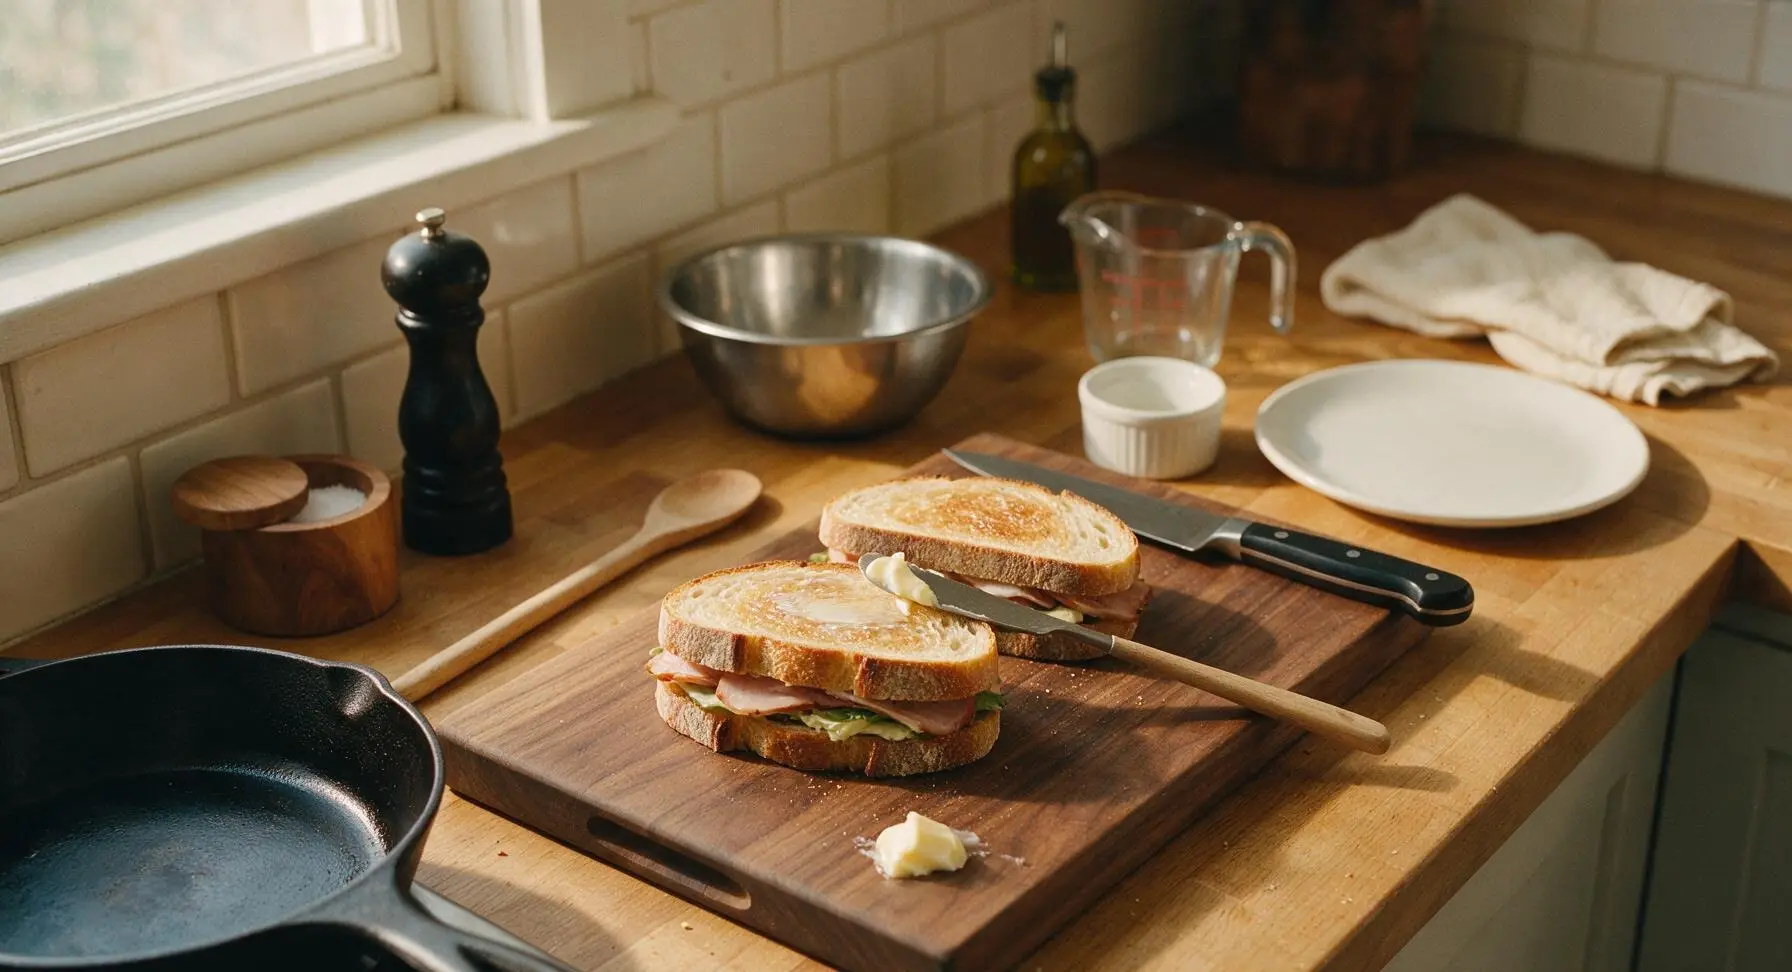
Step 4
step4:Butter Bread Exteriors
5

Toast Until Golden

Place the 10-inch matte charcoal non-stick skillet on the stovetop zone of the counter over medium-low heat (325°F / 160°C). Once the skillet is fully warm (test by sprinkling a single drop of water — it should sizzle gently and evaporate in 3 seconds, not jump violently), place both sandwiches butter-side down in the pan. Use the butter spreader to coat the now-exposed top side of each sandwich with the remaining melted butter. Cook for 2 minutes, until the bottom bread is deep golden brown and crisp to the touch.
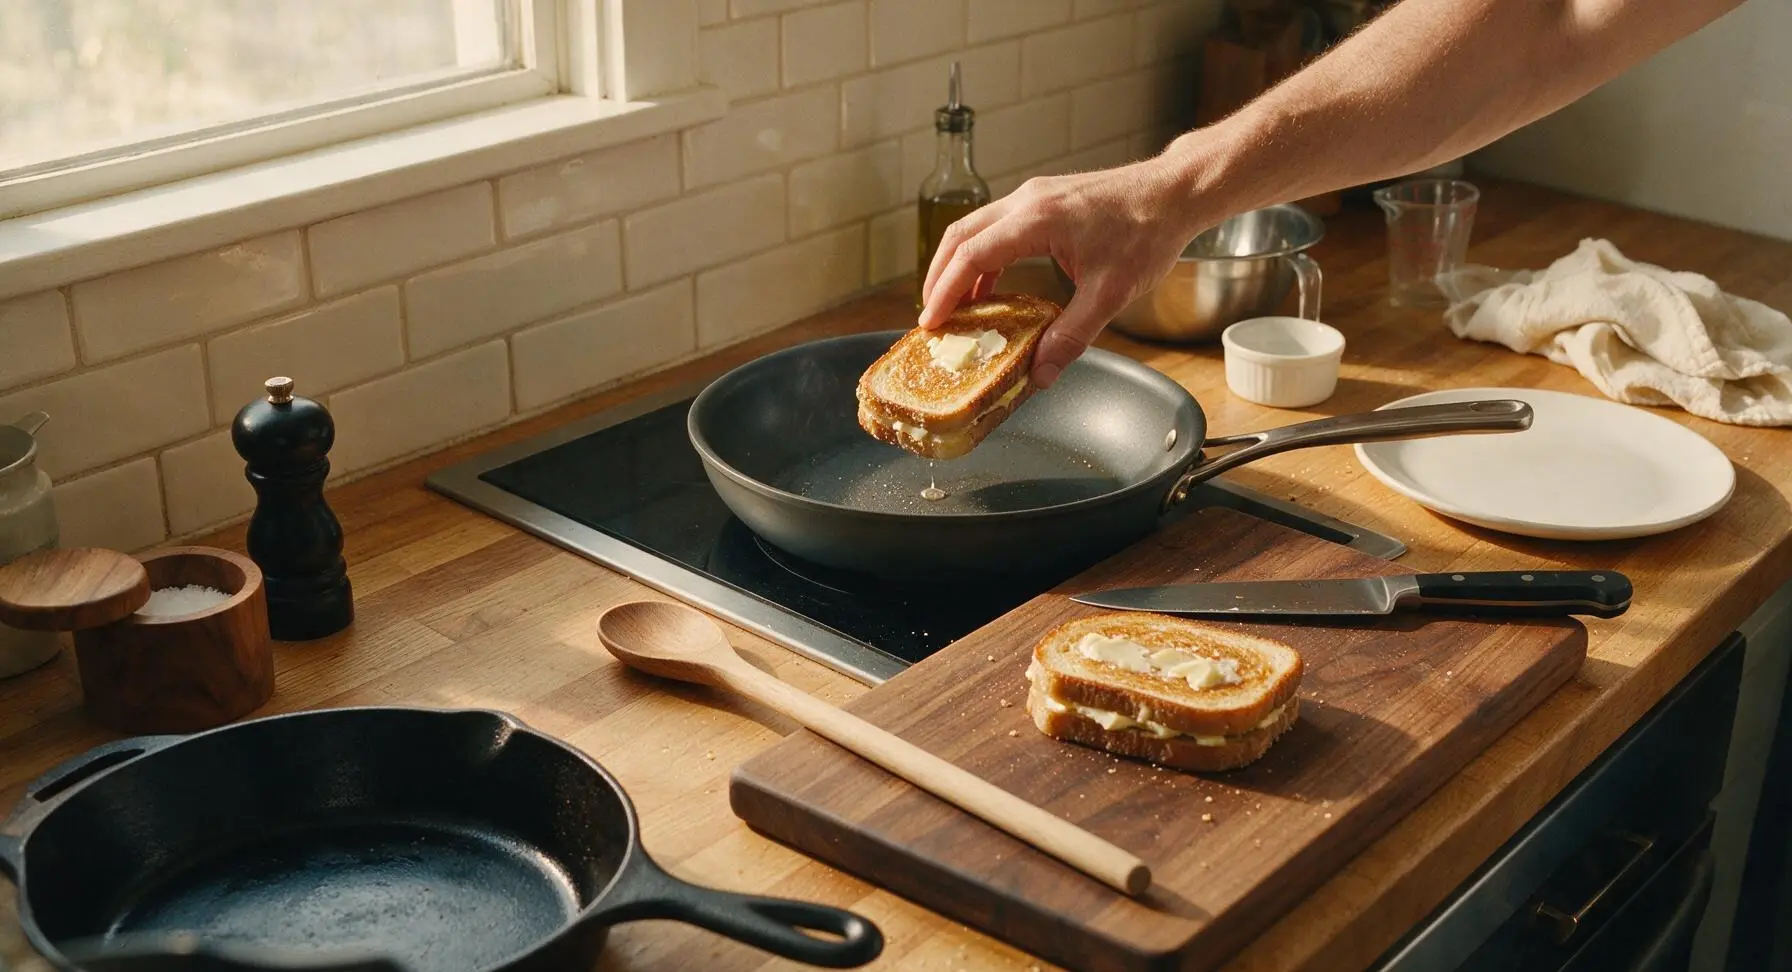
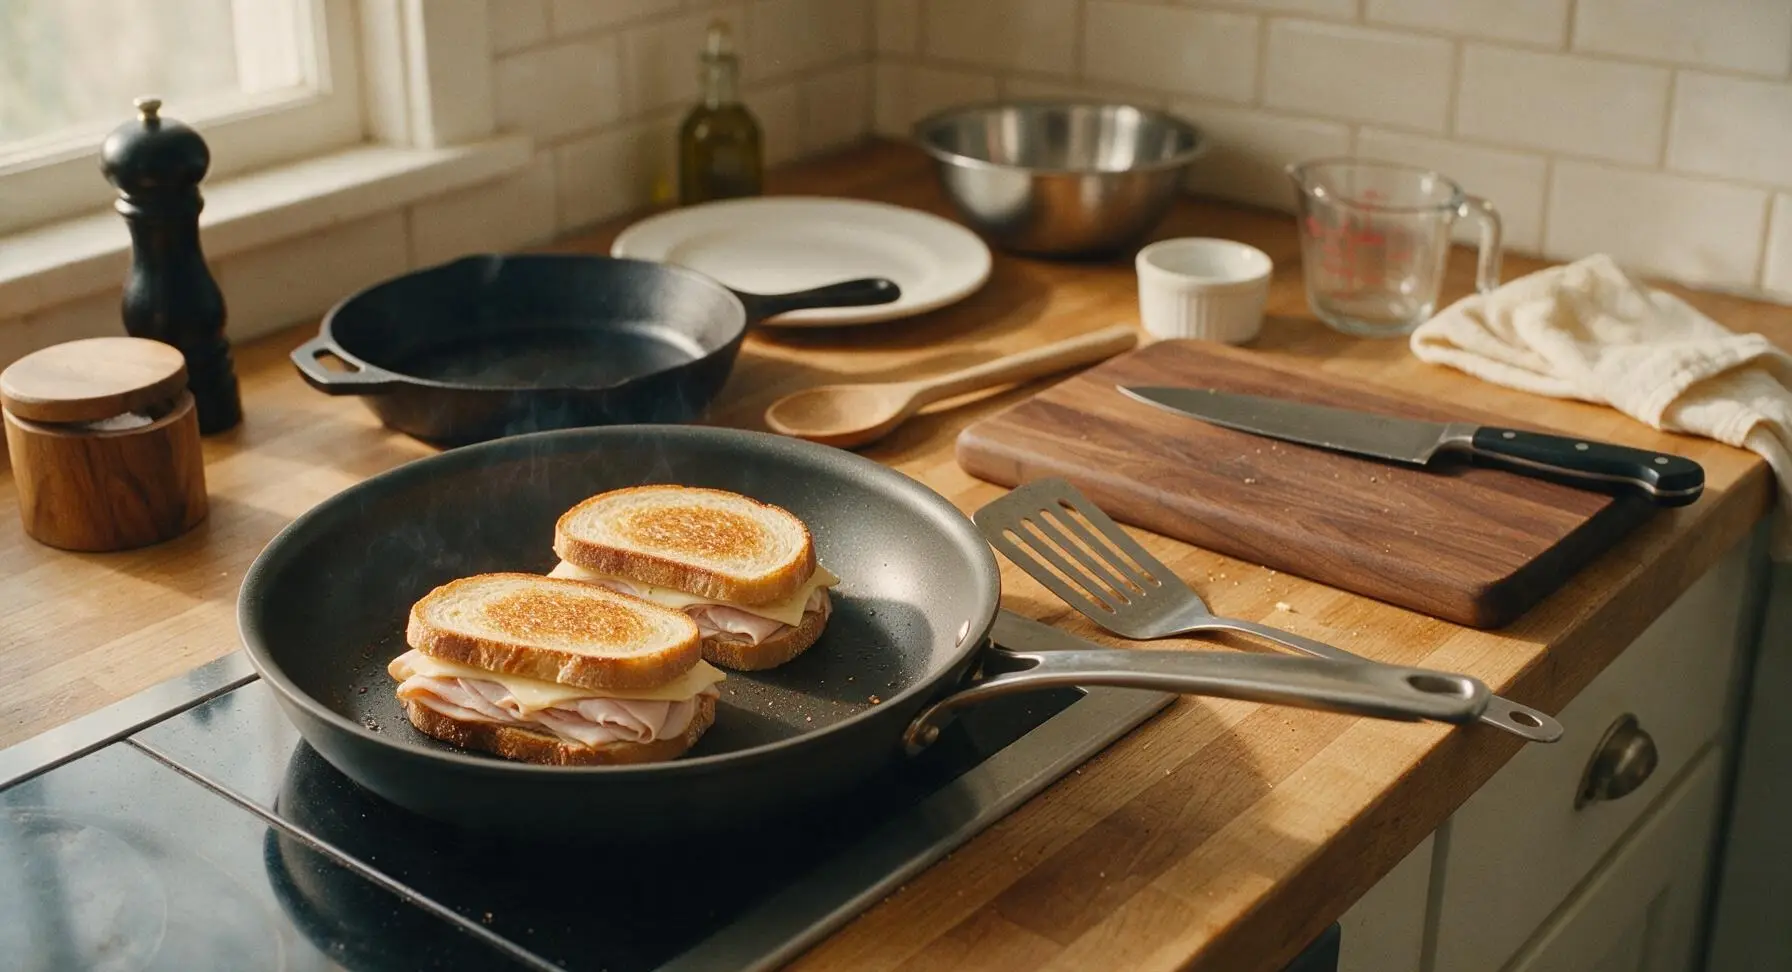
Step 5
step5:Toast Until Golden
Step 5
step5:Toast Until Golden
6

Flip to Melt Cheese

Use the slotted stainless steel spatula to carefully flip each sandwich, taking care not to let fillings slide out. Cook for an additional 2 minutes on the second side, pressing down gently with the spatula halfway through cooking to ensure even contact with the pan, until the second side is equally golden and crisp, and the cheddar cheese is fully melted and oozing slightly from the sandwich edges. Do not turn the heat up higher, as this will burn the bread before the cheese melts through.
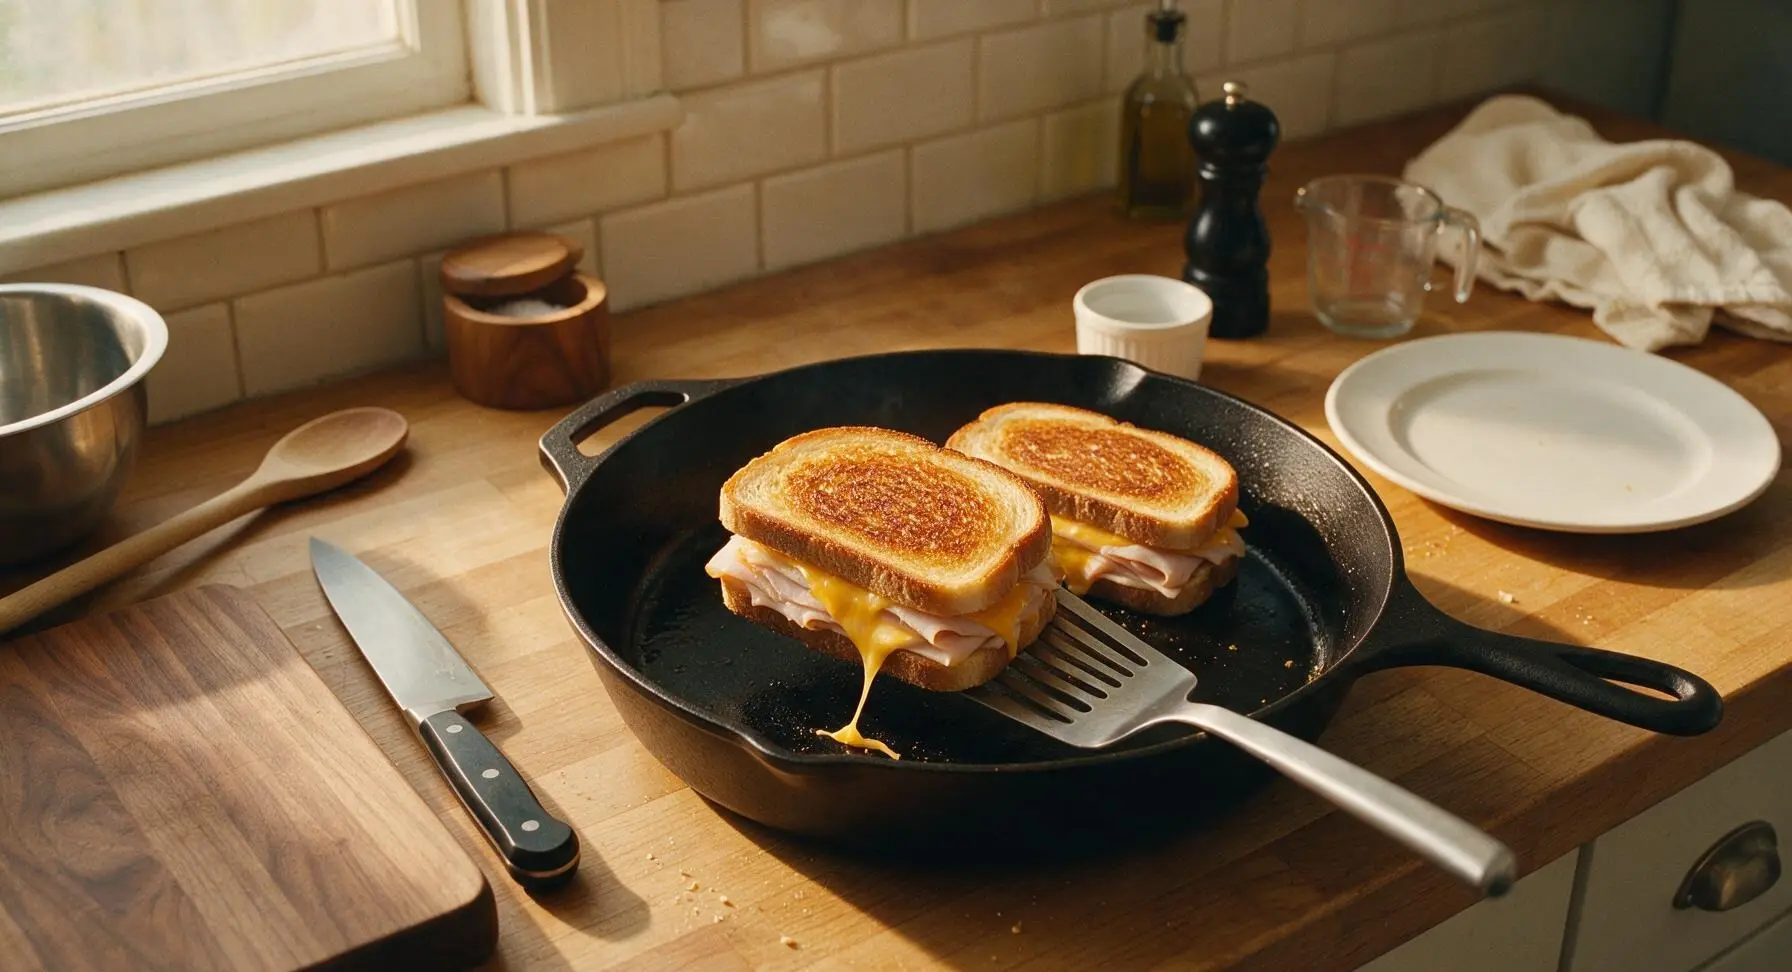
Step 6
step6:Flip to Melt Cheese
7

Rest and Slice Sandwiches

Transfer the toasted sandwiches from the skillet back to the maple cutting board. Let them rest for 1 full minute to allow the cheese to set slightly — this prevents fillings from sliding out when you cut or bite into the sandwich. Use the serrated bread knife to cut each sandwich diagonally across into two equal triangular halves, wiping the knife blade on the edge of the cotton towel between cuts for clean, smooth edges.
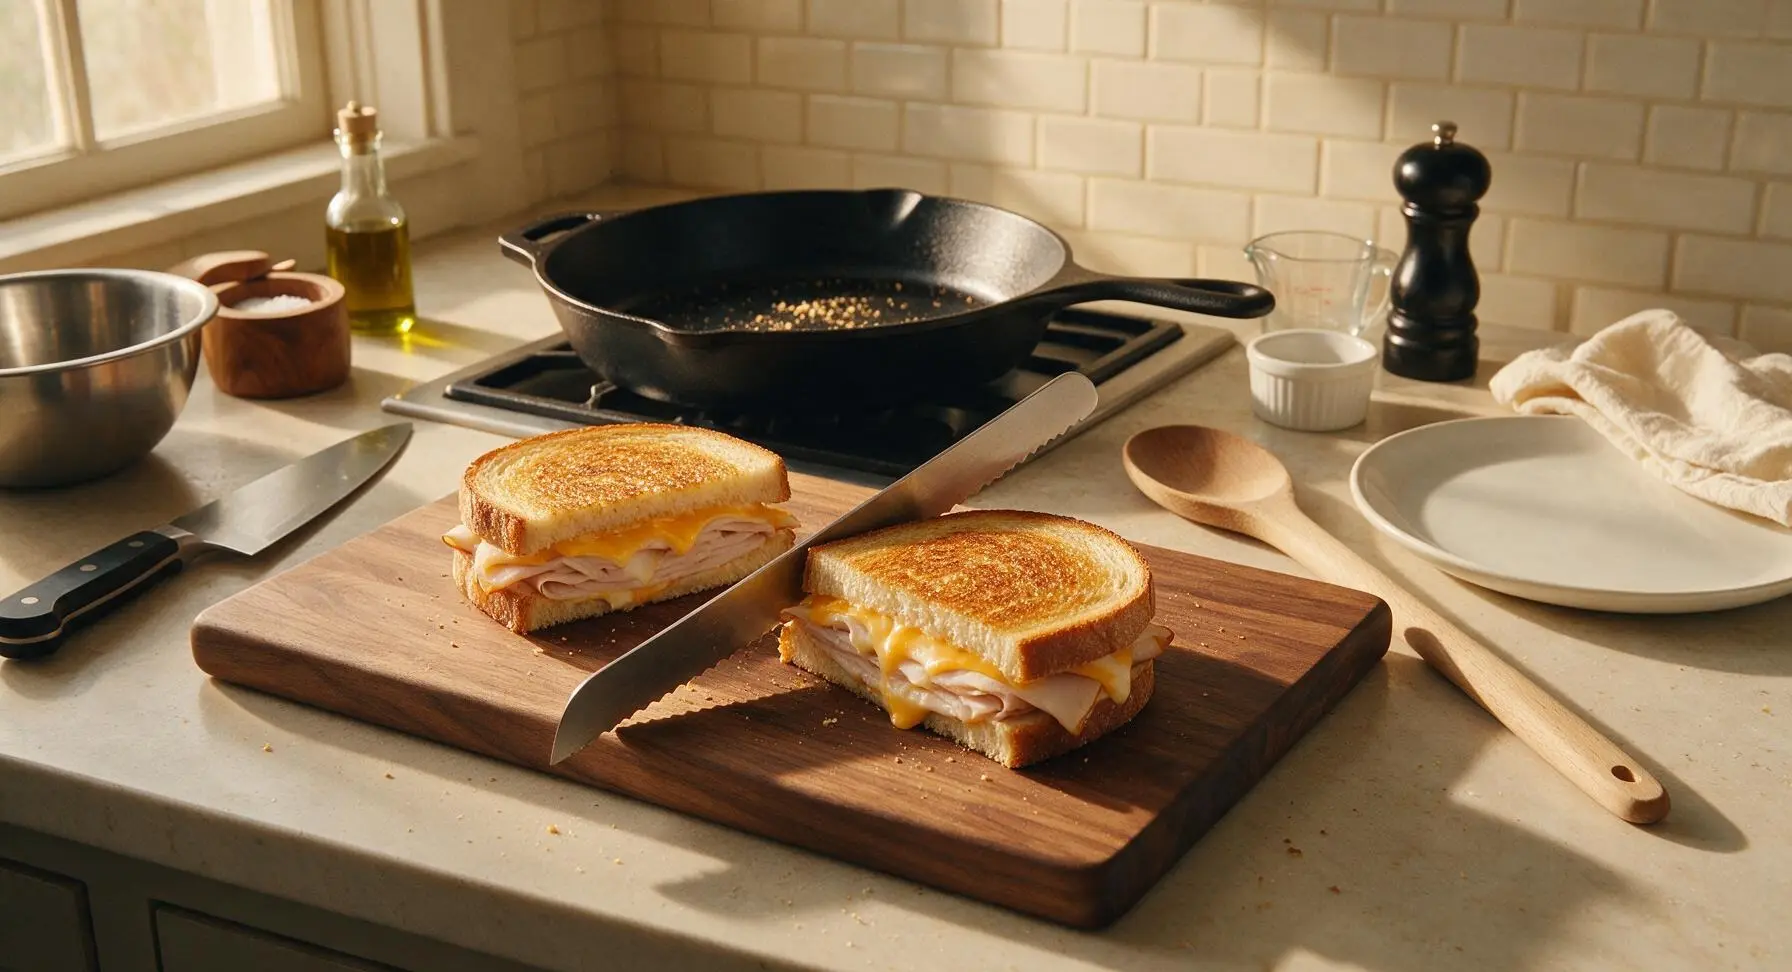
Step 7
step7:Rest and Slice Sandwiches
8

Plate and Serve

Transfer two triangular sandwich halves to each matte cream ceramic dinner plate, propping the halves against each other to show the layered cross-section. Add one small dill pickle spear to the right side of each plate, and serve immediately while the bread is crisp and the cheese is warm and melty.
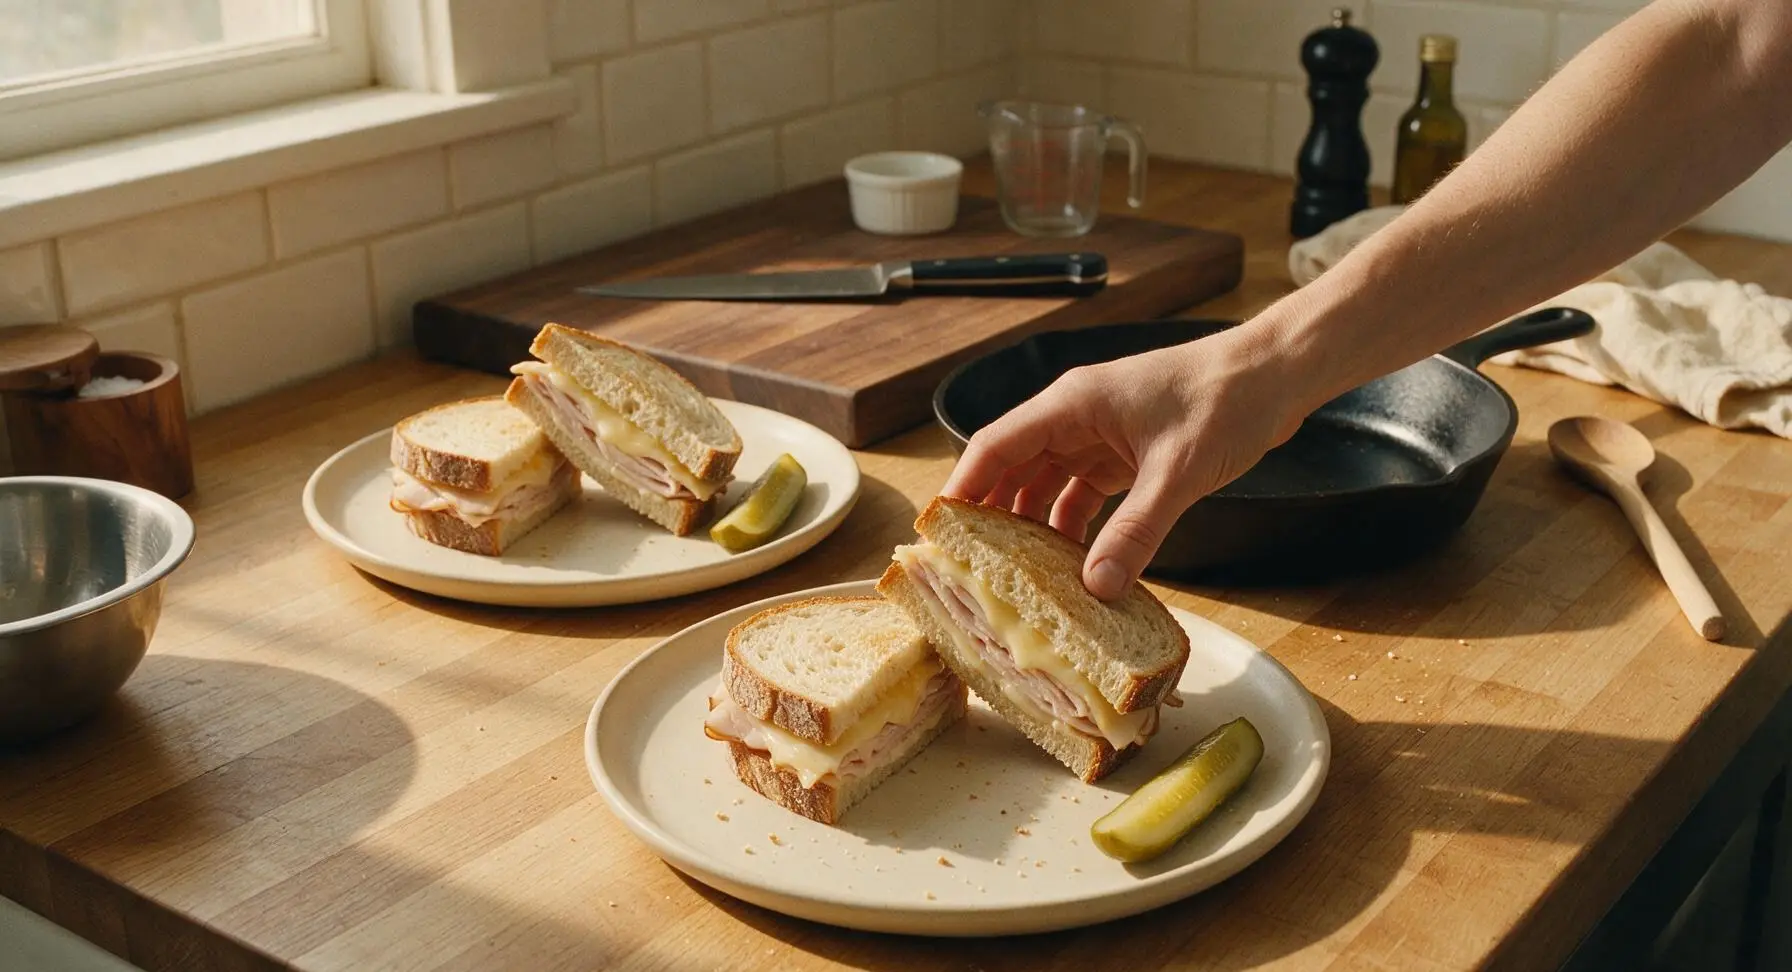
Step 8
step8:Plate and Serve

Tips

1.Always pat tomato slices and washed lettuce completely dry before adding them to the sandwich: excess moisture from wet produce will seep through the condiment layer and make the bread soggy, even after toasting, leading to a mushy texture.
2.Cook the sandwiches over medium-low heat (325°F / 160°C) rather than high heat: high temperatures will burn the buttered bread exterior in under 60 seconds before the cheese has a chance to fully melt, resulting in a bitter, charred crust and cold, unmelted fillings.
3.Let the cooked sandwiches rest for 1 full minute after removing them from the pan before slicing: this short rest lets the melted cheese firm up slightly so it does not gush out the sides when you cut the sandwich or take your first bite, keeping all fillings neatly layered.


✨ You May Also Like

Lunch
🍜 United States

Creamy, salty, tangy nostalgic Midwestern sandwich pairing rich peanut butter with crisp briny dill pickles for a fast, satisfying no-cook meal.

⏱️ 5 minutesLunch ★ 4.6
Lunch
🍜 United States

Crispy, melty pressed sandwich layered with savory roast pork, ham, Swiss cheese, pickles, and tangy mustard: a beloved Cuban-American comfort classic.

⏱️ 25 minuteLunch ★ 4.9
Lunch
🍜 United States

Hearty, briny New Orleans pressed sandwich stacked with cured Italian meats, provolone, and zesty olive salad, served cold for bold, portable flavor.

⏱️ 1 hour 20Lunch ★ 4.7
Lunch
🍜 United States

A tangy, creamy Southern American staple, this no-cook cheesy sandwich is packed with sharp cheddar and sweet pimentos for a satisfying, portable bite.

⏱️ 1 hour 15Lunch ★ 4.8
Lunch
🍜 United States

Crispy Cajun-spiced fried shrimp piled on crusty French bread with tangy remoulade and fresh toppings, the iconic Louisiana street food sandwich.

⏱️ 35 minuteLunch ★ 4.4
Lunch
🍜 United States

Stacked, savory deli-style corned beef sandwich with melted Swiss, tangy mustard, and crisp griddled rye— a fast, hearty, satisfying classic.

⏱️ 15 minuteLunch ★ 4.9

Turkey and Cheese Sandwich:Frequently Asked Questions

1.How do I keep my sandwich from getting soggy, especially if I pack it for work or school lunch? ▾
The easiest fix is building moisture barriers between wet ingredients and bread. Toast your sourdough lightly, spread a thin layer of butter or mayo on both inner slice surfaces, and tuck tomato slices between green leaf lettuce and turkey instead of placing them directly against bread. Pat tomato slices dry with a paper towel first to cut down on excess juice, too.
2.Can I substitute a different cheese if I don’t have sharp cheddar on hand? ▾
Absolutely! Sharp cheddar brings a nice tang that pairs perfectly with roasted turkey, but Swiss, provolone, pepper jack, or even smoked gouda all work beautifully. Pick a cheese that melts well if you’re making the warm, toasty version, or stick to firmer, sliceable cheeses if you prefer a cold, packable sandwich.
3.Do I have to toast the bread for this sandwich to taste authentically deli-style? ▾
Toasting is optional, but it adds that classic deli crunch and helps prevent sogginess, so I highly recommend it. If you prefer a cold sandwich, use day-old crusty sourdough instead of ultra-fresh soft bread, or give slices a light toast just until barely crisp for a nice middle ground between warm and cold.
4.How do I get perfectly melty cheese if I don’t own a panini press? ▾
You don’t need fancy equipment! After assembling half the sandwich (bread, turkey, cheese), pop it open-faced on a baking sheet under the broiler for 30 to 45 seconds, just until the cheese bubbles and melts. Top with cold fixings and the second buttered, toasted bread slice for ideal melty texture every time.
5.Can I use leftover holiday roasted turkey instead of thin-sliced deli roasted turkey breast? ▾
Definitely! Leftover roasted turkey works wonderfully here—just slice it as thinly as possible against the grain to keep the texture tender, instead of leaving thick, chewy chunks. If your leftover turkey is a little dry, toss it with a tiny splash of chicken broth or thin mayo spread before layering to bring back moistness.
6.What condiments pair best with this sandwich, beyond the basic butter? ▾
You can’t go wrong with classic deli spreads! Spicy brown mustard, creamy mayonnaise, a thin layer of cranberry sauce for a sweet-tangy kick, or a light smear of mashed avocado all complement turkey and cheddar perfectly. Stick to 1 to 2 condiments max so you don’t overpower the simple, balanced core flavors.
7.How far in advance can I assemble this sandwich for meal prep or a party? ▾
For the best texture, assemble cold versions no more than 4 hours ahead, stored tightly wrapped in parchment paper in the fridge. If you’re making the warm, melty version, prep all fillings ahead (slice veggies, portion turkey and cheese) but toast bread and melt cheese right before serving to avoid limp, soggy bread.
8.What sides pair best with this sandwich for a full, satisfying meal? ▾
Stick to classic deli pairings! Crispy dill pickle spears, salt and vinegar potato chips, a small side of coleslaw, creamy tomato soup, or a simple green salad all work beautifully. For a lighter option, pair it with crisp apple slices or fresh grapes, which complement the tangy cheddar perfectly.
9.My Roma tomato slices still make the bread mushy even when I pat them dry—what am I missing? ▾
Make sure you’re seeding your Roma tomatoes before slicing! The juicy, seedy core is the main source of excess moisture, so scoop that out with a spoon before cutting ¼-inch thick slices, then pat them firmly with paper towels. Always tuck tomato slices between lettuce and turkey, never directly against bread, for an extra moisture barrier.
10.Can I make this sandwich gluten-free without losing that classic deli texture? ▾
Absolutely! Swap regular sourdough for a sturdy, crusty gluten-free sourdough or rustic gluten-free sandwich loaf, and toast it a minute or two longer than regular bread to give it extra structure to hold fillings. Double check that your deli turkey and cheese don’t have hidden wheat-based fillers, which are common in some processed deli meats.
11.Should I use salted or unsalted butter when toasting the bread? ▾
I prefer salted butter for toasting, because it adds a subtle, rich salty note that amplifies the savoriness of the turkey and tang of the cheddar without needing extra added salt. If you only have unsalted butter, sprinkle a tiny pinch of flaky sea salt on the buttered side before toasting to get that same balanced, deli-style flavor.

Comments (7)

2 hours ago

OMG this is the exact classic deli sandwich I’ve been trying to nail for months! I used sourdough, a little mayo and yellow mustard, Boar’s Head smoked turkey, and sharp cheddar just like the recipe suggested, and it tasted exactly like the corner deli I went to growing up in Brooklyn. My kids devoured theirs after school and asked for seconds! Total game changer for quick weeknight lunches.

30 minutes ago

Wait did you toast the bread at all? I always wonder if toasting makes it better or if it’s supposed to be cold soft bread like the old-school delis serve!

5 minutes ago

Great question! Traditional deli versions are served on soft, untoasted rye or sourdough, but a light toast works wonderfully if you prefer a little crunch — both ways are totally delicious! So glad your family loved the recipe, MamaBear2024!

2 days ago

Super easy to throw together for weekly meal prep! I made 5 of these on Sunday, wrapped them tight in parchment, and they held up perfectly all week for work lunches. I added a little sliced tomato and shredded lettuce to mine for extra crunch, didn’t get soggy at all. 4 minute cook time is no joke, this took zero effort. SO good.

yesterday

So smart to prep these ahead for the week! Pro tip: if you’re adding tomato or lettuce, layer them between the turkey and cheese instead of directly against the bread to cut down on sogginess even more — glad you enjoyed the recipe!

1 week ago

Brought a platter of these to our neighborhood potluck last weekend and they were gone in 10 minutes flat! I used a mix of swiss and provolone, added a thin spread of horseradish sauce for a little kick, and everyone was asking for the recipe. Perfect easy, crowd-pleasing pick for any get together.

3 days ago

I swapped the regular white bread for gluten free sourdough and this still turned out amazing! I was worried it wouldn’t have that classic deli vibe but the ratio of turkey to cheese to condiments is spot on. Even my non-gluten free husband said it was one of the best sandwiches he’s had all month.

2 days ago

What brand of GF sourdough do you use? I’ve tried so many that fall apart halfway through eating a sandwich, even when I’m not taking it on a trail!

yesterday

I use the Canyon Bakehouse sourdough! It’s sturdy enough that it doesn’t get mushy even with mayo and mustard, totally worth trying if you can find it at your grocery store.

5 days ago

As someone who barely knows how to boil water, this was so easy to make in my dorm room between classes! I used pre-sliced turkey and american cheese from the campus market, a little packet of mayo from the dining hall, and it tasted way better than the sad sandwich they sell at the campus cafe. Saved me so much money this week already.

3 days ago

Pro tip: keep a loaf of bread and a pack of turkey/cheese in your mini fridge and you’ll never pay $12 for a campus sandwich again. Total game changer for real!

yesterday

Loved the base recipe! I added a couple slices of pepper jack and a drizzle of hot honey and it was chef’s kiss. Quick, simple, easy to customize to whatever you have in the fridge. Wish I hadn’t been overcomplicating my lunch sandwiches for so long!

2 hours ago

Love that customization! Hot honey and pepper jack is such a tasty twist on the classic, I’ll have to try that combo myself next time I make these. Thanks for sharing the idea!

2 weeks ago

Threw this together before a day hike last Saturday and it was the perfect trail lunch! Didn’t get squished in my pack, kept me full for 3 hours of hiking, and tasted way better than the chalky energy bars I usually force down on the trail. Will absolutely be making this for all my upcoming outdoor trips this summer.



