
Turkey and Swiss Sandwich
intro
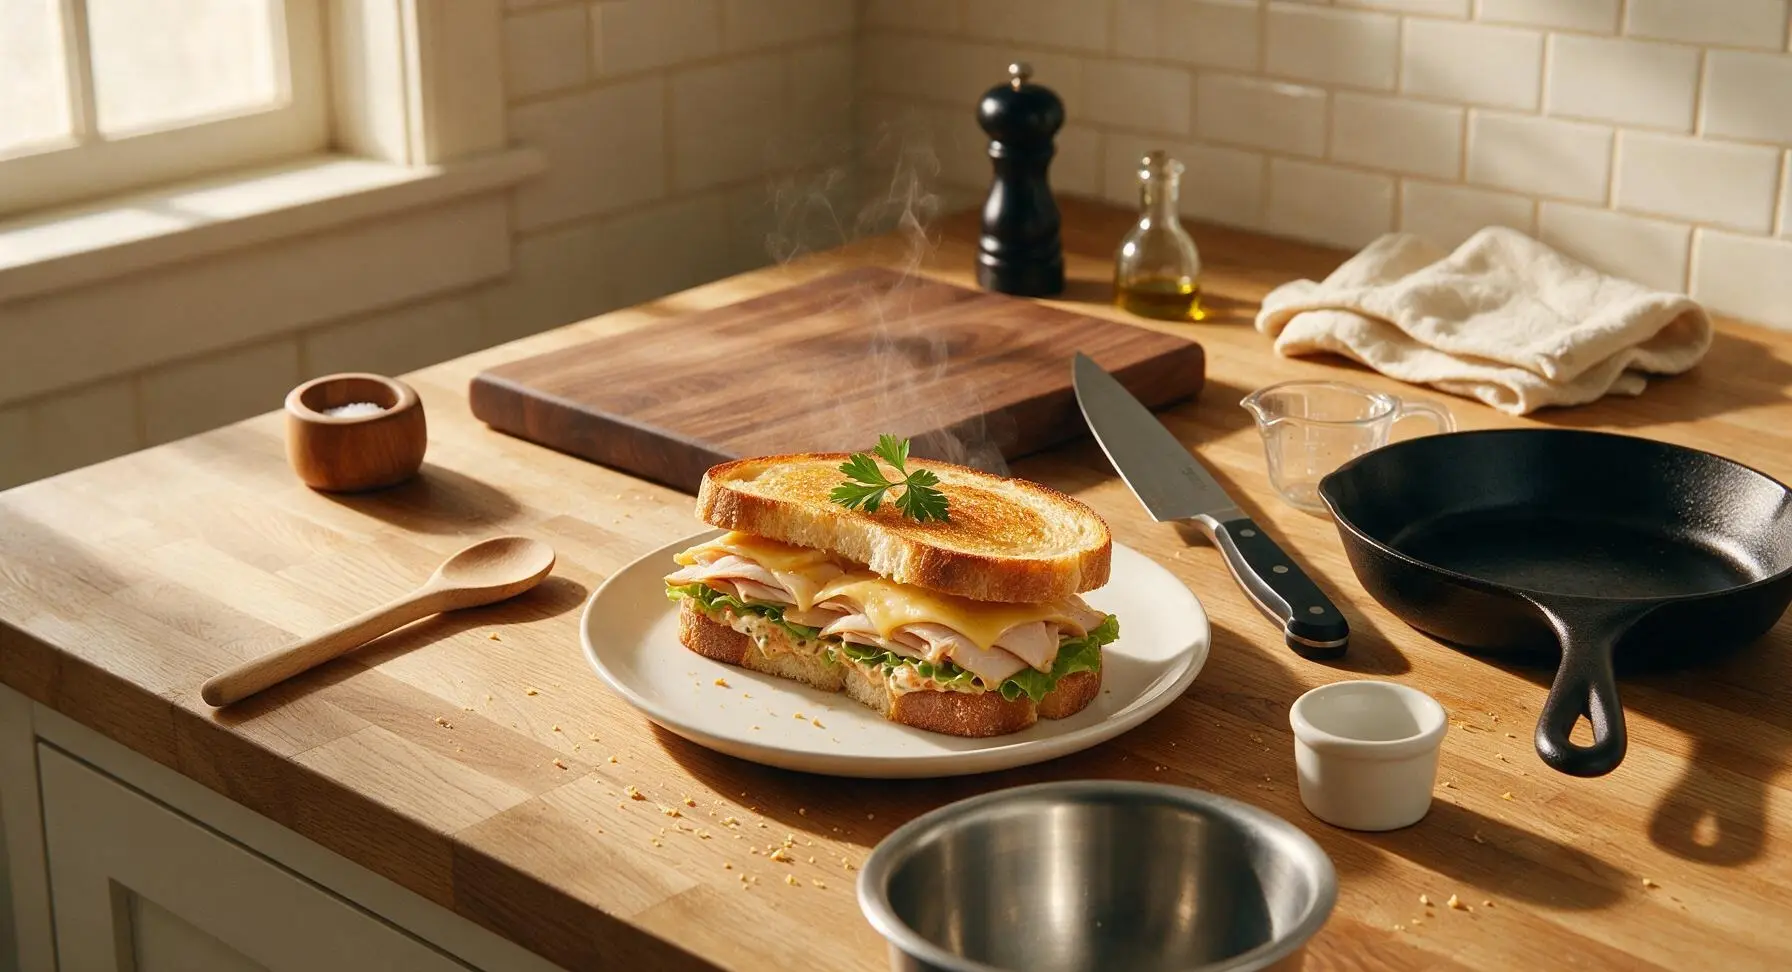
Crisp, creamy, and perfectly balanced, this classic deli-style Turkey and Swiss layers tender turkey, nutty melted Swiss, and zesty fixings on toasty sourdough for a fast, satisfying meal.
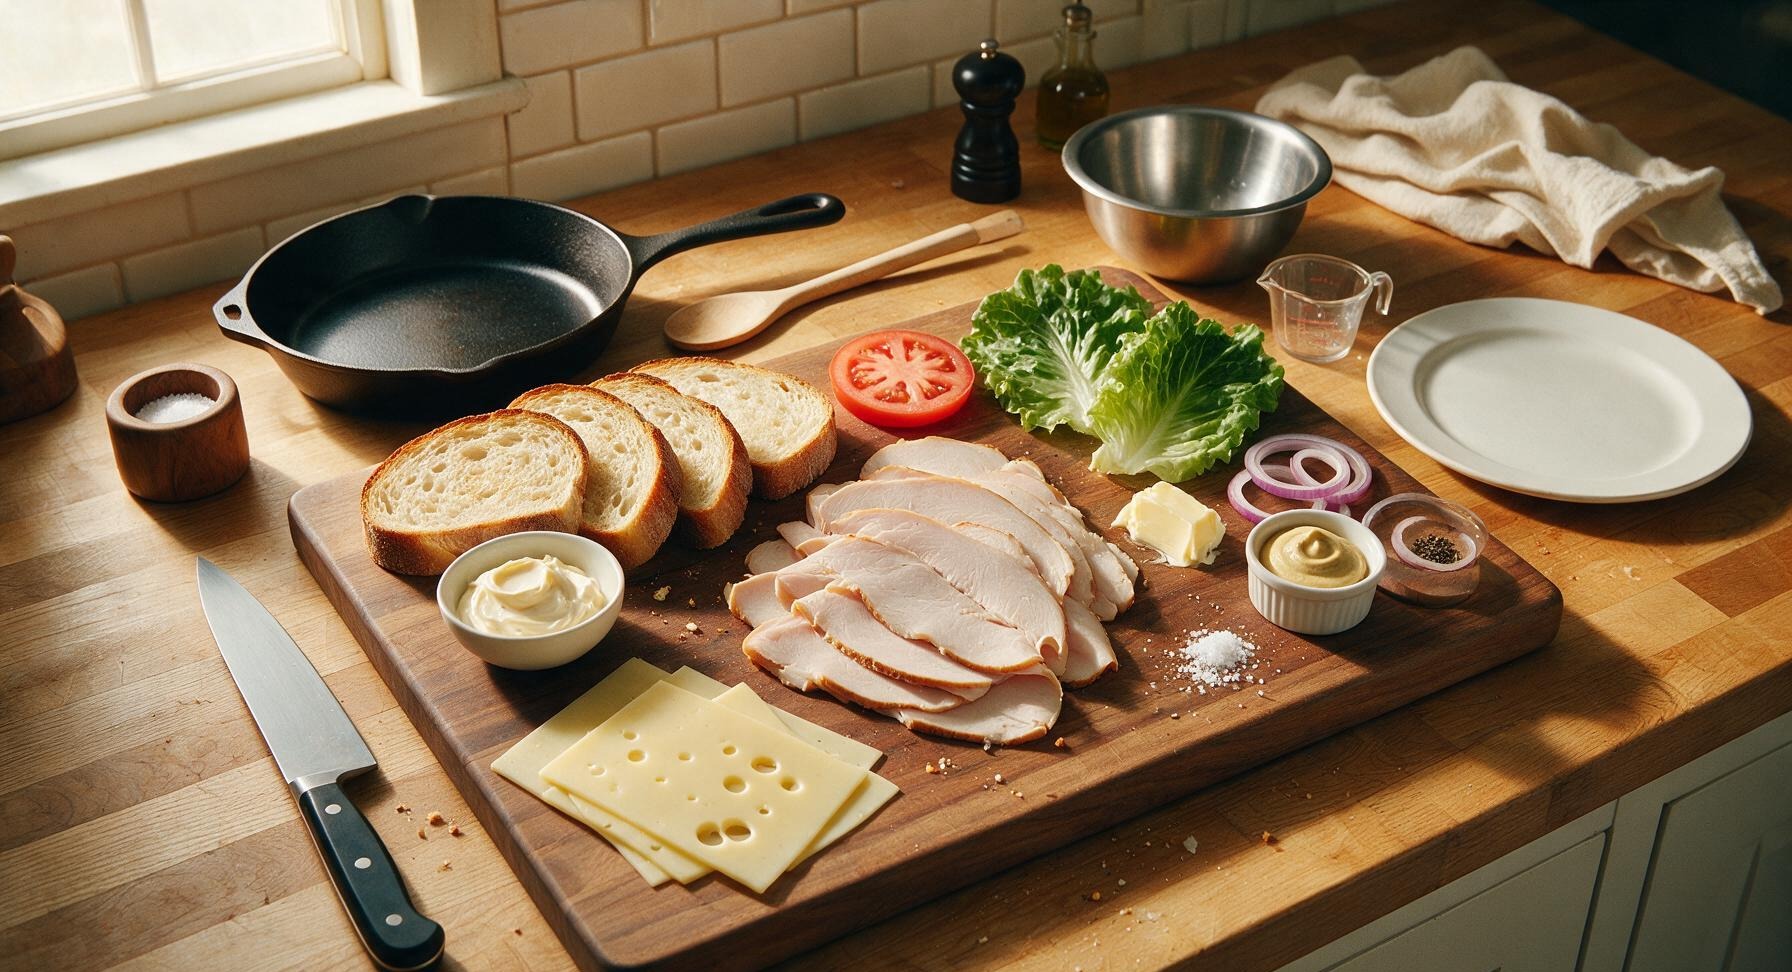
Ingredients
Steps
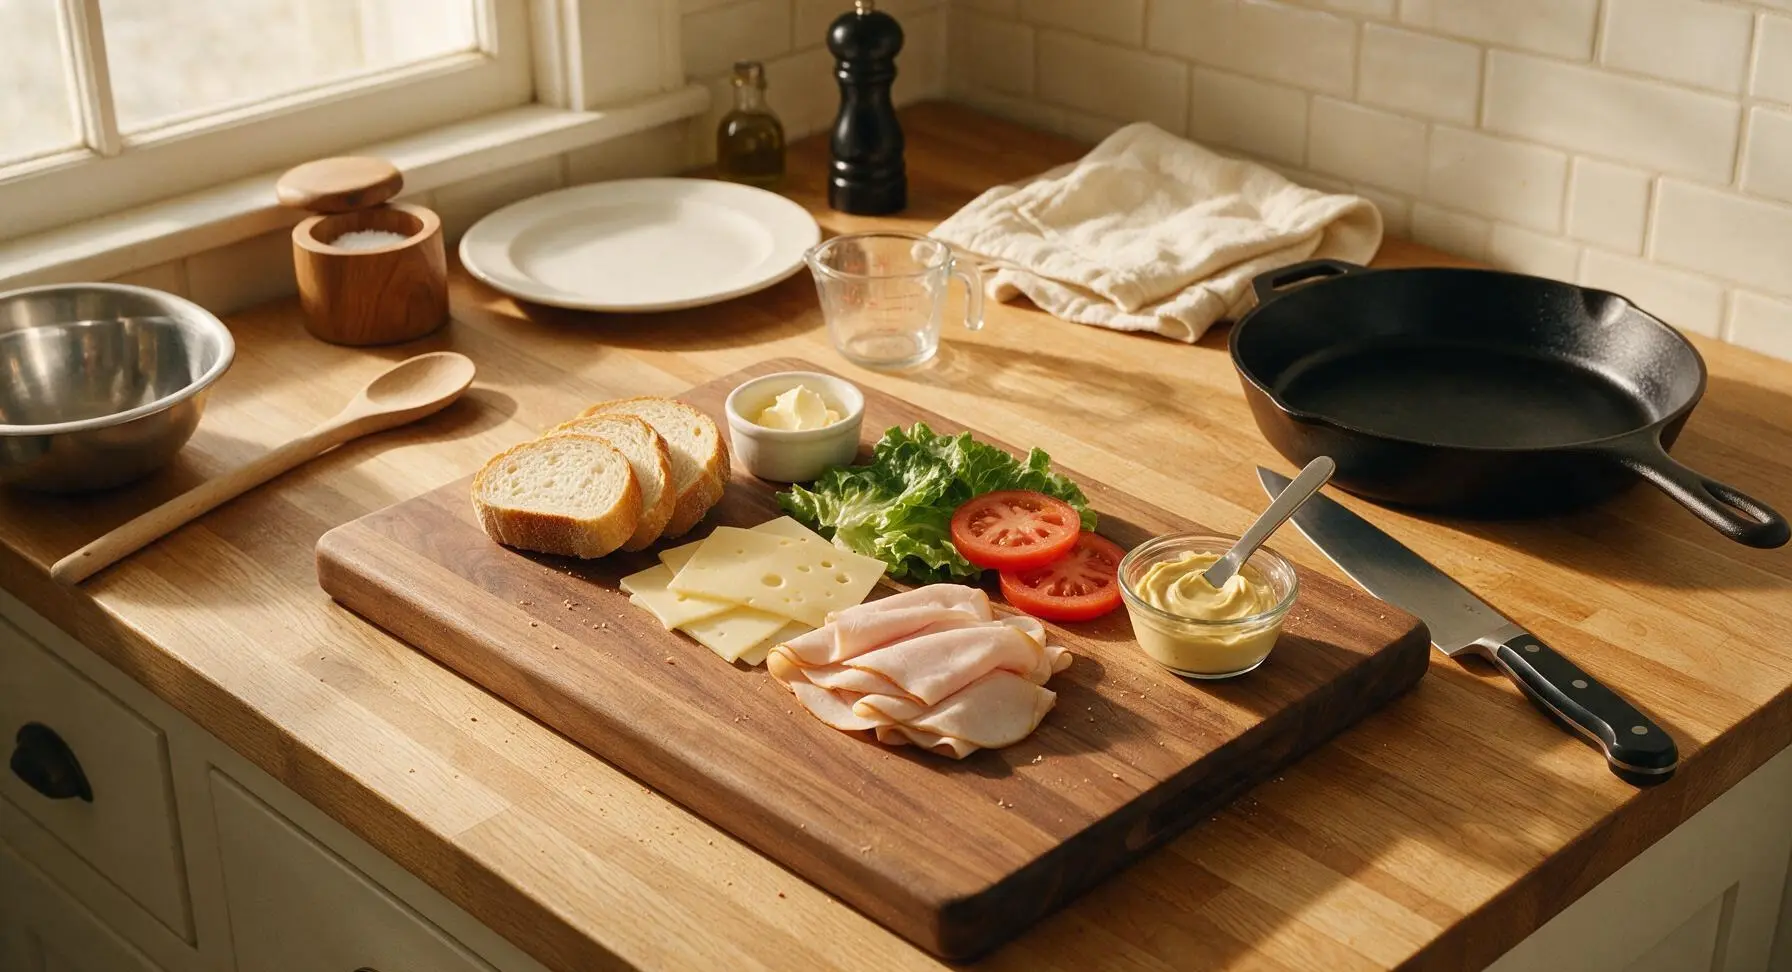
Mix Zesty Sandwich Spread
In one small clear glass ramekin, combine 2 tablespoons mayonnaise and 1 teaspoon Dijon mustard using the small stainless steel butter spreader. Stir for 30 seconds until fully smooth and evenly pale yellow, with no visible streaks of mustard remaining. Set the ramekin on the right edge of the maple cutting board for later use.
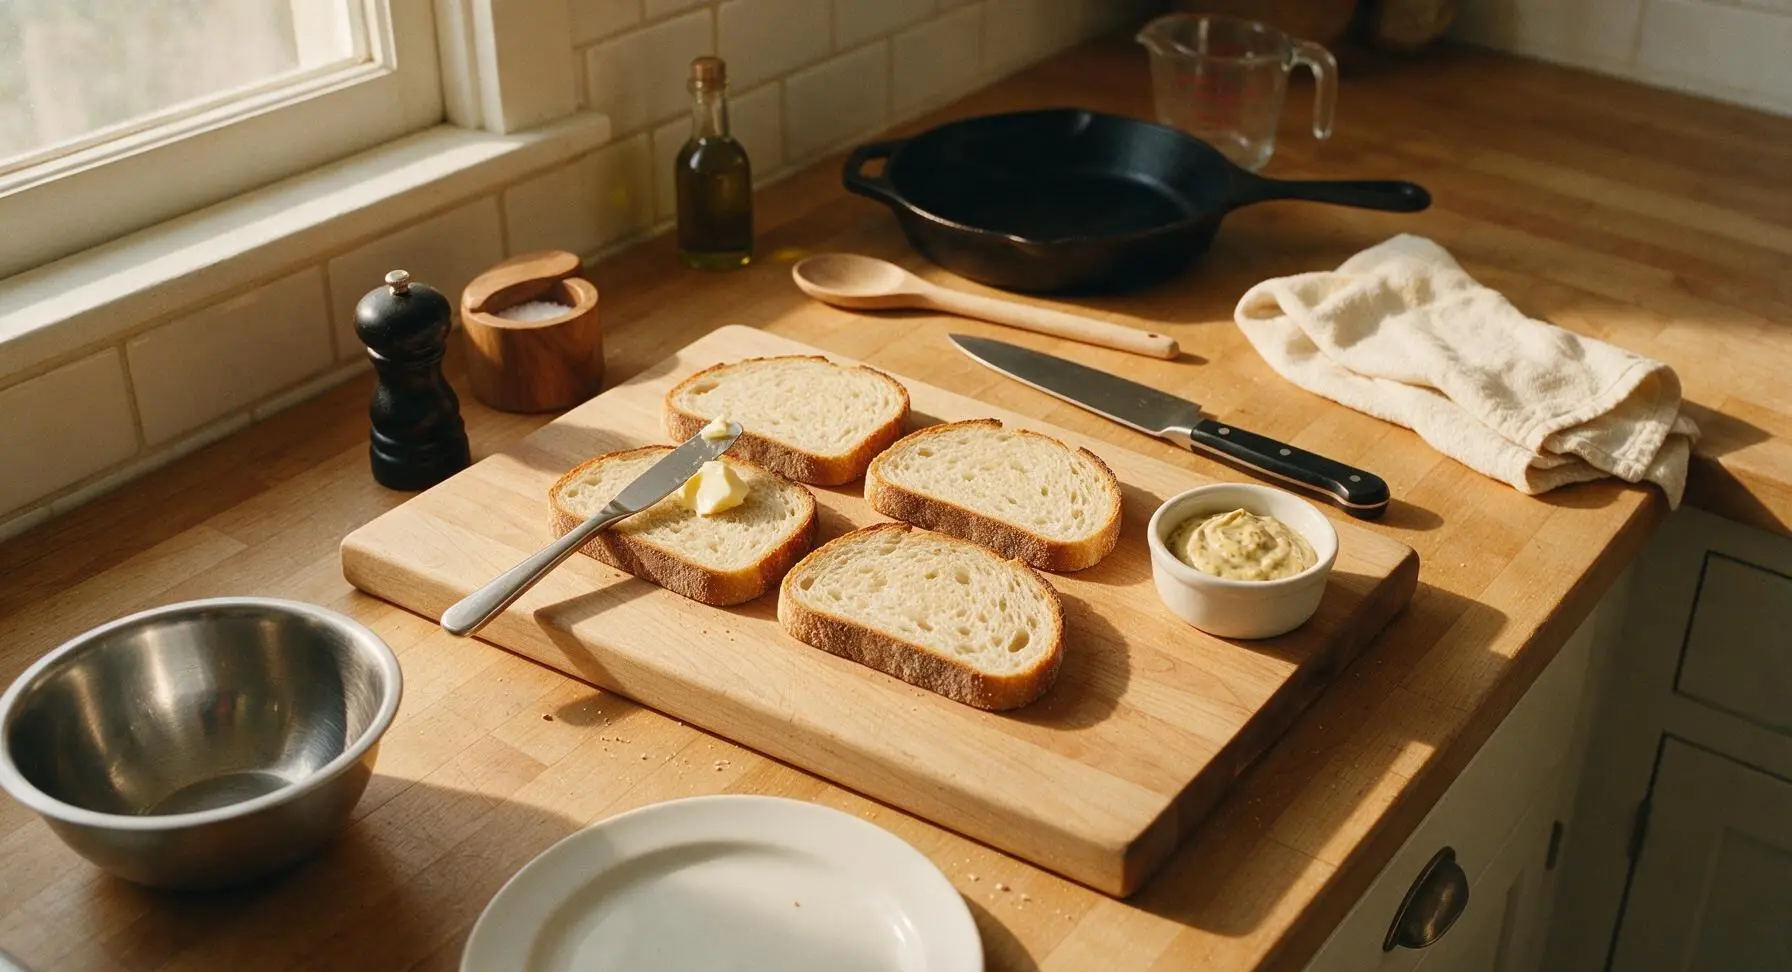
Butter Sourdough Slices
Lay all 4 sourdough slices flat on the center of the maple cutting board. Use the butter spreader to spread 1/4 of the softened unsalted butter evenly across one outer side of each bread slice, covering the entire surface all the way to the crusts. Keep unbuttered sides facing up to prepare for sandwich assembly, as buttered sides will face outward for toasting.
Layer Sandwich Fillings
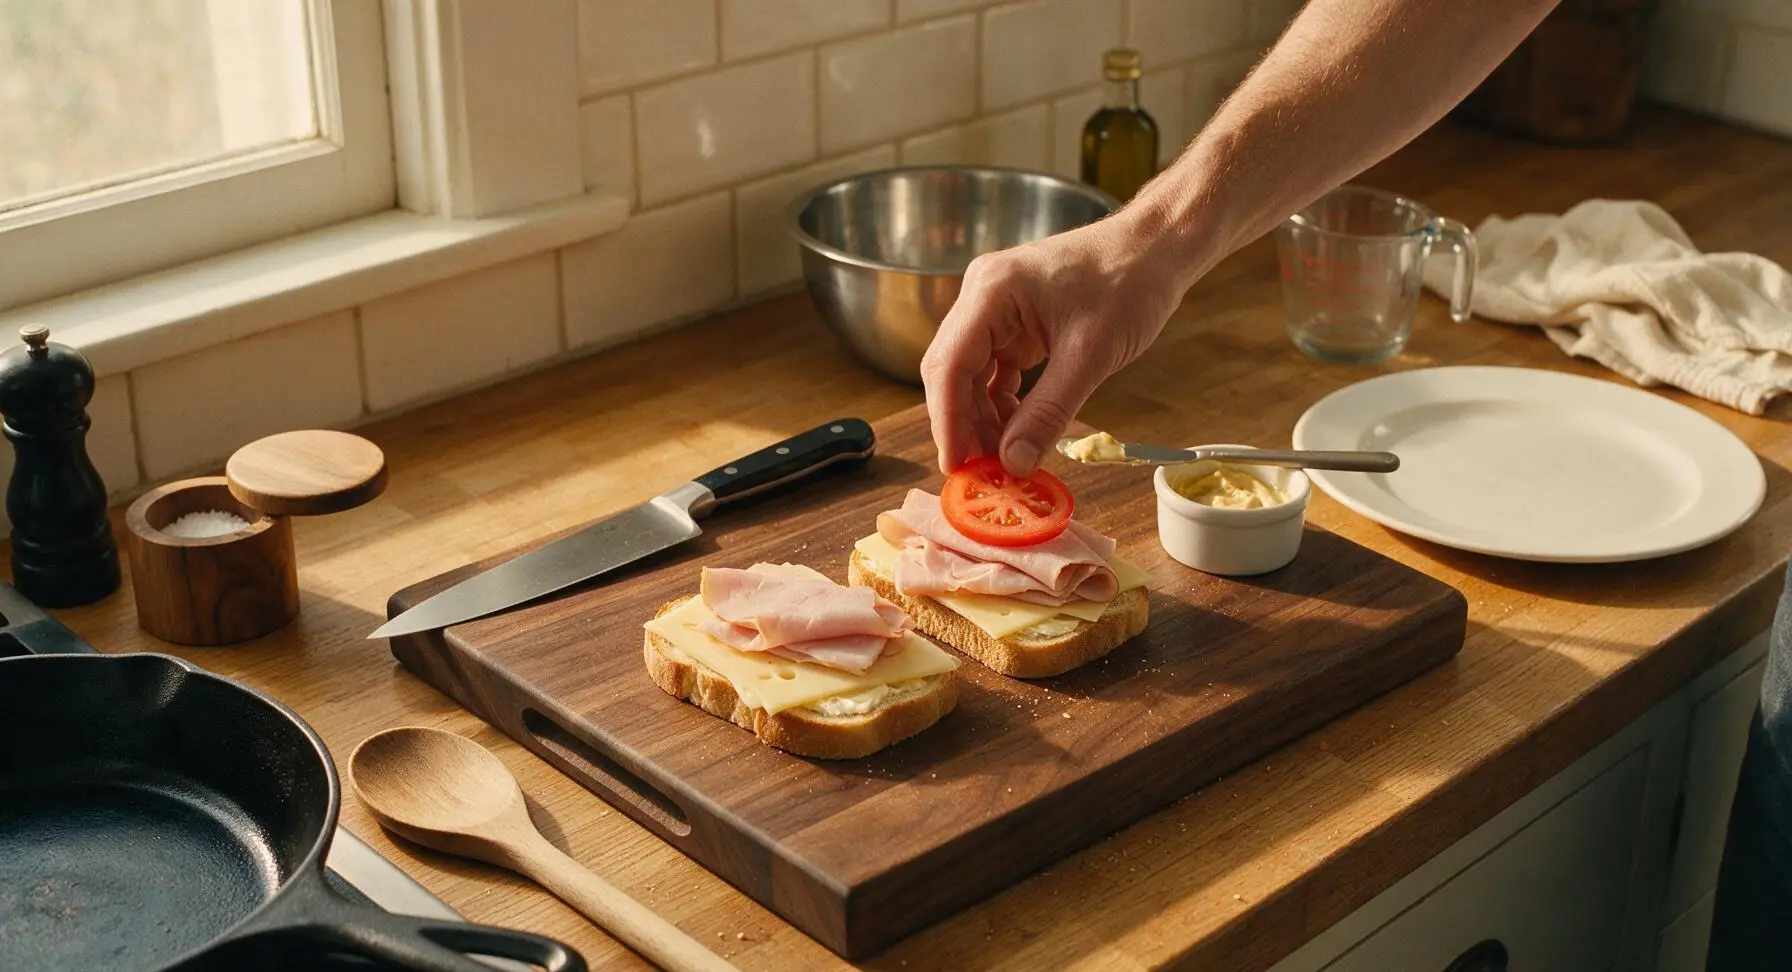
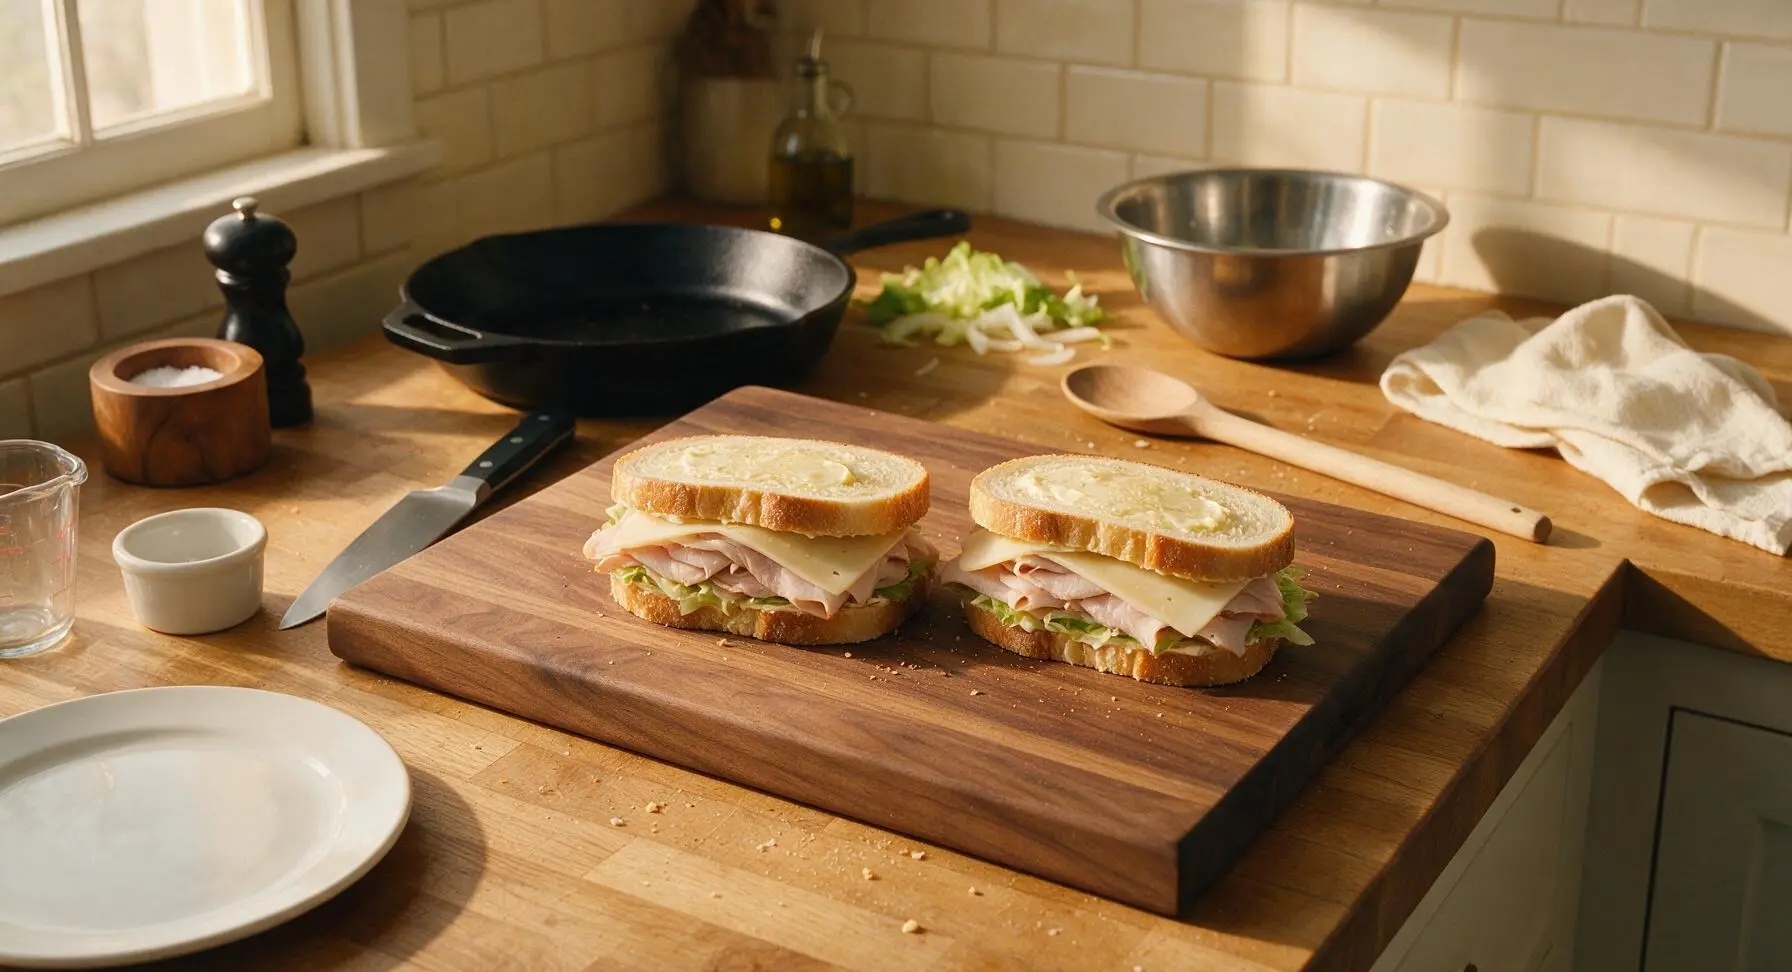
Flip two of the bread slices so buttered sides face down on the cutting board. Spread half of the Dijon-mayo mixture evenly across the unbuttered top of these two base slices. Layer each base with 2 thin slices of Swiss cheese, 4 oz of sliced turkey, 2 thin tomato slices, 2 red onion rings, and one torn lettuce leaf. Season each filling stack lightly with 1/8 teaspoon kosher salt and a pinch of black pepper. Spread the remaining Dijon-mayo on the unbuttered side of the remaining two bread slices, then place them mayo-side down on top of the fillings to form two complete sandwiches, with buttered sides facing fully outward.
Preheat Non-Stick Skillet
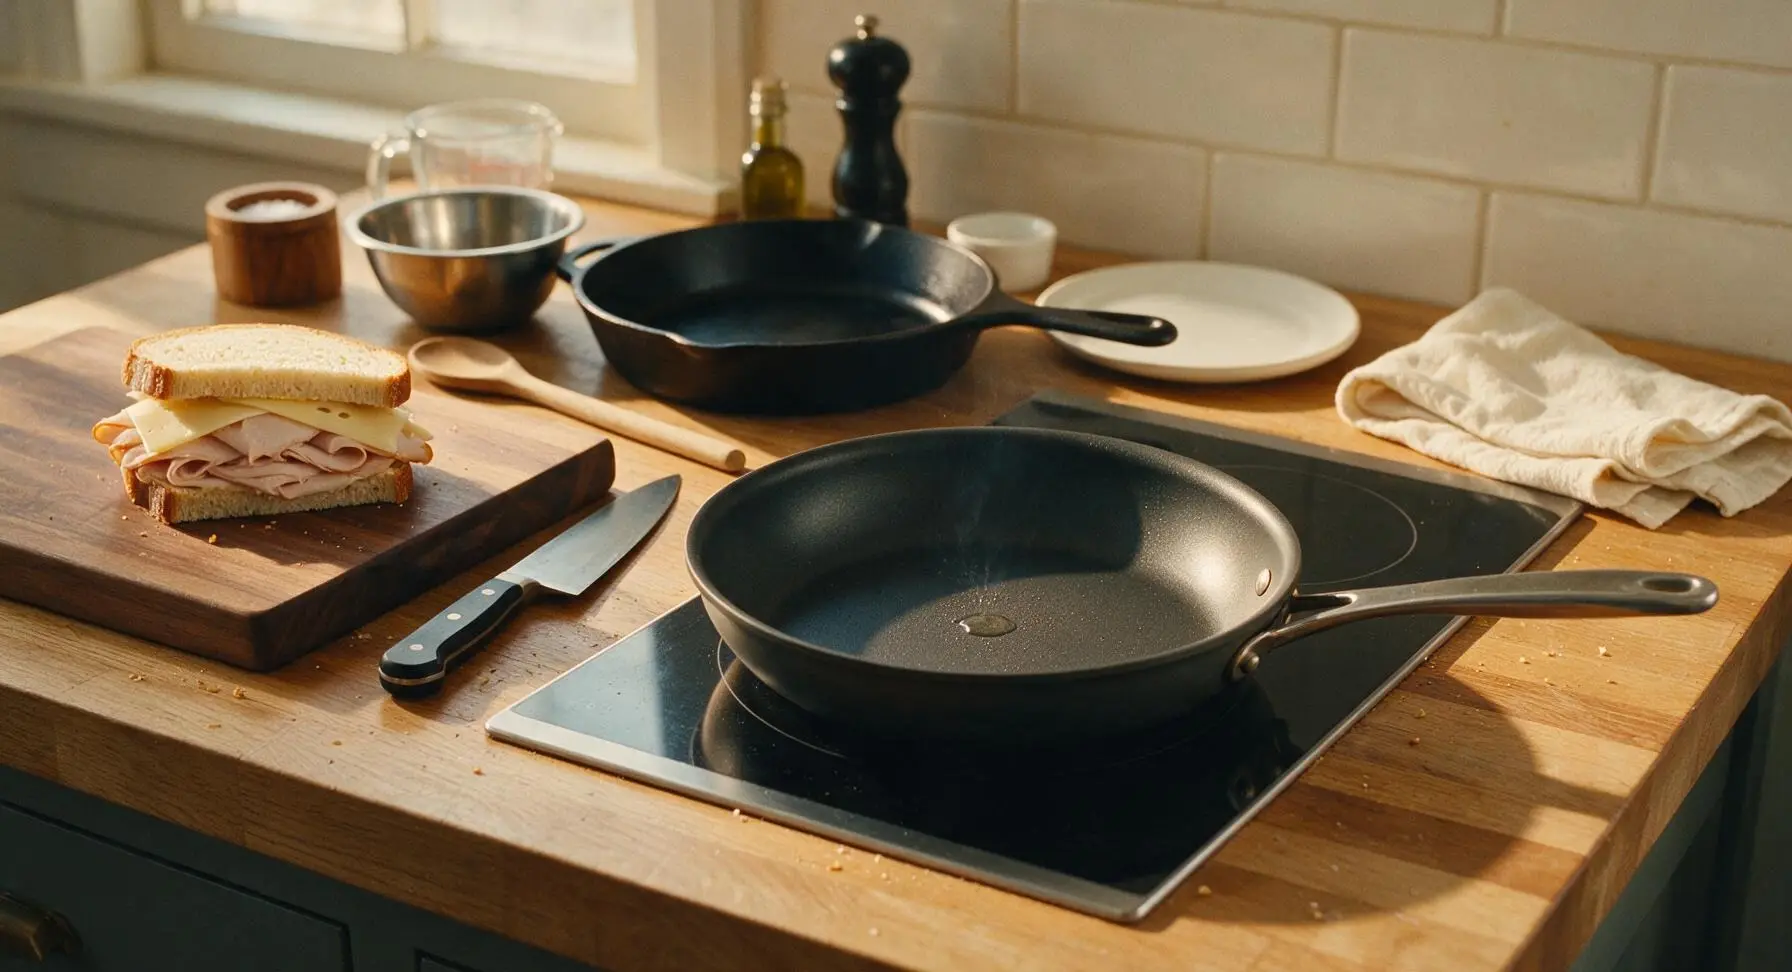
Place the 10-inch matte charcoal non-stick skillet centered on the flush-mount induction burner, set to medium heat (350°F / 175°C). Let the skillet preheat for 2 full minutes, testing readiness by flicking a single drop of cold water onto the surface: the water should dance across the pan and evaporate within 3 seconds when the pan is at the correct temperature.
Toast First Side Golden
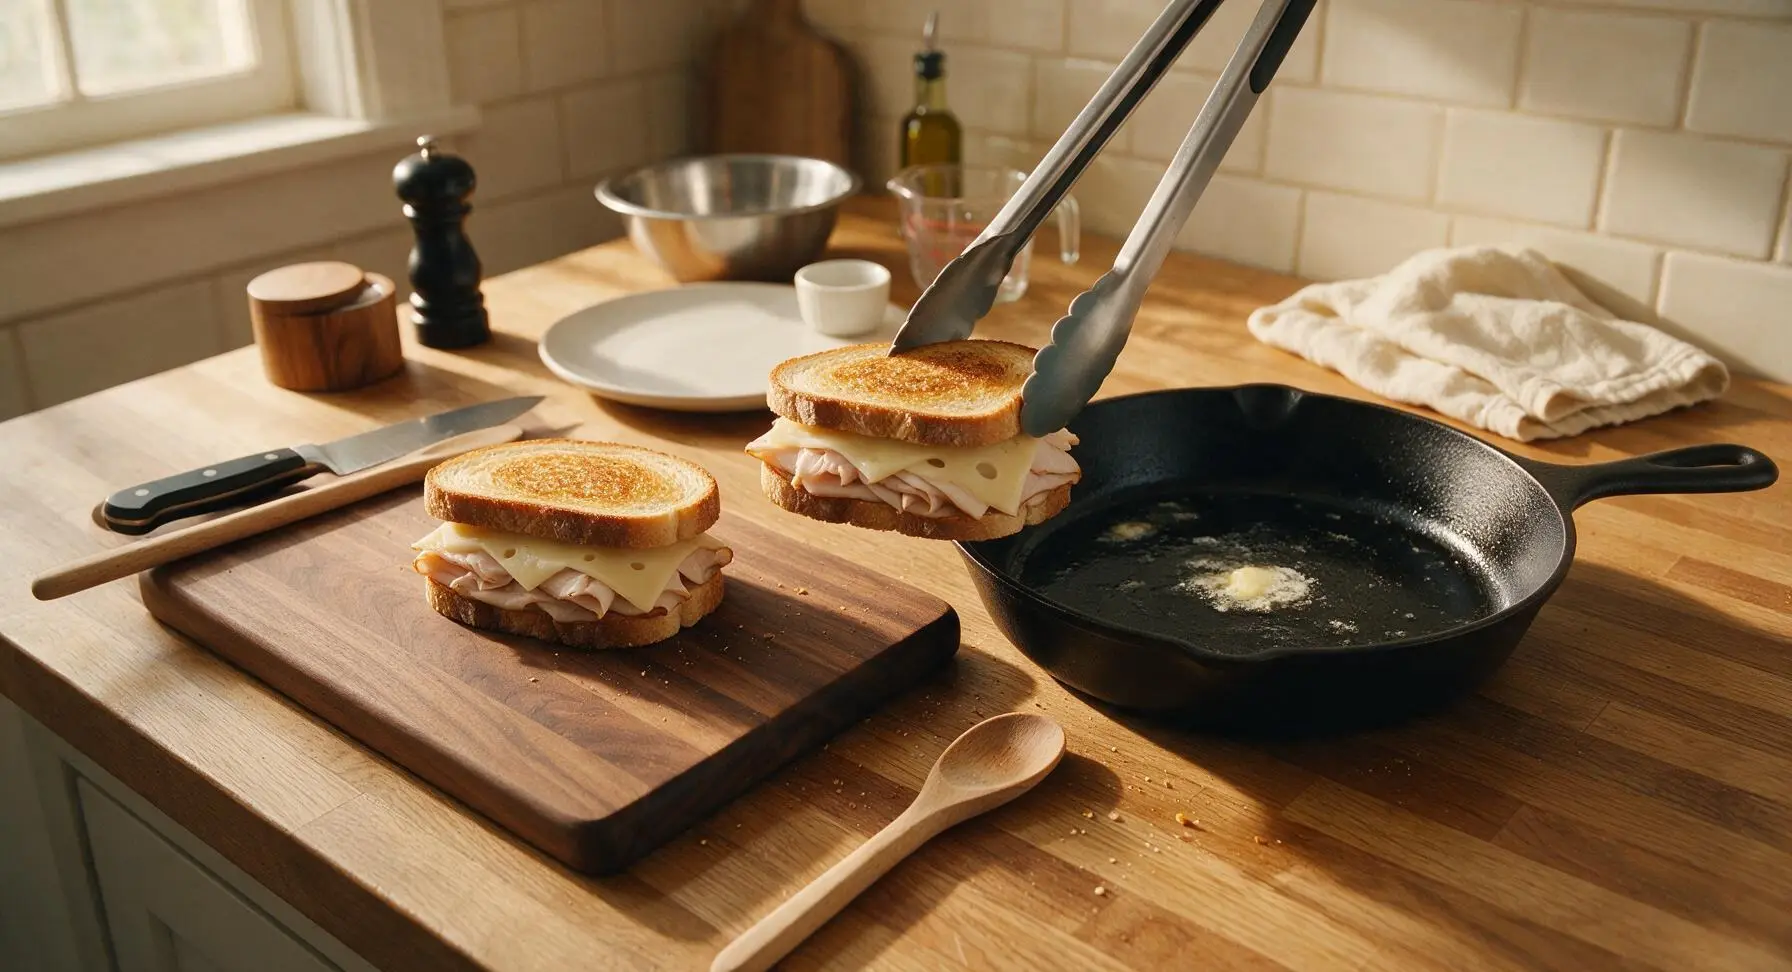
Use the silicone-tipped stainless steel tongs to carefully transfer both assembled sandwiches to the preheated skillet. Cook for 2 to 2.5 minutes on the first side, until the bottom bread is deep golden brown and crispy, and the bottom layer of Swiss cheese starts to bubble and melt at the sandwich edges. Do not press down on the sandwiches while cooking, as this will squeeze out melted cheese and juicy tomato filling.
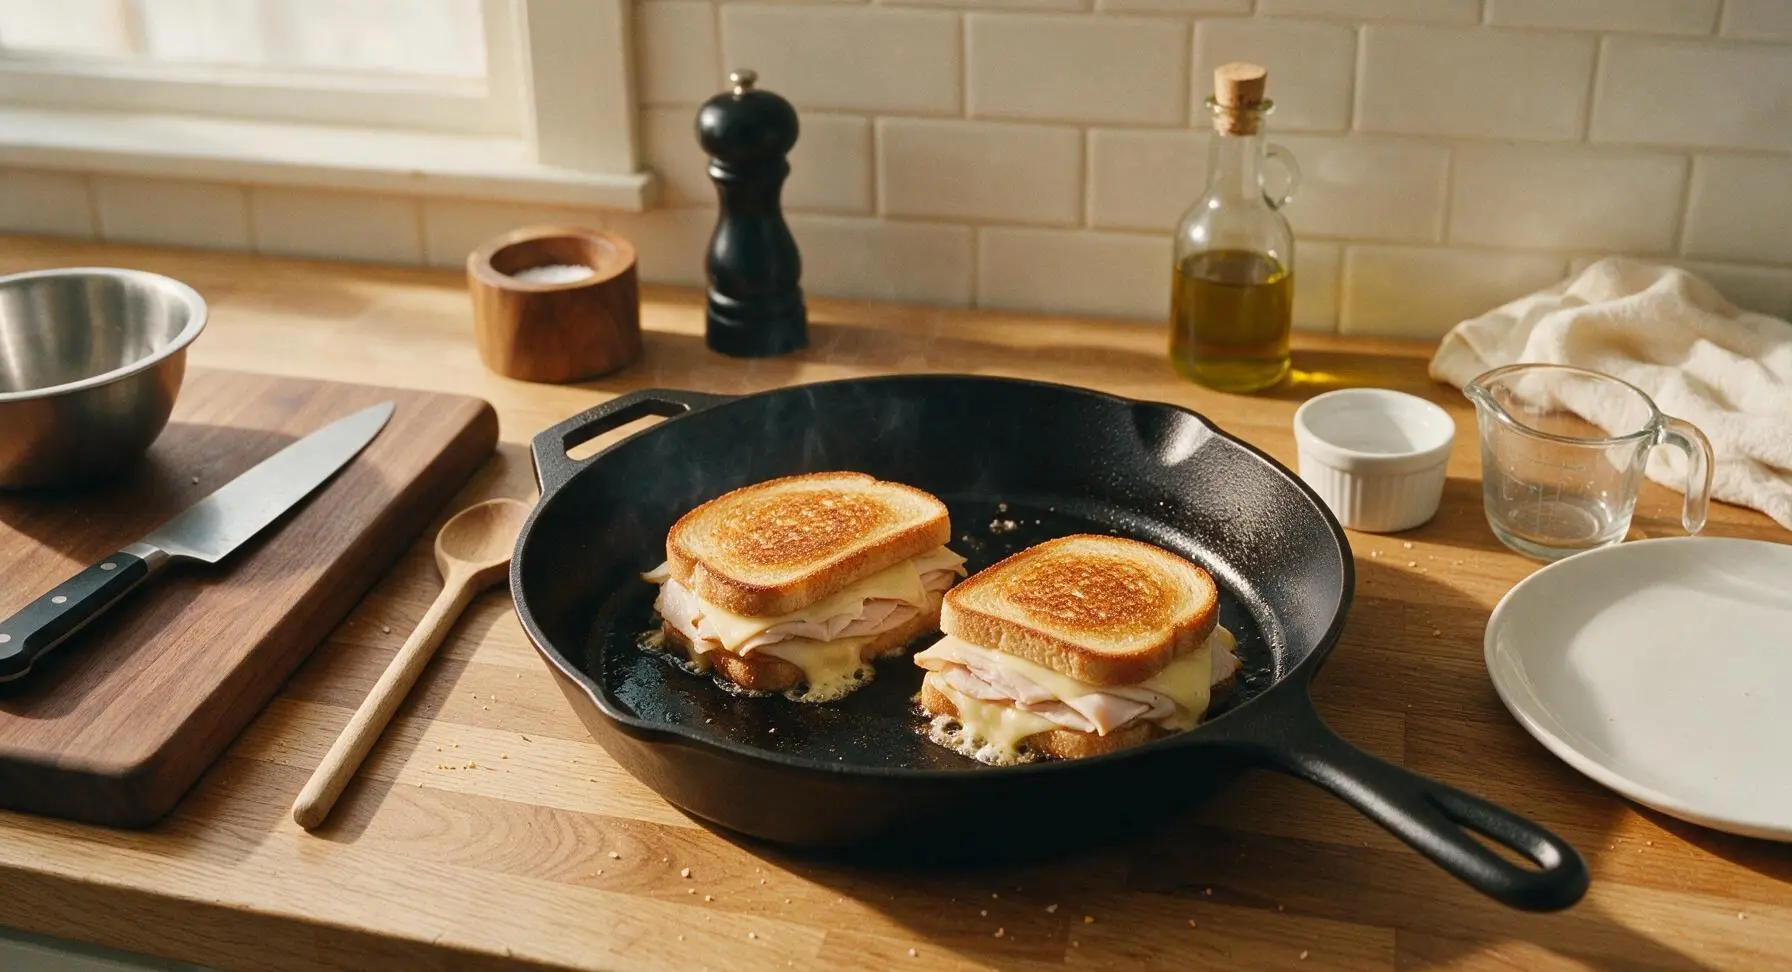
Flip to Melt Cheese
Slide the stainless steel offset spatula gently under each sandwich to lift without tearing the crust, then flip each sandwich to the second side. Cook for another 2 minutes, until the second side is equally golden and crispy, and the Swiss cheese is fully melted and stretchy when you lift a corner of the bread. If the bread browns faster than 1 minute per side, reduce heat to medium-low to prevent burning before the cheese fully melts.
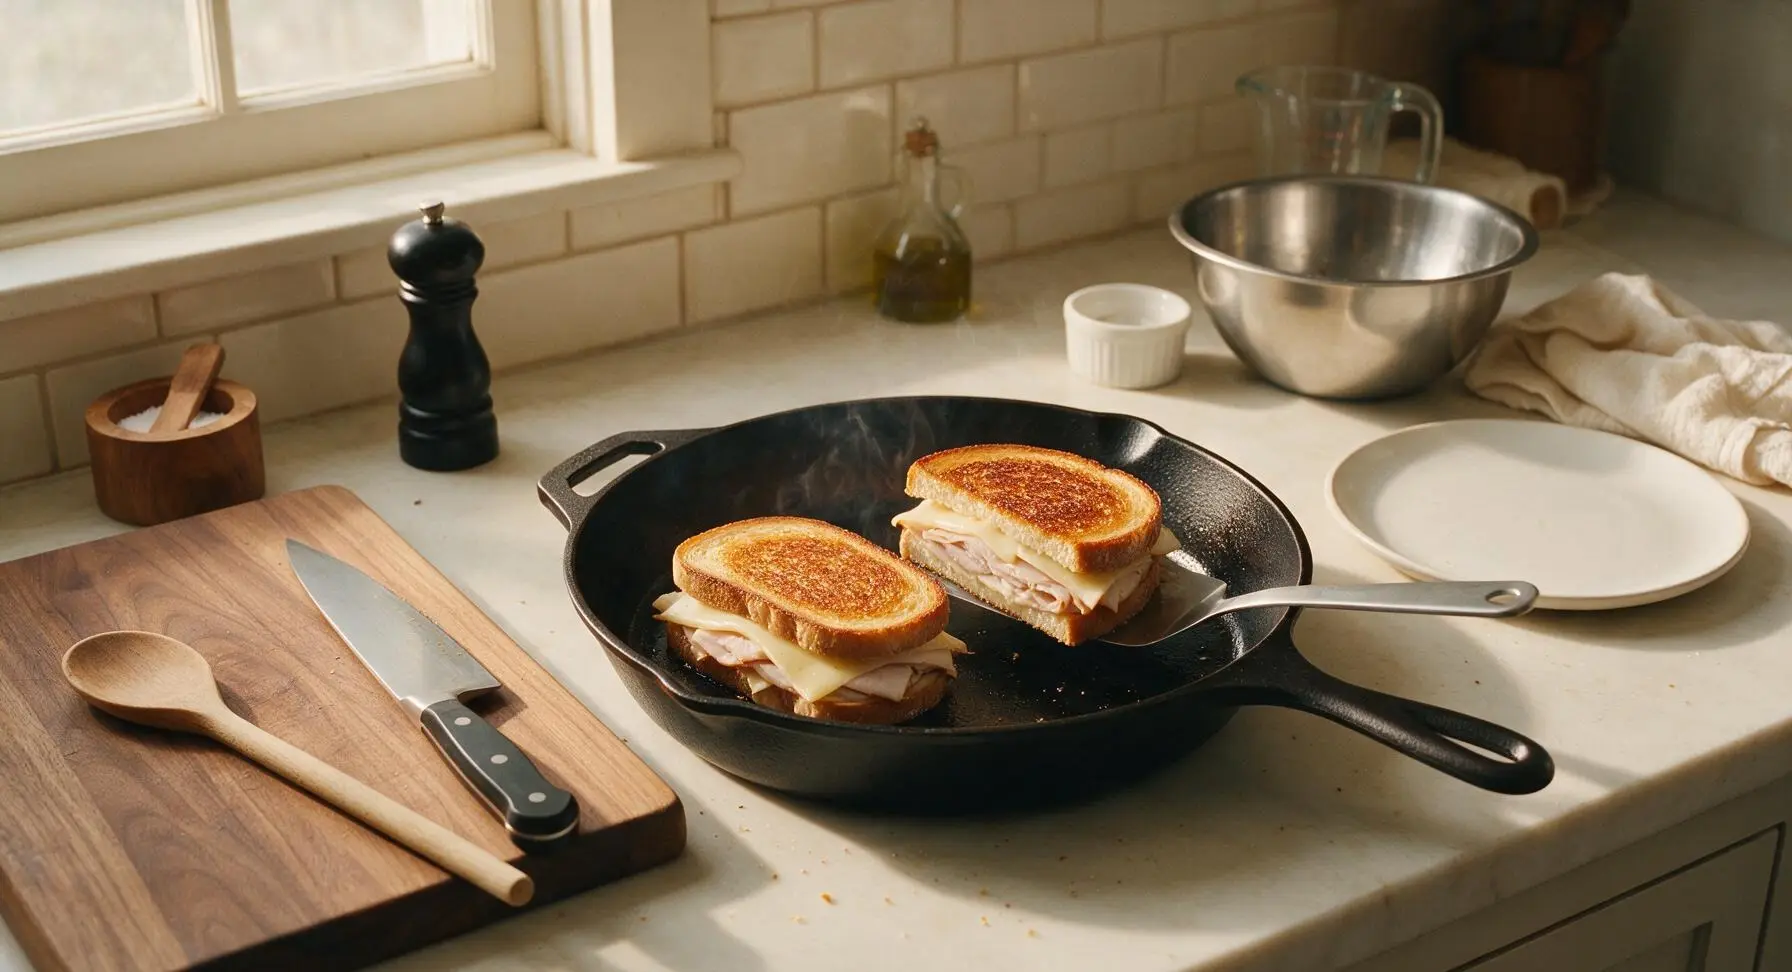
Rest and Slice Sandwiches
Use the tongs to transfer the cooked sandwiches from the skillet back to the maple cutting board. Let them rest for 1 full minute to allow the cheese to set slightly, so fillings do not slide out when sliced. Use the 8-inch walnut-handled chef knife to cut each sandwich diagonally into two equal triangles, wiping the knife blade on the kitchen towel between cuts for clean, non-smeared edges.
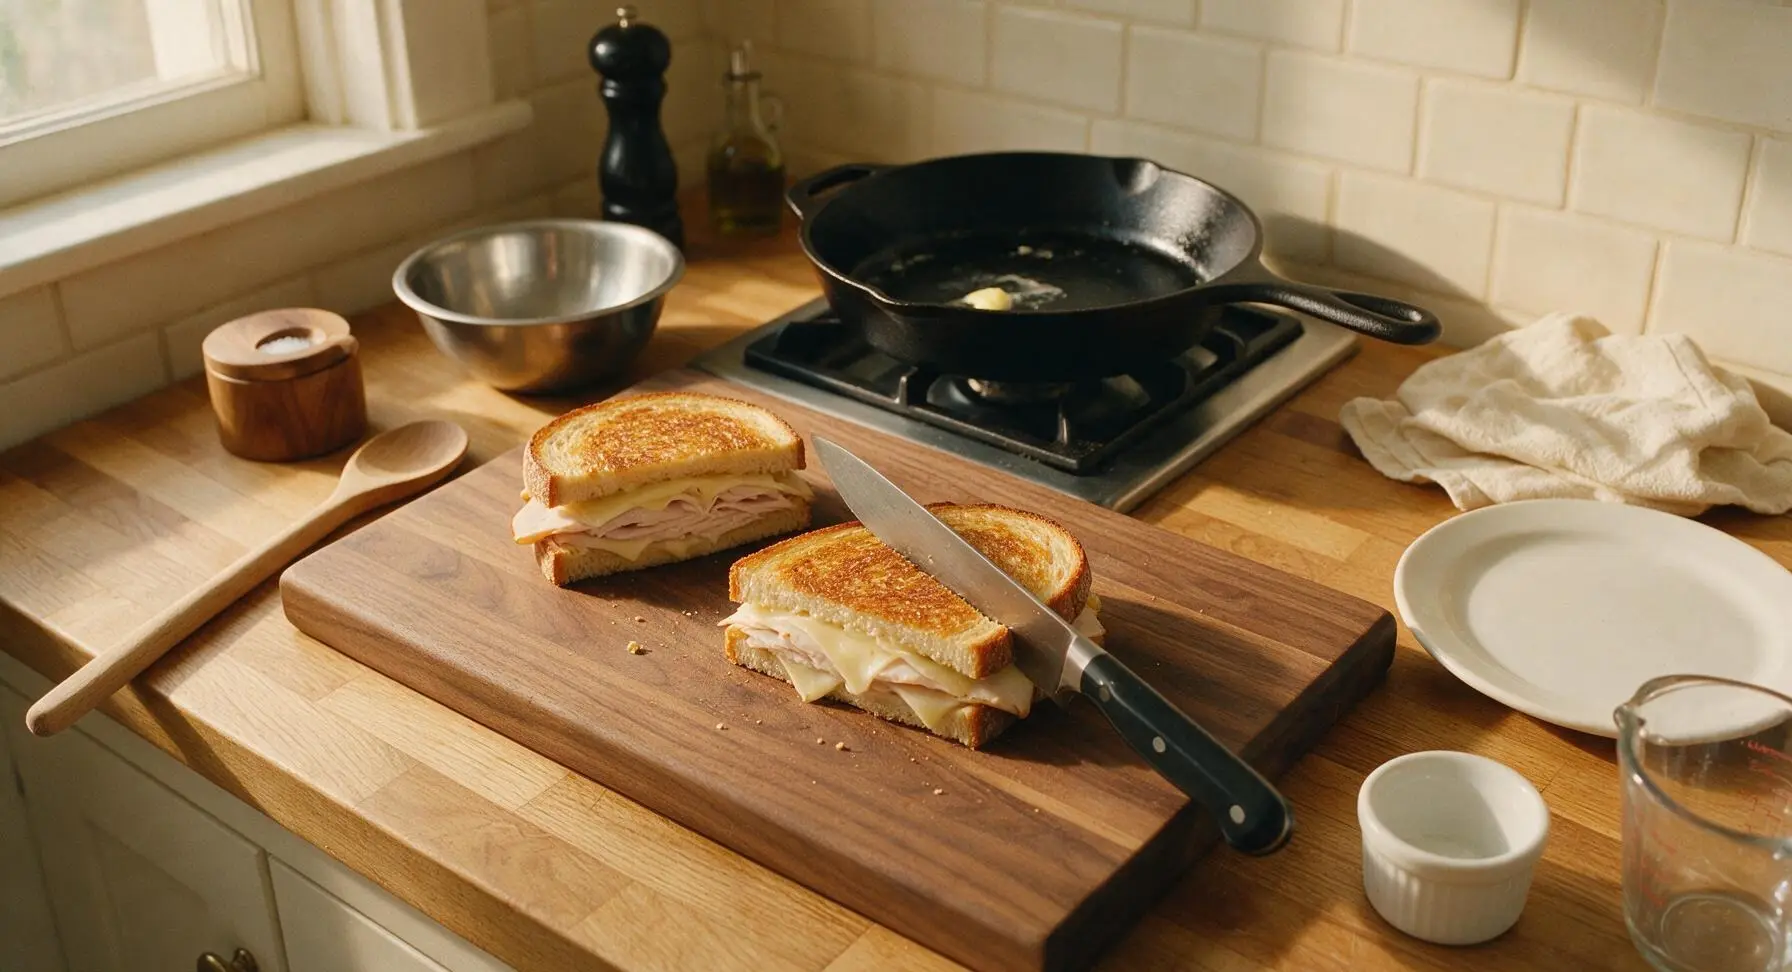
Plate and Serve Warm
Use the tongs to transfer the sliced sandwich triangles to the round matte white ceramic dinner plates, arranging them so the cut layered side faces outward to showcase the melted cheese and filling layers. Pluck two small sprigs of parsley from the bud vase to garnish each plate, then serve immediately while the cheese is still warm and stretchy.
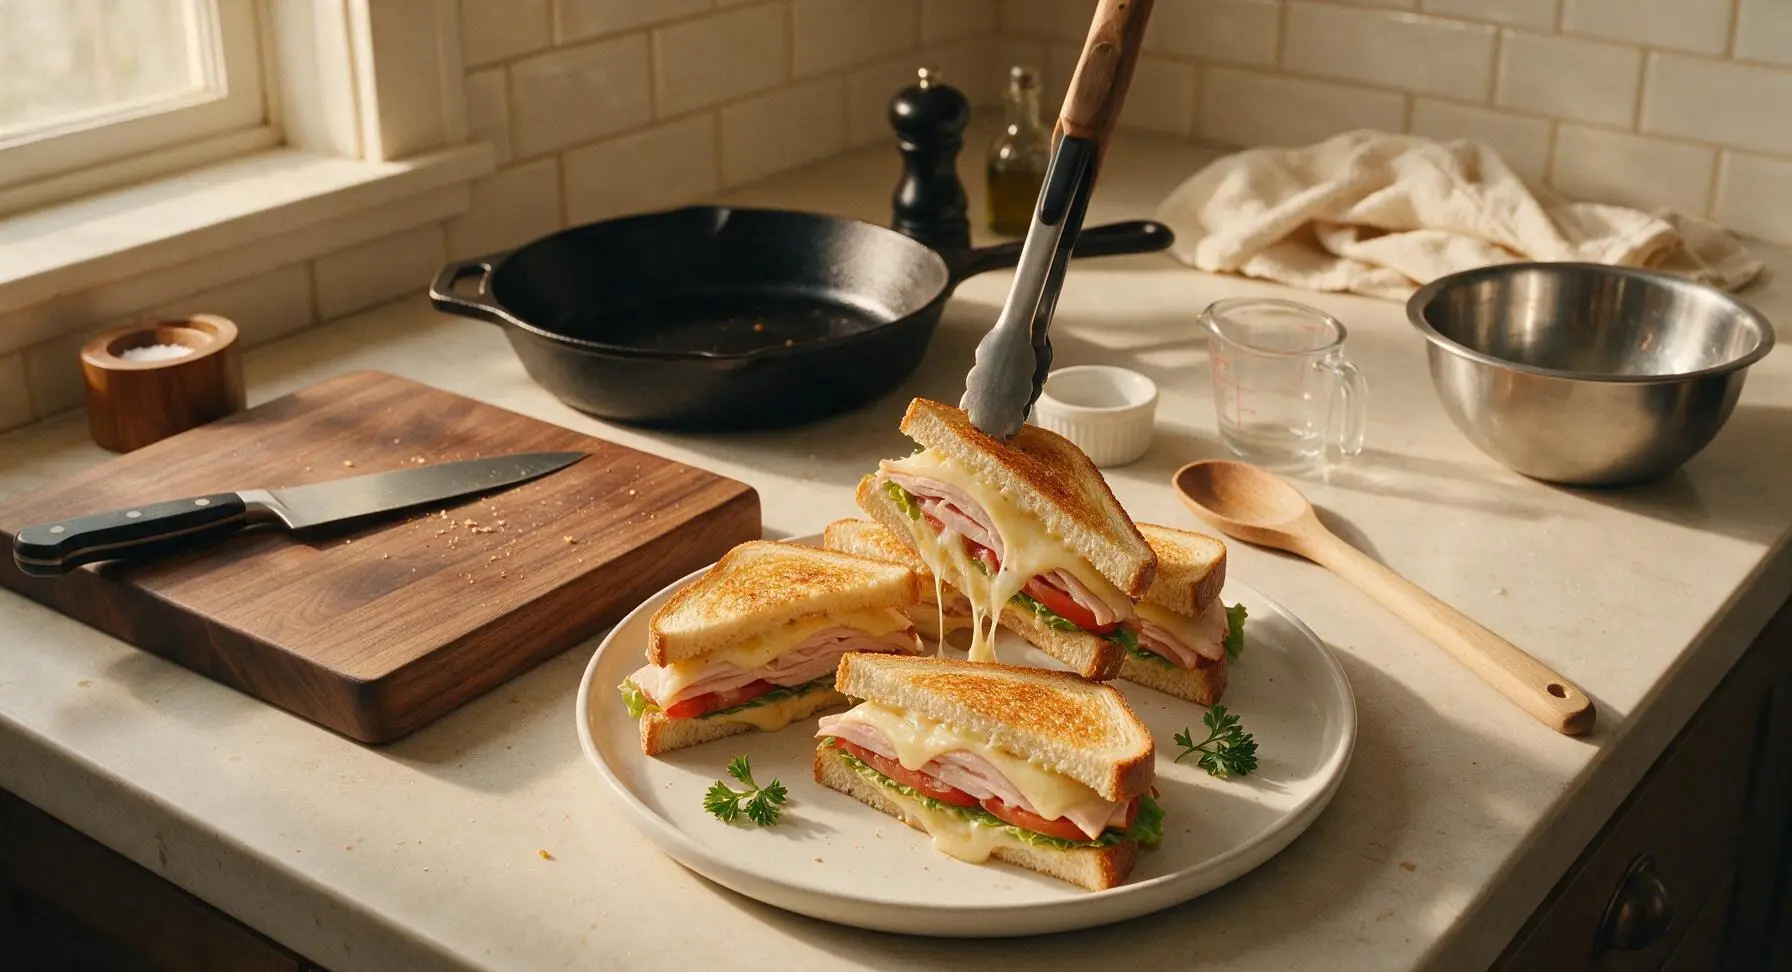
Tips
2.Avoid pressing down on sandwiches while toasting: Pressing with a spatula squeezes out melted cheese and juicy tomato moisture, resulting in a dry, flat sandwich with less contrast between crispy crust and creamy filling.
3.Let sandwiches rest for 1 full minute after cooking: This short rest allows melted cheese to set slightly, so fillings don’t slide out when you take the first bite, and lets trapped steam escape so the crust stays crisp instead of turning soggy.






OMG this is such a perfect quick lunch for busy school days! I threw this together in literally 5 minutes before running out the door to drop my kids at practice, and even my pickiest 8 year old ate every bite. I added a little dijon mustard to the bread like my mom used to and it was *chef’s kiss*. SO good, will be adding this to our weekly meal prep rotation for sure!
Game changer for weekend potlucks! I made a platter of these for our neighborhood tailgate last weekend and they were gone in 10 minutes flat. I used sourdough bread instead of white and added a slice of tomato, everyone was asking for the recipe. Super easy, no fancy ingredients, exactly what I need for quick crowd pleasers.
This is my go-to work lunch now! I make 4 of these on Sunday night and keep them in the fridge for the week, they hold up so much better than I thought they would. I skip the mayo and use a little mashed avocado as a spread, adds such a nice creaminess without making the bread soggy. 10/10, so easy even I can’t mess it up.
Dude, this saved me during midterms. I had literally 10 minutes between study sessions and zero meal prep done, threw this together with leftover turkey from the dining hall and a Swiss slice I had in my mini fridge. Tasted way better than the sad cafeteria sandwiches, no cap.
My kids loved it! I was stuck in a lunch rut, making the same peanut butter jelly every day, and decided to switch it up with these. I cut them into little triangle shapes and added a side of pickles, and both my 6 and 10 year old said it’s their new favorite lunch. Even my husband stole one for his commute to work this morning!