
Turkey Cuban Sandwich

title 1
Turkey Cuban Sandwich
⏱️ cook time 14 minutes
🍽️ servings 4
⚡ Difficulty easy

intro

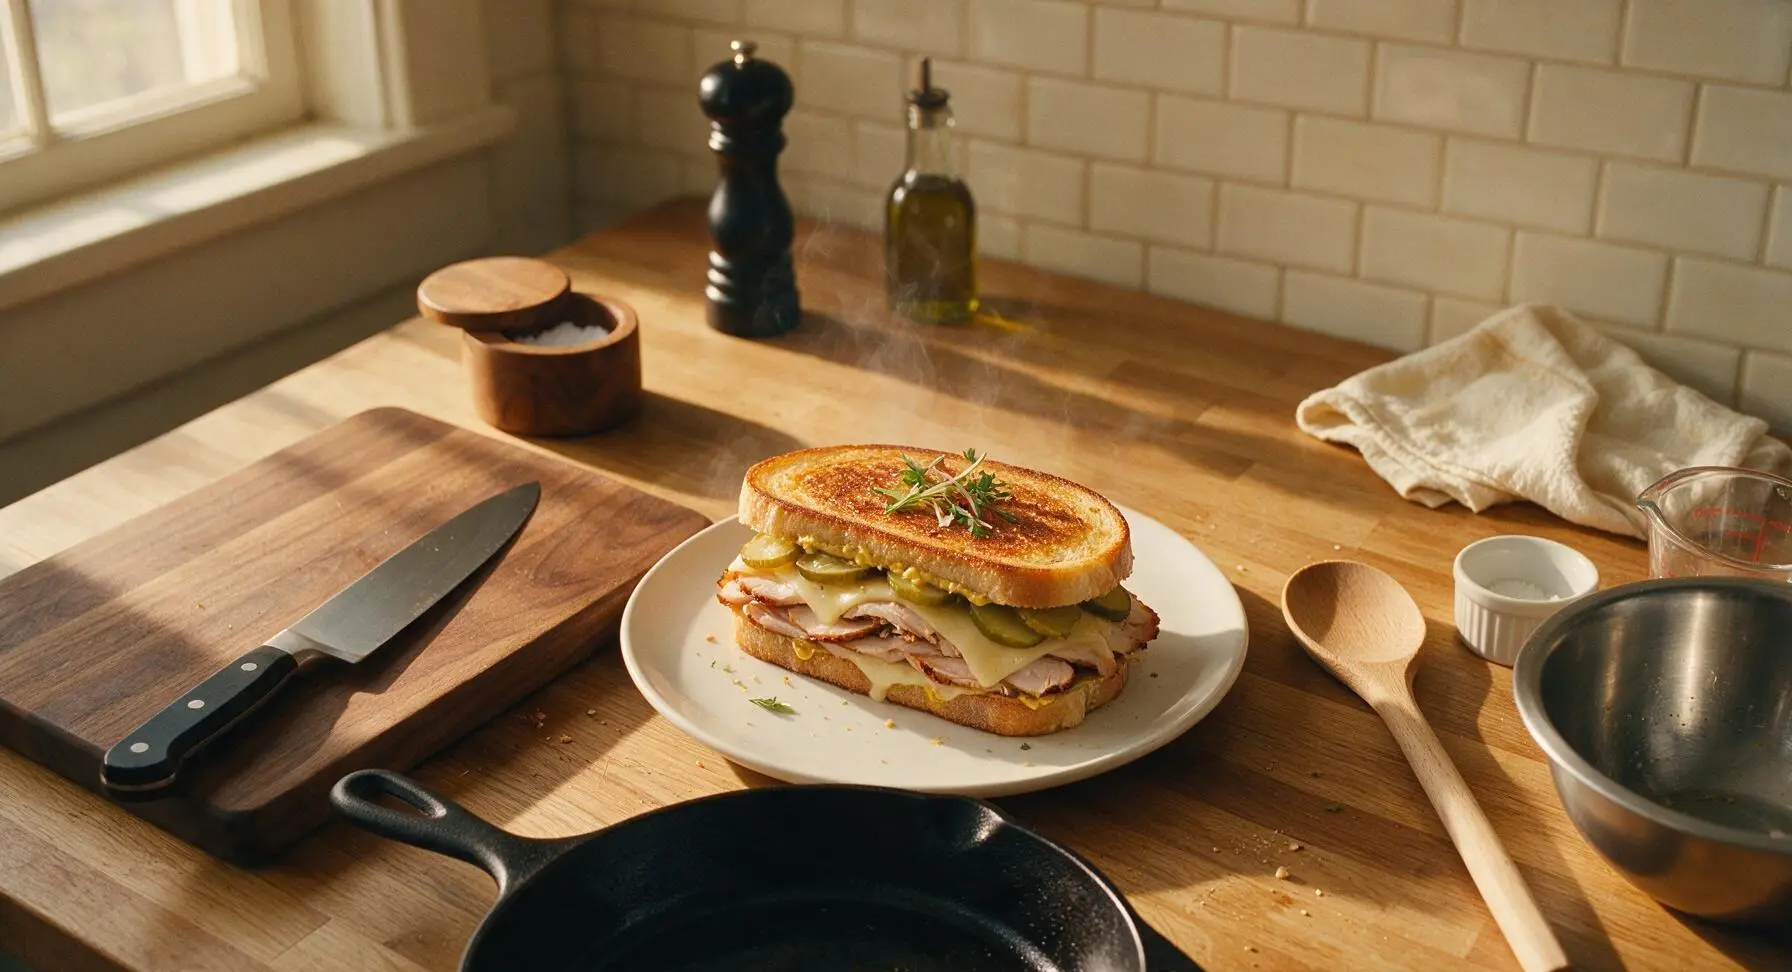
Crispy pressed Turkey Cuban sandwiches stack smoky roasted turkey, melty Swiss, tangy dill pickles, and zesty mustard between buttery toasted bread for a satisfying, flavor-packed lunch.

Ingredients
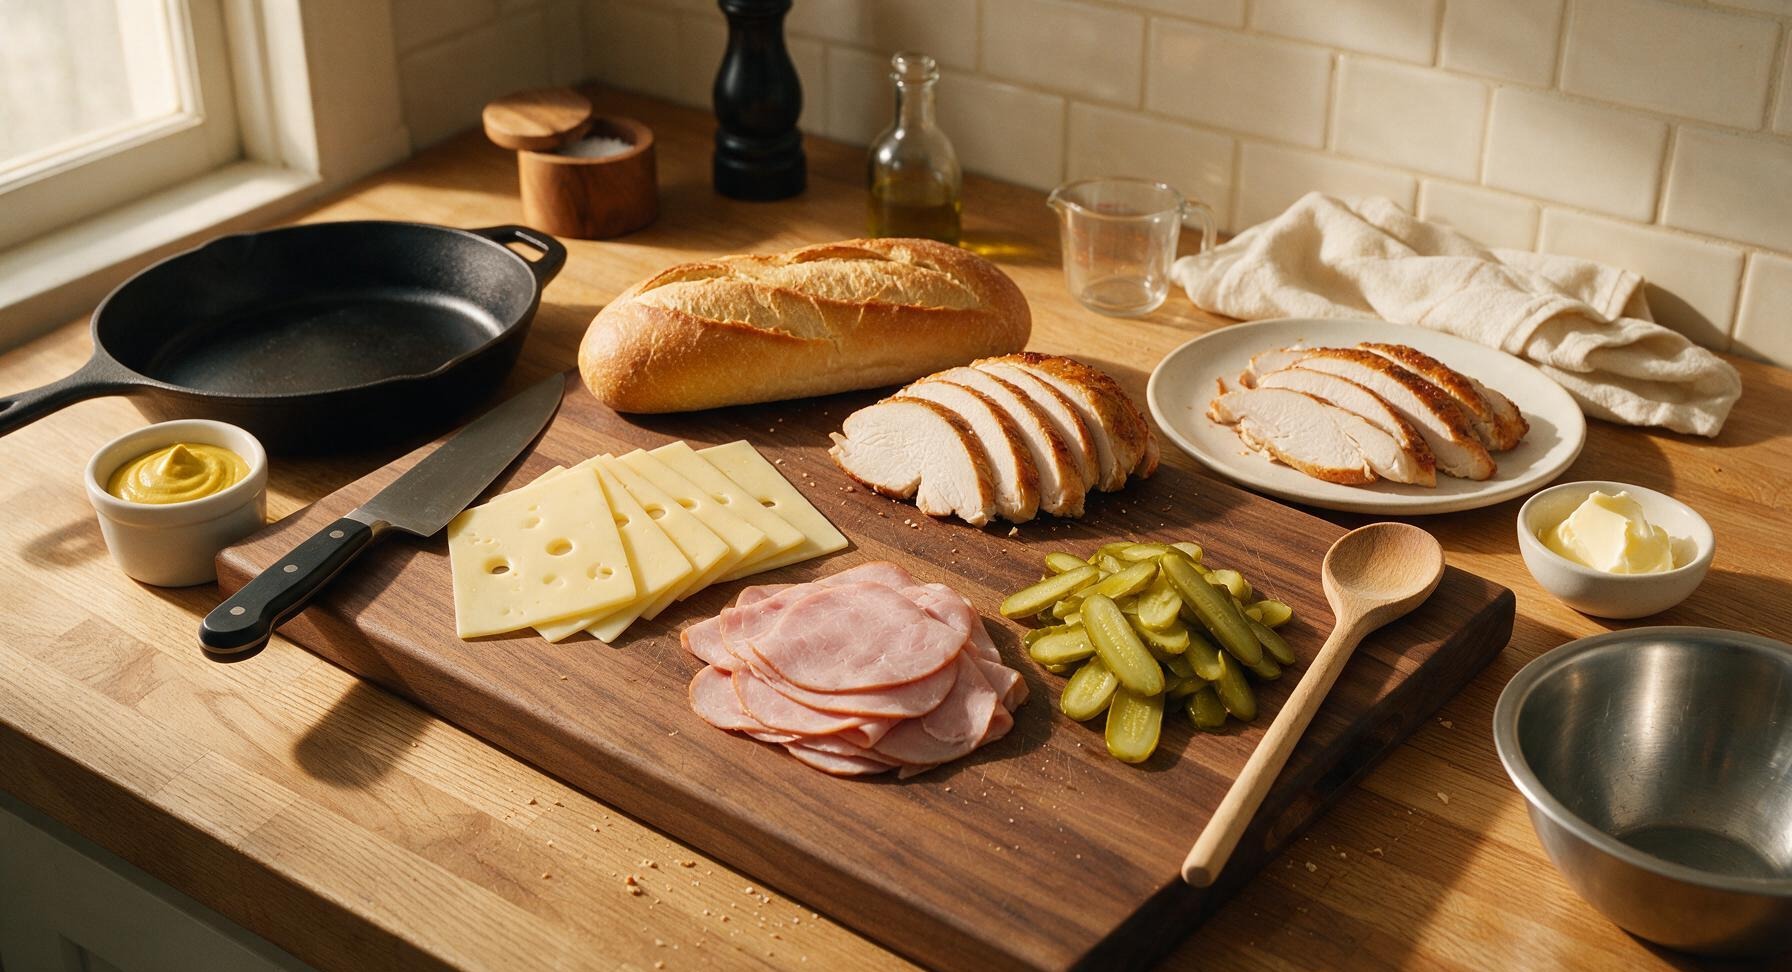
Smoked roasted turkey breast, thinly sliced 225g (8oz)
Cuban bread loaf 450g (1 loaf, 12 inches long)
Deli ham, thinly sliced 110g (4oz)
Swiss cheese, sliced 120g (8 slices)
Dill pickles, thinly sliced lengthwise, drained 1 cup (100g)
Yellow mustard 3 tablespoons (45g)
Unsalted butter, softened 2 tablespoons (28g)

Steps

1

Slice and prep bread

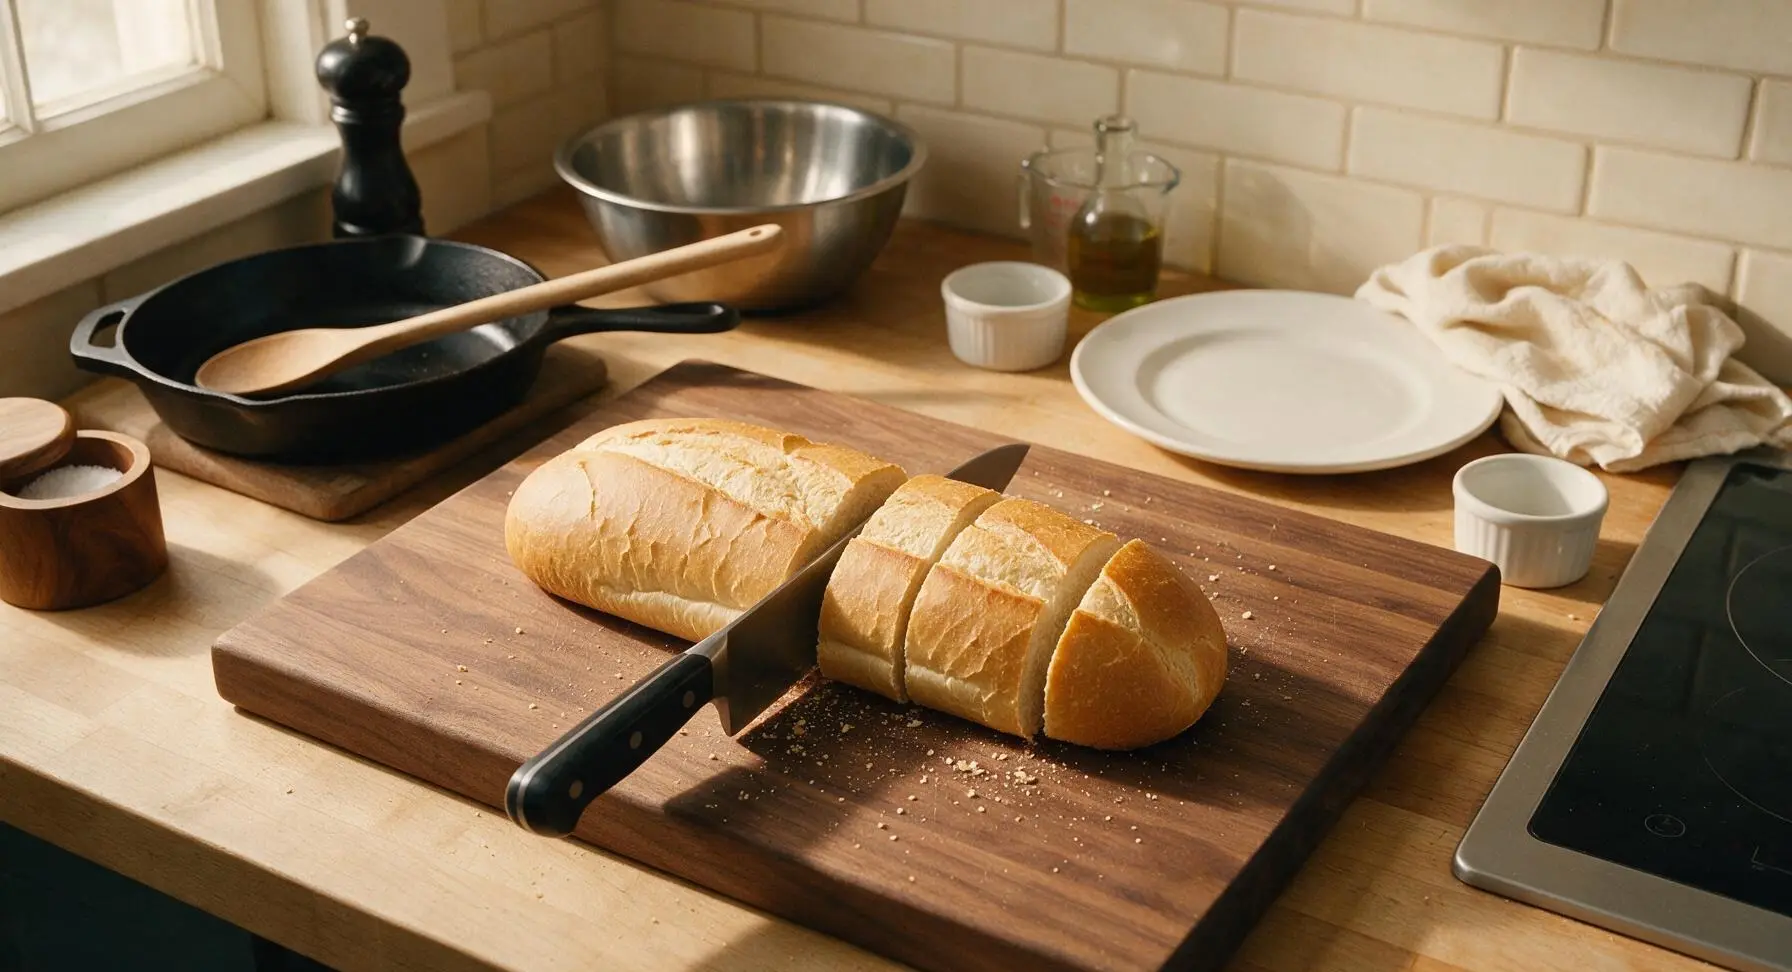
Place the whole Cuban bread loaf on the large maple cutting board. Using the 8-inch chef knife, cut the loaf crosswise into four equal 6-inch sections, then slice each section horizontally in half as if making a sub sandwich, leaving a 1cm hinge along one edge to keep the halves connected. Do not cut all the way through. The bread will have a soft, airy pale crumb and a thin, crisp golden crust when cut correctly.
Step 1
step1:Slice and prep bread
2

Spread mustard evenly

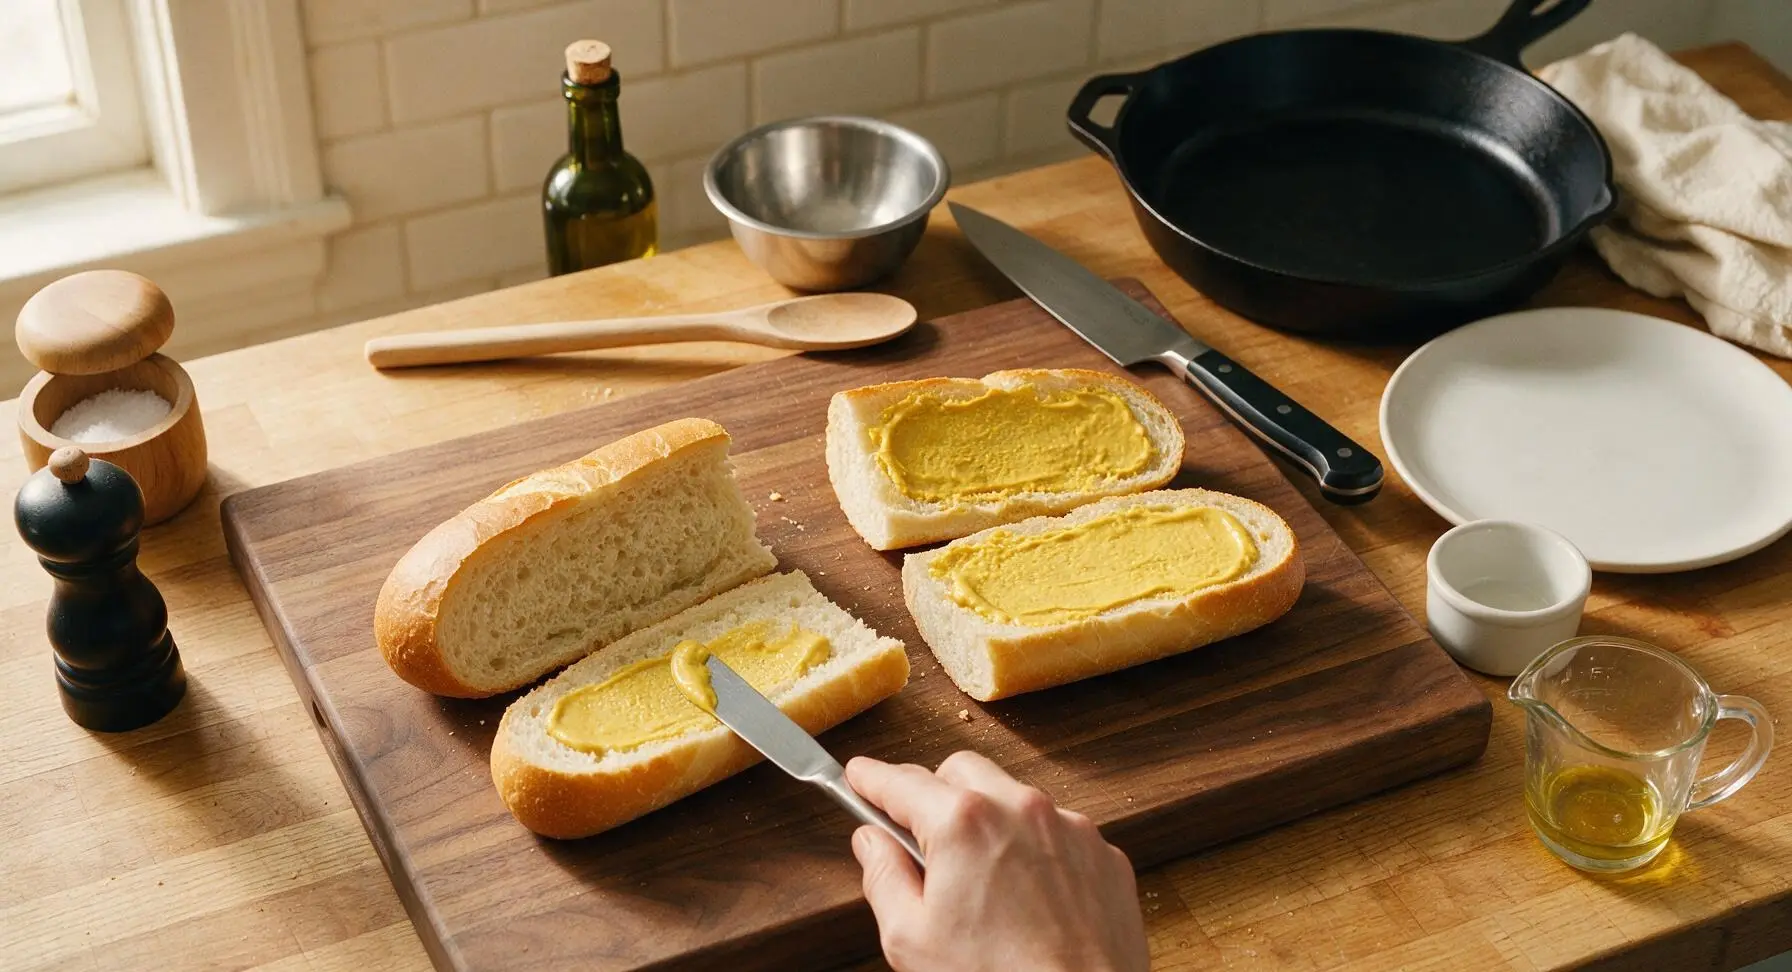
Open each hinged bread section flat on the cutting board. Use the small stainless steel butter knife to spread 3/4 tablespoon of yellow mustard evenly across the cut interior sides of both top and bottom bread halves for each sandwich. Spread mustard all the way to the crust edges to ensure every bite has tangy flavor; check for dry, uncoated patches of bread and cover them completely.
Step 2
step2:Spread mustard evenly
3

Layer sandwich fillings

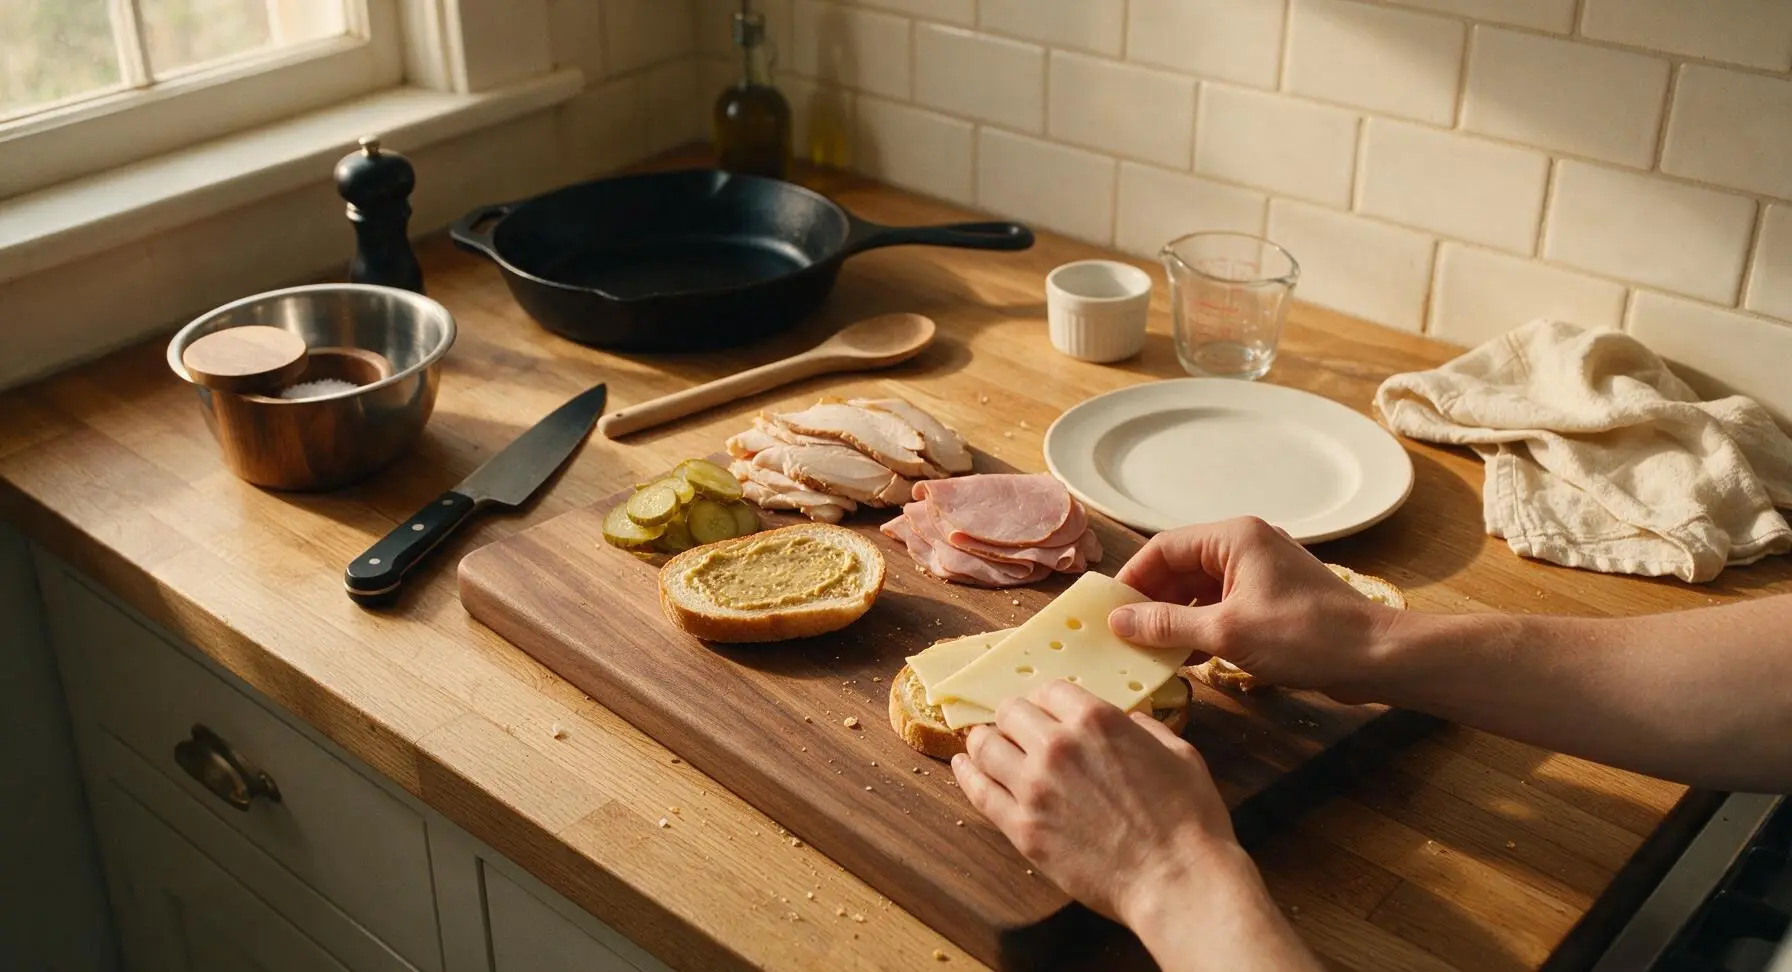
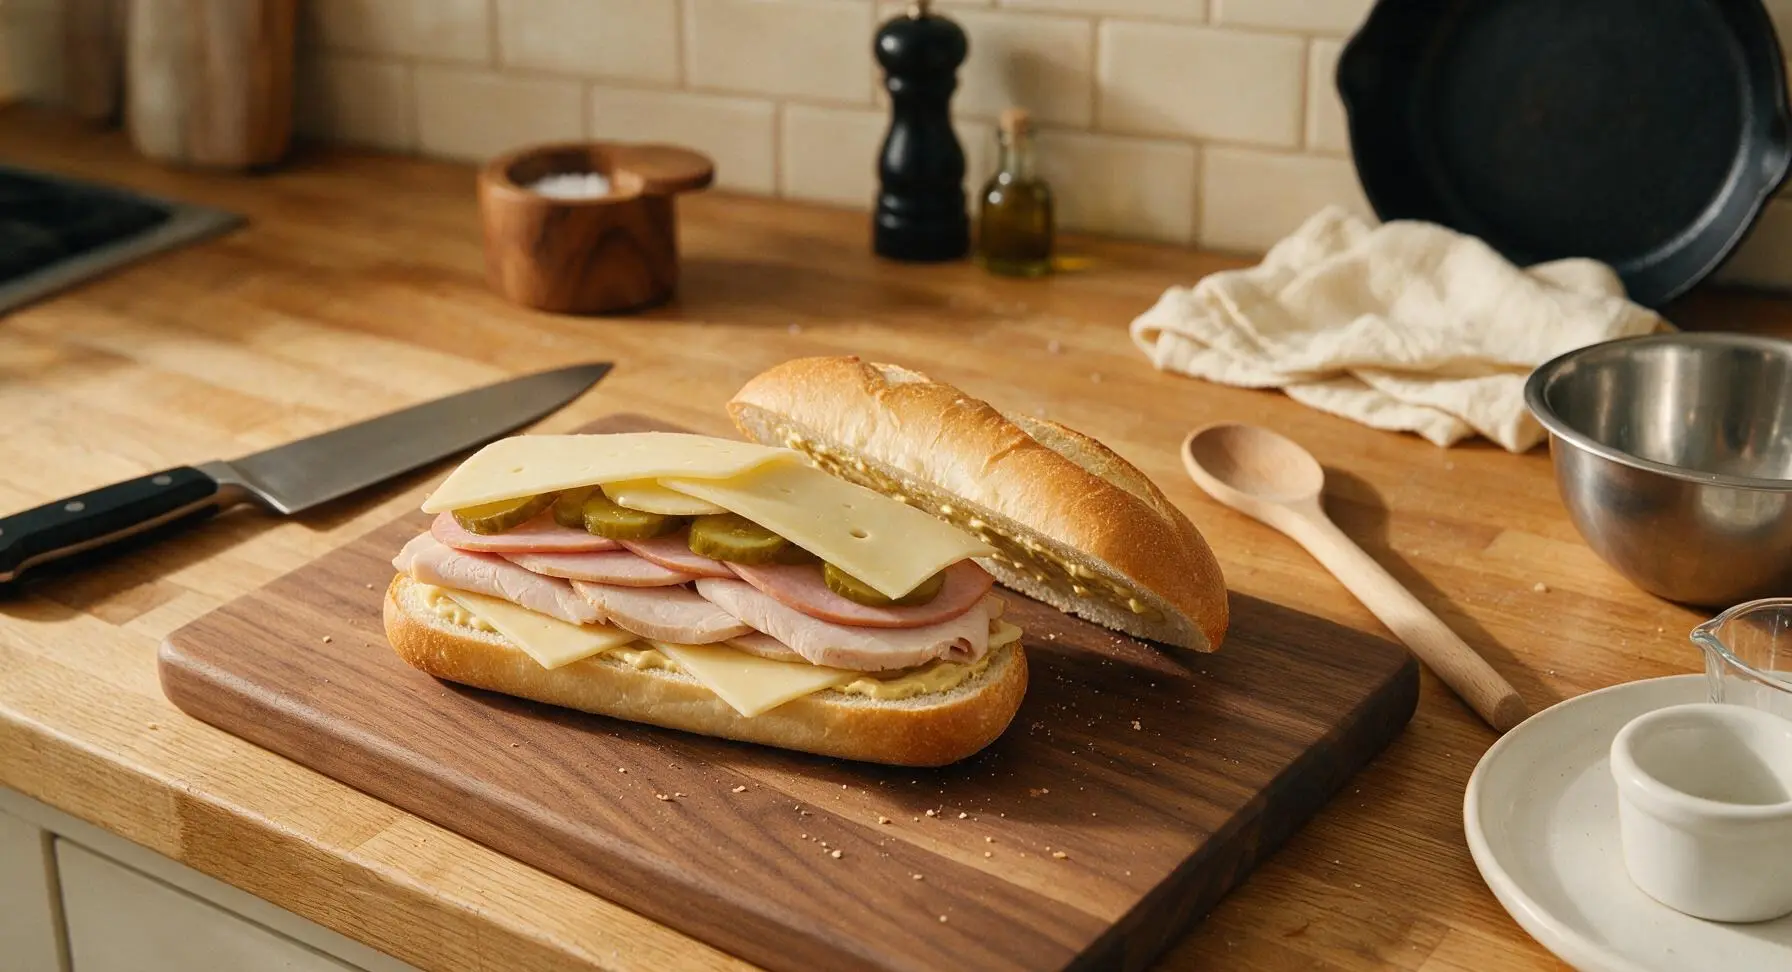
On the bottom half of each mustard-coated bread section, layer ingredients in this exact order to prevent sogginess: 2 slices of Swiss cheese (placed at opposite ends to fully cover the bread), 55g (about 4 thin slices) of roasted turkey, 28g (about 2 thin slices) of deli ham, 1/4 cup of drained dill pickle slices arranged in a single even layer, then a final 2 slices of Swiss cheese on top of the pickles. Close the top bread half over the fillings, pressing down gently with the palm of your hand to compact the stack slightly.
Step 3
step3:Layer sandwich fillings
Step 3
step3:Layer sandwich fillings
4

Butter bread exteriors

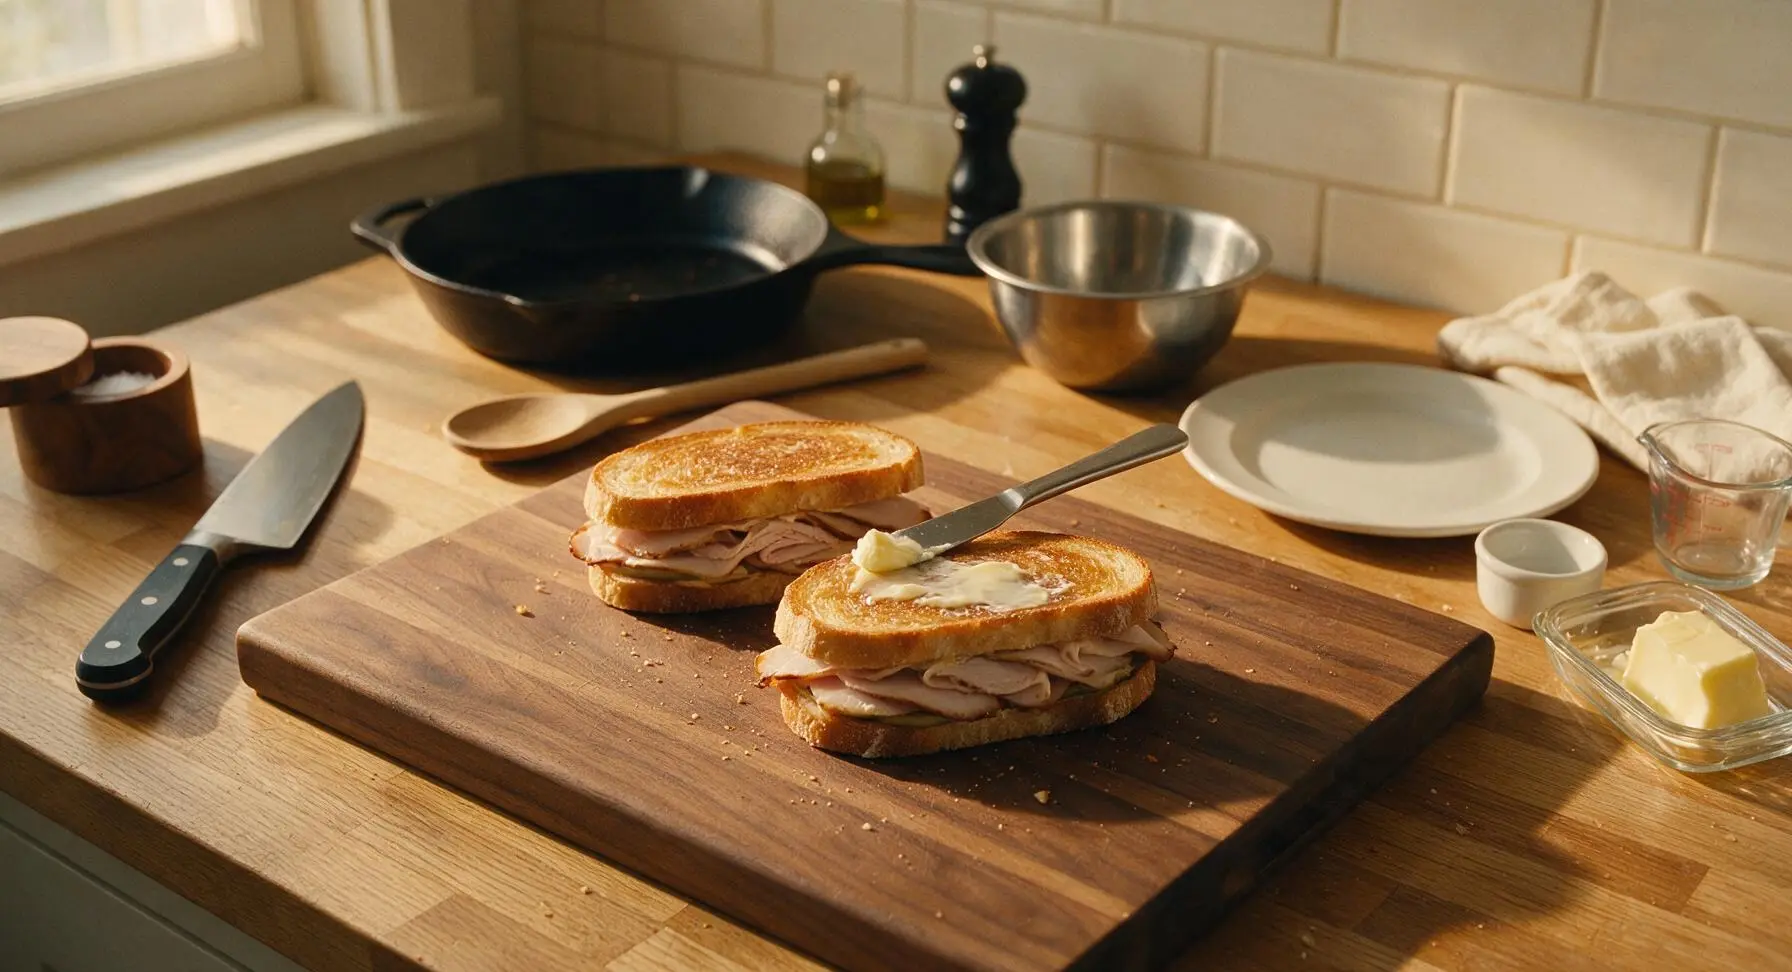
Use the small stainless steel butter knife to spread 1/2 tablespoon of softened unsalted butter evenly across the entire outer top and bottom crust of each assembled sandwich. The butter should be thin enough that it does not drip when the sandwich is lifted, but thick enough to create a golden, crispy crust when pressed. Wipe any excess butter smudges off the cutting board with the edge of the butter knife.
Step 4
step4:Butter bread exteriors
5

Preheat cast iron skillet

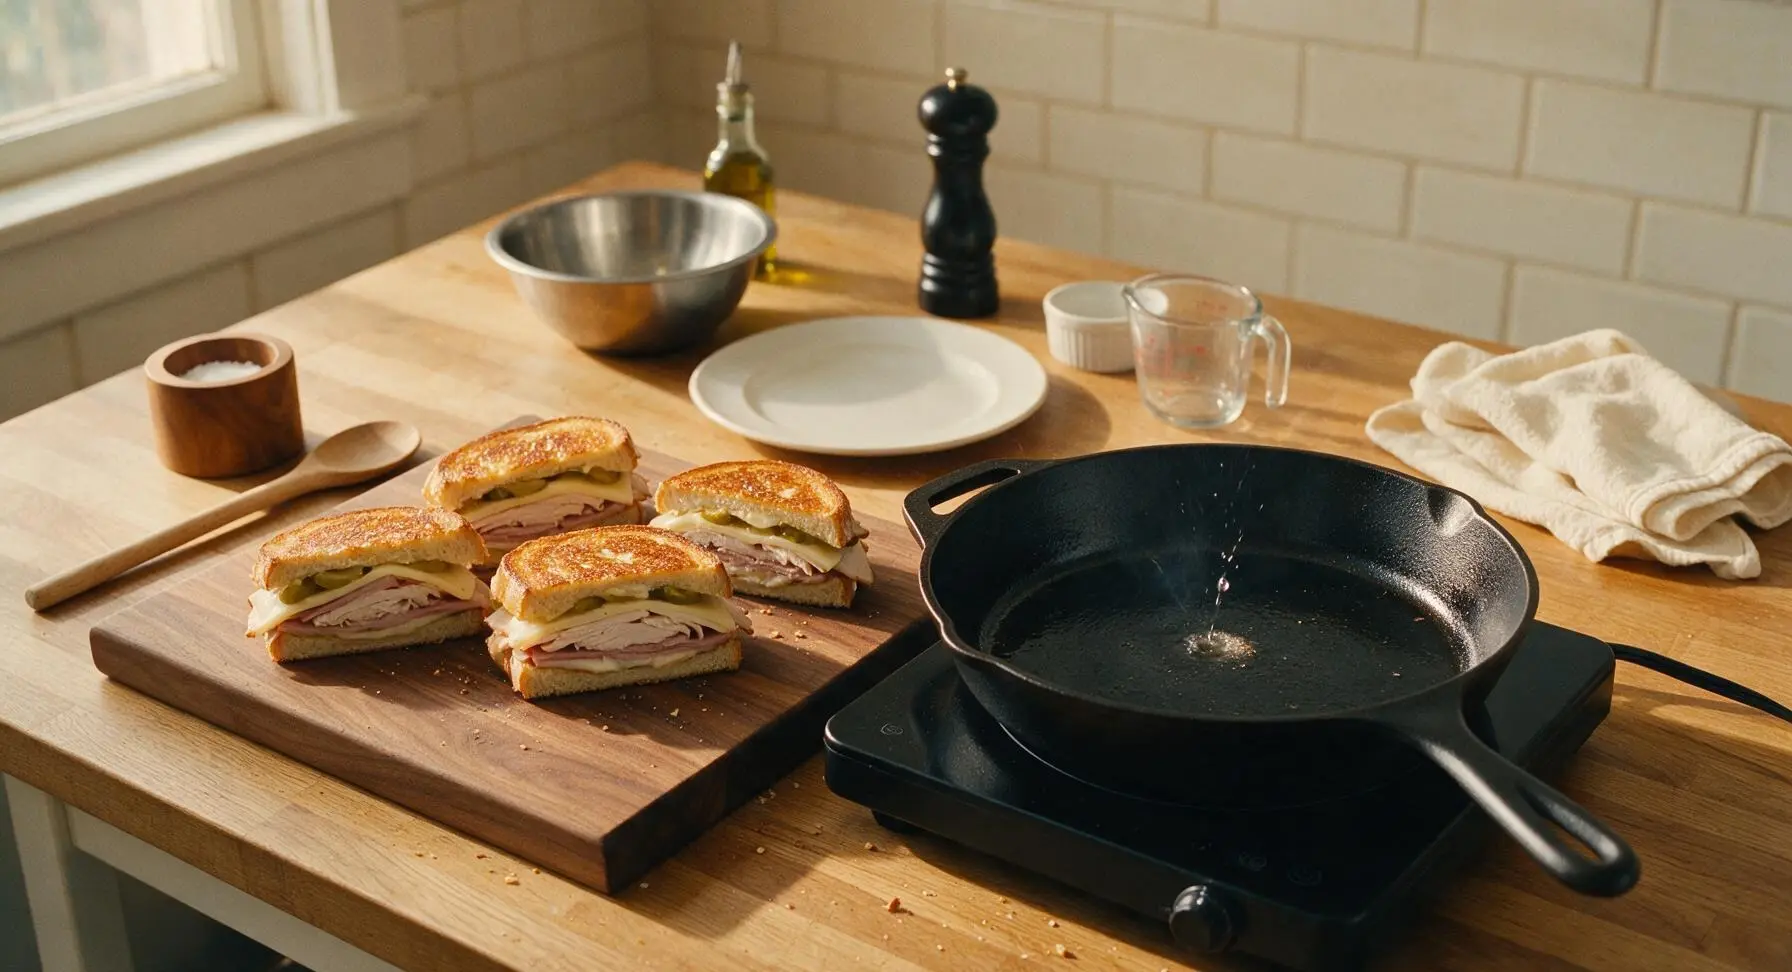
Place the 12-inch black cast iron skillet centered on the portable matte black induction burner on the far right of the counter. Heat the skillet over medium heat (350°F / 175°C) for 3 minutes, until a drop of cold water flicked onto the surface dances across the pan and evaporates within 2 seconds. Do not add extra oil to the skillet, as the butter on the sandwich exteriors will provide enough fat to prevent sticking.
Step 5
step5:Preheat cast iron skillet
6

Press and cook first side

Place two of the buttered sandwiches into the preheated 12-inch skillet, leaving 1cm of space between them. Take the foil-wrapped 8-inch cast iron skillet (sandwich press) and set it directly on top of the sandwiches, pressing down gently to compress them to about 2/3 of their original thickness. Cook for 4 minutes, until the bottom bread crust is deep golden brown and crispy, and the cheese on the bottom layer starts to melt and ooze slightly at the sandwich edges.
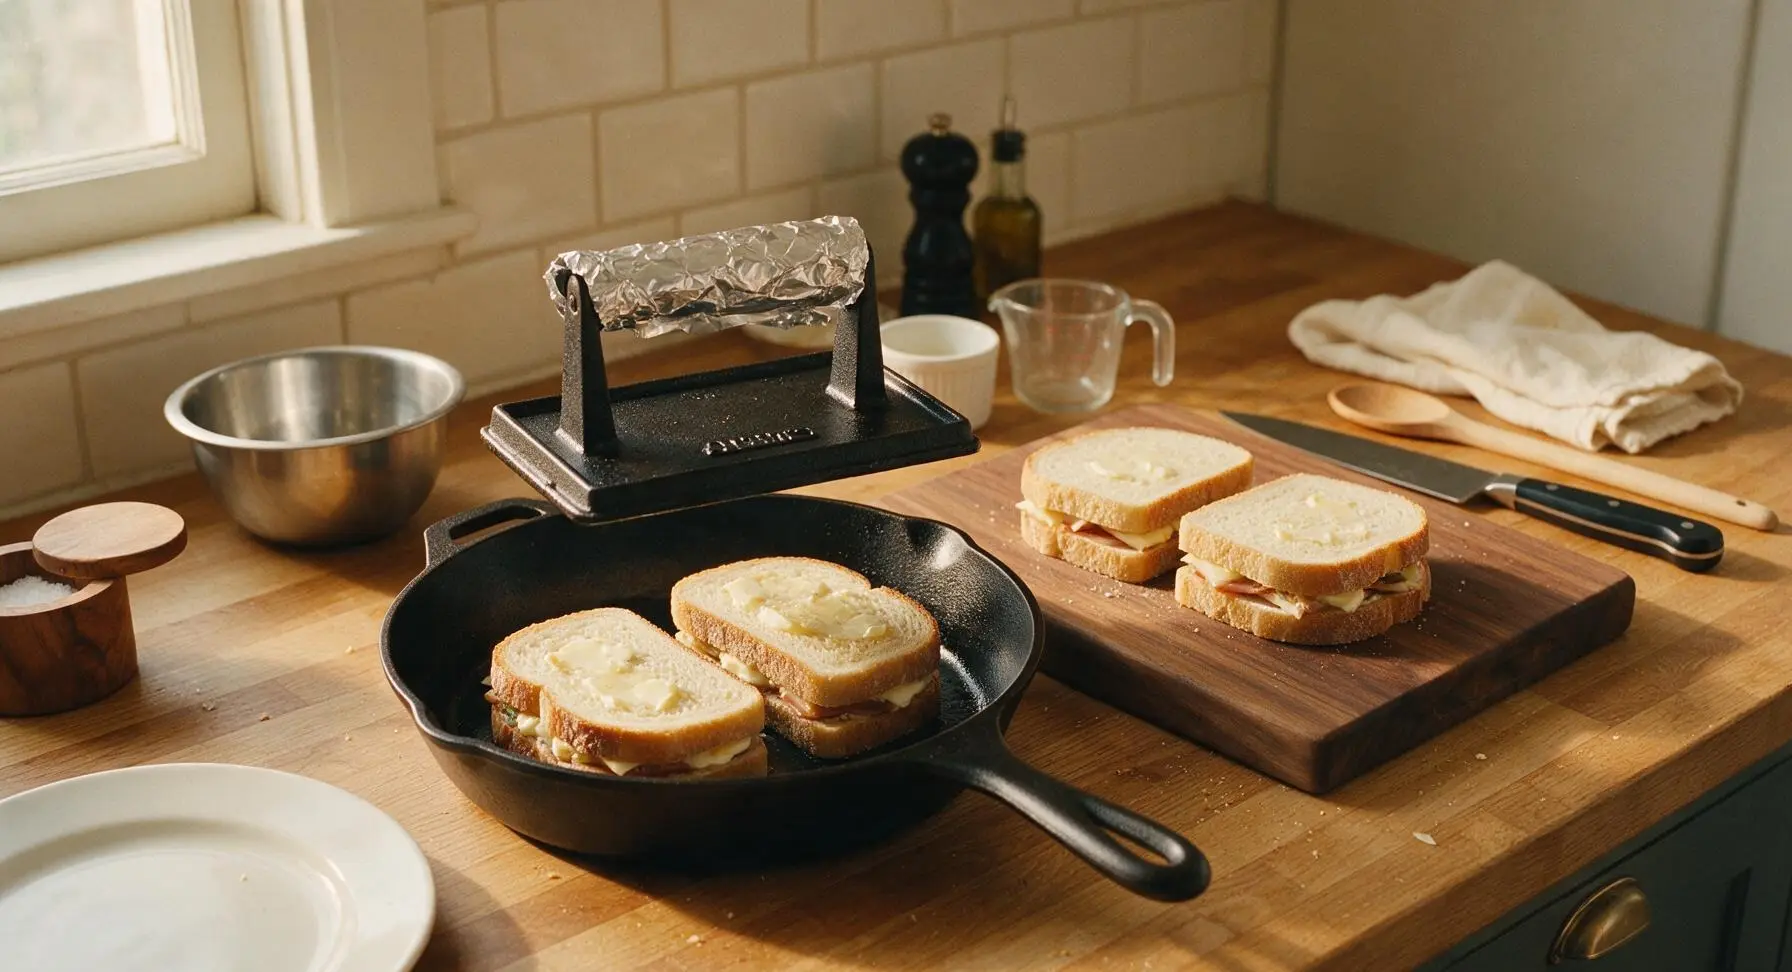
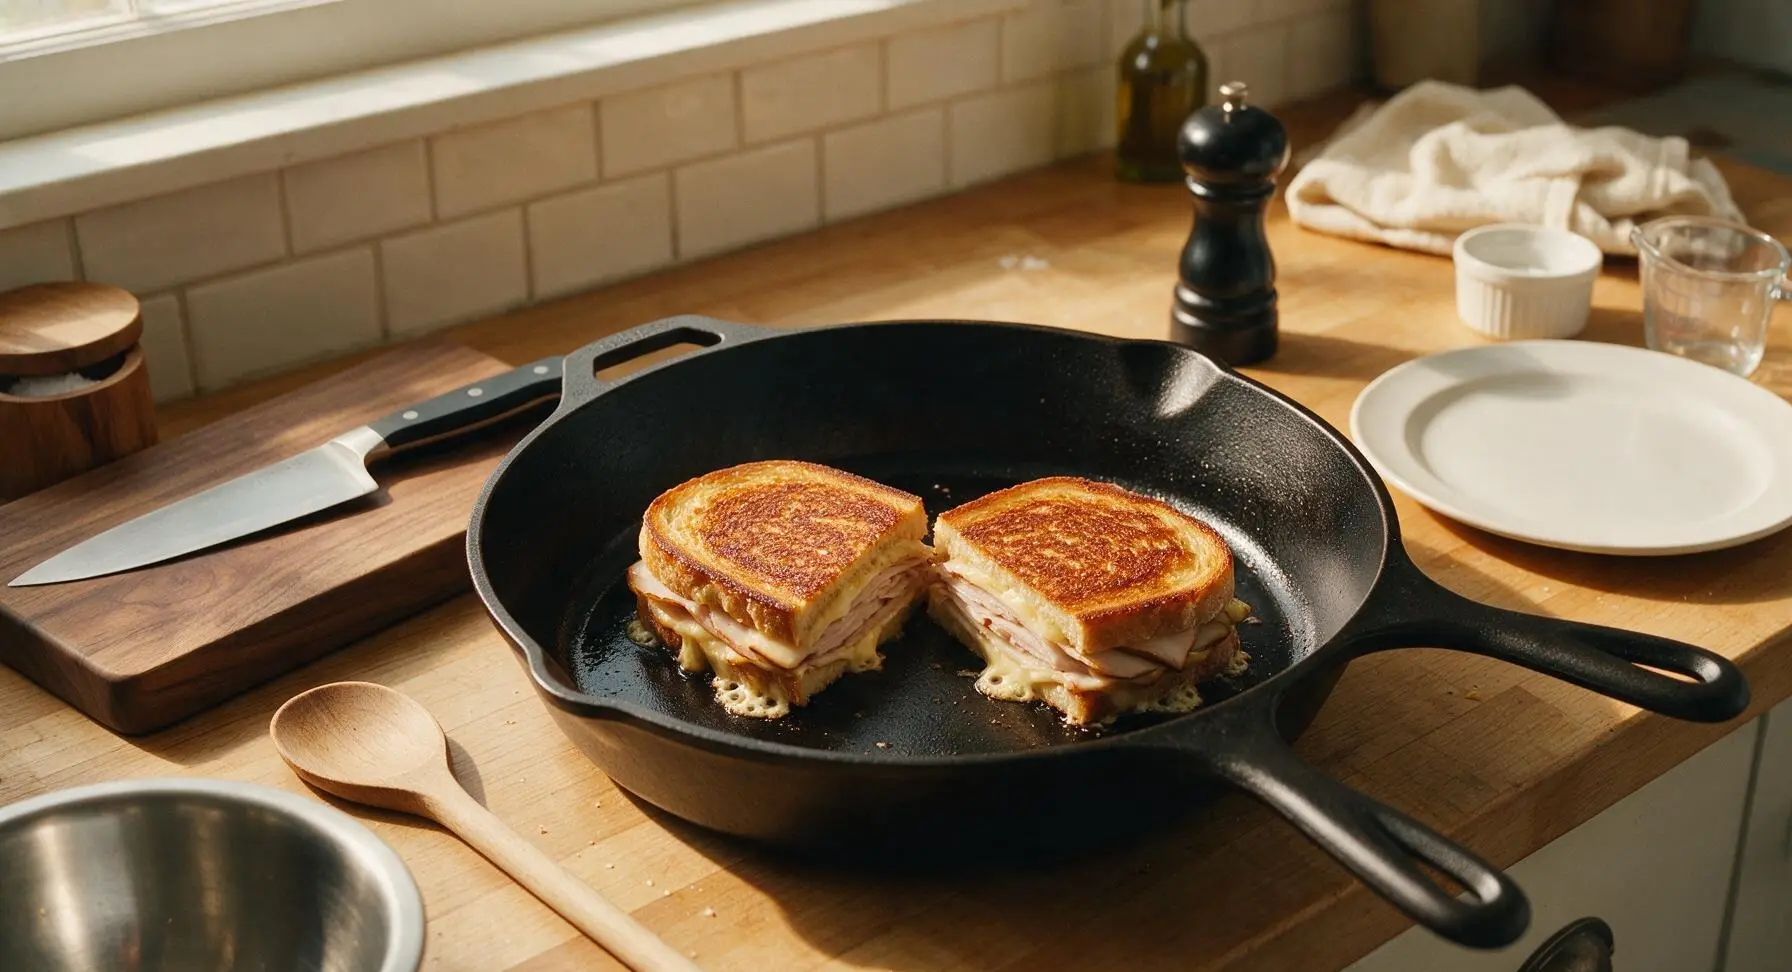
Step 6
step6:Press and cook first side
Step 6
step6:Press and cook first side
7

Flip and finish cooking

Use the thin stainless steel spatula to carefully flip each sandwich over in the skillet, taking care not to let fillings slide out. Replace the foil-wrapped cast iron press on top, pressing gently again to maintain contact between bread and pan. Cook for another 3 minutes, until the second side is equally golden and crispy, and all the cheese is fully melted and stringy when the sandwich edge is gently pulled. Transfer the first batch of cooked sandwiches to a clean corner of the cutting board, then repeat the cooking process with the remaining two sandwiches.
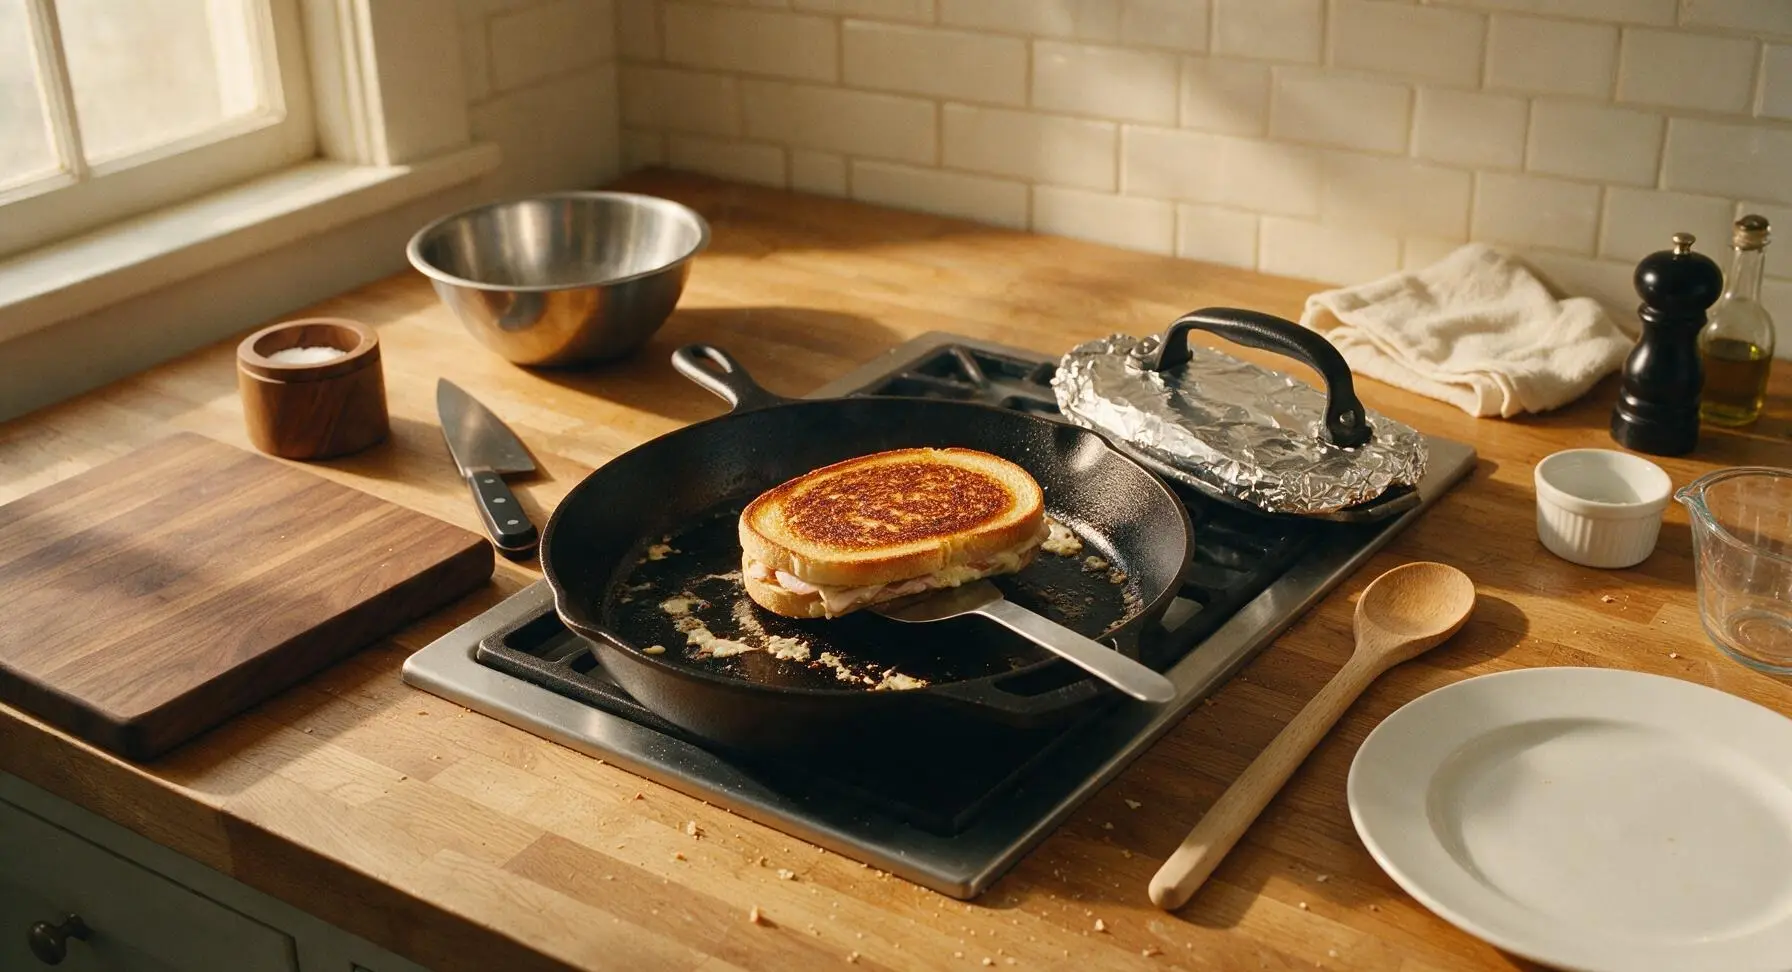
Step 7
step7:Flip and finish cooking
8

Rest, slice, and serve

Let all cooked sandwiches rest for 1 minute after removing from the skillet to allow the cheese to set slightly, so fillings do not slide out when cut. Place one rested sandwich at a time on the maple cutting board, use the 8-inch chef knife to cut them diagonally across the middle into two triangular halves. Arrange two halves per person on the matte cream ceramic dinner plates, serving extra dill pickles in the small clear glass ramekin on the side if desired.
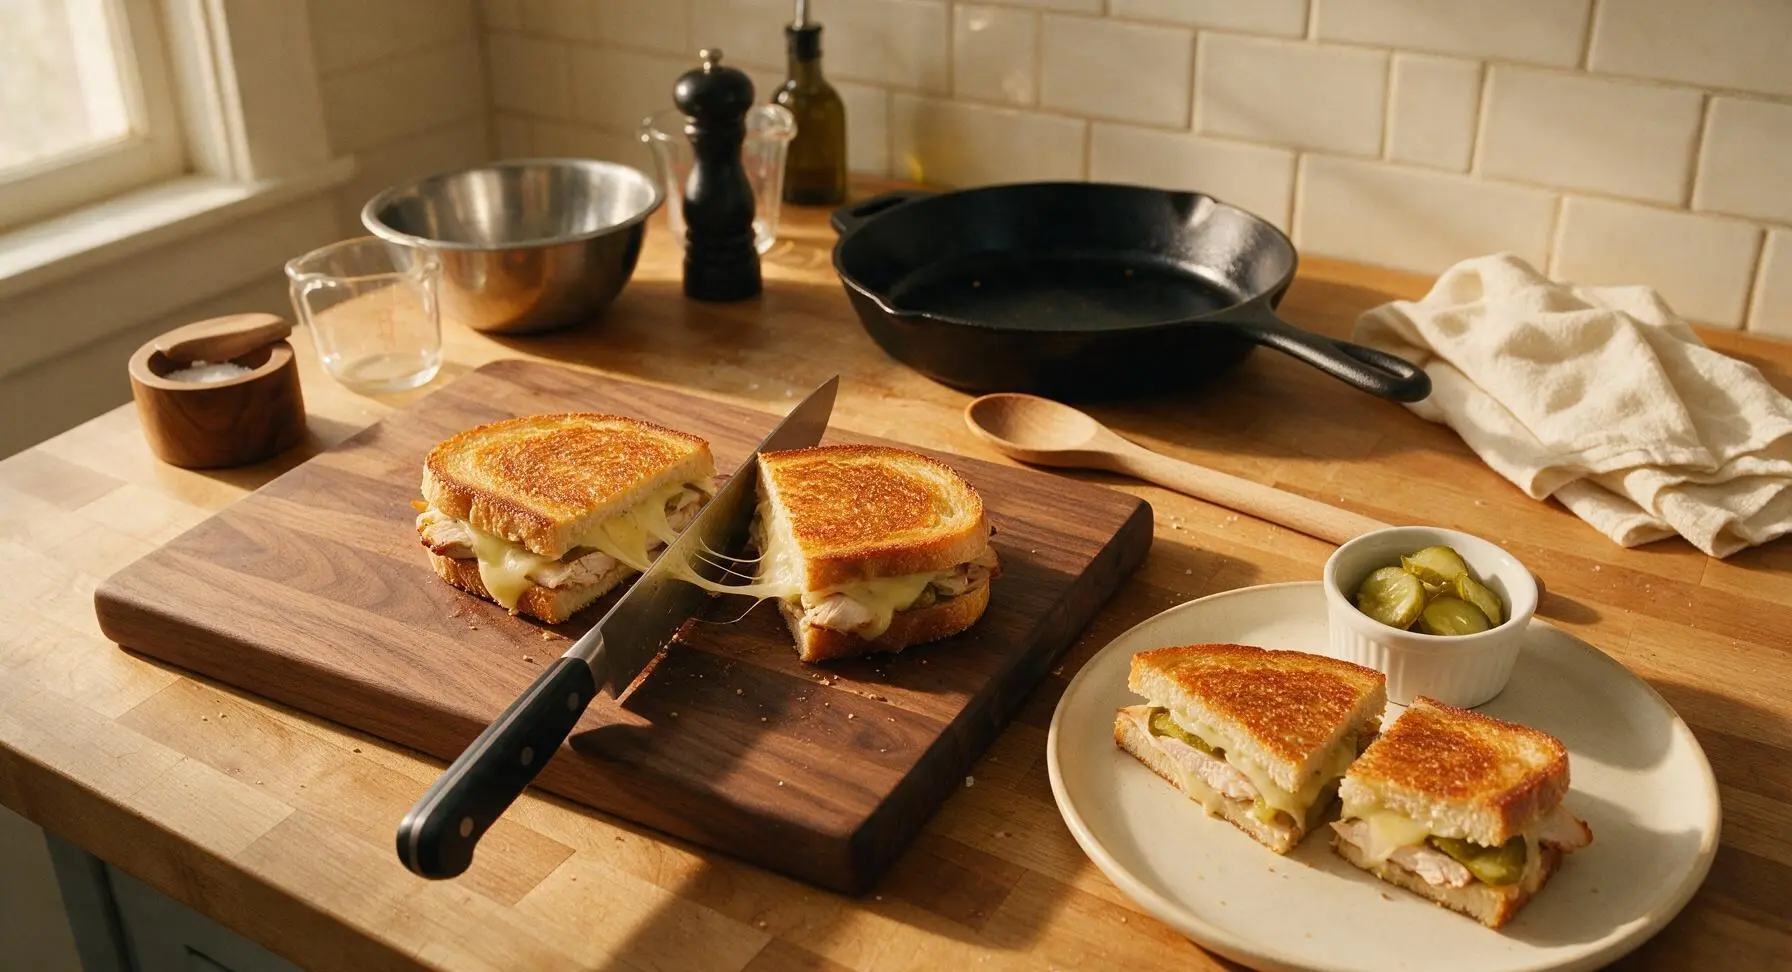
Step 8
step8:Rest, slice, and serve

Tips

1.Pat pickle slices dry with a paper towel before layering: Excess brine from wet pickles will soak into the bread during pressing, leading to soggy crusts instead of the signature crisp Cuban sandwich texture.
2.Use fully softened butter for spreading: Cold, firm butter will tear the soft bread crust when applied, creating uneven bare spots that won’t brown or crisp properly during cooking, leading to patchy, pale crusts.
3.Keep the heat at medium, not high: High heat will burn the bread crust before the cheese has time to fully melt, while too-low heat will make the bread greasy instead of crisp. Adjust the burner slightly if the crust browns faster than 4 minutes per side.


✨ You May Also Like

Lunch
🍜 United States

Creamy, salty, tangy nostalgic Midwestern sandwich pairing rich peanut butter with crisp briny dill pickles for a fast, satisfying no-cook meal.

⏱️ 5 minutesLunch ★ 4.6
Lunch
🍜 United States

Crispy, melty pressed sandwich layered with savory roast pork, ham, Swiss cheese, pickles, and tangy mustard: a beloved Cuban-American comfort classic.

⏱️ 25 minuteLunch ★ 4.9
Lunch
🍜 United States

Hearty, briny New Orleans pressed sandwich stacked with cured Italian meats, provolone, and zesty olive salad, served cold for bold, portable flavor.

⏱️ 1 hour 20Lunch ★ 4.7
Lunch
🍜 United States

A tangy, creamy Southern American staple, this no-cook cheesy sandwich is packed with sharp cheddar and sweet pimentos for a satisfying, portable bite.

⏱️ 1 hour 15Lunch ★ 4.8
Lunch
🍜 United States

Crispy Cajun-spiced fried shrimp piled on crusty French bread with tangy remoulade and fresh toppings, the iconic Louisiana street food sandwich.

⏱️ 35 minuteLunch ★ 4.4
Lunch
🍜 United States

Stacked, savory deli-style corned beef sandwich with melted Swiss, tangy mustard, and crisp griddled rye— a fast, hearty, satisfying classic.

⏱️ 15 minuteLunch ★ 4.9

Turkey Cuban Sandwich:Frequently Asked Questions

1.What if I can’t find authentic Cuban bread for this sandwich? ▾
If you can’t track down authentic Cuban bread, reach for a soft, slightly sweet Italian or French loaf with a thin, crisp crust—skip crusty sourdough or dense artisanal loaves, as they won’t press evenly. For the closest match, look for loaves with a touch of lard or butter in the dough, which mimics Cuban bread’s tender, rich crumb that toasts up perfectly when pressed.
2.Do I have to use a panini press to make this sandwich? ▾
No, you don’t need a dedicated panini press! A heavy cast iron skillet works perfectly—just place the assembled sandwich in the preheated, buttered pan, then set a second foil-wrapped heavy skillet on top, weighted with a couple canned goods. Press for 3-4 minutes per side until the bread is crispy and cheese is fully melted, for identical results.
3.Can I use regular sliced deli turkey instead of smoked roasted turkey? ▾
You absolutely can, though smoked roasted turkey adds that signature deep, smoky note that balances the tangy pickles and mustard. If you use plain deli turkey, add a tiny pinch of smoked paprika to your mustard spread, or opt for a lightly smoked deli turkey slice to match that classic flavor profile without extra prep work.
4.Why do I need to drain my dill pickles so well before adding them? ▾
Draining pickles thoroughly is non-negotiable to avoid a soggy sandwich! Excess pickle brine will seep into the soft bread as you press it, turning that perfectly crispy crust mushy. After slicing pickles lengthwise, pat them dry with paper towels for 10-15 seconds per slice to remove excess moisture before layering for crisp, tangy bites.
5.What type of mustard works best for a Turkey Cuban? ▾
Traditional Cuban sandwiches use bright, sharp yellow mustard for its mild tang, but you can mix it up if you prefer. A 50/50 blend of yellow mustard and spicy brown mustard adds nice depth, or a tiny dollop of Dijon works for a sharper kick—skip creamy honey mustards, as they’re too sweet and throw off the sandwich’s savory, tangy balance.
6.Can I make these sandwiches ahead of time for meal prep? ▾
These are best pressed fresh, but you can prep components 2-3 days ahead to cut down on lunchtime work. Slice your pickles, turkey, ham, and cheese, and store them in separate airtight containers in the fridge, slicing your bread the morning of. Don’t fully assemble the sandwich ahead of time, as fillings will make the bread go soggy before you press it.
7.Is the deli ham a required ingredient, or can I leave it out? ▾
The thin layer of deli ham adds salty, savory depth that pairs beautifully with smoked turkey, but you can leave it out if you don’t eat pork or don’t have it on hand. Swap it for an extra layer of smoked turkey, or a couple slices of crisp cooked smoked turkey bacon, to keep that salty, smoky balance without traditional ham.
8.How thin should I slice the pickles, turkey, and ham for the best texture? ▾
Aim for uniform 1/8-inch thick slices for all your fillings! Super thin slices stack evenly, press flat without oozing out the sides, and ensure you get a little bit of every flavor in each bite. If your deli slices are thicker, ask the counter to cut them to a shave-thin setting, or use a sharp serrated knife to slice homemade turkey to that even thickness.
9.My cheese never fully melts when I press the sandwich—what am I doing wrong? ▾
This almost always comes down to two common issues: your heat is too high, or your cheese slices are too cold. Cook over medium-low heat instead of high, so the bread toasts slowly while the cheese has time to melt all the way through. Let your Swiss cheese sit out on the counter for 10 minutes before assembling to take the chill off for perfect melt.
10.Can I use a different cheese instead of Swiss? ▾
Swiss is classic for its mild, nutty flavor and exceptional melt, but you can swap it if needed. Provolone is the closest substitute, with a similarly mild flavor and great melt, or you can use young, mild Gouda for a slightly creamier bite. Skip crumbly cheeses like feta or extra-sharp cheddar, as they won’t melt smoothly and will overpower other fillings.
11.How much butter should I use on the bread for toasting? ▾
You only need about 1 teaspoon of softened, unsalted butter per outer slice of bread! Spread it in a thin, even layer all the way to the edges to get that uniformly golden, crispy crust. Too much butter will make the sandwich greasy instead of crisp, so err on the light side—you can always add a tiny extra touch if your pan feels dry.
12.What sides pair best with a Turkey Cuban Sandwich? ▾
The best pairings are simple and bright to cut through the rich, savory sandwich. Serve with crispy kettle-cooked potato chips, tangy vinaigrette-based coleslaw, a small cup of black bean soup, or a simple side salad with citrus vinaigrette. Skip heavy, mayo-heavy creamy sides that will make the meal feel overly dense and rich.
13.Can I make this sandwich in a regular toaster if I don’t have a skillet or press? ▾
You can, with a small hack! Assemble the sandwich without butter on the outer bread, toast it in a sealed toaster bag on the medium setting until the cheese starts to melt, then brush the outer slices with a tiny bit of melted butter and pop it back for 30 seconds to get that crispy, buttery crust. Never put buttered bread directly in the toaster, as it will drip and cause burns.
14.How do I keep the fillings from oozing out when I press the sandwich? ▾
Layer your fillings strategically to prevent messy oozing! Place a slice of cheese directly against both inner sides of the bread to act as a “glue” that holds pickles and meat in place, don’t overstuff the sandwich, and press down gently on the assembled sandwich with your palm before cooking to compact layers slightly before they hit the heat.
15.Can I use leftover roasted Thanksgiving turkey for this recipe? ▾
That’s actually one of my favorite ways to use up leftover Thanksgiving turkey! Just slice the turkey as thinly as possible against the grain, and if it’s not smoked, add a tiny pinch of smoked paprika to your mustard to replicate that classic smoky note. Make sure the turkey warms all the way through as you press the sandwich for evenly heated bites.
16.Are dill pickles the only pickle option that works here? ▾
Dill pickles are classic for their bright, tangy, salty bite, but you can swap them if you prefer. Bread and butter pickles work for a sweeter twist, though pat them extra dry since they have more sugary brine, or thin pickled jalapeños for a spicy kick. Avoid sweet, spiced fruit pickles, as their warm, sweet flavor clashes with the savory meat and cheese.
17.How long should I press the sandwich to get the perfect crisp? ▾
If you’re using a panini press set to medium heat, 3 to 4 minutes is perfect—you’ll know it’s done when the bread is deep golden with crispy, slightly flattened edges, and the Swiss cheese oozes just a little out the sides. If you’re using the stovetop weighted skillet method, cook 3 minutes per side, checking the crust halfway to avoid burning.
18.Can I make a vegetarian version of this Turkey Cuban? ▾
Absolutely! Swap the smoked turkey and deli ham for thinly sliced smoked tofu or marinated portobello slices, seared first to press out excess moisture, keep the Swiss (or use a vegan Swiss substitute), pickles, and mustard, and press exactly as you would the meat version. Always pat plant-based proteins dry so they don’t make the bread soggy as it cooks.
19.What’s the best way to reheat a leftover pressed Cuban sandwich? ▾
Skip the microwave, which will turn the bread soggy and rubbery. Reheat leftover sandwiches in a dry skillet over medium-low heat for 2 minutes per side, pressing down gently with a spatula as it warms, until the crust crisps back up and the cheese is melty again. You can also use a toaster oven at 350°F for 4-5 minutes for evenly crisp, fresh-tasting results.

Comments (6)

2 days ago

OMG this was such a game changer for our weeknight dinner! I had leftover sliced turkey from Sunday’s roast and didn’t know what to do with it, so I threw these together in like 15 minutes total. My kids devoured theirs and asked for seconds! The pickles and mustard hit so good, I didn’t even miss the usual roast pork. 10/10 will be making these again for our next pool day.

yesterday

Wait did you use Swiss or provolone? I can never decide which melts better for pressed sammies!

yesterday

So glad your family loved it! Both cheeses work great, but Swiss gives that classic Cuban tang if you want the authentic vibe! If you’re a provolone fan though, it melts perfectly smooth for that cheesy pull everyone loves.

1 week ago

Perfect easy recipe for meal prep! I made a batch on Sunday, wrapped them tight in foil, and they held up so well for quick lunches all week. I added a little extra pickled jalapeño for a kick and *chef’s kiss*. Total cook time was exactly like the recipe said, no fancy equipment needed either — I just used my cast iron skillet to press them instead of a panini press.

5 days ago

Love the jalapeño add-in, that sounds delicious! The cast iron press hack is such a great tip for folks who don’t have a panini press — thanks for sharing that with everyone!

30 minutes ago

Made these for the neighborhood potluck last weekend and they were gone in 10 minutes flat. I was worried turkey would feel too light next to the usual heavy potluck food, but everyone was raving and asking for the recipe. So easy to scale up for a crowd too, just pressed them in batches on the griddle. Will be a regular in our rotation for sure.

yesterday

Super quick and tasty! I swapped the regular bread for gluten-free Cuban bread I found at my local bakery and it worked perfectly. My only note is that I wish I’d buttered the outside of the bread a little more to get that extra crispy crust, but that’s on me! Even my partner who hates 'lightened up' sandwiches thought this was SO good.

2 hours ago

Oh thanks for the GF bread tip! I’ve been nervous to try pressed sammies with GF bread because I thought it’d get too soggy, will have to track that bakery loaf down!

30 minutes ago

That GF swap sounds fantastic! Extra butter on the crust is such a pro move for next time — a light swipe of mayo on the bread exterior also gets that perfect golden crisp if you ever run out of butter, too!

5 minutes ago

Okay I’m literally the worst at cooking and even I nailed this? No complicated steps, no weird ingredients I have to run to three stores for. I used deli sliced turkey because I didn’t have leftovers, added a little ham too, and it tasted just like the Cuban sandwiches I got on my trip to Miami last year. Wild how easy it is.

just now

Wait the deli turkey hack is genius! I never have leftover roasted turkey lying around so I was gonna skip this, now I’m grabbing supplies on my way home from work tonight!

3 days ago

Made these for our football watch party yesterday and they were a total hit. Cut them into smaller slider sizes, set out some extra mustard and hot sauce on the side, and everyone kept coming back for more. 14 minute cook time? No way, I had them done even faster once the griddle was hot. Absolute keeper recipe, way better than ordering takeout sandwiches for the group.



