
Turkey Drippings
intro
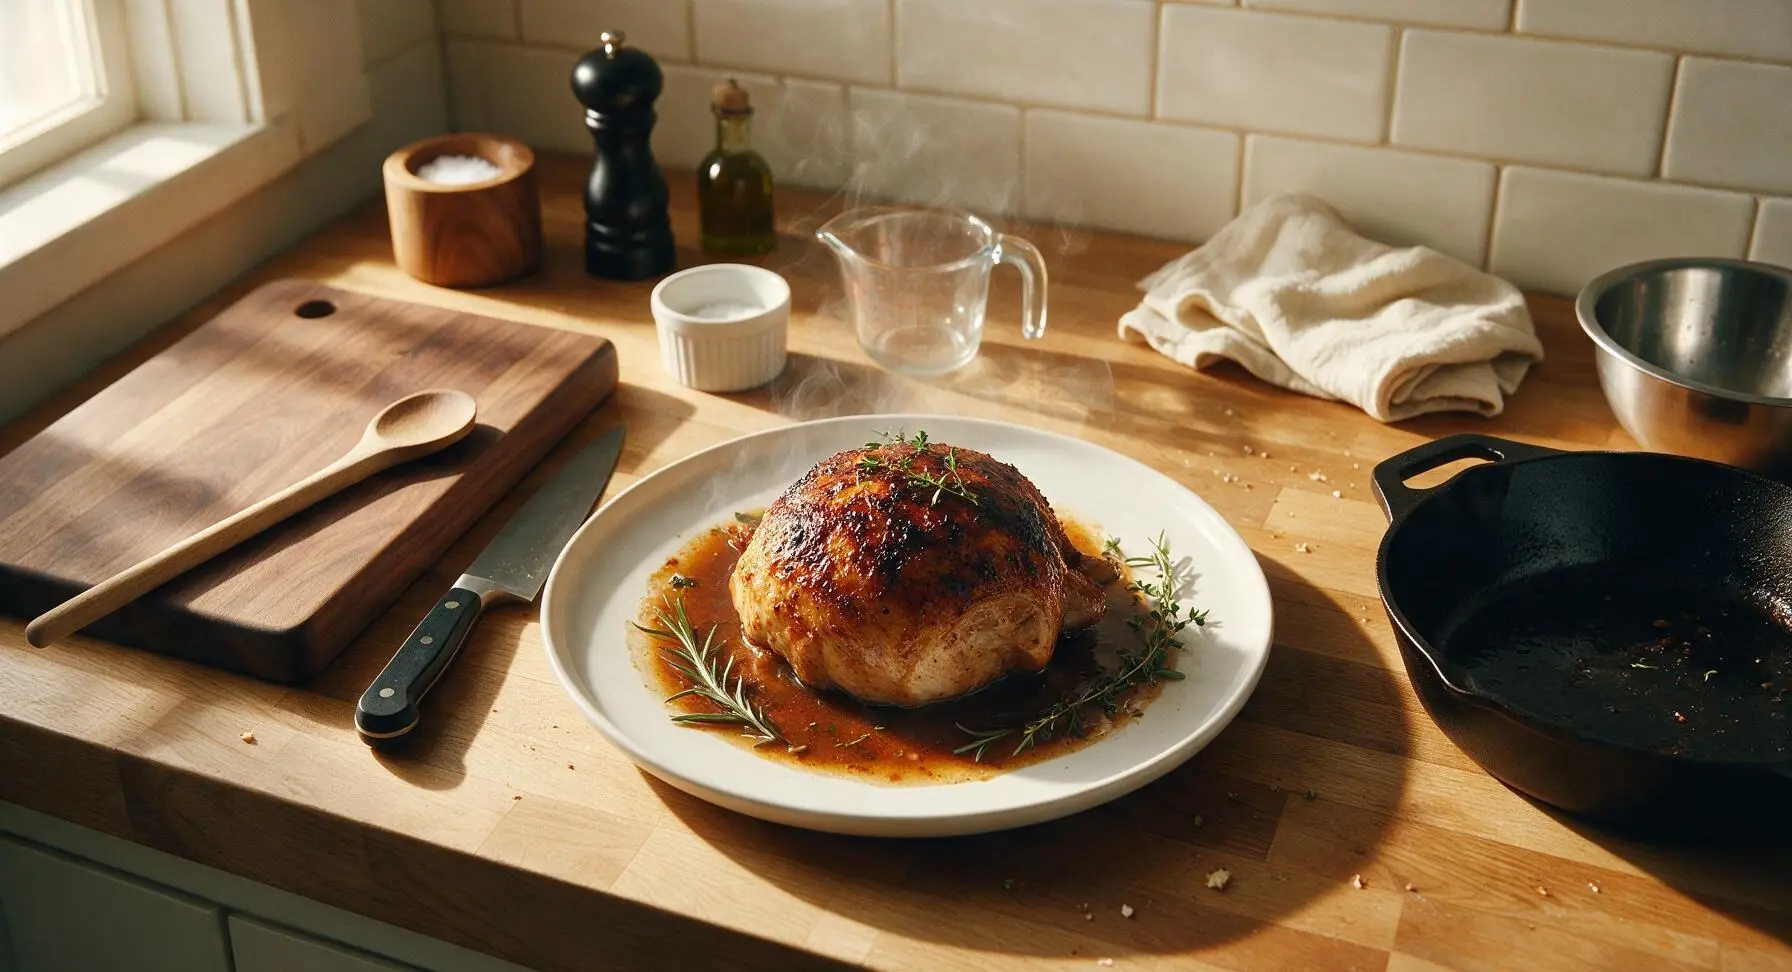
Deeply savory, caramelized turkey drippings are the irreplaceable, flavor-packed base for velvety Thanksgiving gravy, rich with roasted herb and warm, meaty umami notes.
Ingredients
Steps
Prep Pan Aromatics
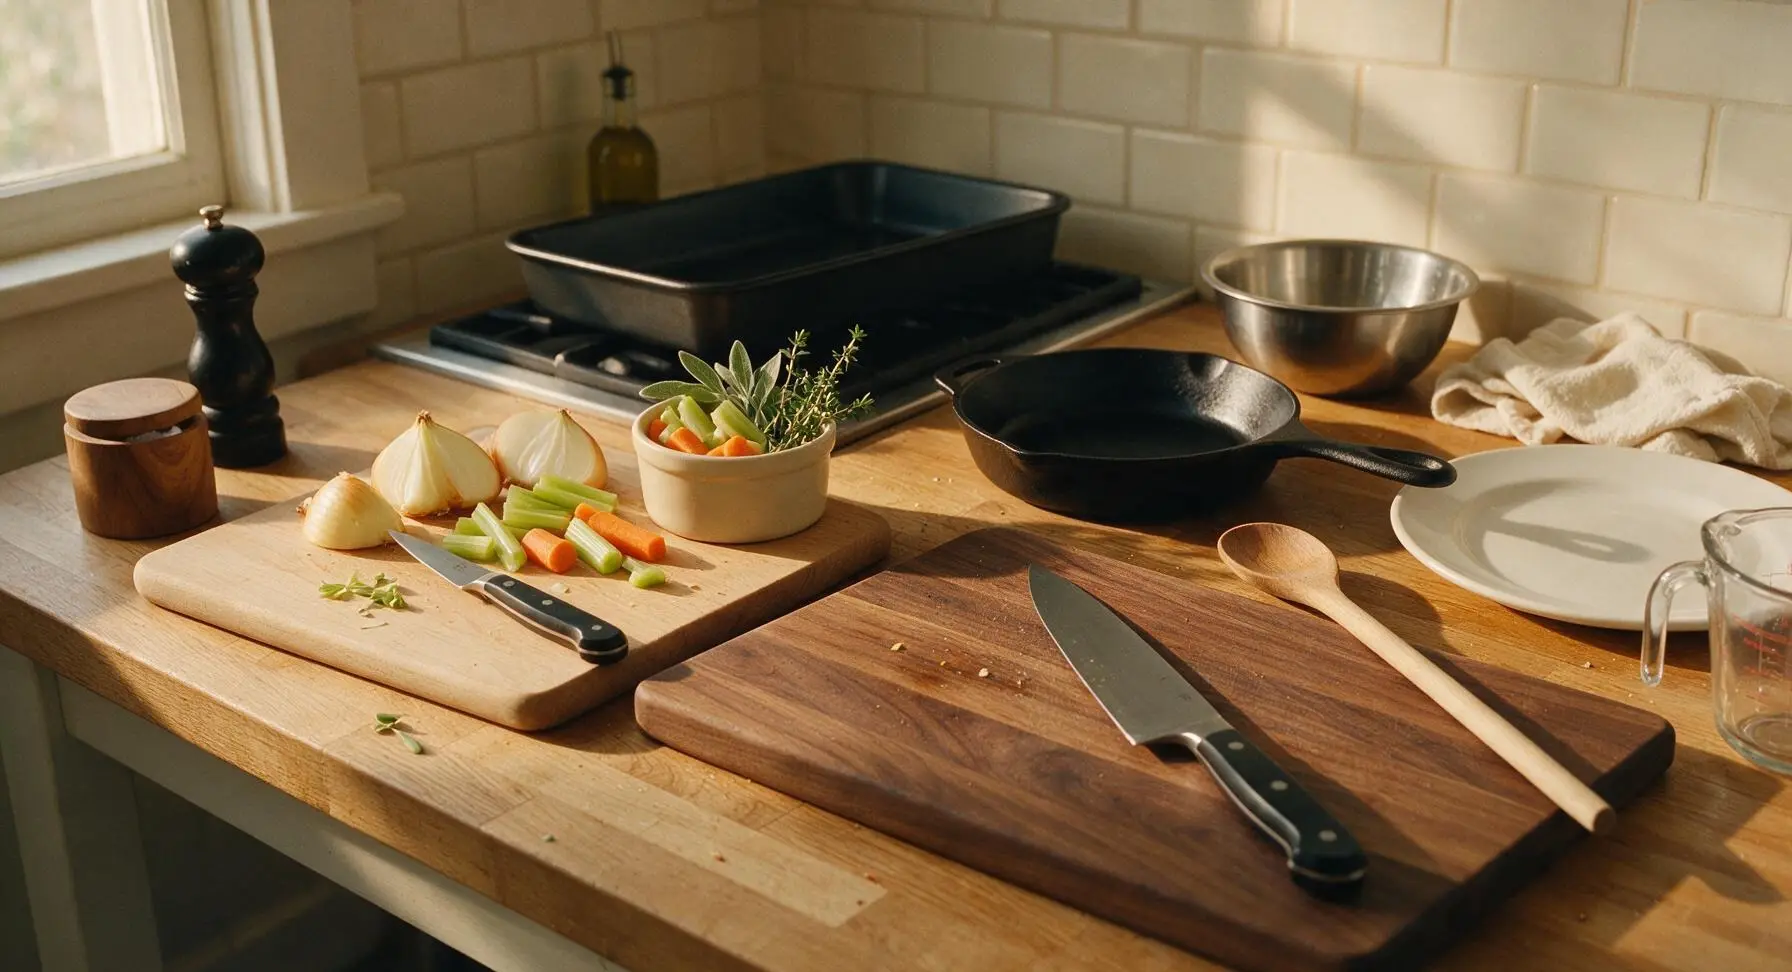
Place the light beech wood cutting board on the left section of the soapstone counter. Use the 3.5-inch paring knife to cut the large yellow onion into 4 thick quarters, slice the celery stalks and carrot into 3-inch chunks, and discard any tough, woody vegetable ends. Place cut vegetables into one matte cream ramekin, and set fresh sage and thyme sprigs alongside; prep takes approximately 5 minutes total.
Assemble Roasting Pan
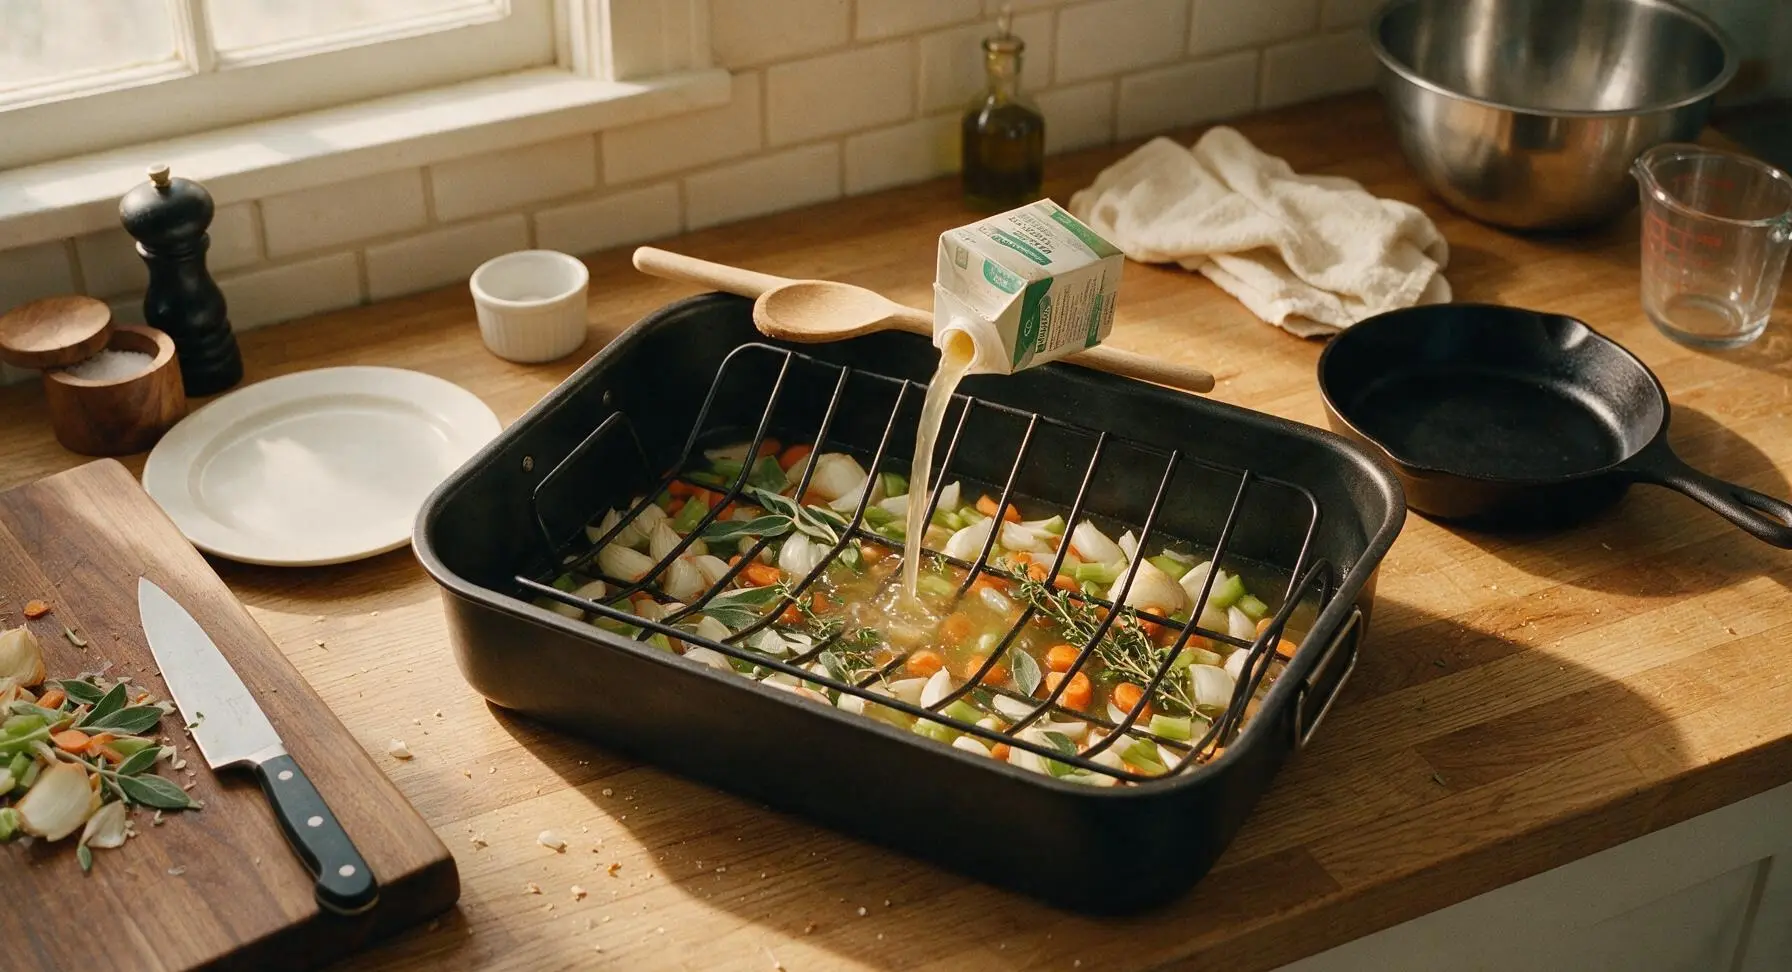
Set the removable V-rack insert inside the 16-inch matte black carbon steel roasting pan. Spread prepped onion, celery, carrot, sage, and thyme evenly across the pan bottom, underneath the rack. Pour 1 cup of low-sodium chicken broth into the pan base; this liquid prevents early drippings from burning and adds savory depth as it evaporates during roasting.
Season Turkey Surface
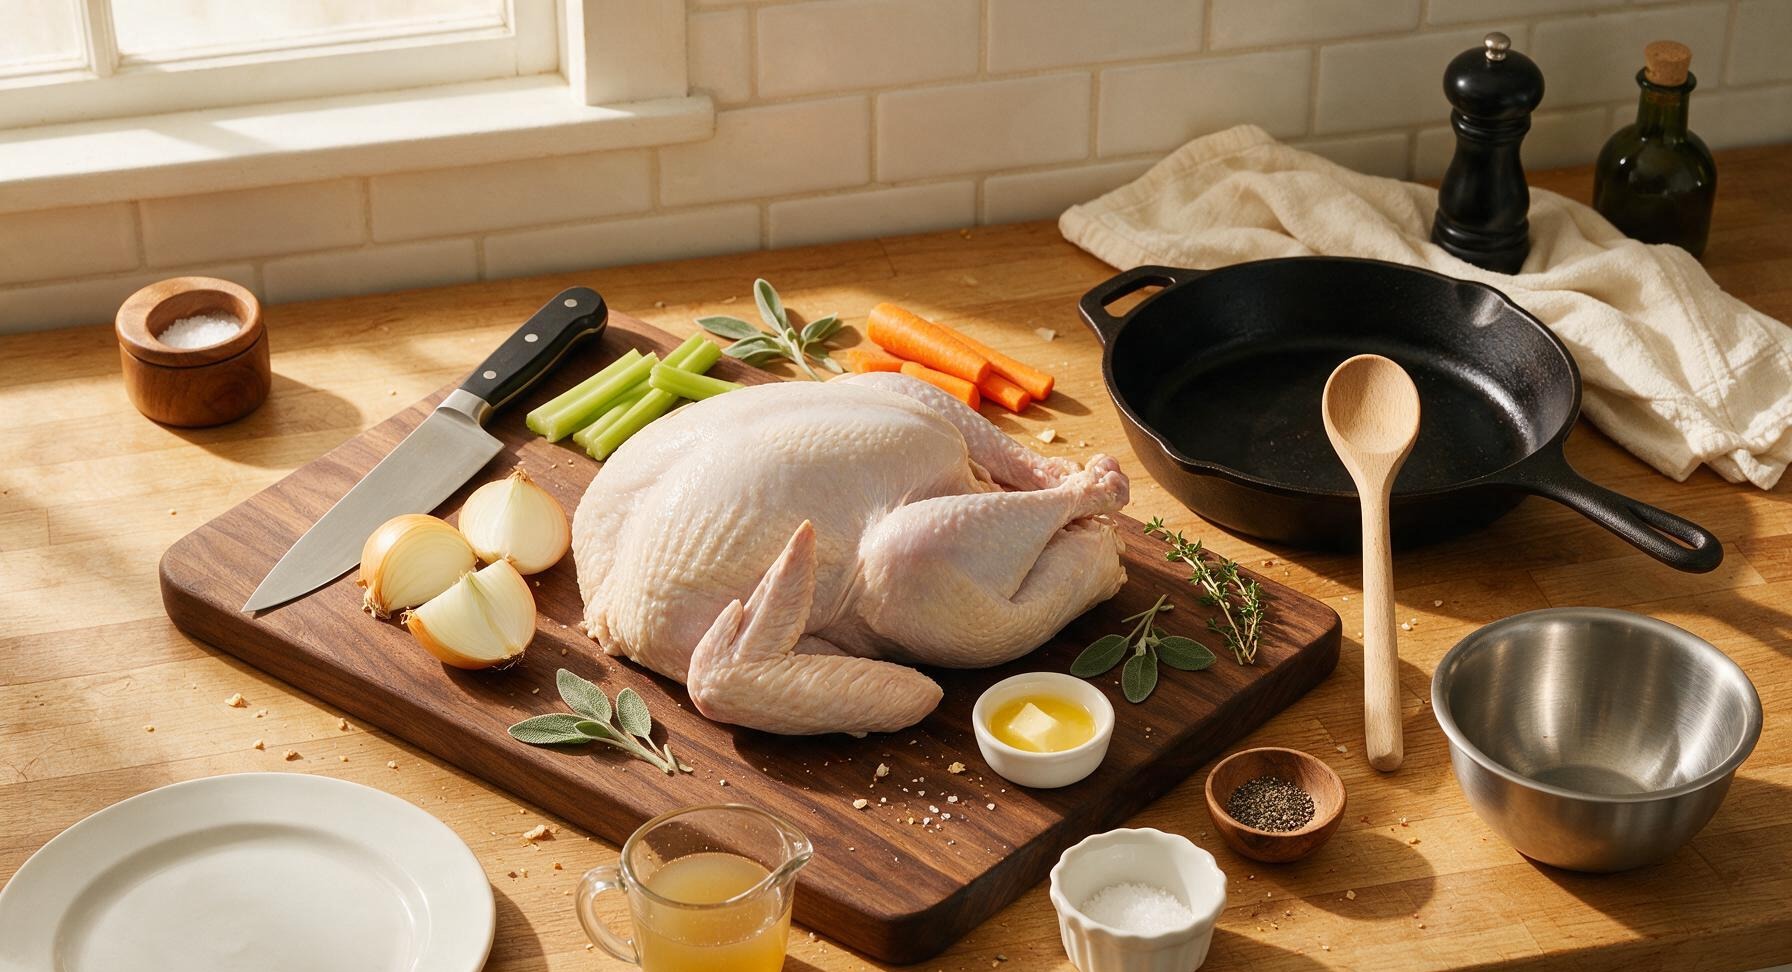
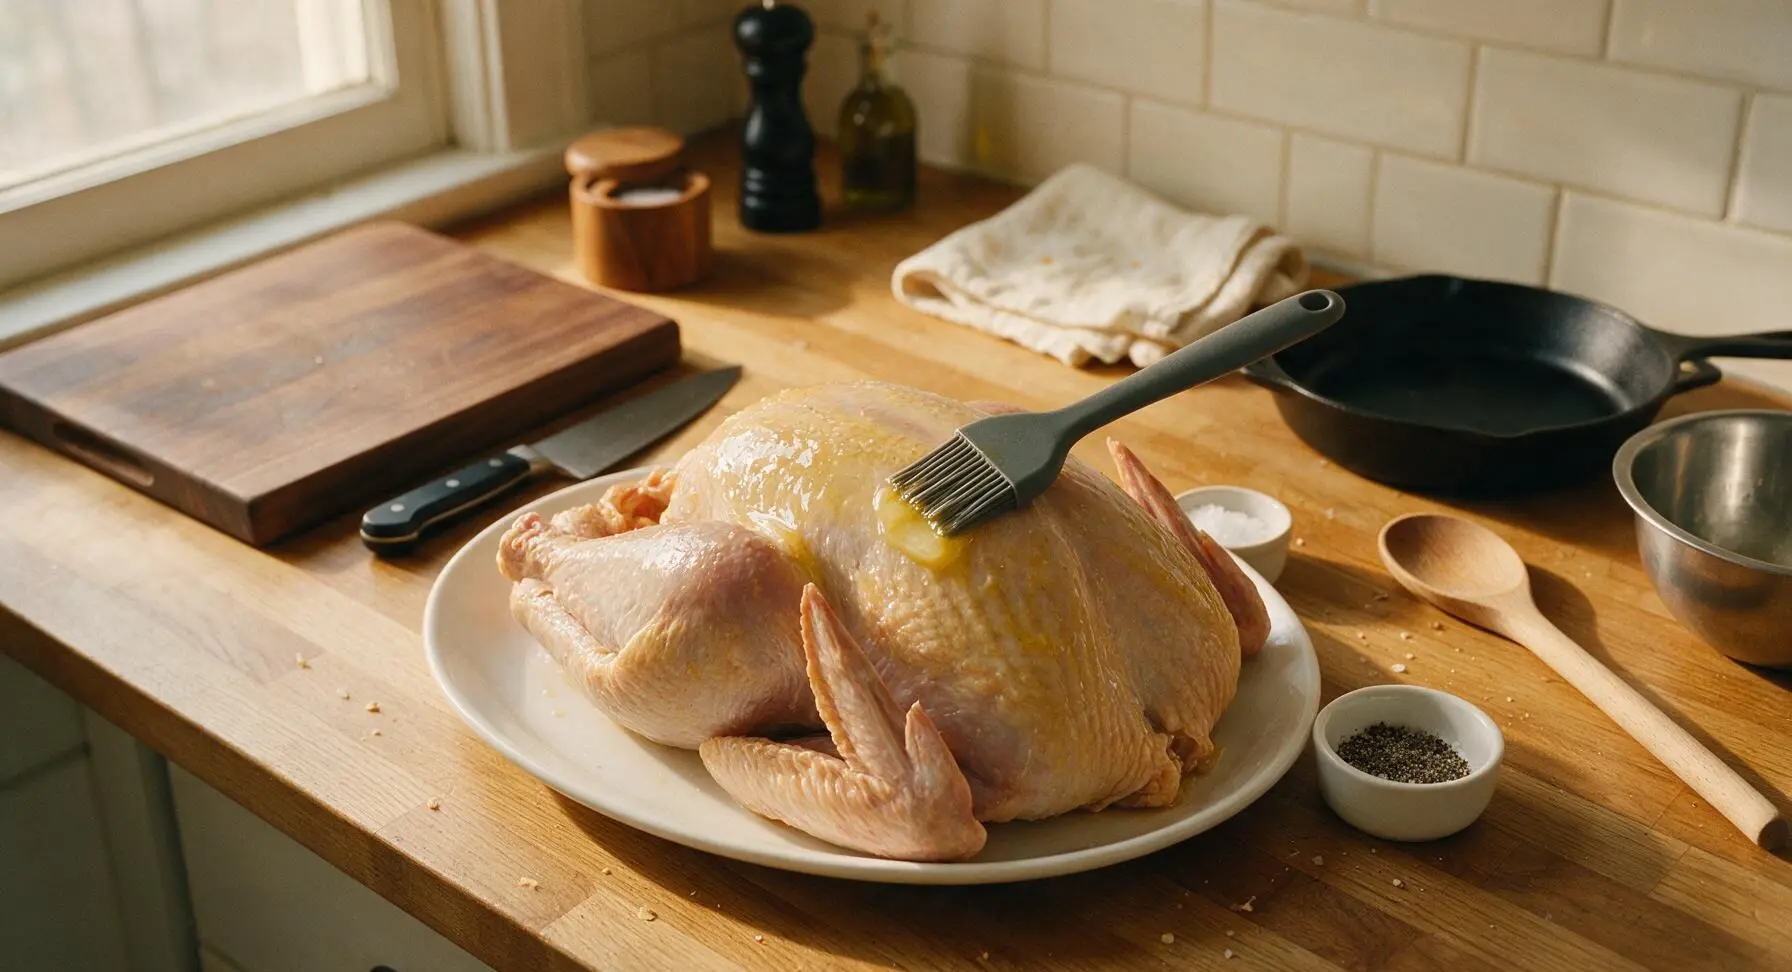
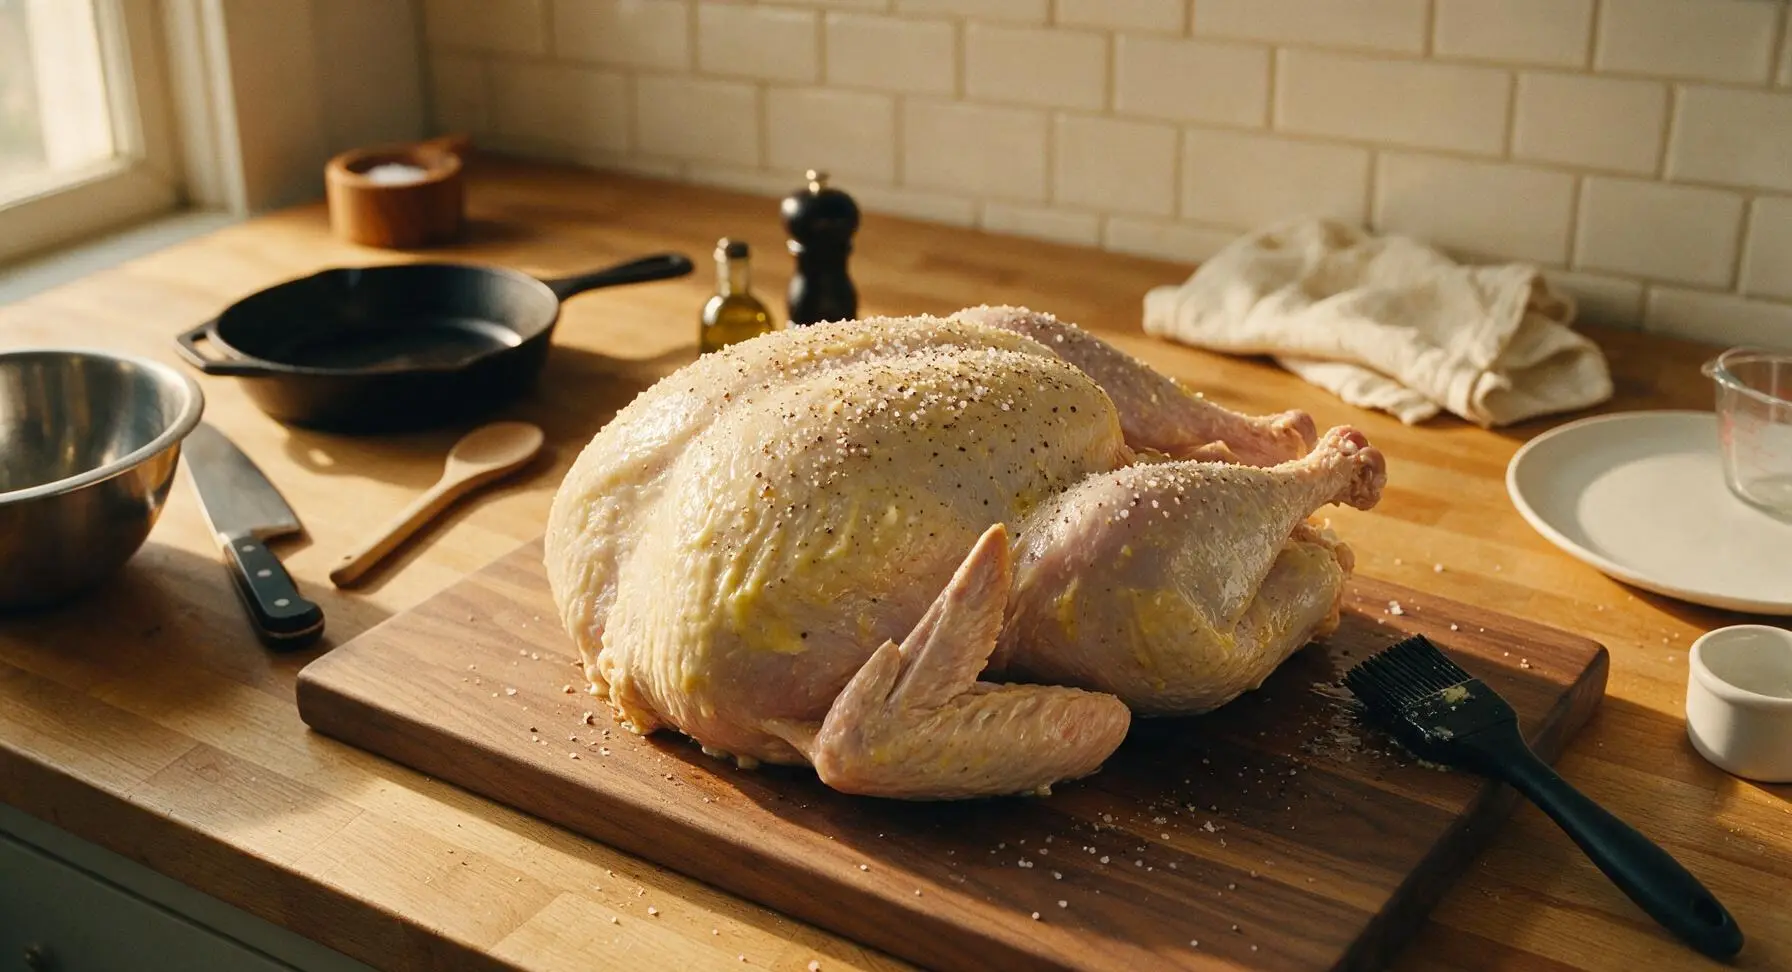
Pat the raw 12lb turkey completely dry with paper towels, then use the charcoal gray silicone basting brush to coat the entire skin surface with melted unsalted butter. Season evenly with 1 teaspoon coarse kosher salt and 1/2 teaspoon freshly ground black pepper, rubbing seasoning gently into the skin to ensure full coverage. Tuck wing tips under the turkey body to prevent burning during roasting.
Set Turkey on Rack
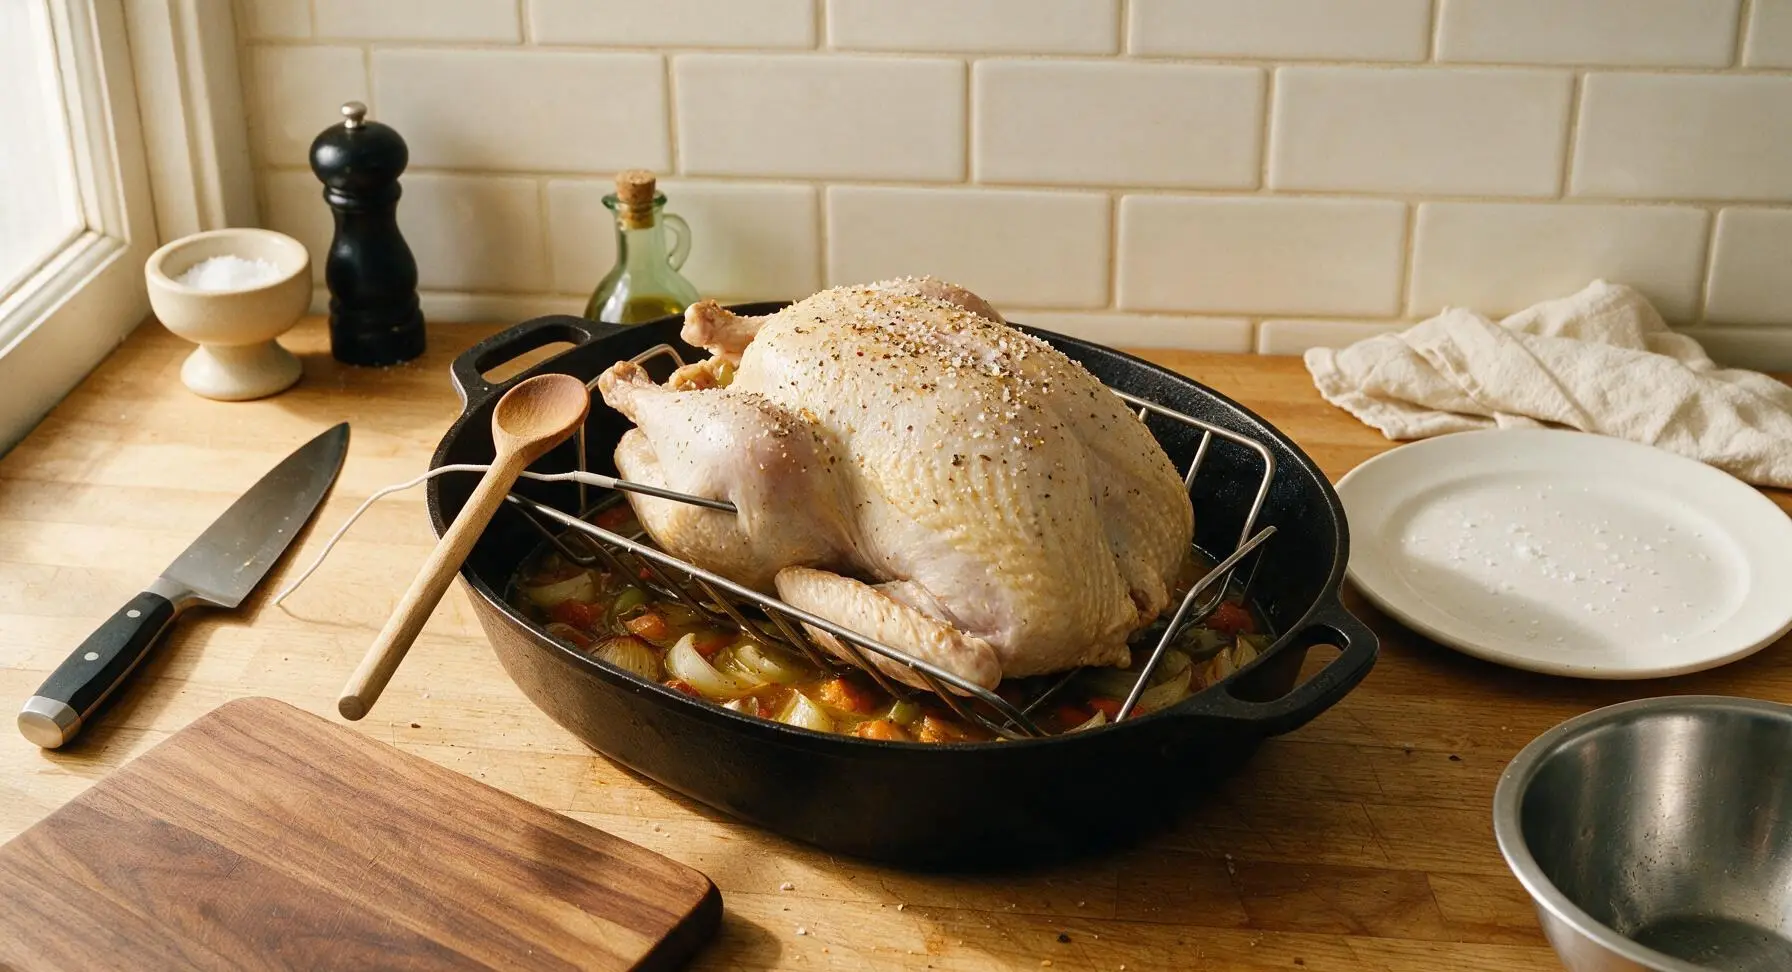
Lift the seasoned turkey carefully and place it breast-side up on the V-rack inside the prepared roasting pan, ensuring no part of the turkey touches the pan bottom directly (the elevated rack allows hot air to circulate evenly and lets drippings fall freely to the pan below). Insert a leave-in meat thermometer into the thickest part of the turkey thigh, avoiding contact with bone for accurate temperature reading.
Roast and Baste Regularly
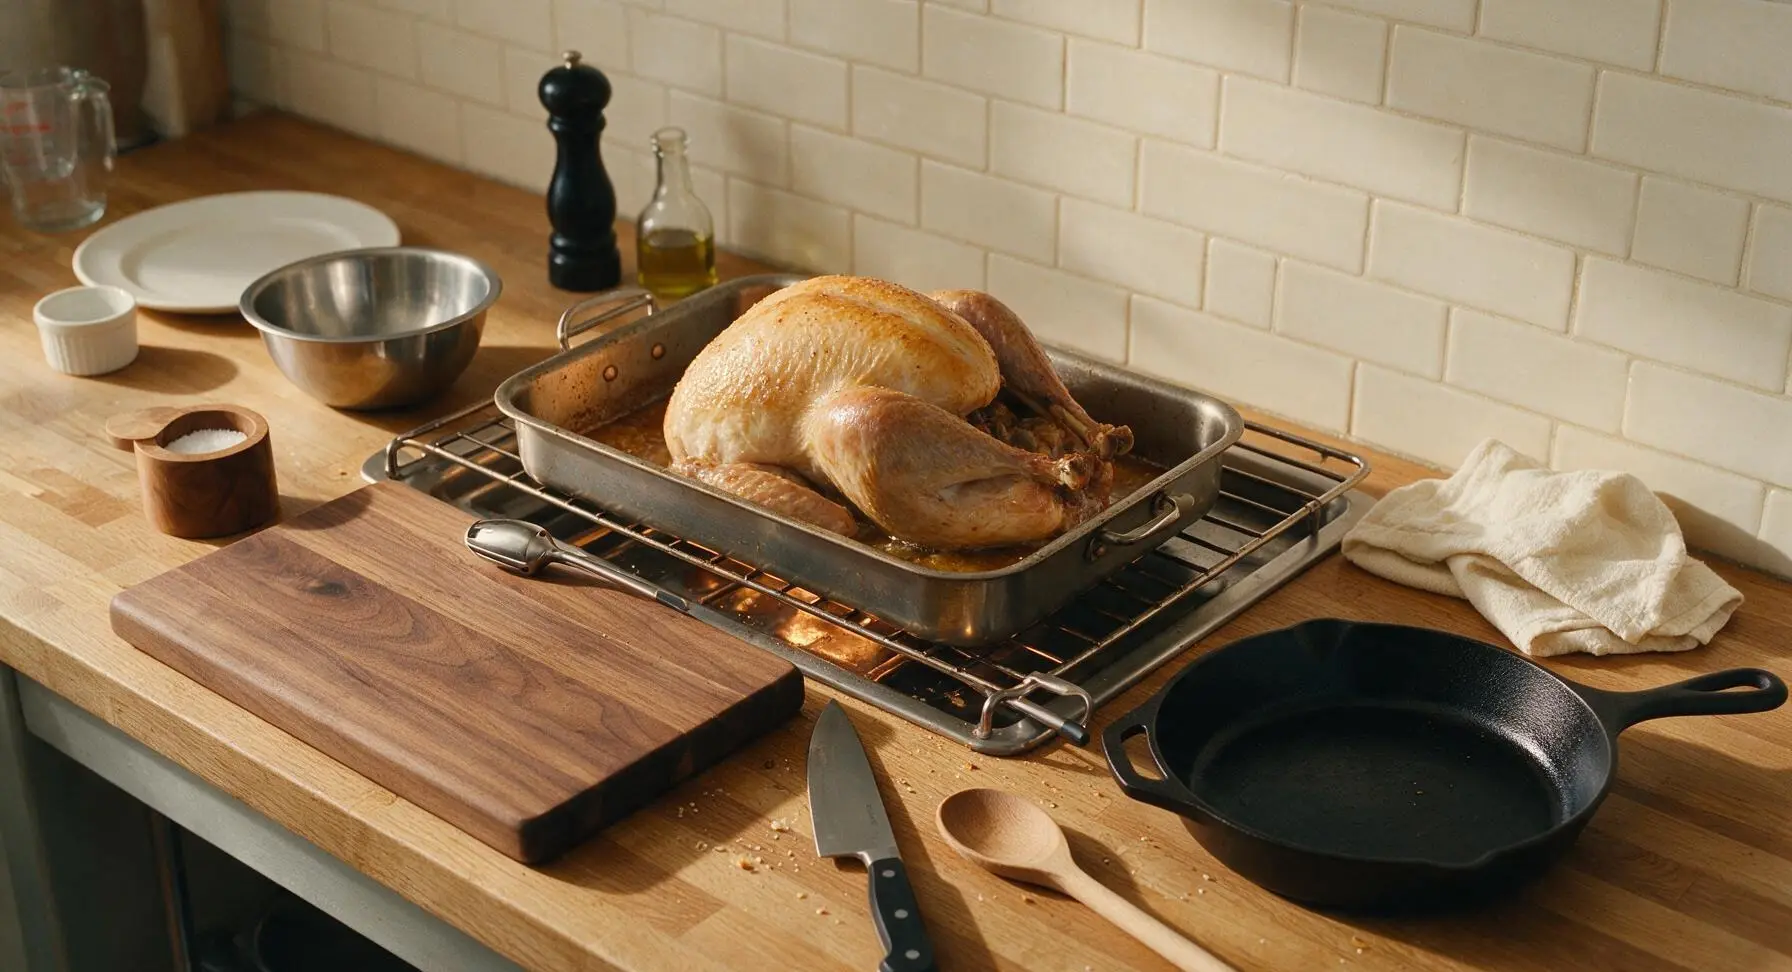
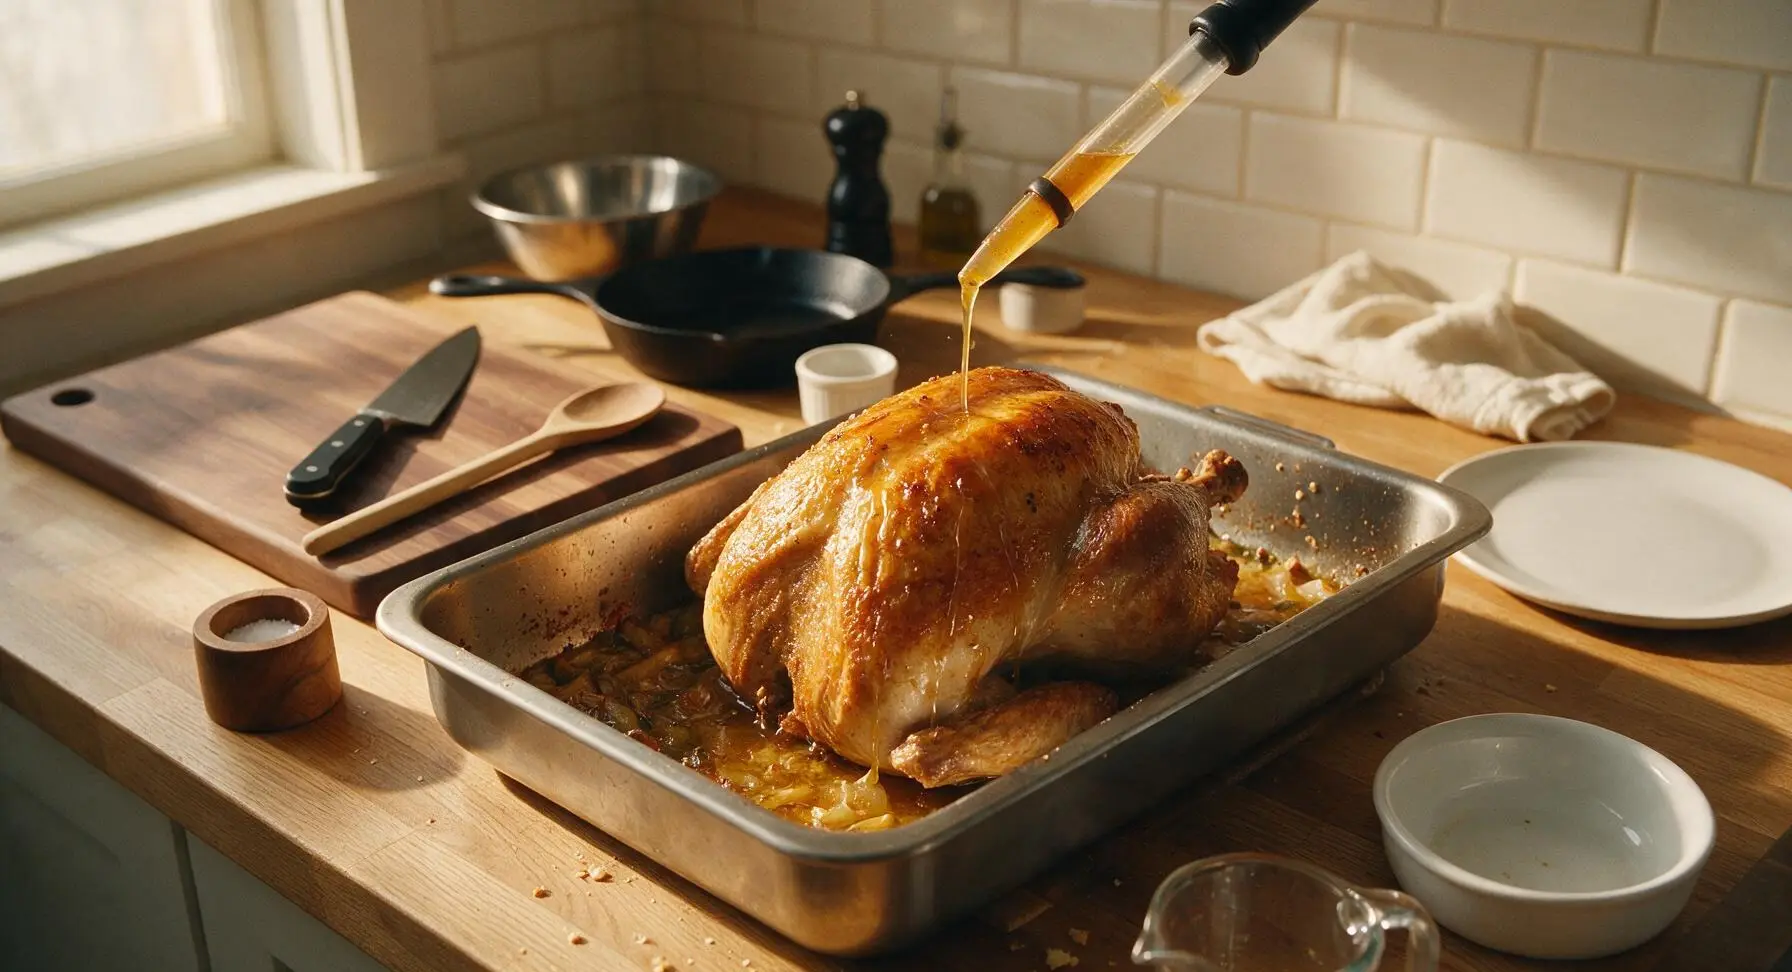
Transfer the roasting pan to a preheated 325°F (165°C) oven. Roast for approximately 3 hours, using the stainless steel turkey baster to baste the turkey skin with pan juices every 45 minutes. Basting keeps turkey meat moist and cycles flavorful juices back into the pan to build richer, more complex drippings. The turkey is fully cooked when the thickest part of the thigh reaches an internal temperature of 165°F (74°C).
Rest Turkey, Scrape Fond
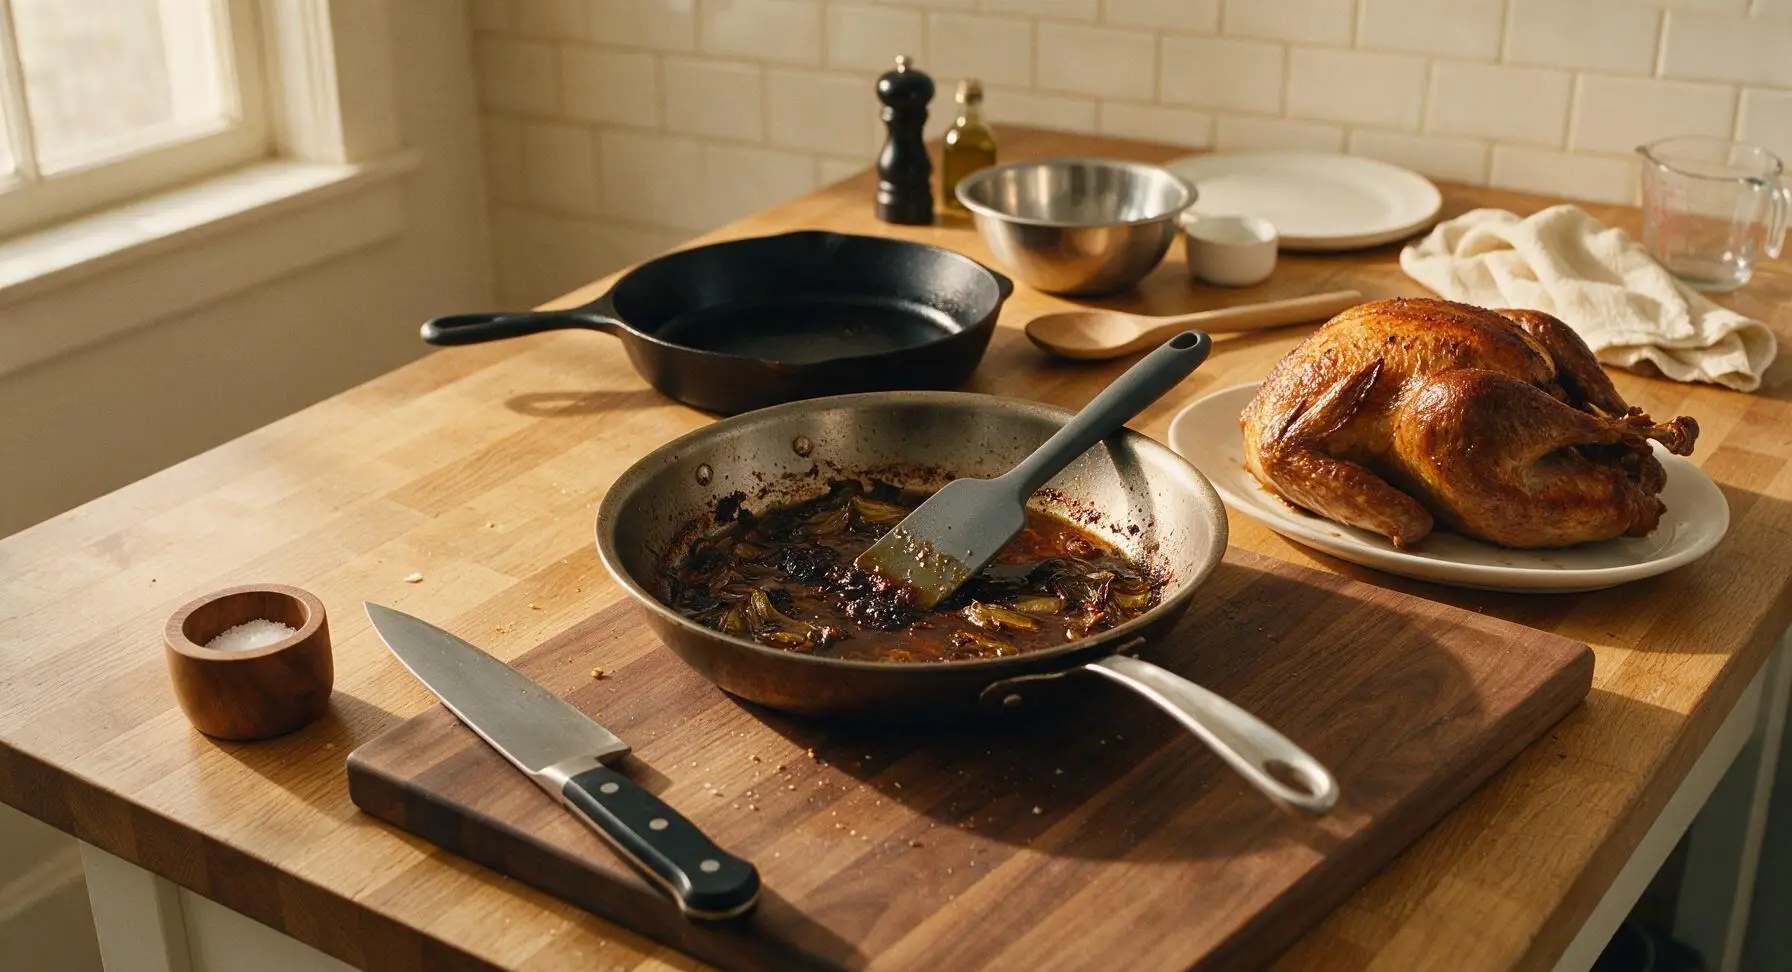
Carefully remove the roasting pan from the oven once the turkey reaches target temperature. Lift the turkey from the V-rack and transfer it back to the white ceramic oval platter to rest for 30 minutes (this allows juices to redistribute in the meat). Tilt the roasting pan slightly, and use the charcoal gray silicone spatula to scrape all dark brown, caramelized fond from the pan bottom, mixing the bits into the liquid and softened vegetables. These browned bits hold the most concentrated, savory flavor in the drippings.
Strain Pan Solids
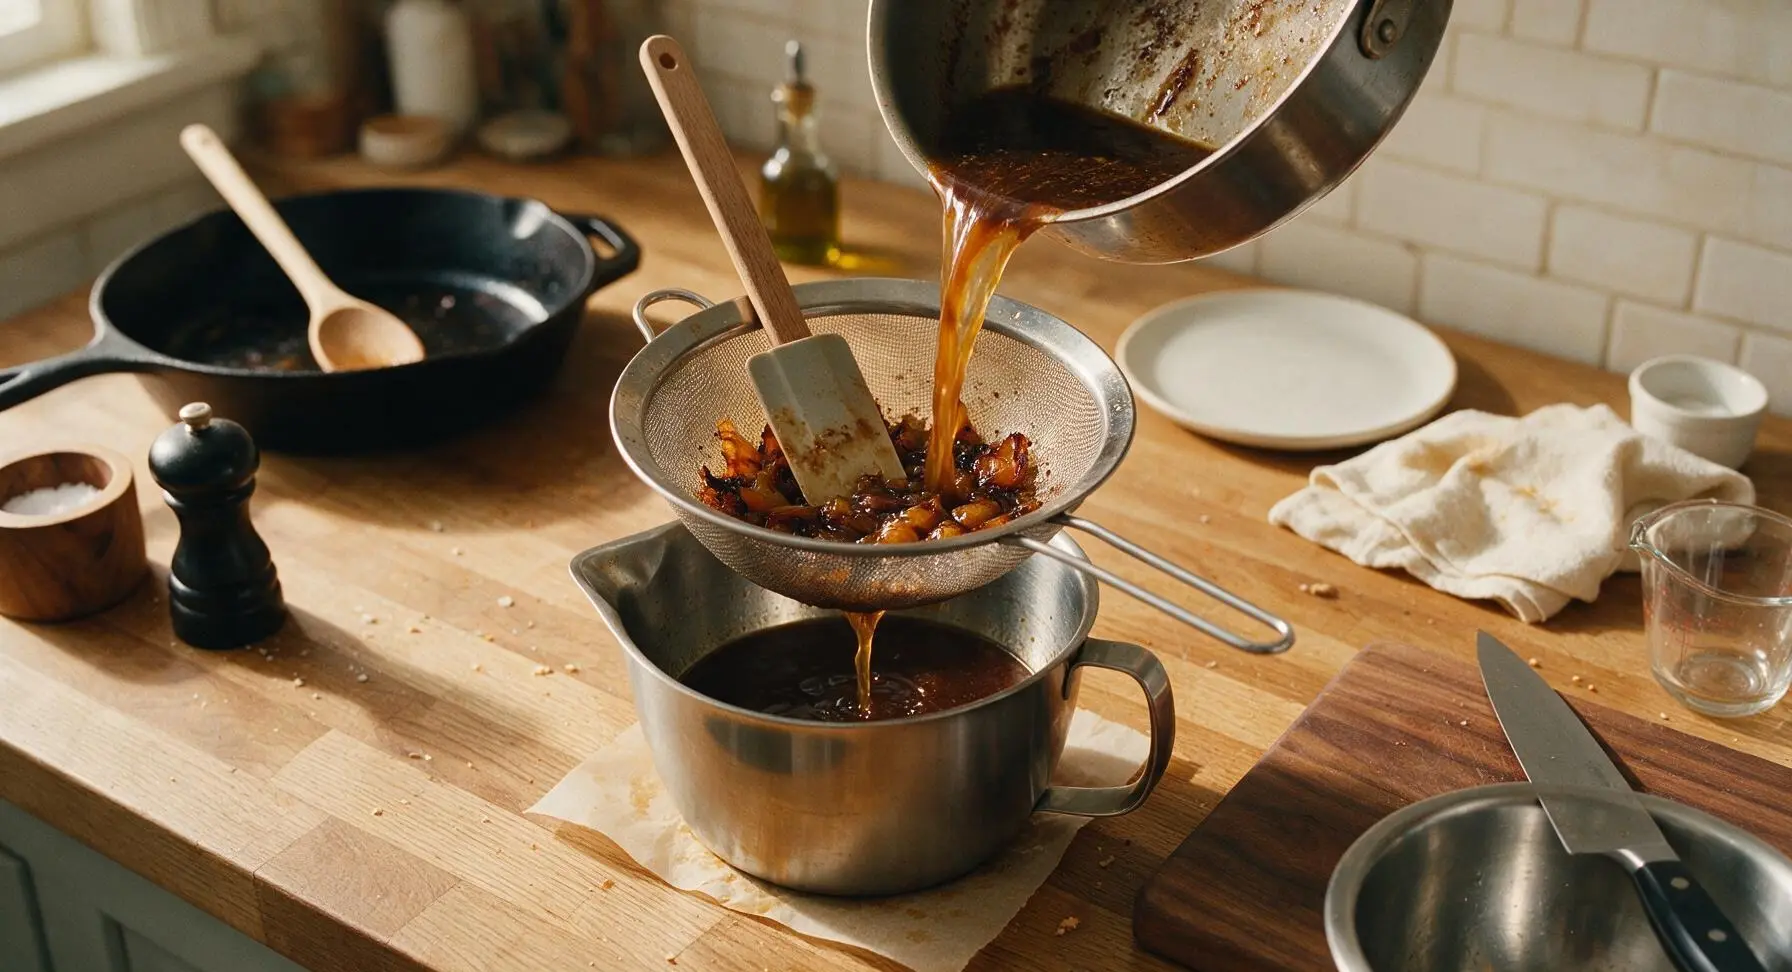
Set the fine-mesh stainless steel strainer over the top of the 4-cup stainless steel fat separator. Slowly pour all pan liquid, vegetables, and fond from the roasting pan through the strainer. Press gently on the softened vegetables with the silicone spatula to extract every drop of flavorful juice, then discard the spent, flavorless vegetable solids.
Separate and Store Drippings
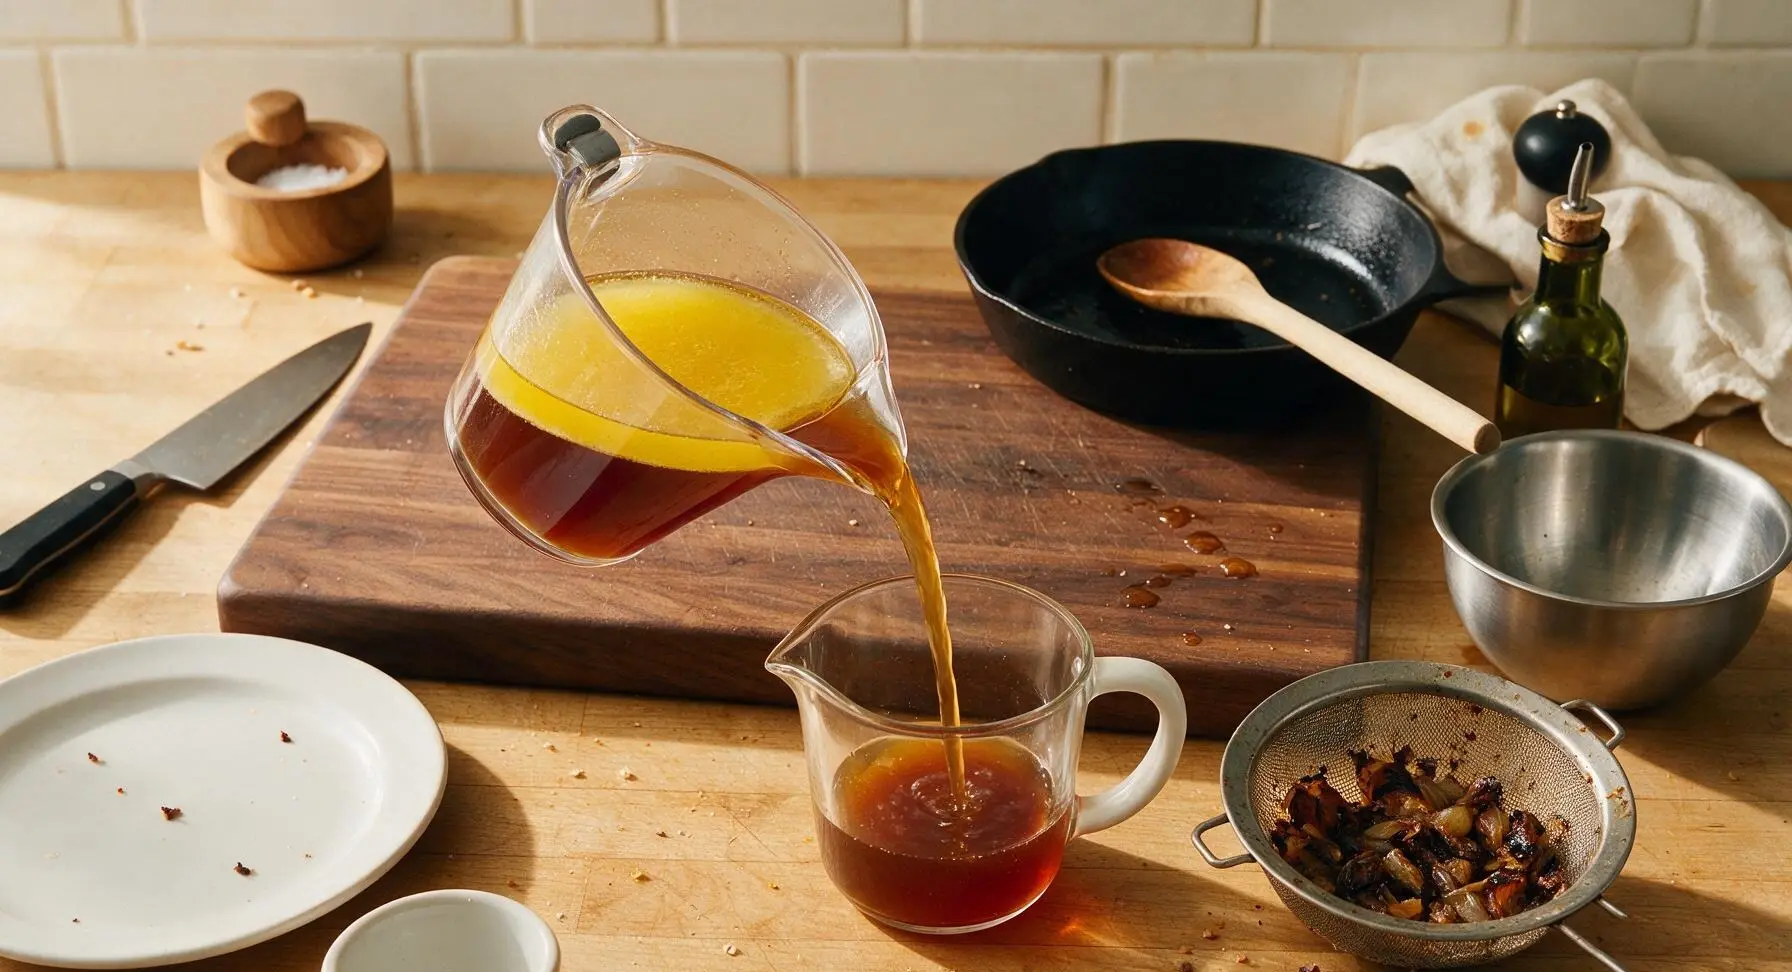
Let the strained drippings rest for 5 minutes to allow fat to rise fully to the surface, forming a distinct, glossy golden layer. Pour the separated drippings (keeping fat and savory juice separate as needed for gravy recipes) into the clear glass 500ml measuring cup. The finished drippings are ready to use immediately for gravy, or can be refrigerated for up to 3 days or frozen for up to 3 months.
Tips
2.Don’t discard the dark brown fond stuck to the pan bottom: these caramelized bits form during the Maillard reaction and hold the most concentrated, savory flavor in the entire pan. Scraping them fully into the drippings will give your finished gravy a rich, restaurant-quality depth no store-bought broth can match.
3.Let strained drippings rest for a full 5 minutes before separating fat: fat needs time to fully rise and form a distinct layer, so rushing this step leaves you with greasy, poorly separated drippings that make lumpy, heavy gravy. For faster separation, drop one ice cube into the warm drippings to quickly solidify the top fat layer.






OMG this is a total game changer! I always thought turkey drippings were just the random gunk at the bottom of the pan until I followed this recipe. Used it for our family Thanksgiving dinner last week and my brother-in-law asked for the recipe before we even served dessert. SO good, way better than the jarred gravy I’ve been buying for years. 10/10, will make every holiday from now on.
My kids are SO picky about gravy, I was nervous to try something new for our Sunday dinner but wow—they all asked for seconds! I was worried this would be too fussy since I’m usually juggling homework and after-school activities while I cook, but it was so easy even with the 3+ hour cook time (most of that is just the turkey roasting anyway, no extra work!). Saved this to my recipe folder for sure.
Tried this for my first ever time hosting Friendsgiving and I didn’t mess it up!!! I was so stressed about making gravy from scratch because my mom always made it growing up, but this was super straightforward. The drippings had so much depth of flavor, no weird lumps when I whisked in a little roux, everyone raved. Even my roommate who hates turkey said the gravy was the best part of the meal.
Wait, hold on—am I the only one who never realized you could season the drippings themselves while the turkey roasts? I’ve always just collected the pan juices after and seasoned them last minute, but adding the aromatics to the pan ahead of time? Game. Changer. I did add a little extra rosemary because I grow it on my fire escape, and it was chef’s kiss. Only note is if you have a smaller turkey, maybe cut the veg amounts a tiny bit so they don’t burn.
I’ve been making roasted turkey for over 40 years and I’ll admit, I was skeptical this recipe could teach me anything new. Color me wrong! Letting the drippings caramelize with the butter and herbs gave my gravy such a rich, nutty flavor that my grandkids kept talking about it for days after our dinner. It’s easy enough for new cooks but has that classic flavor us old-timers look for. Great recipe.
Used these drippings to make a big batch of gravy for my weekly meal prep, and it held up perfectly in the fridge for 5 days! I portioned it out with sliced turkey breast and mashed sweet potatoes, and it made my work lunches feel way fancier than they had any right to be. Super easy, no fancy ingredients required, will be a staple in my rotation from now on. Even my coworker stole a bite of my lunch and asked for the link!
Took a chance on this for our extended family Sunday dinner after church, and let me tell you—there wasn’t a drop of drippings left by the end of the meal. I usually struggle with my gravy tasting too watery or too salty, but following these steps gave me perfectly balanced, silky drippings that made the whole meal feel fancy. The only thing I changed was adding a pinch of smoked paprika because my husband loves that smoky kick. Delish!
Made this last night for a test run before Christmas and my husband literally said it’s the best gravy he’s ever had in his life. No cap. I was worried because I’ve never made turkey before, but the instructions were so clear I didn’t even have to Google anything mid-cook. My mom is gonna be so impressed when I make this for the family holiday, I just know it.
Made these drippings for my neighborhood potluck over the weekend and people were literally lining up to drizzle it over their turkey and mashed potatoes. I even had one neighbor bring me a jar of her homemade jam as a thank you for sharing the recipe with her! So easy, no fancy skills needed, and it tastes like something you’d get at a fancy steakhouse. Worth every minute of cook time, trust me.