
Two Ingredient Crispy Oven Baked BBQ Chicken

title 1
Two Ingredient Crispy Oven Baked BBQ Chicken
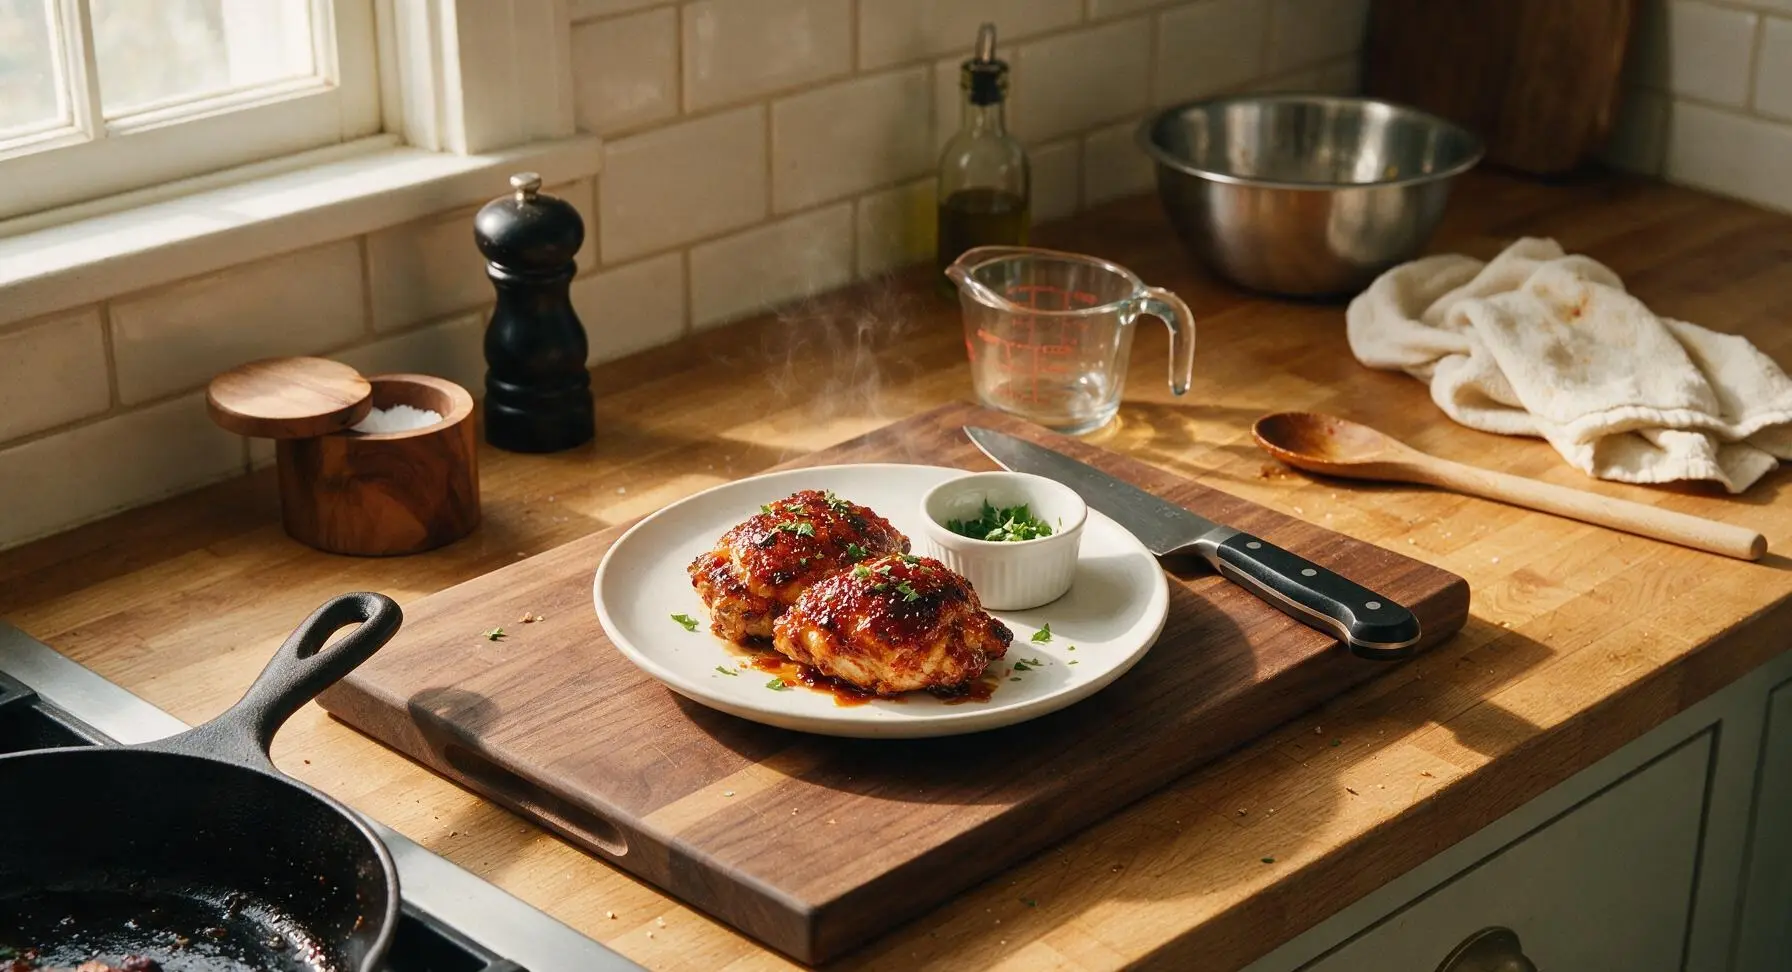
⏱️ cook time 45 minutes
🍽️ servings 4
⚡ Difficulty easy

intro

Shatteringly crisp, sticky-glazed BBQ chicken made with just two simple ingredients—no fancy rubs, no grill required, just juicy, smoky flavor perfect for fast, satisfying meals.

Ingredients
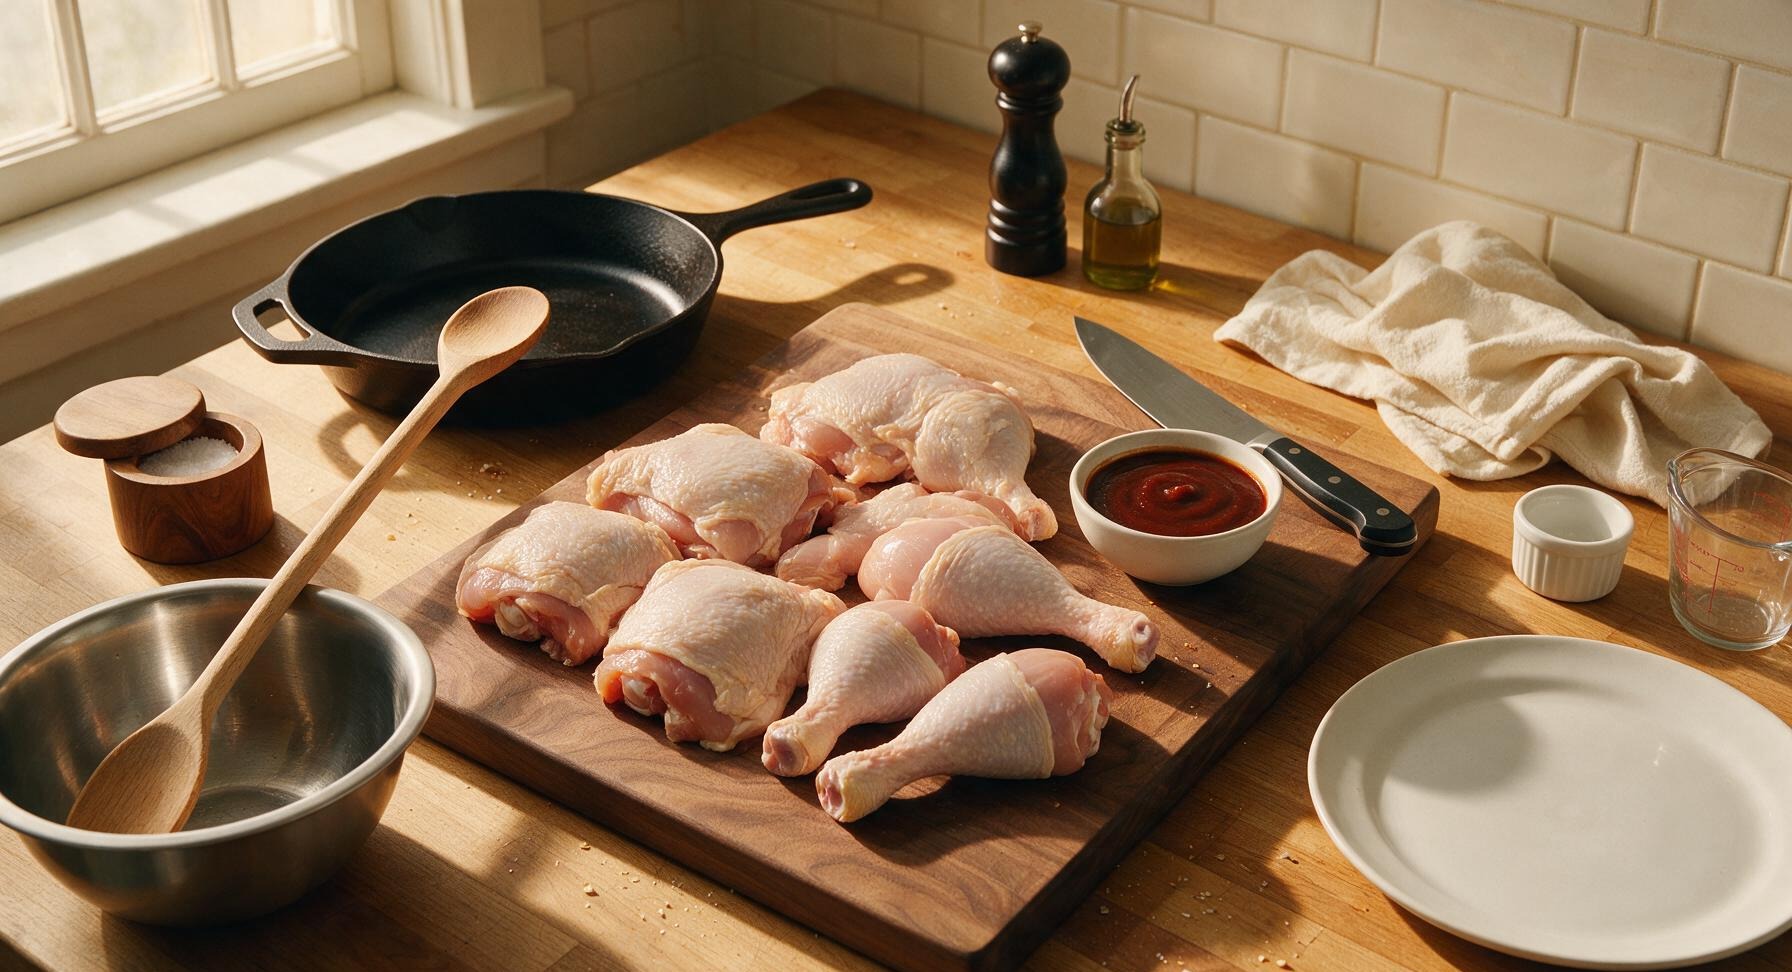
Bone-in, skin-on chicken pieces (thighs and drumsticks mix) 1.3kg (3 lbs, approx 4 thighs + 4 drumsticks)
Prepared smoky BBQ sauce 240ml (1 cup)

Steps

1

Prep Oven and Pan

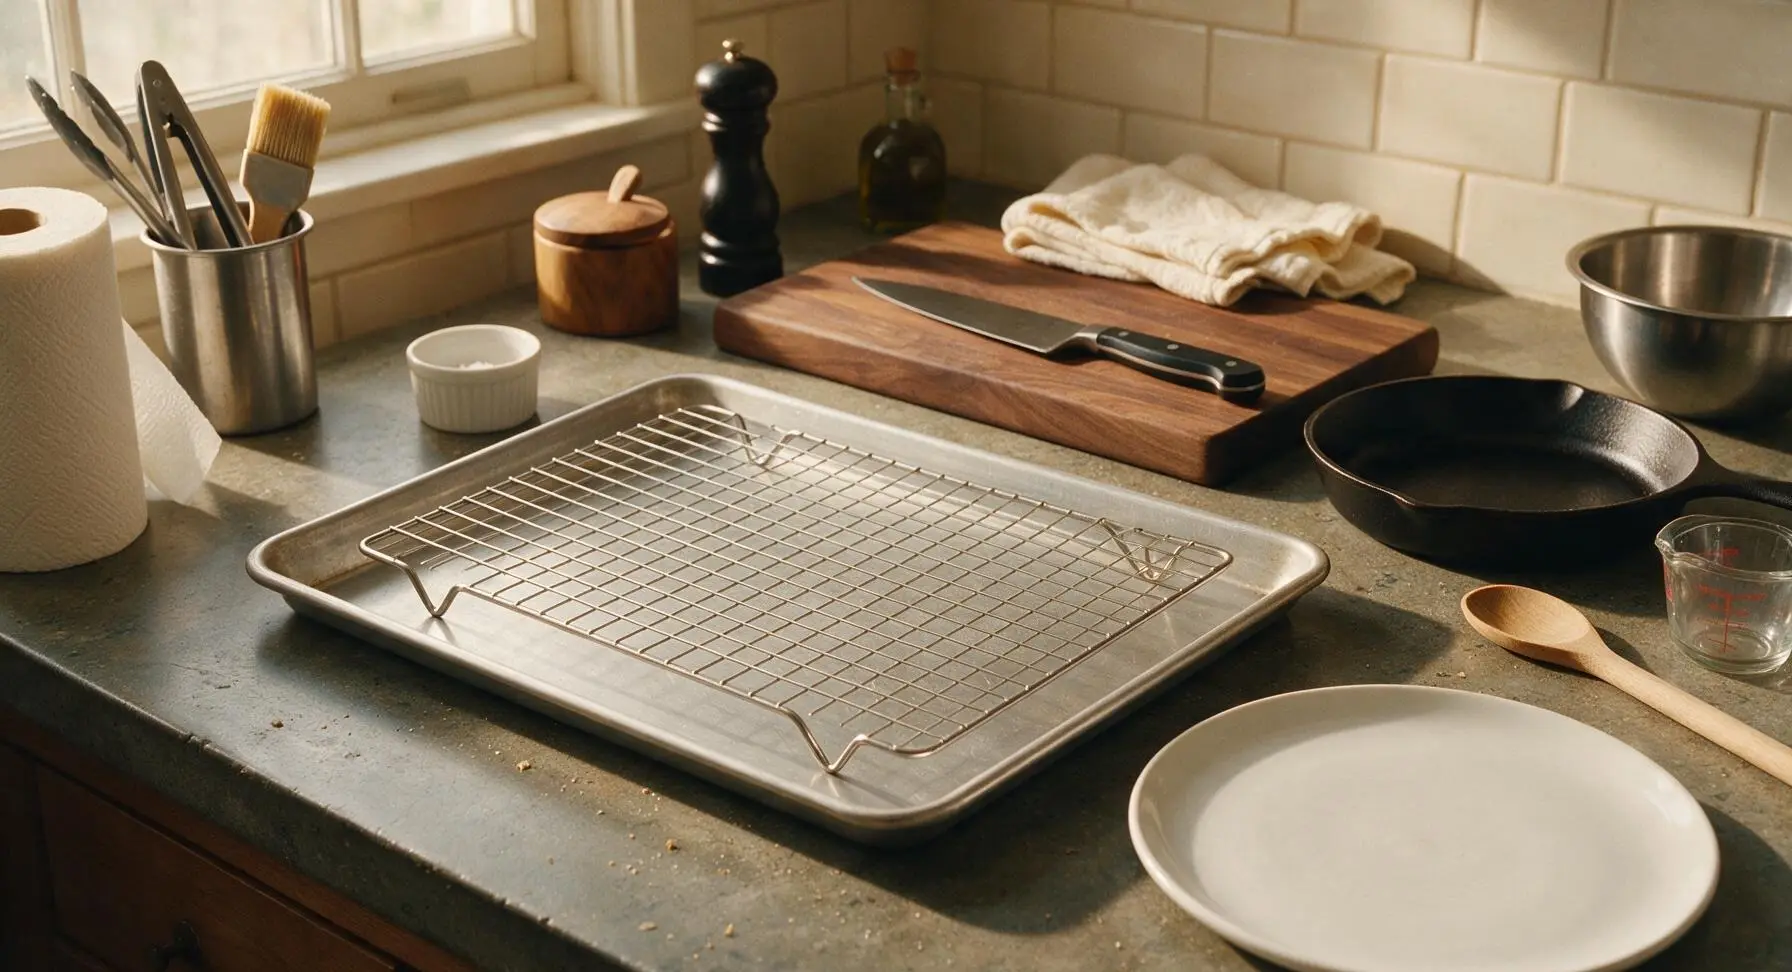
Adjust oven rack to the middle position, preheat oven to 220°C (425°F). Place the stainless steel wire baking rack inside the aluminum half-sheet baking sheet, ensuring the rack sits level with its legs fully extended to hold food 2cm above the pan surface. No oil, parchment, or foil is needed for this setup.
Step 1
step1:Prep Oven and Pan
2

Pat Chicken Completely Dry

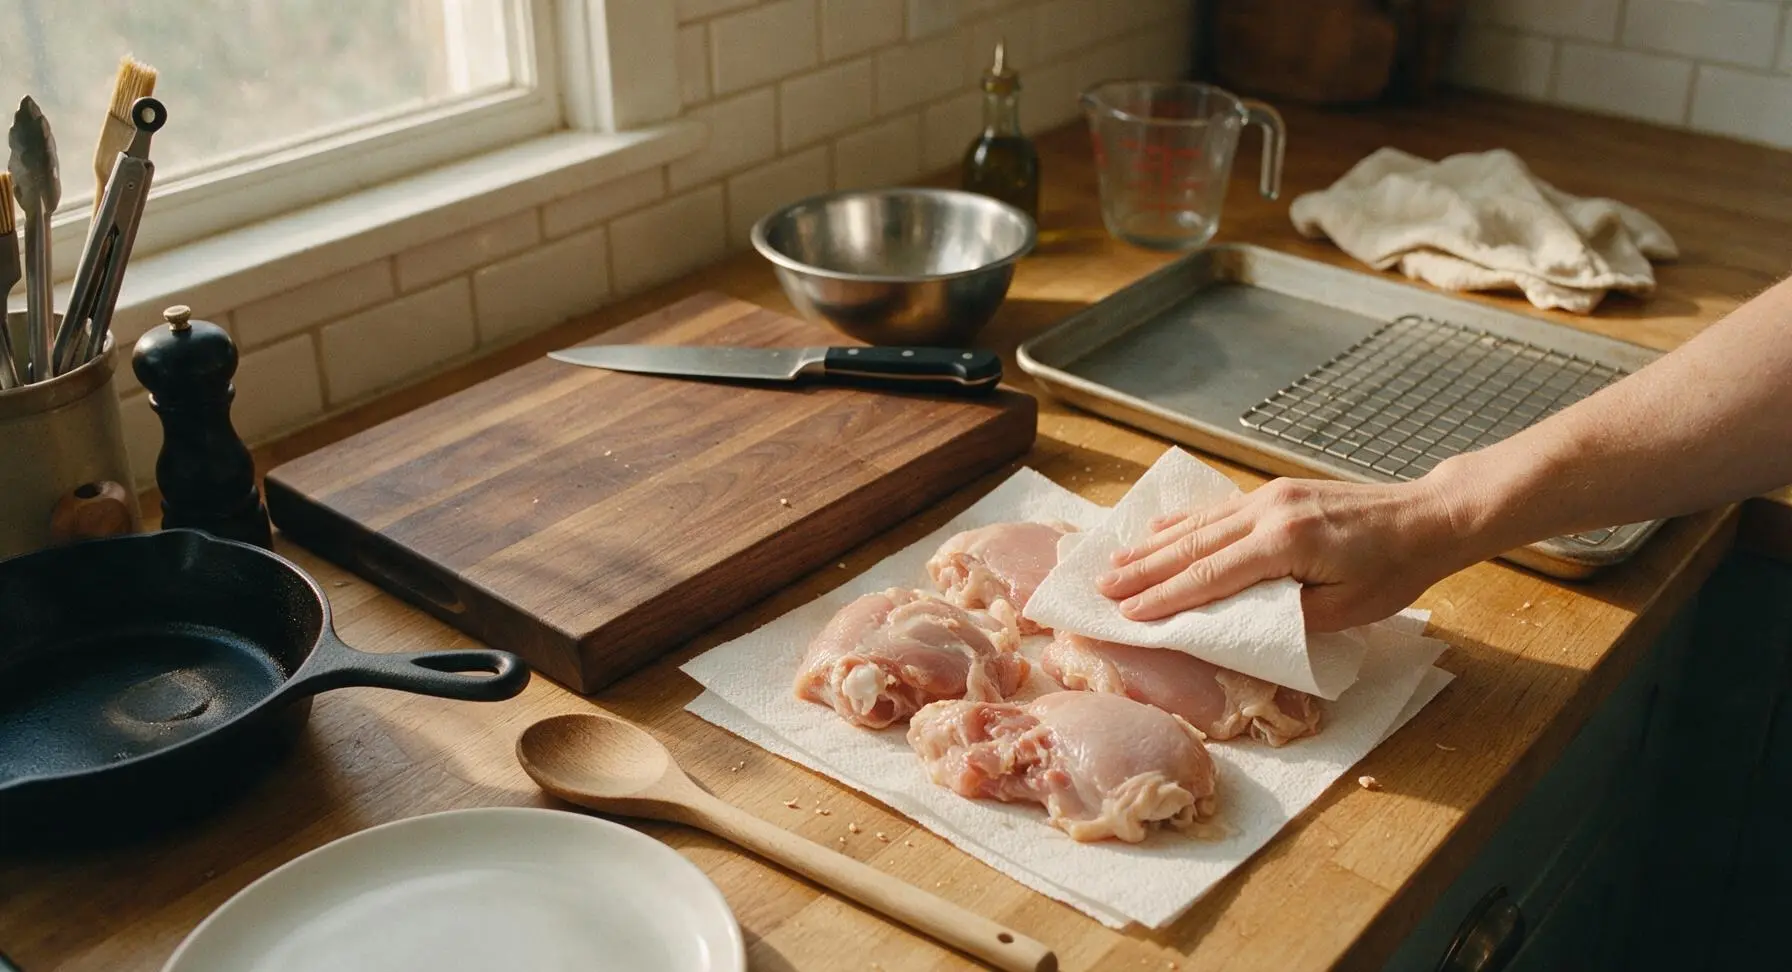
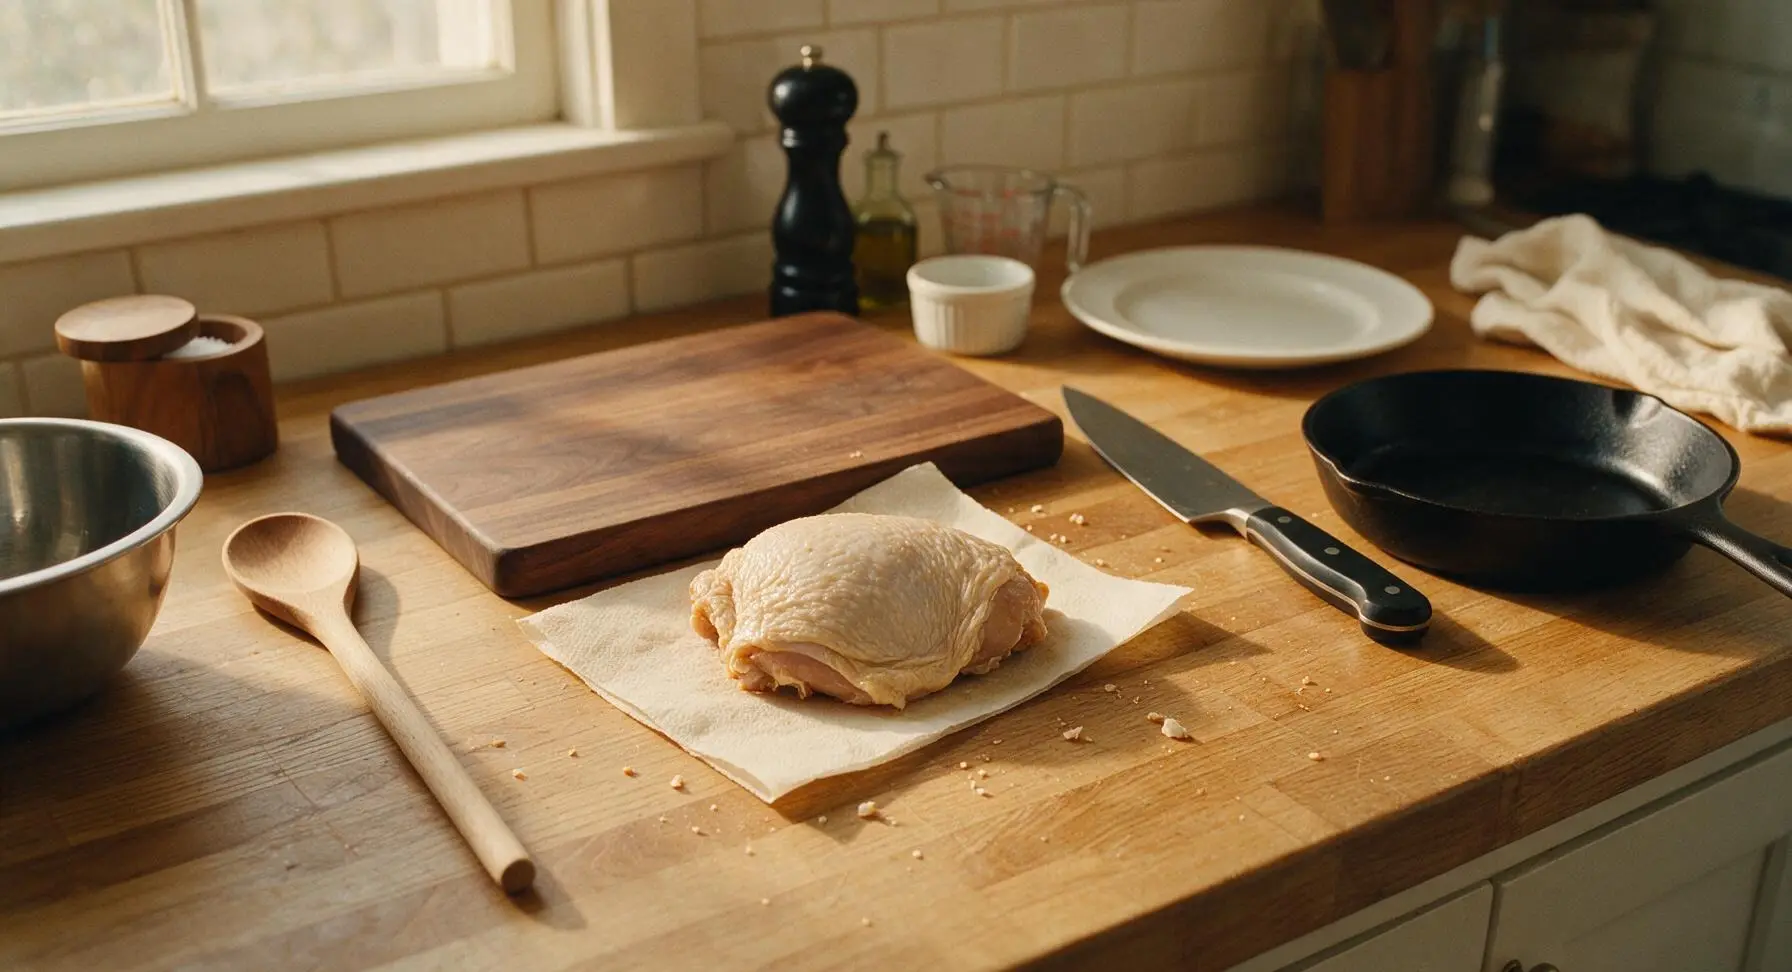
Remove chicken from packaging, place pieces directly on the pre-torn unbleached paper towel sheet. Use additional paper towels to press firmly on every surface of the chicken skin, absorbing all visible surface moisture. Pay extra attention to crevices around the bone and skin edges—dry skin is the non-negotiable secret to crispiness, as moisture will cause steaming instead of crisping.
Step 2
step2:Pat Chicken Completely Dry
Step 2
step2:Pat Chicken Completely Dry
3

Arrange Chicken on Rack

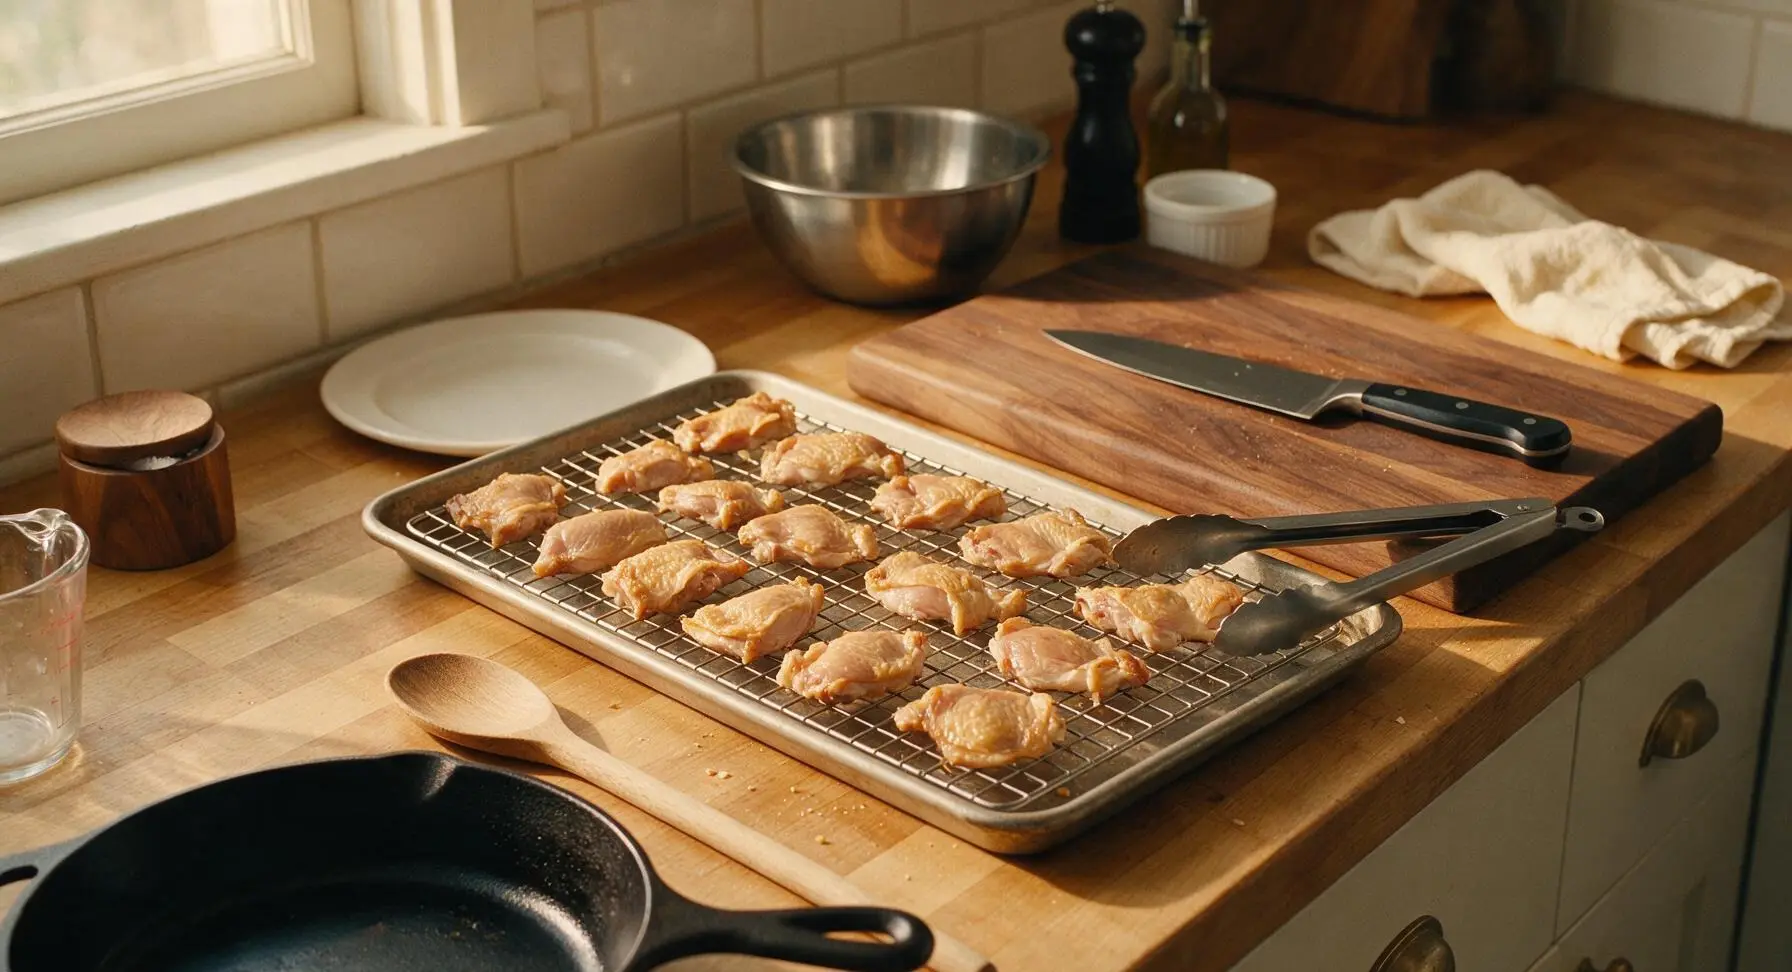
Using the stainless steel tongs, place the dried chicken pieces skin-side up on the wire rack inside the baking sheet, leaving 2cm of space between each piece to allow air circulation. Do not crowd the pieces—if they are touching, skin will steam instead of crisping. Ensure no piece is hanging over the rack edge onto the pan below.
Step 3
step3:Arrange Chicken on Rack
4

Bake for Initial Crisp

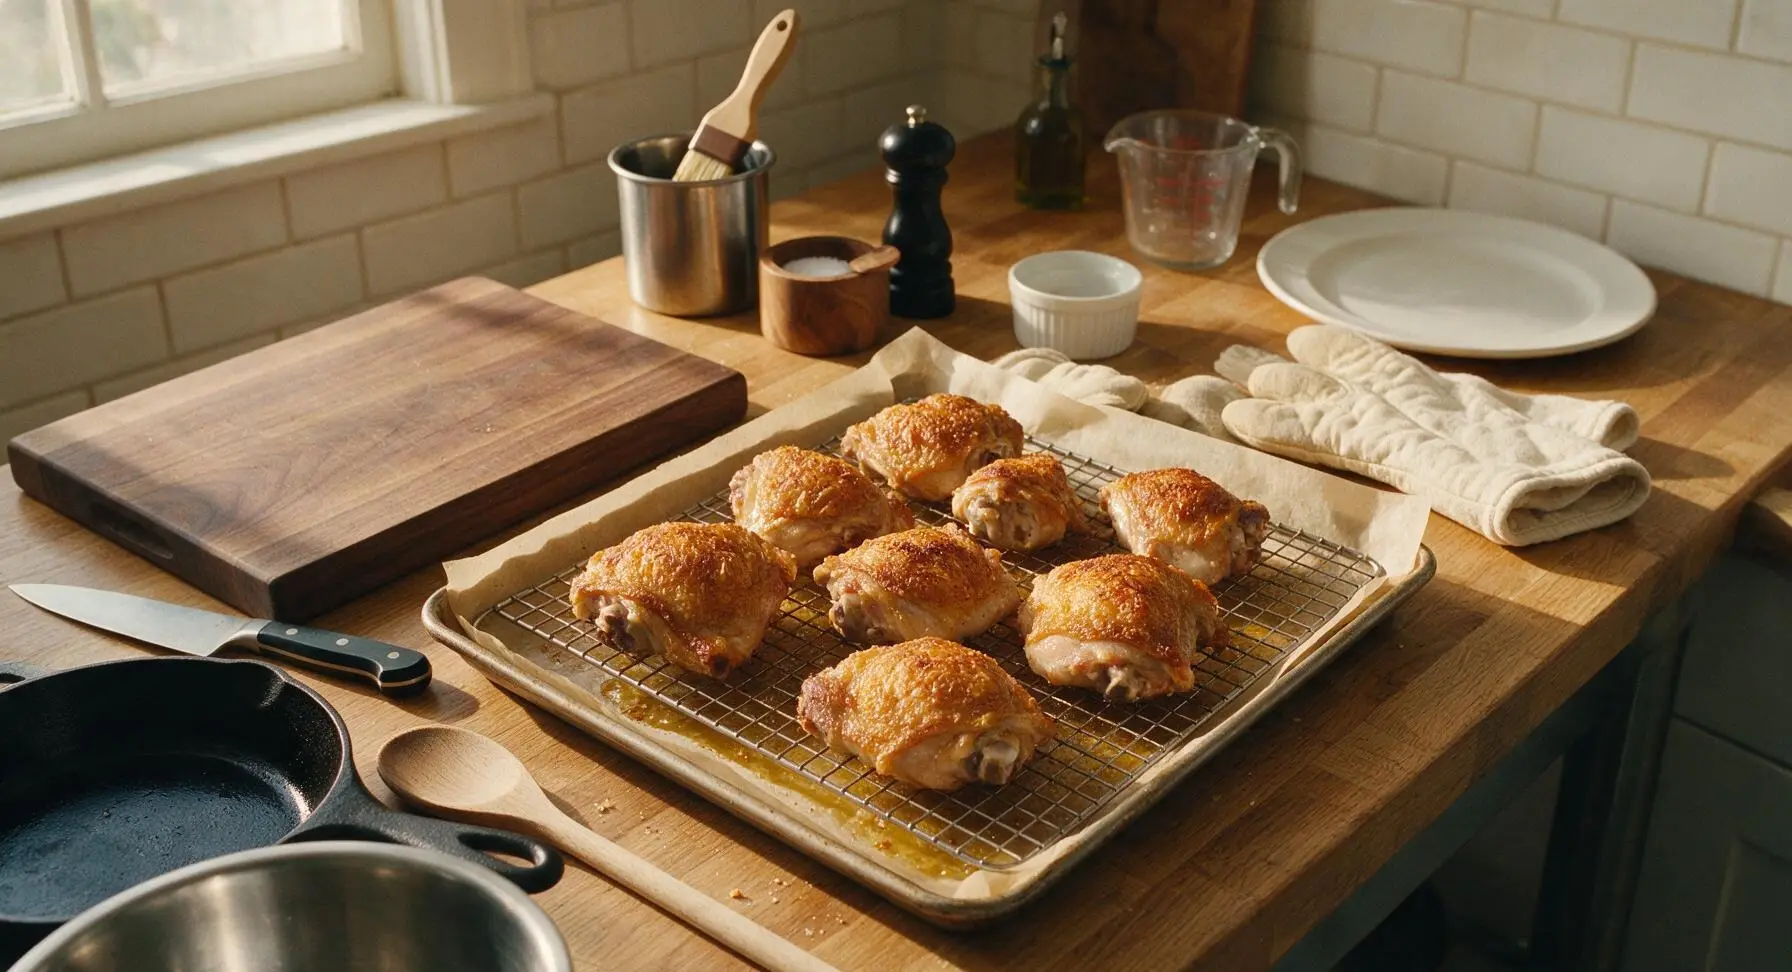
Carefully transfer the baking sheet with chicken to the preheated middle oven rack. Bake, uncovered, for 35 minutes at 220°C (425°F). Do not open the oven door during this time—consistent high heat renders fat from the skin and builds a crisp, golden base without sogginess. After 35 minutes, the skin will be deep golden, crackly, and rendered of excess fat.
Step 4
step4:Bake for Initial Crisp
5

Brush First Sauce Layer

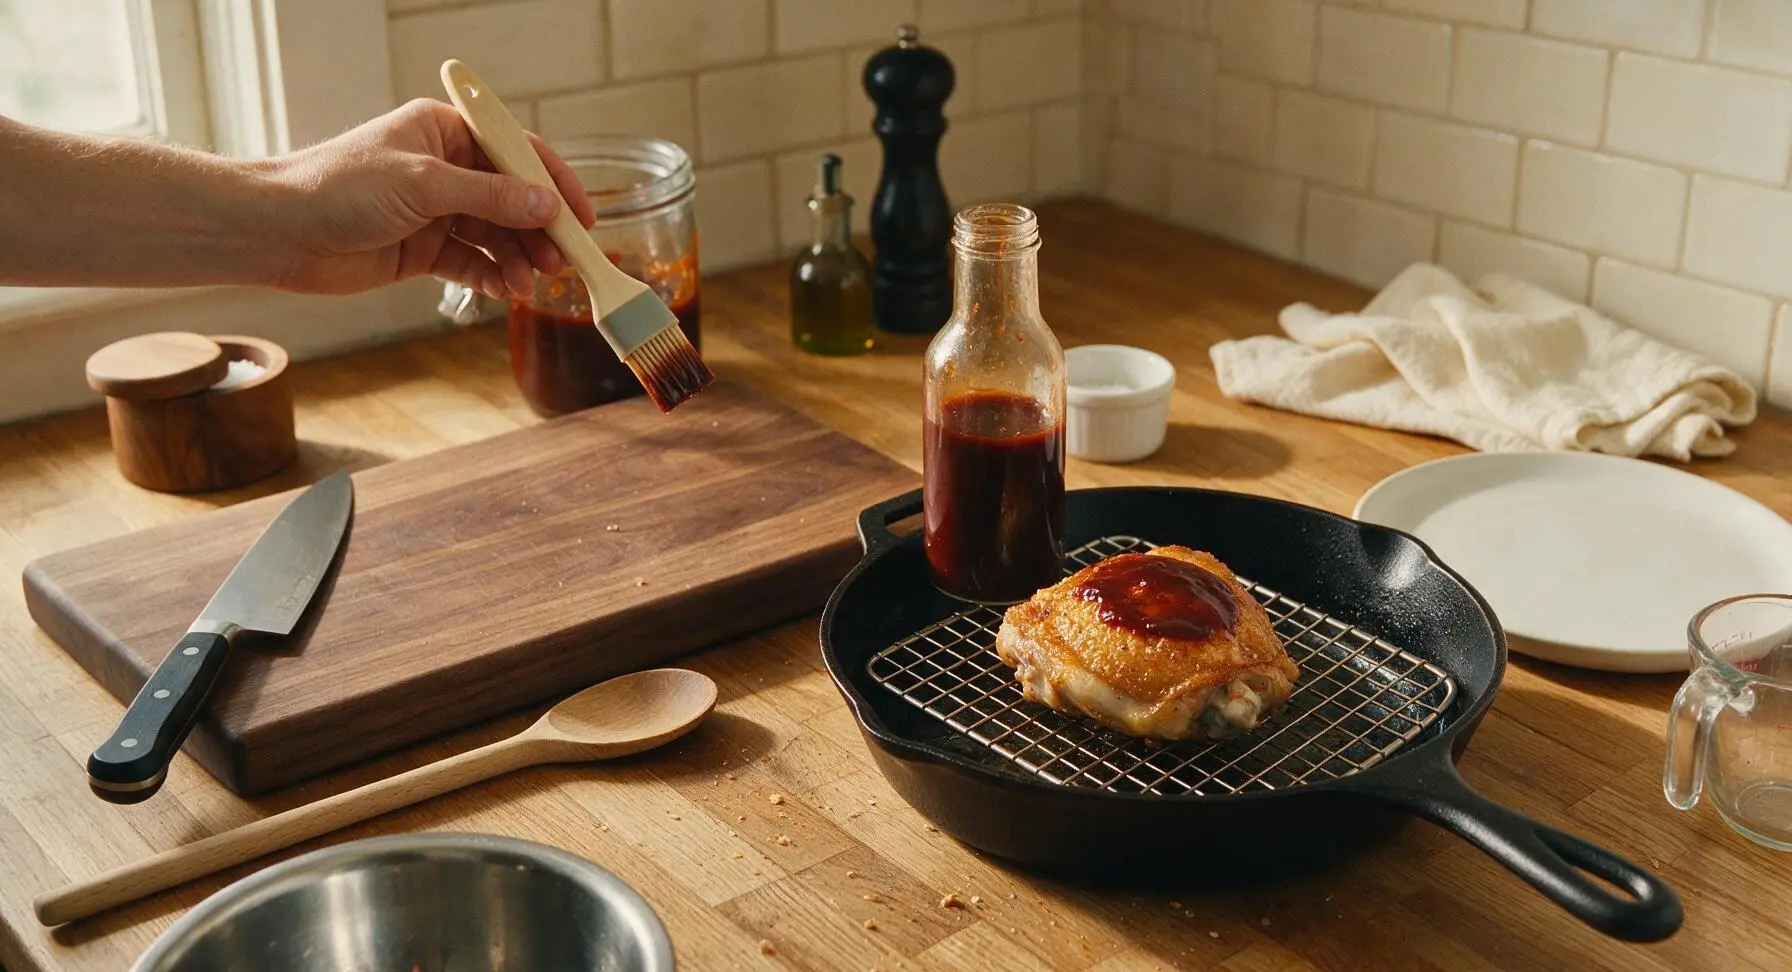
After the initial 35 minute bake, use the silicone basting brush to coat the top skin-side of each chicken piece with a thin, even layer of BBQ sauce (use roughly half the total sauce, 120ml). Brush sauce all the way to the edges of the skin, but do not apply so thickly that it drips off and pools under the rack. The sauce will sizzle immediately on contact with the hot chicken skin.
Step 5
step5:Brush First Sauce Layer
6

Bake First Glaze Layer

Use the oven mitts to return the sauced chicken to the middle oven rack, bake for 7 minutes at 220°C (425°F). This short bake sets the first sauce layer, caramelizing the sugars in the BBQ sauce so it adheres to the crispy skin instead of running off. Do not bake longer than 7 minutes here, as the sugar in sauce will burn quickly at high heat.
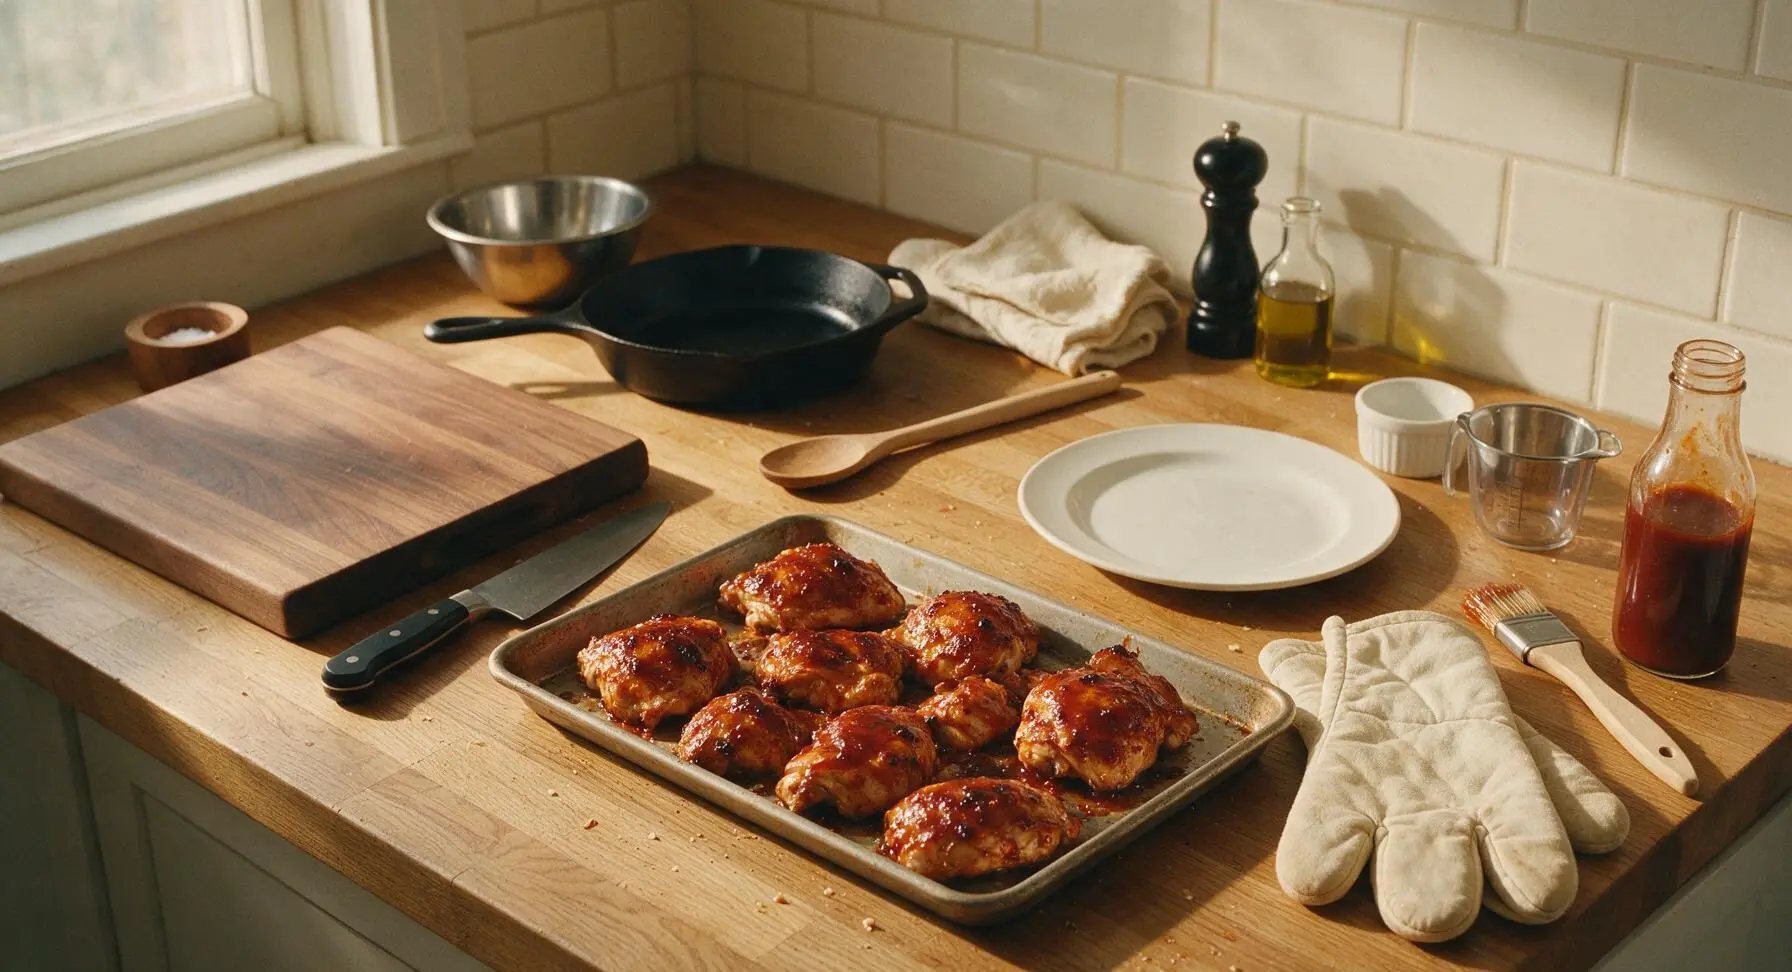
Step 6
step6:Bake First Glaze Layer
7

Add Second Sauce Coat

Brush the remaining 120ml of BBQ sauce over the chicken pieces, applying a slightly thicker even coat across all skin surfaces. This double-coat method creates a sticky, glossy glaze without making the crispy skin soggy, as the first baked layer acts as a barrier between the skin and wet second coat.
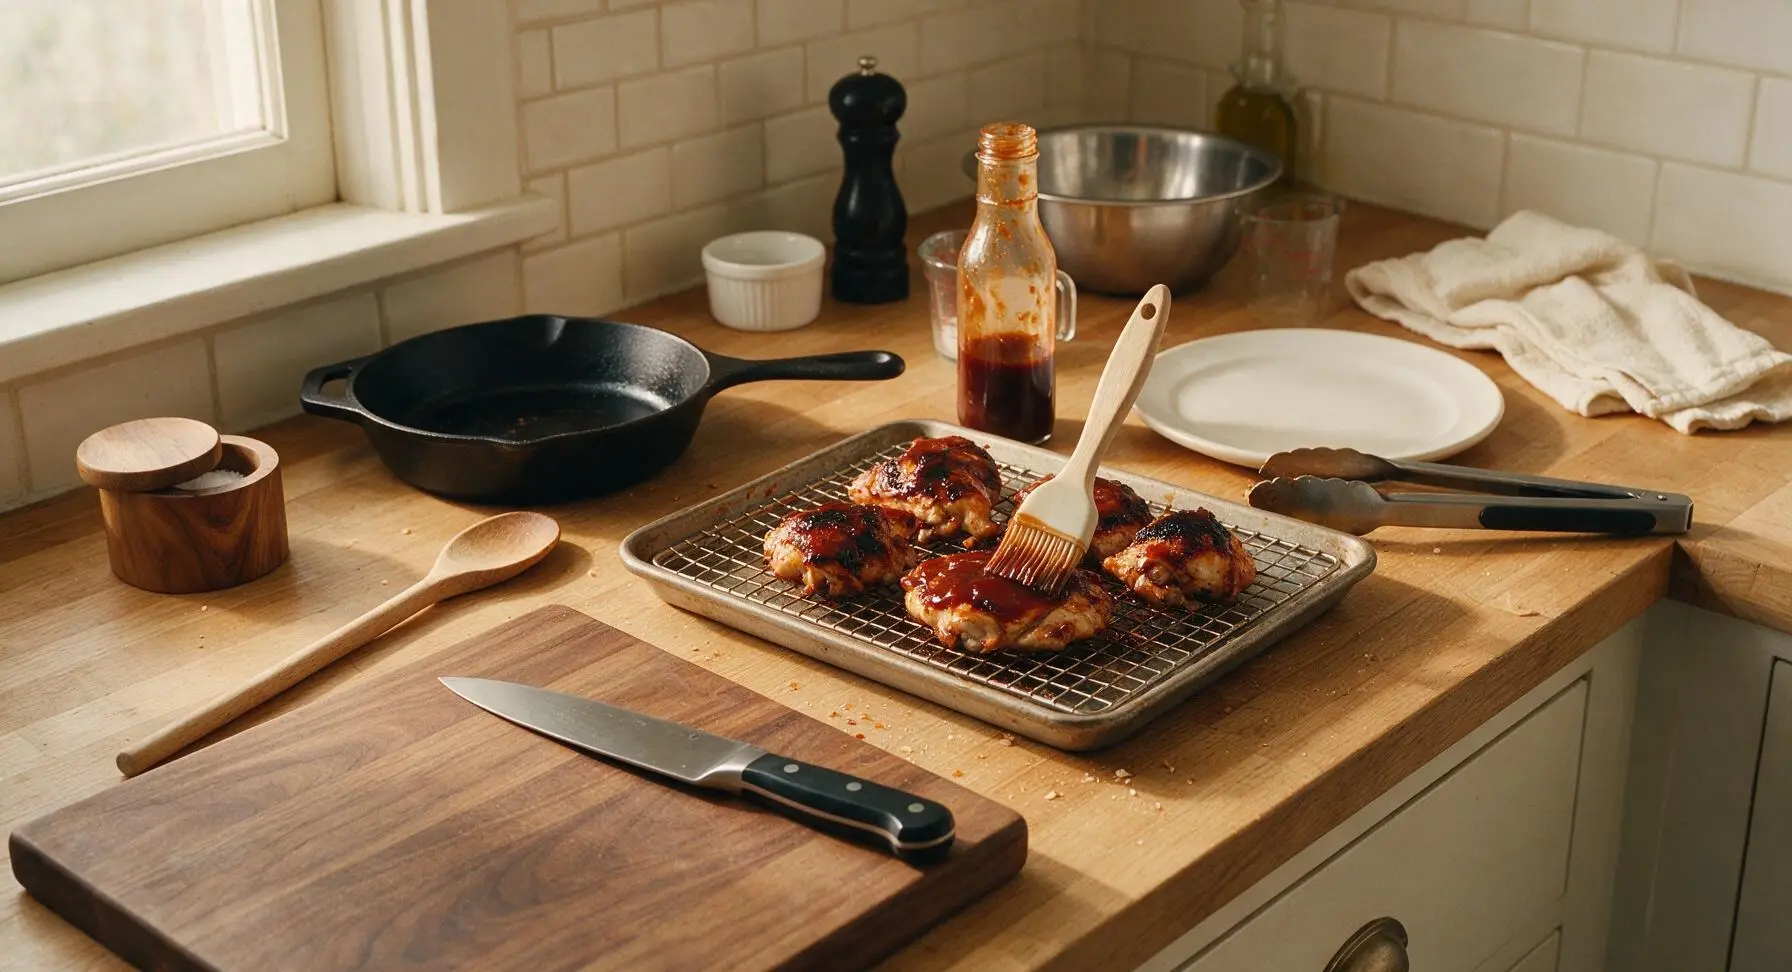
Step 7
step7:Add Second Sauce Coat
8

Final Bake for Crispness

Return the chicken to the oven for a final 3 minutes at 220°C (425°F). Watch closely during this time—the sauce will turn glossy and deep mahogany, and the edges of the skin will crisp up further. Remove immediately if you see any blackened burnt spots on the sauce.
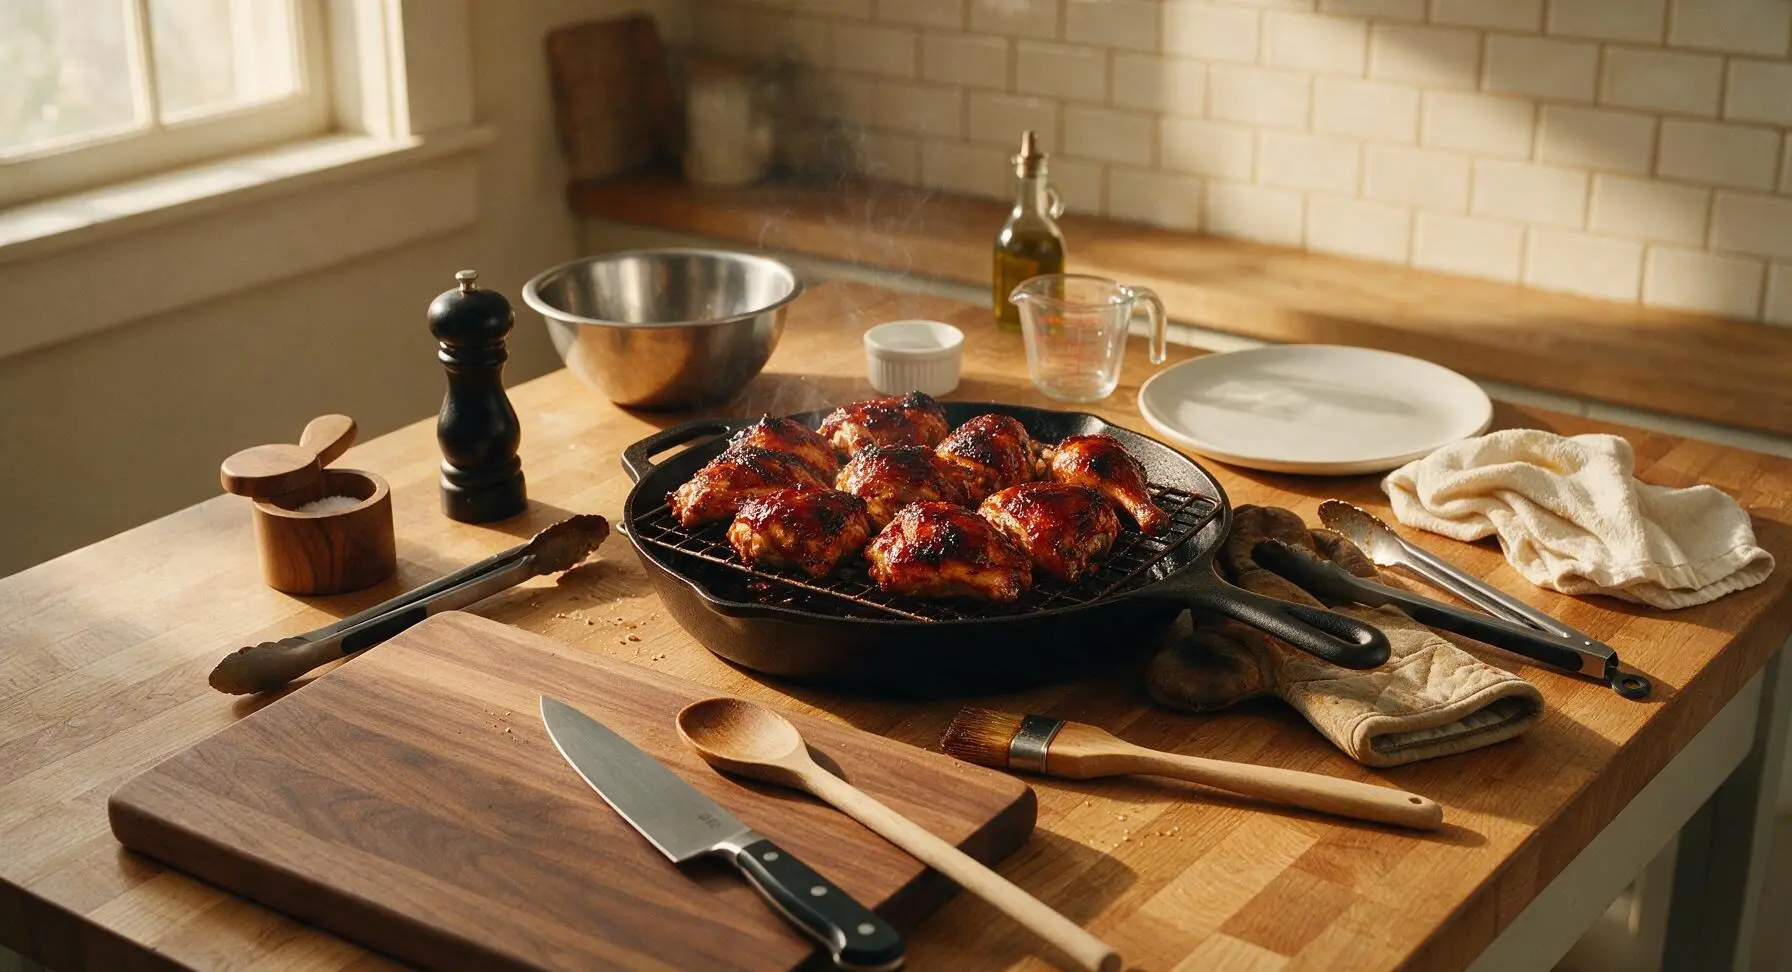
Step 8
step8:Final Bake for Crispness
9

Rest and Serve

Let the chicken rest for 5 minutes directly on the wire rack—this allows the glaze to set and the juices to redistribute, so they don’t run out when you bite into the chicken. Use tongs to transfer the pieces to the matte cream stoneware serving platter, and serve immediately.
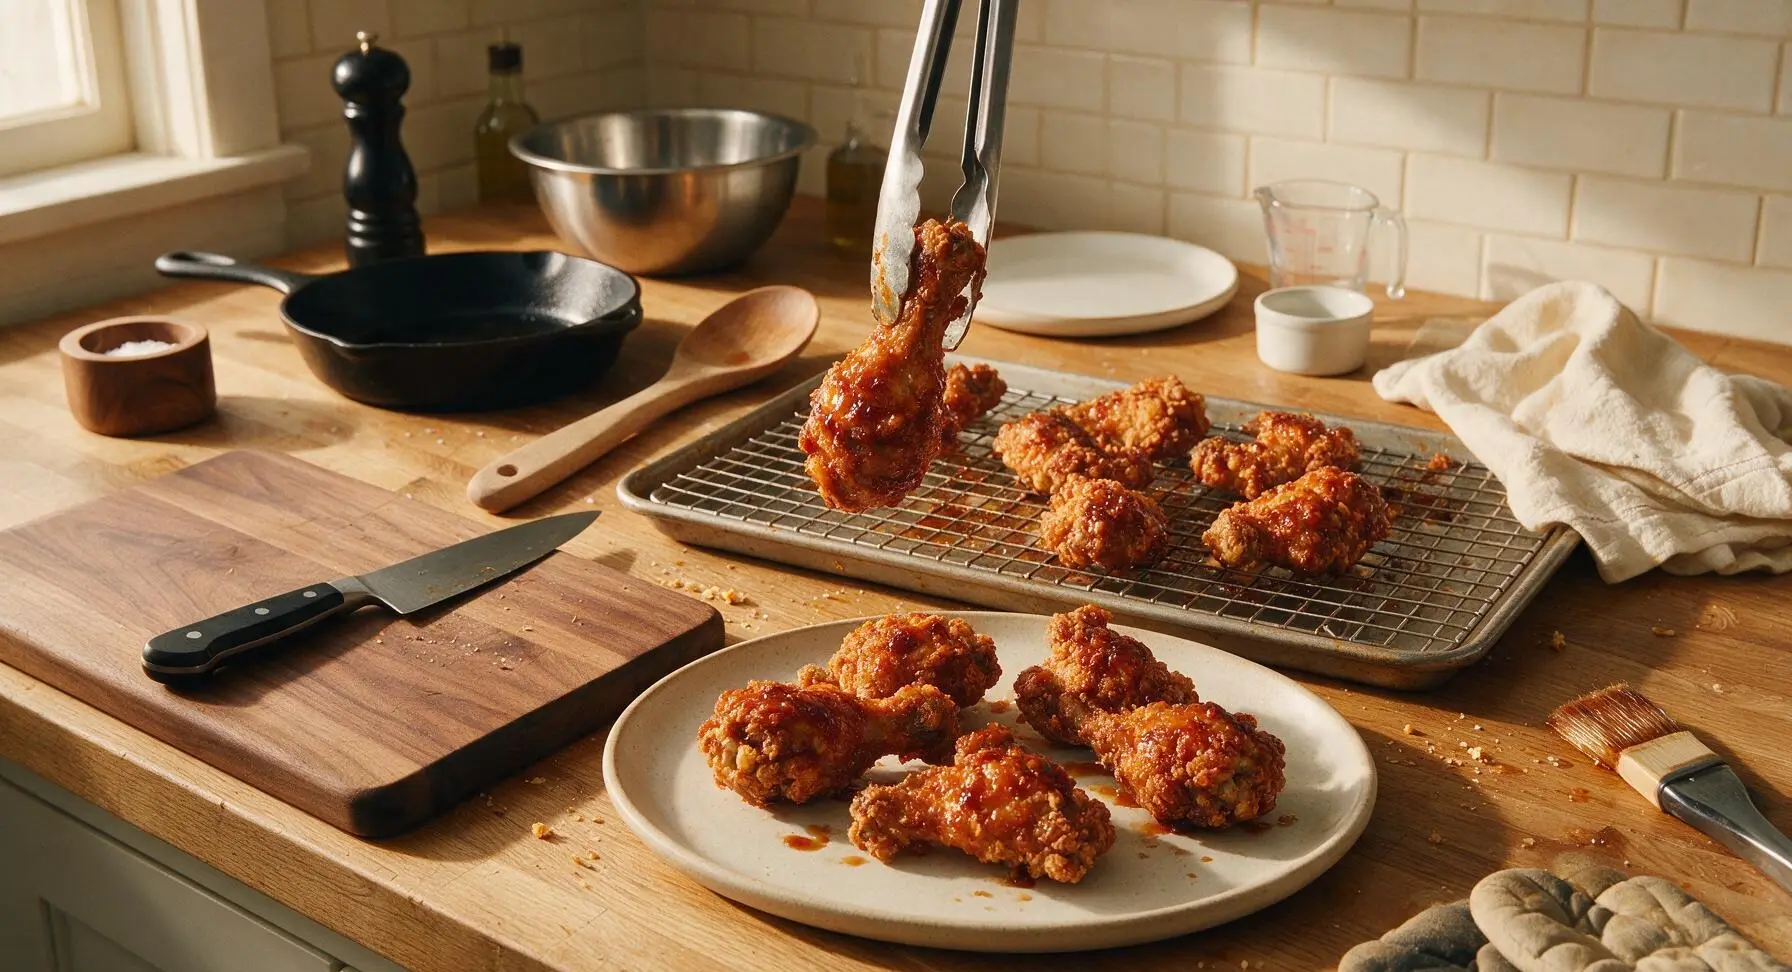
Step 9
step9:Rest and Serve

Tips

1.Always use bone-in, skin-on chicken for this recipe: boneless, skinless cuts will dry out in the high 425°F heat, and the skin is required to render fat, create the crispy texture, and protect the meat from drying out as it cooks.
2.Skip lining your baking sheet with foil or parchment under the wire rack: liners block hot air circulation under the chicken, trapping moisture that steams the bottom skin instead of crisping it. Any rendered fat on the bare pan washes off easily with hot soapy water.
3.Wait to apply BBQ sauce until after the first 35 minutes of baking: BBQ sauce is high in sugar, which burns quickly at high heat, and applying it too early traps moisture against the skin leading to soggy, rather than crispy, results. The double-coat method after initial crisping creates a sticky glaze without sogginess.


✨ You May Also Like

BBQ & Grilling
🍜 United States

Tender, melt-in-your-mouth beef brisket with a crisp, spiced bark, slow-smoked to deep smoky perfection, the iconic centerpiece of Texas backyard barbecue.

⏱️ 12 hours BBQ & Grilling ★ 4.4
BBQ & Grilling
🍜 Korea

Tender, sweet-savory marinated beef short ribs, a beloved Korean BBQ staple with caramelized, slightly charred edges and deep umami flavor, perfect for outdoor summer gatherings.

⏱️ 4 hours 2BBQ & Grilling ★ 4.8
BBQ & Grilling
🍜 United States

Juicy grilled beef patties topped with smoky homemade chili, melted cheddar, and tangy pickles on toasted brioche buns for a hearty, flavor-packed handheld meal.

⏱️ 40 minuteBBQ & Grilling ★ 4.7
BBQ & Grilling
🍜 United States

A sweet, smoky, tangy BBQ sauce brightened with peak-season dark cherries, ideal for glazing grilled ribs, chicken, pork, or summer roasted veggies.

⏱️ 35 minuteBBQ & Grilling ★ 4.7
BBQ & Grilling
🍜 United States

Rich, smoky, slightly sweet homemade bourbon BBQ sauce with deep caramel notes, ideal for glazing grilled ribs, chicken, and burgers at cookouts.

⏱️ 25 minuteBBQ & Grilling ★ 4.7
BBQ & Grilling
🍜 United States

Iconic Alabama-style BBQ featuring tender hickory-smoked chicken slathered in tangy creamy white sauce, a beloved regional Southern cookout staple.

⏱️ 3 hoursBBQ & Grilling ★ 5

Two Ingredient Crispy Oven Baked BBQ Chicken:Frequently Asked Questions

1.How does this chicken get perfectly crispy with only two ingredients, no breading or fancy rubs? ▾
The secret lies in using bone-in, skin-on chicken, patting every piece completely dry with paper towels before baking, and cooking at a high enough temperature to render skin fat and crisp the surface without extra coatings. The BBQ sauce adds all the smoky, savory, well-rounded flavor you need once the skin is fully crisped.
2.What cuts of chicken work best for this recipe? ▾
Bone-in, skin-on chicken thighs and drumsticks are ideal, because their higher fat content keeps meat juicy through high-heat baking, and their skin renders evenly to develop that shatteringly crisp texture. Skip boneless, skinless cuts for the classic result—they dry out fast and can’t form that signature crispy outer crust.
3.What oven temperature should I use to get crispy skin without burning the BBQ sauce? ▾
Preheat your oven to 425°F. Bake chicken skin-side up on a wire rack set inside a rimmed baking sheet for the first 35 minutes to crisp the skin, then brush with BBQ sauce and bake 10 more minutes so the glaze sets without scorching. The elevated rack keeps chicken out of soggy drippings for all-over crunch.
4.Do I really need a wire rack, or can I bake chicken directly on a baking sheet? ▾
A wire rack is strongly recommended for even, all-over crispness, because it lets hot air circulate under every piece and prevents skin from getting soggy sitting in rendered fat. If you don’t have one, bake directly on a foil-lined sheet, but flip chicken halfway through the initial crisping step to avoid soft bottom skin.
5.Why does my oven BBQ chicken always end up with rubbery skin instead of crisp? ▾
Rubbery skin almost always traces back to two common mistakes: not patting the chicken completely dry before baking, or adding BBQ sauce too early. Wet skin steams instead of crisping, and sauce added too soon introduces excess moisture that softens rendered skin and can burn before the chicken cooks through.
6.Can I use boneless, skinless chicken for this recipe if that’s what I have on hand? ▾
You can, but you won’t get that signature shatteringly crisp result. If using boneless, skinless cuts, reduce total bake time to 20-25 minutes (depending on thickness) to avoid dry meat, brush sauce on the last 5 minutes of baking, and expect a softer, less textured final dish.
7.What type of prepared BBQ sauce works best for this recipe? ▾
Reach for a thick, smoky prepared BBQ sauce you already love the flavor of on its own. Thinner, vinegar-heavy sauces will run off the chicken and make skin soggy instead of creating a sticky, set glaze. You don’t need a fancy premium brand—your go-to grocery store pick works perfectly as long as it’s thick and spreadable.
8.Do I need to flip the chicken while it bakes? ▾
If you’re using a wire rack, you don’t need to flip at all—keep pieces skin-side up the whole time so the skin stays exposed to dry oven heat to crisp evenly. If you’re baking directly on a baking sheet without a rack, flip chicken once at the 20-minute mark during the initial crisping phase, then flip back skin-side up before adding sauce.
9.How do I know when the chicken is fully cooked and safe to eat? ▾
Always use an instant-read meat thermometer for perfect, juicy, safe results. Insert the thermometer into the thickest part of each piece, away from the bone, and look for an internal temperature of 165°F. Let the chicken rest 5 minutes after pulling it from the oven so juices redistribute before serving.
10.Can I make this chicken ahead for weekly meal prep? ▾
Absolutely! Bake the chicken fully, let it cool completely, then store in an airtight container in the fridge for up to 4 days. To reheat and bring back that crisp texture, place pieces on a wire rack in a 375°F oven for 10-12 minutes until heated through. Skip the microwave, which will turn skin soggy and rubbery.
11.My BBQ sauce burned the last time I made oven BBQ chicken—what did I do wrong? ▾
You likely added the sauce too early, or used too high a heat for the glazing step. Only brush sauce on after the chicken has had 35 minutes to crisp the skin at 425°F, then return it to the oven for just 10 minutes. That’s enough time for the glaze to caramelize slightly without turning black and bitter.
12.Can I add extra seasonings even though this is a two-ingredient recipe? ▾
Of course! The simple two-ingredient base is a perfect jumping-off point for customization. Stir a pinch of smoked paprika, garlic powder, cayenne, or a splash of hot sauce into your BBQ sauce before glazing. Avoid rubbing dry seasonings directly onto raw skin, as they draw out moisture that stops skin from getting perfectly crisp.
13.Can I use frozen chicken for this recipe? ▾
Starting with frozen chicken is not recommended, because excess moisture released as it thaws will steam the skin and prevent that signature shatteringly crisp texture. If you only have frozen chicken, thaw it completely in the fridge first, then pat every piece extremely dry with paper towels before baking to get as close to the ideal result as possible.
14.How do I keep the chicken from sticking to the rack or baking sheet? ▾
If using a wire rack, give it a light spray with nonstick cooking spray before placing chicken on it to prevent skin from tearing when you remove pieces. If baking directly on a baking sheet, line it with lightly greased foil, and don’t move the chicken for the first 20 minutes of baking so the skin has time to set and release easily.
15.Can I use this method for a whole cut-up chicken, including bone-in breasts? ▾
You can include split bone-in, skin-on chicken breasts if you prefer white meat, but note that white meat cooks faster than dark meat thighs and drumsticks. Pull breast pieces out of the oven 5-10 minutes earlier than dark meat to avoid dry, overcooked chicken, and add sauce to them for their last 10 minutes of cook time.

Comments (4)

2 days ago

OMG this is such a game changer! I was so skeptical that only two ingredients could make crispy BBQ chicken in the oven, but my entire family devoured it at dinner last night. My picky 7 year old asked for seconds, and my husband said it’s better than our usual grilled version. Will absolutely be adding this to our weekly meal rotation! So easy too, perfect for busy weeknights when I don’t have time to prep a million things.

yesterday

Totally agree! I made this for a neighborhood potluck over the weekend and people kept hounding me for the recipe. Nobody believed it was only two ingredients, the skin gets so perfectly crispy I swear it tastes like it came off a grill. 10/10

yesterday

So happy to hear your family loved it, Sarah! Quick pro tip to make it even better: pat the chicken completely dry with paper towels before slathering on the BBQ sauce – that’s the secret to extra shatteringly crisp skin every time!

30 minutes ago

Wait, hold on, is there really no other seasoning needed? I tried this last night and the chicken came out a little soggy on the bottom, did I do something wrong? I used regular sweet BBQ sauce and bone-in thighs, followed the cook time exactly, and even preheated my oven all the way. Bummed because I was really looking forward to that crispy skin everyone’s talking about!

5 minutes ago

Hi Jake! So sorry to hear the skin came out soggy on the bottom, that’s such a bummer when you’re craving that crispy texture! A quick fix is to place the chicken on a wire rack set inside your baking sheet instead of directly on the pan – that lets hot air circulate all around the chicken for crispiness on every side, no flipping required. You can also add a pinch of salt, pepper, or garlic powder if you want extra seasoning, but the BBQ sauce has plenty of built-in flavor for most tastes. Hope you give it another try!

1 week ago

SO good! I made a big batch of this on Sunday for my weekly meal prep, and it held up perfectly all week in the fridge. The crispiness even stayed when I reheated it in the air fryer for a couple minutes. Way easier than frying or grilling, and way less mess to clean up afterwards. 10/10, will make again and again.

yesterday

Made this last night for my kid’s soccer team dinner and it was a total hit! I used drumsticks because that’s what all the kids love, and they were gone in 10 minutes flat. Even the coaches asked for the recipe, I couldn’t believe how simple it was. No fancy ingredients, no fancy equipment, just perfect crispy chicken. My kids loved it so much they already asked me to make it again for our family cookout next weekend!

2 hours ago

Oh drumsticks are such a good call! I’ve only made this with boneless thighs so far, I’m grabbing a big pack of drumsticks on my grocery run tomorrow to make for my son’s birthday cookout. Can never have too many easy, crowd-pleasing recipes that don’t require a ton of cleanup, right?



