
ukrainian waffle cake
intro
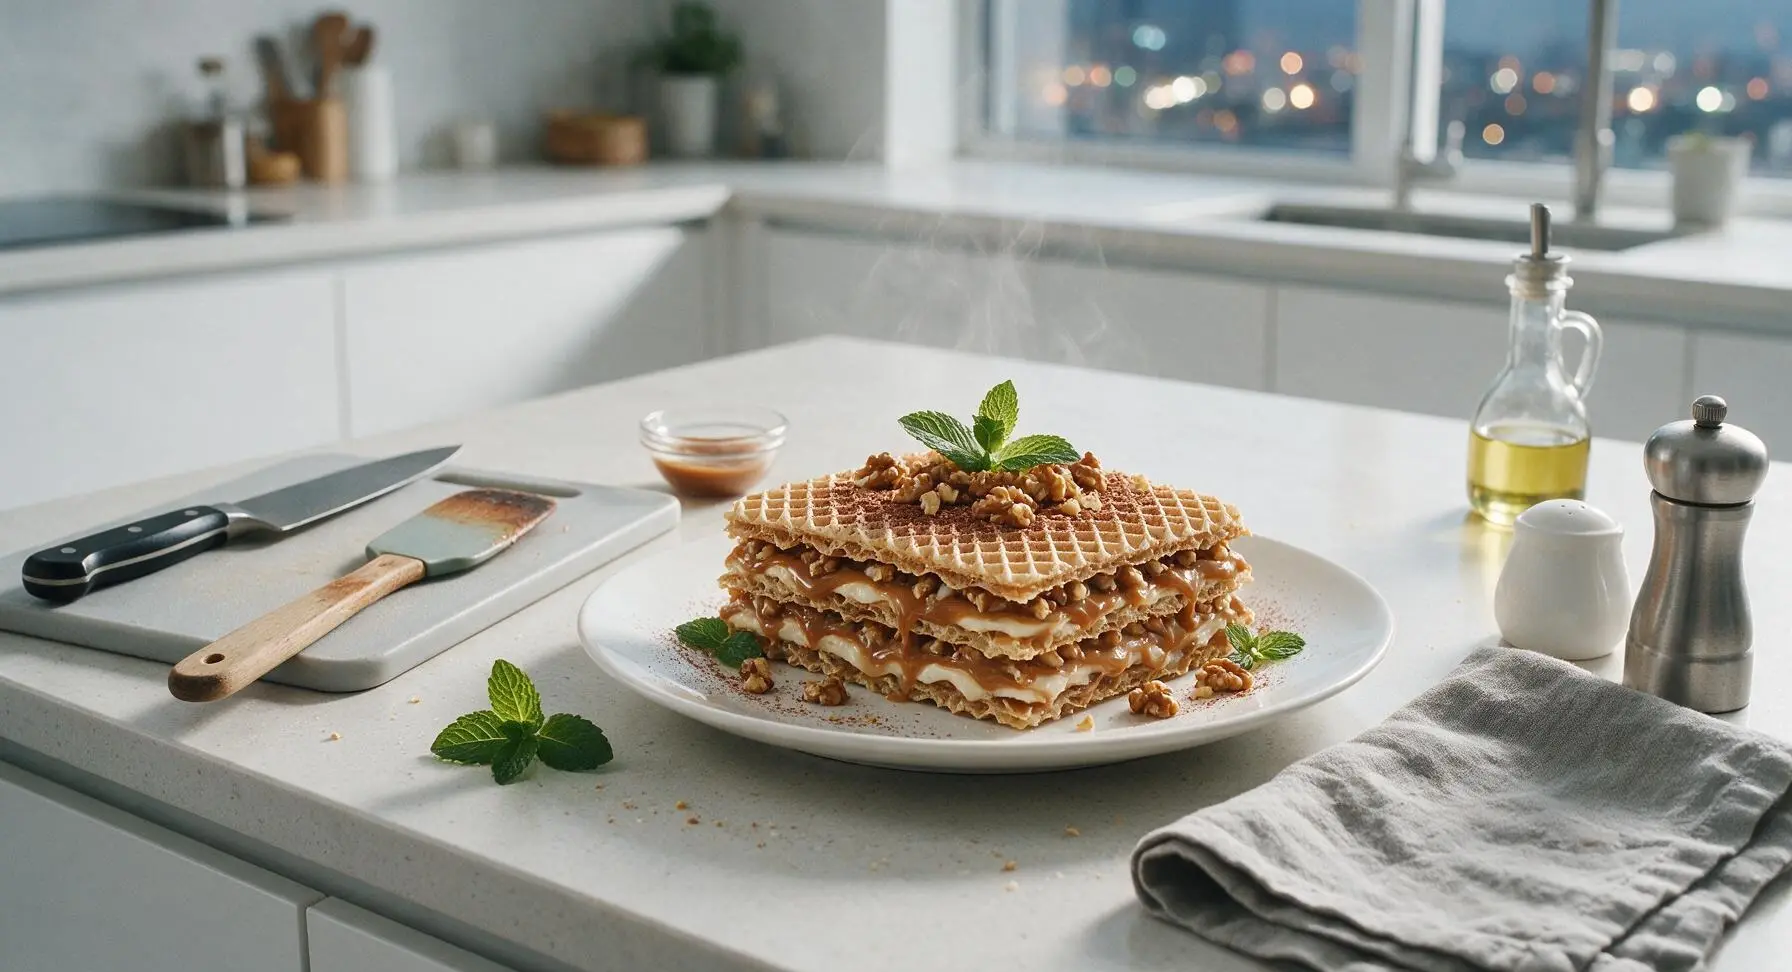
A nostalgic no-bake layered dessert with crisp thin waffles, creamy dulce de leche filling, toasted walnuts, and light cocoa dusting—rich, sweet, and perfect for holiday gatherings.
Ingredients
Steps
Toast the Walnuts
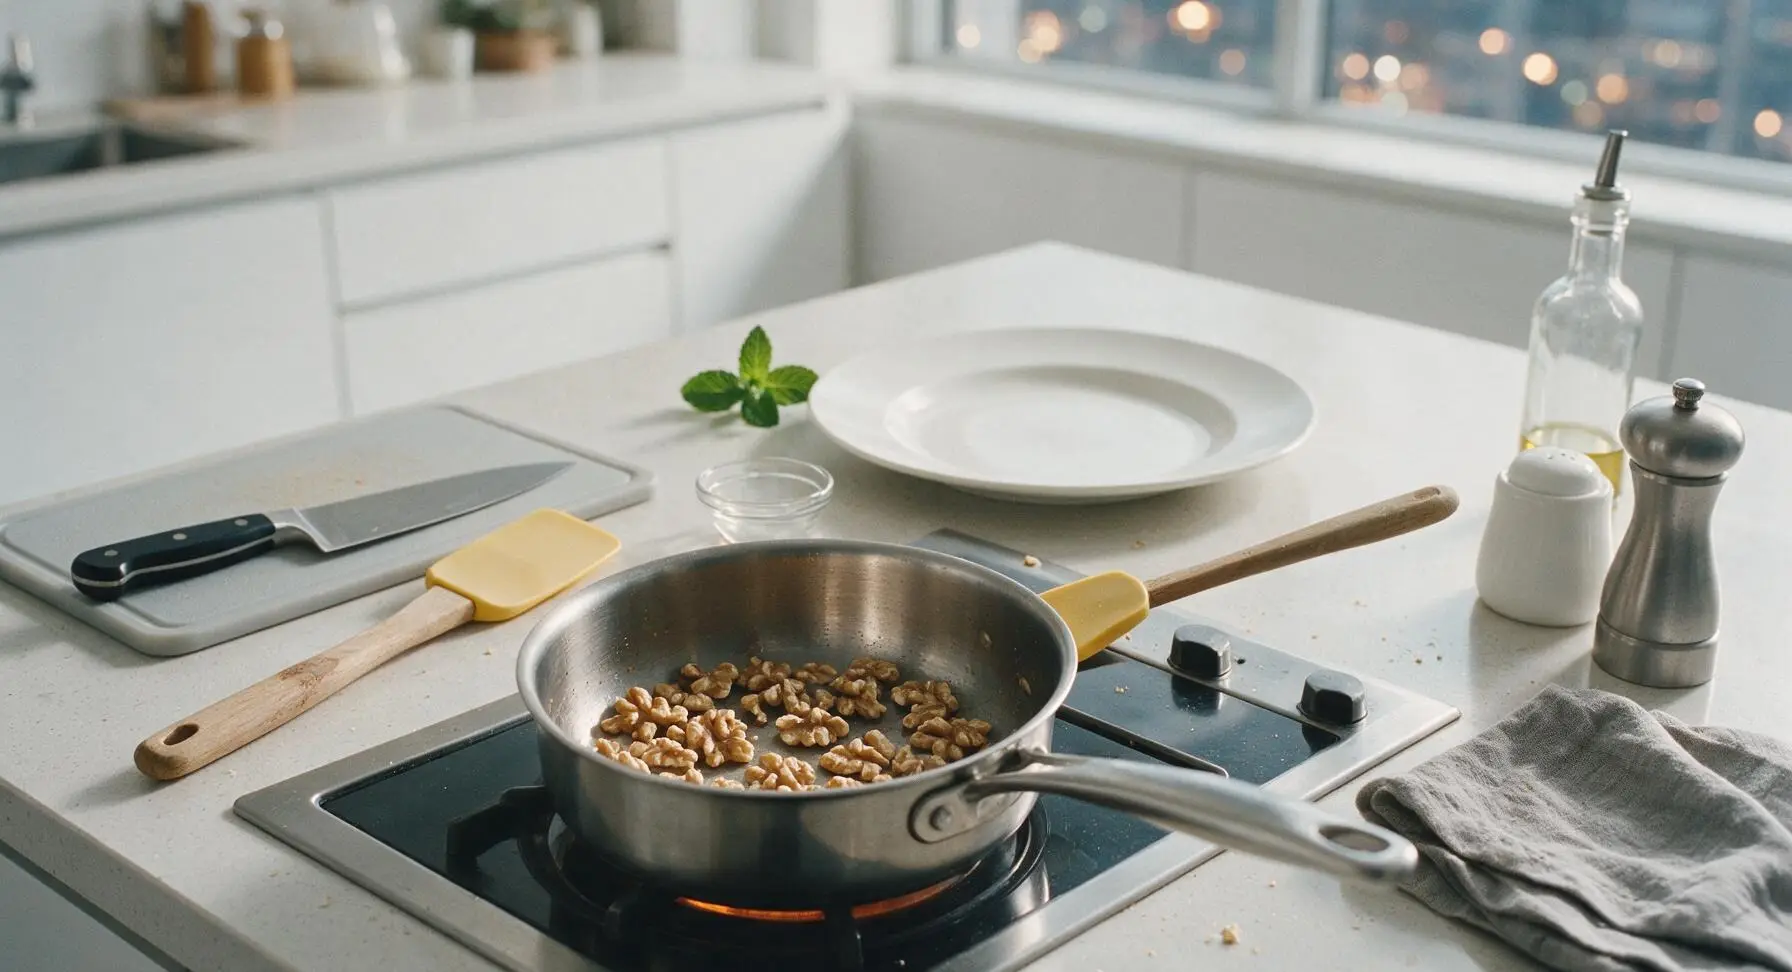
Place the small stainless steel saucepan over medium-low heat on the integrated stovetop. Add the 150g raw walnut halves to the dry pan, stirring frequently with the butter-yellow silicone spatula for 3-4 minutes, until walnuts are fragrant, lightly golden at the edges, and no raw nut aroma remains. Watch closely to avoid burning, as walnuts turn bitter quickly once scorched. Remove pan from heat and transfer walnuts to the birch cutting board to cool completely for 10 minutes.
Chop Cooled Walnuts
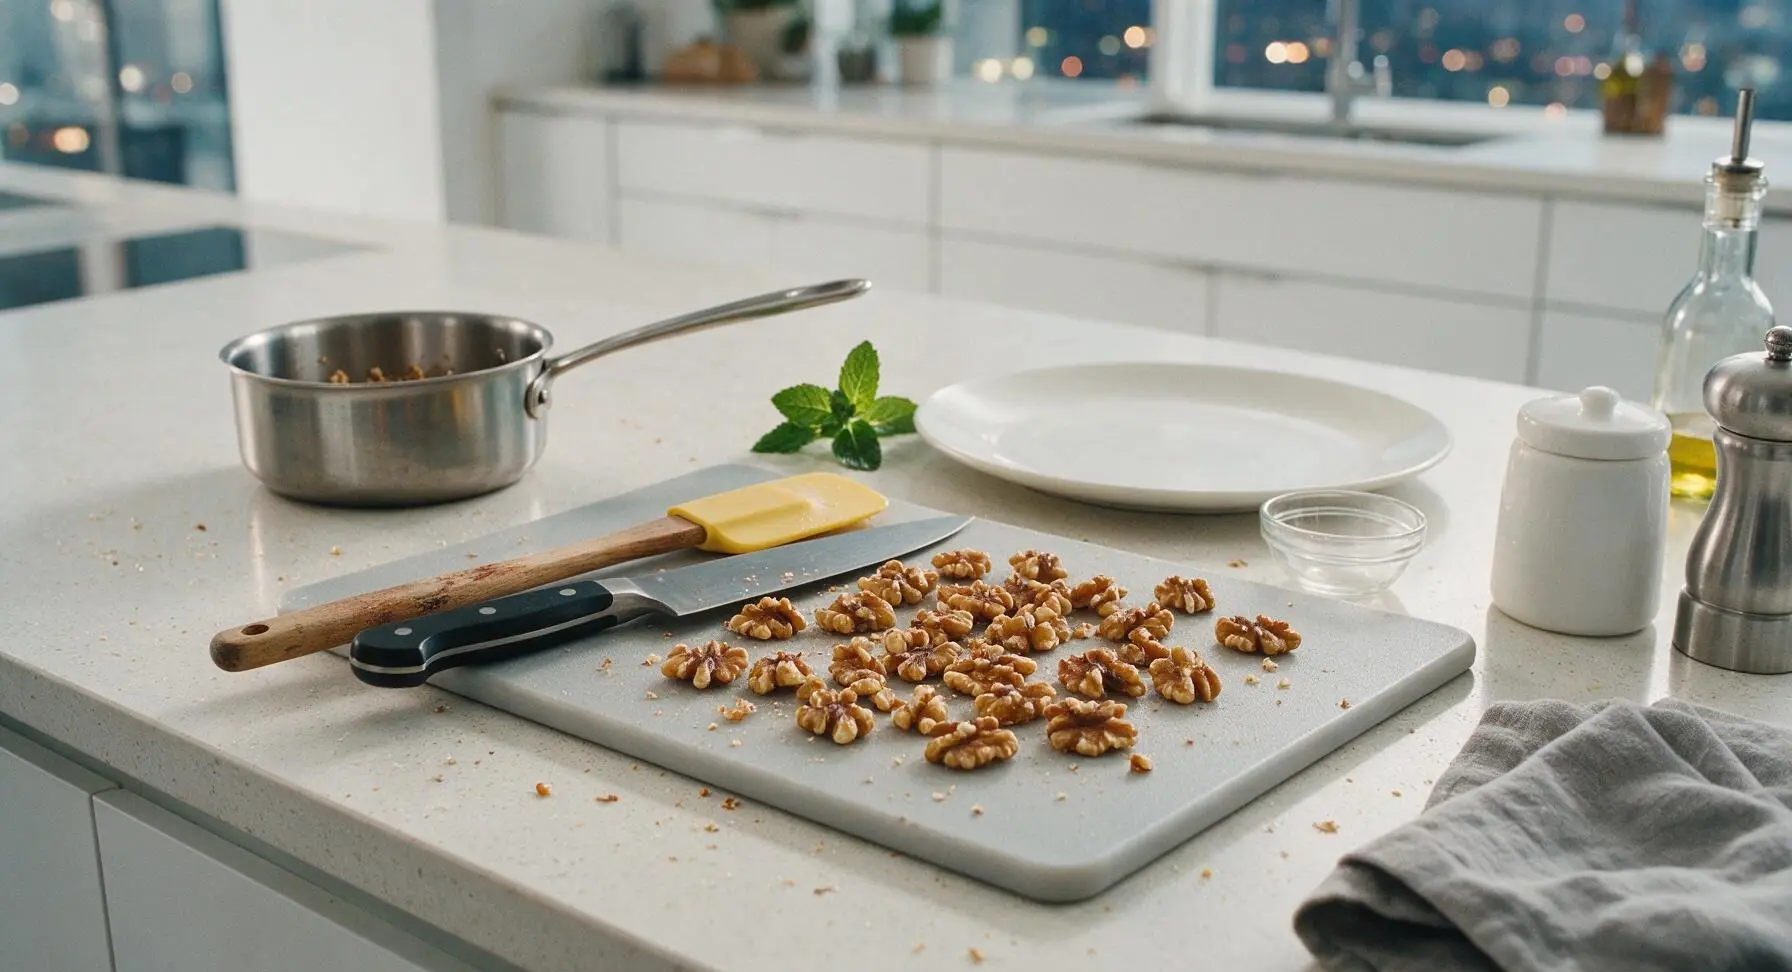
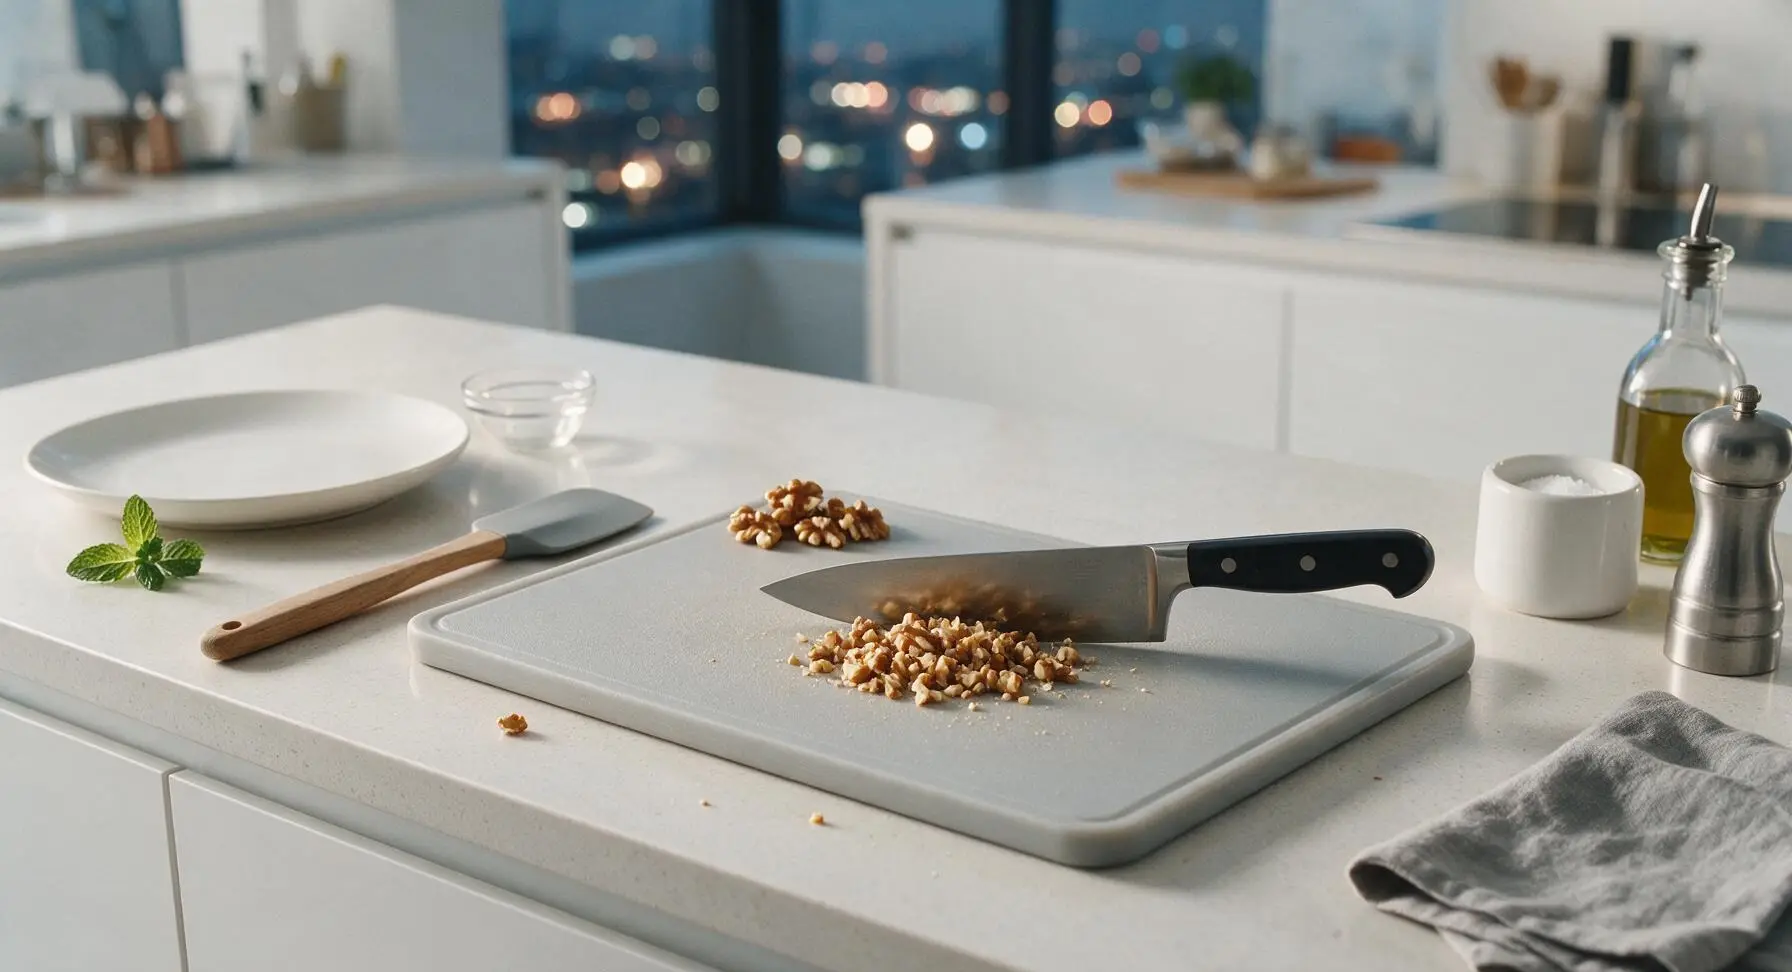
Once walnuts are fully cool to the touch, use the 8-inch walnut-handled chef knife to chop them into rough, uneven pieces: set aside roughly 1/3 of the walnuts as larger halves and 1-2cm pieces for garnish, and chop the remaining 2/3 into 5mm pieces for the filling. Transfer the smaller chopped walnut pieces to the large matte white mixing bowl, and leave the garnish pieces on the far corner of the cutting board.
Mix Dulce de Leche Filling
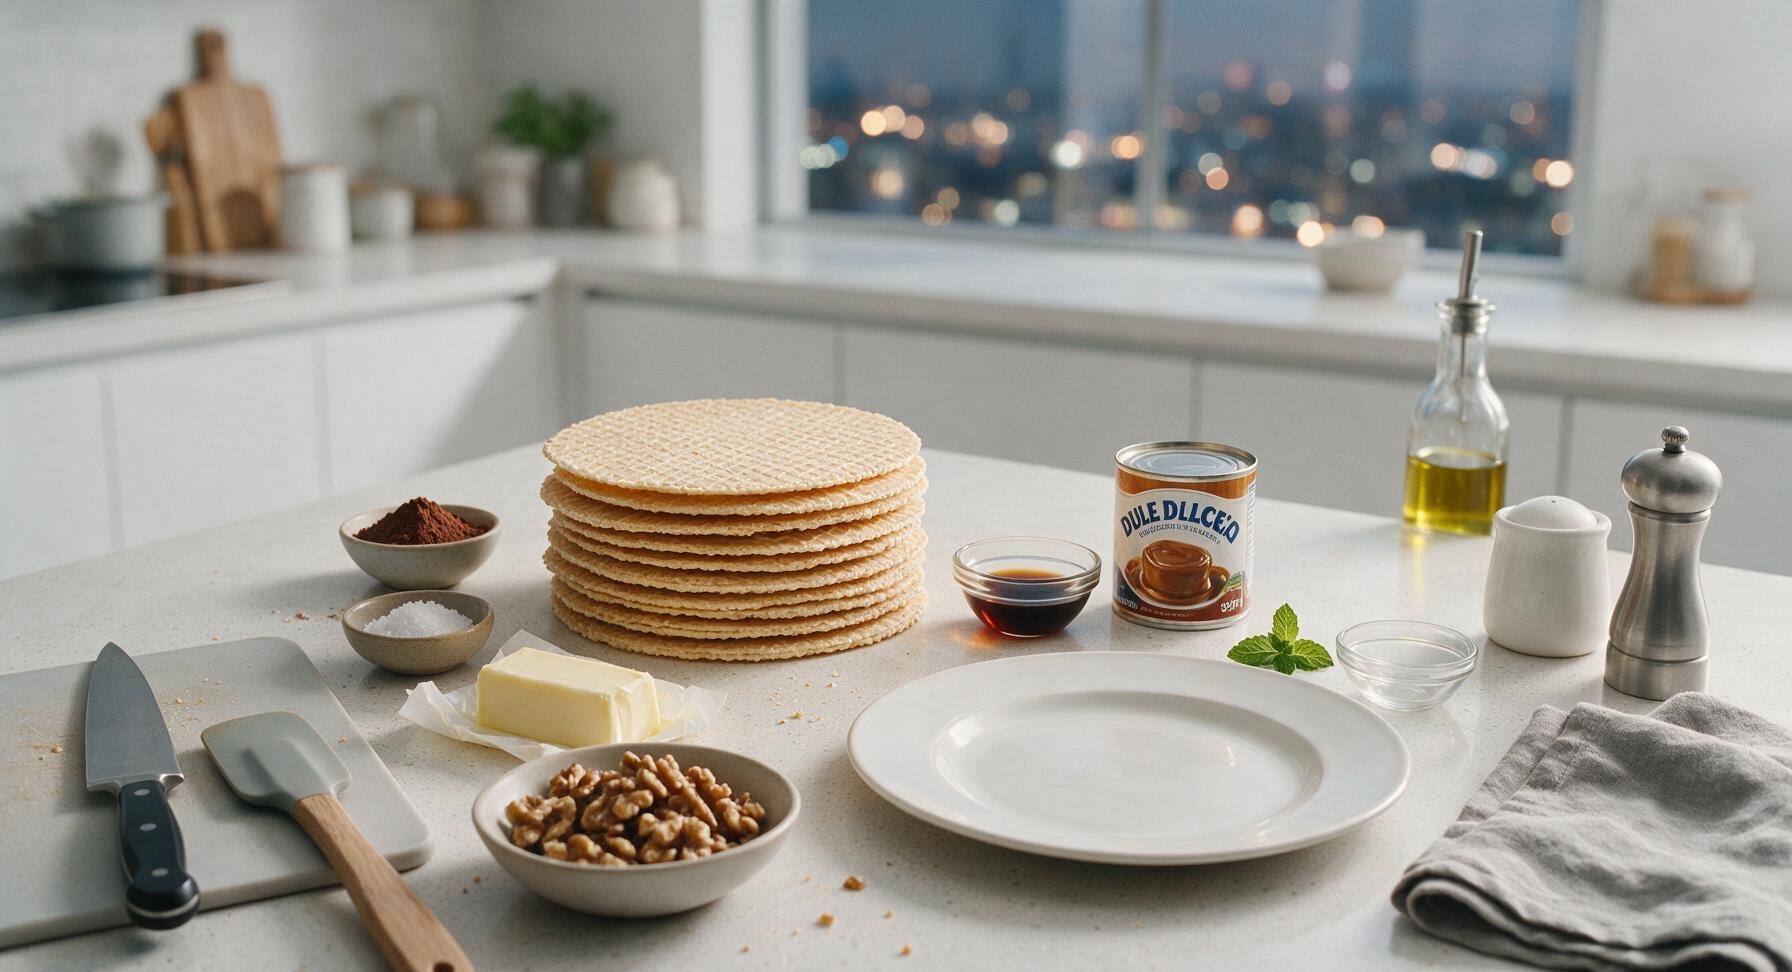
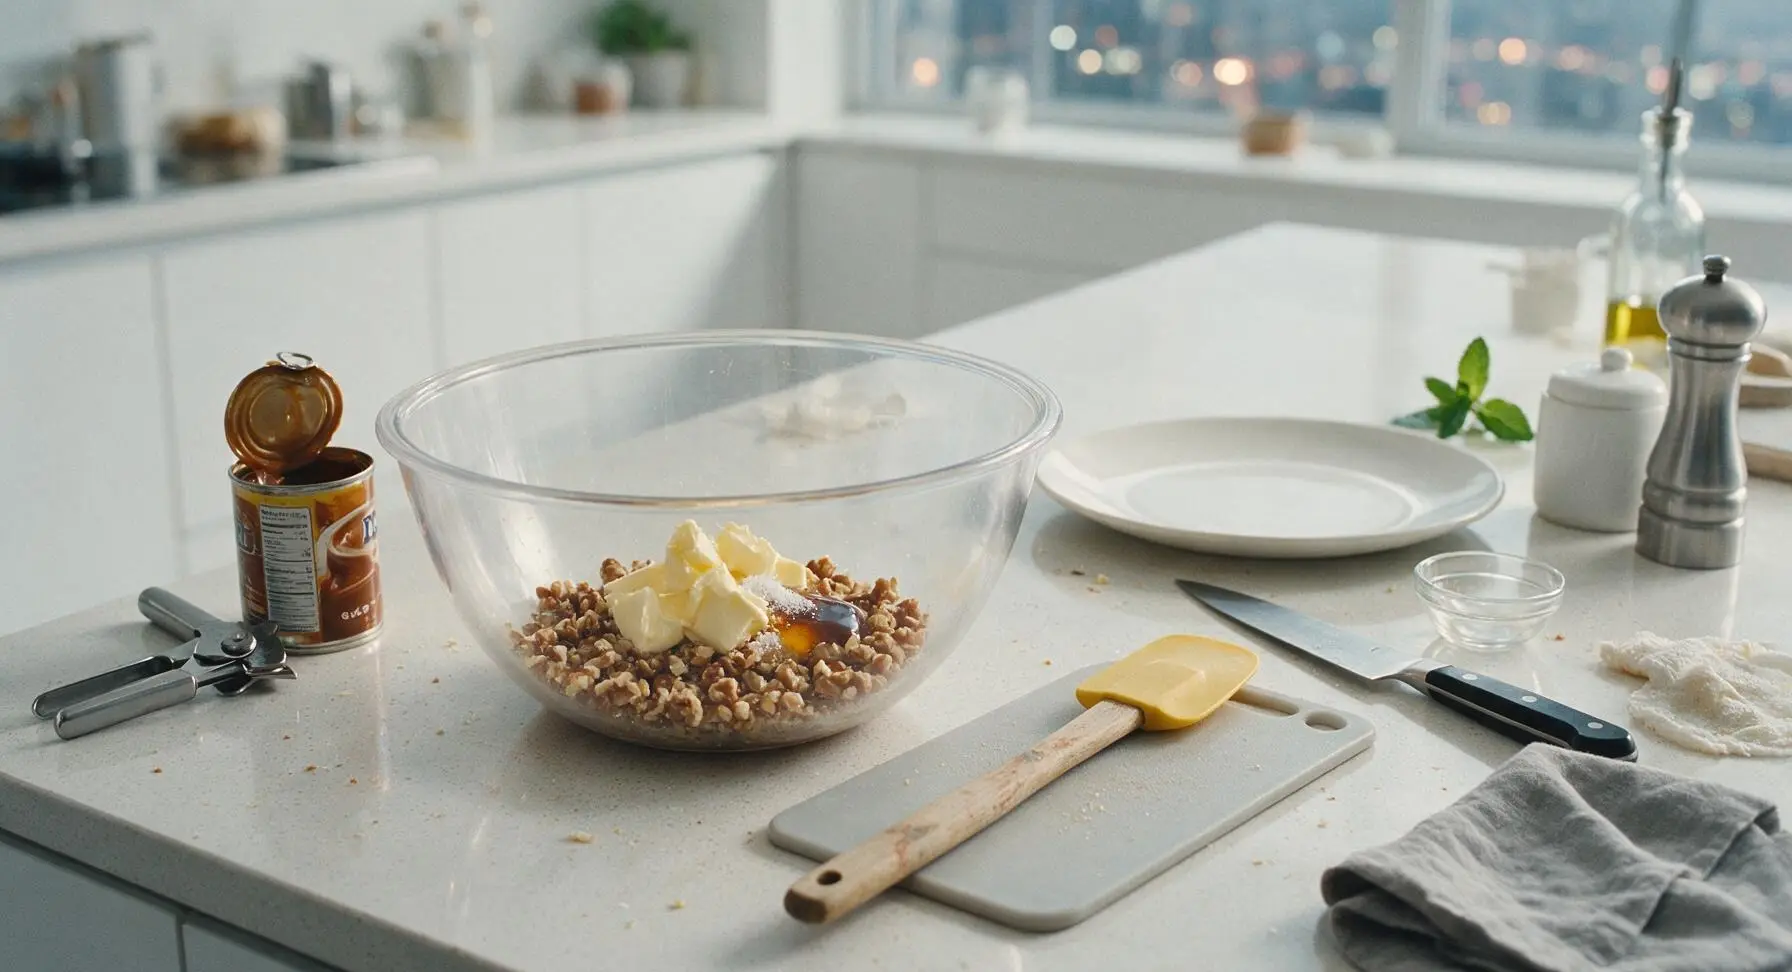
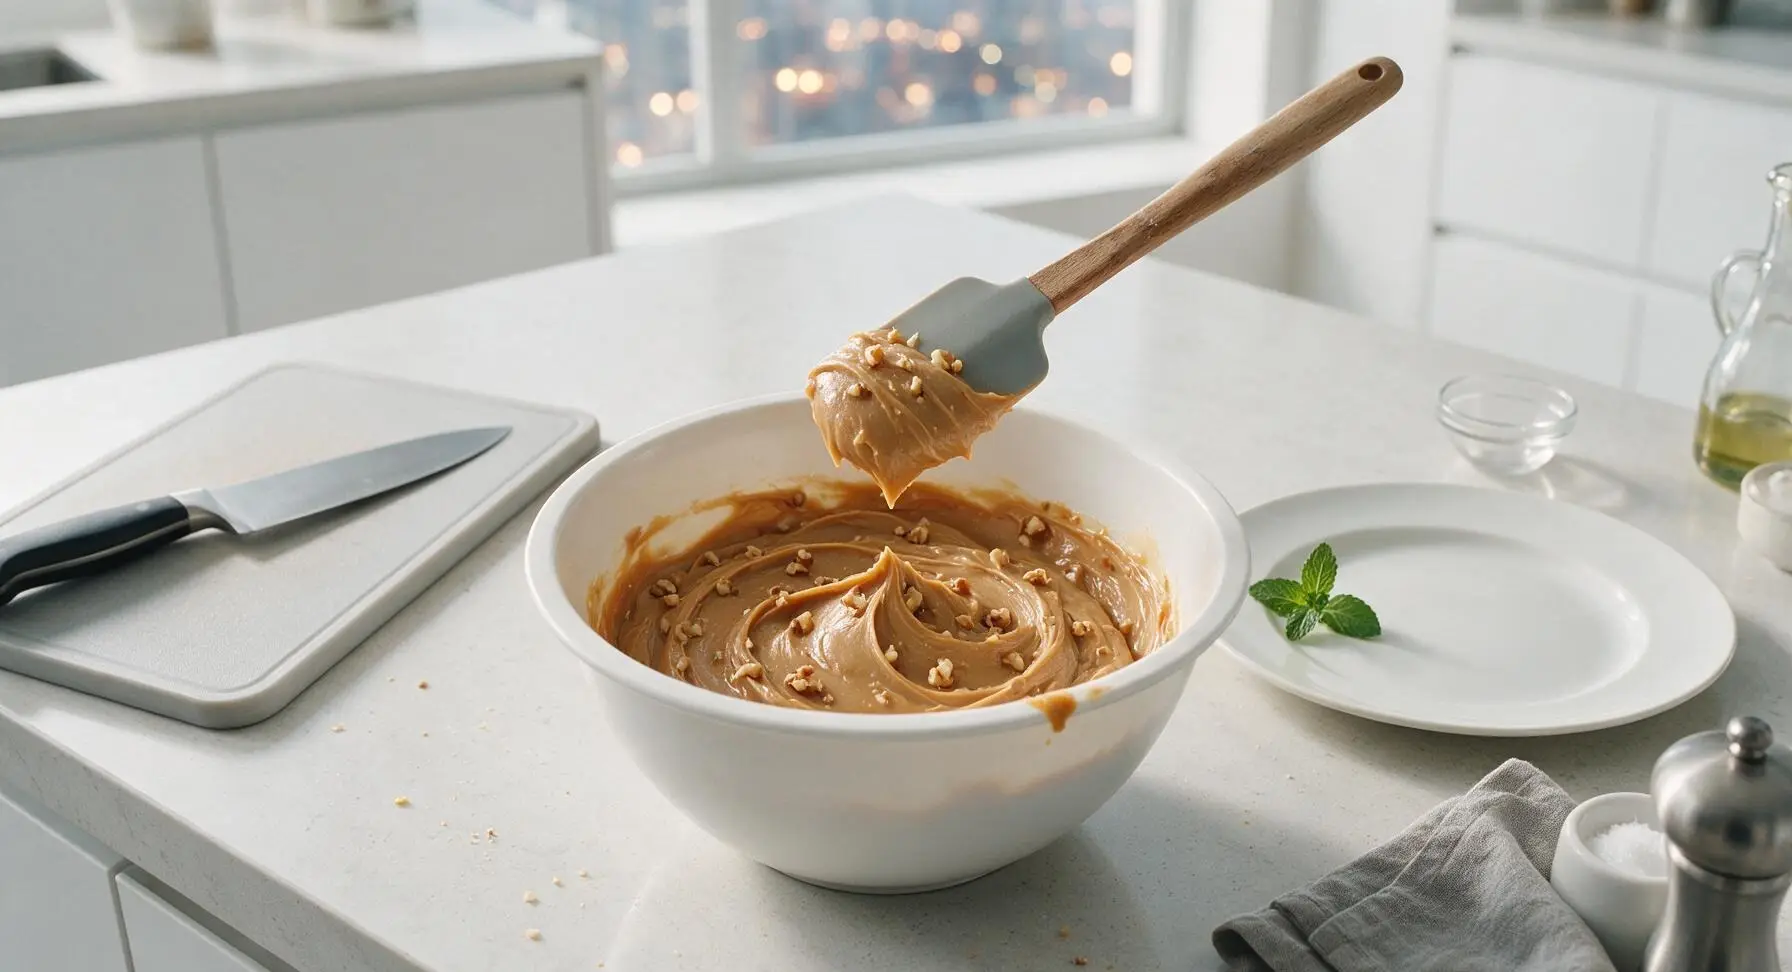
Add the full 397g can of dulce de leche (opened with the stainless steel can opener), 113g softened room-temperature unsalted butter, 1 tsp pure vanilla extract, and 1/8 tsp fine sea salt to the large mixing bowl holding the smaller chopped walnut pieces. Use the butter-yellow silicone spatula to stir the mixture together for 2-3 minutes, until completely smooth, uniform light caramel color, with no streaks of separate butter remaining. The filling should be thick and spreadable, holding a soft peak when the spatula is lifted from the bowl.
Stack Waffle Layers
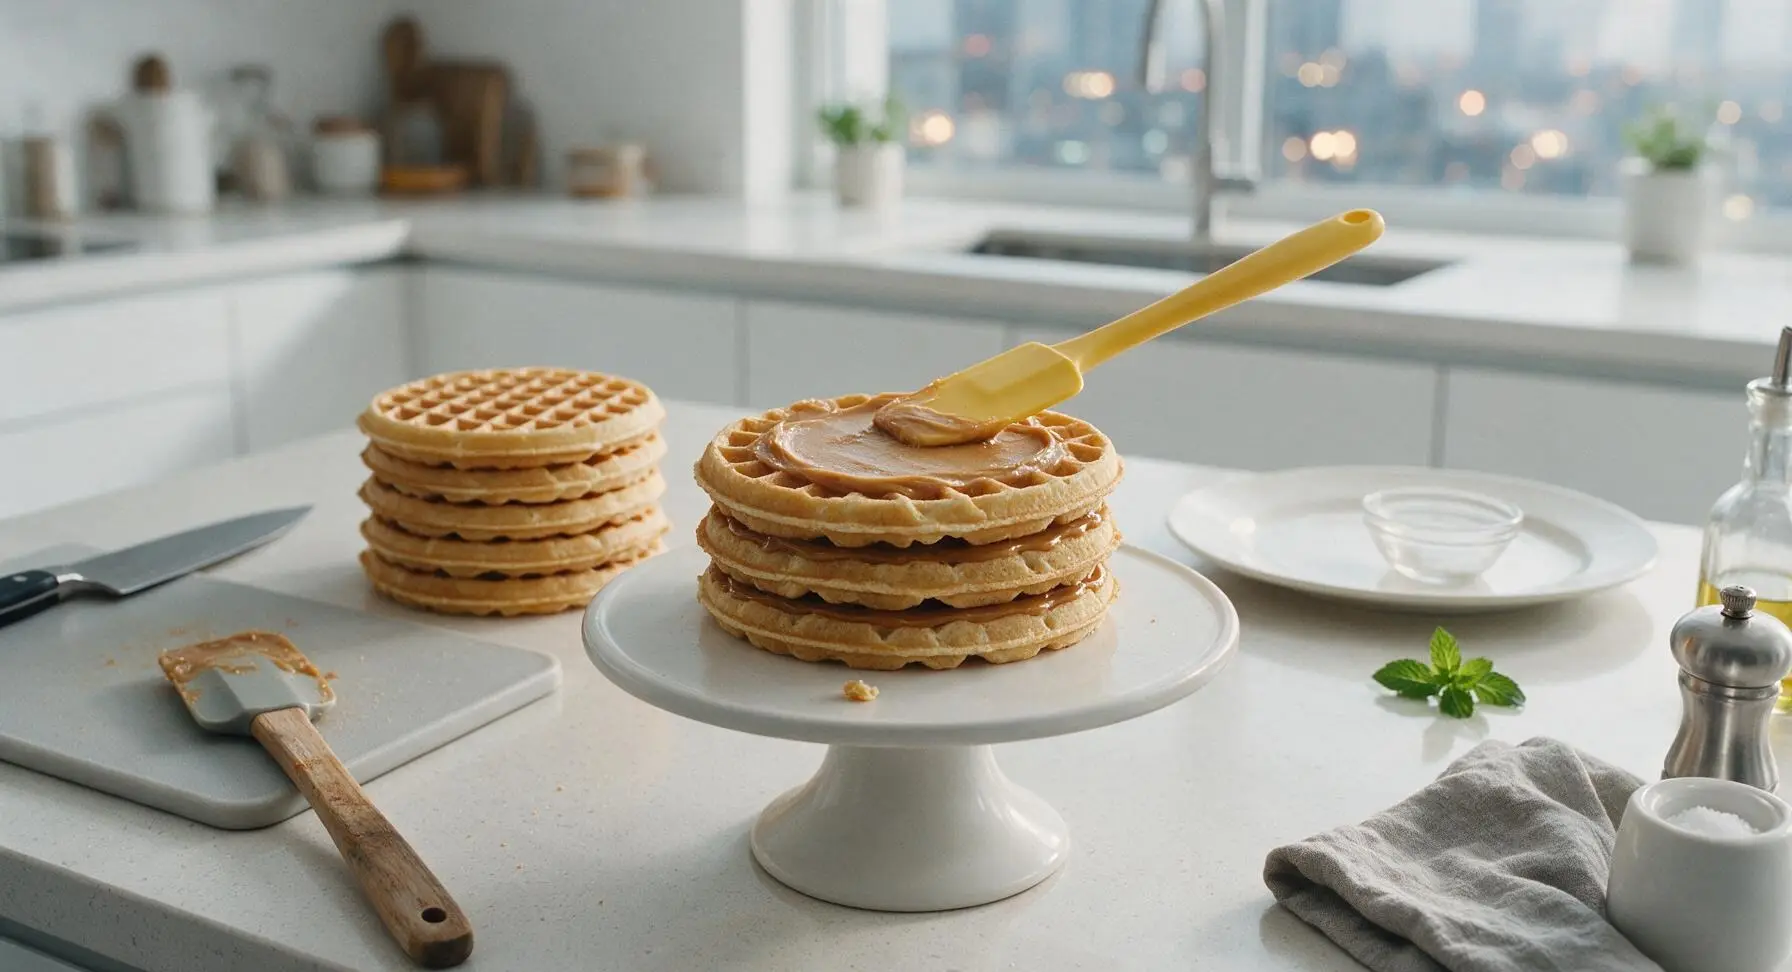
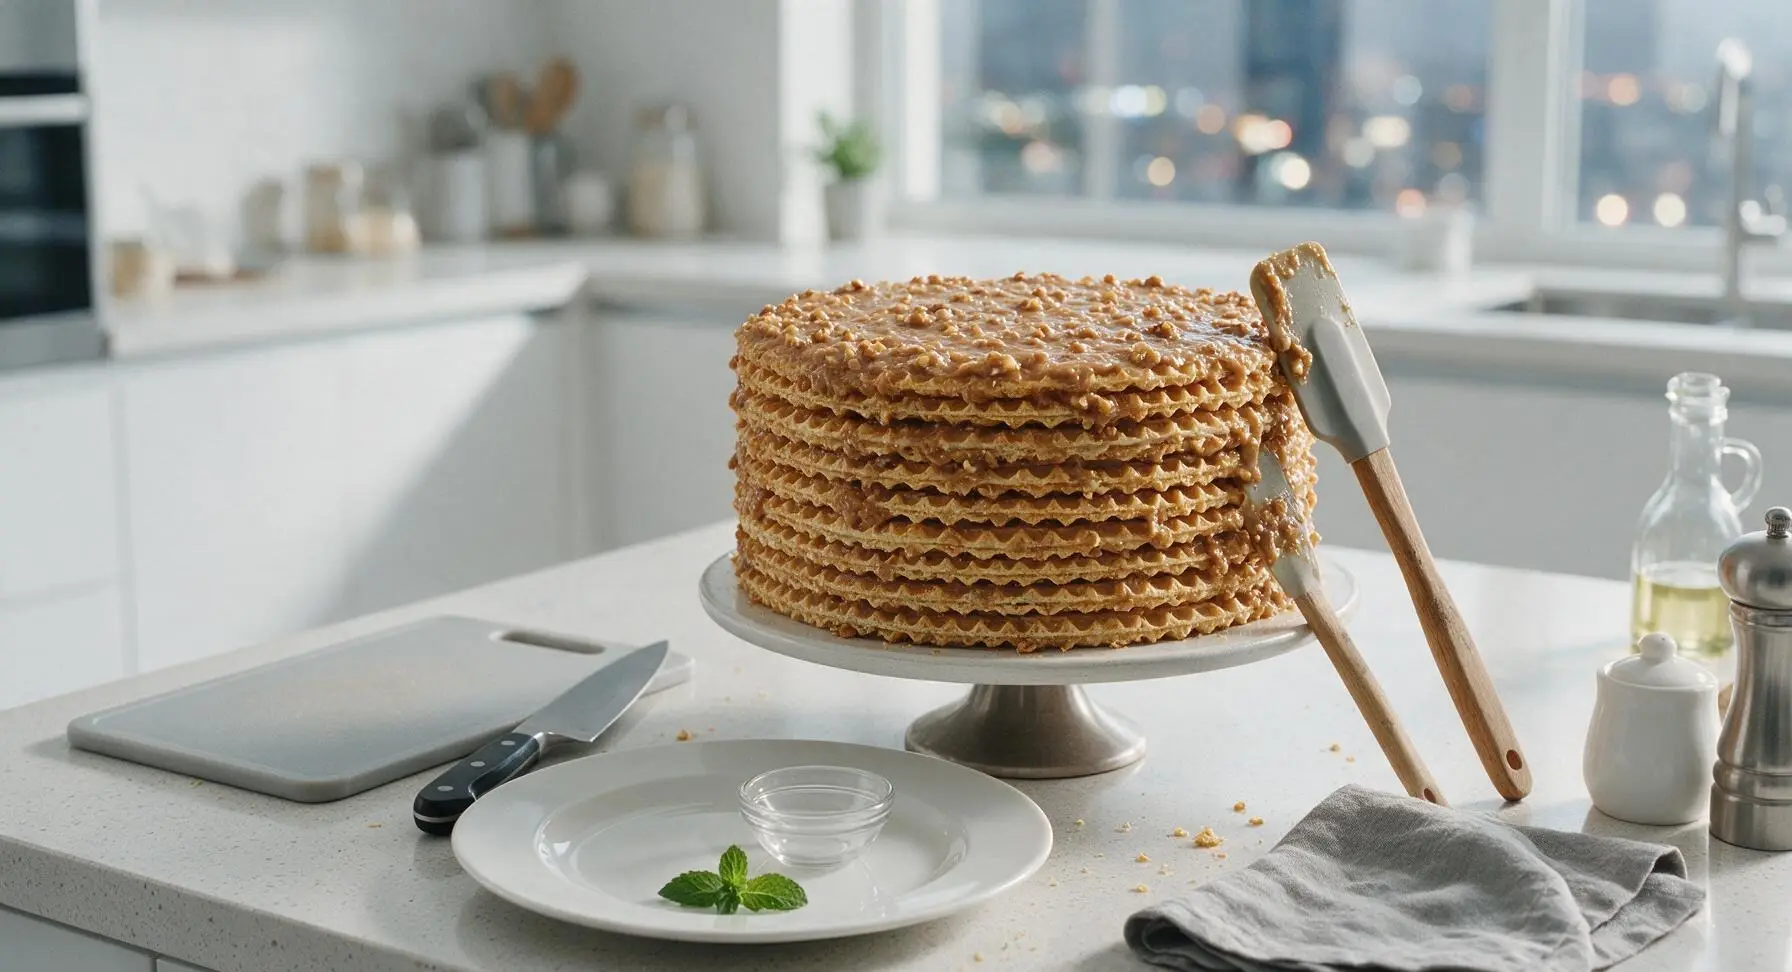
Place one thin waffle layer centered on the matte white ceramic cake stand. Use the silicone spatula to spread exactly 2 heaped tablespoons of the dulce de leche filling evenly across the entire surface of the waffle, spreading all the way to the edges so no dry waffle shows. Place another waffle layer directly on top of the filling, press gently to adhere, then repeat the spreading process. Continue stacking waffles and spreading filling until all 9 waffle layers are used, leaving the top waffle layer bare for now. Press the full stack gently with the palm of your hand after every 3 layers to ensure even, level stacking with no sliding.
Coat Cake Exterior
Once all 9 layers are stacked, use the remaining filling to spread a thin, even coat across the top surface and outer sides of the entire waffle stack. The coating does not need to be perfectly smooth—rustic, slightly uneven texture is traditional for this homemade cake. Ensure no dry waffle edges are left exposed, as this will prevent the waffles from softening evenly as the cake chills.
Dust with Cocoa
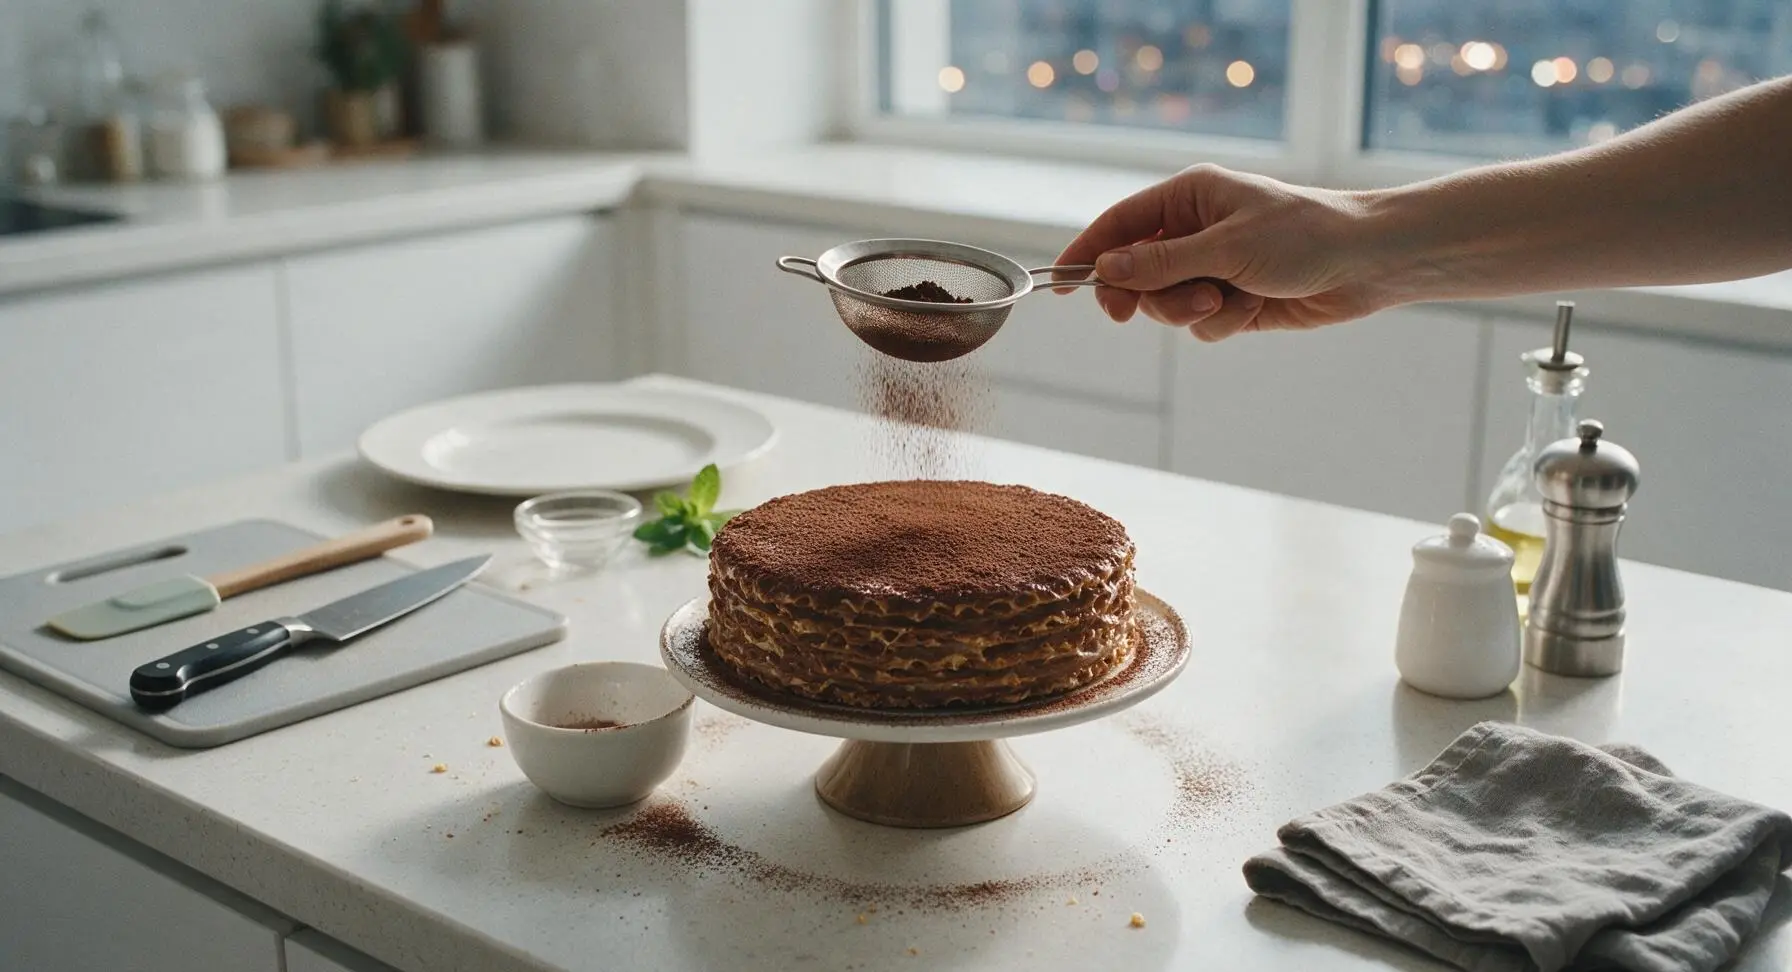
Scoop the 2 tbsp unsweetened cocoa powder from the small prep bowl into the small fine-mesh stainless steel sieve. Hold the sieve 15cm above the cake top, and tap the side gently to dust an even, thin layer of cocoa across the entire top surface of the cake. Avoid applying too thick a layer, as excess cocoa will make the first bite overly bitter.
Garnish and Chill
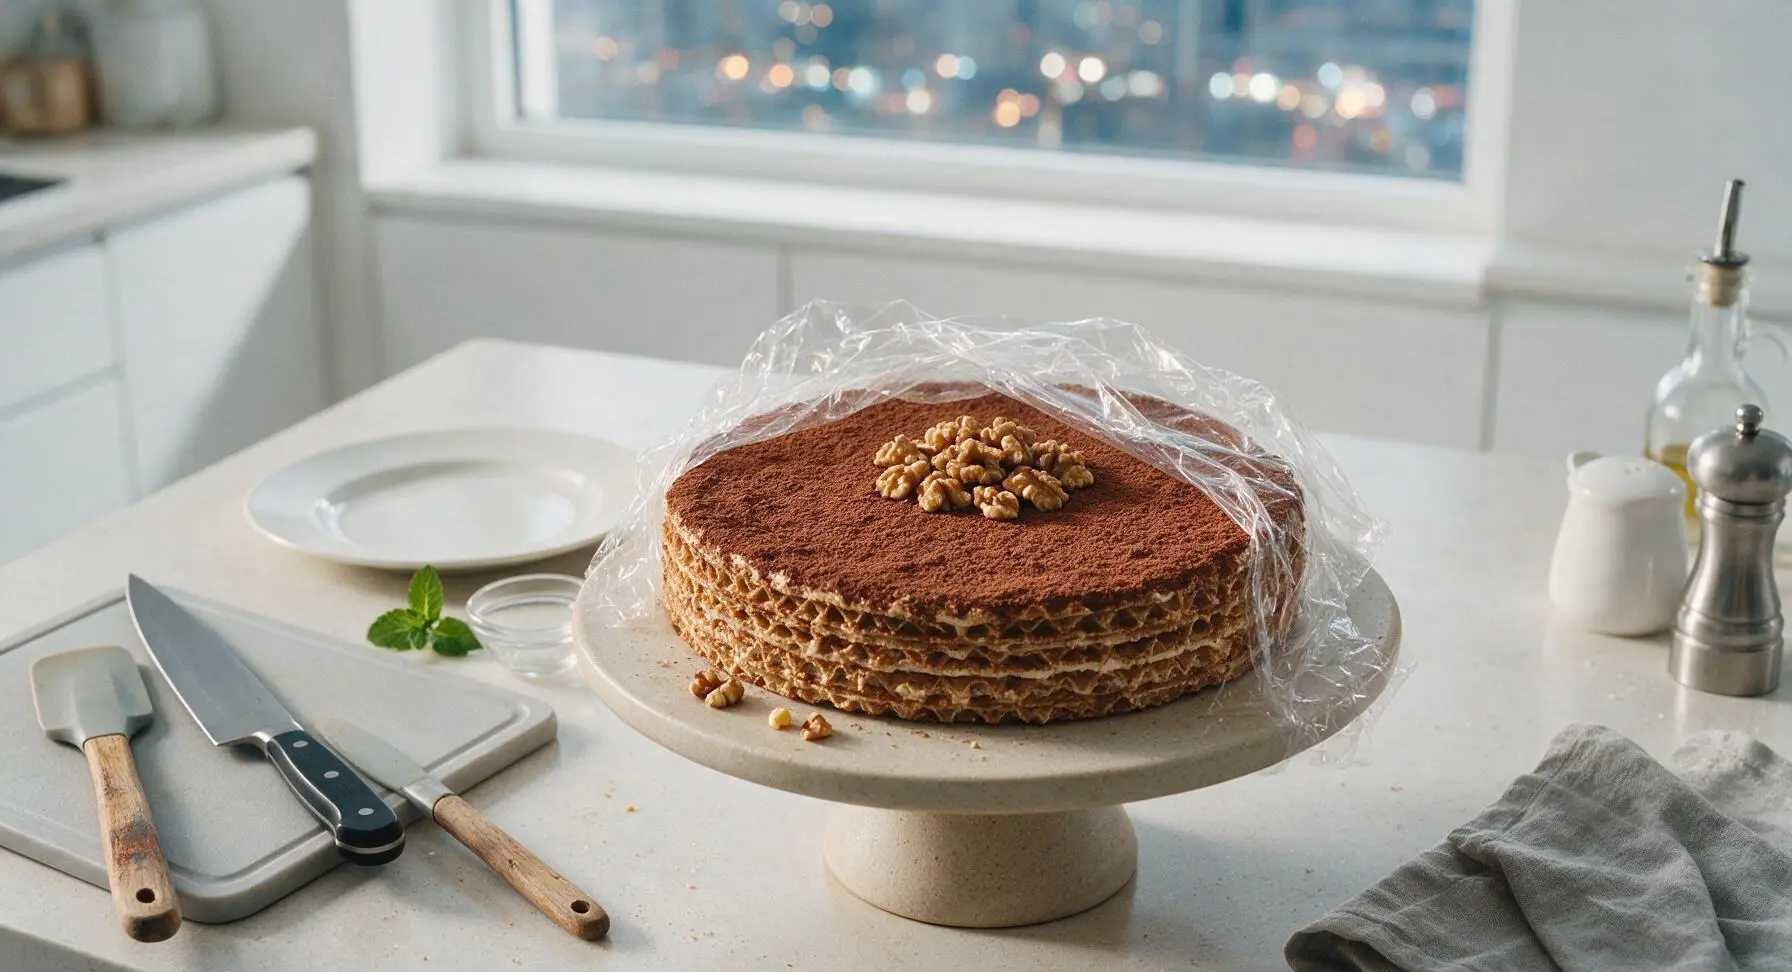
Arrange the reserved larger toasted walnut pieces in a small cluster at the center of the cocoa-dusted cake top. Loosely cover the cake with plastic wrap, and transfer to the refrigerator to chill for a minimum of 4 hours (or up to 12 hours) to allow the waffles to absorb some of the filling and soften slightly, while still retaining a subtle crisp texture. Do not chill for longer than 24 hours, as the waffles will become overly soggy and lose texture.
Tips
2.Stick to exactly 2 heaped tablespoons of filling per waffle layer. Using more filling will cause it to squeeze out the sides when pressing layers flat, leading to a lopsided cake and soggy, over-softened waffles before chilling is complete.
3.Let the chilled cake rest at room temperature for 10 minutes before slicing and serving. This softens the filling slightly to bring out the rich caramel and toasted walnut flavors, while keeping the waffles tender with a faint, pleasant crisp bite rather than hard and cold.






OMG this Ukrainian Waffle Cake is a total game changer! I threw this together last minute for our neighborhood potluck because I totally forgot I signed up to bring dessert, and everyone was swarming the table asking for the recipe. It was SO good, I couldn’t believe the actual cook time was only 4 minutes? I let it chill overnight instead of the mandatory 4 hours just because I prepped it the night before, and the texture was perfect, no soggy waffles at all. My kids even snuck an extra slice before we left the house, 10/10 will be making this for every gathering from now on!
Such a perfect quick dessert for busy school nights! I whipped this up right after getting home from my son’s soccer practice, and both my husband and teen went back for seconds before I even sat down to eat. I added a thin layer of Nutella between a couple of the waffle layers because we’re total chocolate fiends, and it paired so well with the sweet creamy filling. Only bummer is I didn’t make a double batch — the whole thing was gone by the end of our family dinner, zero leftovers for lunch tomorrow!
This is my new go-to easy dessert for weekly meal prep! I made a batch on Sunday during my regular meal prep session, cut it into neat individual slices, and stashed them in airtight containers in the fridge. It held up perfectly all week for quick after-work treats, zero sogginess even on day 4 after I made it. The easy difficulty rating is no joke — even someone who burns toast on the regular could pull this off. Already passed the recipe along to my whole book club, they’re all making it for our next potluck meetup!