
Walnut Stuffing
intro
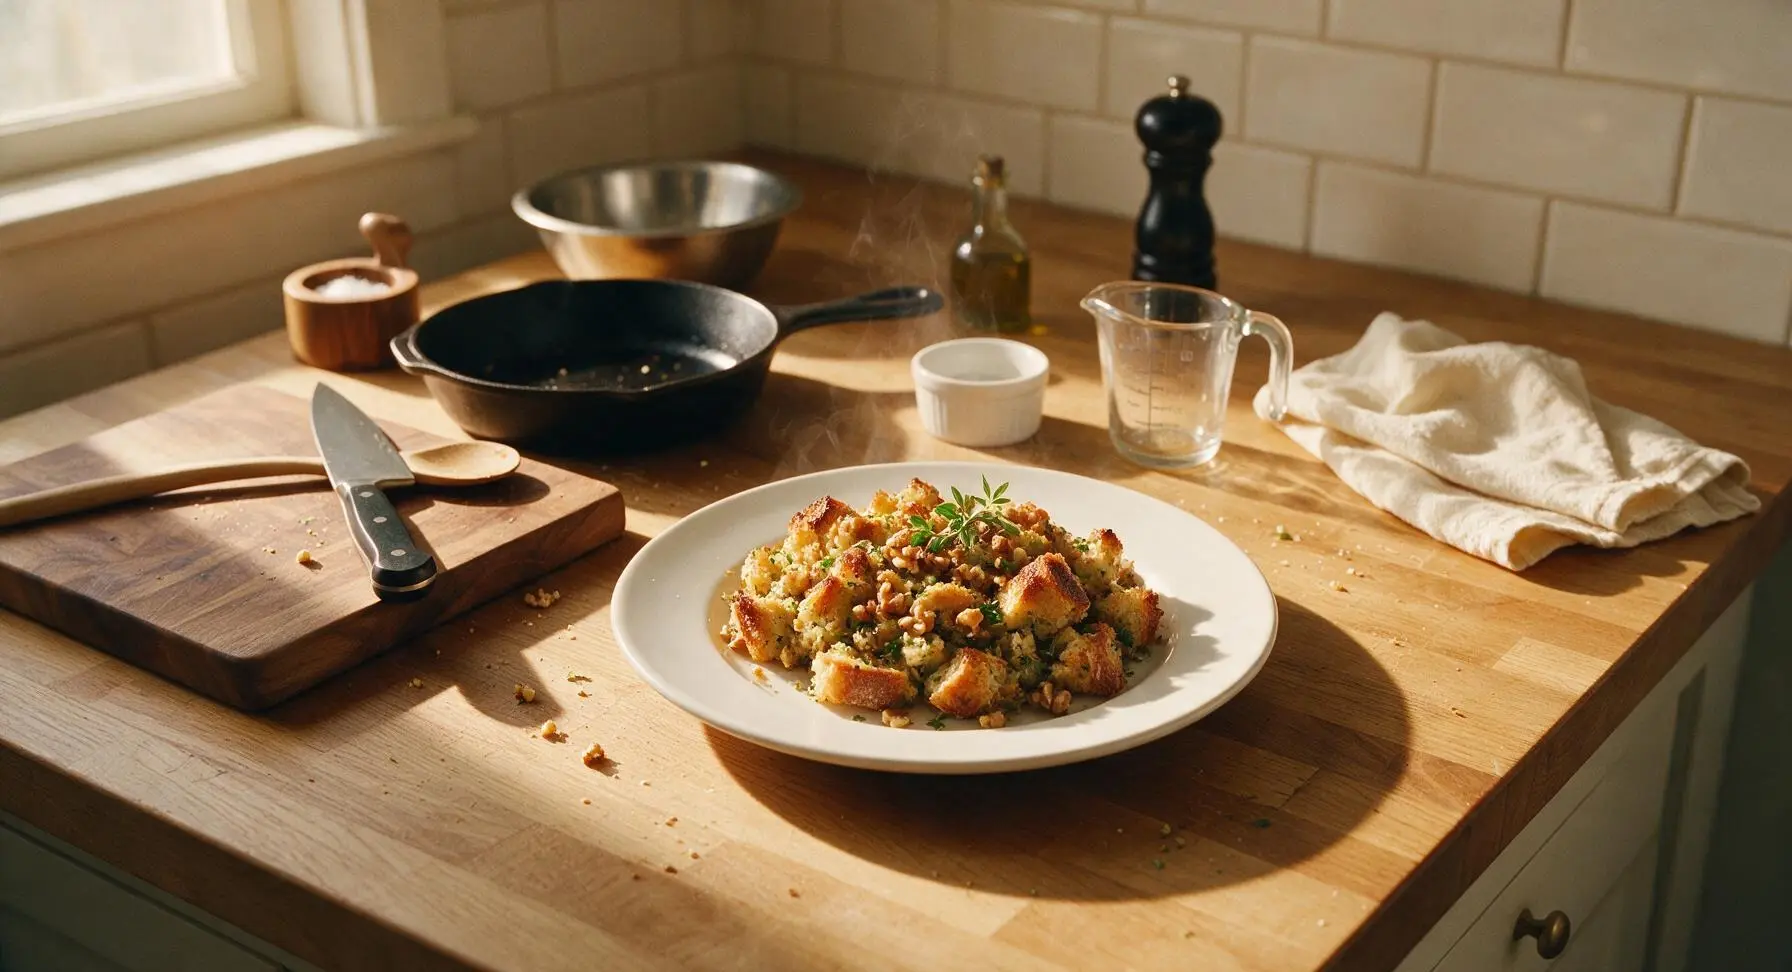
Warm, savory walnut stuffing with crispy sourdough edges, tender herbed center, and nutty crunch — the iconic cozy side that makes every Thanksgiving spread feel like home.
Ingredients
Steps
Toast Bread and Walnuts
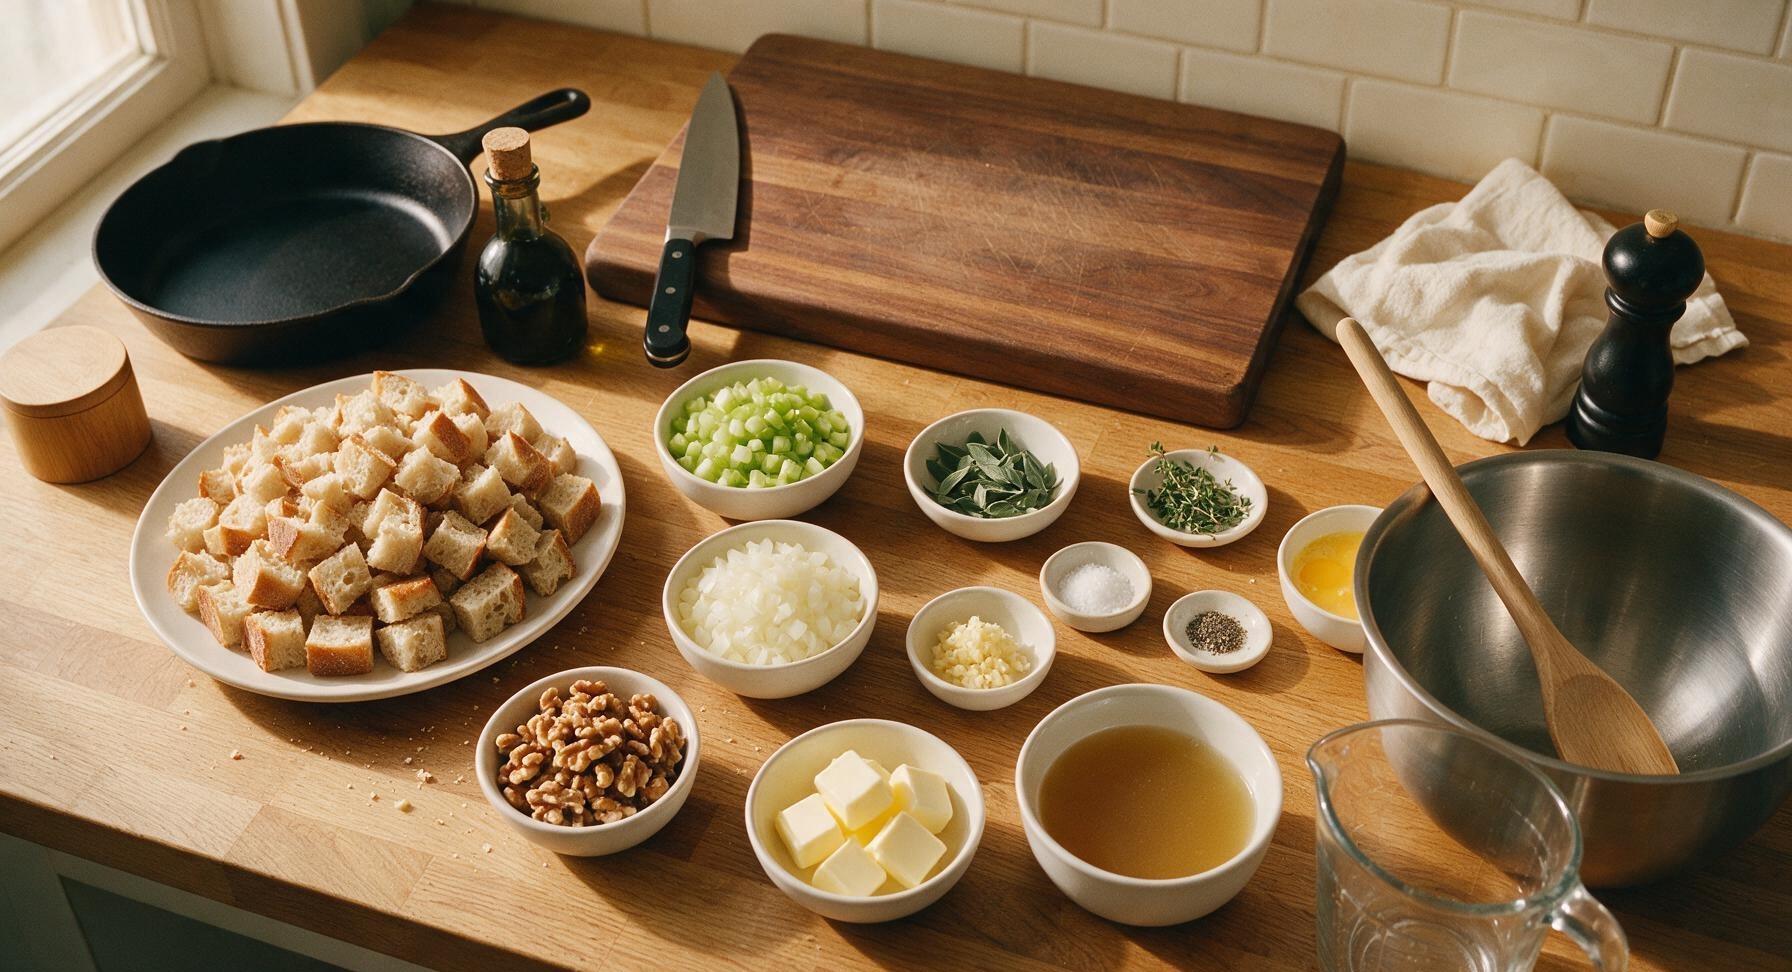
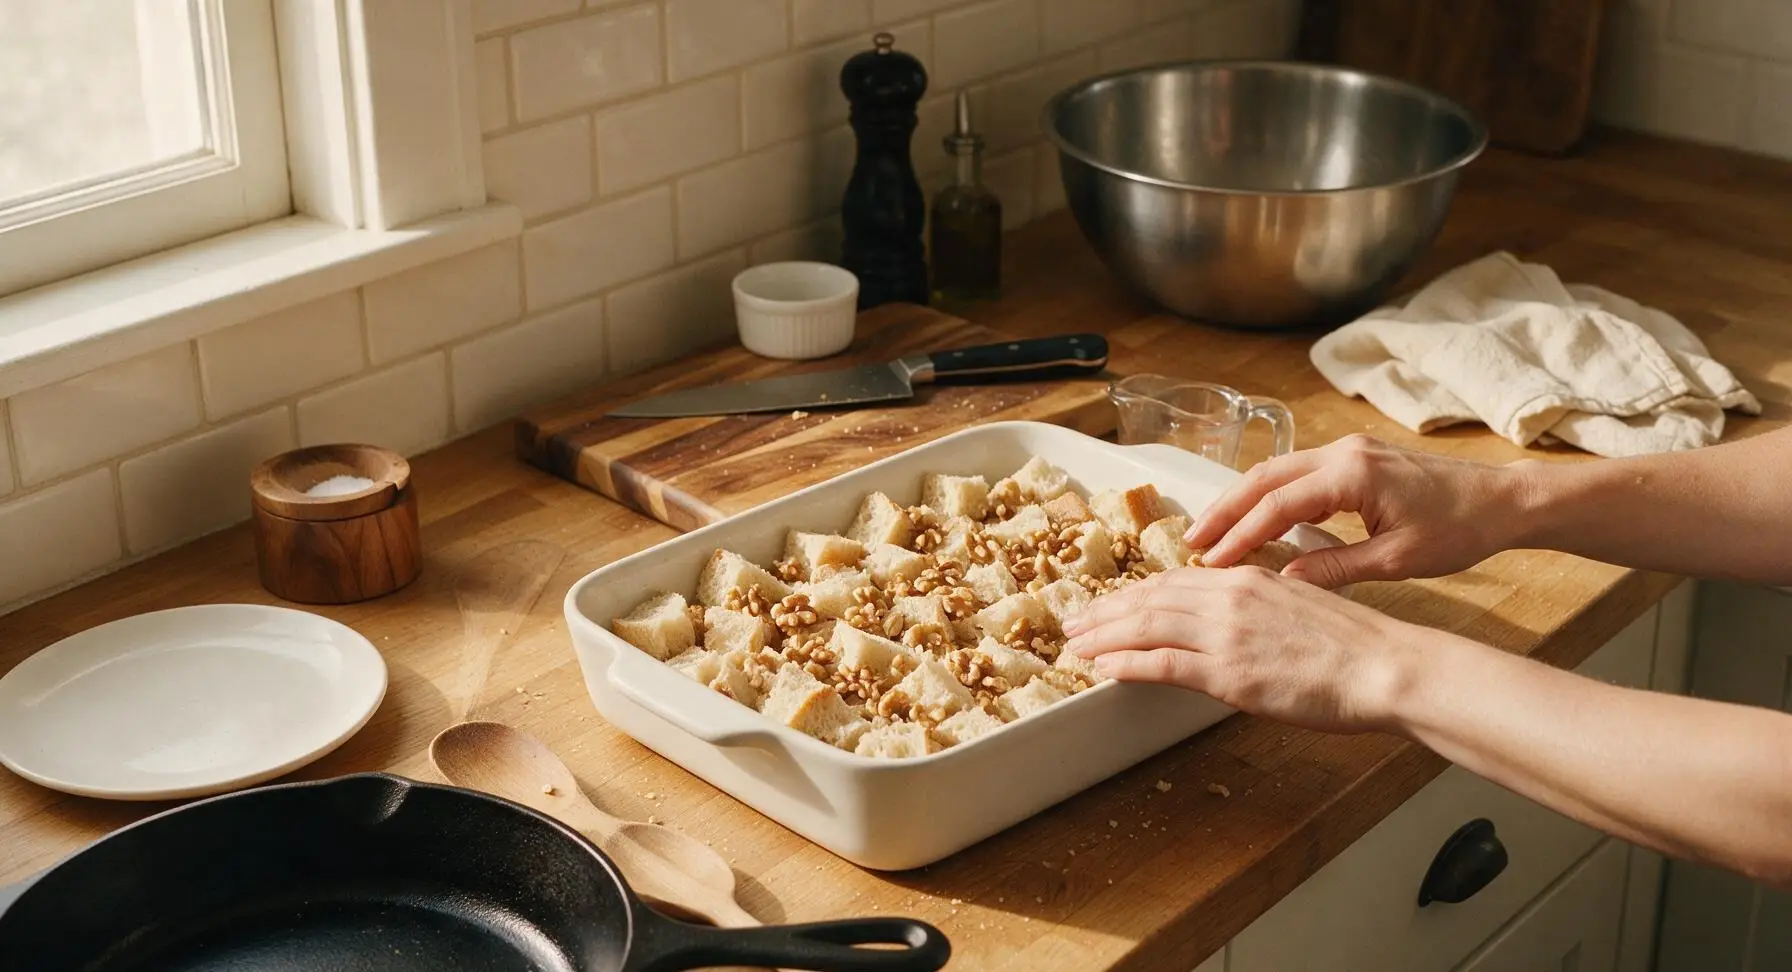
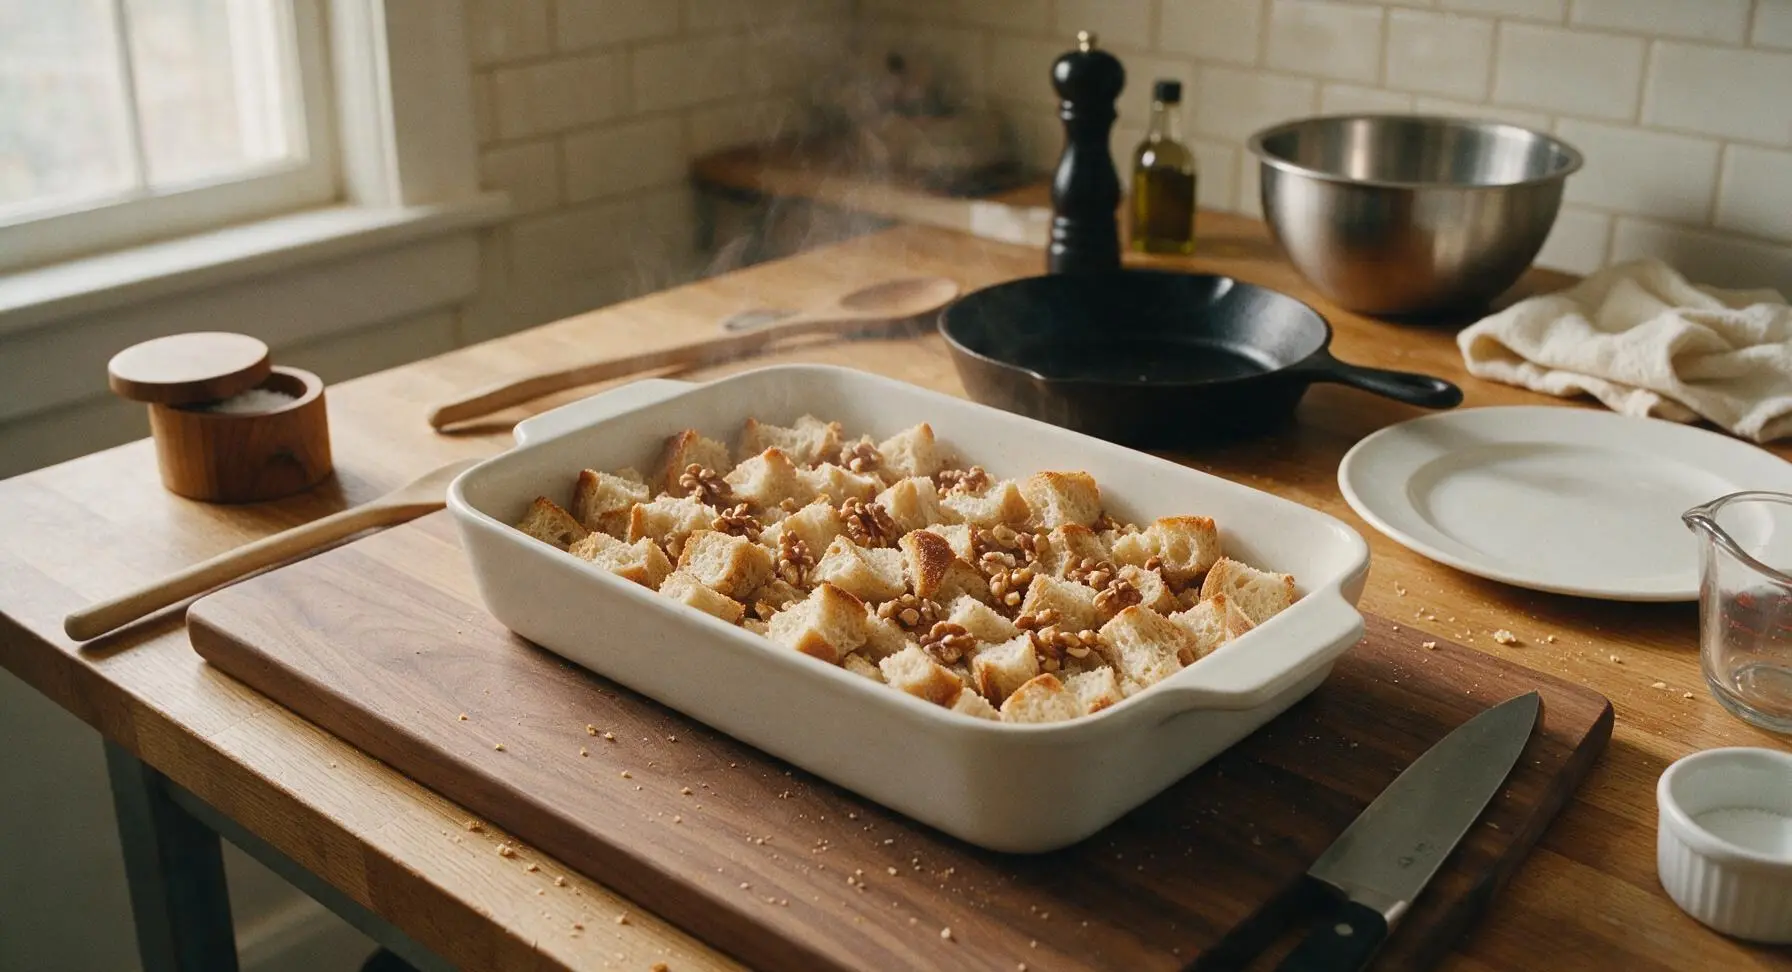
Preheat oven to 375°F (190°C). Spread 8 cups of 1/2-inch sourdough bread cubes in a loose, even layer across the ungreased 9x13 inch matte white ceramic baking dish, scattering 1.5 cups of raw walnut halves across a corner of the dish. Bake for 8-10 minutes, until bread is dry to the touch with light golden edges, and walnuts are fragrant and deepened in color. Remove from the oven and transfer all toasted bread and walnuts to the large brushed stainless steel mixing bowl; set the empty baking dish aside for later use.
Sauté Aromatic Vegetables
Place the 10-inch stainless steel skillet over medium heat. Melt 6 tablespoons of unsalted butter in the skillet, then add 1 cup diced yellow onion and 1 cup diced celery. Cook for 7-8 minutes, stirring occasionally with the beech wood slotted turner, until vegetables are soft and translucent with no remaining raw crunch. Add 3 minced garlic cloves, 2 tablespoons chopped fresh sage, and 1 tablespoon fresh thyme leaves, and cook for 1 additional minute until herbs release a bright, savory aroma.
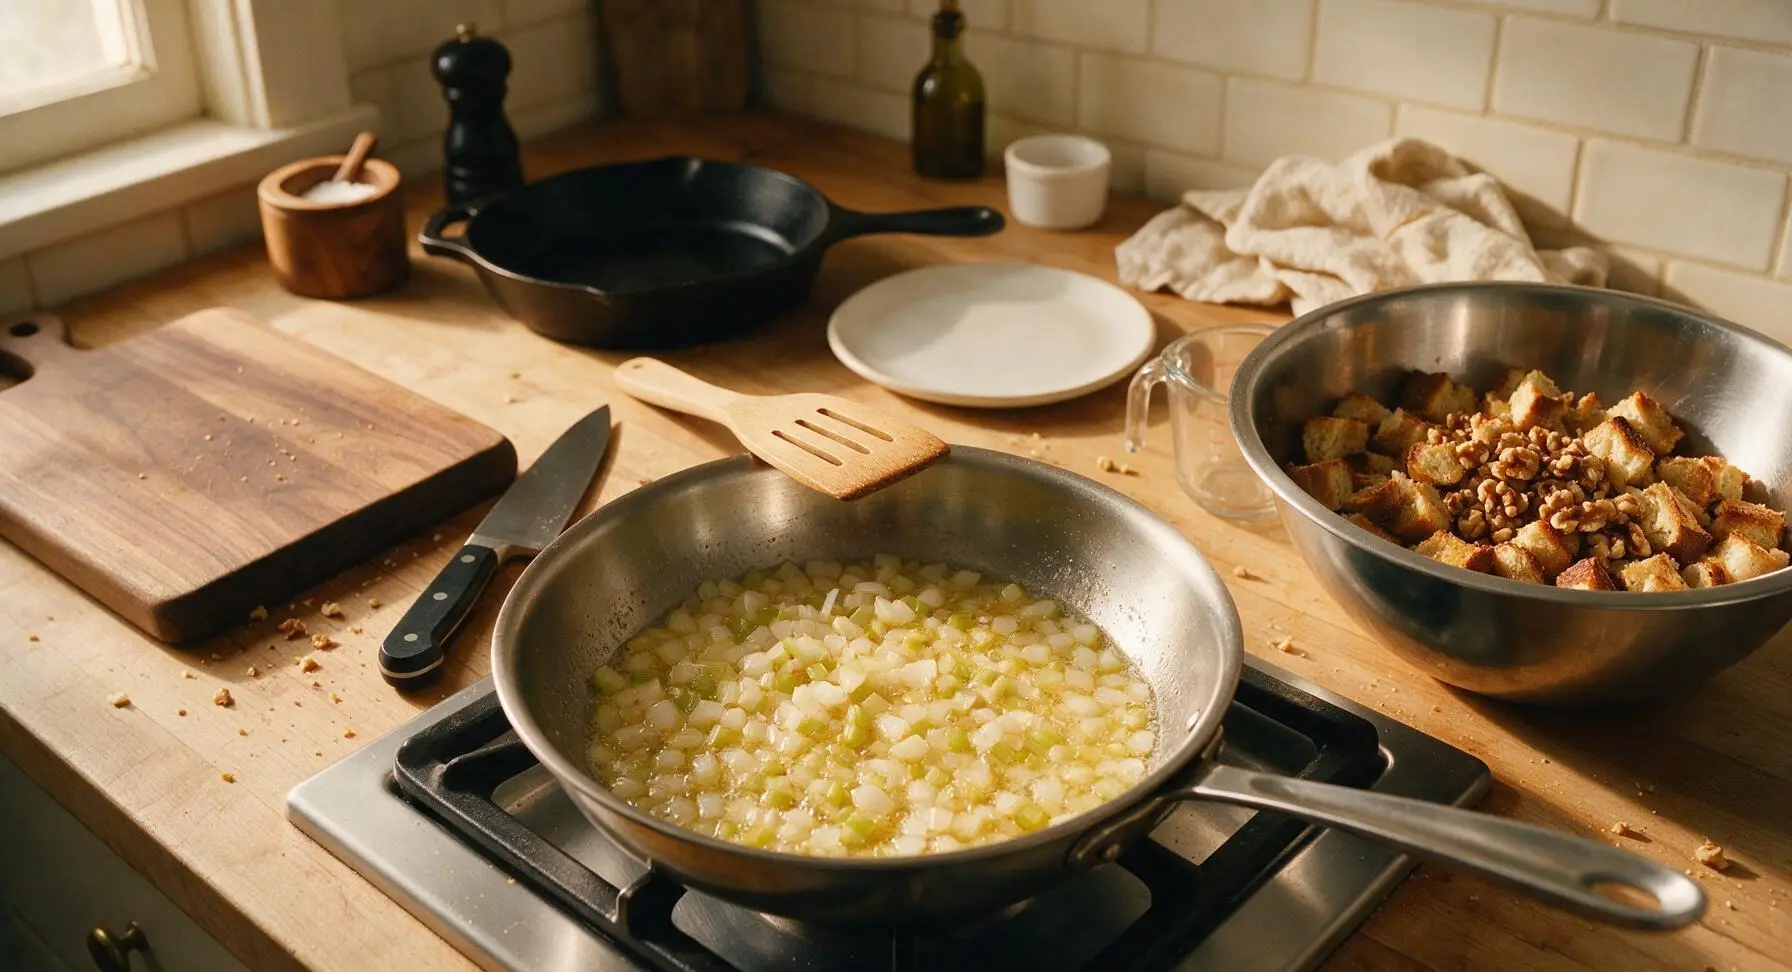
Combine Stuffing Base
Pour the entire cooked vegetable, butter, and herb mixture from the skillet over the toasted bread and walnuts in the large mixing bowl. Add 1 teaspoon kosher salt and 1/2 teaspoon freshly ground black pepper, then toss gently with the slotted turner to evenly distribute vegetables, herbs, and seasoning across every bread cube, taking care not to crush the toasted bread into crumbs.
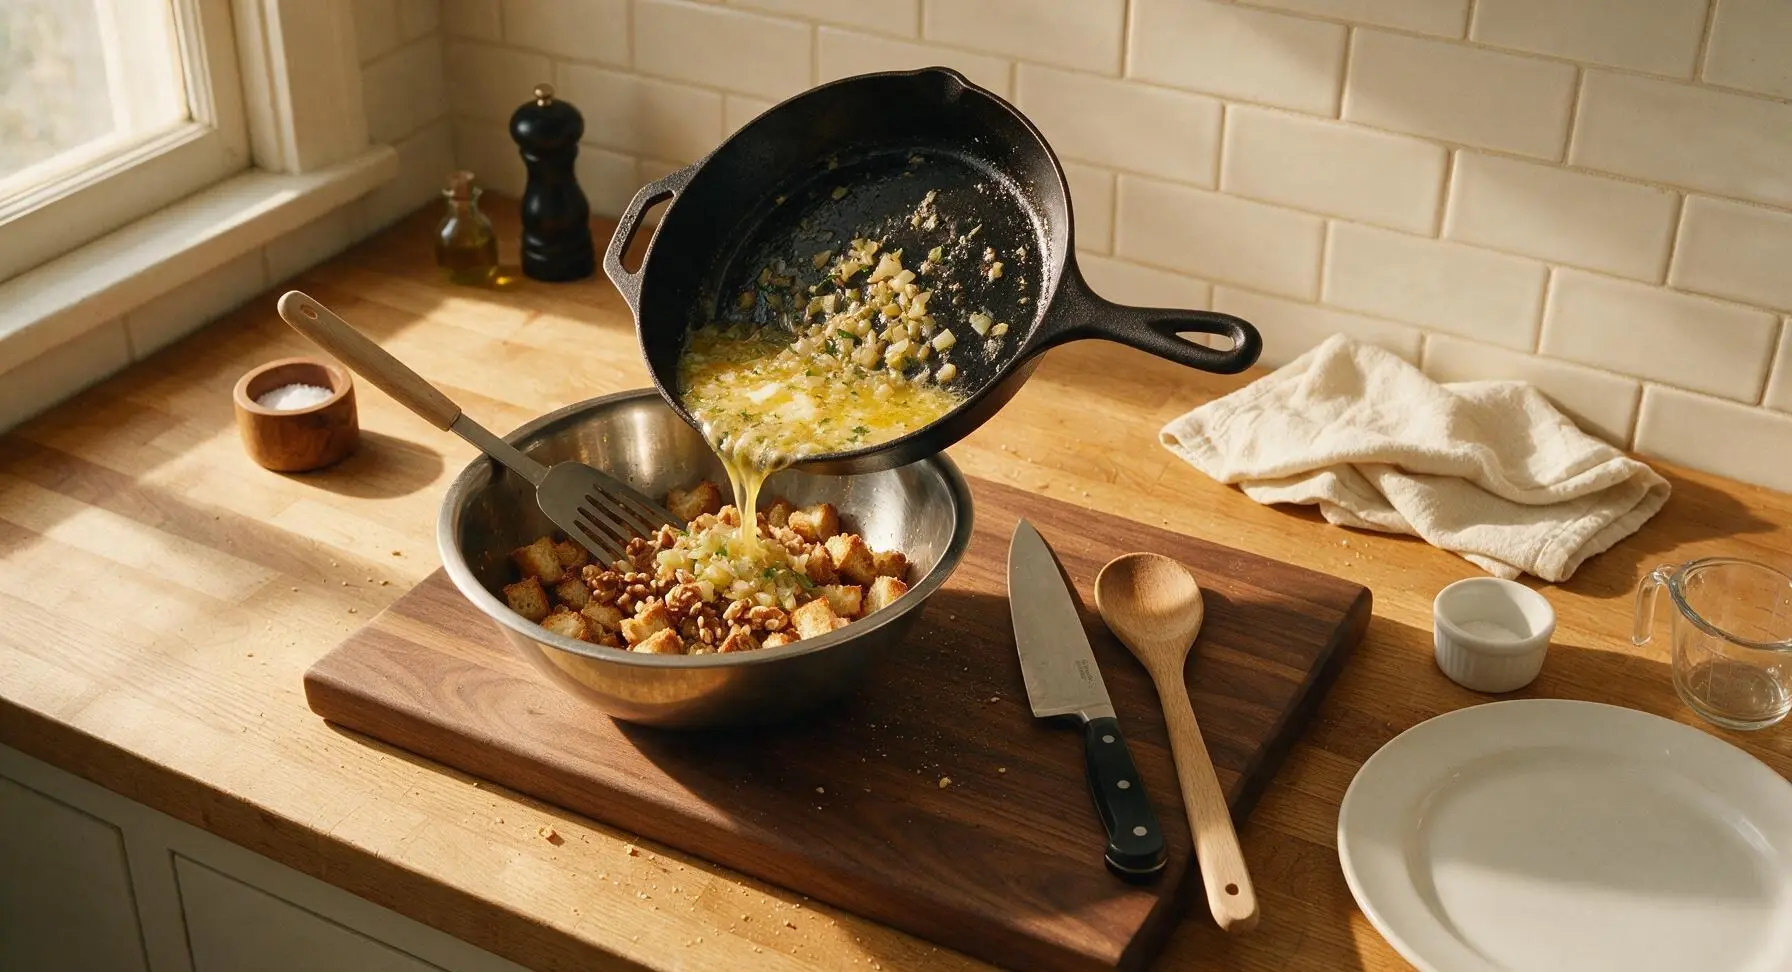
Add Liquid Binder
Use the small stainless steel whisk to beat 2 large eggs in a small pinch bowl until smooth, then stir in 2 cups of low-sodium chicken broth from the glass measuring cup. Slowly pour the egg and broth mixture over the bread mixture in the mixing bowl, tossing continuously as you pour to ensure even absorption. Let the mixture rest for 5 minutes to allow bread cubes to soak up liquid, so no dry spots remain.
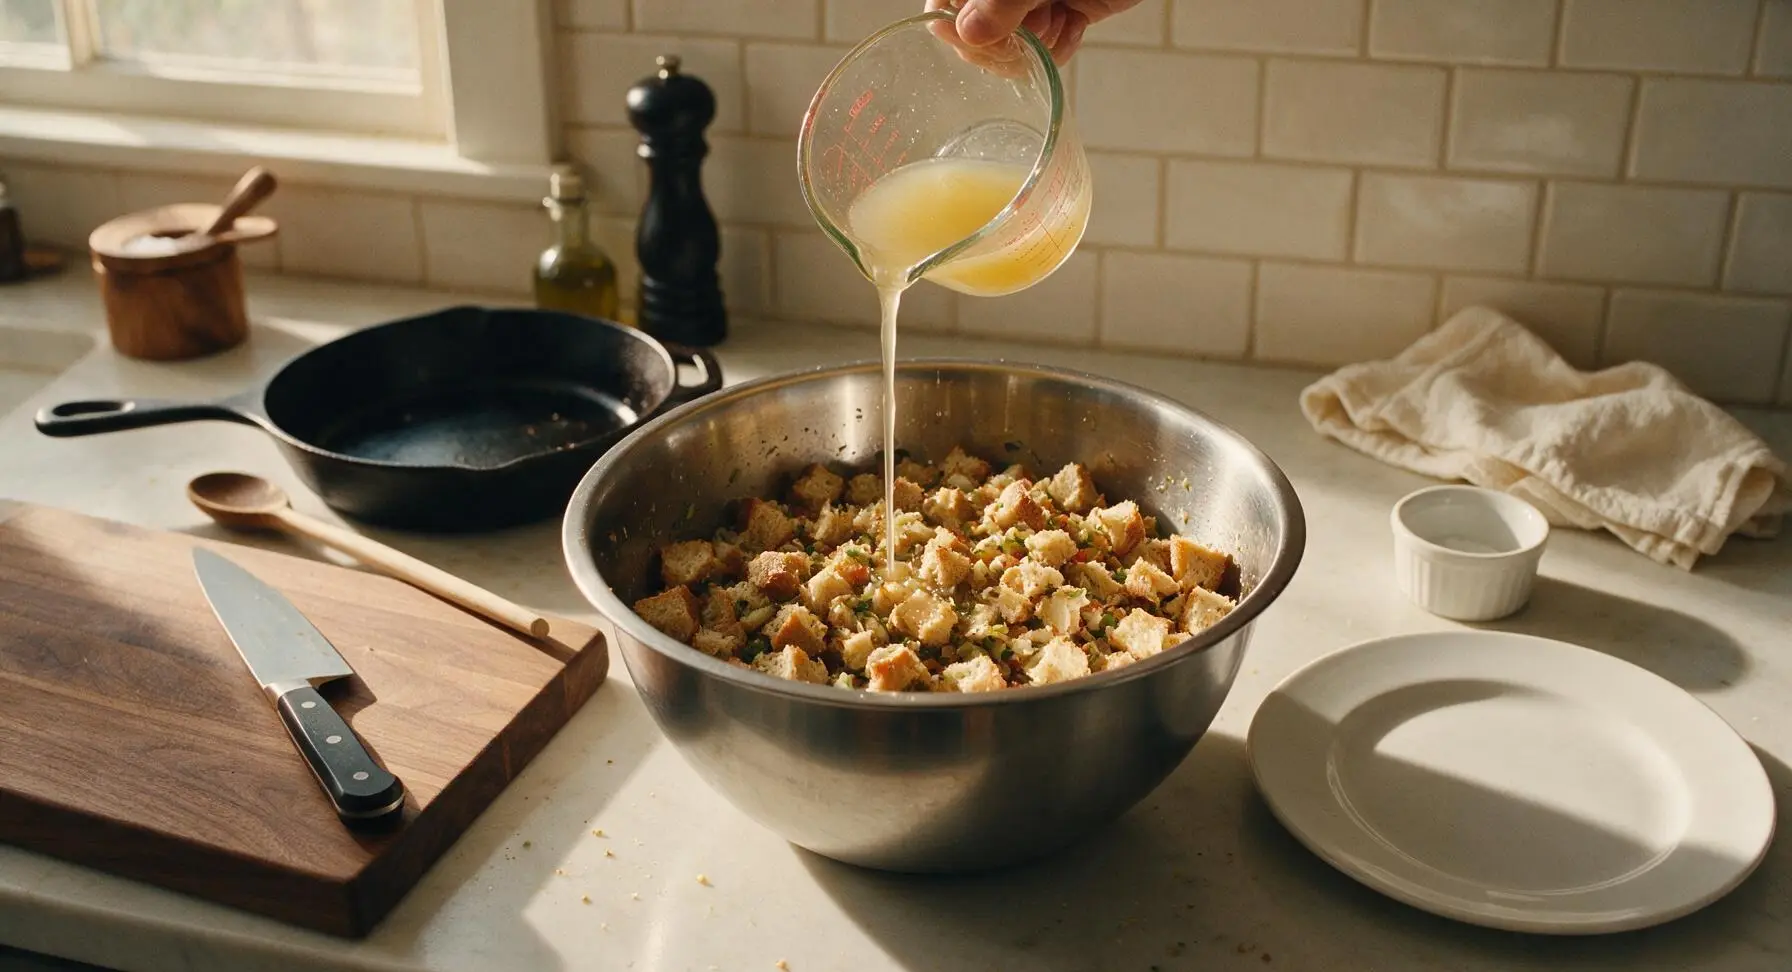
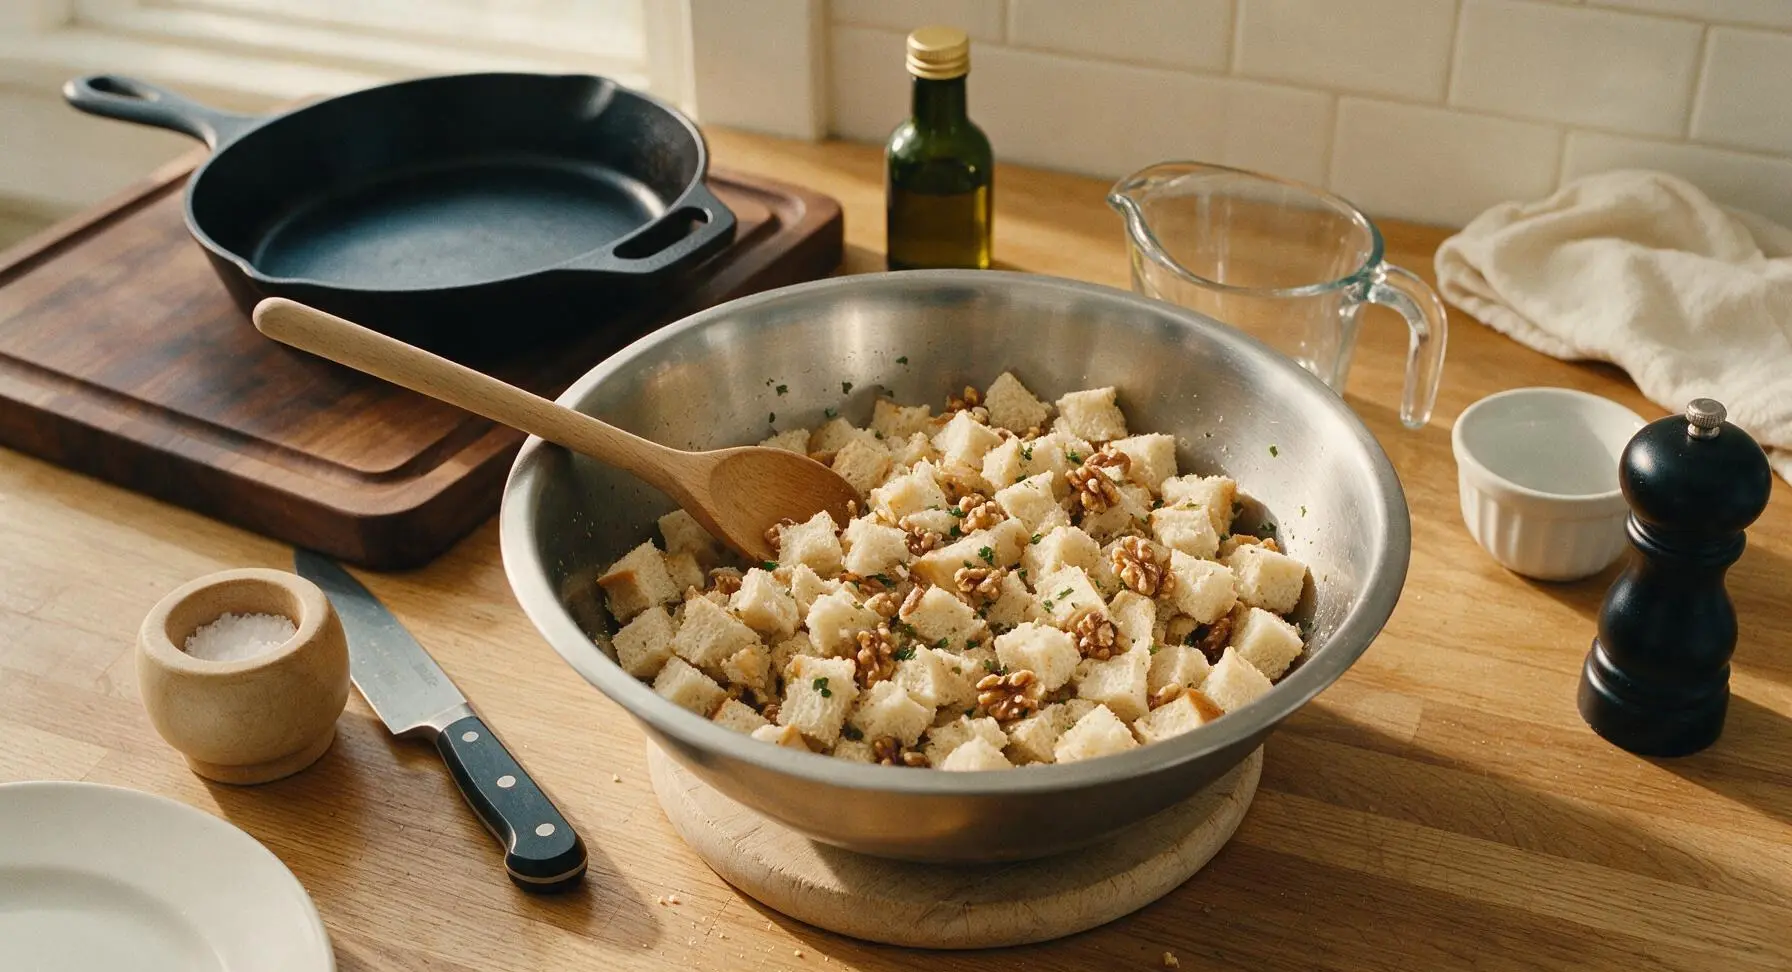
Transfer to Baking Dish
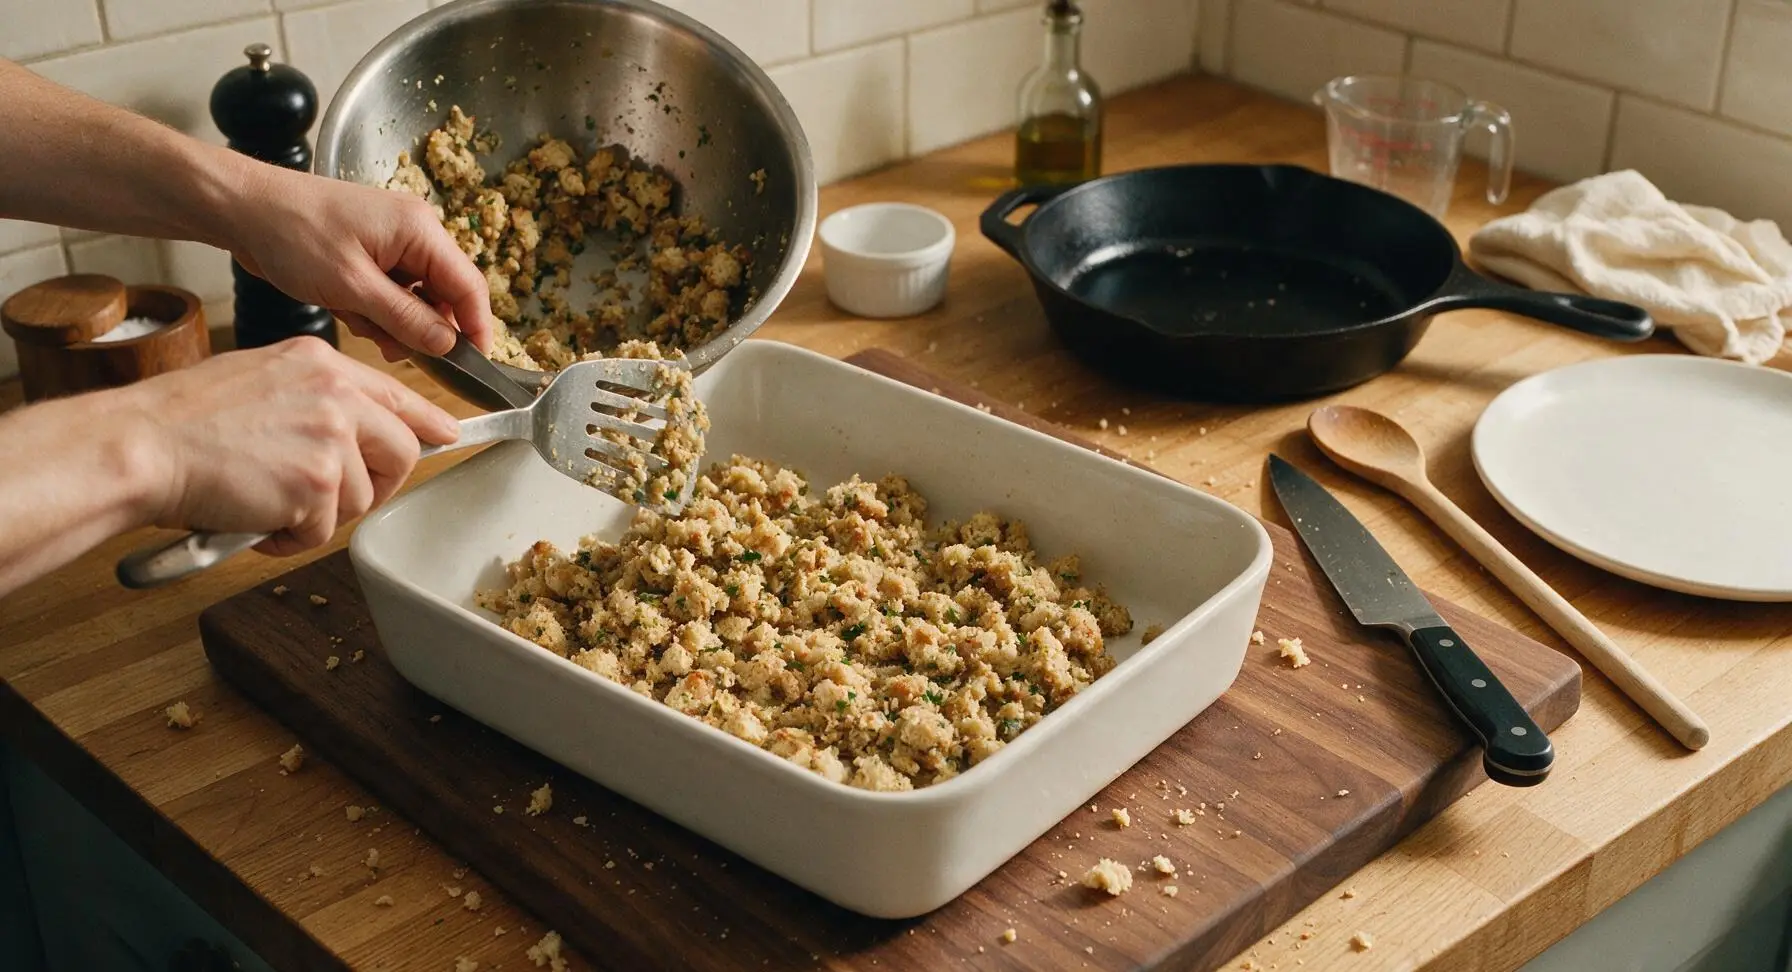
Give the rested stuffing mixture one final gentle toss with the slotted turner, then transfer all of it back into the reserved 9x13 inch matte white ceramic baking dish. Spread the mixture into a loose, even layer — do not press down firmly, as compaction will result in a dense, mushy final texture.
Bake Stuffing Through
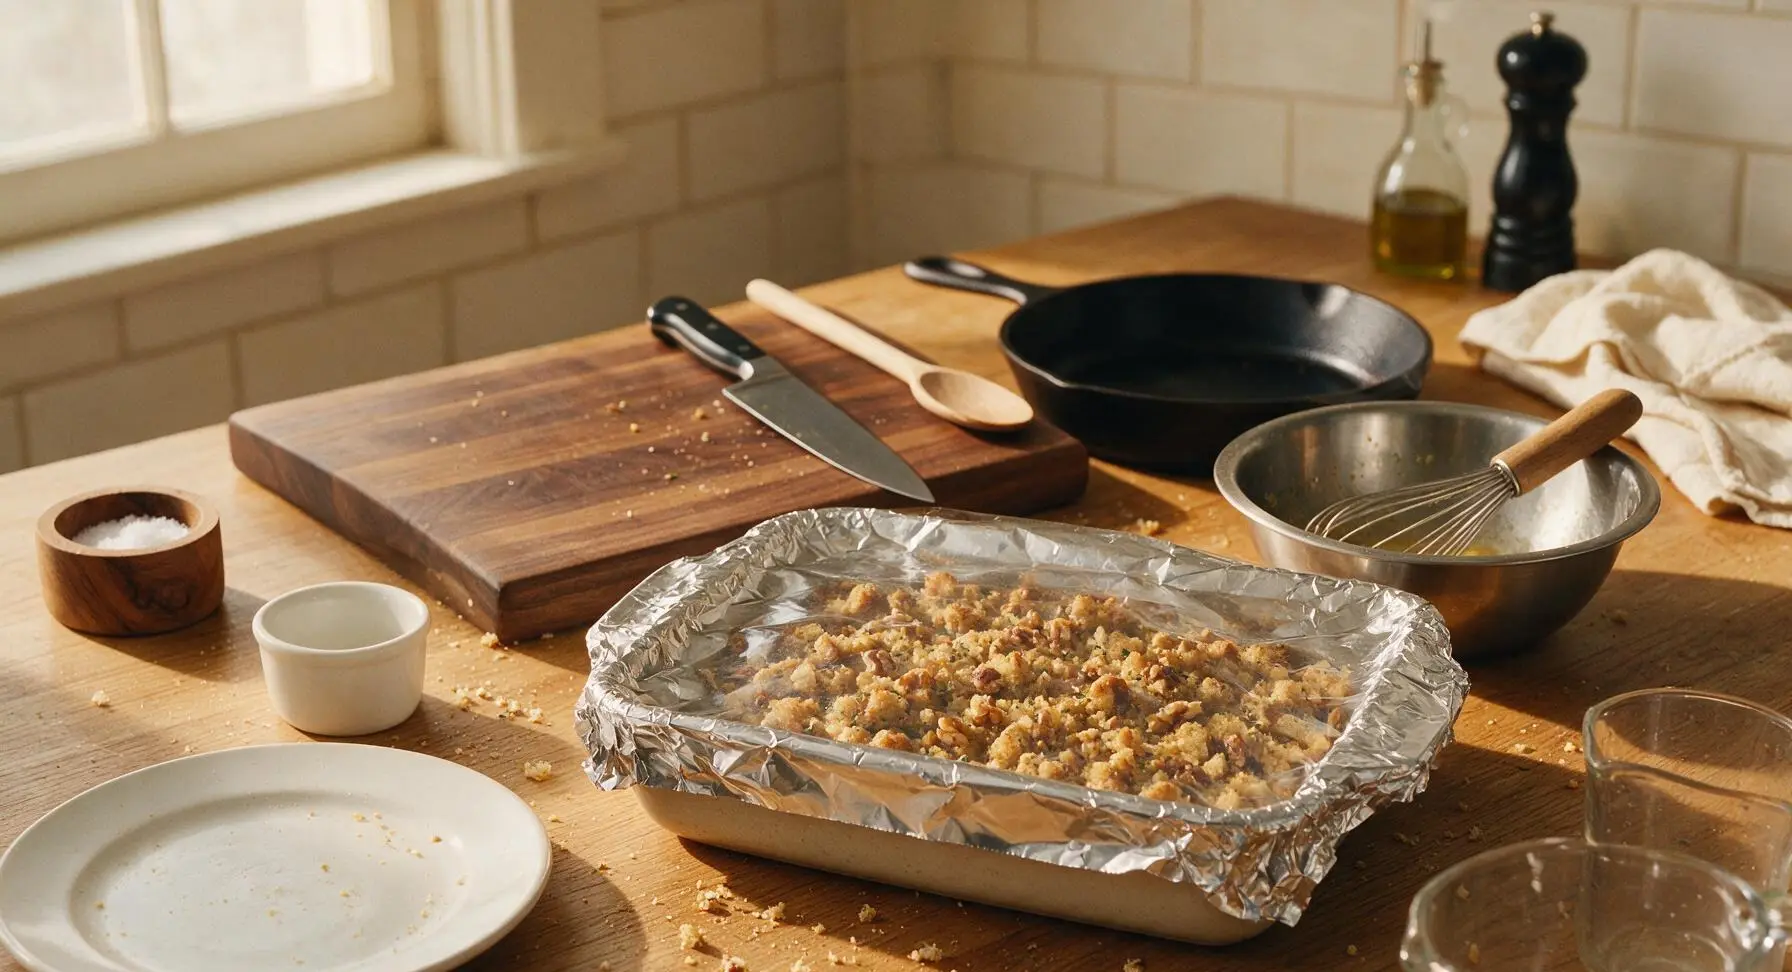
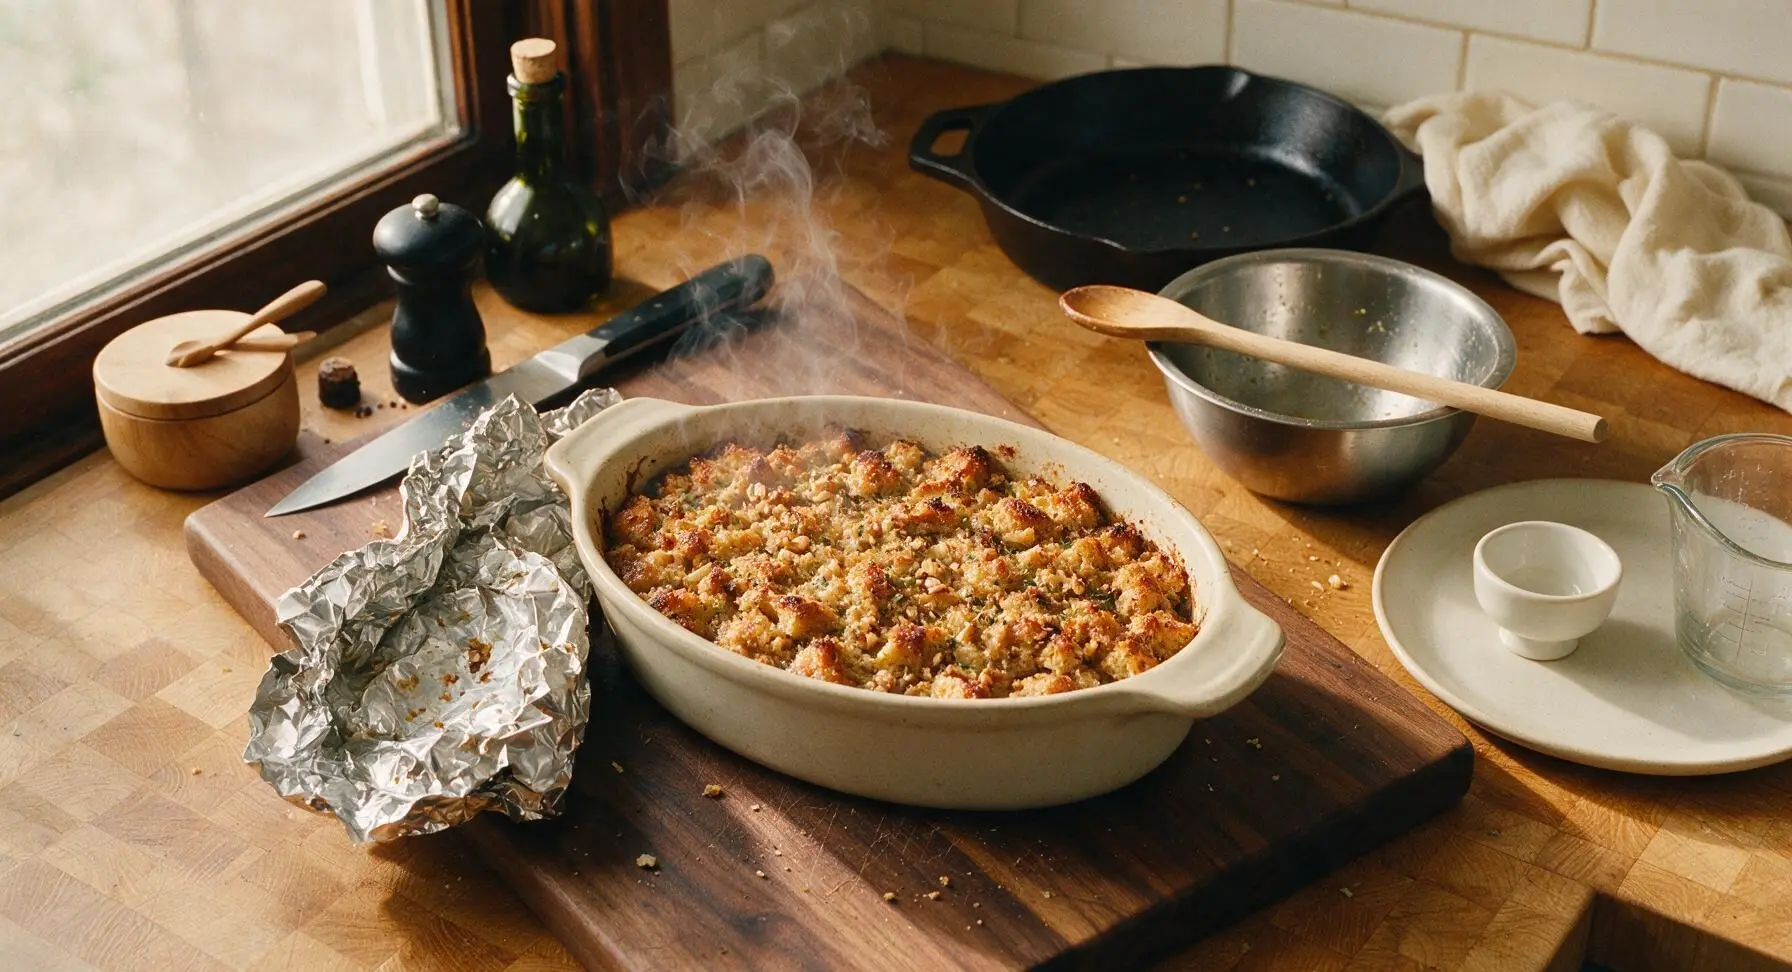
Cover the baking dish tightly with a sheet of aluminum foil, crimping the edges to seal in steam. Bake at 375°F (190°C) for 25 minutes, then remove the foil and bake for an additional 15 minutes, until the top is deep golden and crispy, and the center is fully set with no runny liquid visible when nudged with a spoon.
Rest and Garnish
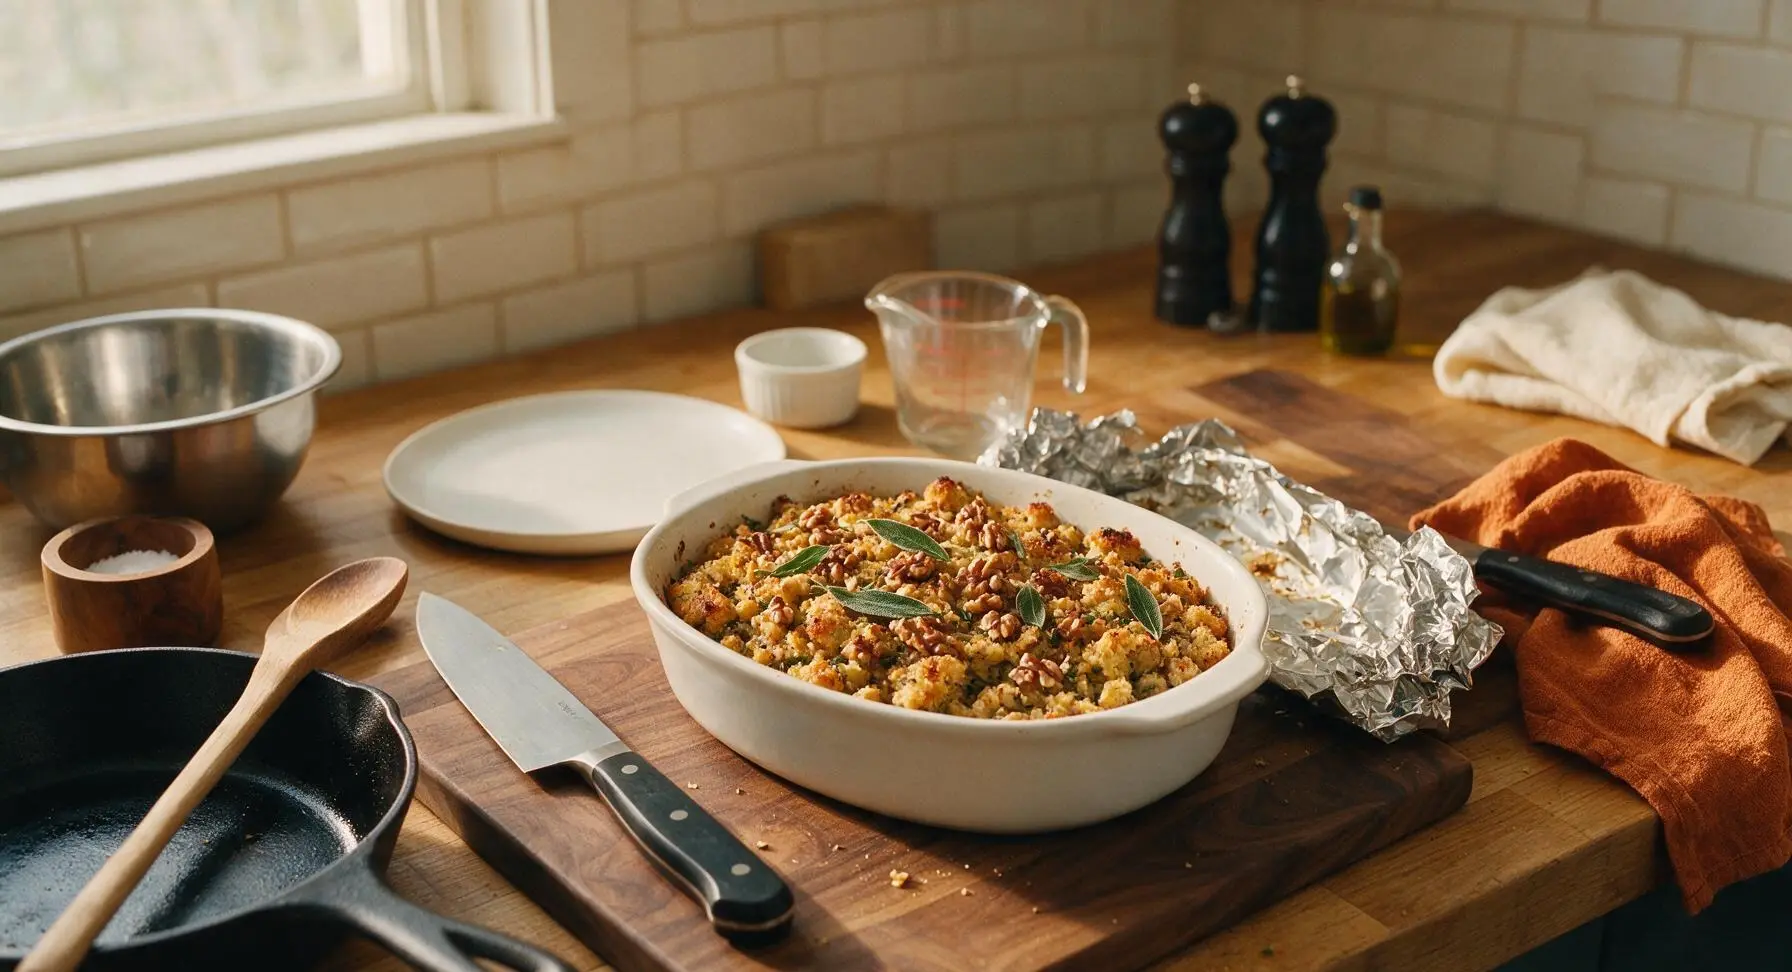
Remove the baked stuffing from the oven, and let it rest for 10 minutes at room temperature to allow the liquid to fully set, making clean, easy scoops possible. Scatter a few extra fresh sage leaves and toasted walnut halves across the top for garnish before serving.
Tips
2.Avoid packing the stuffing tightly into the baking dish: pressing the mixture down compacts the bread cubes, resulting in a dense, bread-pudding-like consistency instead of the light, fluffy, crisp-topped classic stuffing texture.
3.Watch walnuts closely during the toasting step: walnuts have high oil content and can burn in as little as 60 seconds, turning bitter; pull them from the oven as soon as you smell their rich, nutty aroma.






OMG I made this for our early Thanksgiving potluck at work and everyone was begging for the recipe! The walnuts add the perfect little crunch that regular stuffing is always missing. SO good, I’ll be making this every year from now on.
Was skeptical about adding walnuts to stuffing at first, but wow — total game changer. Paired this with my smoked turkey last Sunday for family dinner and even my super picky father-in-law went back for a second helping. Easy recipe to follow too, no fancy ingredients needed.
Made a big batch of this for my weekly meal prep to pair with roasted chicken thighs and it holds up so well all week! The herb flavor is bright, not boring like the boxed stuffing I used to buy. Super easy too, even for someone who burns toast half the time lmao.
Tried this for a small Friendsgiving gathering in my tiny apartment kitchen and it was so straightforward! The only swap I made was using sourdough bread instead of white because it’s what I had on hand, and it turned out chef’s kiss. My roommate said it’s the best stuffing she’s ever had.
My kids loved it!!! I was worried the walnuts would be a texture issue for my youngest who hates ‘crunchy bits’ in food, but he didn’t even pick them out. We had this with our Sunday pork chops and it’s officially going on our regular dinner rotation.
Solid stuffing recipe! Cook time was exactly 55 minutes like the recipe said, no guesswork. I added a little extra sage because I grow my own fresh herbs out back, and it was pretty great, though I wish it had a touch more thyme for my taste. Will be making this for our post-hike group dinner next weekend.
I made this last night for a test run before Thanksgiving, and it was really tasty! Quick question though — has anyone tried making this with vegetable broth instead of chicken to make it vegetarian? I’m hosting this year and have two vegetarian cousins coming, need something that works for everyone without making a whole separate dish.
Pro tip: leftover stuffing makes the BEST breakfast the next day, fry a couple eggs on top and drizzle with hot sauce. Game. Changer. This recipe is so flavorful it doesn’t even need gravy, honestly. 10/10.
This was the first stuffing I ever made from scratch instead of buying the boxed stuff, and it was so easy! I was really nervous I’d mess up Thanksgiving sides, but it turned out perfect. My grandma even asked for the recipe, which is the highest compliment possible tbh.
Brought this to the neighborhood block party potluck last weekend and people were going back for thirds. I was worried a 55 minute cook time would be too long for a potluck dish, but it’s totally worth it. The walnut crunch elevates it way above basic stuffing.
I swapped the regular bread for gluten-free sourdough cubes and it worked perfectly! So many stuffing recipes are impossible to adapt for gluten free, but this one is so flexible. The herbs and walnuts add so much flavor you don’t even notice it’s GF. 10/10.
Was looking for a quick, tasty side for weeknight dinners and this hits the spot. It’s easy enough to throw together after work even when I’m chasing the kids around to get homework done. Only thing is I skipped the walnuts because my middle kid has a tree nut allergy, and it was still delicious, though I missed the crunch the walnuts would have added.
I test a new stuffing recipe every year to find the perfect one for our big family Thanksgiving, and this is THE ONE. The balance of herbs, the nutty crunch from the walnuts, the perfect moist (but not soggy!) texture — it checks every box. No more testing for me, this is the permanent recipe.
Wait I didn’t feel like heating up my whole oven so I baked this in my countertop convection oven and it still turned out perfect! Crispy on top, soft in the middle, full of that herb and walnut flavor. Super versatile recipe, I love that it works even if you don’t want to use a big oven.
I’ve been making stuffing for over 40 years and decided to give this recipe a shot when my granddaughter sent it to me. I was pleasantly surprised! The walnut addition is something I never thought to do, but it adds a lovely depth of flavor and texture. Great job on a solid classic recipe.
I made this over the weekend to test for Thanksgiving, and the flavor is incredible! Quick question — can you freeze this stuffing? I want to make a bunch of sides ahead of time for Thanksgiving so I’m not running around like a crazy person the day of. Freezer friendly sides are my love language tbh.
Made this for our college football tailgate last weekend and it was a total hit! It’s hearty enough to stand up to all the burgers and brats, and the flavor is so good people were eating it straight out of the pan without even grabbing a plate. So easy to transport too.