
Western Style Ribs
intro
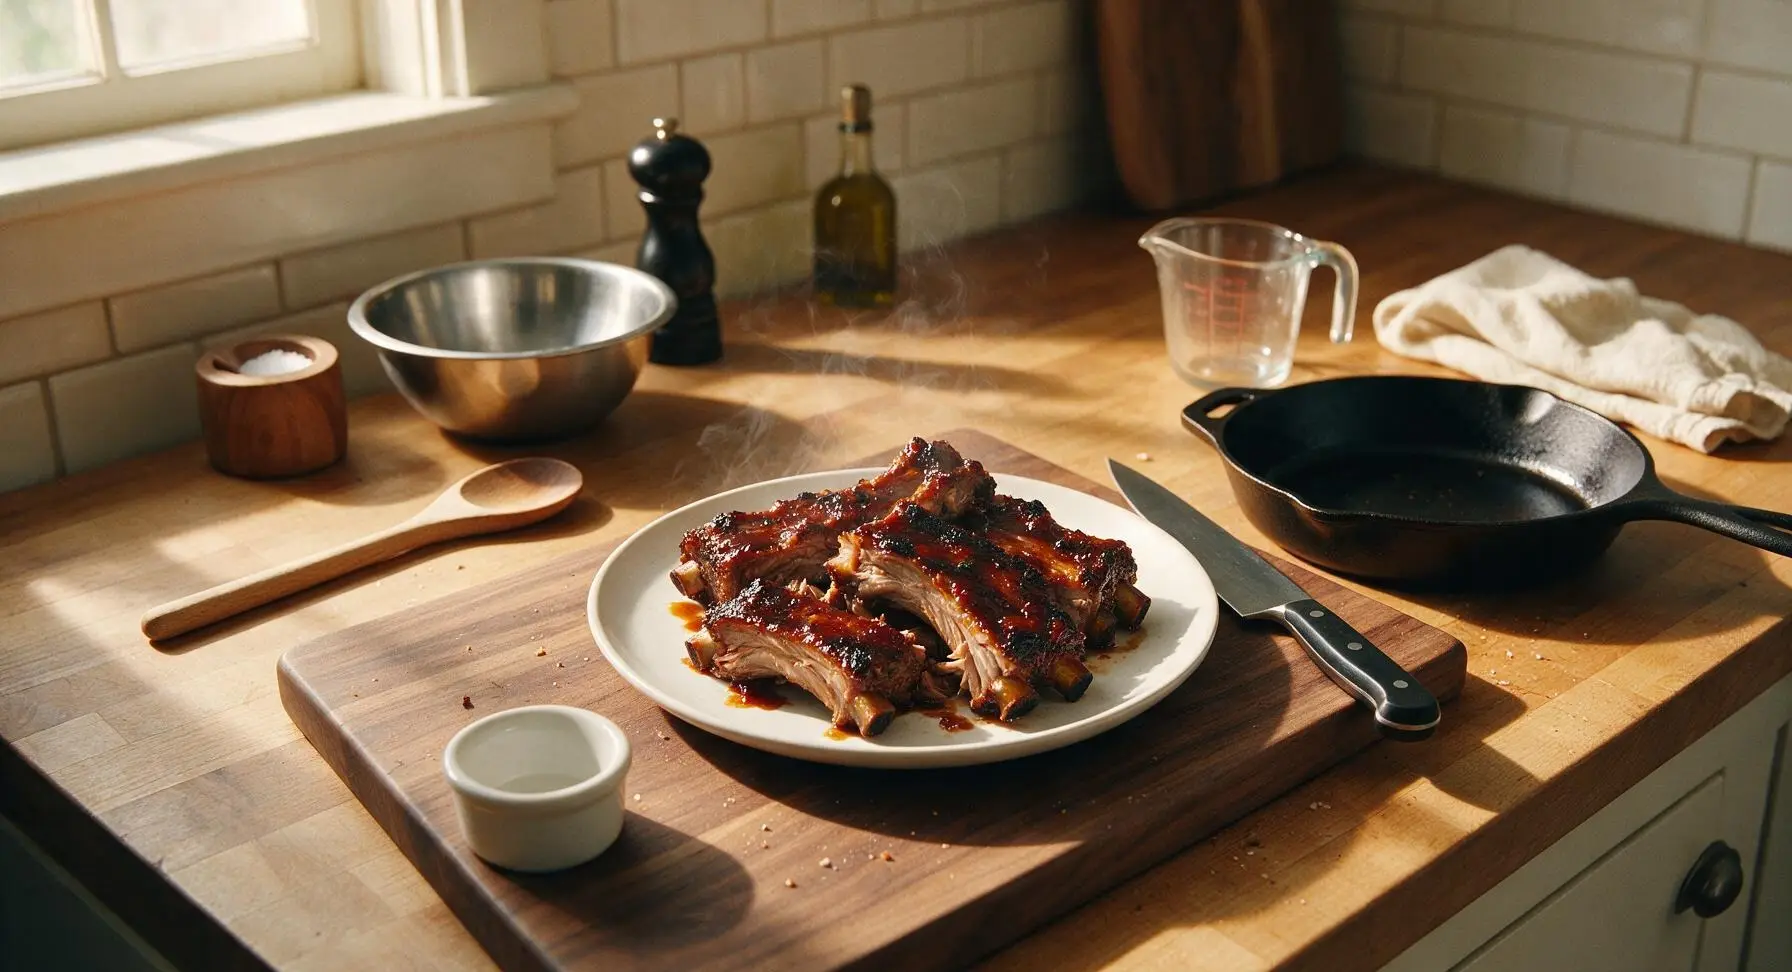
Tender, fall-off-the-bone pork ribs coated in a smoky sweet spice rub, slathered in tangy caramelized BBQ sauce with crisp charred edges, perfect for casual summer gatherings.
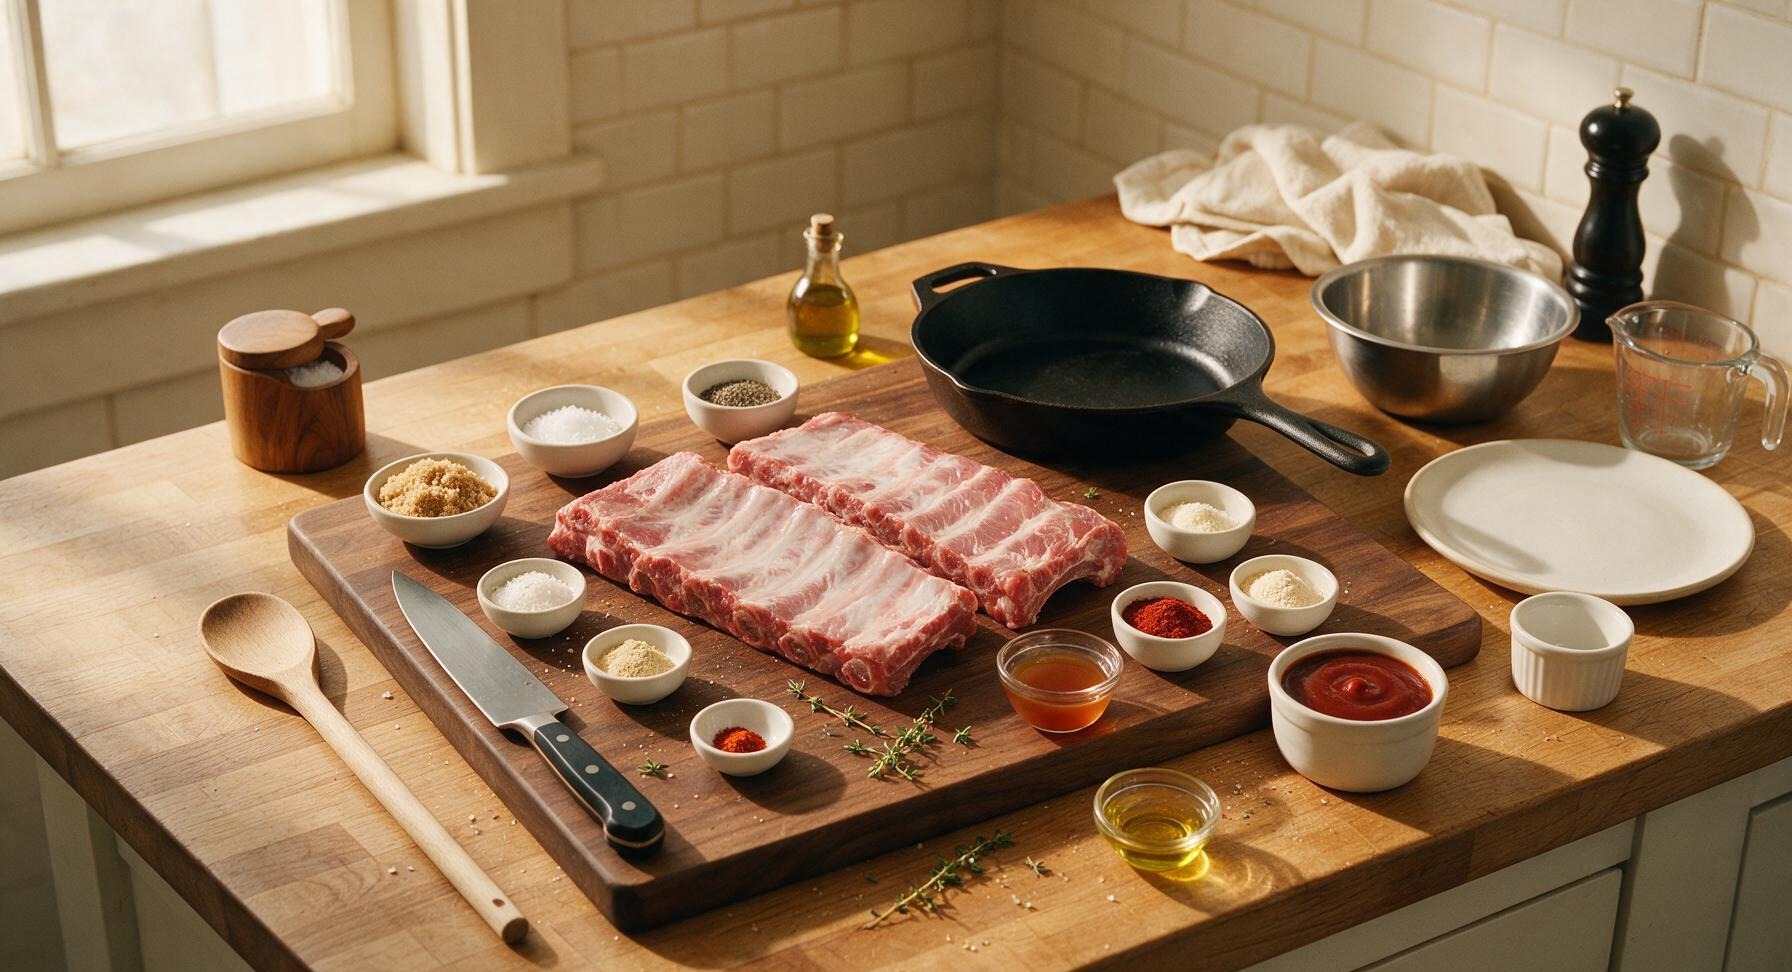
Ingredients
Steps
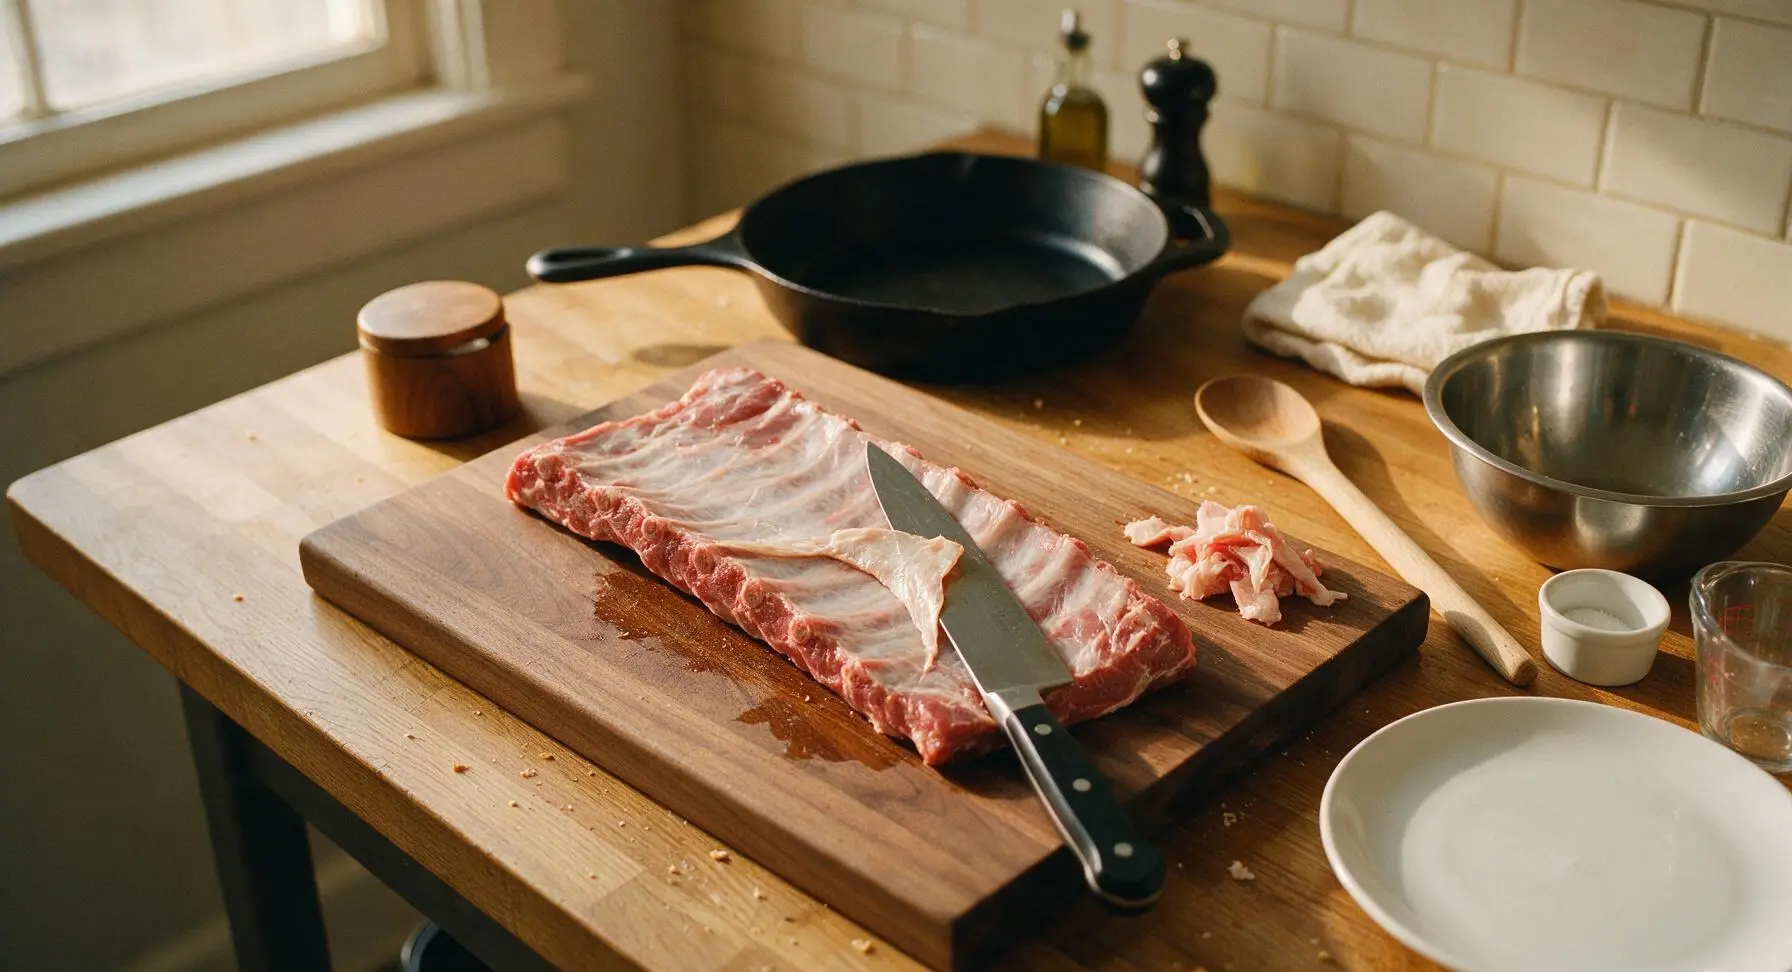
Trim Excess Rib Fat
Place the raw pork ribs bone-side up on the maple end-grain cutting board. Use the 8-inch walnut-handle chef knife to trim away loose fat deposits, tough silver skin, and dangling meat scraps. Leave a thin 3mm (1/8-inch) layer of fat on the meaty side to keep ribs moist during cooking; trimming all fat will result in dry, bland ribs. Pat both sides of the ribs completely dry with a corner of the fixed oatmeal linen towel.
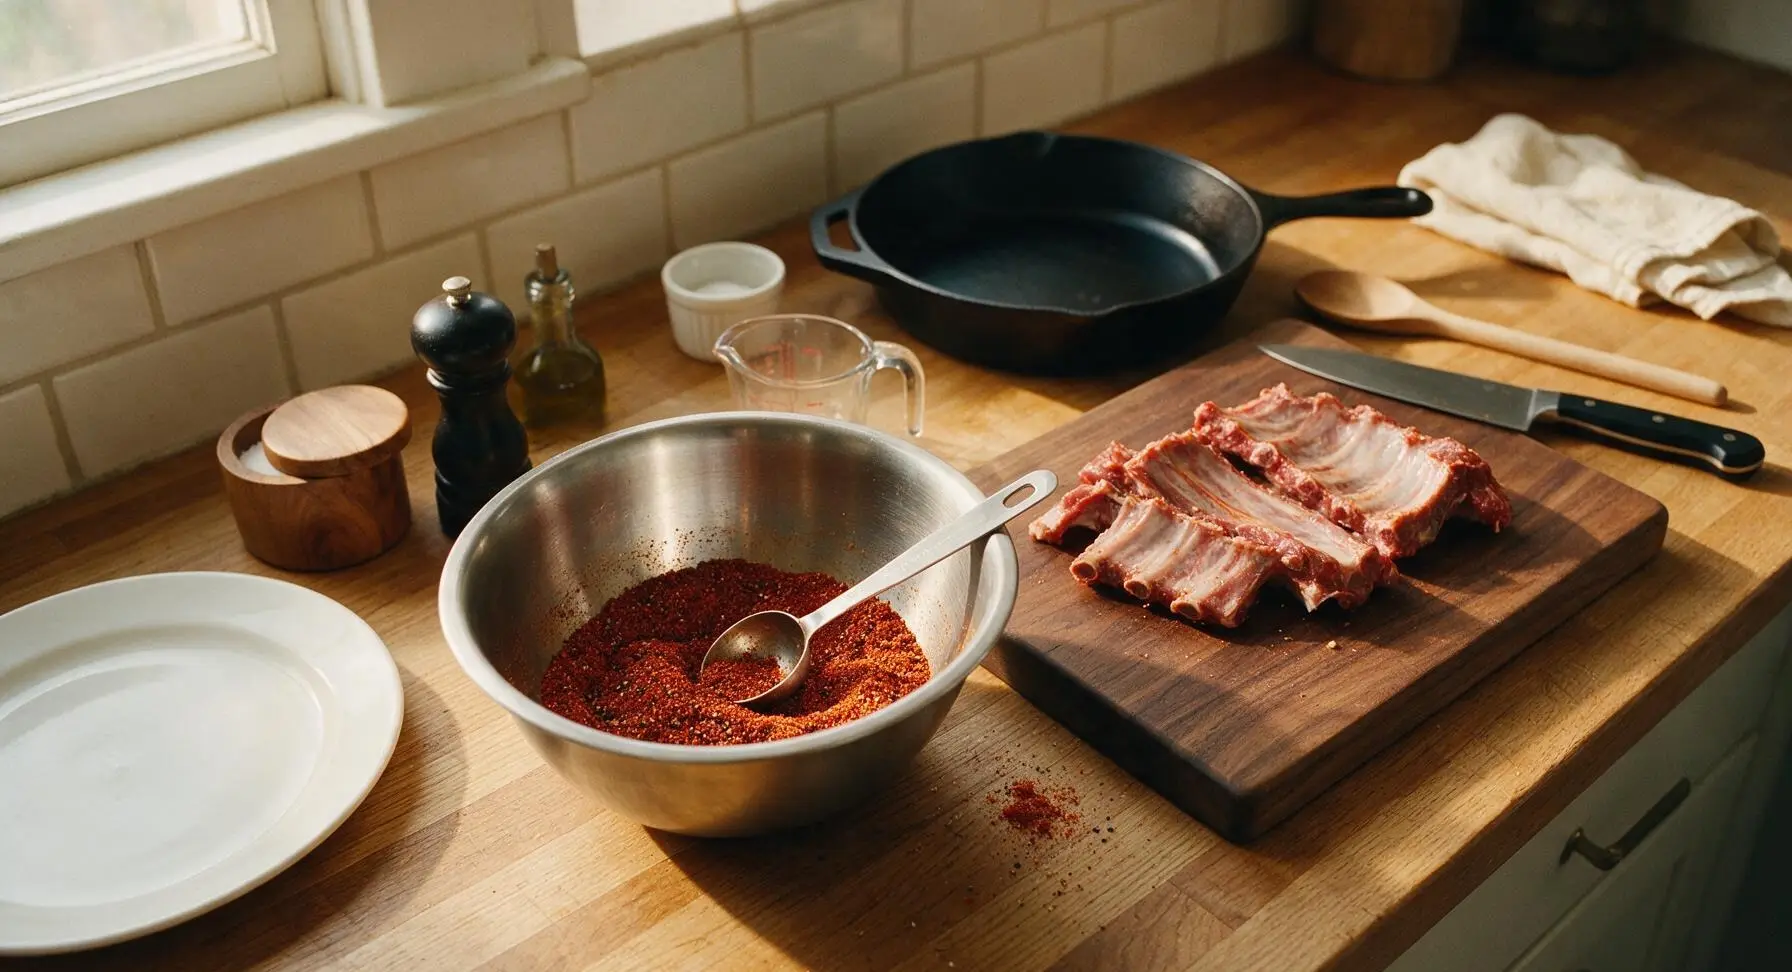
Combine Dry Rub Spices
In the medium brushed stainless steel mixing bowl, add the measured light brown sugar, kosher salt, black pepper, smoked paprika, garlic powder, onion powder, dry mustard, and cayenne pepper. Use the stainless steel measuring spoon to stir the mixture for 30 seconds until fully uniform, breaking up any clumps of brown sugar with the back of the spoon. The finished rub will be a consistent deep rust-red color with visible flecks of coarse black pepper.
Apply Rub Evenly
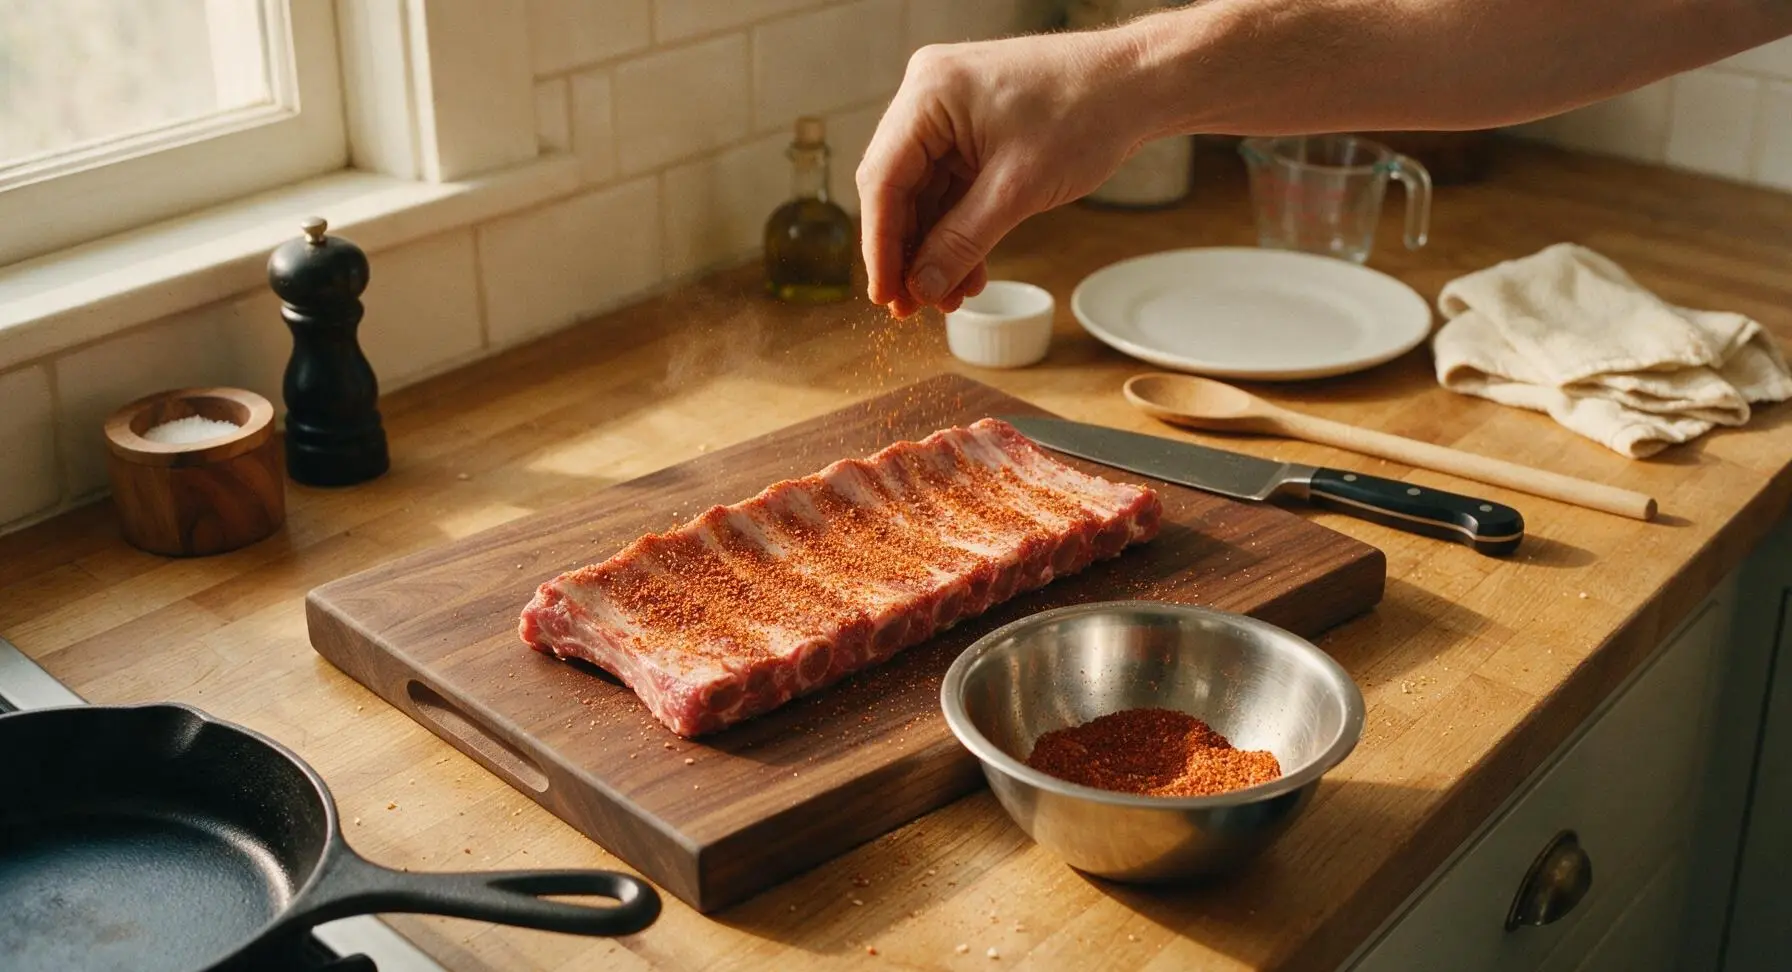
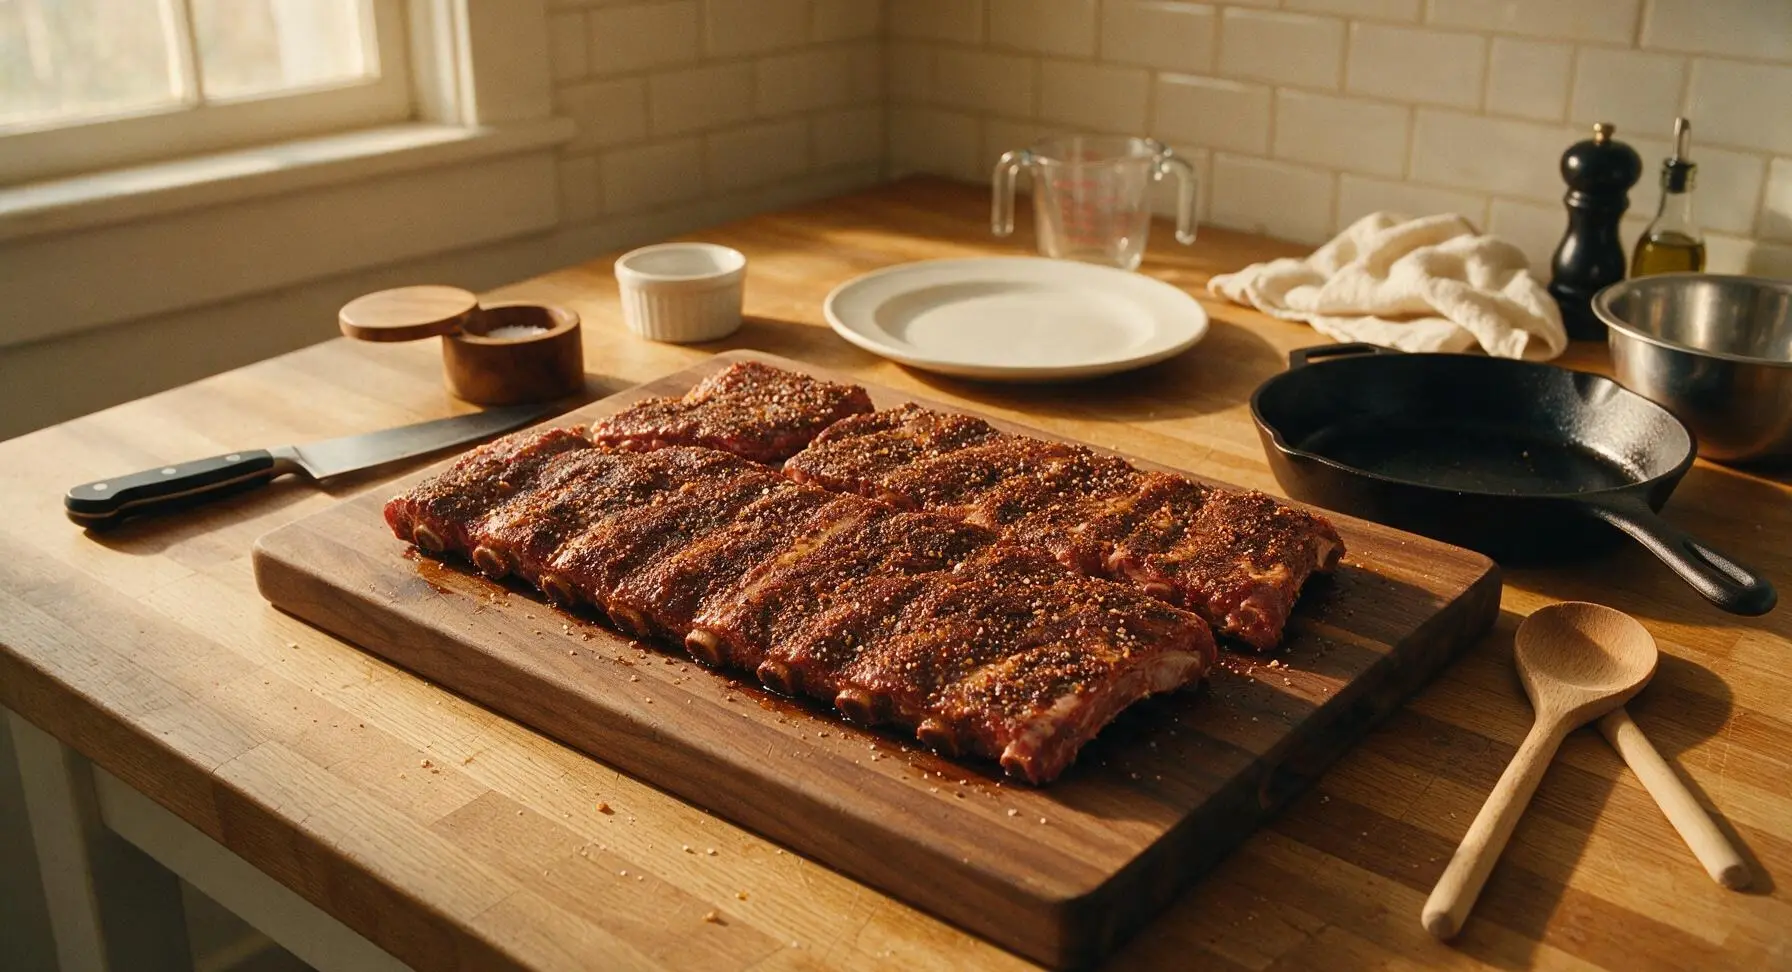
Drizzle 1 tsp of neutral canola oil over both sides of the trimmed ribs, rubbing lightly with clean hands to create a thin, tacky surface across the entire meat. Sprinkle 3/4 of the dry rub mixture evenly over every surface (meaty side, bone side, and cut edges), pressing firmly with your fingertips to press the rub into the meat so it adheres. No bare patches of raw pink pork should be visible once coated. Let the rubbed ribs rest at room temperature for 15 minutes to allow the spices to penetrate the meat surface before cooking.
Slow Cook Tender Ribs
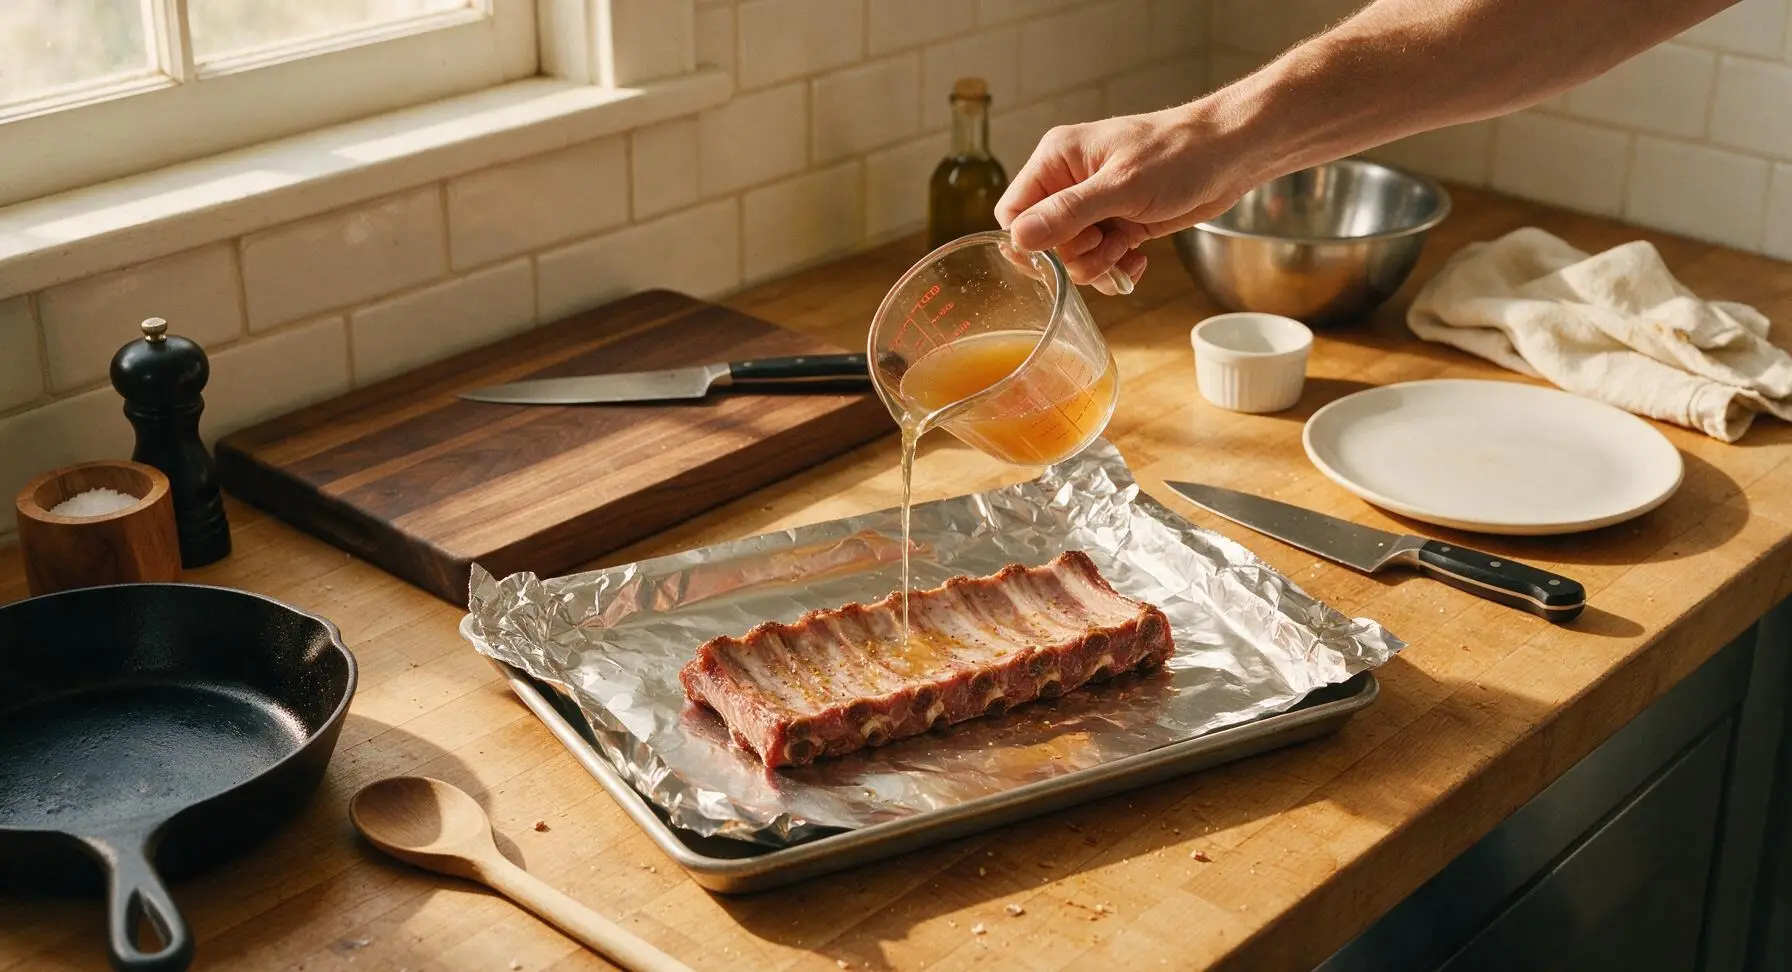
Preheat oven to 150°C (300°F). Tear a 60cm sheet of heavy-duty aluminum foil from the roll to line the rimmed stainless steel baking sheet, leaving a 10cm (4-inch) overhang on all sides. Place the rubbed ribs meat-side up on the foil-lined sheet, then drizzle the 2 tbsp of apple cider vinegar from the glass measuring cup over the top of the ribs. Fold the foil overhang tightly to create a fully sealed packet around the ribs, pinching edges closed to trap all steam. Bake for 2 full hours, until the meat pulls 1cm away from the cut bone ends when prodded gently with a fork.
Baste with BBQ Sauce
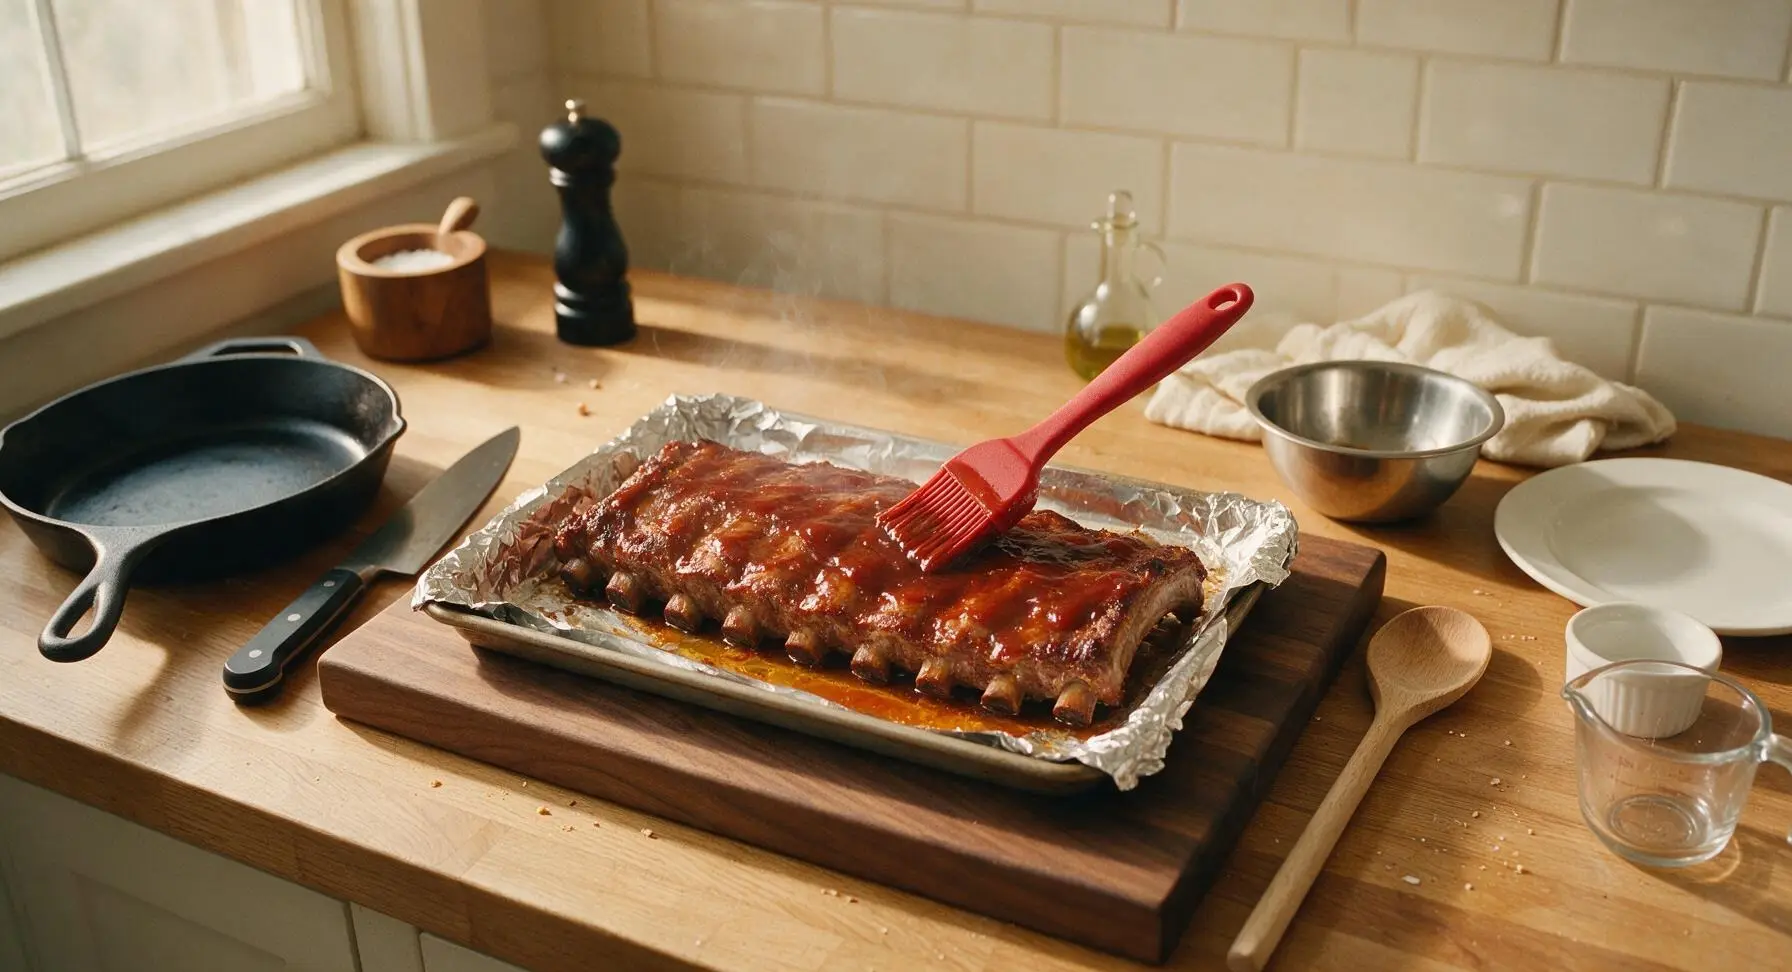
Carefully remove the baking sheet from the oven after 2 hours, pulling back the foil edges slowly to release trapped hot steam (keep hands and face back to avoid burns). Use the red silicone-bristle basting brush to spread half of the BBQ sauce in a thin, even layer across the entire meaty side of the ribs. Leave the foil open, and return the ribs to the oven for 15 minutes, until the sauce is sticky and slightly darkened at the edges.
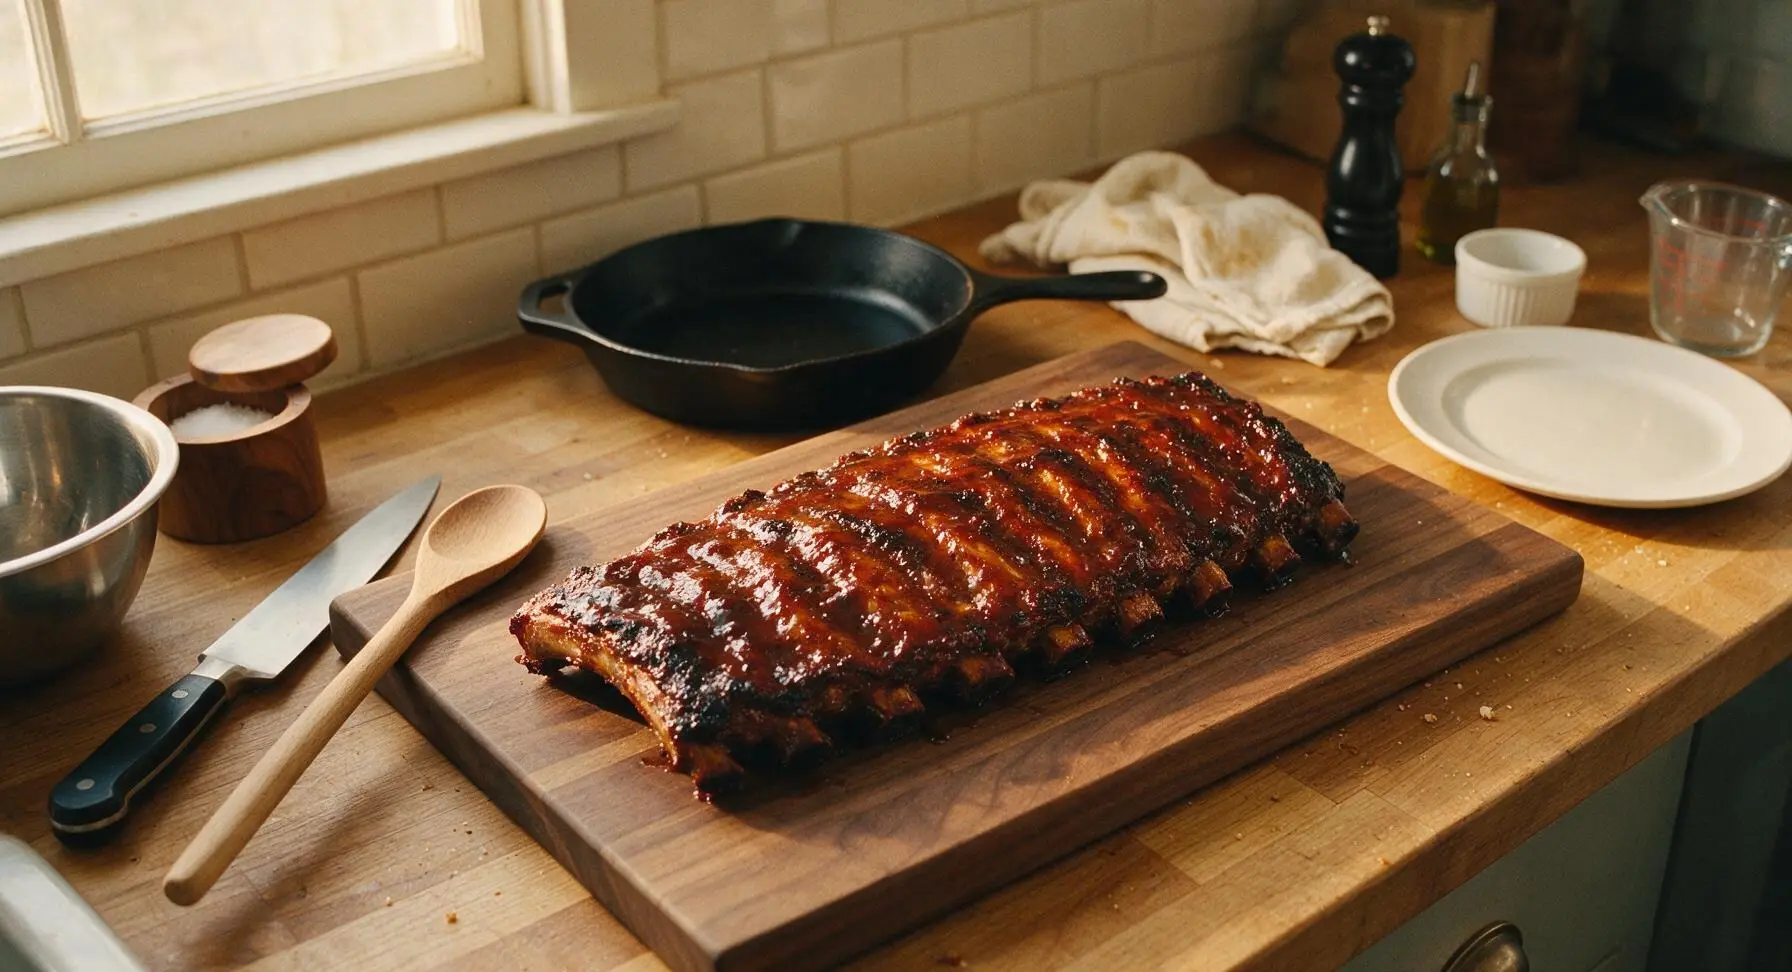
Sear for Crisp Edges
Turn the oven broiler to high (or heat an outdoor grill to 200°C/400°F if available). Use the red silicone-tipped stainless steel tongs to position the sauced ribs 15cm (6 inches) below the broiler element. Sear for 2-3 minutes per side, until the sauce develops scattered dark, slightly charred spots and a glossy, crisp crust. Watch constantly during searing, as the sugar in the BBQ sauce burns quickly and will turn bitter if left under heat too long.
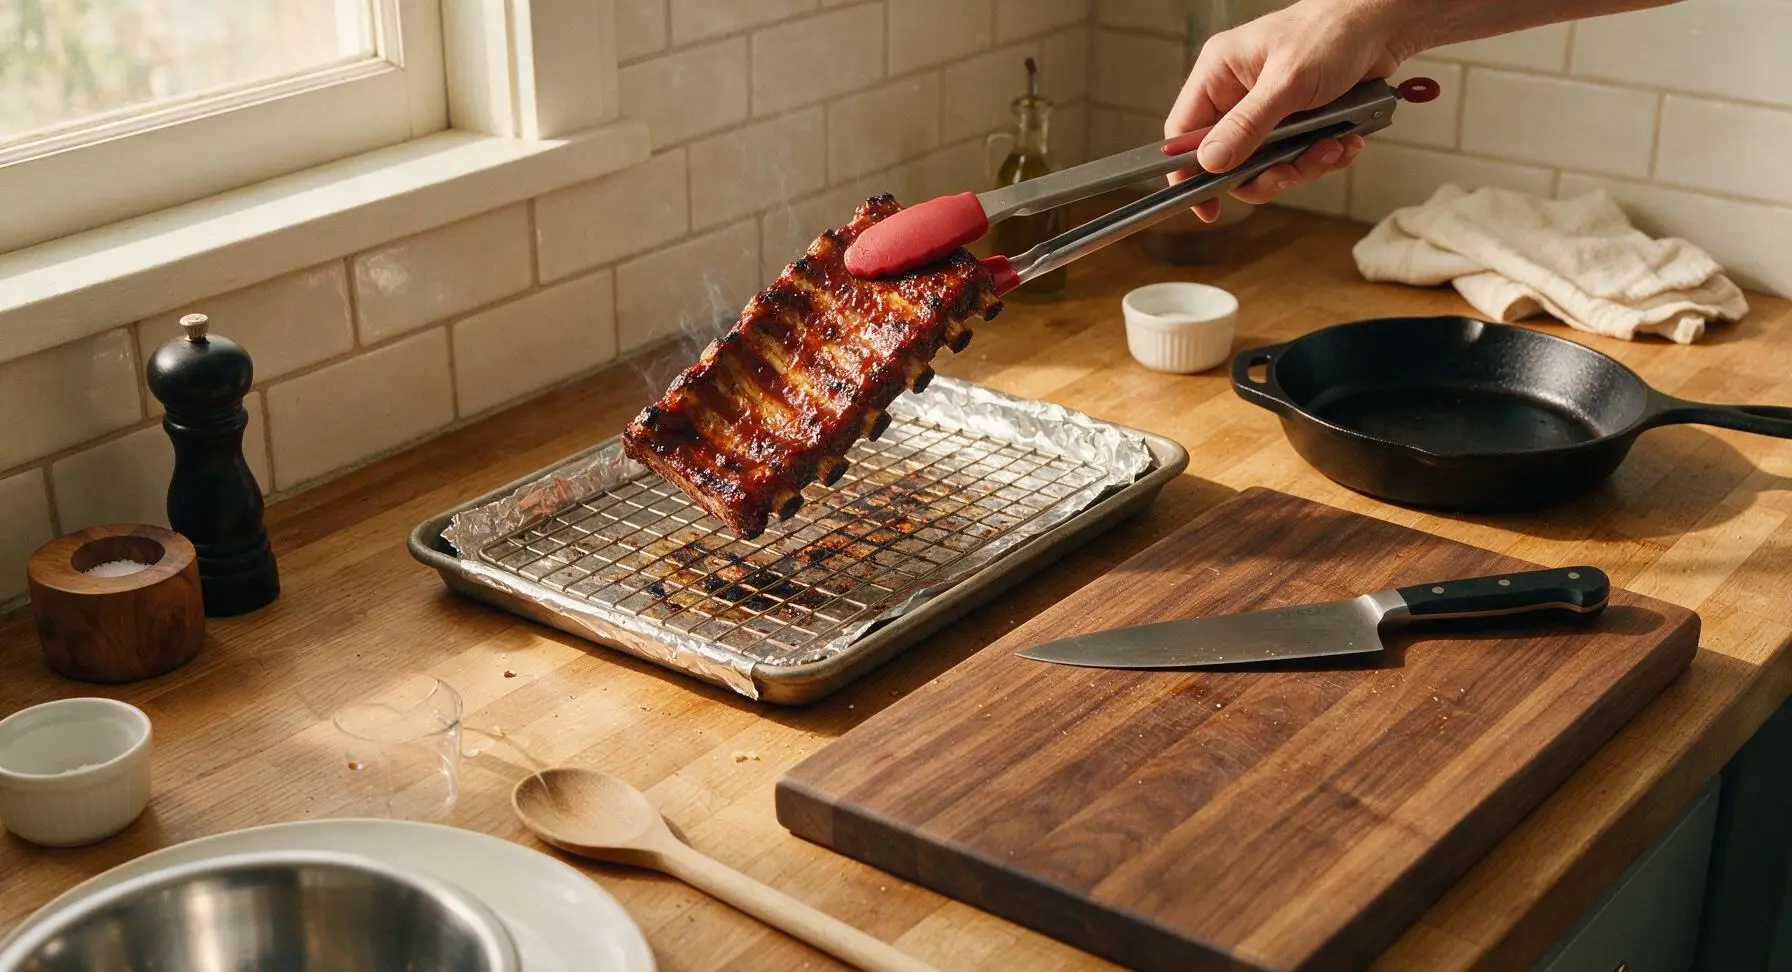
Rest Ribs Before Serving
Use the tongs to transfer the seared ribs back to the clean maple cutting board, and let them rest uncovered for 10 minutes at room temperature. This rest period allows the hot meat juices to redistribute through the muscle fibers, so they do not run out when the ribs are cut. Use the walnut-handle chef knife to slice the ribs between the bones into individual single-bone serving pieces, then transfer to the matte cream serving platter.
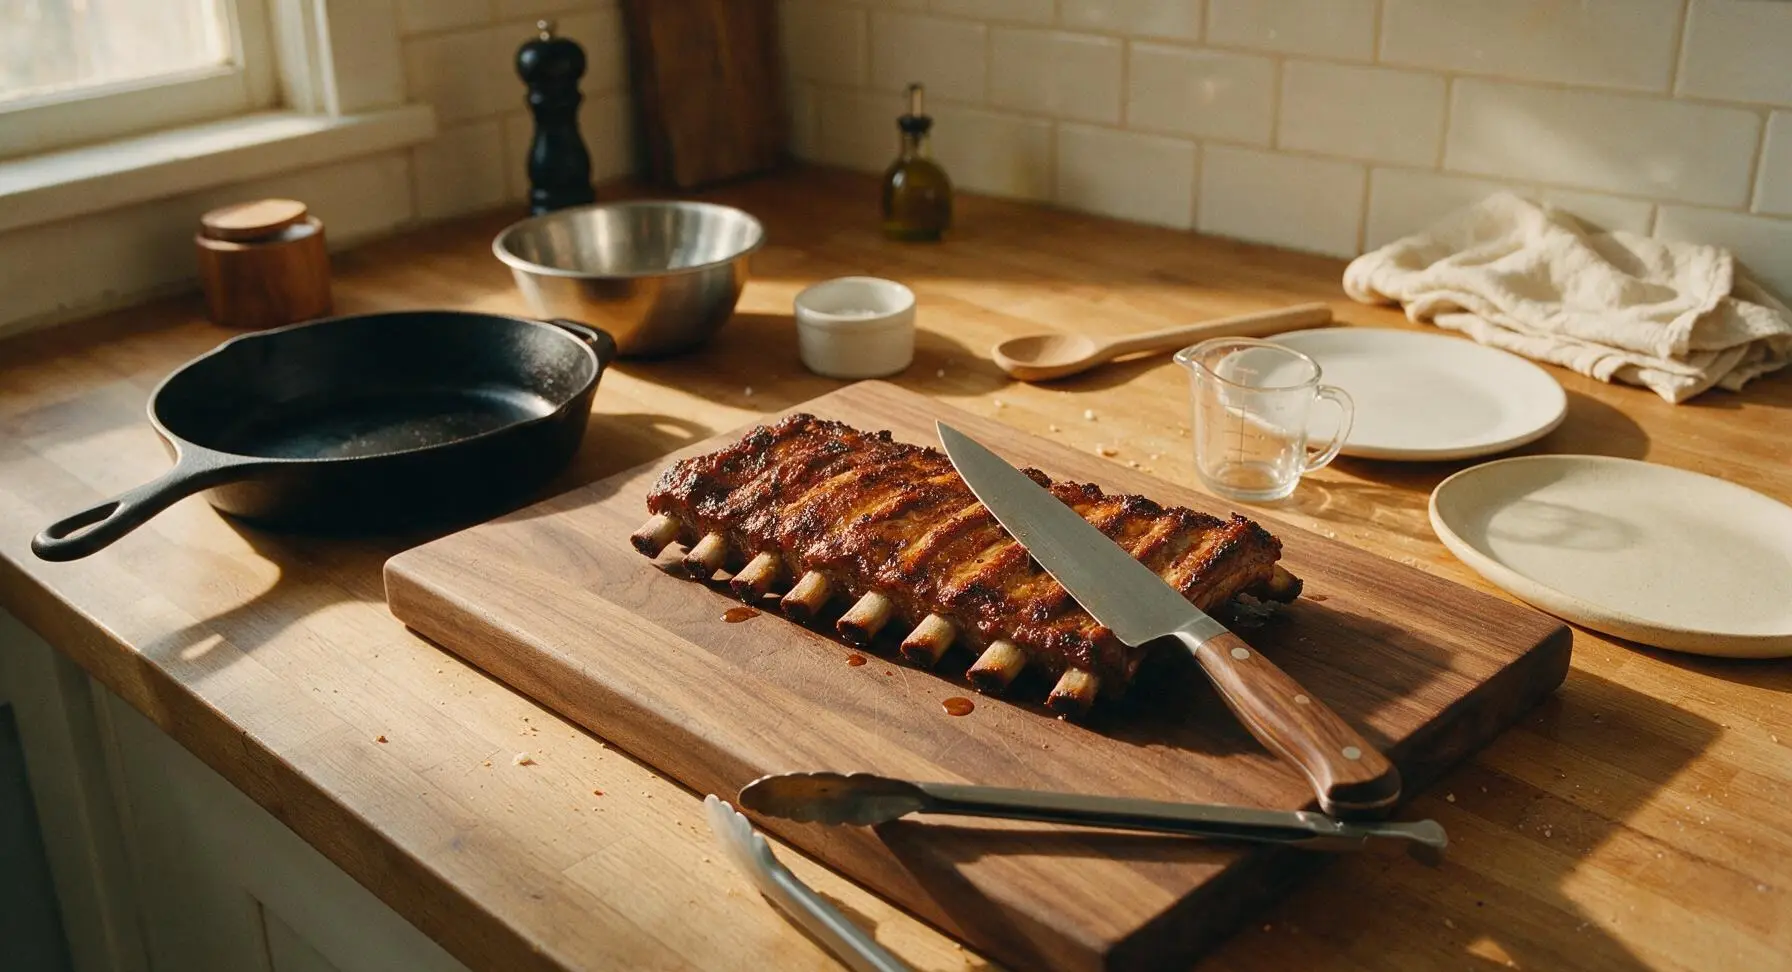
Tips
2.Resist the urge to cook ribs at a higher temperature to save time: Temperatures above 150°C (300°F) cause the tough connective tissue in the ribs to seize up instead of melting into tender, juicy meat, resulting in tough, chewy ribs.
3.Apply sauce only in the final 20 minutes of cooking: The high sugar content in BBQ sauce burns quickly at high heat; adding it too early will result in a burnt, bitter coating instead of a sticky, sweet caramelized crust.






OMG these ribs came out SO good! I made them for our Sunday family dinner and even my super picky father-in-law went back for seconds. The smoky flavor is perfect, not too overpowering, and the meat fell right off the bone. Total game changer for our summer cookouts! I did add a little extra paprika because we love extra heat, but otherwise followed the recipe exactly. 10/10
Solid rib recipe! I was worried it would be too time consuming for a weeknight, but the 2 hour 20 minute cook time was totally doable if I pop them in the oven right when I get home from work. I prepped the dry rub the night before to save time, and they turned out juicy and flavorful. My roommate stole half the rack before I even got to serve them, lmao
Made these for my son’s end-of-season soccer team potluck last weekend and they were a HIT! All the kids were asking for seconds, and multiple parents asked me for the recipe. I will say I was a little intimidated because I’ve never made ribs that weren’t pre-sauced from the grocery store, but the step-by-step instructions were super easy to follow even for a medium difficulty recipe. Will absolutely be making these again for our 4th of July party!
Tried this recipe yesterday and honestly? It’s better than the ribs I’ve gotten at half the BBQ joints around here. The balance of the dry rub and the sweet-tangy BBQ sauce is *chef’s kiss*. Only note: I let mine rest for 10 minutes after pulling them off the grill like I do with all my smoked meats, and it made all the difference for juiciness. Don’t skip that rest step, people!
These were solid! Cooked them on my offset smoker out on the patio since it’s finally nice enough to grill here in Arizona. I used mesquite wood instead of hickory for a little extra Southwest flair, and it paired perfectly with the sauce. Only reason I’m not giving 5 stars is I wish the recipe had a little note on adjusting cook time for higher altitude, but I figured it out after a quick Google search. Tasted amazing regardless.
First time ever making ribs and I didn’t mess them up!!! I was so nervous because I thought ribs were super fancy and hard, but this recipe broke it down so simply. Made them for my roommates for our game night watch party and we ate the entire two racks in like 15 minutes. SO good, will be adding this to my permanent rotation.
So happy I found this recipe! I used my favorite gluten-free BBQ sauce to adapt it for my dietary needs, and it worked perfectly. The ribs were tender, smoky, and didn’t have that weird artificial smoke taste a lot of BBQ rib recipes have. My husband said these are the best ribs he’s ever had, and he’s a total BBQ snob, so that’s high praise!
Made a double batch of these on Sunday for meal prep and they held up amazing all week! I portioned them out with coleslaw and cornbread for lunches, and they tasted just as good reheated in the air fryer as they did fresh off the grill. Such a great recipe to have in the back pocket for busy weeks when you don’t want to eat sad takeout every day.
Took these to our neighborhood block party last weekend and I lost count of how many people came up to ask for the recipe. The smoky rub is so much better than the store-bought rib rub I’ve been using for years. Who knew a homemade rub was that easy to throw together? I’ll never buy pre-made rub again.
Quick question for anyone who’s made this — I tried making these last night and my ribs were a little tougher than I expected, not fall-off-the-bone like everyone is saying. Did I cook them too long? Not long enough? I followed the cook time exactly, so I’m confused what I did wrong. They still tasted good, just not the texture I was going for!
Made these for my partner’s birthday dinner last night and he said they were better than the ribs we got on our BBQ road trip through Texas last summer! The smoky flavor is so deep, and the sauce caramelizes perfectly on the outside when you finish them on high heat for the last 10 minutes. That little high heat sear at the end is a total game changer, don’t skip it! We paired them with baked beans and mac and cheese, and it felt like a restaurant quality meal right at home.