
Whole Grain Stuffing

title 1
Whole Grain Stuffing
⏱️ cook time 50 minutes
🍽️ servings 8
⚡ Difficulty easy

intro

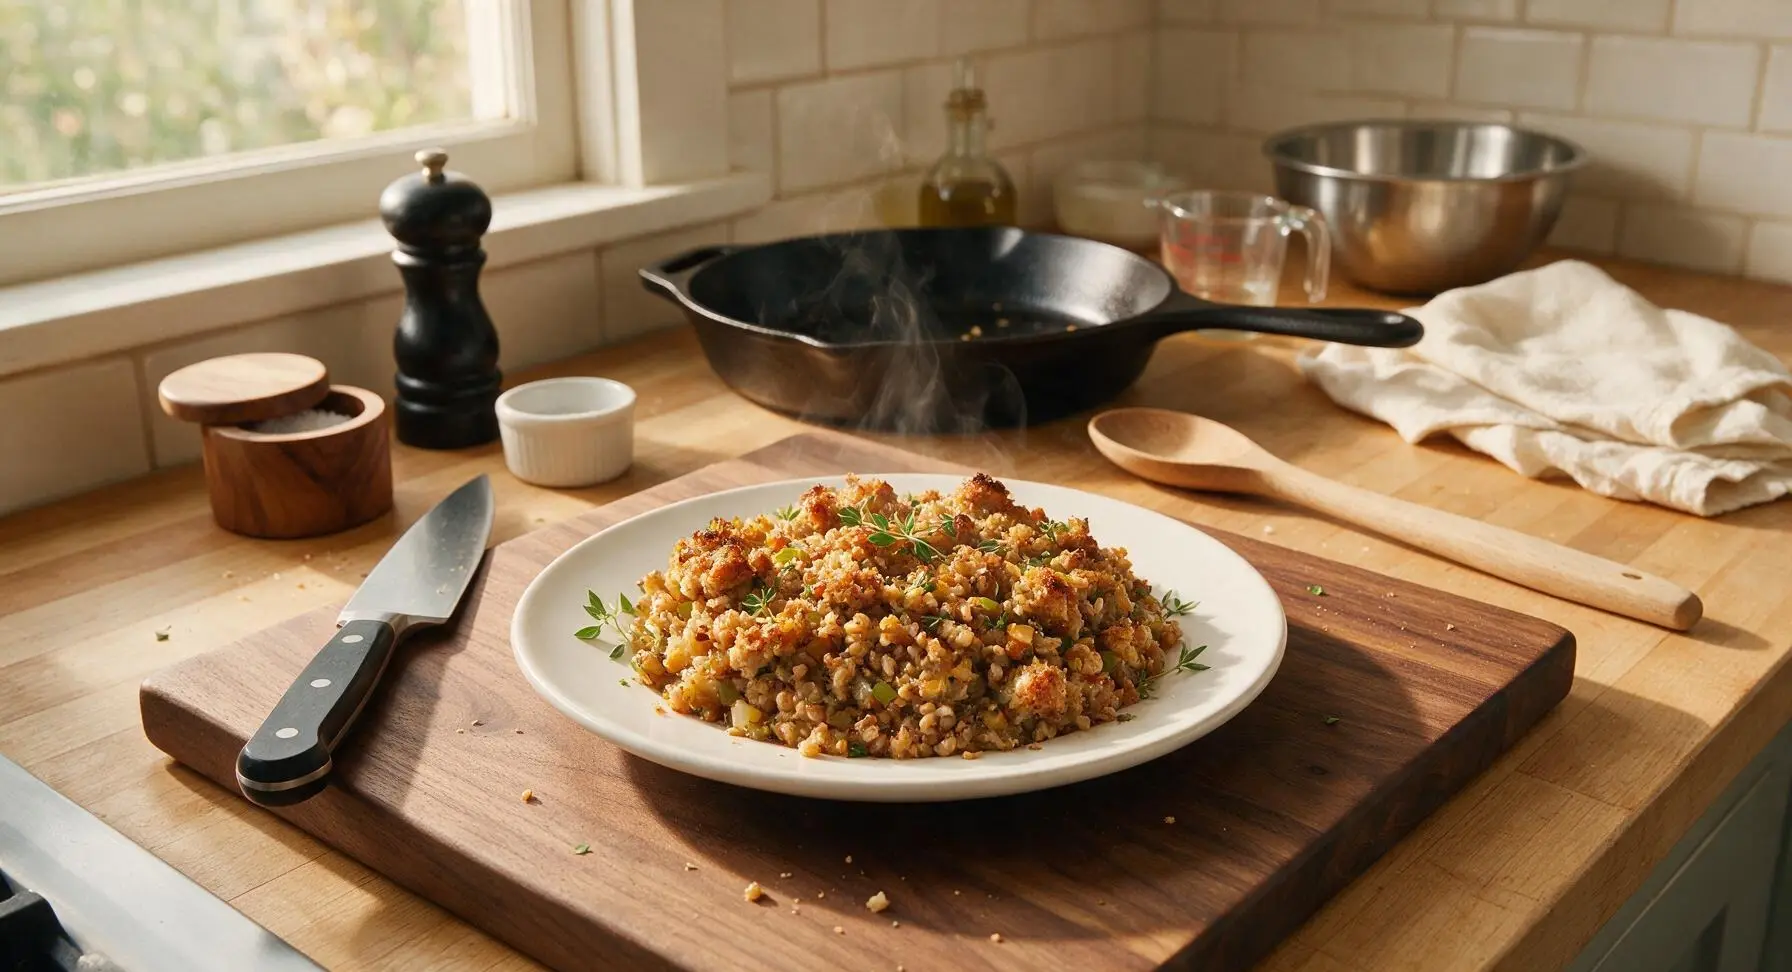
Hearty, nutty whole grain stuffing baked with aromatic mirepoix and fresh herbs—crispy on top, tender in the center, the iconic cozy Thanksgiving side.

Ingredients
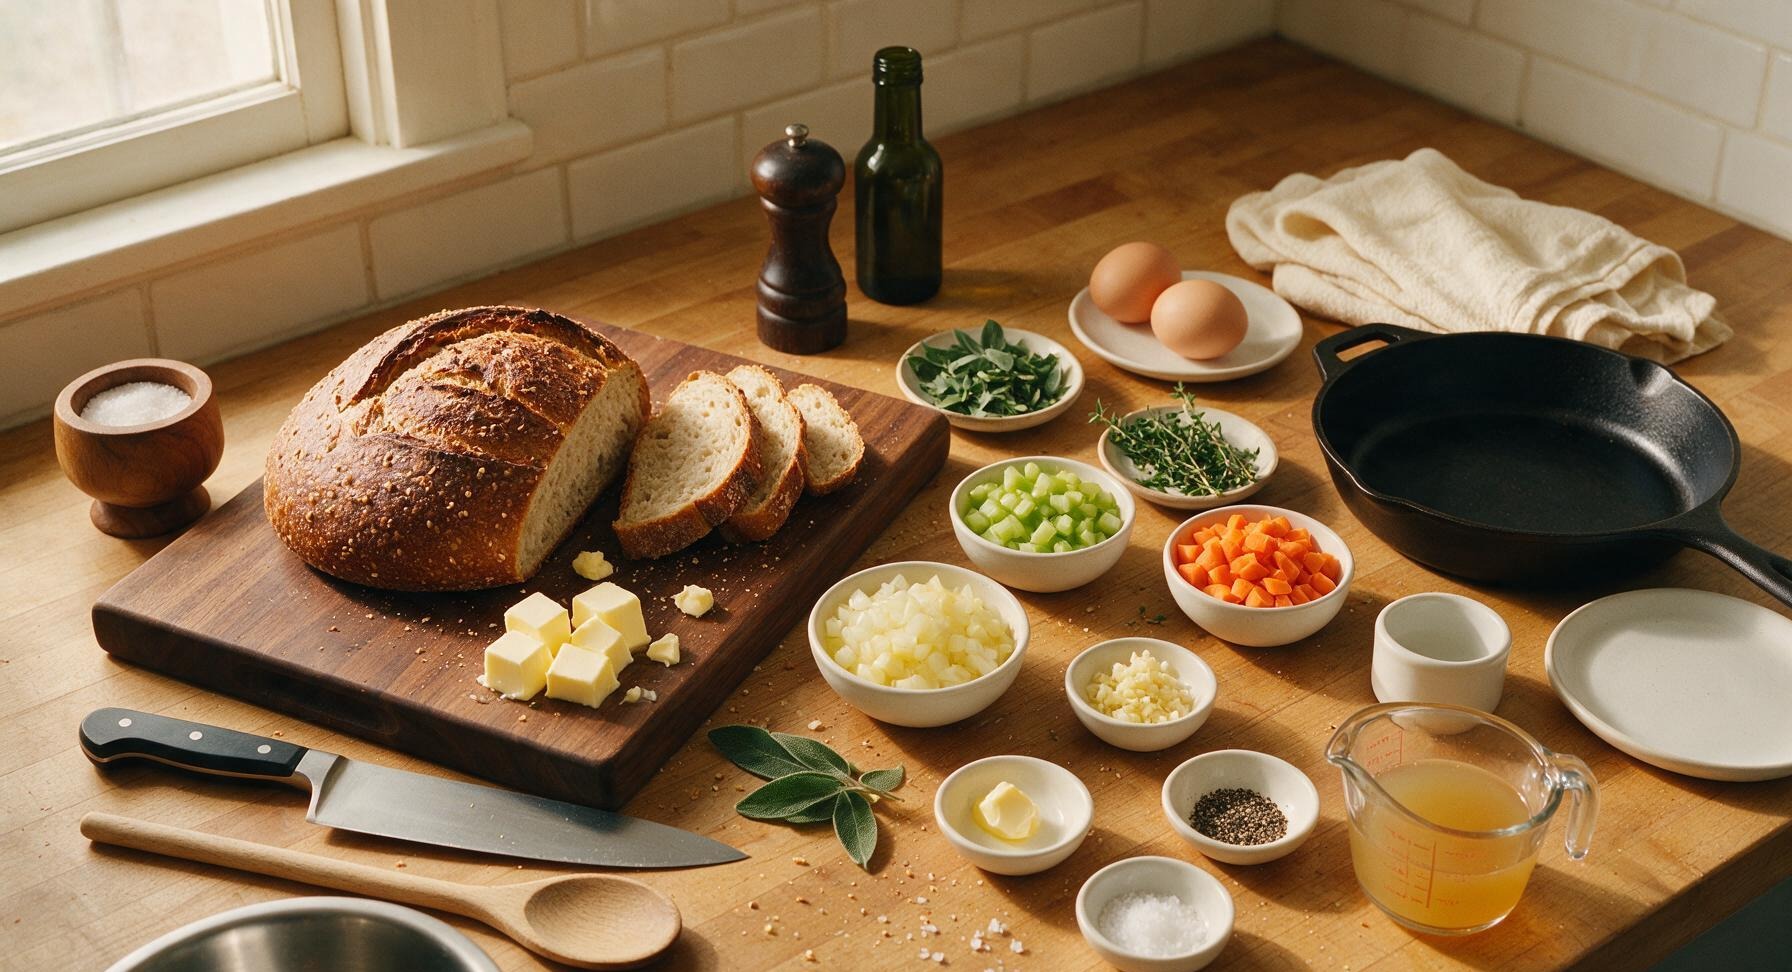
Crusty whole grain sourdough bread 1 loaf (450g)
Unsalted butter 4 tbsp (56g), plus 1 tsp for dotting top
Yellow onion 1 medium (150g, diced)
Celery stalks 2 (120g, diced)
Carrots 2 medium (100g, diced)
Garlic cloves 2 (6g, minced)
Fresh sage 2 tbsp chopped, plus whole leaves for garnish
Fresh thyme 1 tbsp chopped
Low-sodium chicken broth (or vegetable broth for vegetarian) 3 cups (720ml)
Large eggs 2
Kosher salt 1 tsp
Freshly ground black pepper 1/2 tsp

Steps

1

Toast Bread Cubes

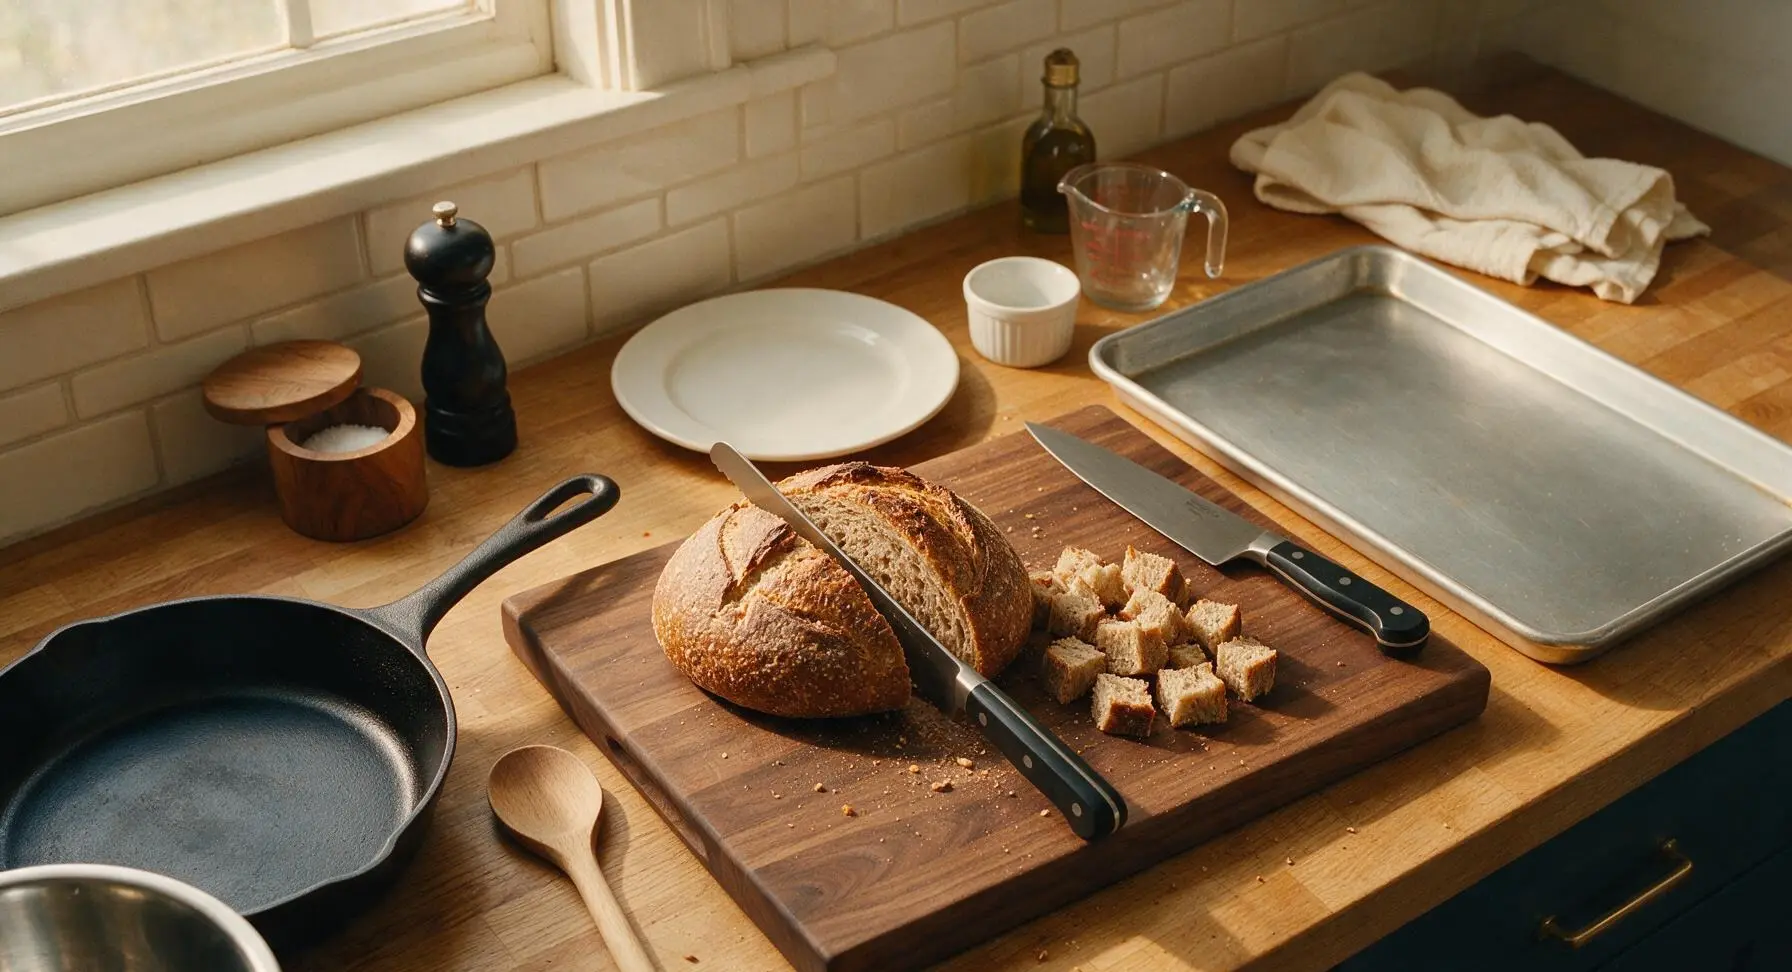
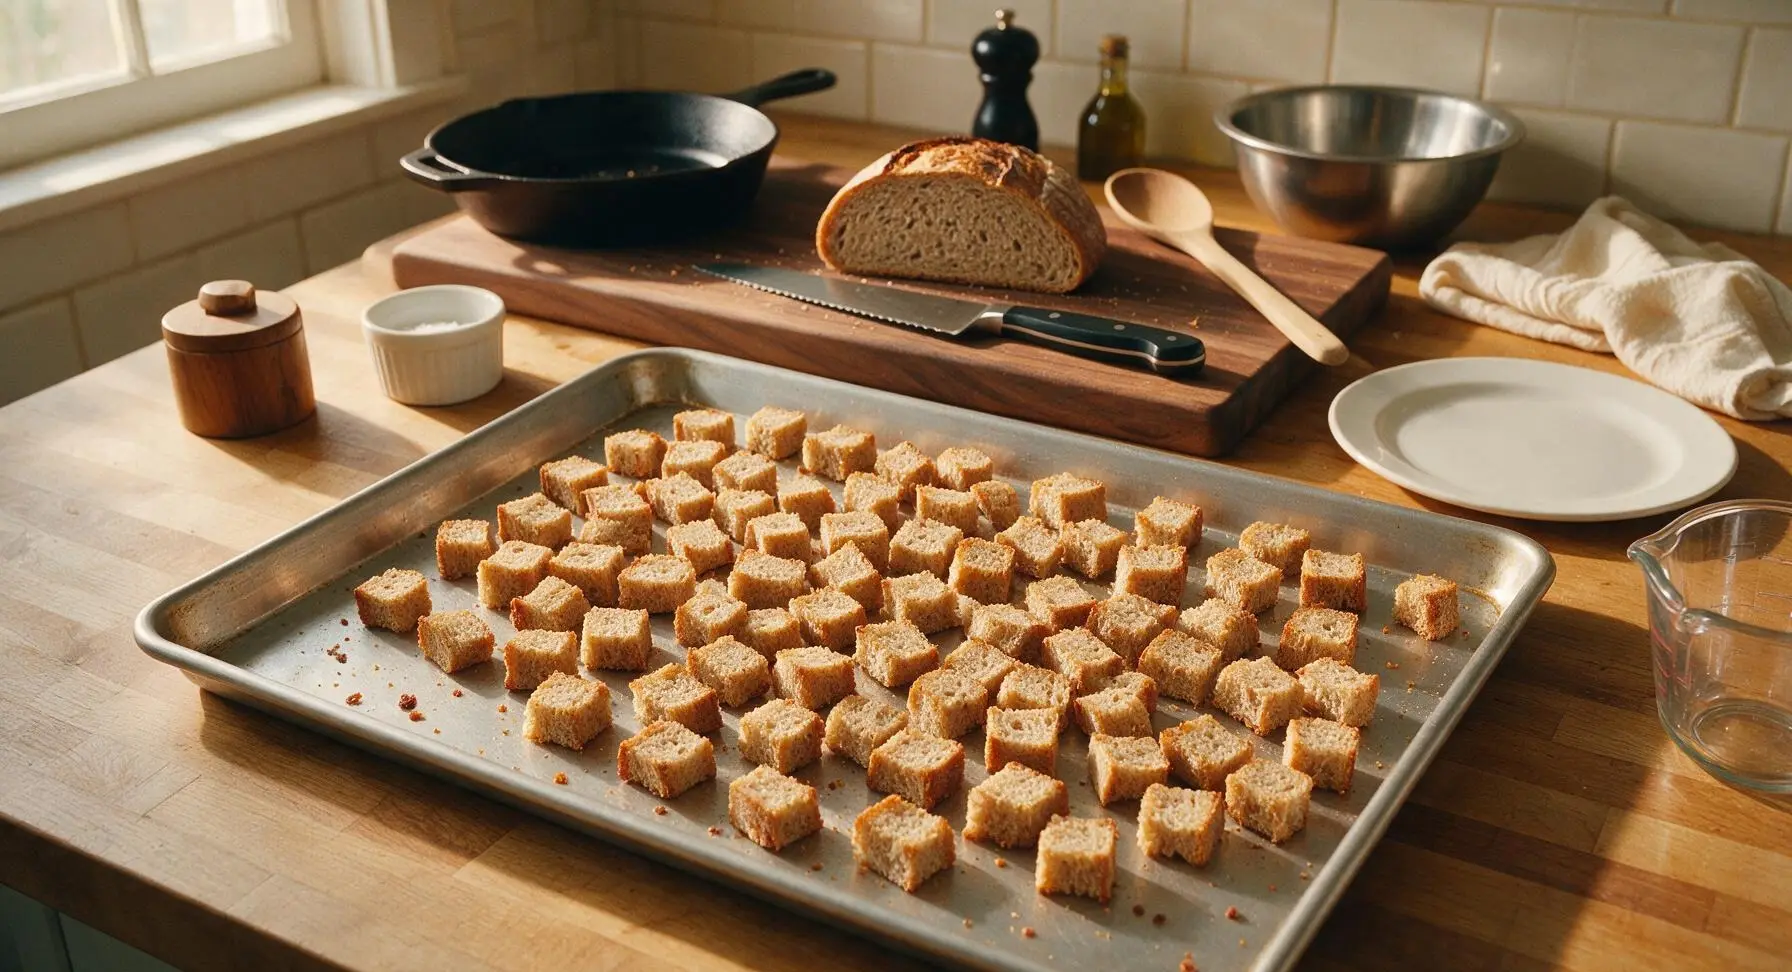
Preheat oven to 175C (350F). Place the whole grain sourdough loaf on the acacia wood cutting board, and use the serrated bread knife to cut the loaf into uniform 1.5cm (1/2 inch) cubes, leaving crusts intact for extra texture. Spread the cut cubes in a single even layer on the large rimmed aluminum baking sheet. Bake for 10-12 minutes, stirring once halfway through, until cubes are fully dry to the touch and lightly golden at the edges, with no soft, squishy centers remaining. Remove the baking sheet from the oven and set aside to cool for 5 minutes.
Step 1
step1:Toast Bread Cubes
Step 1
step1:Toast Bread Cubes
2

Saute Mirepoix Aromatics

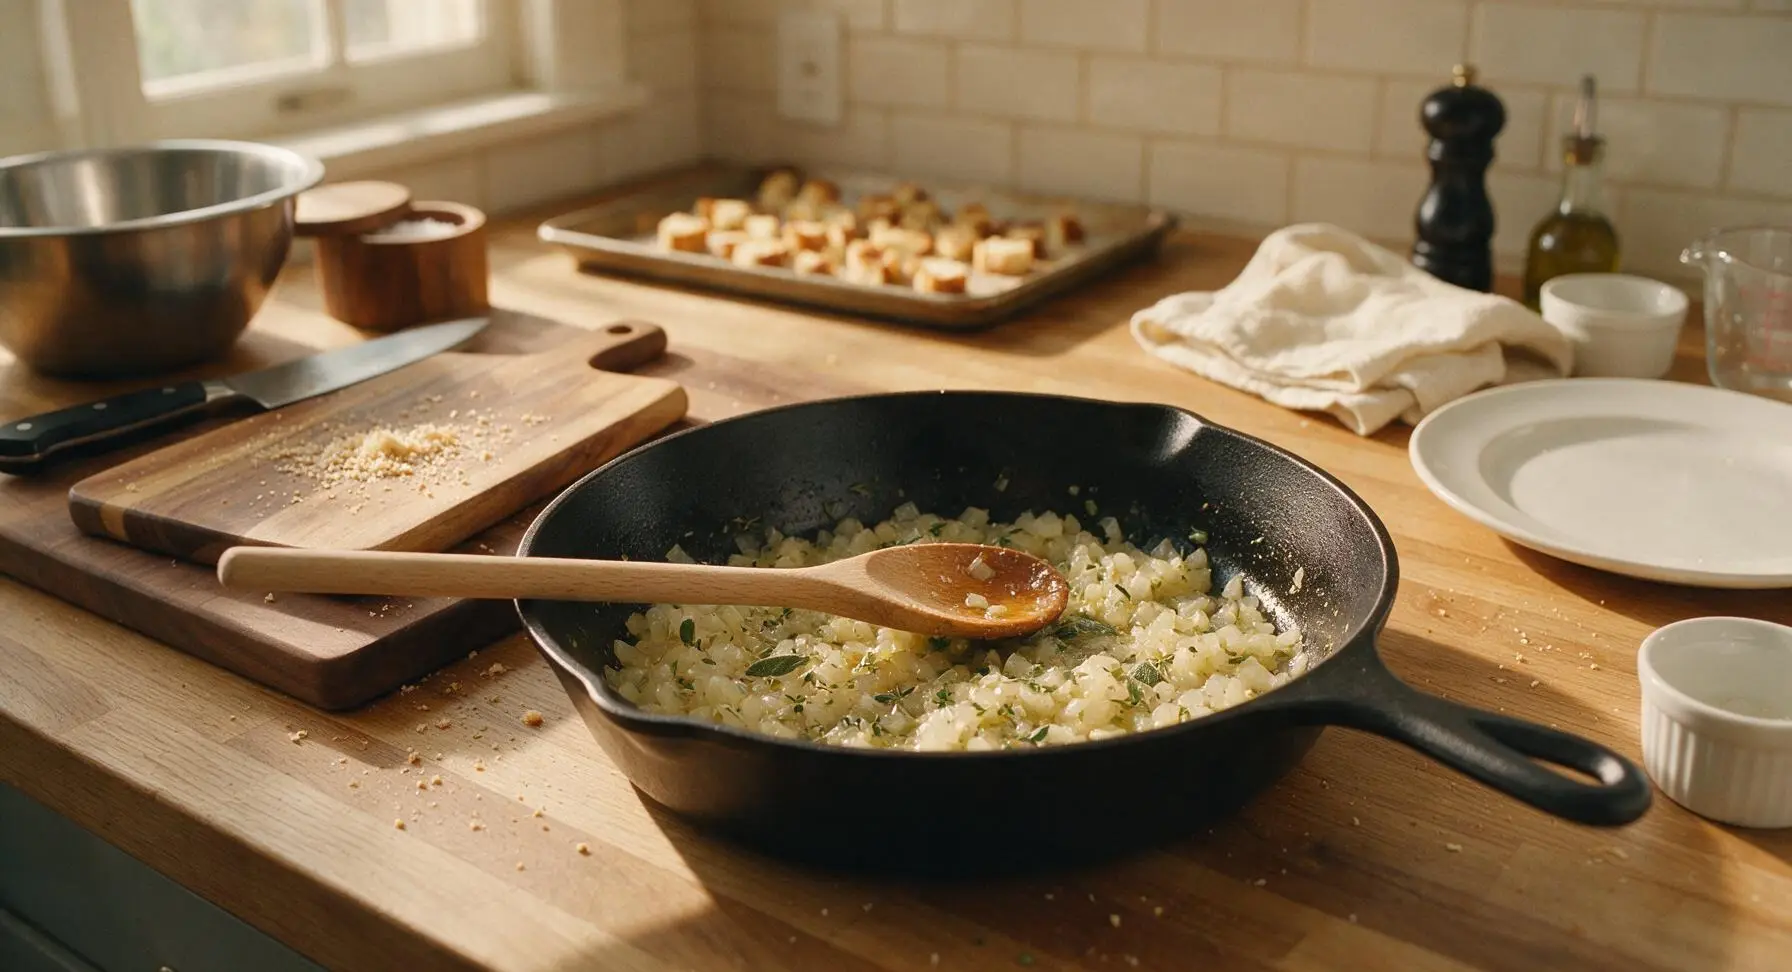
While the bread toasts, place the 10-inch carbon steel skillet over medium heat, add 4 tablespoons of unsalted butter, and heat until foaming subsides (about 2 minutes). Use the chef knife to dice onion, celery, and carrot, then add to the skillet, cooking for 8-10 minutes and stirring occasionally with the beech wood spoon, until vegetables are soft and translucent with light golden edges on the onion. Mince garlic, chop sage and thyme, add to the skillet, and cook for 1 additional minute until fragrant, taking care not to burn the garlic. Remove the skillet from heat.
Step 2
step2:Saute Mirepoix Aromatics
3

Mix Stuffing Base

Pour 3 cups of low-sodium chicken broth into the small stainless steel saucepan, warming over low heat for 3 minutes until just lukewarm (do not boil, as hot liquid will curdle the eggs). In the bottom of the large stainless steel mixing bowl, use the wire whisk to beat the 2 large eggs until completely smooth. Slowly pour the warm broth into the eggs while whisking constantly to temper the eggs and prevent curdling, then stir in 1 teaspoon of kosher salt and 1/2 teaspoon of freshly ground black pepper.

Step 3
step3:Mix Stuffing Base
4

Fold Ingredients Together

Add the cooled toasted bread cubes and the entire sauteed vegetable-herb mixture to the mixing bowl with the egg-broth base. Use the matte sage green silicone spatula to gently fold all ingredients together until every bread cube is lightly and evenly moistened, taking care not to mash the bread into a paste. Let the mixture rest for 5 minutes to allow the bread to absorb liquid evenly; the finished mixture should feel damp but not soggy, with no excess liquid pooling at the bottom of the bowl.

Step 4
step4:Fold Ingredients Together
5

Fill Baking Dish

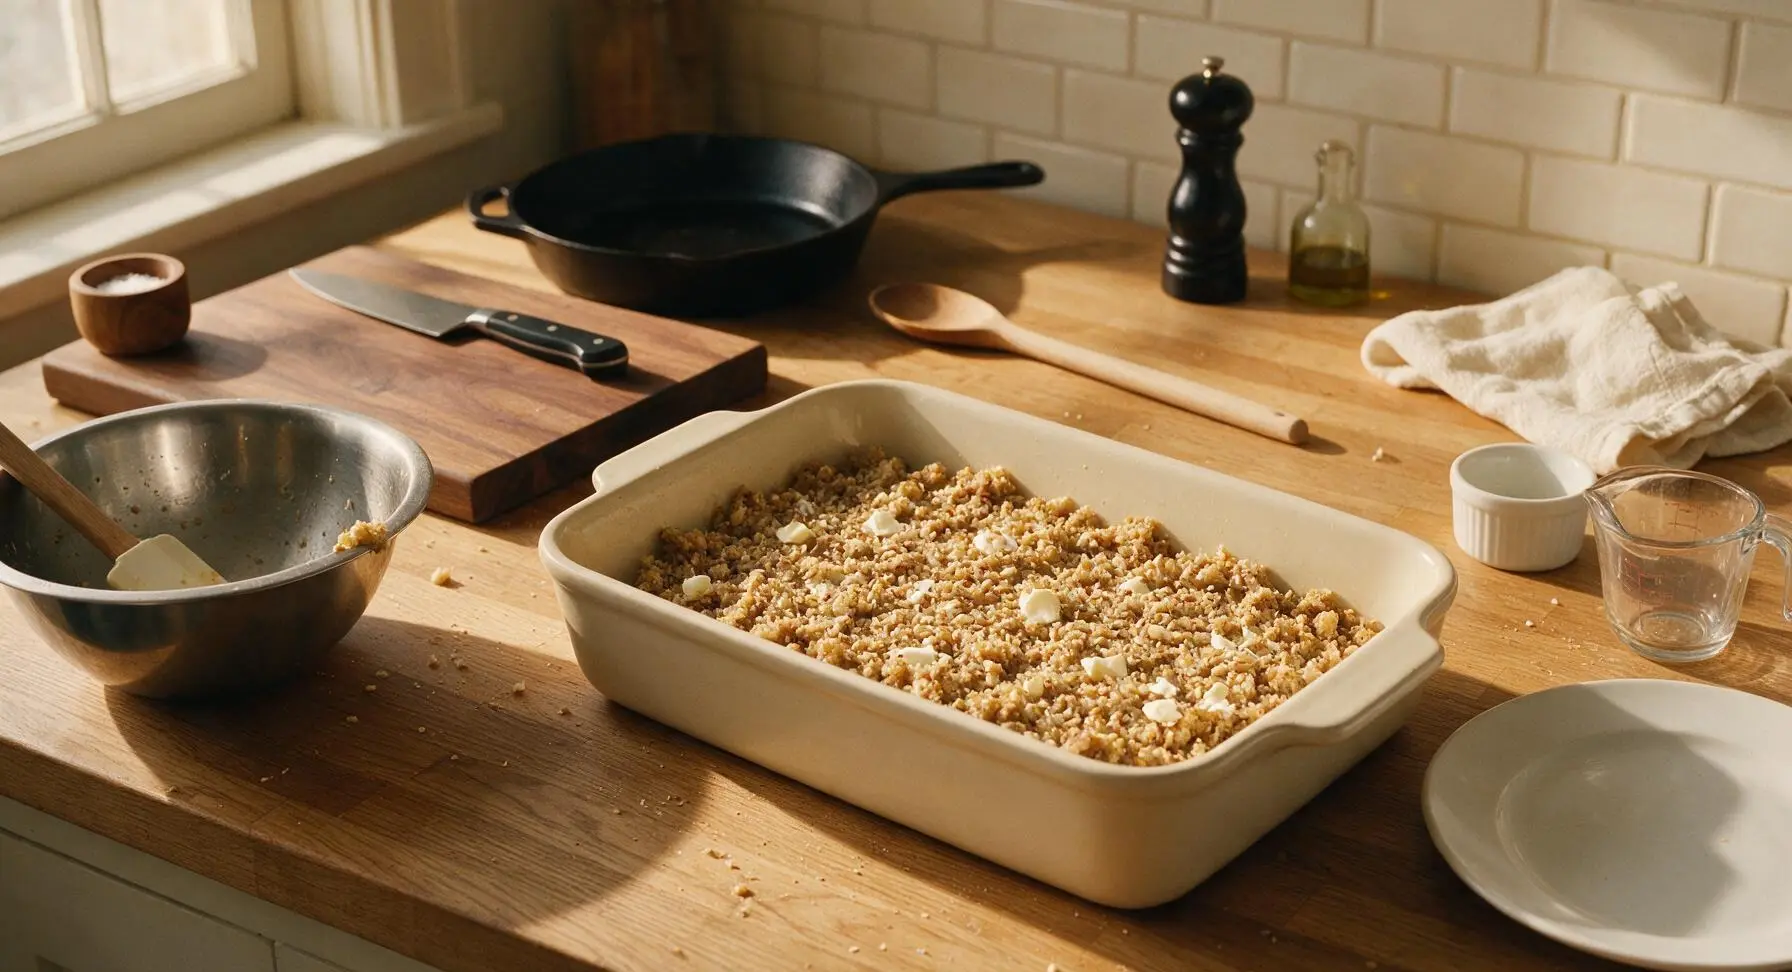
Use a small scrap of butter to lightly grease the interior of the 9x13 inch matte cream ceramic baking dish. Transfer the moistened stuffing mixture into the dish, spreading it into an even, loose layer—do not press the mixture down tightly, as compacting it will lead to a dense, gummy texture. Dot the top of the stuffing with 1 teaspoon of cold butter cut into tiny pieces to encourage extra crisping during baking.
Step 5
step5:Fill Baking Dish
6

Bake Until Golden

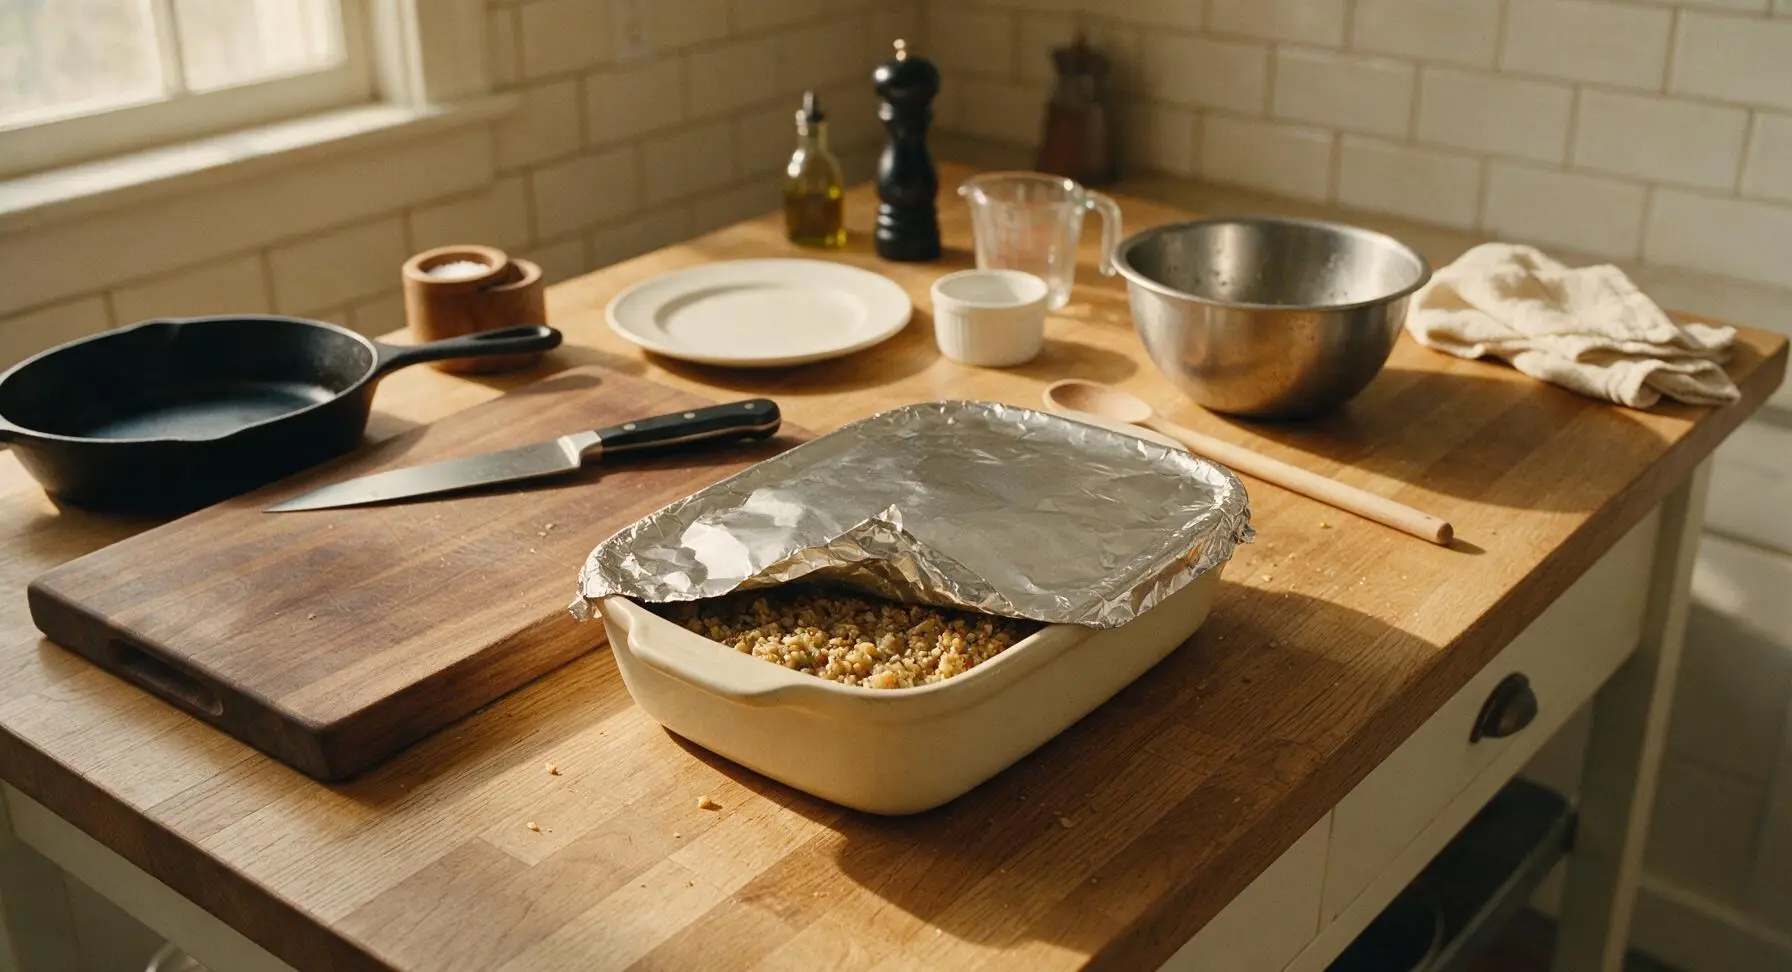
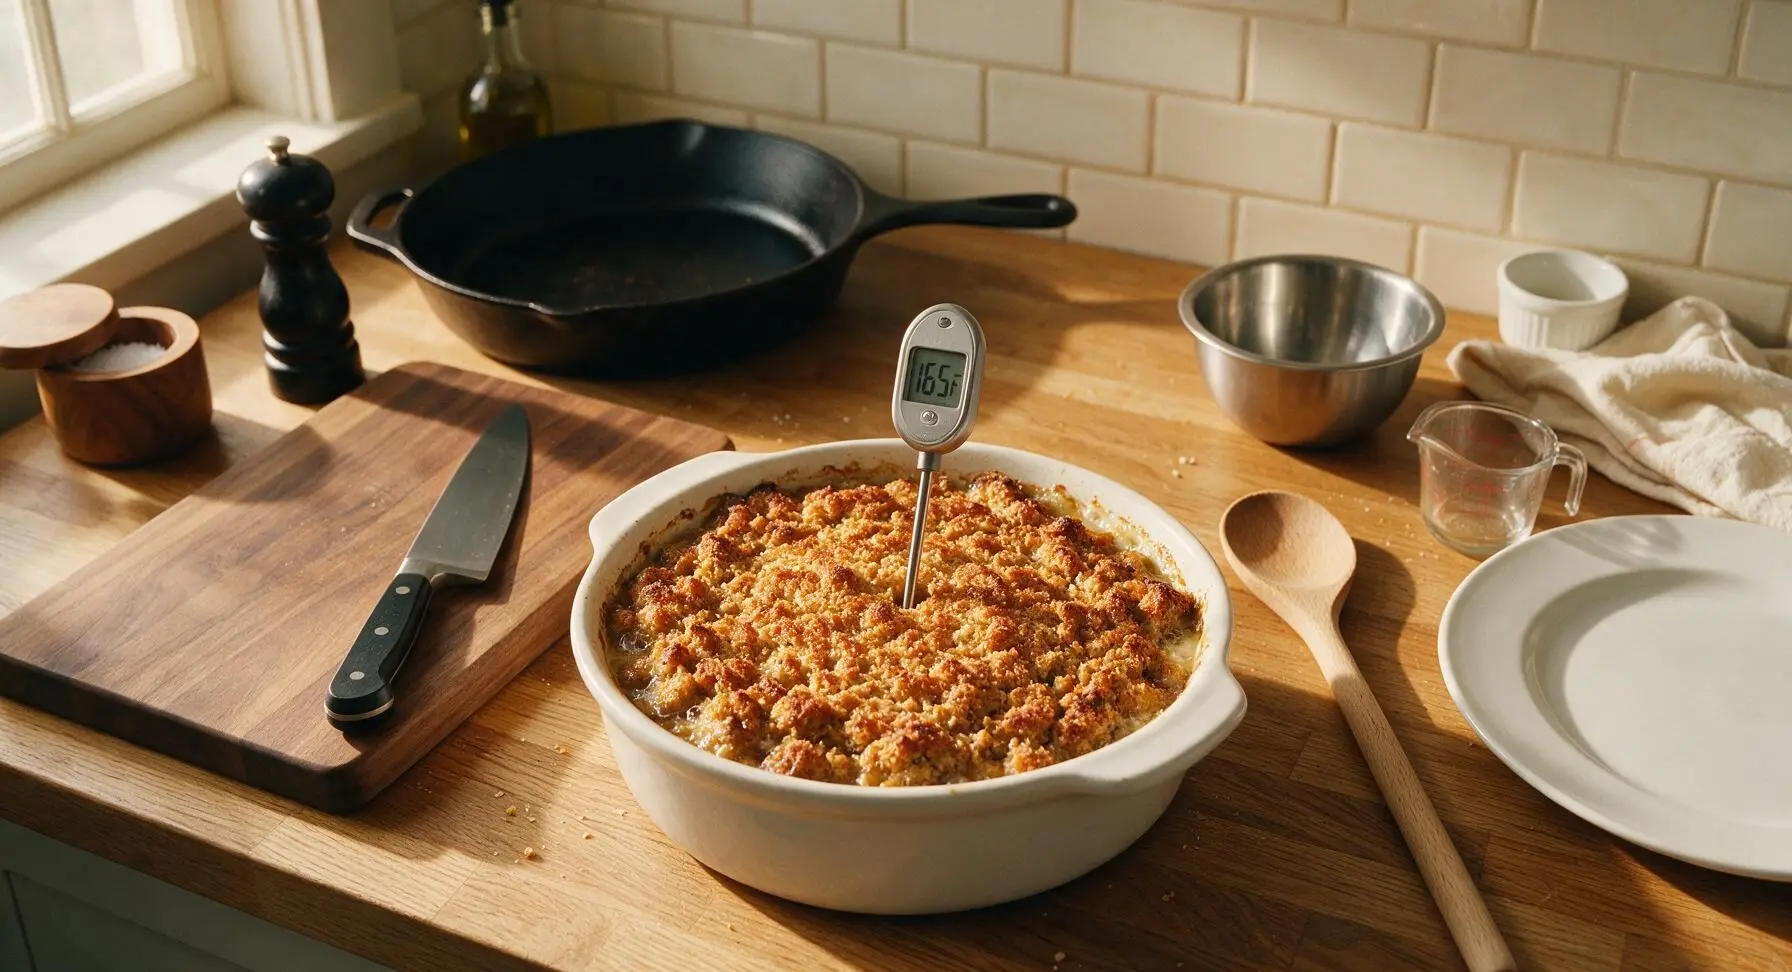
Cover the baking dish tightly with aluminum foil, place in the preheated 175C (350F) oven, and bake for 25 minutes covered. Remove the foil, increase oven temperature to 190C (375F), and bake for an additional 15-18 minutes uncovered, until the top is crispy and deep golden brown, and the internal temperature at the center of the stuffing reaches 74C (165F) as measured with the instant-read thermometer.
Step 6
step6:Bake Until Golden
Step 6
step6:Bake Until Golden
7

Rest Before Serving

Transfer the hot baking dish from the oven to the matte black wire cooling rack, and let the stuffing rest for 10 minutes before serving. This resting period allows the absorbed liquid to set, so the stuffing holds its shape when scooped instead of falling apart.
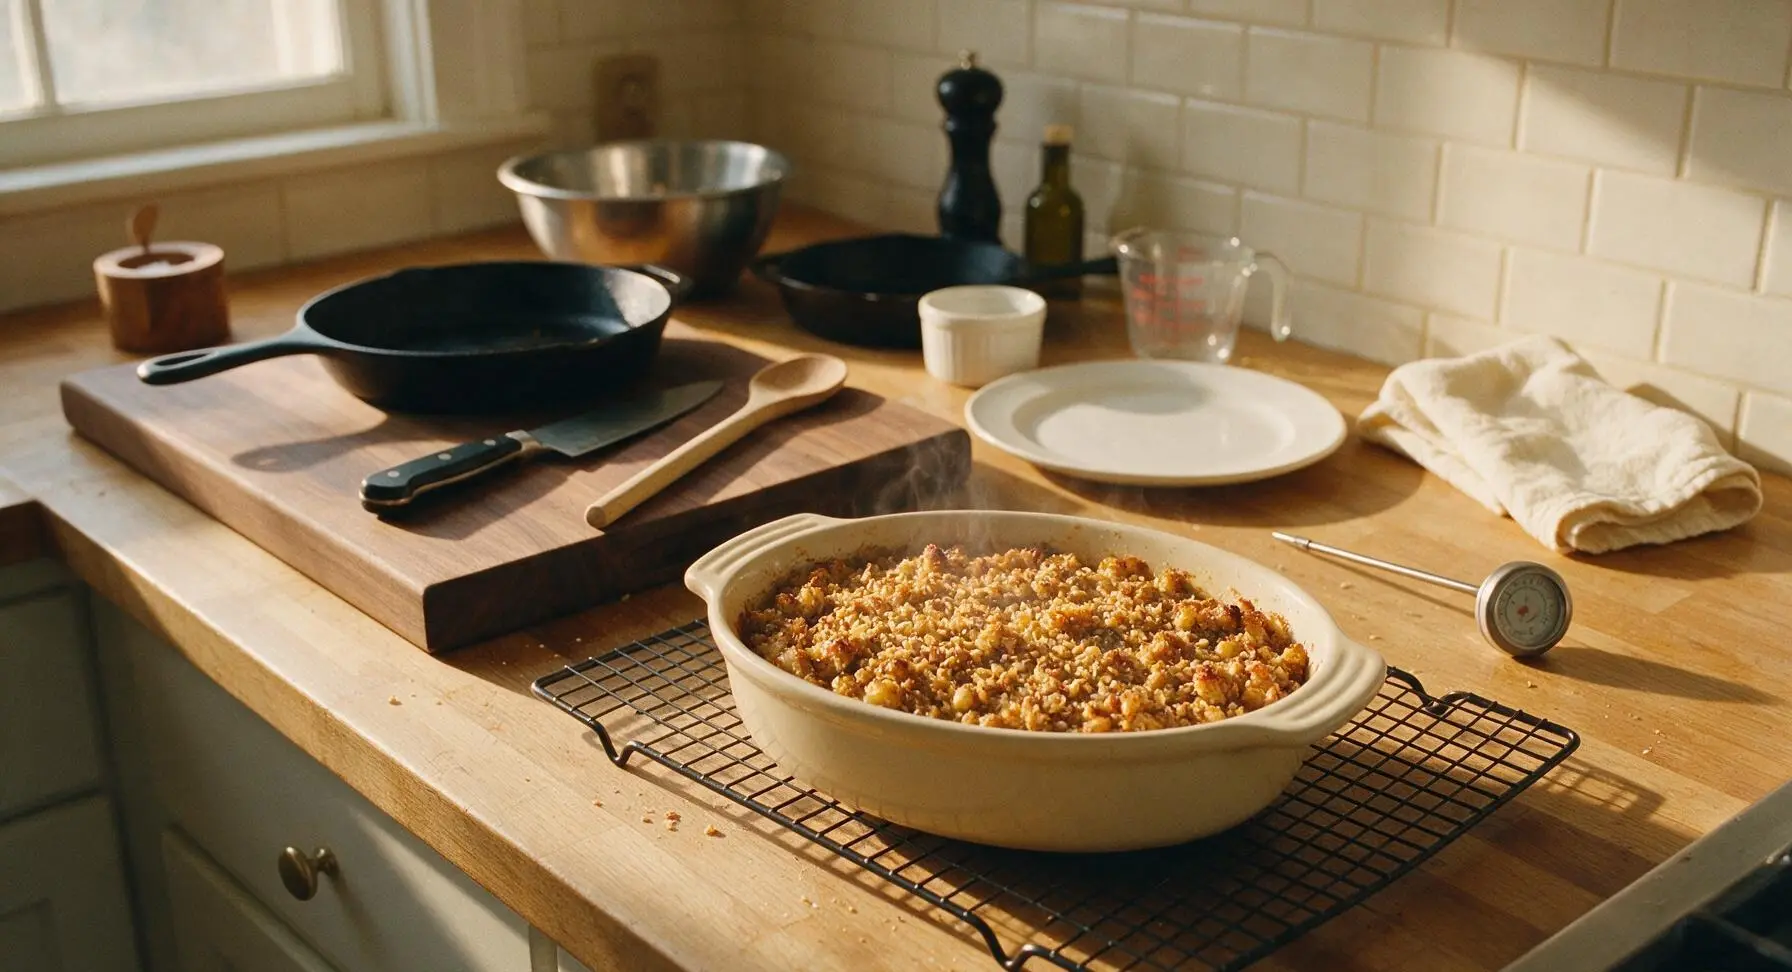
Step 7
step7:Rest Before Serving

Tips

1.Use slightly stale, day-old bread for the best texture: Fresh, soft bread will turn mushy when mixed with broth, while dry stale bread absorbs liquid evenly while retaining a tender, non-gummy crumb. If your bread is fresh, toast it for 2 extra minutes in the oven to dry it out fully before mixing.
2.Never pack the stuffing tightly into the baking dish: Pressing the mixture down compacts the bread cubes, preventing hot air from circulating and leading to a dense, heavy final texture. Keep the mixture loose to create signature crispy, craggy top bits and a light, fluffy interior.
3.Prep this stuffing up to 2 days in advance to save holiday time: Assemble the unbaked stuffing in the ceramic dish, cover tightly, and store in the refrigerator. Add 10 minutes of covered baking time when cooking straight from the fridge, until the center reaches 165F, to cut down on busy Thanksgiving day kitchen work.


✨ You May Also Like

Side Dishes
🍜 India

Velvety, aromatic all-purpose curry sauce perfect for tossing with roasted veggies, grilled protein, or rice for fast, cozy, flavorful meals.

⏱️ 25 minuteSide Dishes ★ 4.8
Side Dishes
🍜 Spain

Tender, starchy boiled yuca tossed in bright, garlicky citrus mojo sauce—an iconic, zesty side that pairs beautifully with roasted pork, grilled meats, and rice and beans.

⏱️ 40 minuteSide Dishes ★ 5
Side Dishes
🍜 United States

Tender, paper-thin potato flatbread, a beloved Norwegian-American Minnesota Christmas staple, griddled until softly spotted and served warm with butter.

⏱️ 1 hour 30Side Dishes ★ 4.6
Side Dishes
🍜 United States

Rich, deeply savory cured salt pork, a long-lasting kitchen staple perfect for frying crispy as a side or adding umami to stews, beans, and chowders.

⏱️ 7 days (2Side Dishes ★ 4.9
Side Dishes
🍜 United States

Crispy, tangy classic Southern fried green tomatoes with a crunchy cornmeal crust, served hot for a nostalgic, comforting summery bite.

⏱️ 25 minuteSide Dishes ★ 4.9
Side Dishes
🍜 United States

Moist, golden-crusted savory muffins with sweet corn, zesty jalapeño, and melted cheddar, perfect for pairing with smoky summer grilled fare.

⏱️ 30 minuteSide Dishes ★ 4.9

Whole Grain Stuffing:Frequently Asked Questions

1.What type of whole grain bread works best for this stuffing? ▾
Reach for a crusty whole grain sourdough loaf, ideally 1 to 2 days old, for the best texture. Skip soft, presliced whole grain sandwich bread—it turns mushy when moistened. Cut the loaf into ½-inch cubes, leaving crusts on for extra nutty crunch and structure that holds up to butter and vegetable moisture.
2.Do I really need to stale my bread for this stuffing, or can I use fresh? ▾
Staling (or toasting fresh bread) is non-negotiable for that perfect tender-but-not-soggy center. If your loaf is fresh, spread cubed bread on a baking sheet and bake at 300°F for 12 to 15 minutes until dry to the touch. Fresh bread holds too much excess moisture and will turn your stuffing gummy instead of light and textured.
3.Can I make this whole grain stuffing vegetarian? ▾
Absolutely! The base recipe is already vegetarian as written, using unsalted butter to sauté the mirepoix. Just swap any traditional meat-based add-ins like sausage or chicken stock for low-sodium vegetable stock, and double-check that your whole grain sourdough doesn’t contain hidden animal ingredients like lard in the crust.
4.How do I get that signature crispy top without drying out the stuffing’s center? ▾
The trick is twofold: first, don’t over-moisten your bread cubes—you want them damp, not sopping wet, when you transfer them to the baking dish. Bake uncovered for the last 15 minutes at 375°F, and dot the top with a few extra pats of cold butter before baking to encourage golden, crispy edges without parching the center.
5.Can I bake this stuffing inside my turkey instead of in a separate dish? ▾
I don’t recommend baking this whole grain version inside the turkey cavity for both food safety and texture reasons. Stuffing needs to reach 165°F to be safe, which often means overcooking your turkey to get there. It also gets overly mushy from turkey juices; a casserole dish gives you that ideal crispy-tender balance.
6.What’s the right ratio of mirepoix to bread for well-balanced stuffing? ▾
For this recipe, aim for 2 total cups of diced mirepoix (equal parts yellow onion, celery, and carrot, per the ingredient list) for every 8 cups of cubed whole grain bread. That ratio delivers sweet, aromatic vegetable flavor in every bite without overwhelming the nutty bread, or leaving the stuffing tasting plain and overly bready.
7.My stuffing always comes out soggy—what am I doing wrong? ▾
Soggy stuffing almost always traces back to three common missteps: using soft fresh bread that isn’t dried out, adding too much stock or melted butter, or covering the dish for the entire bake time. Start with dry, crusty bread cubes, add liquid a ¼ cup at a time until cubes are just damp, and uncover for the final bake to release excess steam.
8.Can I add mix-ins like sausage, dried cranberries, or nuts to this recipe? ▾
Of course! This whole grain base is extremely customizable. Add 8 oz of browned, drained breakfast sausage, ½ cup dried cranberries, ½ cup toasted chopped walnuts or pecans, or even 1 cup diced roasted mushrooms if you’d like. Just keep total mix-ins under 2 cups so you don’t throw off the bread-to-moisture ratio.
9.How long can I store leftover whole grain stuffing after the meal? ▾
Cool leftover stuffing completely within 2 hours of baking, then transfer it to an airtight container and refrigerate for up to 4 days. Reheat portions in the microwave or a 350°F oven, covered with foil, until heated through to 165°F. You can also freeze baked stuffing for up to 3 months for an easy post-holiday side.
10.Do I need to peel the carrots for the mirepoix in this stuffing? ▾
You don’t have to, as long as you scrub the carrot skins really well under cool running water to remove any dirt or grit. If the outer skin looks thick, dry, or blemished, a quick peel will give your mirepoix a softer, more uniform texture. Dice all mirepoix to a uniform ¼-inch size so they cook evenly.
11.Can I use a different whole grain bread if I don’t have whole grain sourdough? ▾
Absolutely, though crusty loaves always work best. Good swaps include whole grain wheat artisan bread, cracked wheat boule, or even whole grain rye if you like a deeper, earthier flavor. Avoid soft, sweet whole grain breads like honey wheat sandwich loaves, as they break down too easily and make stuffing mushy instead of hearty.
12.Should I use salted or unsalted butter for this recipe? ▾
Stick with unsalted butter as the recipe calls for, so you can control the total sodium level of the dish—store-bought bread and stock can have highly variable salt content. If you only have salted butter on hand, skip adding extra salt to the sautéing mirepoix, and taste the bread mixture before baking to adjust seasoning.
13.How do I keep my stuffing warm for serving without ruining the texture? ▾
Once the stuffing is done baking, you can hold it in a 200°F oven for up to 45 minutes before serving, loosely tented with foil to prevent the top from getting too dark or crispy. Don’t seal the foil tightly, as trapped steam will make the crispy top go soft and soggy. Fluff the top gently with a fork right before serving.
14.Is there a gluten-free swap for the whole grain sourdough that still gives good texture? ▾
Yes! Swap the regular whole grain sourdough for a crusty gluten-free whole grain artisan loaf (not soft sandwich-style gluten-free bread) that’s 1 to 2 days old, or toasted to dry it out fully. Cut into ½-inch cubes the same way you would regular bread, and use gluten-free stock to keep the dish entirely gluten-free without losing that crispy-tender bite.

Comments (18)

1 week ago

Took this to our neighborhood potluck last weekend and people were asking me for the recipe left and right! The whole grain bread gives it such a nice nutty depth that regular white bread stuffing just doesn’t have. 10/10 will make again for Thanksgiving.

3 days ago

Great base recipe! I added some sautéed mushrooms and a sprinkle of parmesan because I had them lying around, turned out SO good. Cook time was exactly spot on for my oven too, no burnt edges at all.

yesterday

My kids loved it!!! I was worried the whole grain would be too “healthy” tasting for them but they didn’t even notice. Served it with roasted chicken and green beans, total hit for our weeknight meal prep.

5 days ago

Game changer. I’ve been making stuffing from a box for years and decided to try this homemade version, and wow—so much better for you and tastes way more flavorful. Love that it’s easy enough for a beginner like me too.

2 weeks ago

OMG made this as a side for my Friendsgiving get together in my tiny apartment. Didn’t take up too much oven space, came together quick, and all my roommates raved. Only note is I added a little extra sage because I’m obsessed with that flavor.

30 minutes ago

Wait, has anyone tried making this with gluten free whole grain bread? I have a celiac in the house and would love to adapt this if it works!

5 minutes ago

Hi Gina! Absolutely, gluten-free whole grain bread works perfectly here — just make sure it’s a day or two old so it doesn’t get too mushy when you mix in the broth. Let us know how it turns out!

1 week ago

How far in advance can I prep this? I’m hosting Thanksgiving for 12 people this year and am trying to get as much done ahead of time as possible so I’m not stressed day of.

3 days ago

I prepped mine the night before! Chopped all the veggies, toasted the bread cubes, mixed everything except the broth, stored it in the fridge, then added the broth and baked it right before dinner. Worked like a charm!

2 days ago

Made this vegan by swapping the chicken broth for vegetable broth and using olive oil instead of butter, and it was absolutely delicious! Didn’t miss the animal products at all.

yesterday

That swap sounds fantastic Val! Thanks for sharing that tip for our vegan readers — we’re so glad it turned out great for you.

2 hours ago

Wait, do I have to use stale bread? I only have fresh whole grain loaf from the grocery store right now, will that mess it up?

30 minutes ago

Just toast the fresh bread cubes in the oven for 10 minutes at 350 to dry them out! Works exactly the same as stale bread, I do it all the time when I forget to leave bread out ahead of time.

5 days ago

This was good but a little bland for my family’s taste. Did I do something wrong? I followed the recipe exactly.

3 days ago

Hi Sue! So sorry it felt bland to you — we recommend upping the dried sage, thyme, and adding a pinch of garlic powder and extra salt and pepper to taste next time. Flavor preferences vary so much by household, so feel free to adjust the seasonings as you go!

3 days ago

Love that this is whole grain so it doesn’t leave me feeling sluggish after a big holiday meal! I added some chopped walnuts for extra crunch and healthy fat, chef’s kiss.

2 days ago

The walnut addition sounds amazing! I’m definitely trying that when I make this for Christmas dinner, thanks for the idea!

2 weeks ago

Can I make this in a slow cooker instead of the oven? My oven is going to be full of turkey and pies on Thanksgiving so I need to free up space.

1 week ago

Hi Pete! You absolutely can make this in a slow cooker — cook on low for 3-4 hours, stirring once halfway through, and it’ll turn out perfectly. Great hack for saving oven space on busy holidays!

1 week ago

First time ever making stuffing from scratch instead of the stovetop box! This recipe looks so easy, I’m nervous but excited to try it for my first time hosting my parents for Thanksgiving.

5 days ago

You’ve got this! I was a total newbie last year and this recipe was foolproof. My super picky mom even asked for the recipe, that’s how good it is.

3 days ago

That makes us so happy to hear! Just follow the steps, don’t be afraid to taste and adjust seasonings as you go, and it’ll turn out amazing. Happy Thanksgiving!

5 days ago

Does anyone have tips for cutting the sodium in this recipe? My husband has high blood pressure so we try to keep salt as low as possible.

3 days ago

Use no-sodium added broth and skip any added salt at the end! I do that for my wife who watches her sodium, and you don’t even miss the salt because the herbs and veggies add so much flavor.

2 days ago

Great tip from Hank! You can also amp up the herbs (sage, rosemary, thyme) and add a squeeze of fresh lemon at the end to boost flavor without extra salt.

yesterday

How long do leftovers keep in the fridge? I love making big batches of sides to eat for lunch during the work week, perfect for meal prep!

2 hours ago

I kept mine for 4 days in an airtight container and it was still perfect! Just reheat it in the microwave for a minute with a tiny splash of broth so it doesn’t dry out.

5 minutes ago

Molly is exactly right! Leftovers will stay good for 3-4 days stored properly in the fridge, and the broth trick for reheating works like a charm to keep it moist.

3 days ago

Wait, can I add cooked sausage to this? I love a meaty stuffing but wasn’t sure if it would throw off the ratios.

2 days ago

I added a pound of crumbled cooked Italian sausage to mine last week and it was insane! So good, didn’t mess with the texture at all, just make sure you drain the grease really well so it doesn’t get soggy.

yesterday

Great call! Sausage is a classic addition to stuffing — we recommend using 1 lb of crumbled, cooked, drained sausage (sweet or spicy Italian works great) stirred in right before baking for that perfect meaty bite.

2 weeks ago

How do I get that crispy, golden top on the stuffing? Last time I made stuffing it was mushy all over and I missed that crunchy top texture.

1 week ago

Take the foil off for the last 15 minutes of baking! I also sprinkle a little bit of whole grain bread crumbs on top before putting it in the oven for extra crunch, total game changer.

5 days ago

Seconding the foil tip! Also don’t over-mix the bread cubes when you add the broth — if you stir too much the bread breaks down and gets mushy instead of staying chewy with a crispy top.

1 week ago

I need to make a double batch for my extended family dinner of 18 people. Should I adjust the cook time if I’m baking it in a bigger pan?

3 days ago

I made a triple batch for our church potluck last month! I split it between two 9x13 pans instead of one big deep pan so it cooked evenly, added about 10 extra minutes of cook time, and it was perfect.

2 days ago

Cora’s tip of splitting into two pans is spot on! If you do use one larger, deeper pan, add 15-20 minutes to the cook time and check that the center is heated all the way through before pulling it out of the oven.



