
Whole Wheat Bread Rolls

title 1
Whole Wheat Bread Rolls
⏱️ cook time 1 hour 50 minutes
🍽️ servings 12
⚡ Difficulty medium

intro

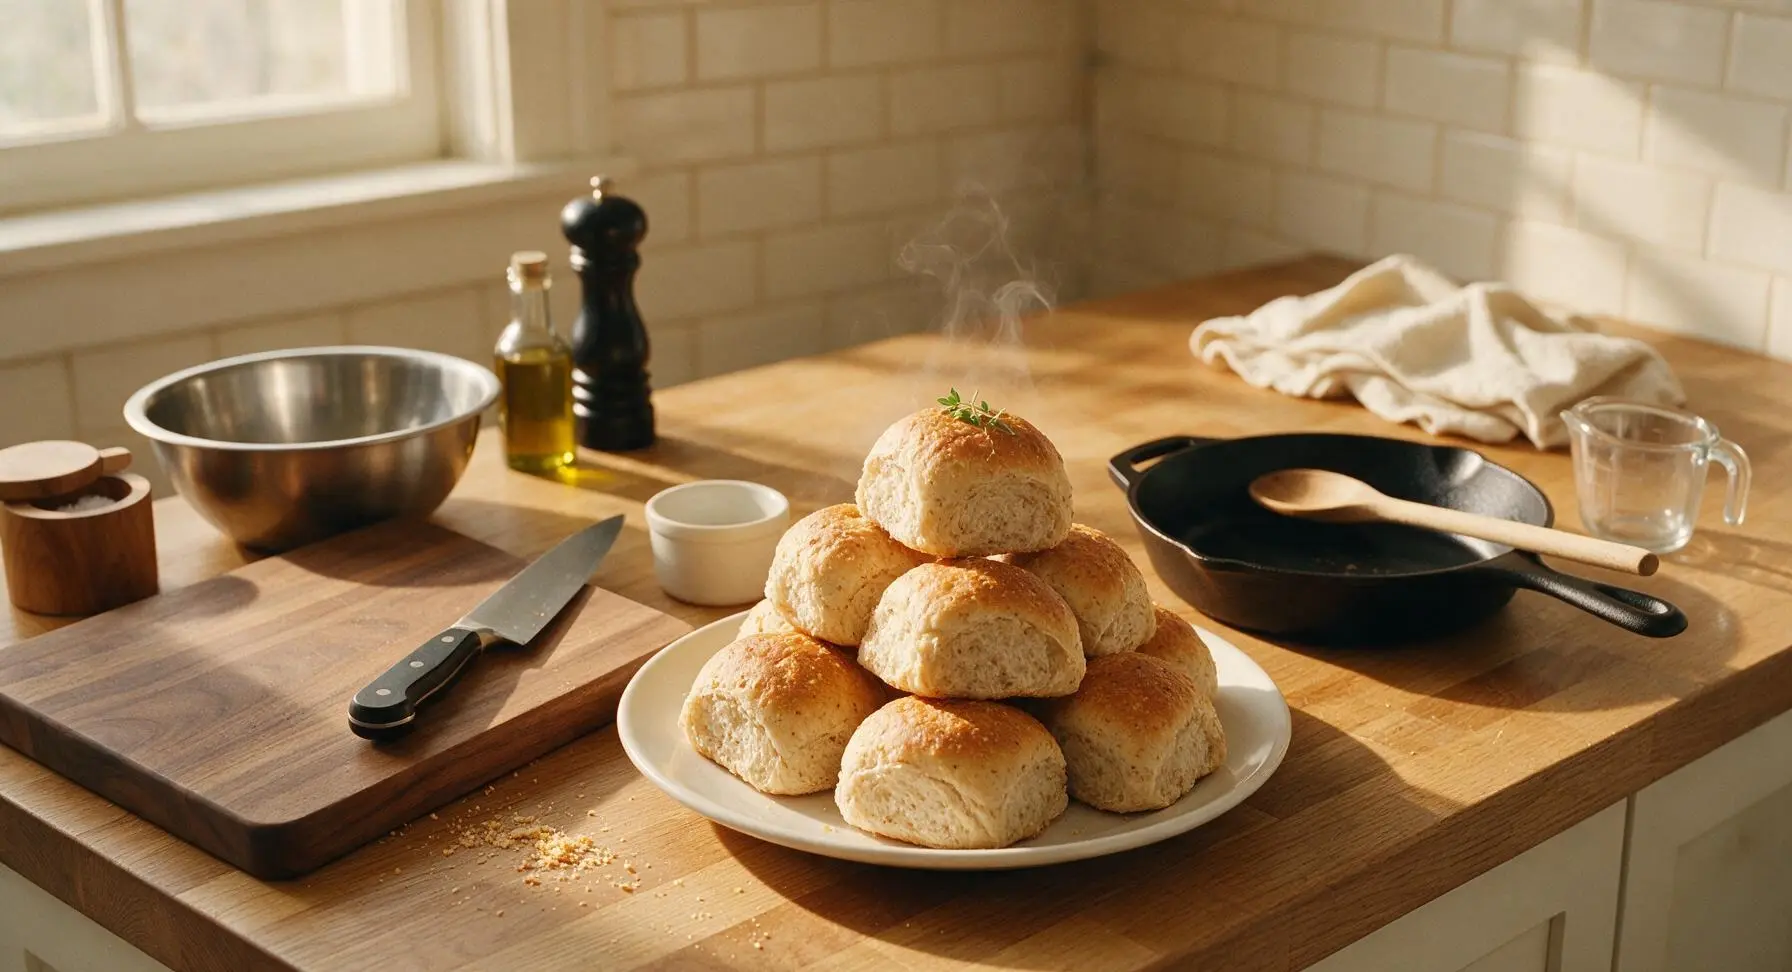
Soft, nutty whole wheat bread rolls with a tender, fluffy crumb and golden buttered crust, perfect for pairing with soups, roasts, or weekend breakfasts.

Ingredients
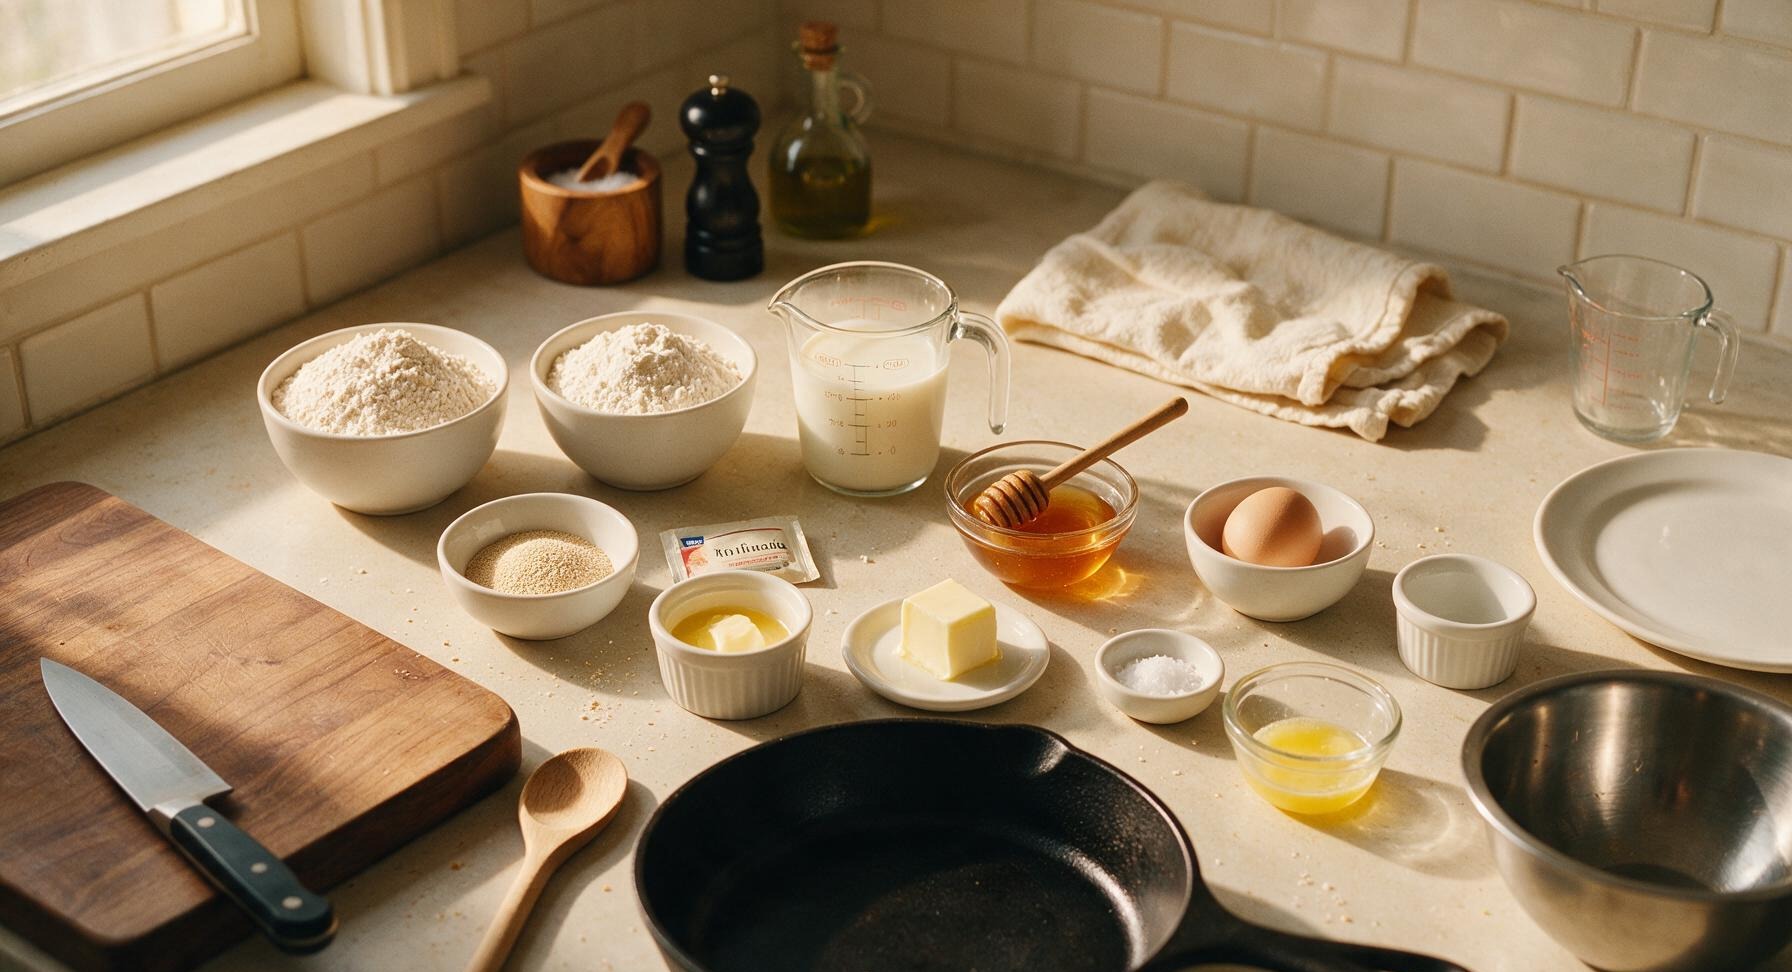
Whole wheat flour 300g (2.5 cups, spooned and leveled)
All-purpose flour 200g (1.6 cups, spooned and leveled)
Warm whole milk 240ml (1 cup, 43C/110F)
Active dry yeast 7g (1 standard packet)
Raw honey 30g (2 tablespoons)
Unsalted butter, melted and cooled 45g (3 tablespoons)
Large egg, room temperature 1 (50g)
Fine sea salt 8g (1.5 teaspoons)
Extra melted butter for finishing 15g (1 tablespoon)

Steps

1

Activate the Yeast

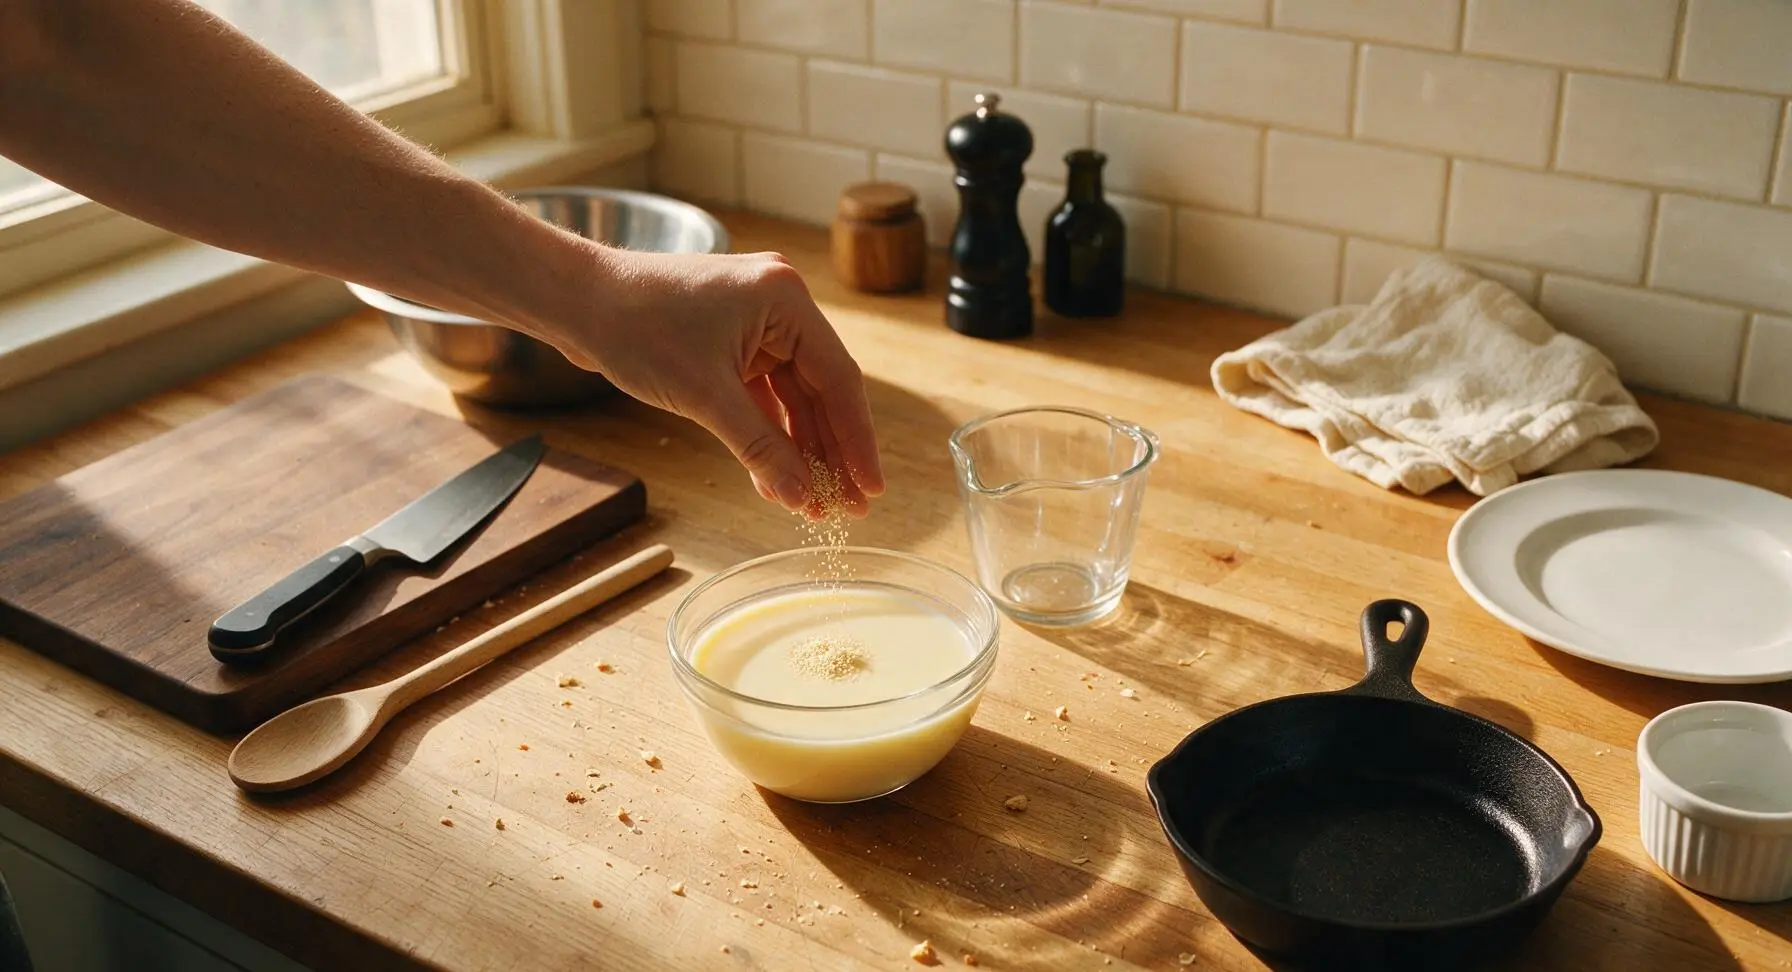
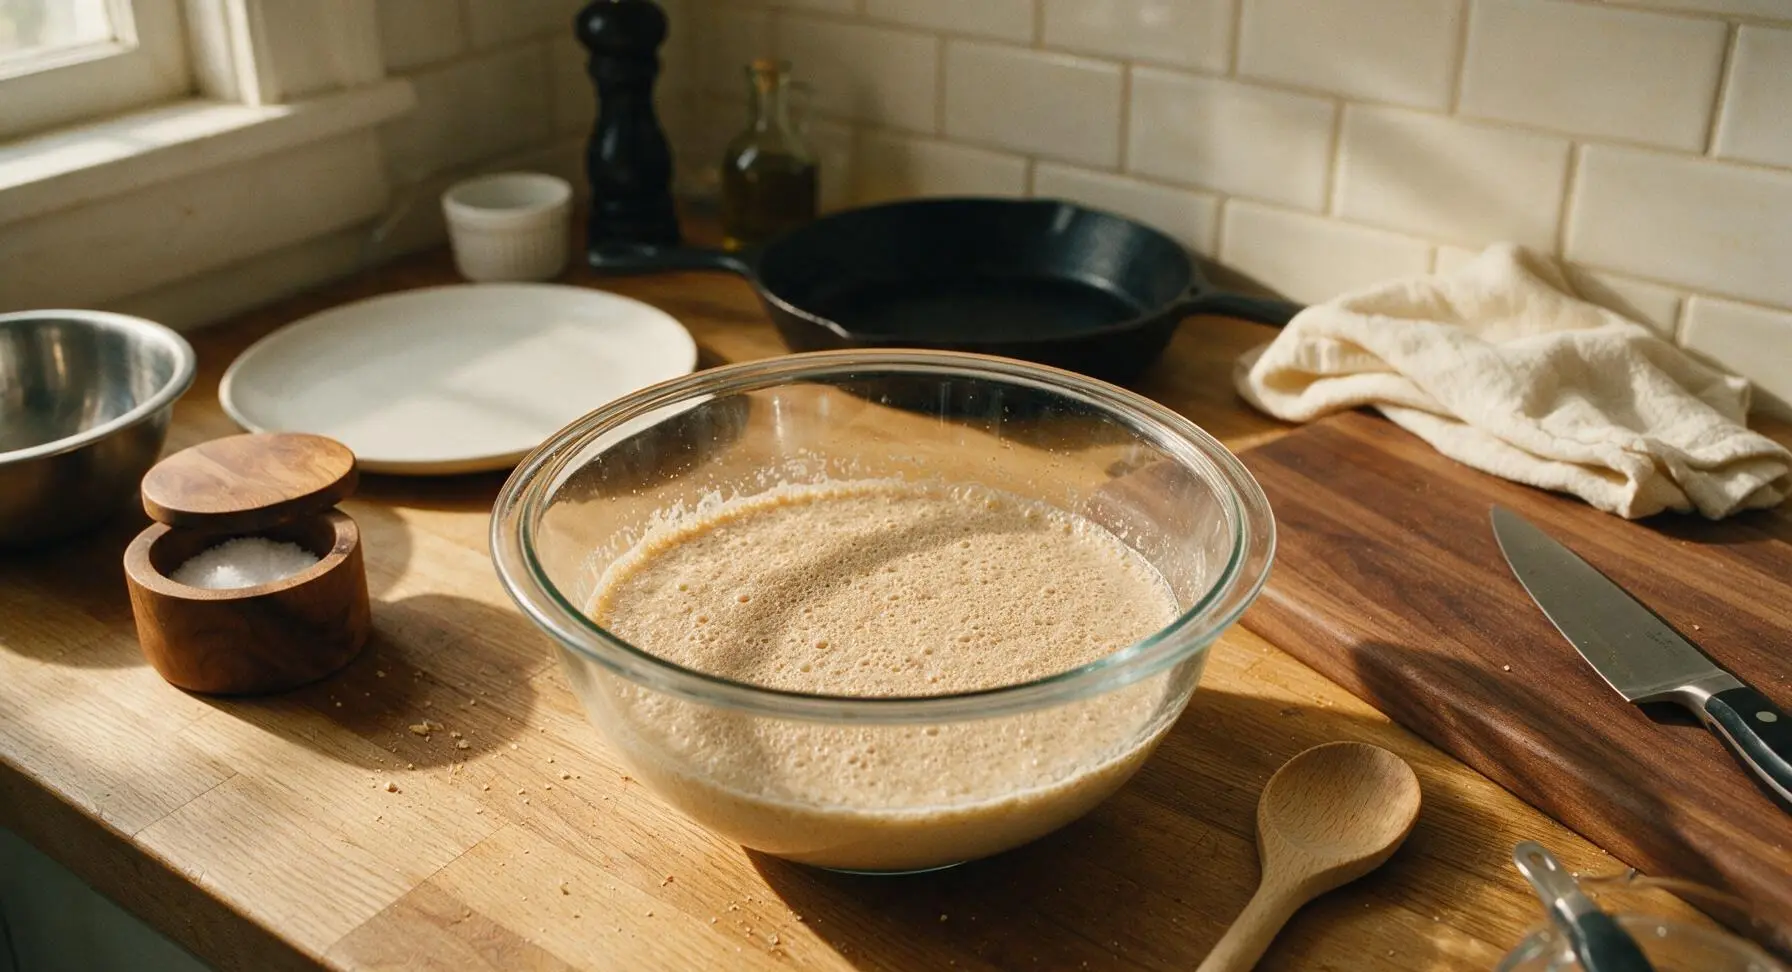
Pour the 240ml of warm (43C/110F) whole milk into the small clear glass prep bowl. Stir in 1 teaspoon of the measured raw honey and the full 7g packet of active dry yeast. Let the mixture rest for 5-7 minutes at room temperature, until it forms a thick, foamy, bubbly layer across the surface, confirming the yeast is active. If no foam forms after 10 minutes, the yeast is expired and will not leaven the rolls, so replace it before proceeding.
Step 1
step1:Activate the Yeast
Step 1
step1:Activate the Yeast
2

Mix the Dough

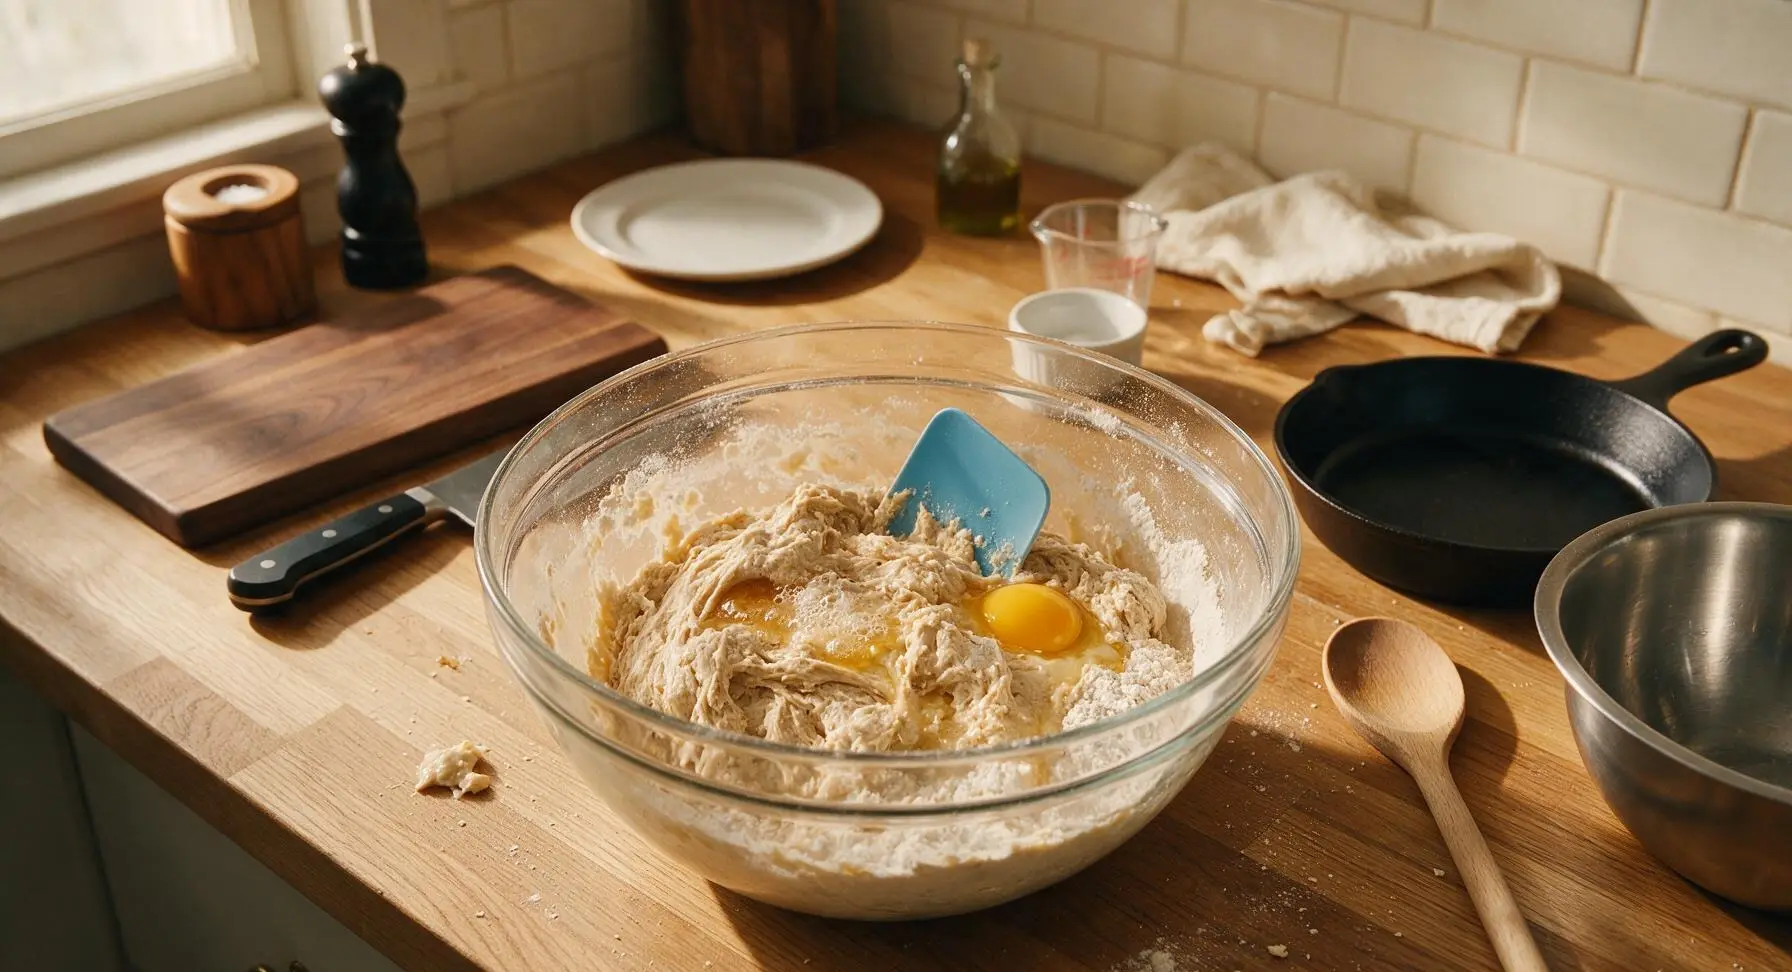
In the large clear glass mixing bowl, combine the 300g whole wheat flour, 200g all-purpose flour, remaining raw honey, 45g cooled melted unsalted butter, room temperature large egg, 8g fine sea salt, and the fully activated foamy yeast mixture. Use the matte sky blue silicone dough scraper to stir the ingredients together for 2-3 minutes, until a shaggy, sticky mass forms with no dry pockets of flour left at the bottom of the bowl.
Step 2
step2:Mix the Dough
3

Knead the Dough

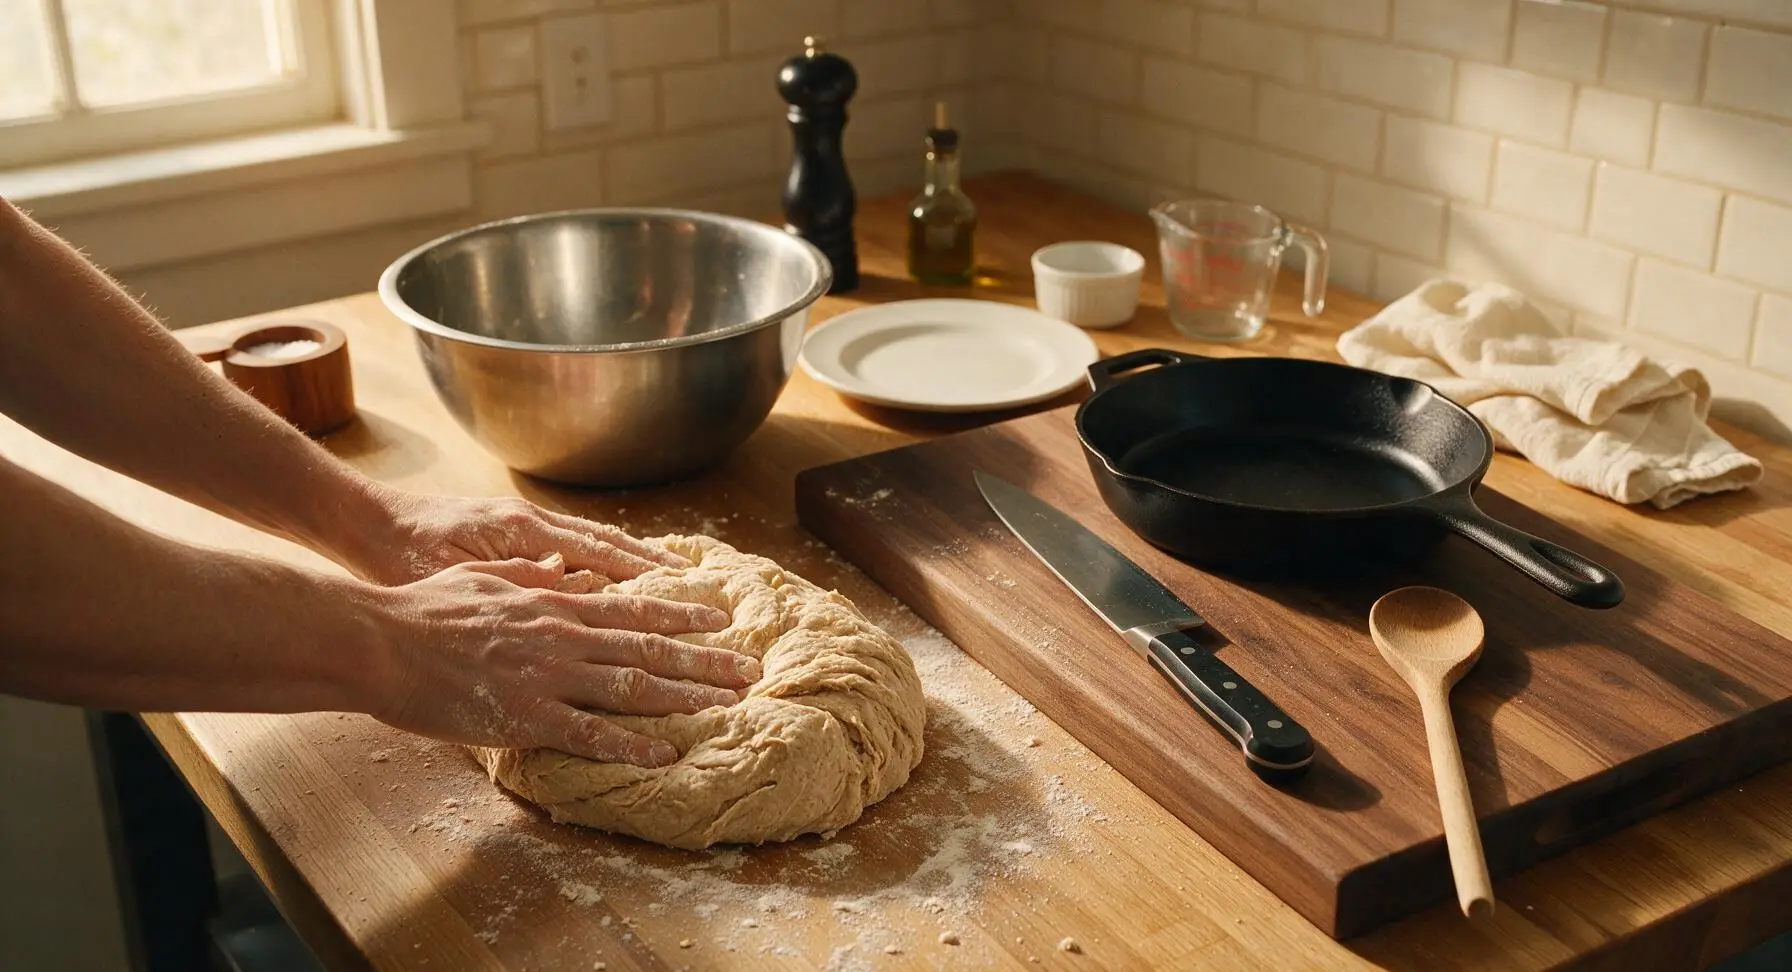
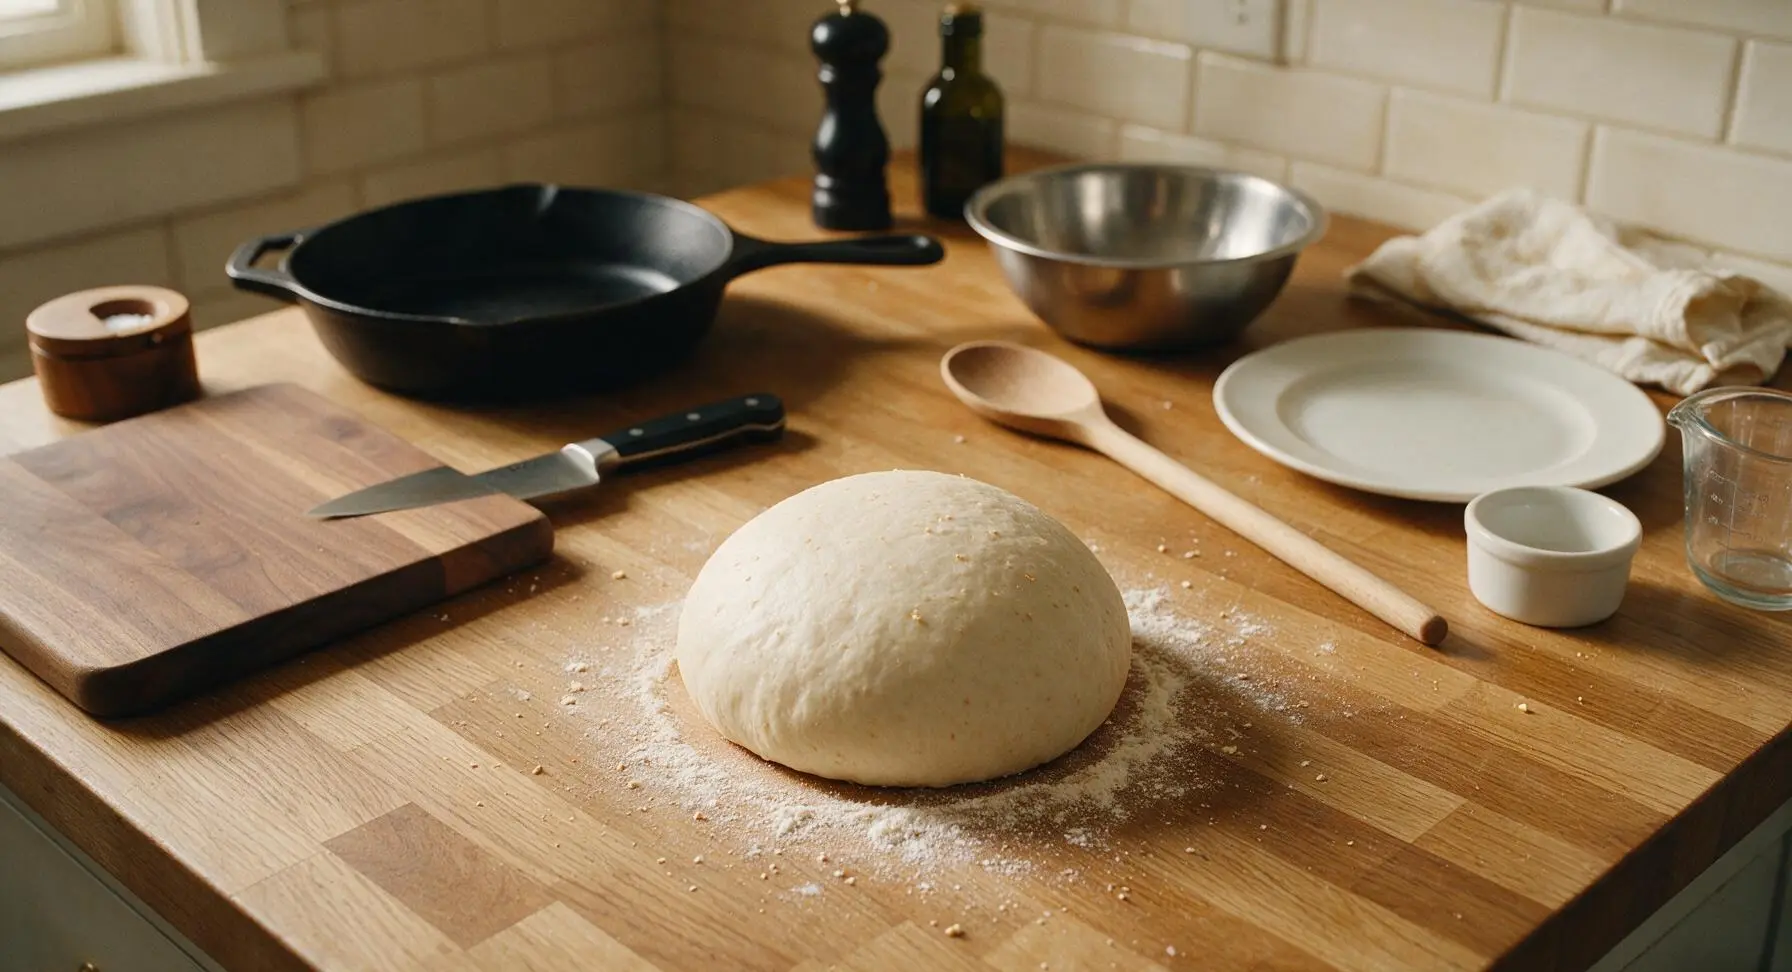
Turn the shaggy dough mass out onto a lightly floured section of the quartz countertop. Knead by hand for 8-10 minutes, folding the dough over itself and pushing forward with the heel of your hand repeatedly, rotating the dough a quarter turn after each fold. The dough is ready when it becomes smooth, elastic, and only slightly tacky to the touch; when pressed with a floured finger, the indentation will slowly spring back halfway.
Step 3
step3:Knead the Dough
Step 3
step3:Knead the Dough
4

First Dough Rise

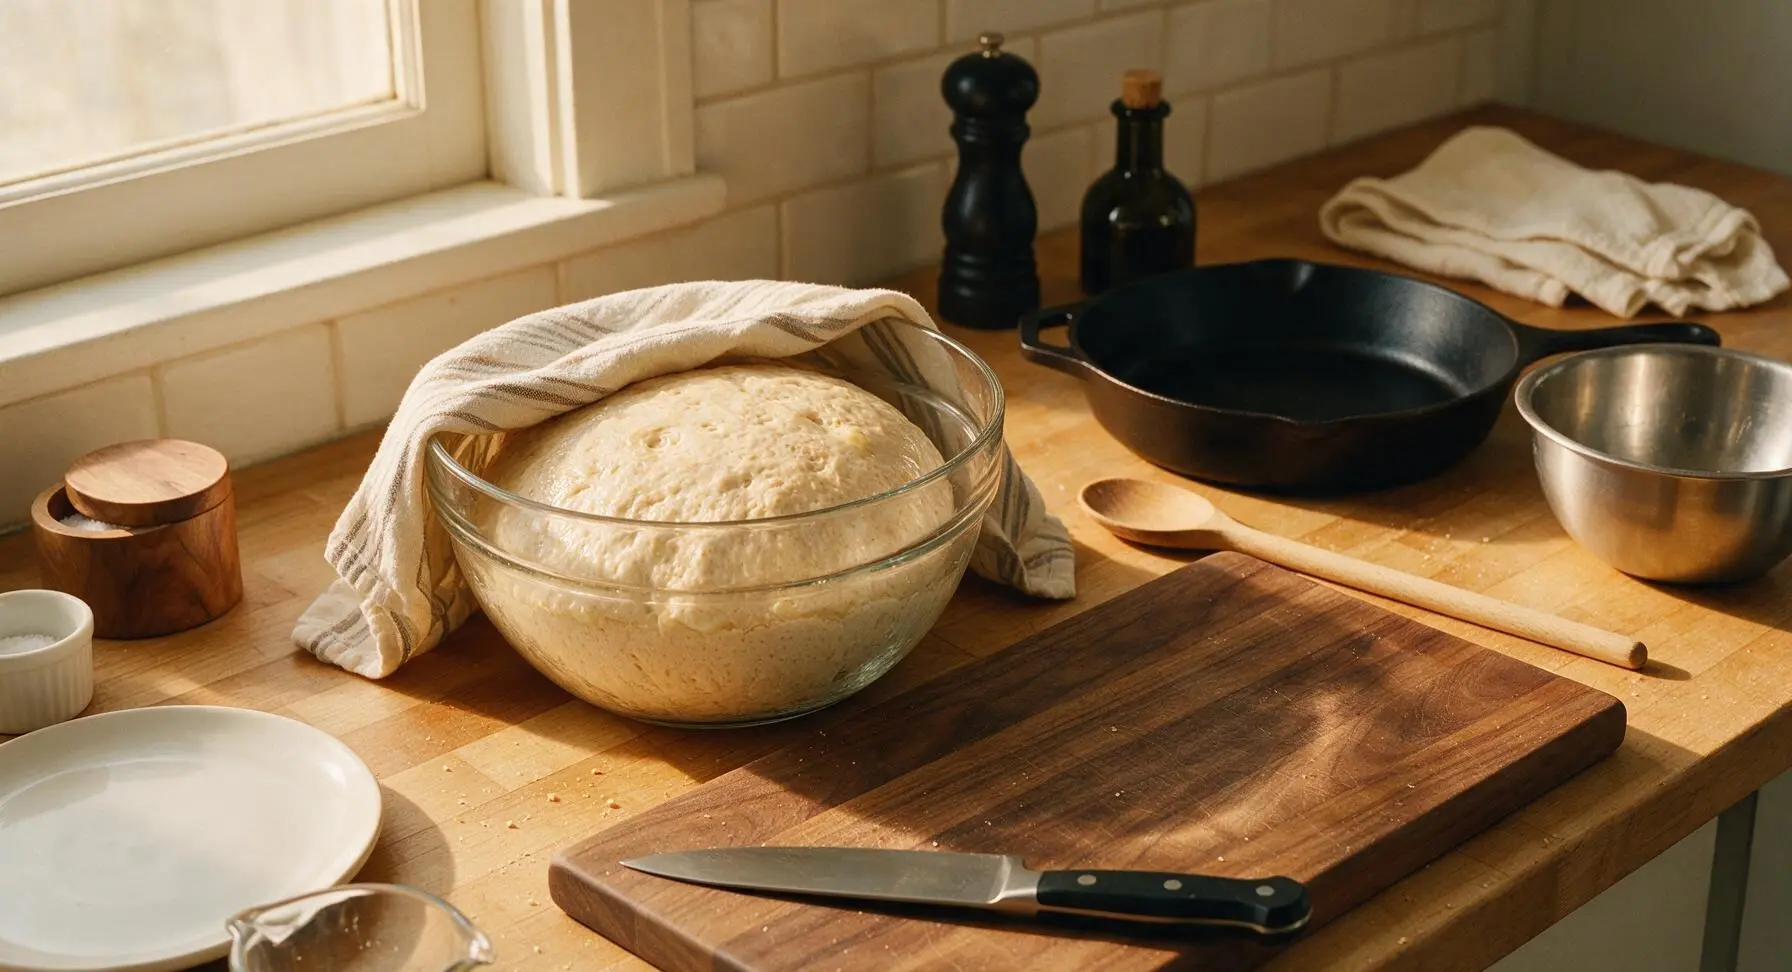
Lightly grease the inside of the large mixing bowl with a thin coating of softened butter. Place the smooth kneaded dough ball back into the bowl, turning once to coat the dough surface lightly in butter. Cover the bowl tightly with the striped cotton kitchen towel, and let it rest in a warm, draft-free spot near the window for 60 minutes, until the dough doubles in volume. Test for doneness by poking the dough 2cm deep with a floured finger; the indentation should remain and not spring back.
Step 4
step4:First Dough Rise
5

Shape the Rolls

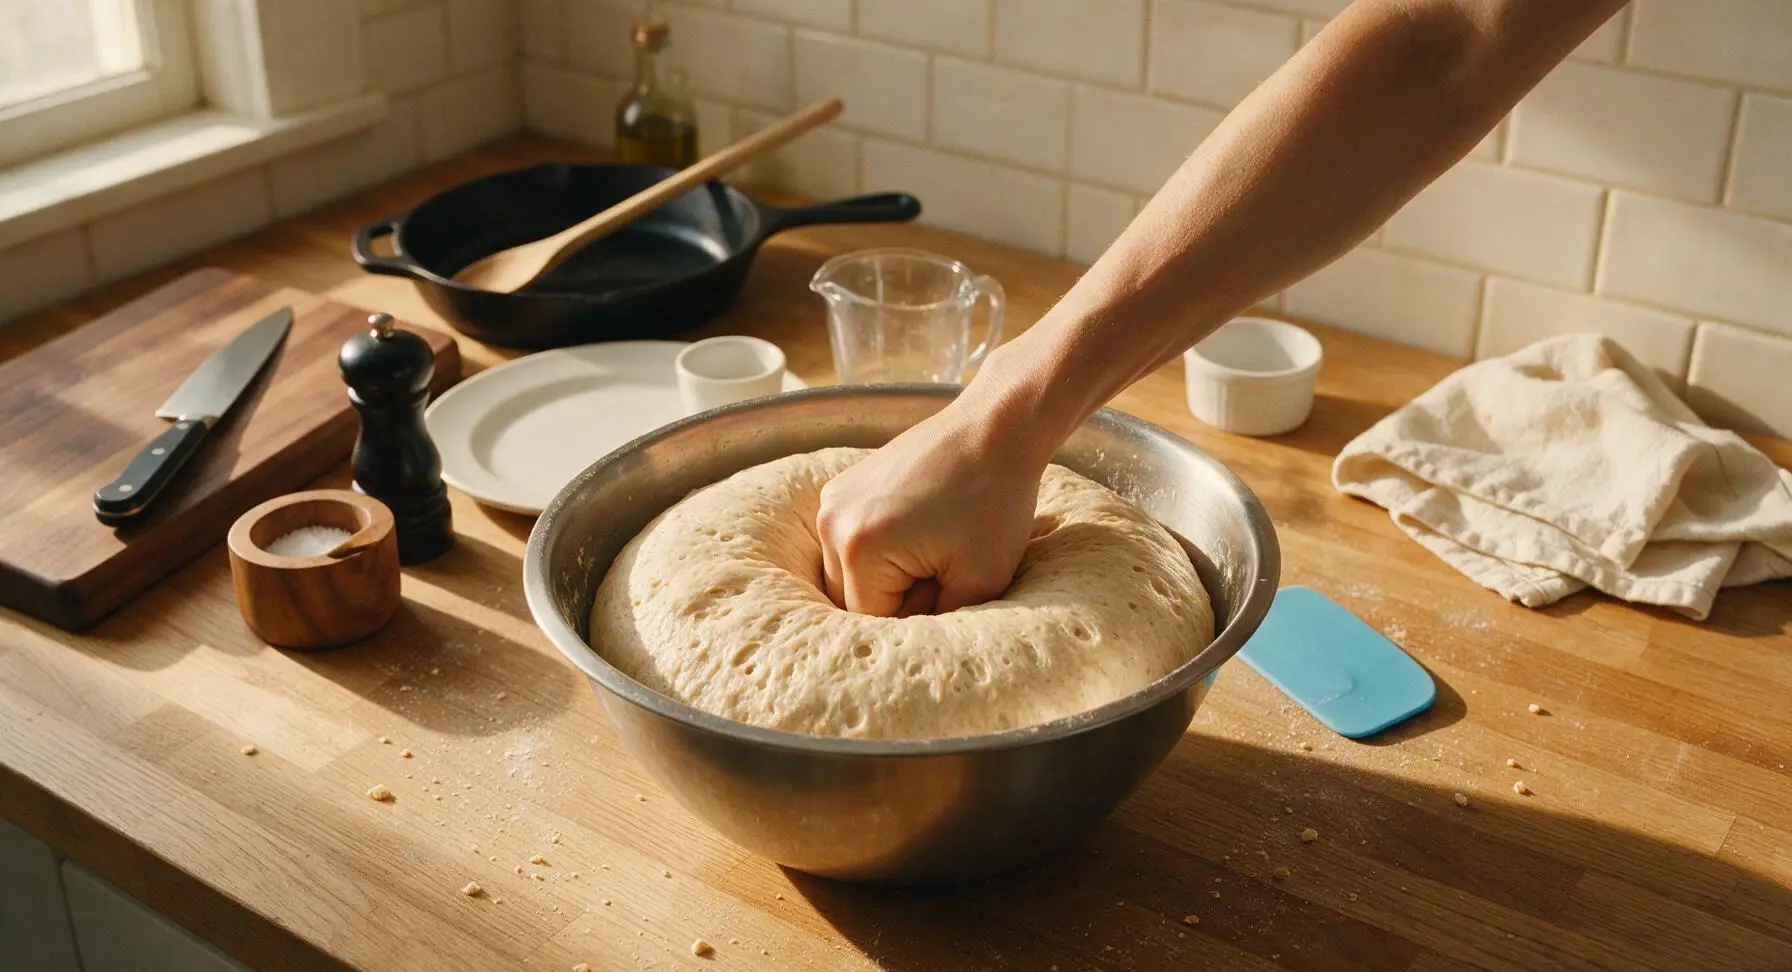
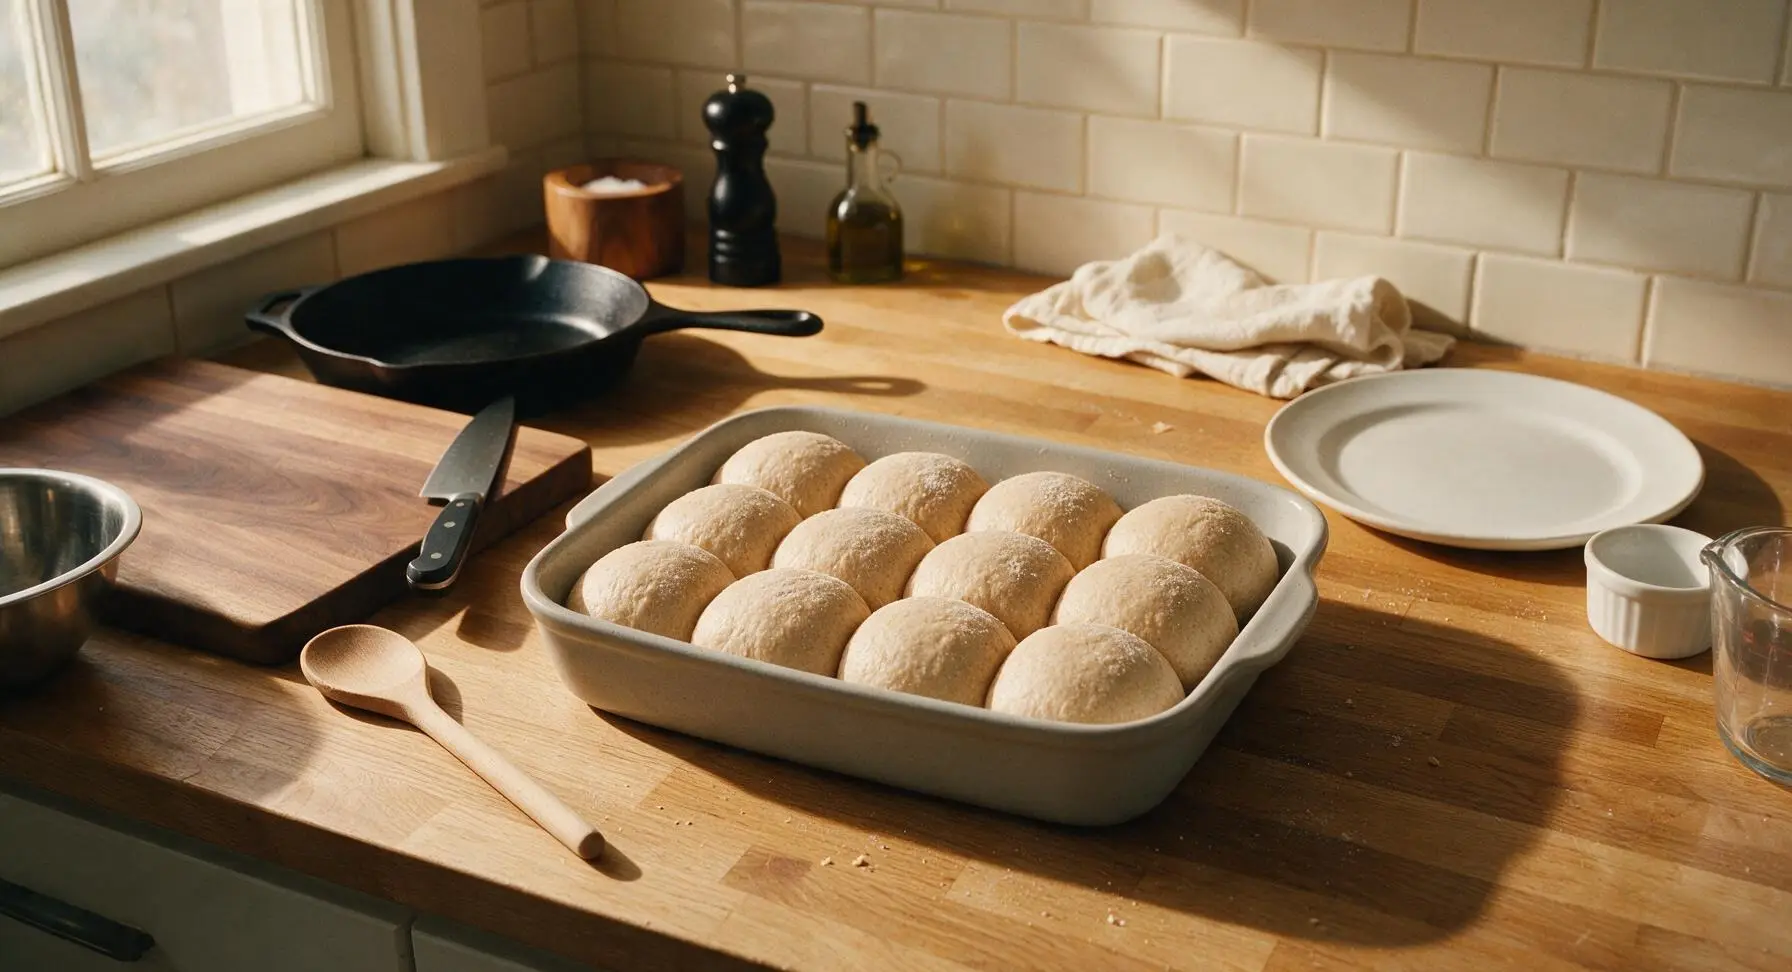
Once the dough has fully doubled, punch it firmly in the center to release all trapped carbon dioxide. Turn the deflated dough out onto the lightly floured counter, and use the silicone dough scraper to divide it evenly into 12 equal pieces, roughly 75g each. Roll each piece into a tight, smooth round ball by cupping your hand loosely over the dough and moving it in small circular motions against the counter, pinching any seams closed at the bottom of each roll to create a smooth top.
Step 5
step5:Shape the Rolls
Step 5
step5:Shape the Rolls
6

Second Dough Rise

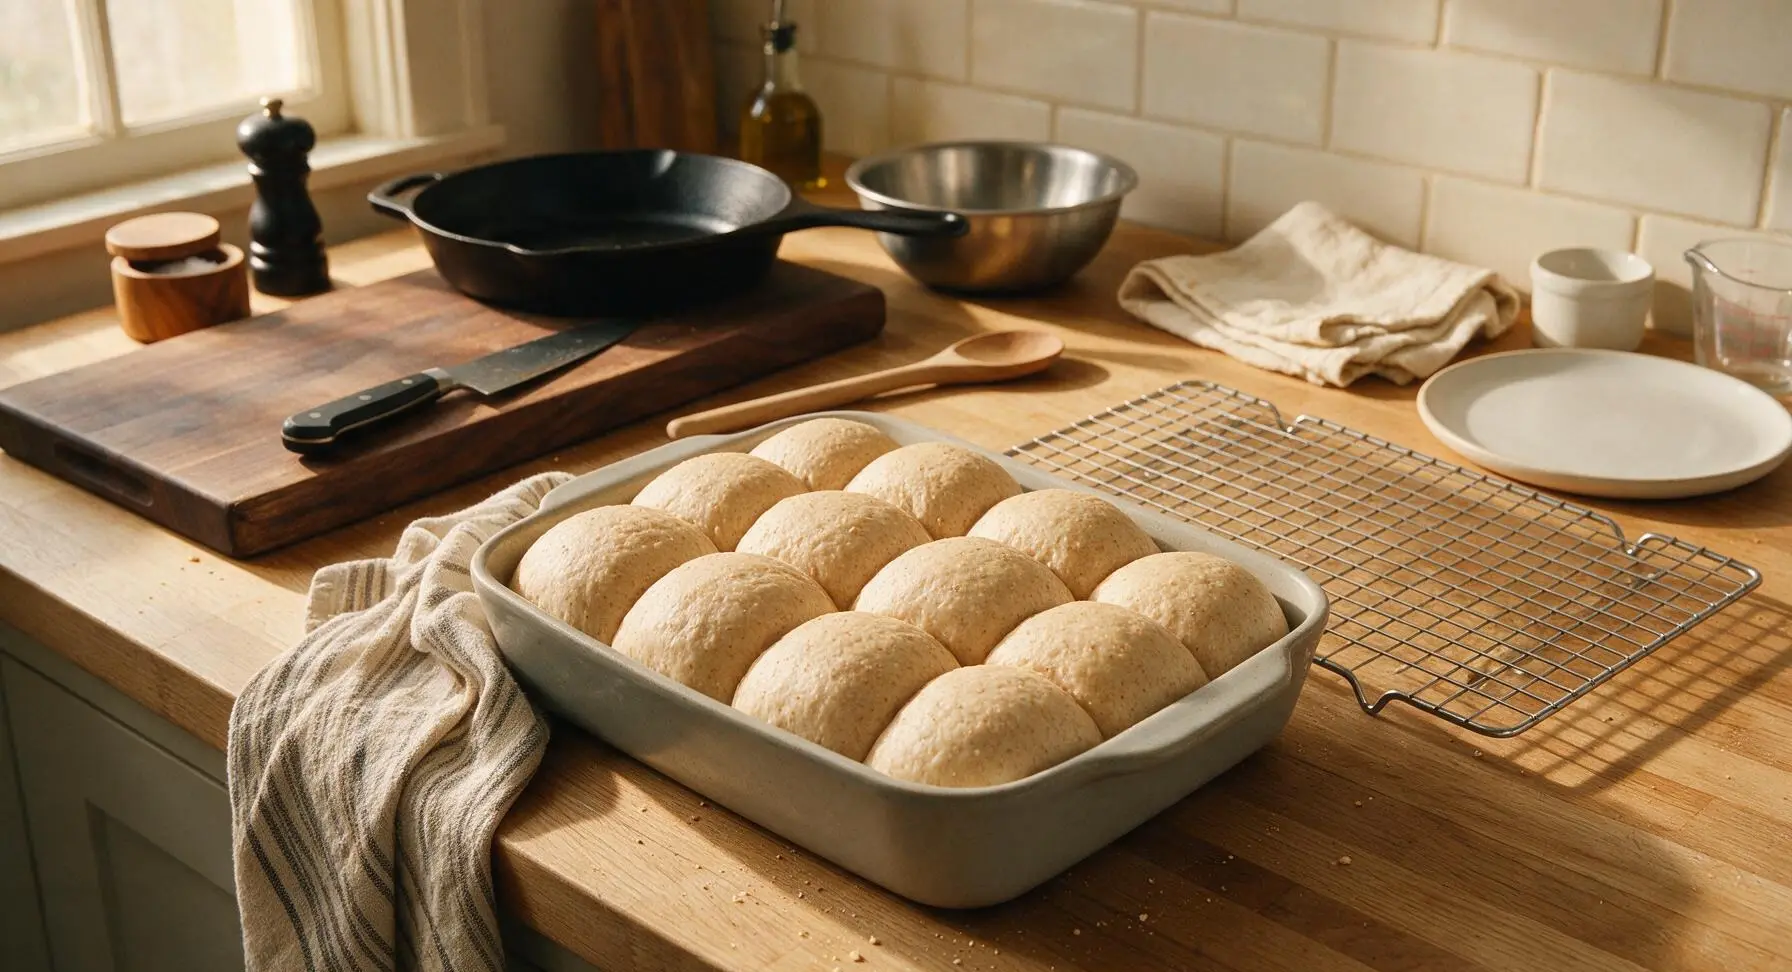
Cover the baking dish of shaped rolls loosely with the striped cotton kitchen towel, and let them rest for another 30 minutes in the same warm draft-free spot, until the rolls have puffed up to double their original size, pressing against each other with no visible gaps between them. During the last 10 minutes of this rise, preheat your oven to 190C/375F, adjusting the rack to the middle position.
Step 6
step6:Second Dough Rise
7

Bake the Rolls

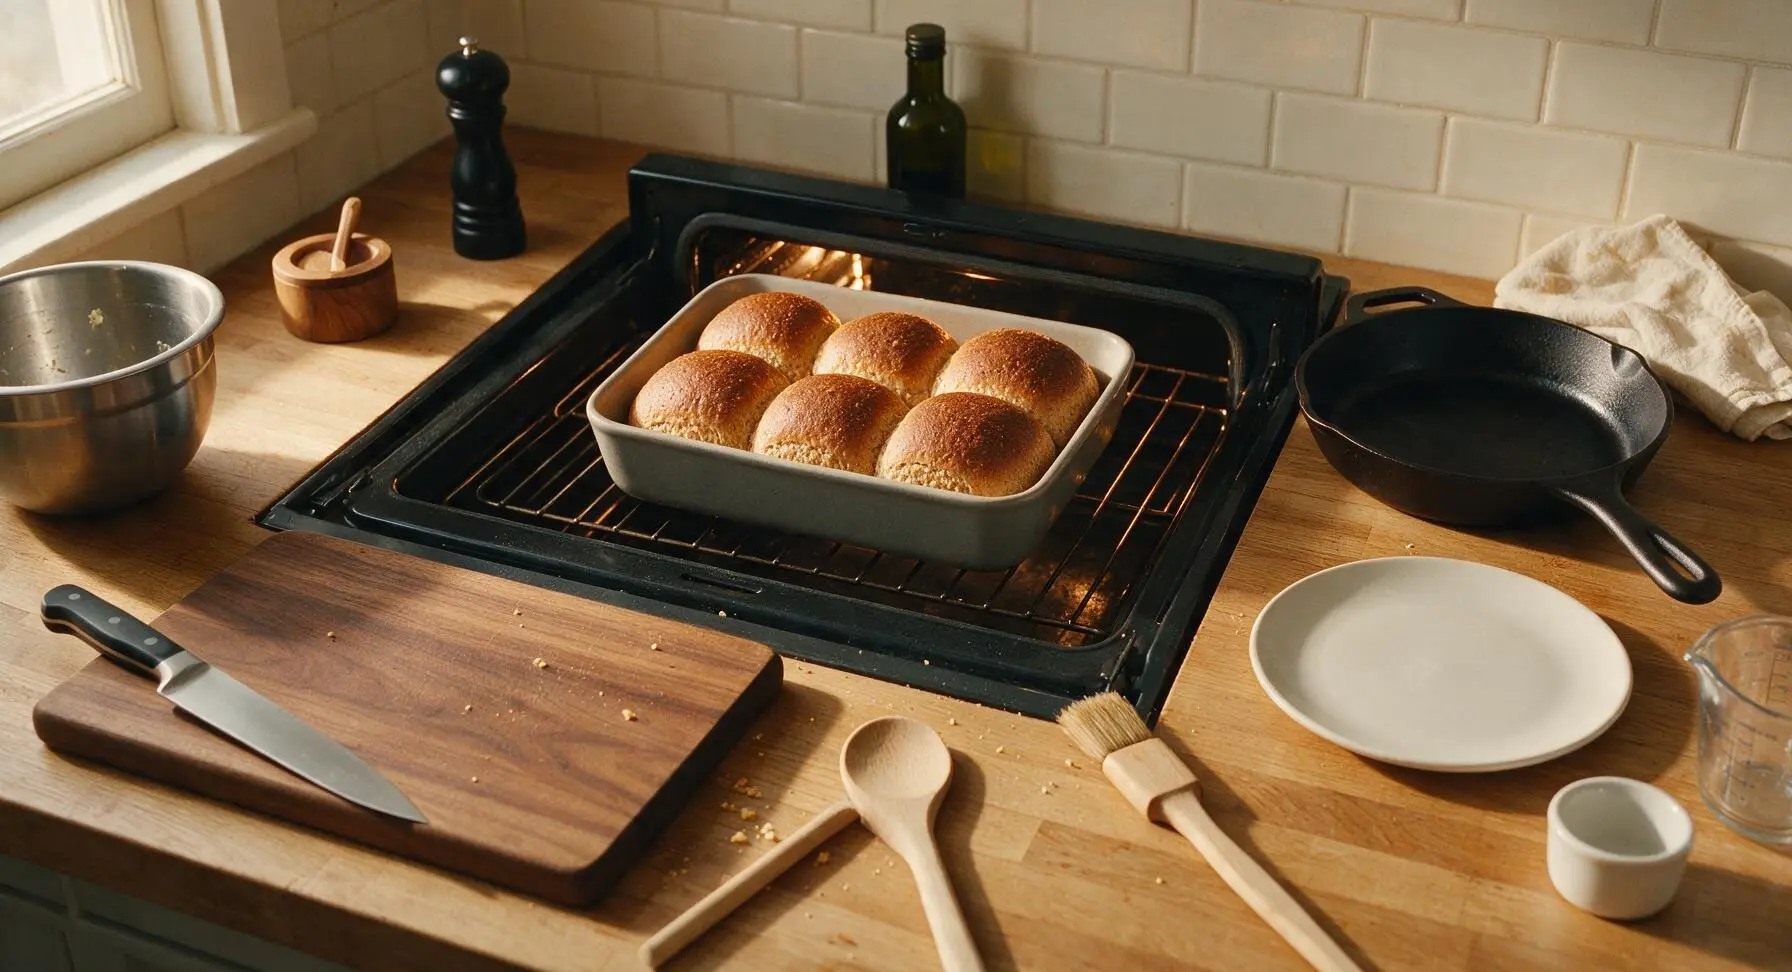
Remove the towel from the baking dish, and place the dish on the middle rack of the preheated 190C/375F oven. Bake for 18-22 minutes, until the tops of the rolls are a deep, even golden brown, and the internal temperature of the center roll reads 88C/190F on an instant-read thermometer. The rolls will sound hollow when tapped lightly on the top crust when fully baked.
Step 7
step7:Bake the Rolls
8

Finish and Cool

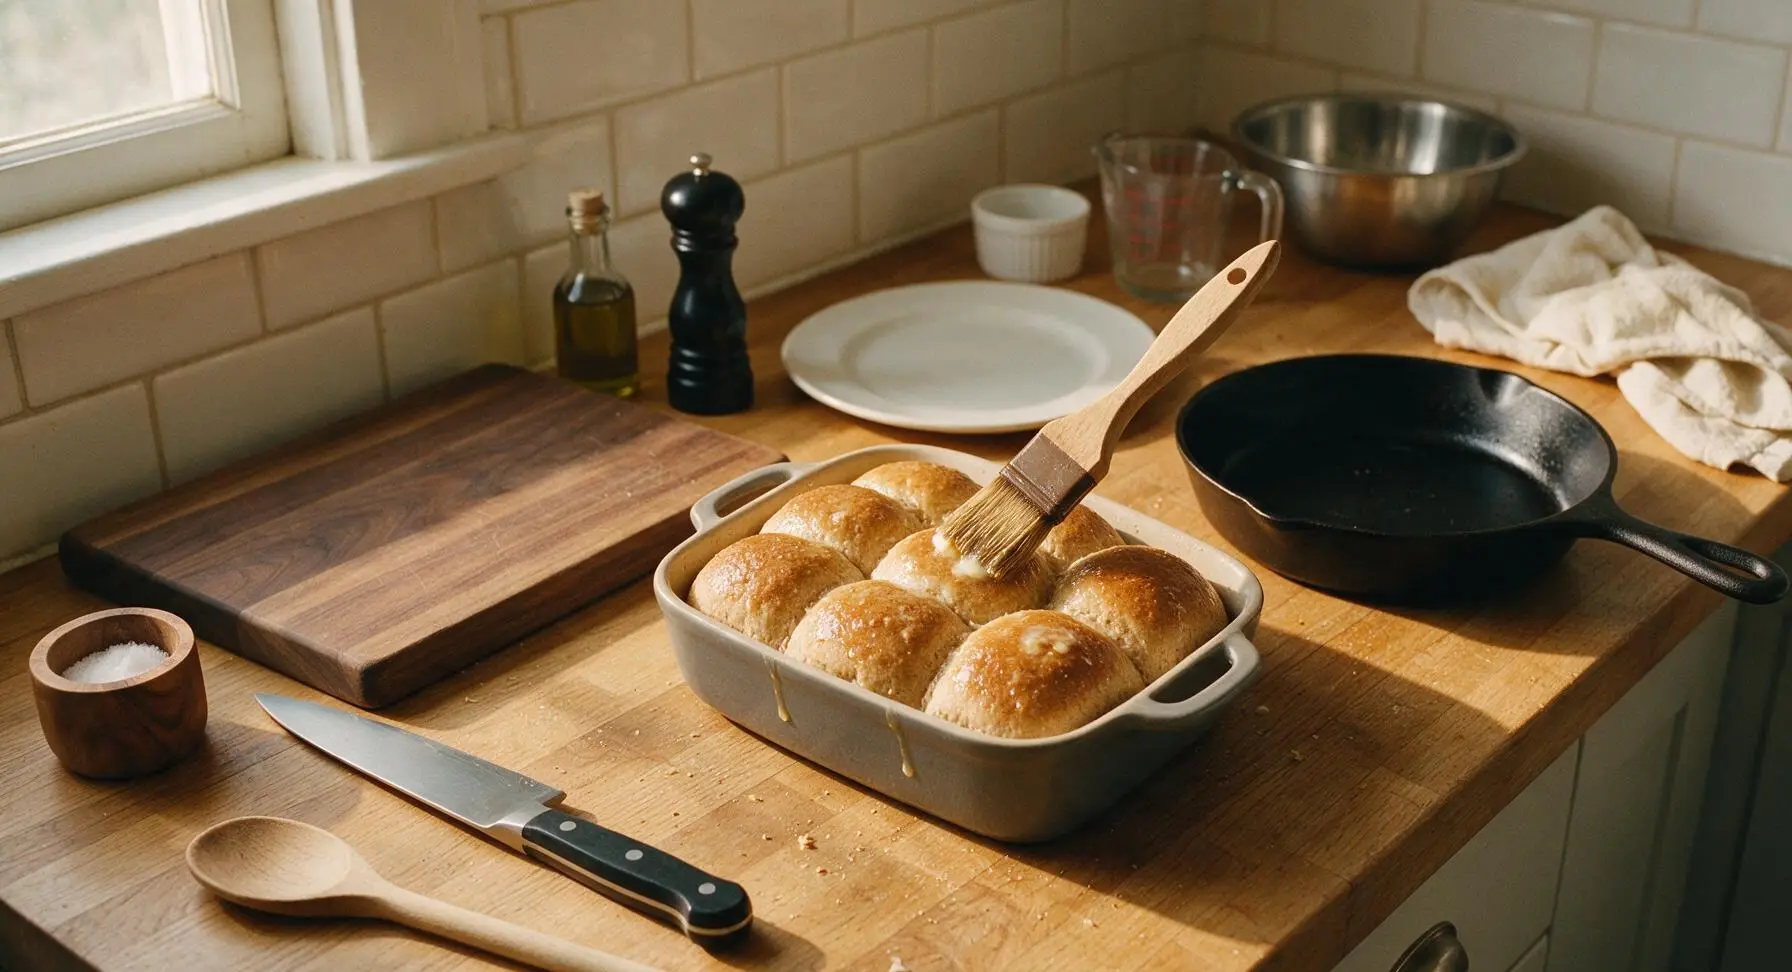
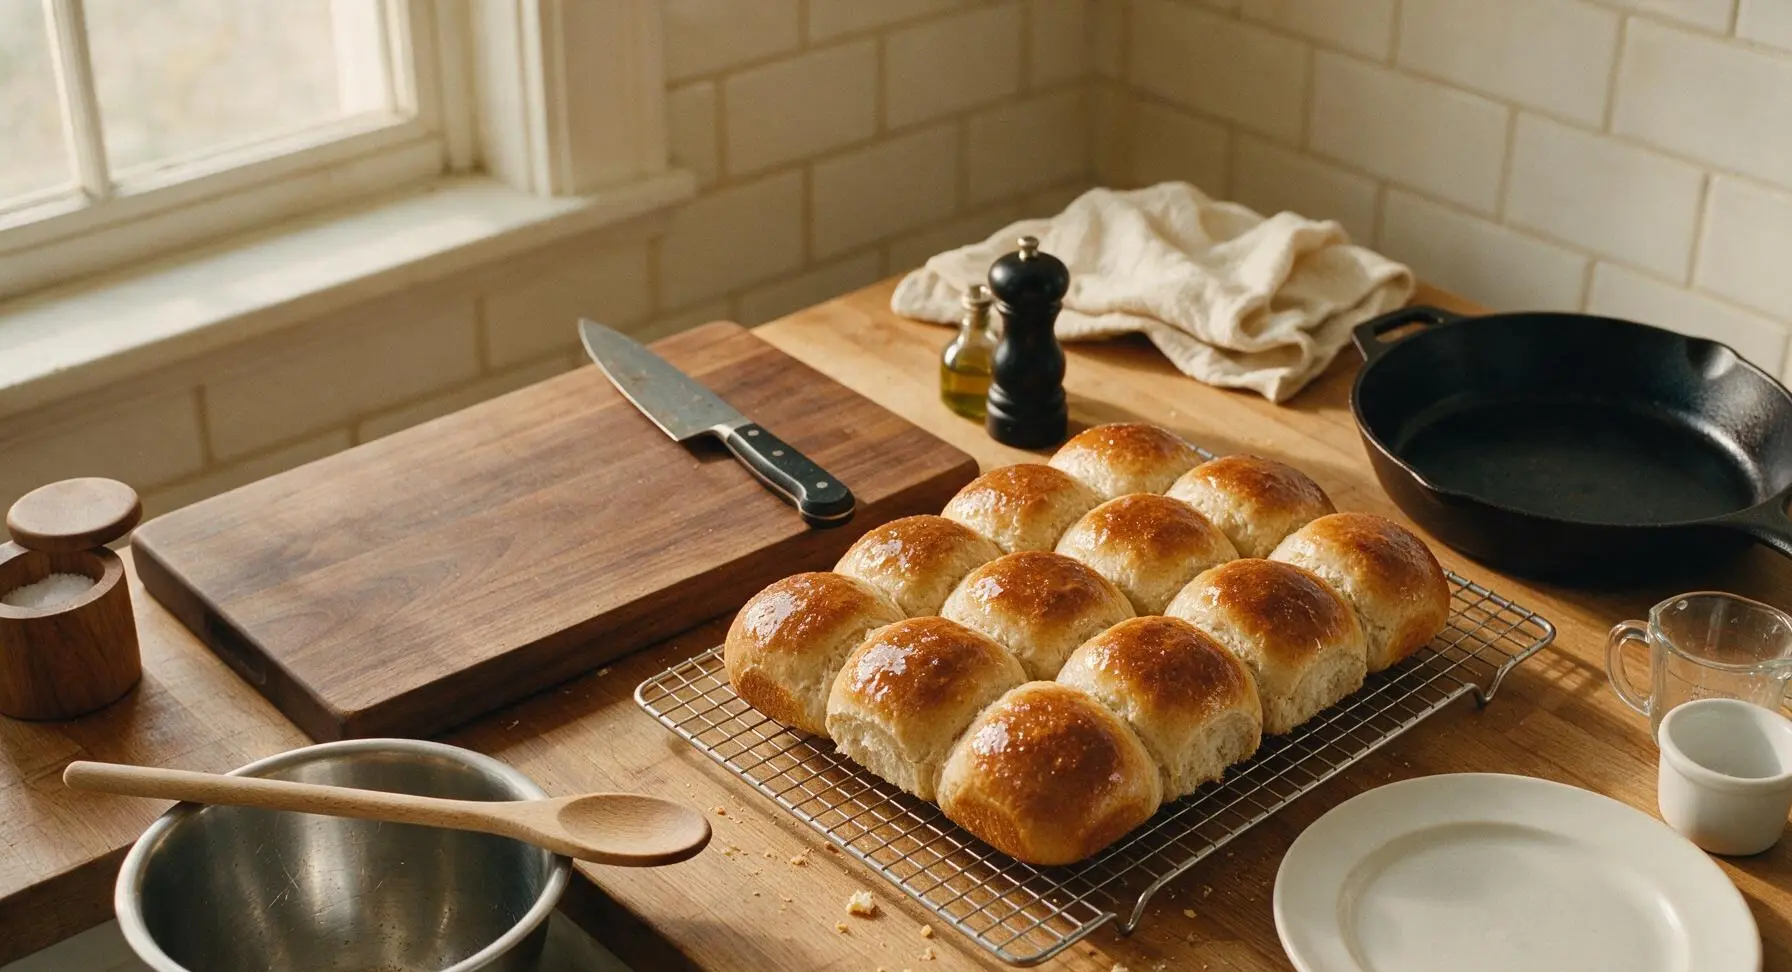
Remove the baked rolls from the oven, and immediately use the boar bristle pastry brush to brush the tops generously with the remaining 15g of melted butter. Let the rolls cool in the baking dish for 5 minutes, then use the dough scraper to lift them gently and transfer to the matte chrome wire cooling rack to cool for another 10 minutes before serving.
Step 8
step8:Finish and Cool
Step 8
step8:Finish and Cool

Tips

1.Weigh your flour with a digital kitchen scale instead of using volume cup measurements: spooned and leveled cup measurements can vary by up to 20% based on how tightly you pack the flour, which leads to dense, heavy rolls instead of light, fluffy ones.
2.Ensure your milk is exactly 43C/110F for activating yeast: liquid hotter than 49C/120F will kill the live yeast, while liquid cooler than 38C/100F will not wake the yeast, both resulting in rolls that fail to rise properly.
3.Brush rolls with melted butter immediately after pulling them from the oven: the hot crust absorbs the butter, adding rich flavor and keeping the outer crust soft instead of turning tough and crispy as the rolls cool.


✨ You May Also Like

Desserts & Baking
🍜 Italy

Creamy, coffee-kissed classic Northern Italian no-bake dessert, with layers of rum-spiked mascarpone cream, soft ladyfingers, and a rich cocoa dusting.

⏱️ 4 hours 3Desserts & Baking ★ 4.7
Desserts & Baking
🍜 France

Flaky, shatteringly crisp, buttery French croissants with golden exteriors and soft, airy layered interiors, perfect for pairing with coffee for a special morning treat.

⏱️ 12 hours Desserts & Baking ★ 4.5
Desserts & Baking
🍜 United States

Warm, spiced baked apples topped with a fluffy golden biscuit crust, this cozy dessert pairs perfectly with vanilla ice cream for cool-weather comfort.

⏱️ 55 minuteDesserts & Baking ★ 4.6
Desserts & Baking
🍜 United States

A star-spangled classic American blueberry pie with buttery flaky crust and bright sweet-tart filling, perfect for summer patriotic gatherings.

⏱️ 1 hour 25Desserts & Baking ★ 4.7
Desserts & Baking
🍜 United States

A beloved no-bake regional Maine candy with a chewy coconut-potato center coated in rich dark chocolate, a New England holiday staple since the 1870s.

⏱️ 2 hours 3Desserts & Baking ★ 4.8
Desserts & Baking
🍜 France

Luxuriously creamy, floral frozen custard made with aromatic Tahitian vanilla beans, boasting a smooth, rich texture that melts slowly on the tongue.

⏱️ 3 hours 3Desserts & Baking ★ 4.5

Whole Wheat Bread Rolls:Frequently Asked Questions

1.Why does this recipe use a mix of whole wheat and all-purpose flour instead of 100% whole wheat? ▾
100% whole wheat flour creates dense, heavy rolls because its coarse bran cuts through developing gluten strands. The all-purpose flour blend boosts gluten development for that light, fluffy tender crumb, while still letting the nutty, earthy whole wheat flavor shine through without weighing the rolls down.
2.How warm does the whole milk need to be to properly activate the active dry yeast? ▾
Aim for milk between 105–110°F, which feels like warm bath water to the touch. Milk over 120°F will kill yeast, leading to flat, dense rolls, while milk that’s too cold won’t wake the yeast enough to drive the strong, steady rise needed for light, airy finished rolls.
3.Can I substitute plant-based milk for the whole milk in this recipe? ▾
Absolutely! Unsweetened plain oat milk is the best swap, since its creamy texture is closest to whole milk. Warm it to the same 105–110°F temperature for proper yeast activation, and note your rolls will have a very mild oat note instead of the subtle rich dairy flavor from whole milk.
4.What purpose does raw honey serve in these rolls, and can I swap it for granulated sugar? ▾
Raw honey pulls double duty here: it feeds the active dry yeast to support a strong, even rise, and adds a subtle floral sweetness that complements the nutty whole wheat flavor. You can swap for an equal amount of granulated sugar if needed, but you’ll lose that warm, layered honey note.
5.How do I tell if my yeast is properly activated and ready to use? ▾
After stirring the yeast into the warm milk with a tiny pinch of honey, let it sit 5–7 minutes. You should see a foamy, frothy layer across the milk that smells distinctly yeasty, like fresh bread. If no foam forms after 10 minutes, your yeast is likely dead, and you’ll need a fresh packet to avoid flat rolls.
6.Why do my whole wheat rolls turn out dense instead of light and fluffy? ▾
Dense rolls almost always trace back to one of three common issues: not kneading enough to build strong gluten strands, letting the dough rise in a spot that’s too cold for active yeast, or using old, expired yeast that can’t lift the heavier whole wheat flour during proofing.
7.Can I make these rolls ahead of time for a weekend brunch or holiday meal? ▾
Definitely! After shaping the raw rolls, cover them tightly and let them do their second slow rise in the fridge for 8–12 hours overnight. The next morning, pull them out for 20 minutes to take the chill off, then bake as directed for fresh, warm rolls ready right when you need them.
8.How do I get that perfect golden buttered crust described in the recipe intro? ▾
Right after you pull the hot rolls out of the oven, brush the tops generously with melted unsalted butter. The residual heat from the rolls will melt the butter into the crust, giving it that rich, glossy golden finish and a soft, buttery bite instead of a hard, dry exterior.
9.Do I need a stand mixer to knead this dough, or can I do it by hand? ▾
No stand mixer required! You can absolutely knead the dough by hand on a lightly floured counter for 8–10 minutes, until it’s smooth, elastic, and springs back slowly when poked with a finger. Just avoid adding too much extra flour while kneading, as that will make the rolls tough.
10.How long do these rolls stay fresh after baking? ▾
Stored in an airtight container at room temperature, these rolls will stay soft and fresh for 3–4 days. For longer storage, wrap individual rolls tightly in plastic wrap and freeze for up to 3 months—just thaw at room temp and warm for 30 seconds in the microwave before serving.
11.Can I add mix-ins like seeds, oats, or dried herbs to these rolls? ▾
Of course! Mix 2–3 tablespoons of add-ins like poppy seeds, rolled oats, chopped rosemary, or sesame seeds into the dough during the last minute of kneading, or sprinkle them on top right before baking for extra texture and flavor that pairs beautifully with the nutty wheat base.
12.What oven temperature gives the best crumb and crust for these rolls? ▾
Bake the rolls at 375°F for 18–22 minutes, until the tops are deep golden brown and the internal temperature of a center roll hits 190°F on an instant-read thermometer. This high, even heat sets the crumb quickly without over-baking the crust to a tough, dry texture.
13.Do I really need to let the dough rise twice, or can I skip the second proof? ▾
Don’t skip the second proof after shaping! The first bulk rise develops flavor and builds yeast activity, while the shorter second rise after portioning and shaping gives the rolls that light, pillowy height. Skipping it leads to shorter, denser rolls with a tighter, less tender crumb.
14.Can I use instant yeast instead of active dry yeast for this recipe? ▾
Yes, you can swap in instant yeast at a 1:0.75 ratio (use ¾ teaspoon instant yeast for every 1 teaspoon of active dry yeast called for). You won’t need to proof it in warm milk first—just mix it directly with the dry ingredients for a slightly faster rise time.
15.Why does my whole wheat dough keep sticking to the bowl while it rises? ▾
A little stickiness is normal for whole wheat dough, since it absorbs moisture more slowly than all-white flour dough. Lightly grease your rising bowl with butter or nonstick spray before placing the kneaded dough inside, and turn the dough once to coat the top to prevent sticking and drying.
16.What are the best ways to serve these whole wheat rolls? ▾
These soft, nutty rolls are incredibly versatile: serve them warm with softened butter and jam for weekend breakfast, split them for small sandwich sliders, or pair them alongside hearty soups, pot roast, or holiday spreads to soak up sauces and gravies with their tender, fluffy crumb.

Comments (5)

yesterday

OMG these whole wheat rolls are an absolute game changer! I made them for our Sunday family dinner last night and even my super picky 7 year old asked for seconds. They’re so soft and fluffy, not dense and cardboard-y like every other whole wheat roll recipe I’ve tried before. Perfect with a little slather of honey butter, and I’m already planning to make a double batch for our neighborhood potluck next weekend!

2 hours ago

So happy to hear your whole family loved these rolls! The trick to keeping them light and fluffy instead of dense is letting the initial dough rest long enough for the wheat bran to soften, so I’m thrilled that worked out for you. Hope they’re a total hit at the potluck!

30 minutes ago

Seconding this! I brought these to my office potluck last month and people were literally begging me for the recipe. They’re SO good — even my coworker who swears he hates all whole wheat bread ate two of them. Total crowd pleaser every time I make them!

3 days ago

Really solid, reliable recipe! I bake a batch of these every Sunday for meal prep to use as sandwich rolls all week, and they hold up way better than any store bought whole wheat bread I’ve tried. My only note is that my first batch took about 20 minutes longer to double in size than the recipe said, probably because my apartment stays pretty cold during Colorado winters. Still turned out chef’s kiss though!

2 days ago

Thanks so much for the honest feedback, Mike! Cold kitchen temperatures can definitely slow down yeast activity and extend rise times. If your space is under 70°F, try letting the dough rest in your oven with just the interior light on — it creates the perfect warm, draft-free spot to get that dough rising right on track for future batches!

2 weeks ago

SO good! I brushed the tops with melted garlic butter and a sprinkle of parmesan right after pulling them out of the oven and they tasted exactly like the fancy dinner rolls they serve at our favorite downtown steakhouse. My husband ate three before we even got the rest of dinner on the table lmao. No more store bought dinner rolls for us, this is our new permanent recipe!

5 days ago

I was so nervous to try this recipe since I’ve never made yeast bread from scratch before (total beginner over here!) and the difficulty is listed as medium, but the steps were so straightforward and easy to follow! My rolls came out a little lumpy and uneven looking, but they taste incredible. Can’t wait to practice and make them look prettier next time I bake.

3 days ago

That makes my day to hear, Jake! Homemade bread never has to look perfect to taste amazing — those little lumpy, uneven rolls are just proof they’re made with care, which makes them taste even better. I promise each batch you make will feel easier and easier!

1 week ago

Total game changer for my hiking trips! These rolls are hearty, don’t get squished easily in my pack, and taste great even a couple days after baking. I tossed in a handful of rolled oats and a tablespoon of extra honey to the dough for a little extra texture and sweetness, and *chef’s kiss*. Only regret is I didn’t make a double batch because my partner and I ate them all in two days!

5 days ago

Oh that rolled oat addition sounds so good! I’m always on the hunt for sturdy, non-squishy bread to bring on backpacking trips, I’ll have to test that tweak this weekend. Quick question — do you think these would hold up for 3-4 days stored in a sealed bag?

3 days ago

They totally hold up! I brought a batch on a 4-day backpacking trip last month stored in a reusable silicone bag and they were still soft and fresh, no stale texture or mold at all. The oats add such a nice nutty crunch too, you’re gonna love ‘em!



