
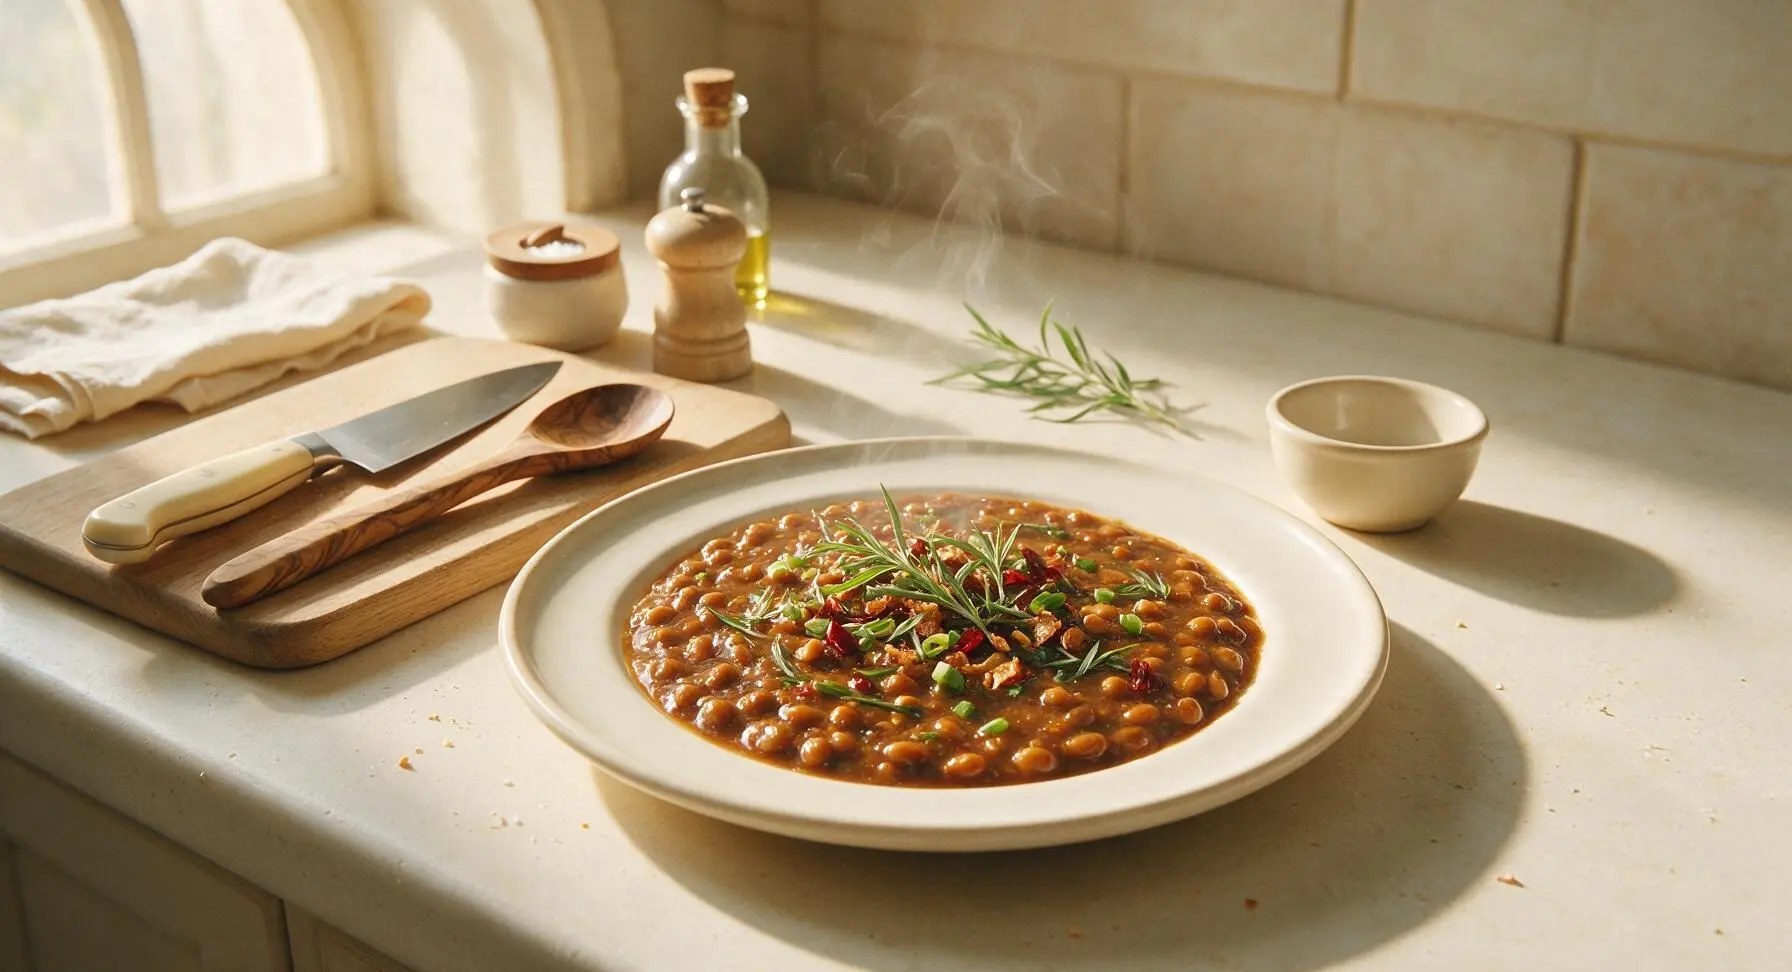
yellow bean sauce

title 1
yellow bean sauce
⏱️ cook time 30 minutes
🍽️ servings 16
⚡ Difficulty easy

intro

Rich, umami-dense homemade yellow bean sauce with mellow fermented soybean savoriness, balanced sweet-salty notes, far brighter and more complex than store-bought versions, perfect for stir-fries, braises, and dips.

Ingredients
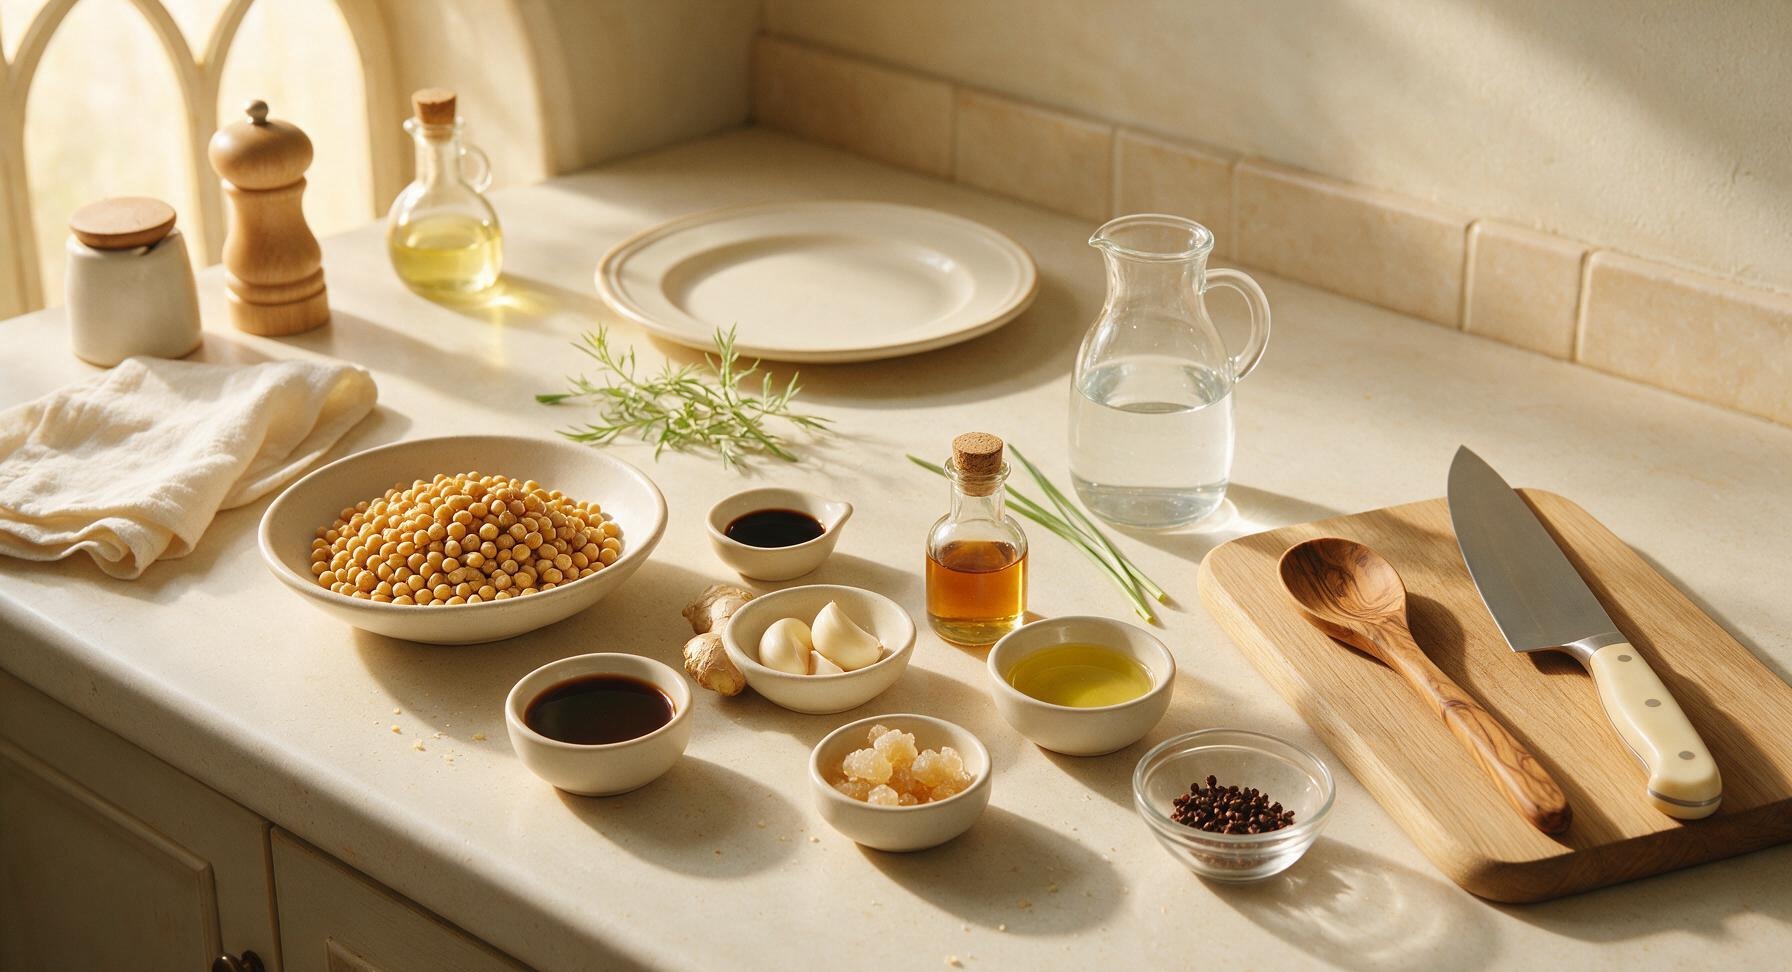
Dried fermented yellow soybeans 150g
Light soy sauce 3 tbsp
Dark soy sauce 1 tbsp
Rock sugar 25g
Garlic cloves 3 (15g)
Fresh ginger 2-inch knob (20g)
Shaoxing wine 2 tbsp
Neutral vegetable oil 2 tbsp
Water 250ml
Whole Sichuan peppercorns 1/4 tsp
Fresh chives 2 sprigs

Steps

1

Rinse Fermented Soybeans

Place the 150g dried fermented yellow soybeans in the stainless steel fine-mesh sieve. Rinse under cool running water for 1 minute, gently rubbing the beans between your fingers to wash off excess surface salt and loose, papery bean skins. Shake the sieve well to drain off all excess water, then pick out and discard any discolored, hard, or moldy beans; good beans will be plump, evenly tan, and firm to the touch.
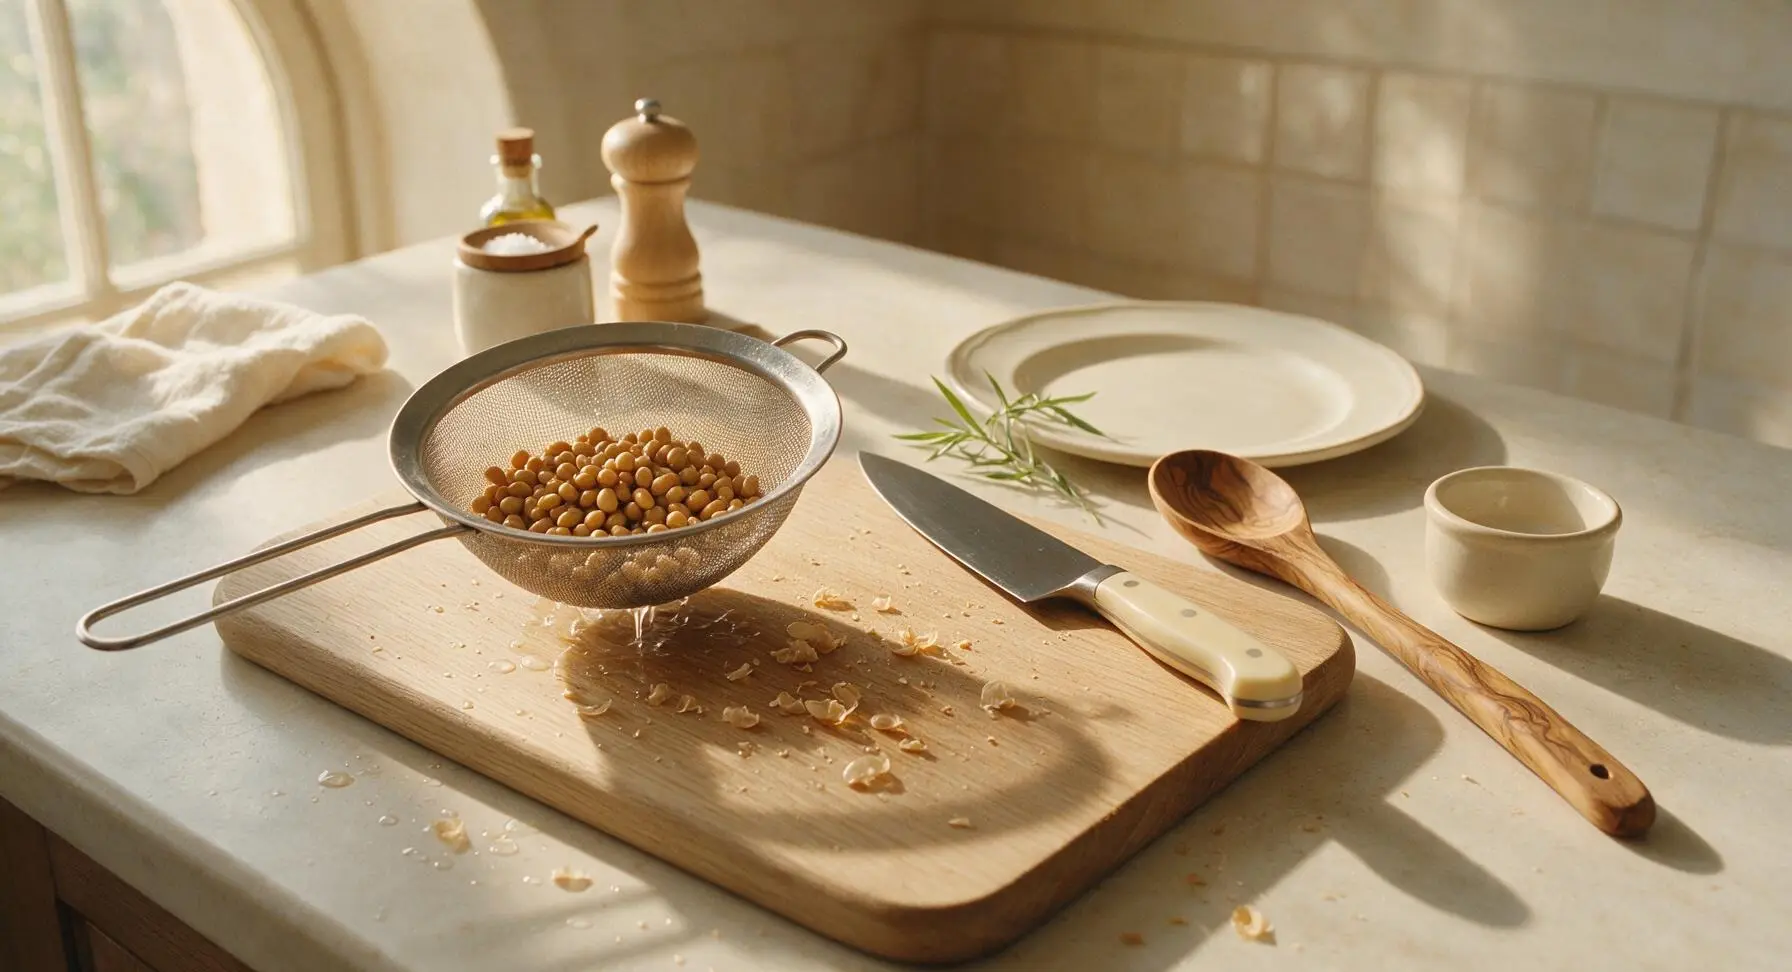
Step 1
step1:Rinse Fermented Soybeans
2

Mince Ginger and Garlic

Place the peeled 20g ginger knob and 3 garlic cloves on the center of the walnut cutting board. Using the 8-inch chef knife, mince both into fine 1/8-inch pieces, taking care not to mash the garlic into a wet paste. Gather the minced aromatics into a small neat pile on the edge of the cutting board, and measure out the 1/4 teaspoon Sichuan peppercorns to set beside the pile.
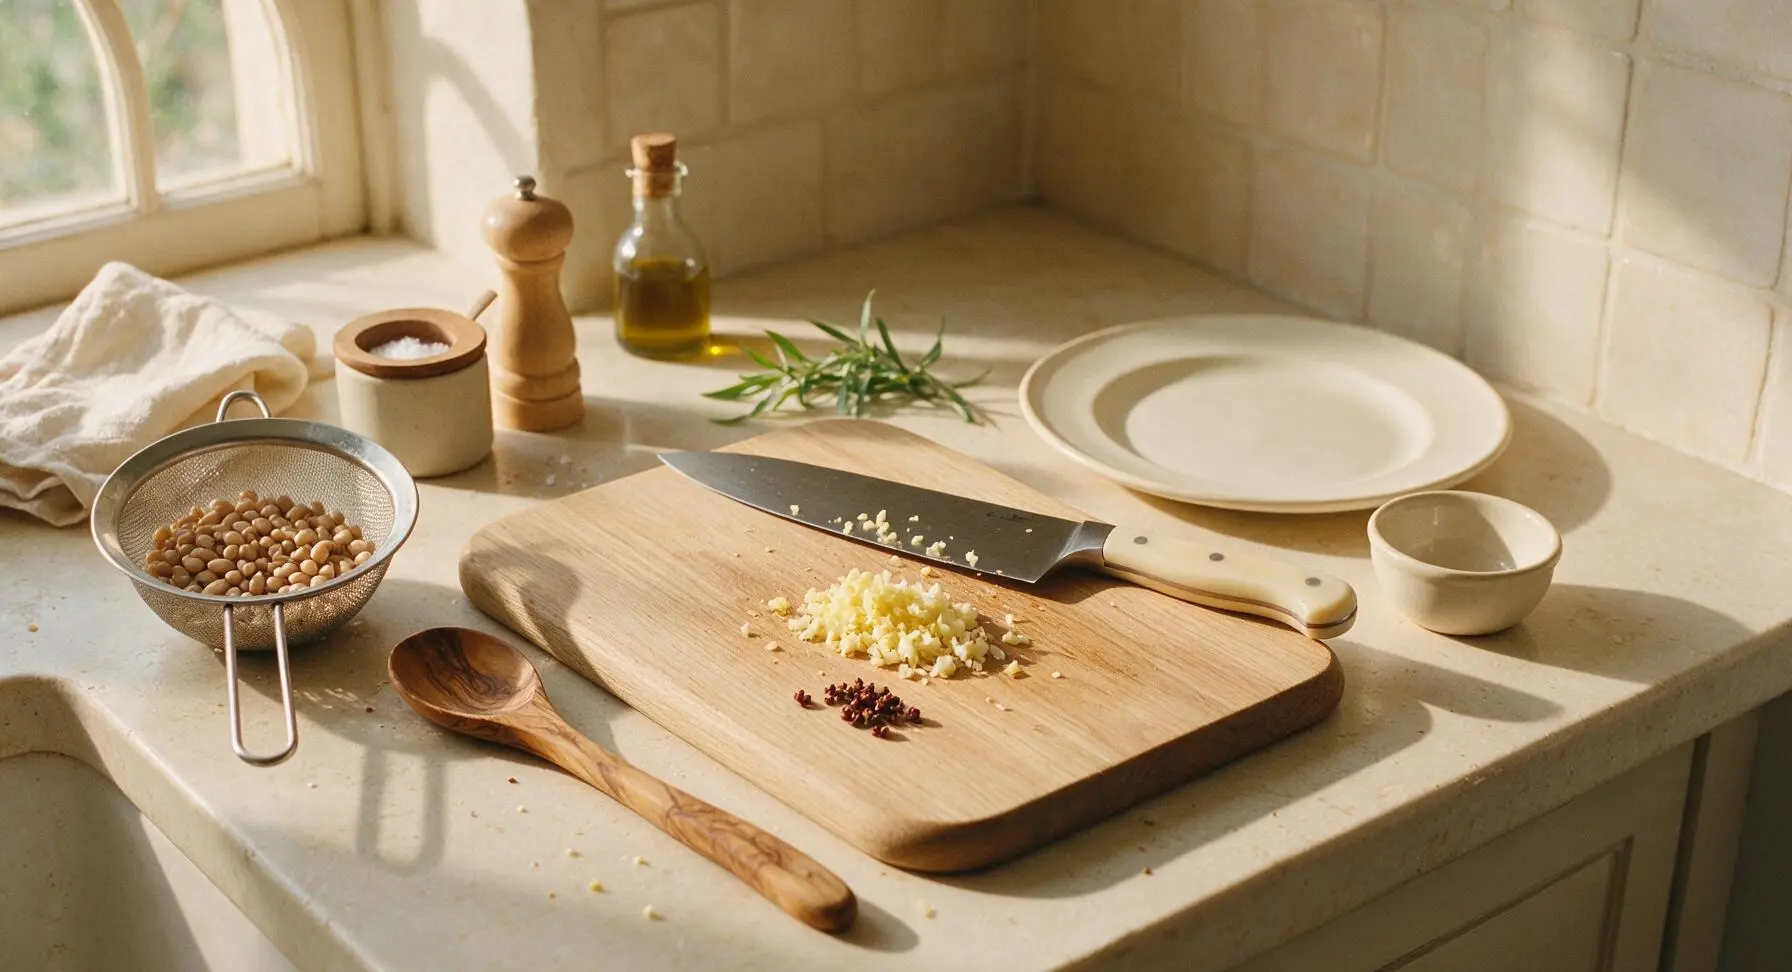
Step 2
step2:Mince Ginger and Garlic
3

Sauté Aromatic Base

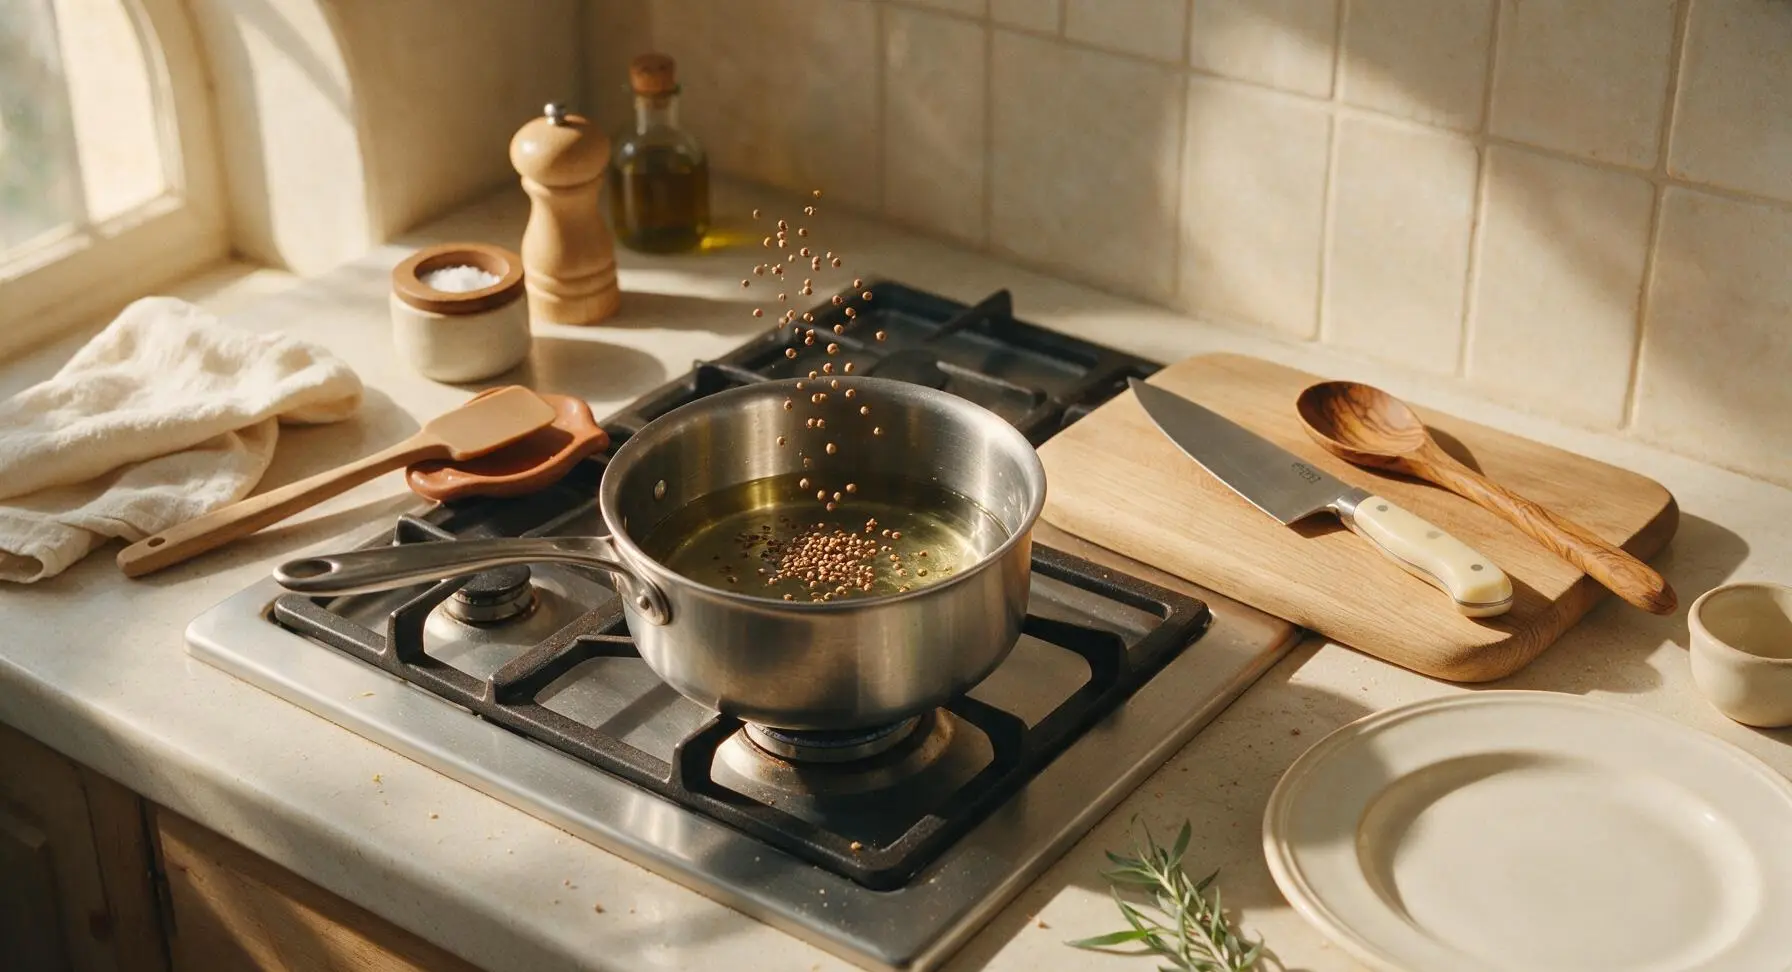
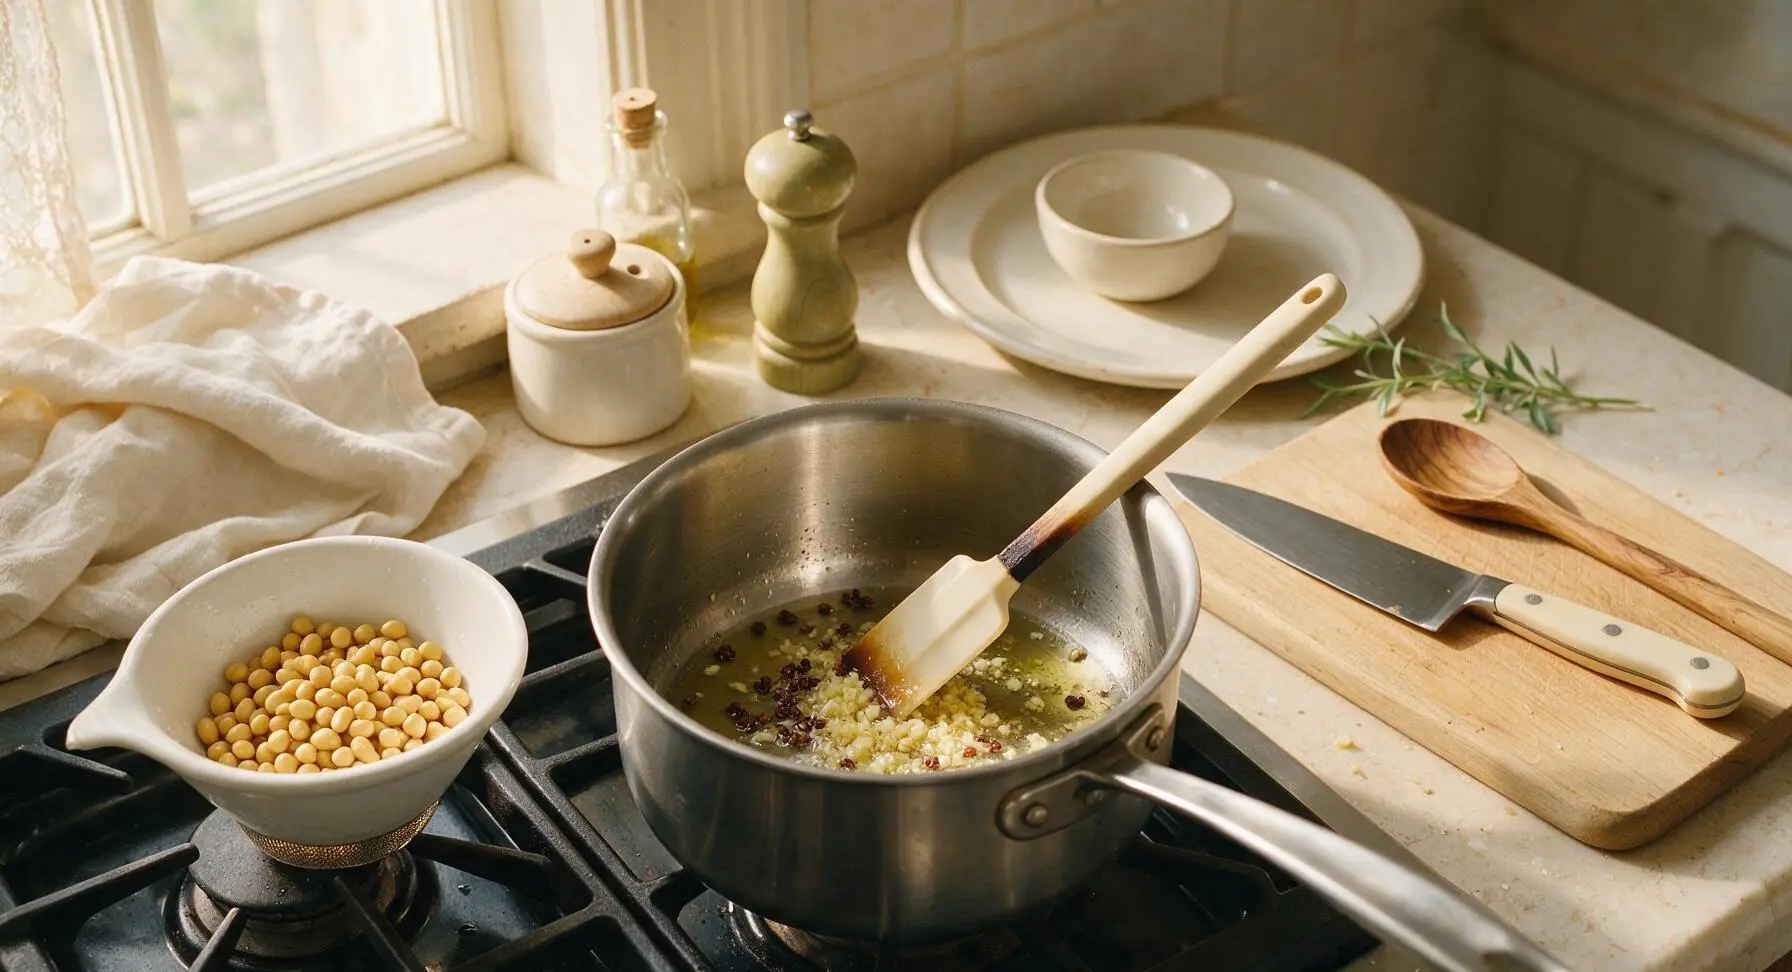
Move the 2-quart stainless steel saucepan from its stovetop storage position to the burner over medium heat (325°F / 160°C). Add the 2 tablespoons neutral vegetable oil, and wait 1 minute until the oil shimmers across the pan bottom. Add the 1/4 teaspoon Sichuan peppercorns and toast for 15 seconds until fragrant, then add the minced ginger and garlic. Sauté for 30 seconds, stirring constantly with the silicone spatula, until the aromatics smell bright and pale golden; do not let them turn dark brown or burn, as this will create a bitter aftertaste.
Step 3
step3:Sauté Aromatic Base
Step 3
step3:Sauté Aromatic Base
4

Combine Beans and Liquids

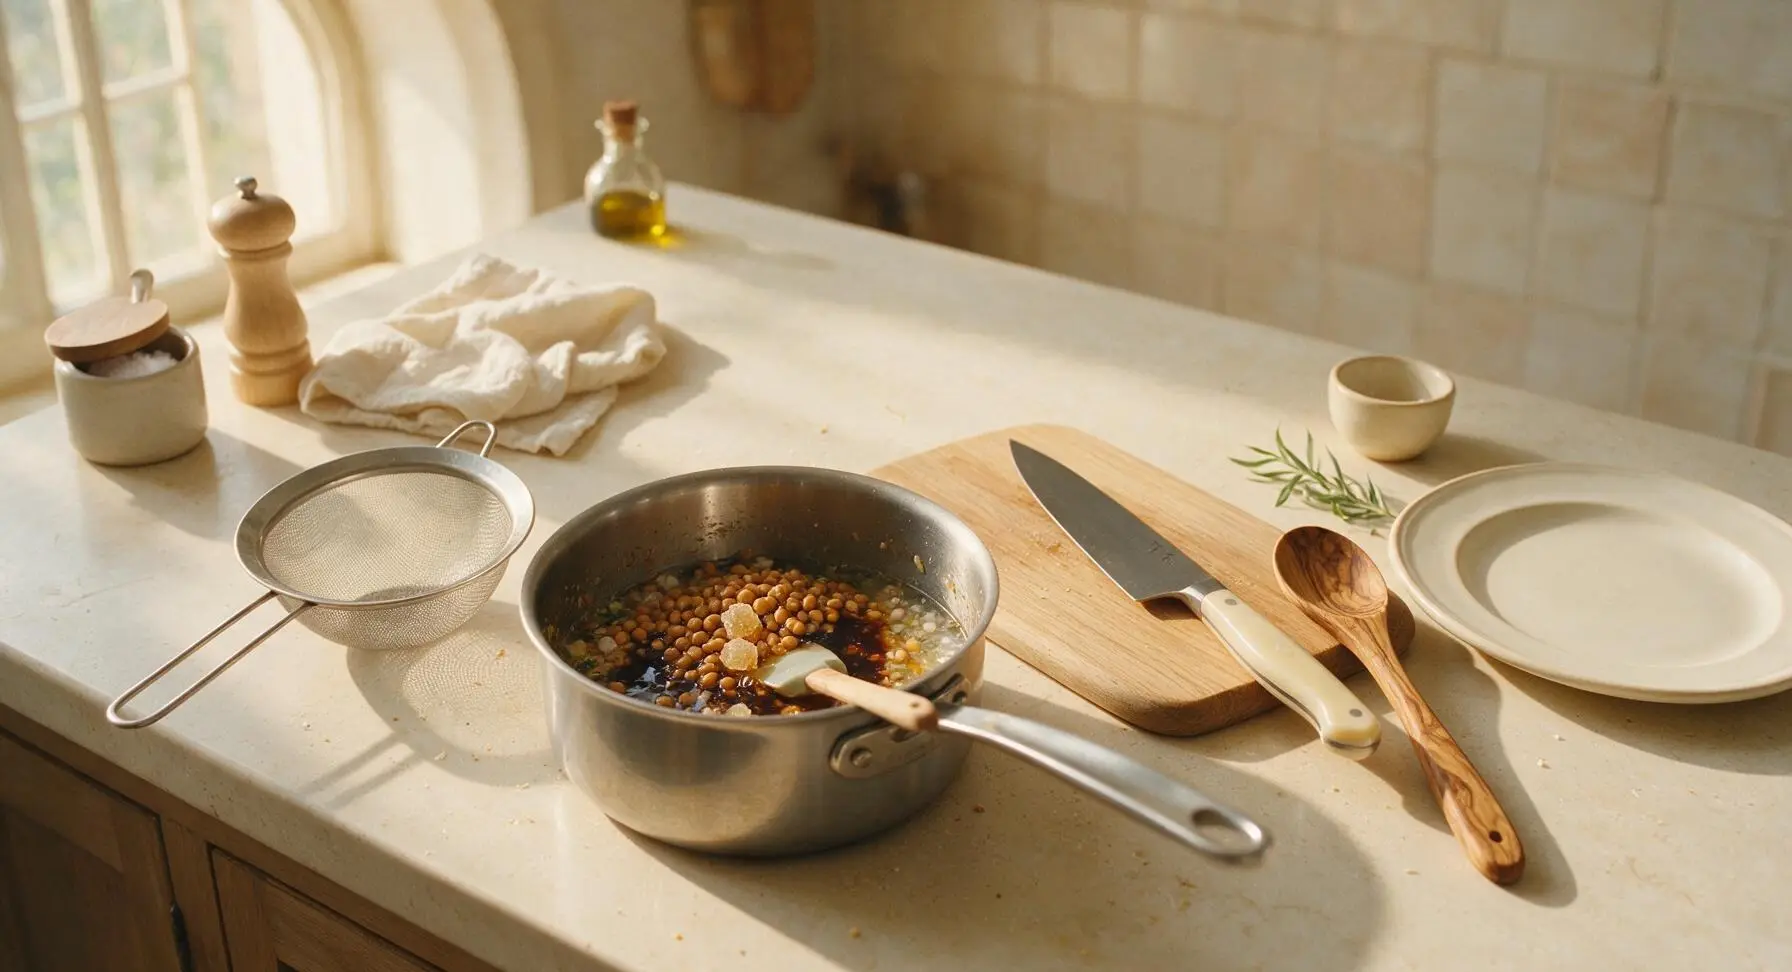
Add the rinsed, drained fermented yellow soybeans to the saucepan with the sautéed aromatics. Stir to coat the beans fully in oil for 1 minute, then pour in the 3 tablespoons light soy sauce, 1 tablespoon dark soy sauce, 2 tablespoons Shaoxing wine, 25g rock sugar, and 250ml cool water. Stir well with the silicone spatula to combine all ingredients, scraping the bottom of the pan to lift any stuck aromatic bits and prevent burning.
Step 4
step4:Combine Beans and Liquids
5

Simmer to Develop Flavor

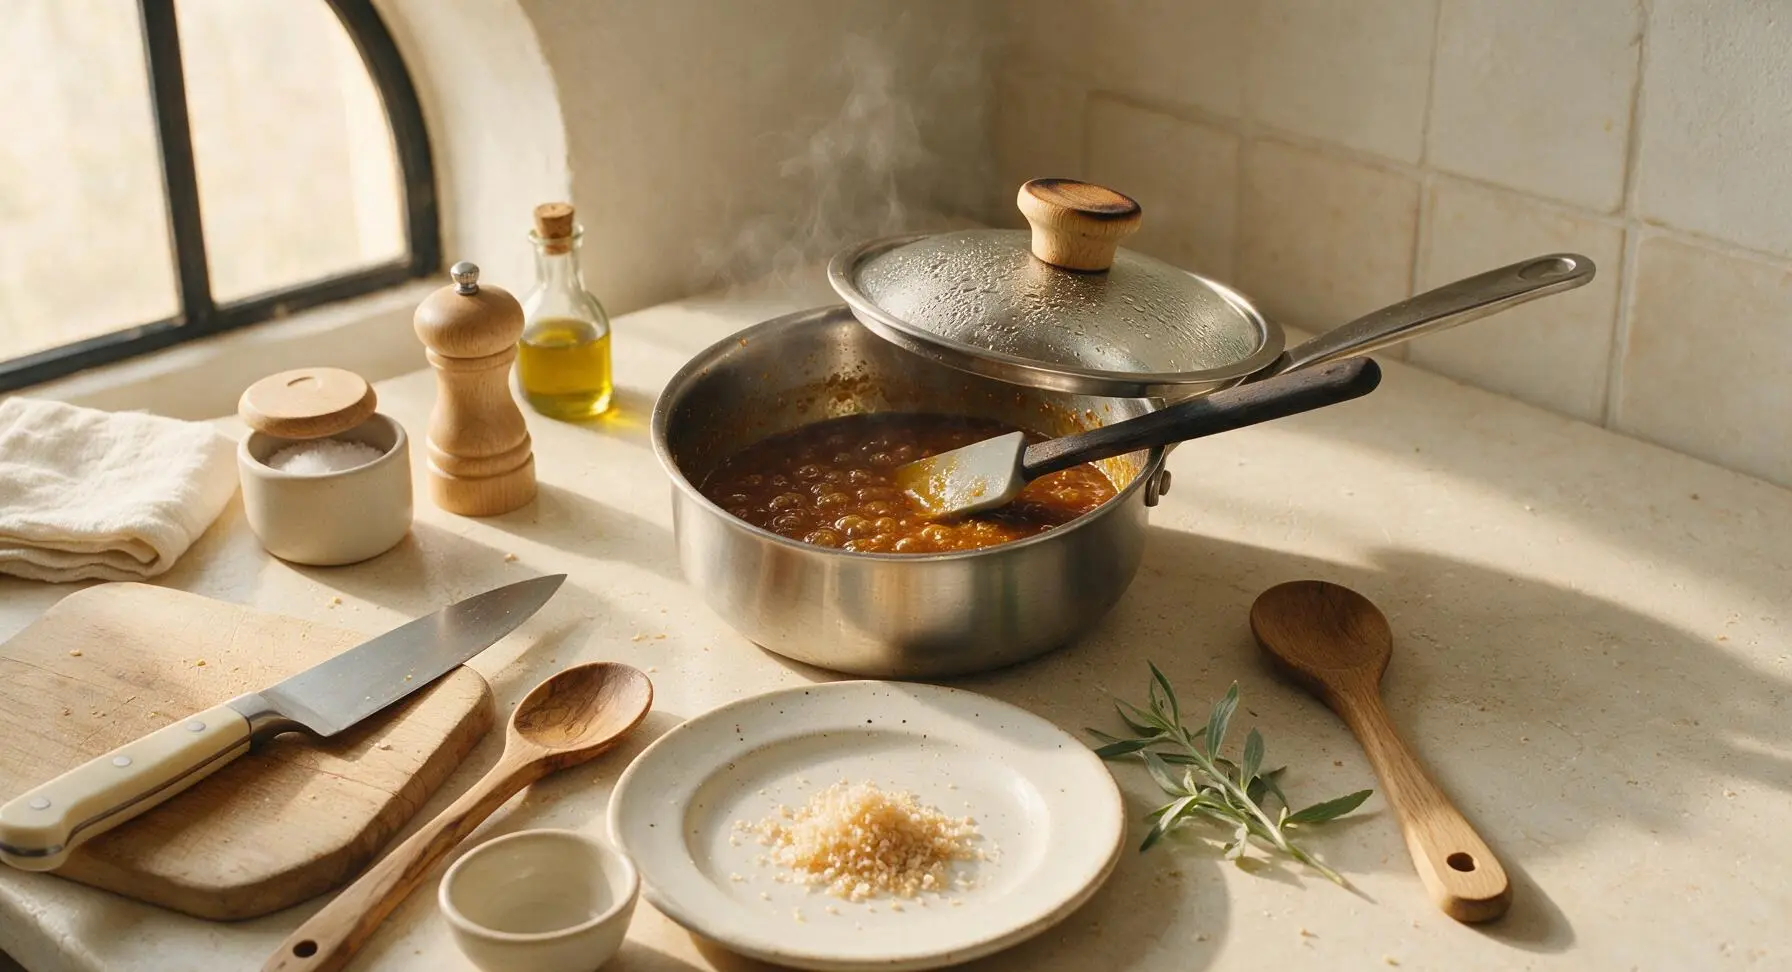
Bring the sauce mixture to a gentle rolling boil, then turn the heat down to low (200°F / 95°C) to maintain a soft, steady simmer. Prop the saucepan lid slightly ajar on the pan edge to let steam escape, and simmer for 25 minutes, stirring every 5 minutes with the silicone spatula to prevent sticking on the pan bottom. The sauce is ready at this stage when the beans are completely tender when pressed with the spatula, the liquid has reduced by roughly one third, and the whole mixture has turned a deep, rich amber color.
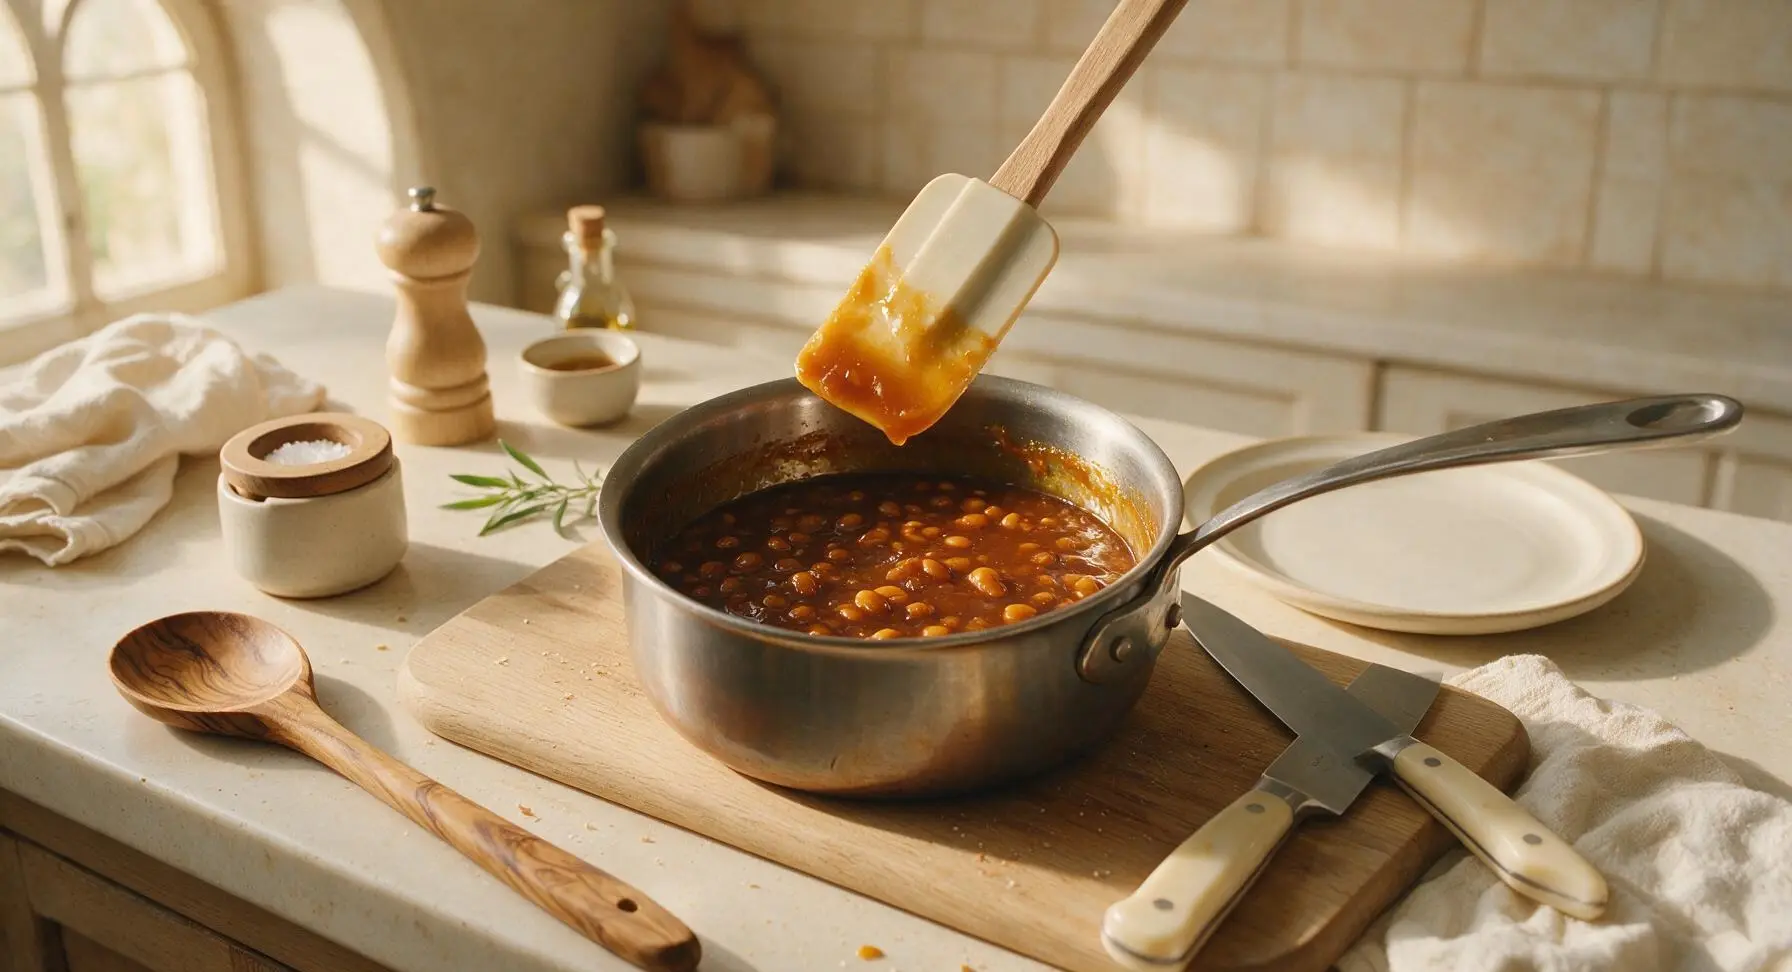
Step 5
step5:Simmer to Develop Flavor
Step 5
step5:Simmer to Develop Flavor
6

Blend to Desired Texture

Remove the saucepan from heat and let it cool for 5 minutes to avoid splattering. Use the immersion blender to pulse the sauce 3-4 times, leaving roughly half of the soybeans whole for a chunky, traditional texture. Do not blend until completely smooth—authentic yellow bean sauce has a mix of smooth fermented paste and tender whole bean bits. If the sauce is too thick after blending, stir in 1-2 tablespoons of extra cool water to reach a thick, spoon-coating consistency.
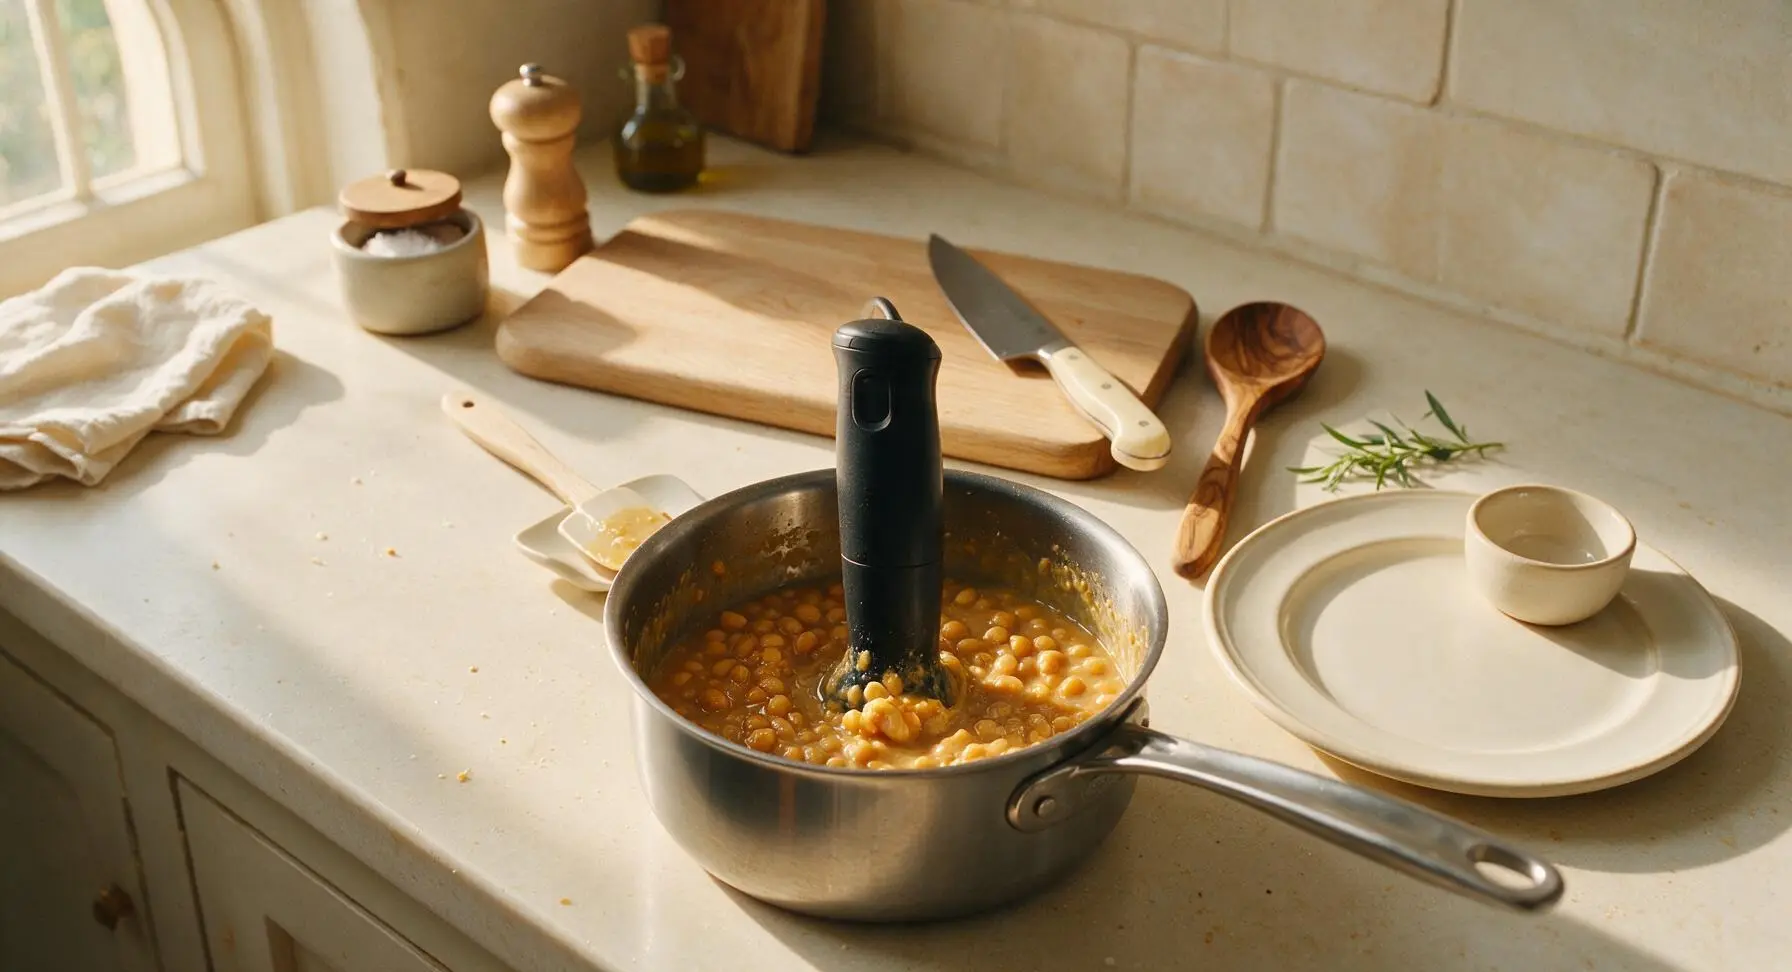
Step 6
step6:Blend to Desired Texture
7

Season and Serve Sauce

Taste the warm sauce and adjust seasoning if needed: add a pinch more crushed rock sugar for extra sweetness to balance saltiness, or a tiny splash of light soy sauce if the flavor is too mild. Transfer the finished sauce to the matte cream ceramic serving bowl, and lay one fresh chive sprig across the top as garnish. Let the sauce cool to room temperature before serving, or store in a sealed glass jar in the refrigerator for up to 1 month.
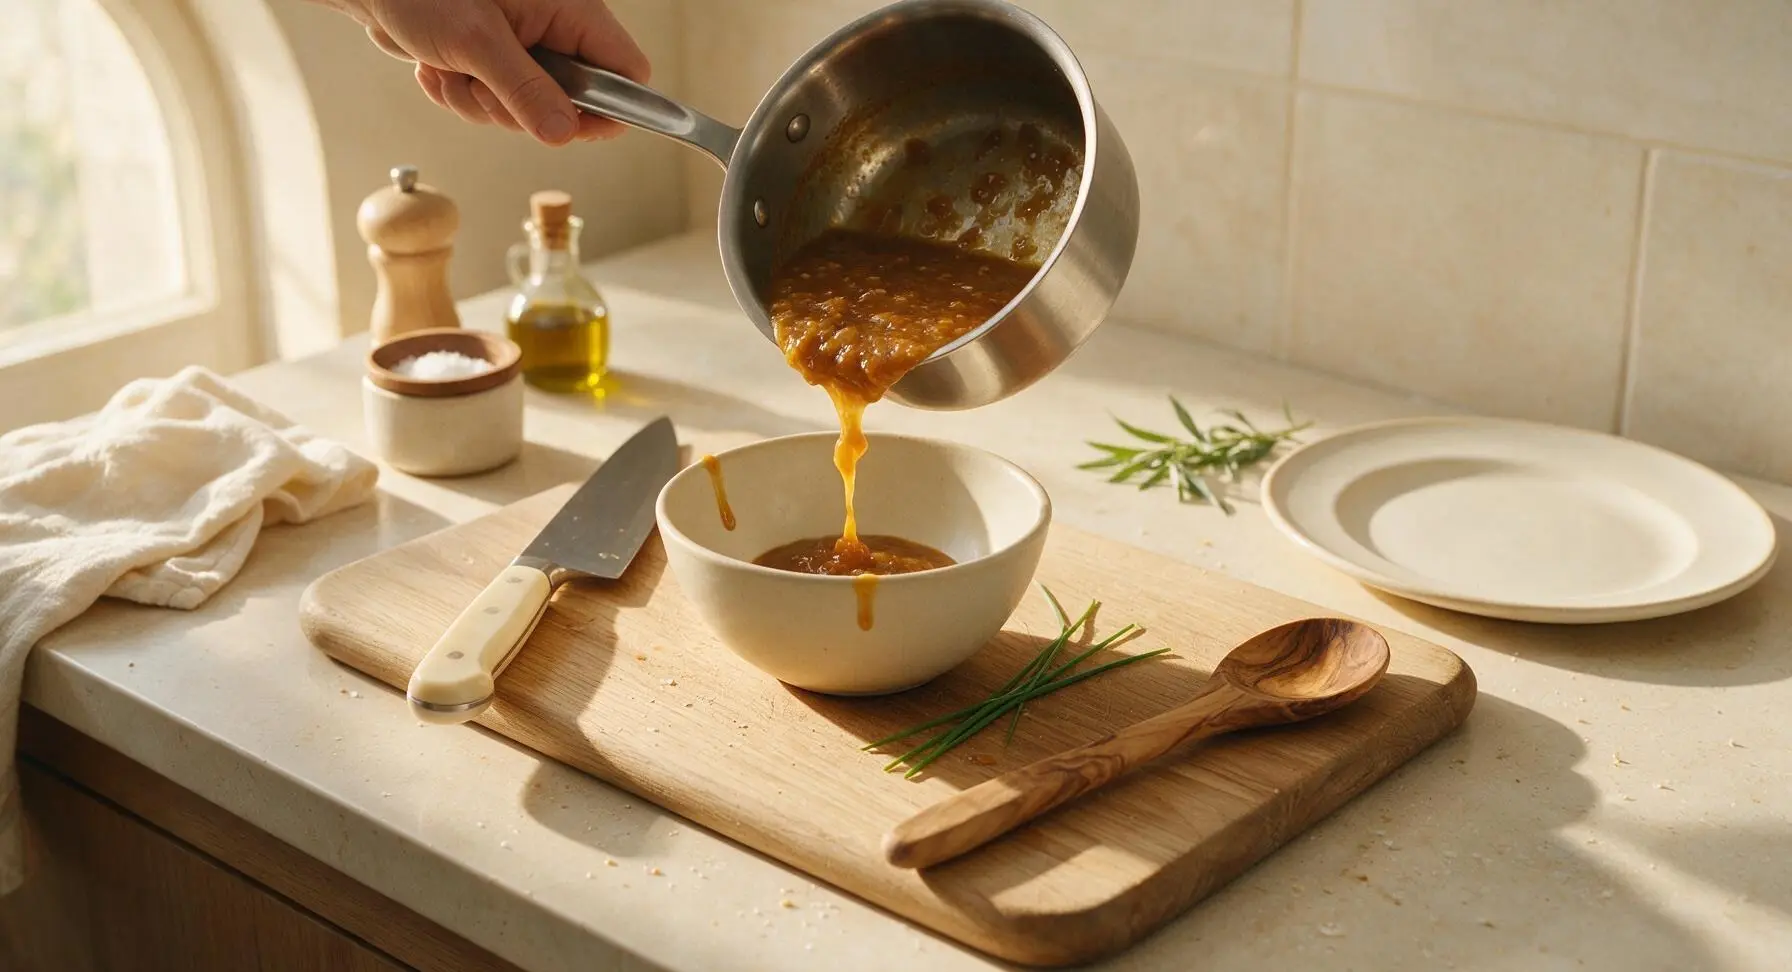
Step 7
step7:Season and Serve Sauce

Tips

1.Do not fully blend the sauce: The mix of smooth fermented paste and tender whole soybean bits creates the traditional, satisfying texture of homemade yellow bean sauce, and helps the sauce cling better to stir-fry ingredients instead of running off into the pan.
2.Watch the heat closely when sautéing garlic and ginger: Burnt aromatics will add a sharp, bitter aftertaste that overwhelms the mellow umami of the fermented beans, so pull the pan off the heat immediately if the garlic starts to turn dark golden.
3.For a smoother marinade-style sauce, blend for 8-10 pulses instead of 3-4, then strain through the fine-mesh sieve to remove any remaining tough bean skins. This strained version works perfectly for marinating roast pork, chicken, or ribs before grilling or braising.


✨ You May Also Like

Side Dishes
🍜 India

Velvety, aromatic all-purpose curry sauce perfect for tossing with roasted veggies, grilled protein, or rice for fast, cozy, flavorful meals.

⏱️ 25 minuteSide Dishes ★ 4.8
Side Dishes
🍜 Spain

Tender, starchy boiled yuca tossed in bright, garlicky citrus mojo sauce—an iconic, zesty side that pairs beautifully with roasted pork, grilled meats, and rice and beans.

⏱️ 40 minuteSide Dishes ★ 5
Side Dishes
🍜 United States

Tender, paper-thin potato flatbread, a beloved Norwegian-American Minnesota Christmas staple, griddled until softly spotted and served warm with butter.

⏱️ 1 hour 30Side Dishes ★ 4.6
Side Dishes
🍜 United States

Rich, deeply savory cured salt pork, a long-lasting kitchen staple perfect for frying crispy as a side or adding umami to stews, beans, and chowders.

⏱️ 7 days (2Side Dishes ★ 4.9
Side Dishes
🍜 United States

Crispy, tangy classic Southern fried green tomatoes with a crunchy cornmeal crust, served hot for a nostalgic, comforting summery bite.

⏱️ 25 minuteSide Dishes ★ 4.9
Side Dishes
🍜 United States

Moist, golden-crusted savory muffins with sweet corn, zesty jalapeño, and melted cheddar, perfect for pairing with smoky summer grilled fare.

⏱️ 30 minuteSide Dishes ★ 4.9

yellow bean sauce:Frequently Asked Questions

1.What makes this homemade Cantonese yellow bean sauce better than store-bought options? ▾
Unlike mass-produced versions loaded with preservatives, excess sodium, and stale, flat fermented notes, this homemade batch has bright, mellow soybean umami, a perfectly balanced sweet-salty profile, and fresh garlic depth. It tastes far brighter and more complex, with no artificial aftertaste common in jarred shelf-stable options.
2.Can I use pre-mashed canned fermented yellow soybeans instead of dried? ▾
I don’t recommend it, as canned fermented soybeans are often overly salty, mushy, and carry a tinny, muted flavor. Dried fermented yellow soybeans have a firmer texture and deeper, nuttier fermented savoriness that forms the sauce’s signature base, and they rehydrate quickly in just 20 to 30 minutes of warm water soak.
3.What’s the difference between light and dark soy sauce in this recipe? ▾
Light soy sauce adds the core salty, umami base without overwhelming the fermented bean flavor, while dark soy sauce lends a deep, rich amber-brown color and subtle caramelized roundness. Don’t swap them one-for-one: too much dark soy adds bitterness, while all light soy leaves the sauce pale and flat.
4.Can I substitute granulated white sugar for rock sugar? ▾
You can in a pinch, but rock sugar is worth seeking out for the most authentic flavor. It dissolves slowly to create mellow, rounded sweetness that doesn’t cloy, unlike granulated sugar which adds a sharp, harsh sweet hit that throws off the balance. If substituting, use 25% less granulated sugar to avoid over-sweetening.
5.How finely should I chop or process the fermented yellow soybeans? ▾
That depends on your preferred texture! For a rustic, chunky sauce perfect for dips or braises, lightly mash rehydrated beans with a fork so some whole pieces remain. For a smoother sauce ideal for stir-fry marinades, pulse 3 to 4 times in a food processor—don’t blend to a totally smooth paste, as you’ll lose pleasant textural contrast.
6.How long does this sauce last in the refrigerator? ▾
Stored in a clean, airtight glass jar with a thin layer of neutral oil poured over the top to seal out air, this sauce will stay fresh for up to 3 months in the fridge. Always use a clean, dry spoon to scoop portions, as introducing water or food crumbs will cause faster spoilage and unwanted mold growth.
7.Can I freeze this yellow bean sauce for longer storage? ▾
Absolutely! Freezing is perfect if you make a double batch. Portion cooled sauce into ice cube trays, freeze solid, then pop cubes into a labeled freezer bag. It keeps for up to 6 months frozen, and you can pull out exactly the amount you need for stir-fries or braises without thawing the whole batch.
8.What are the best ways to use this homemade yellow bean sauce? ▾
It’s incredibly versatile! Toss a spoonful into vegetable or meat stir-fries for deep umami, use it as a braising base for spare ribs or tofu, thin it with rice vinegar and sesame oil for a bright dumpling dip, or mix it into marinades for chicken or pork before grilling or roasting. It elevates almost any savory Cantonese dish.
9.My sauce turned out too salty—how can I fix it? ▾
If your finished sauce is overly salty, you can balance it two easy ways: stir in a small extra pinch of crushed rock sugar to amp up sweetness, or mix in a tablespoon of finely chopped, rehydrated fermented soybeans and a splash of Shaoxing wine to dilute salt levels without throwing off core flavor. Taste as you adjust to avoid overcorrecting.
10.Do I need to cook the sauce, or can I mix the ingredients and eat it raw? ▾
You definitely need to simmer the sauce gently for 10 to 15 minutes after mixing ingredients. Cooking mellows raw garlic bite, melts rock sugar evenly, lets soy sauce and fermented bean flavors meld together, and kills surface bacteria to help the sauce last longer in storage. Raw mixed ingredients taste harsh and spoil quickly.
11.Can I add extra aromatics like ginger or five-spice to the sauce? ▾
Of course! The base recipe is a classic Cantonese version, but you can customize it to your taste. Add a few slices of smashed ginger while simmering for warmth, a tiny pinch of five-spice for depth, or a small piece of dried tangerine peel for bright citrusy notes. Add aromatics sparingly so they don’t overpower the fermented soybean flavor.
12.What’s the best ratio of ingredients for a balanced batch? ▾
For a standard 2-cup batch, use 1 cup rehydrated dried fermented yellow soybeans, ¼ cup light soy sauce, 1 tablespoon dark soy sauce, 3 tablespoons crushed rock sugar, and 6 minced garlic cloves. This ratio hits the classic mellow, umami-rich, sweet-salty balance that works for every use case, from dips to braises.
13.Why is my sauce thinner than store-bought yellow bean sauce? ▾
Store-bought versions often use added thickeners like modified cornstarch to create a heavy, gel-like texture. This homemade version has a naturally looser, more pourable consistency from whole fermented beans. If you prefer a thicker sauce, simmer 5 extra minutes to reduce excess liquid, or stir in a tiny cornstarch and water slurry at the end of cooking.
14.Can I make this sauce gluten-free? ▾
Yes, with a couple of simple swaps. Replace regular light and dark soy sauce with certified gluten-free tamari (pick a version with no added wheat), and confirm your dried fermented yellow soybeans are processed in a gluten-free facility to avoid cross-contamination. Rock sugar and garlic are naturally gluten-free, so no other swaps are needed.
15.Do I need to rinse the dried fermented yellow soybeans before using them? ▾
Yes, give them a quick rinse under cool running water before soaking to brush off excess salt and stray dust from the fermentation and drying process. Don’t soak them for longer than 30 minutes, though, as over-soaking leaches out too much of their signature umami fermented flavor and makes them mushy when cooked.
16.Can I use black fermented beans instead of yellow fermented soybeans? ▾
That will create a different sauce entirely—black fermented beans (douchi) have a sharper, saltier, more assertive flavor than the mellow, nutty yellow soybeans used for classic Cantonese yellow bean sauce. If you only have black beans, cut added light soy sauce by half and add an extra tablespoon of rock sugar to balance their bolder profile.
17.How do I know if my dried fermented yellow soybeans are still good to use? ▾
Good dried fermented yellow soybeans are firm, dry, and have a deep, savory, nutty fermented aroma with no musty or sour off-notes. Discard any beans that are fuzzy with mold, feel soft or damp in the package, or smell rancid, as these will make your sauce taste off and could cause foodborne illness even after cooking.
18.Should I leave the garlic raw, or cook it with the other ingredients? ▾
Always cook minced garlic gently in a little neutral oil for 30 to 60 seconds before adding other sauce ingredients, until it is fragrant but not browned. This softens harsh raw garlic bite and releases its sweet, aromatic flavor into the oil; burnt garlic will make the whole sauce taste bitter, so keep heat low when sautéing.

Comments (16)

2 days ago

OMG this is SO good! I’ve been buying jarred yellow bean sauce for years for my weeknight stir fries and this homemade version blows every store brand out of the water. Took me exactly 30 minutes too, super easy even when I’m juggling after school activities with the kids. My youngest kept dipping his steamed broccoli straight into the sauce bowl at dinner last night 😂

yesterday

So glad your family loved it! Steamed broccoli dipped in this sauce is such an underrated snack, great call from your youngest!

1 week ago

Total game changer for my weekend Cantonese-style pork ribs. I brought a batch to our neighborhood potluck last weekend and three people asked me for the recipe before we even finished the main course. Way less salty than the store bought stuff too, which is a huge win.

3 days ago

Wait, quick question—can I freeze leftover sauce for later? I meal prep on Sundays and this would be perfect to have on hand for quick broccoli beef or green bean stir fries if it freezes well!

2 days ago

I froze half my batch last month and it thawed perfectly! Just gave it a quick stir before using and it tasted exactly the same as fresh, no weird texture changes at all.

2 days ago

Great question! You can absolutely freeze this sauce for up to 3 months in an airtight container. I recommend portioning it into ice cube trays first so you can pop out exactly what you need for meals without thawing the whole batch.

5 days ago

I swapped the regular soy for low-sodium soy because I’m watching my salt intake and it still turned out incredible! Tossed it with pan-fried tofu and bok choy for dinner last night and my partner went back for seconds even though he swears he “doesn’t like tofu.”

3 days ago

Wait this is the exact swap I was thinking of doing! So glad to hear it works, I’ve been nervous to make this because I thought it would be too salty for my diet.

2 weeks ago

As a college student with basically zero cooking skills, I was shocked how easy this was to make! I used it for a quick noodle stir fry in my dorm kitchen and my roommate thought I ordered takeout from our favorite local Cantonese spot. 10/10 will make again every time I run out.

yesterday

How long does this last in the fridge? I made a double batch yesterday and I don’t want it to go bad before I can use all of it!

2 hours ago

I kept mine in a sealed mason jar in the fridge for 2 weeks last time and it was totally fine! Just make sure you don’t dip dirty spoons straight into the jar so it doesn’t get contaminated.

30 minutes ago

Pro tip: pour a thin layer of neutral oil on top before sealing the jar, it creates an air barrier that makes it last even longer! I do this with all my homemade savory sauces.

1 week ago

Tried this for the first time to make steamed spare ribs with yellow bean sauce for our Sunday dim sum brunch at home, and it tasted exactly like what we get at the restaurant in Chinatown! Only note is I added a tiny extra splash of rice wine because I love that depth of flavor.

5 days ago

Love that extra rice wine addition! It adds such a nice warm depth that pairs perfectly with steamed ribs, great hack for home dim sum spreads.

2 weeks ago

Made this for a work potluck last week and served it alongside crispy wonton chips as a dip? Weird combo I know, but people went crazy for it! My boss even asked me to bring a jar to our next team lunch. Who knew yellow bean sauce made such a good party dip?

5 days ago

Quick question—does anyone know if this works with gluten-free soy sauce? I have celiac so I can’t have regular soy, but I’ve been craving good yellow bean sauce forever since most jarred ones have hidden gluten.

3 days ago

I made it with tamari (gluten-free soy) last week and it was perfect! No weird aftertaste at all, my non-GF husband didn’t even notice a difference.

2 days ago

Thanks for sharing that great tip! Tamari works beautifully as a 1:1 swap for regular soy sauce in this recipe for anyone needing a gluten-free version, just make sure your fermented yellow beans are also certified gluten-free to avoid cross-contamination.

3 days ago

Game. Changer. I made this to go with our Friday night family dinner of Cantonese-style roasted green beans and crispy pork belly, and even my super picky 10 year old ate every last bite on his plate. He said it tastes “better than the restaurant sauce” which is the highest possible compliment in our house.

yesterday

Ugh my 8 year old turns his nose up at every stir fry I make, I need to try this! If it passes the kid taste test I’m making a huge batch this weekend.

2 days ago

This is my new go-to sauce for weekly meal prep! I toss it with roasted veggies and chicken on Sundays, divide it into containers, and I have 4 days of lunches ready to go. It’s so flavorful I don’t get bored of eating the same thing all week, which is usually my problem with meal prep.

2 hours ago

Is there a way to add a little heat to this? I love spicy food and usually add chili oil to everything, but I don’t want to mess up the classic Cantonese flavor profile.

30 minutes ago

Great question! You can add a teaspoon of minced fresh chili or a pinch of dried chili flakes when you’re sautéing the garlic and ginger for a subtle heat that doesn’t overpower the classic umami flavor. A splash of chili oil stirred in right at the end works great too!

30 minutes ago

Help! I burned the garlic when I made this earlier today 😭 did I ruin the whole batch? I’m so sad, I was really looking forward to having this for my stir fry tonight.

5 minutes ago

Oh no, I did that my first time too! If it’s just a little burnt you can strain out the burnt garlic bits and it’ll still be fine, but if it tastes super bitter you might need to redo the garlic/ginger base. Good news is the base only takes like 5 minutes to make!

just now

Second this! I burned mine last week, strained it, added a tiny extra pinch of sugar to balance any faint bitter taste, and it still turned out great. Don’t give up!

1 week ago

I’ve been making Cantonese food at home for over 40 years, and this yellow bean sauce recipe is spot on. Tastes exactly like the one my mom used to make when I was a kid growing up in San Francisco. Perfect balance of salty, sweet, and umami, no weird additives like the jarred stuff. Great job on this recipe!

yesterday

Used this sauce for chow fun last night and it was chef’s kiss. I’ve tried so many copycat recipes for restaurant-style chow fun and this sauce is the missing piece I’ve been looking for this whole time. Who knew making the sauce from scratch made that big of a difference?

2 hours ago

Wait I was just looking for a good sauce for chow fun! I’ve been using oyster sauce only and it never tastes right, I’m definitely making this tomorrow for dinner.

2 days ago

Quick note for anyone watching their sugar intake: I cut the sugar in half and it was still absolutely delicious. I was worried it would throw off the flavor balance but the umami from the beans is so strong you barely miss the extra sugar. Will be making this on repeat!

yesterday

Thanks for this tip! I’ve been cutting added sugar out of my cooking where I can, I was nervous to adjust the recipe but I’ll definitely try the half-sugar version this weekend.

yesterday

So glad that swap worked for you! This recipe is super flexible, so cutting back on sugar (or swapping for a zero-calorie sweetener if you prefer) works really well without ruining the classic flavor balance.



