
Yellow Squash Casserole

title 1
Yellow Squash Casserole
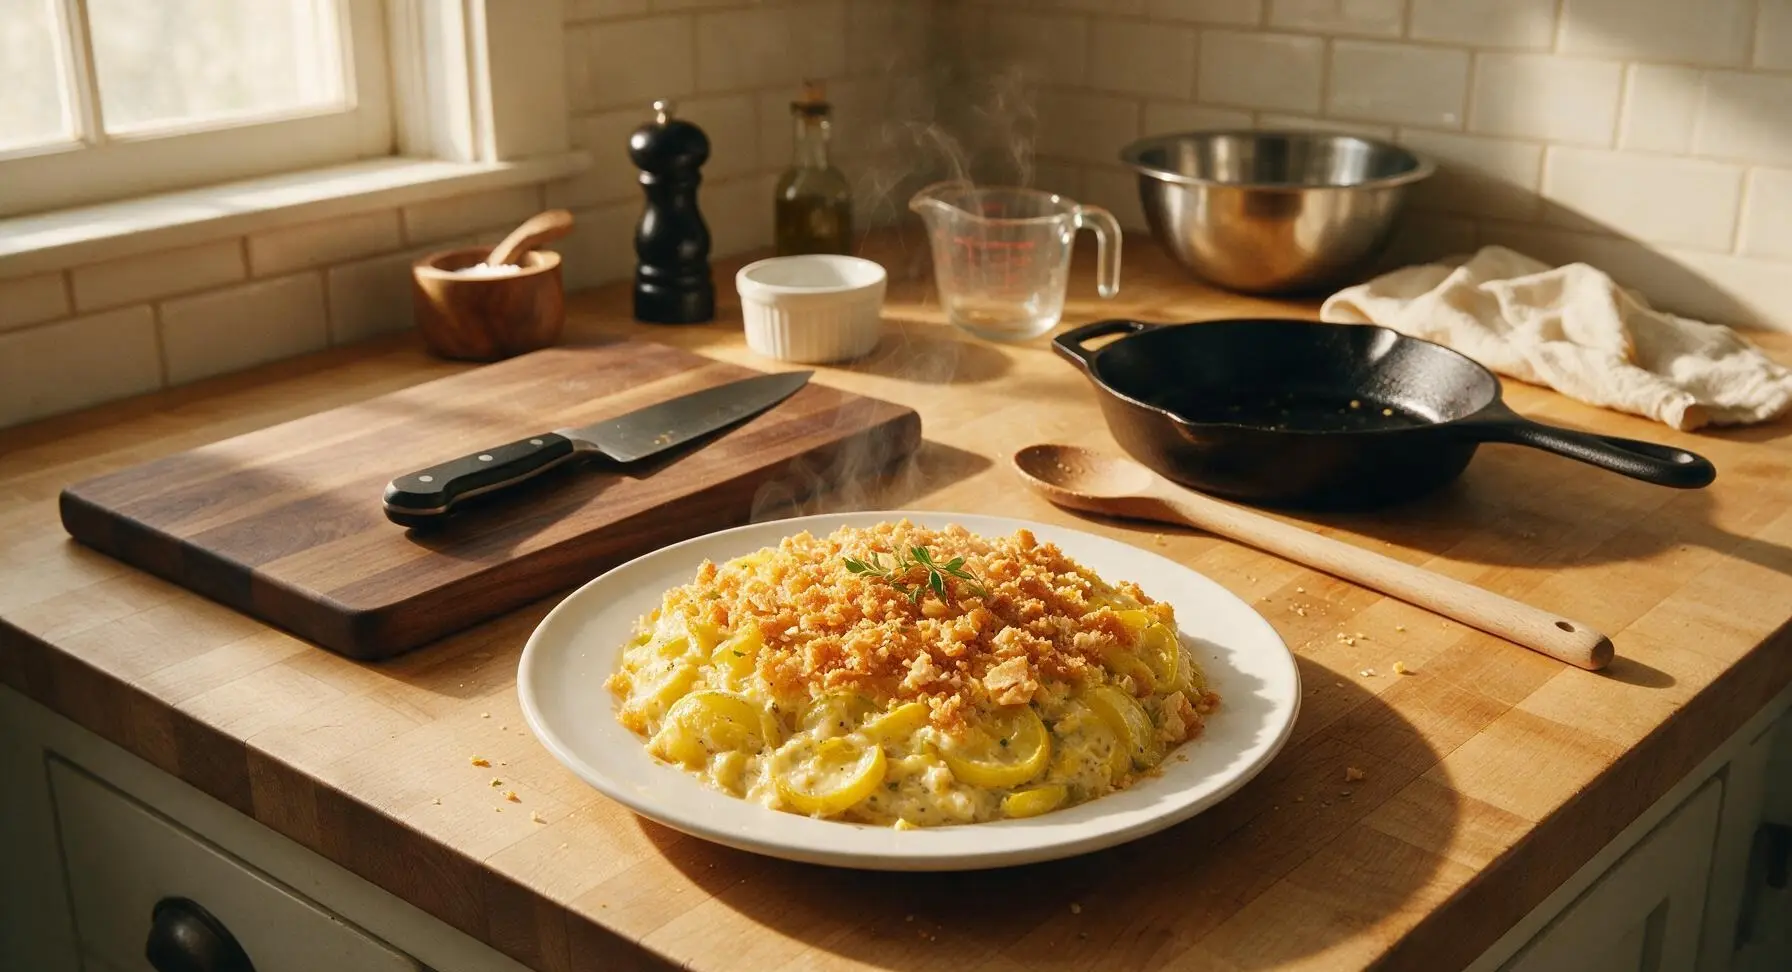
⏱️ cook time 45 minutes
🍽️ servings 6
⚡ Difficulty easy

intro

This classic Southern yellow squash casserole features tender summer squash baked in a creamy cheesy filling, topped with buttery crisp cracker crumbs—pure comfort food perfect for family meals.

Ingredients
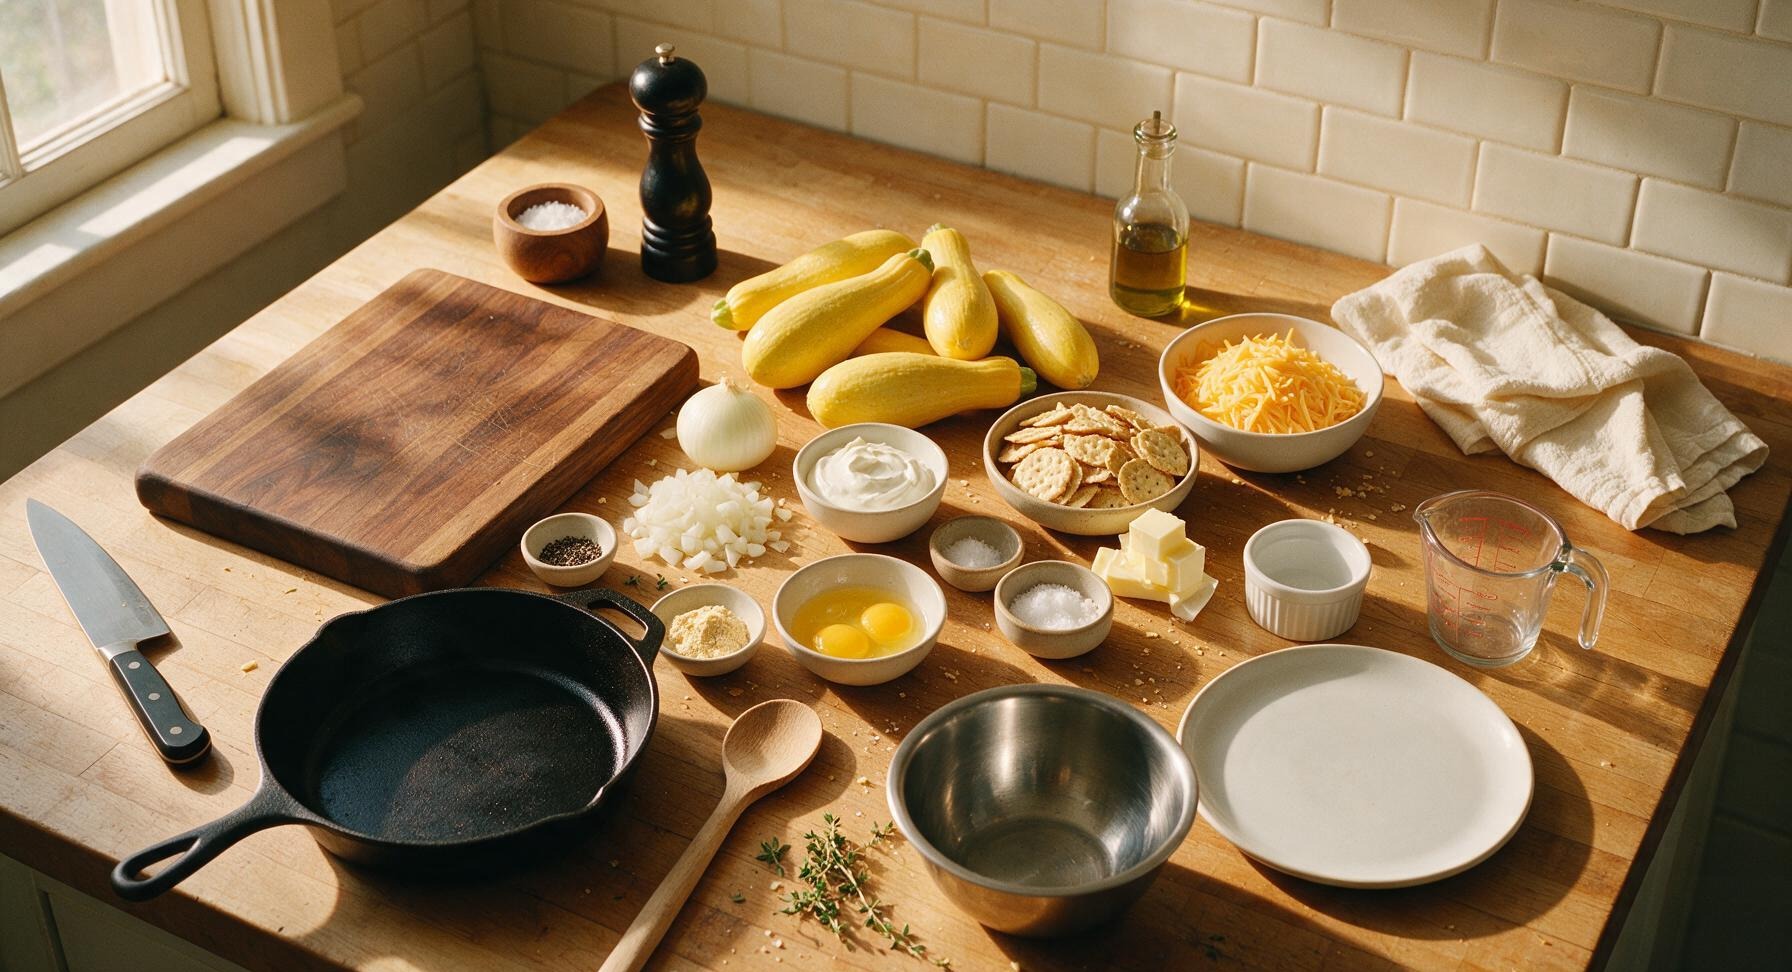
Yellow summer squash 900g (about 6 medium)
Yellow onion 1 small (120g, diced)
Sharp cheddar cheese 220g (2 cups, shredded)
Sour cream 120g (1/2 cup)
Large eggs 2, lightly beaten
Unsalted butter 6 tbsp (85g), divided
Buttery round crackers (e.g., Ritz) 1 sleeve (120g, crushed)
Garlic powder 1 tsp
Kosher salt 1.5 tsp, divided
Freshly ground black pepper 1/2 tsp
Fresh thyme leaves 1 tsp, plus extra for garnish

Steps

1

Prep and Slice Squash

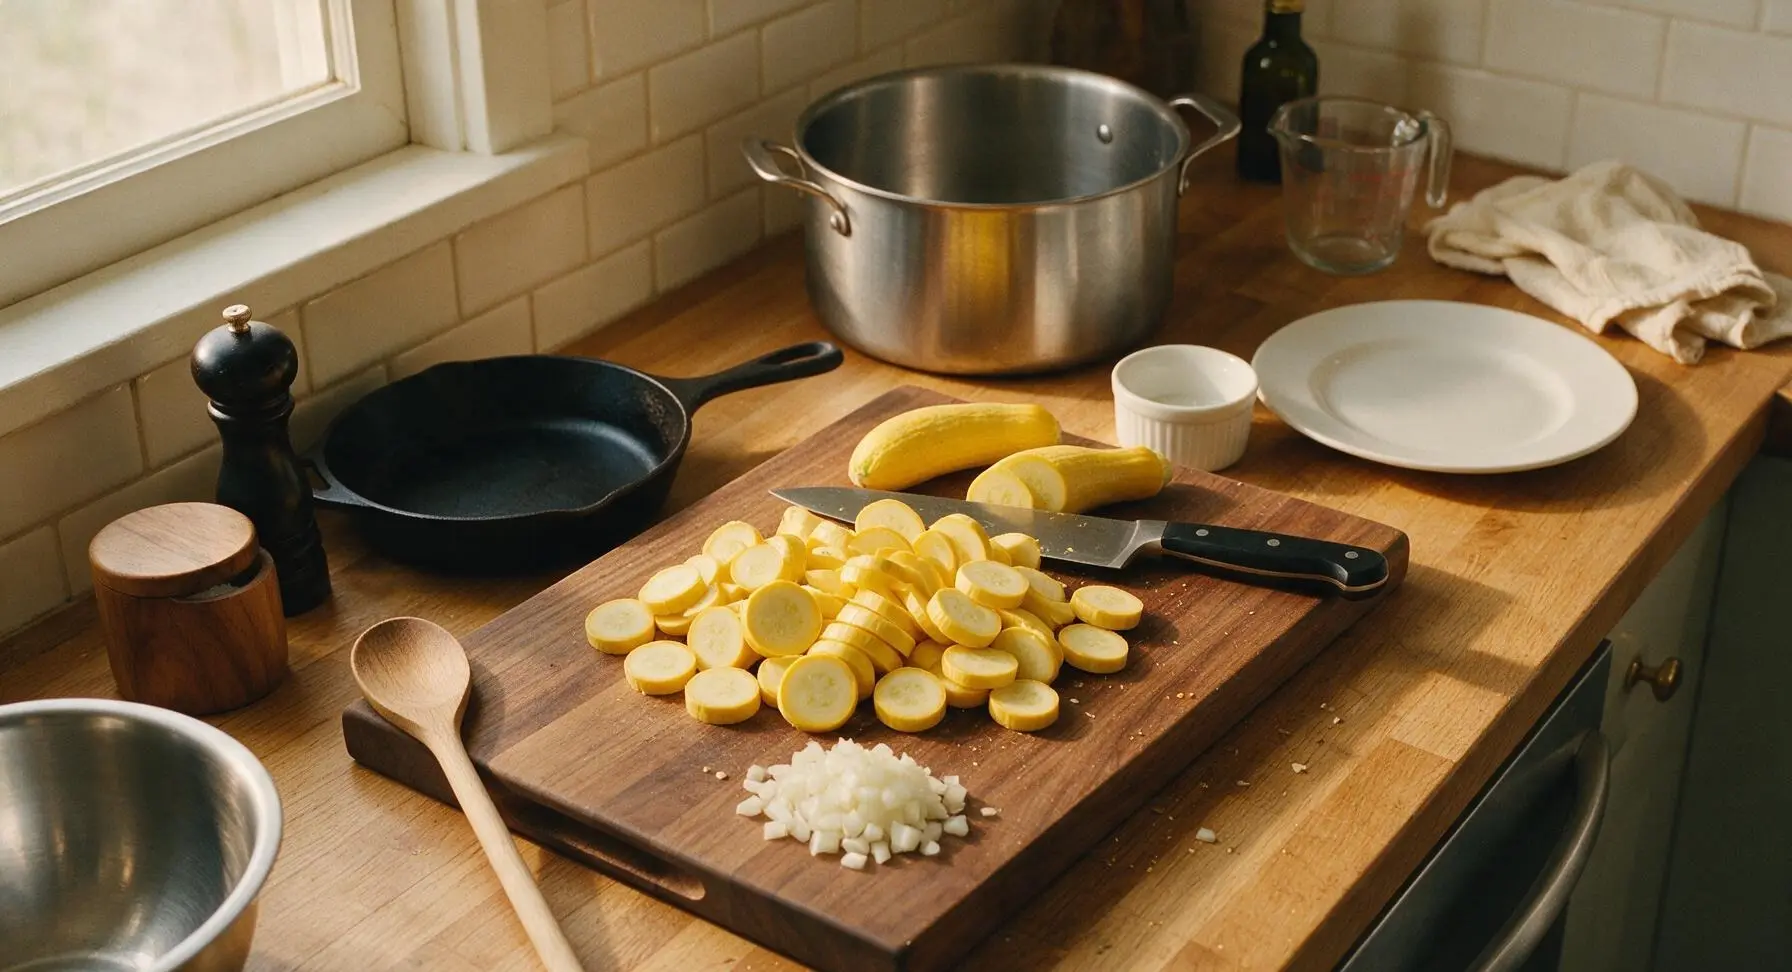
Rinse the yellow squash under cool running water and pat dry. Trim 1/4 inch off the stem and blossom ends of each squash, then slice into 1/4-inch thick rounds using the chef knife on the acacia cutting board. Dice the small yellow onion into 1/4-inch pieces and set aside. There is no need to peel the squash, as the skin is tender and adds color and fiber.
Step 1
step1:Prep and Slice Squash
2

Simmer Squash and Onion

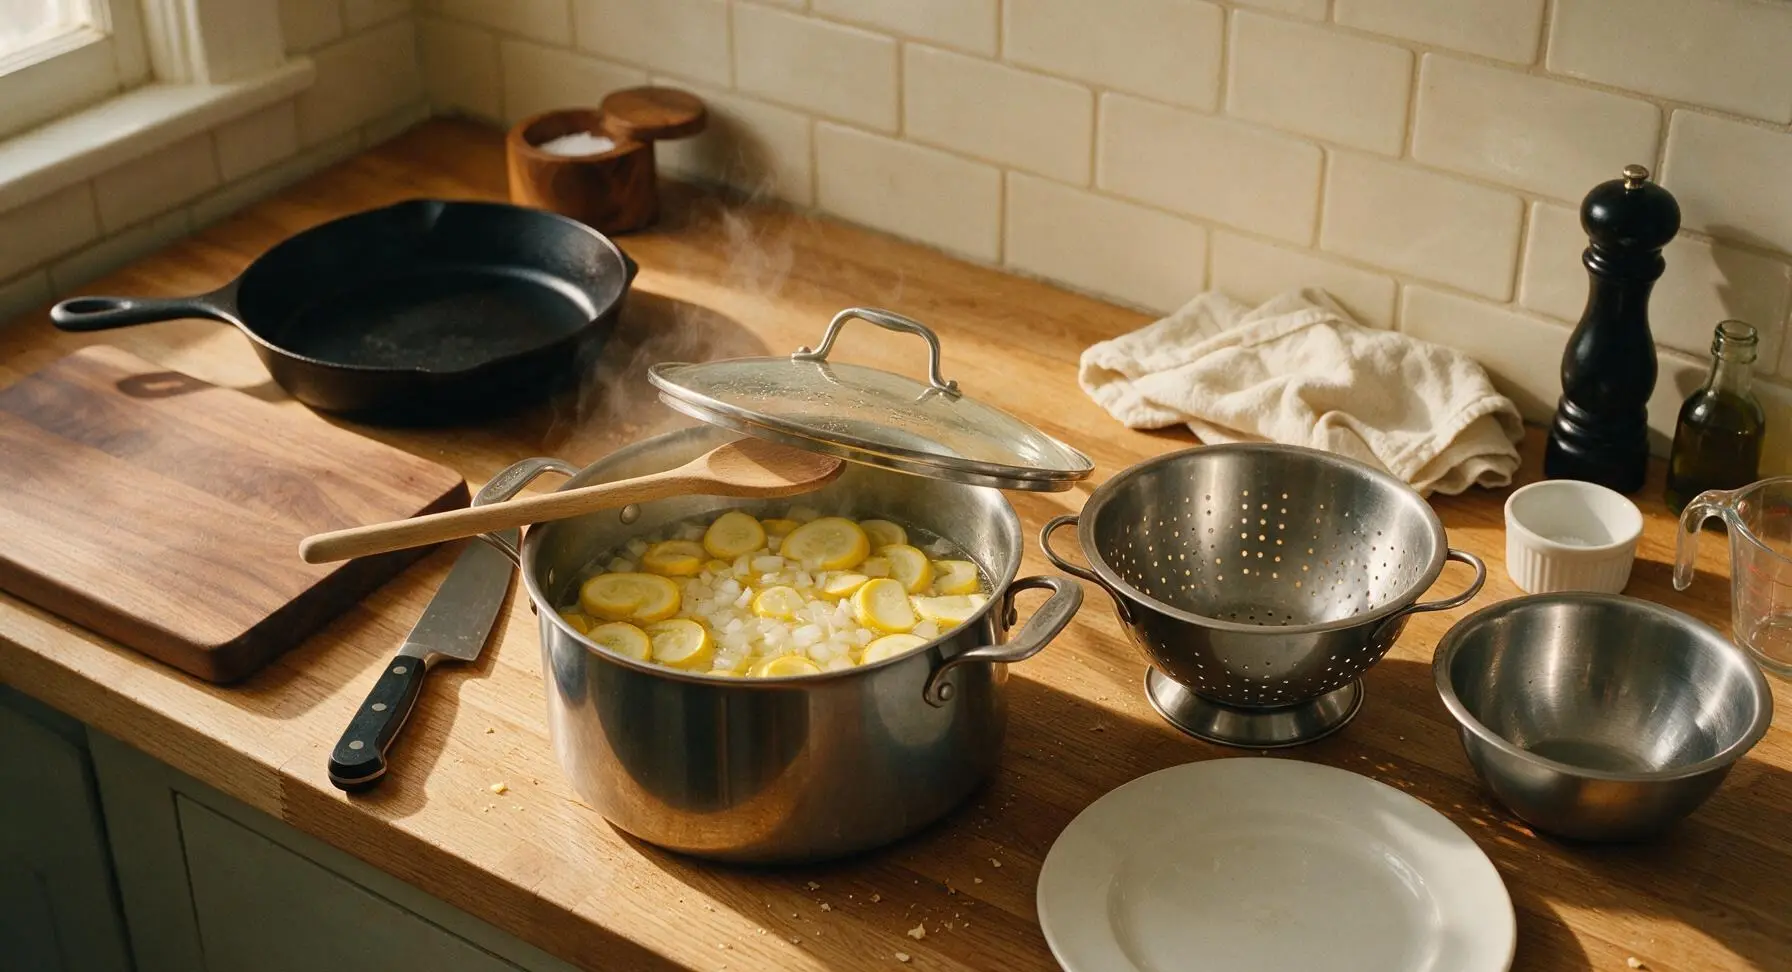
Place the sliced squash and diced onion into the 4-quart stainless steel stock pot, add 1 tsp kosher salt, and cover with 1 inch of cool water. Bring to a rolling boil over medium-high heat, then reduce heat to medium and simmer for 8-10 minutes, until squash is fork-tender but not mushy: a fork should pierce slices easily with light pressure, but slices should not fall apart when lifted.
Step 2
step2:Simmer Squash and Onion
3

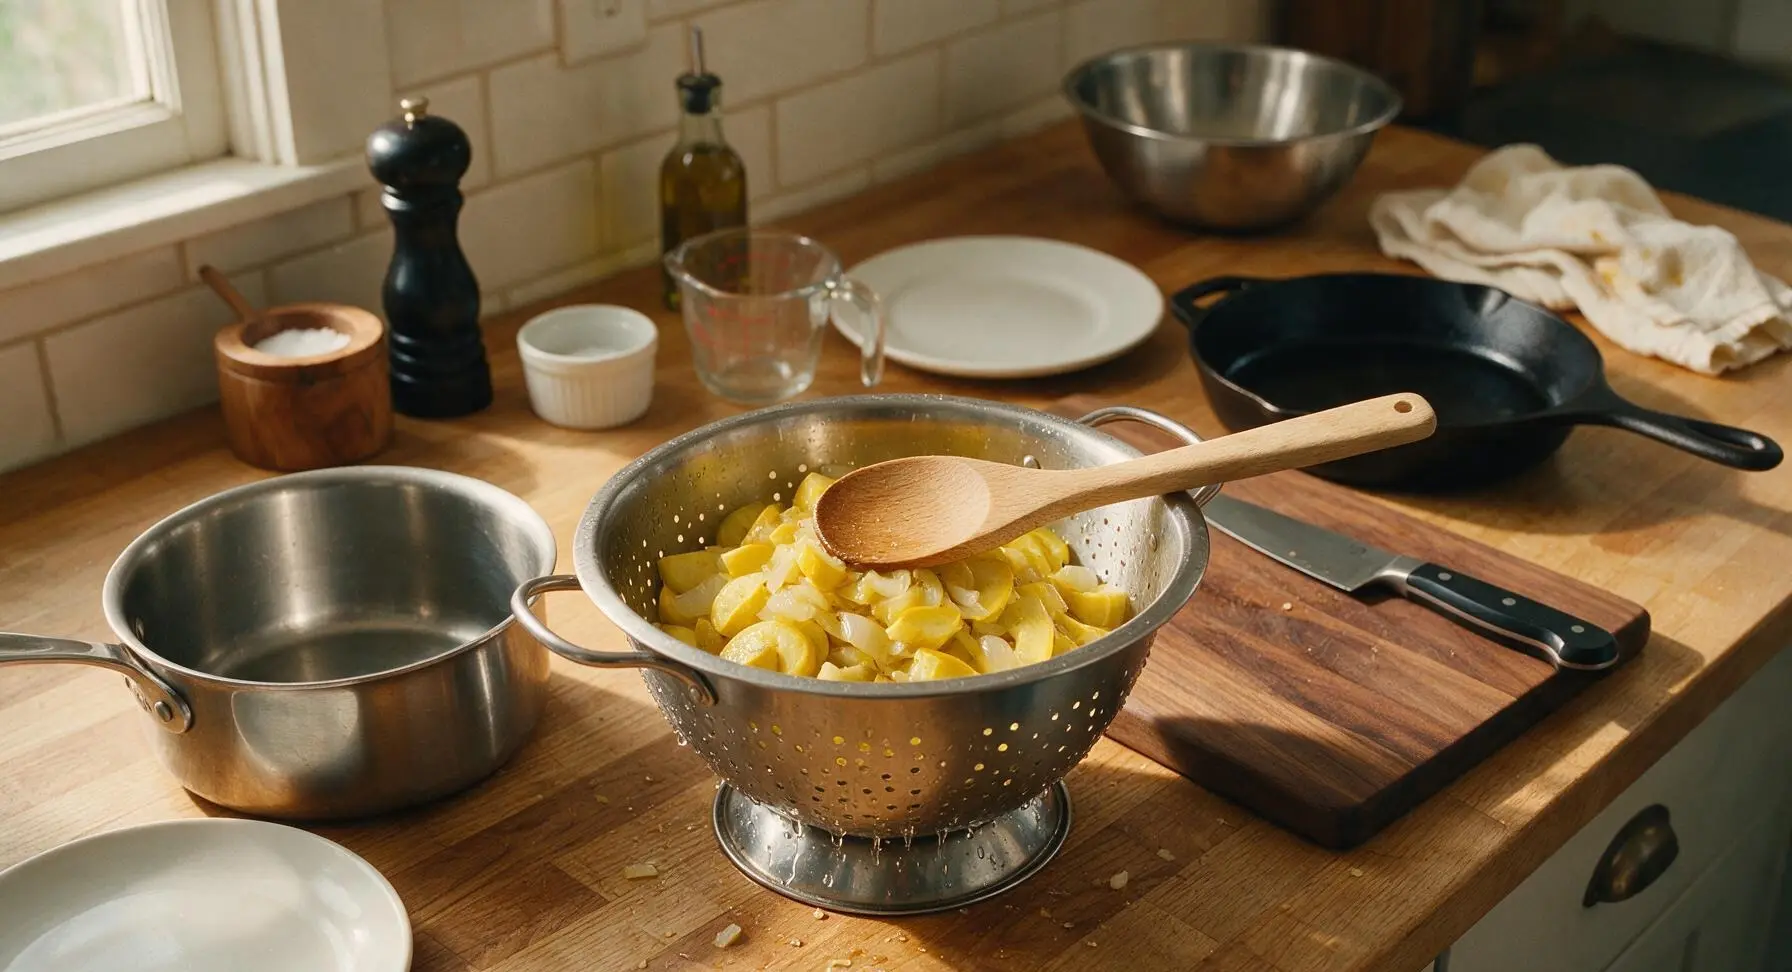
Drain Cooked Squash

Once squash is tender, pour the entire contents of the pot into the stainless steel colander. Let drain for 5 full minutes, pressing gently on the squash with the back of the wooden spoon to squeeze out excess water—this step is critical to avoid a watery casserole. Do not rinse the squash.
Step 3
step3:Drain Cooked Squash
4

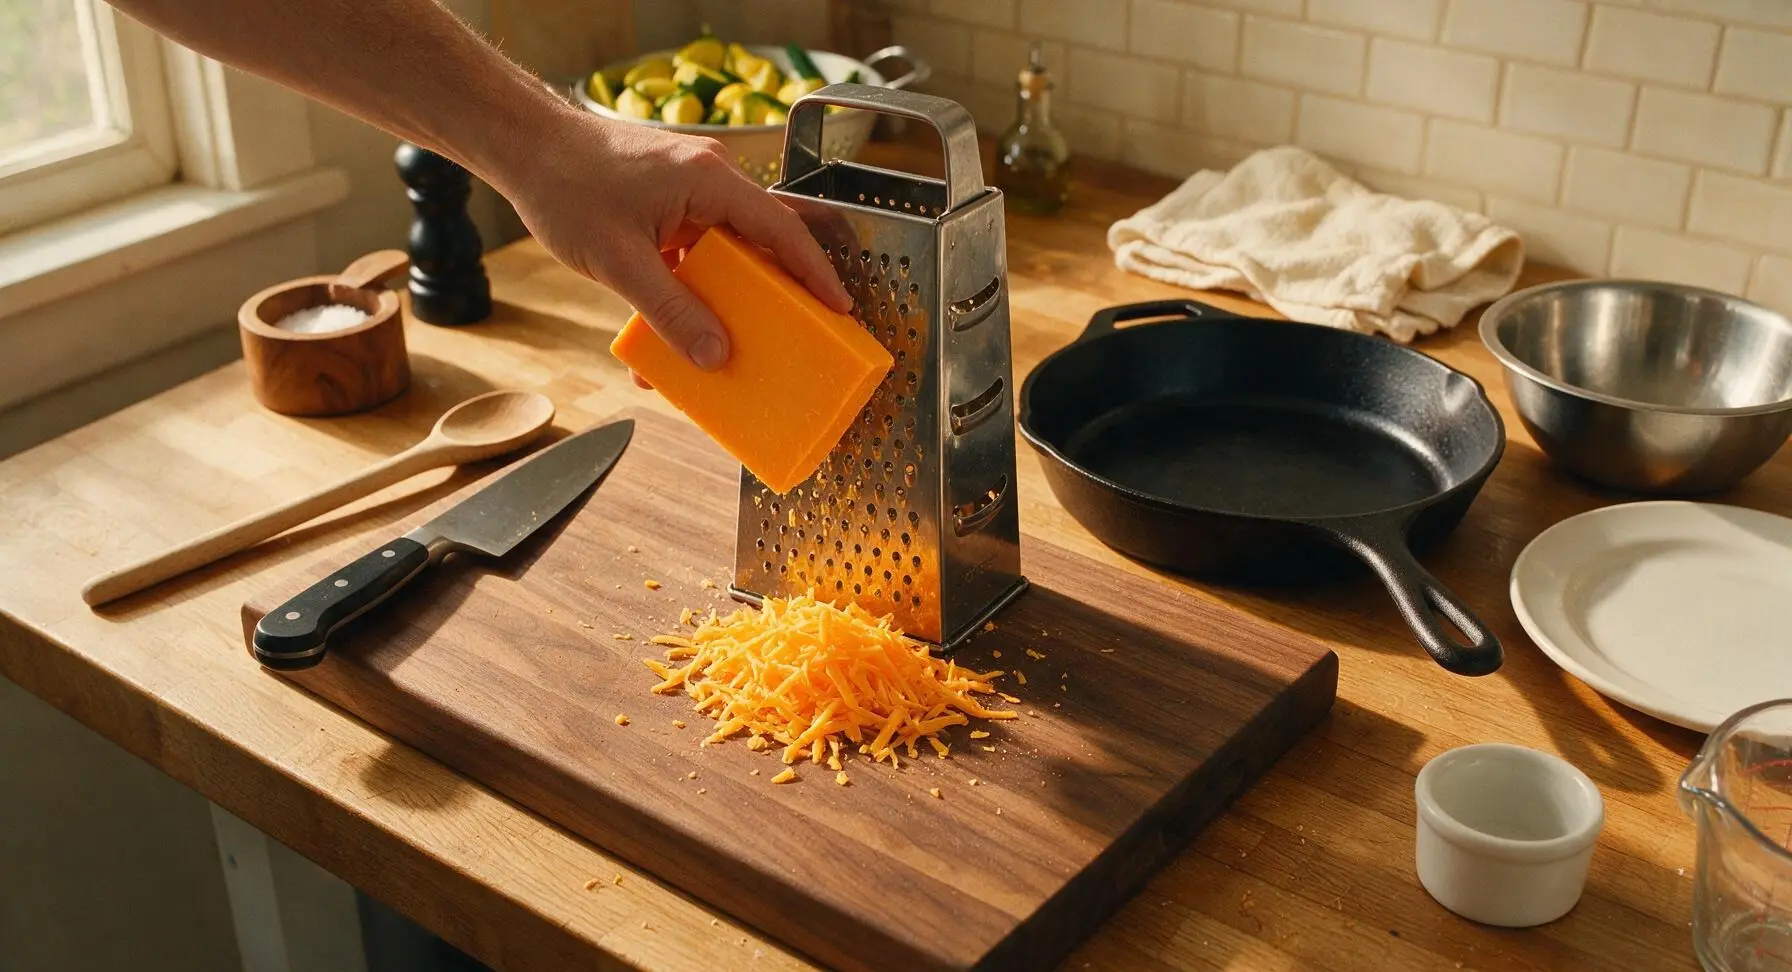
Shred Cheddar Cheese

While the squash drains, use the box grater to shred the block of sharp cheddar cheese directly onto a clean section of the cutting board. Set aside 1/2 cup of shredded cheese to top the casserole later, and reserve the rest for the filling. Avoid pre-shredded cheese, as it contains anti-caking agents that make the filling less creamy.
Step 4
step4:Shred Cheddar Cheese
5

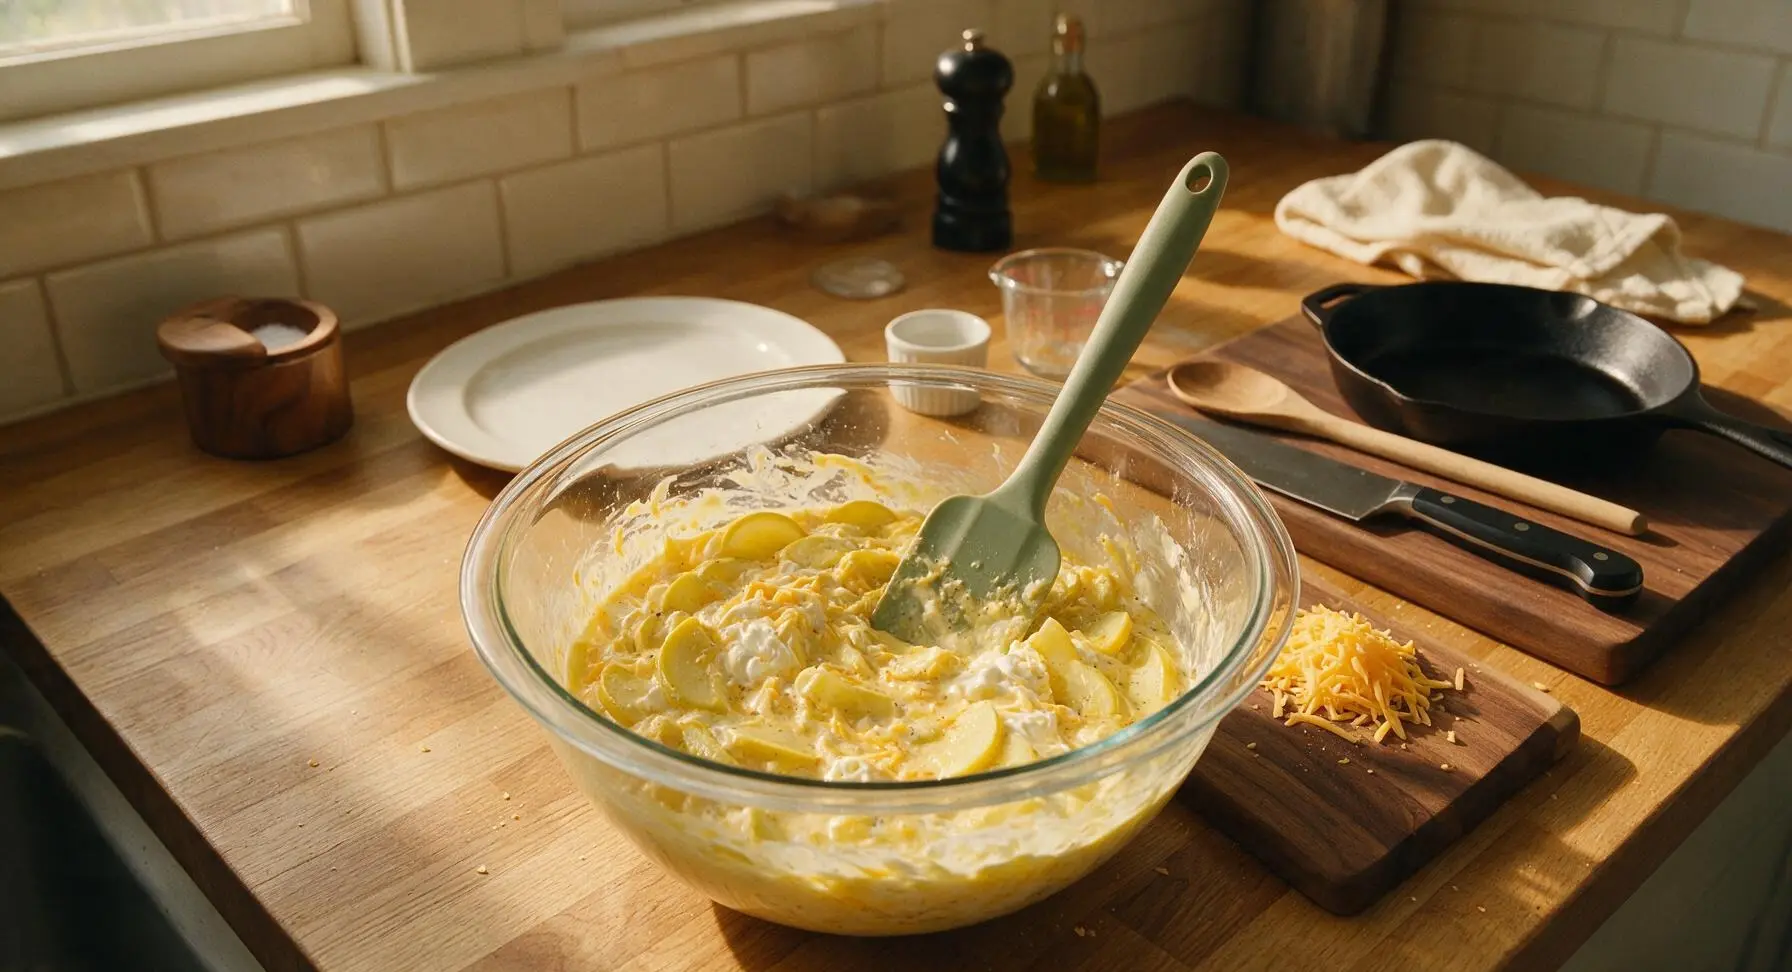
Combine Filling Ingredients

Transfer the fully drained squash and onion to the large glass mixing bowl. Add the sour cream, beaten eggs, garlic powder, remaining 1/2 tsp kosher salt, black pepper, fresh thyme, and 1 1/2 cups of the shredded cheddar. Melt 3 tbsp of butter and stir into the mixture, folding gently with the silicone spatula until evenly combined—do not overmix, as some texture from the squash slices should remain.
Step 5
step5:Combine Filling Ingredients
6

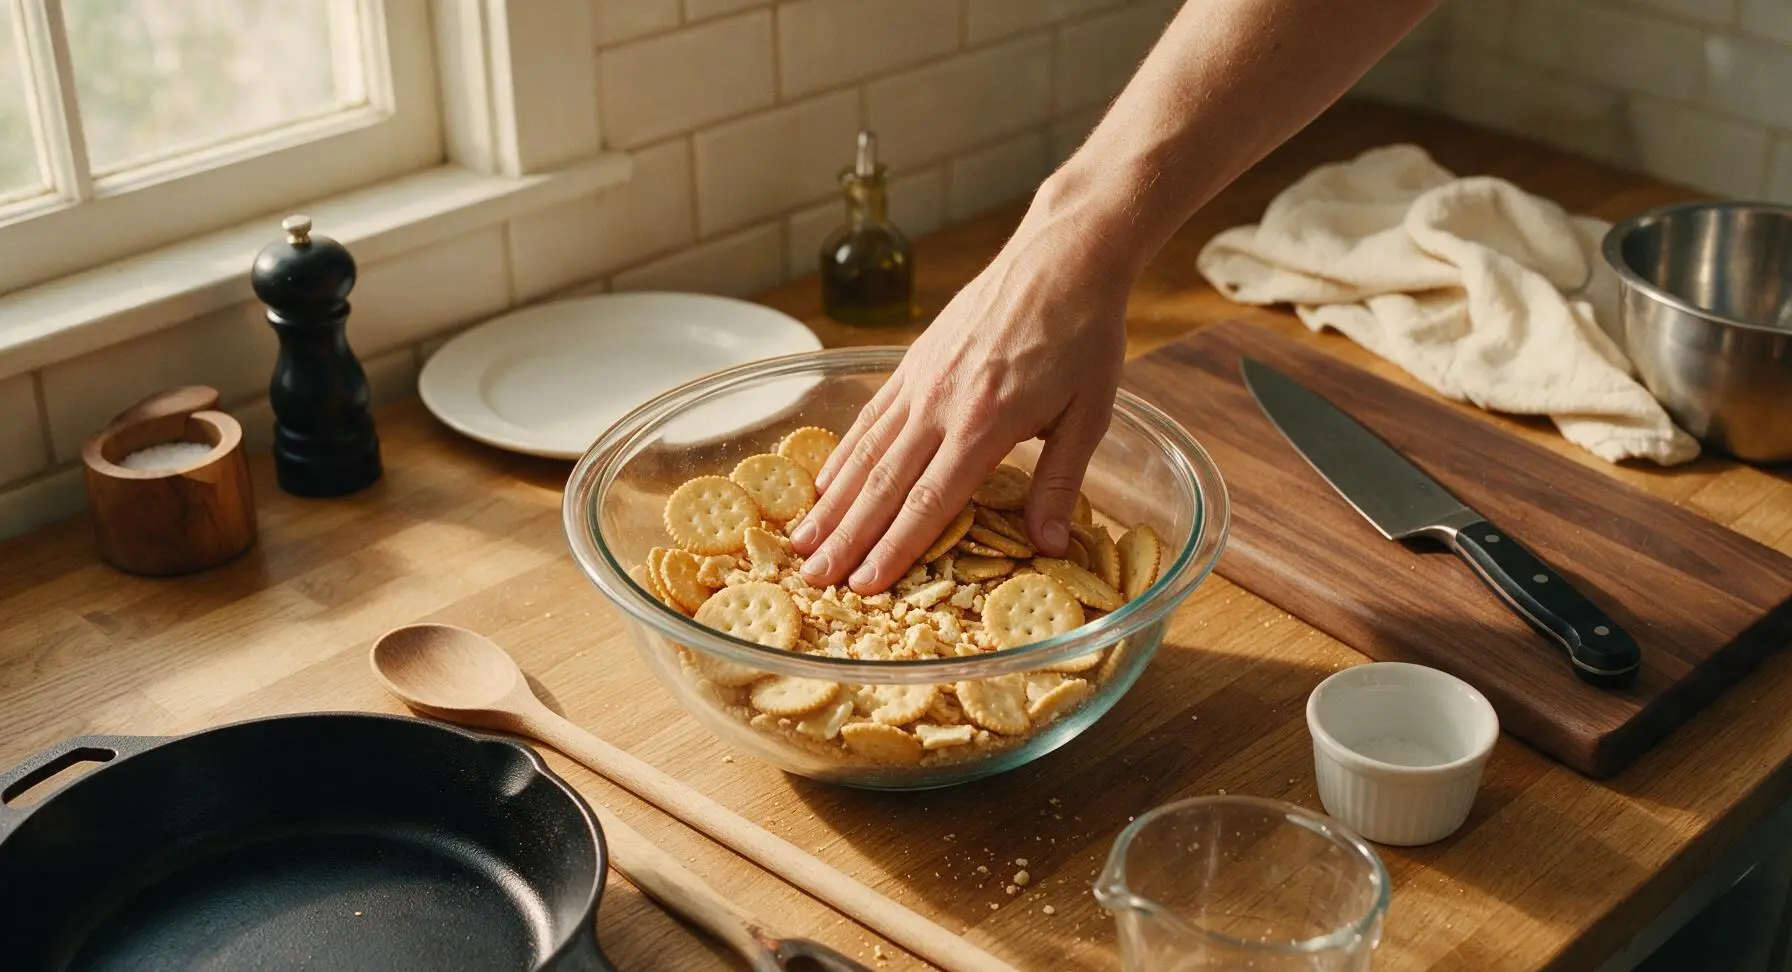
Prepare Cracker Topping

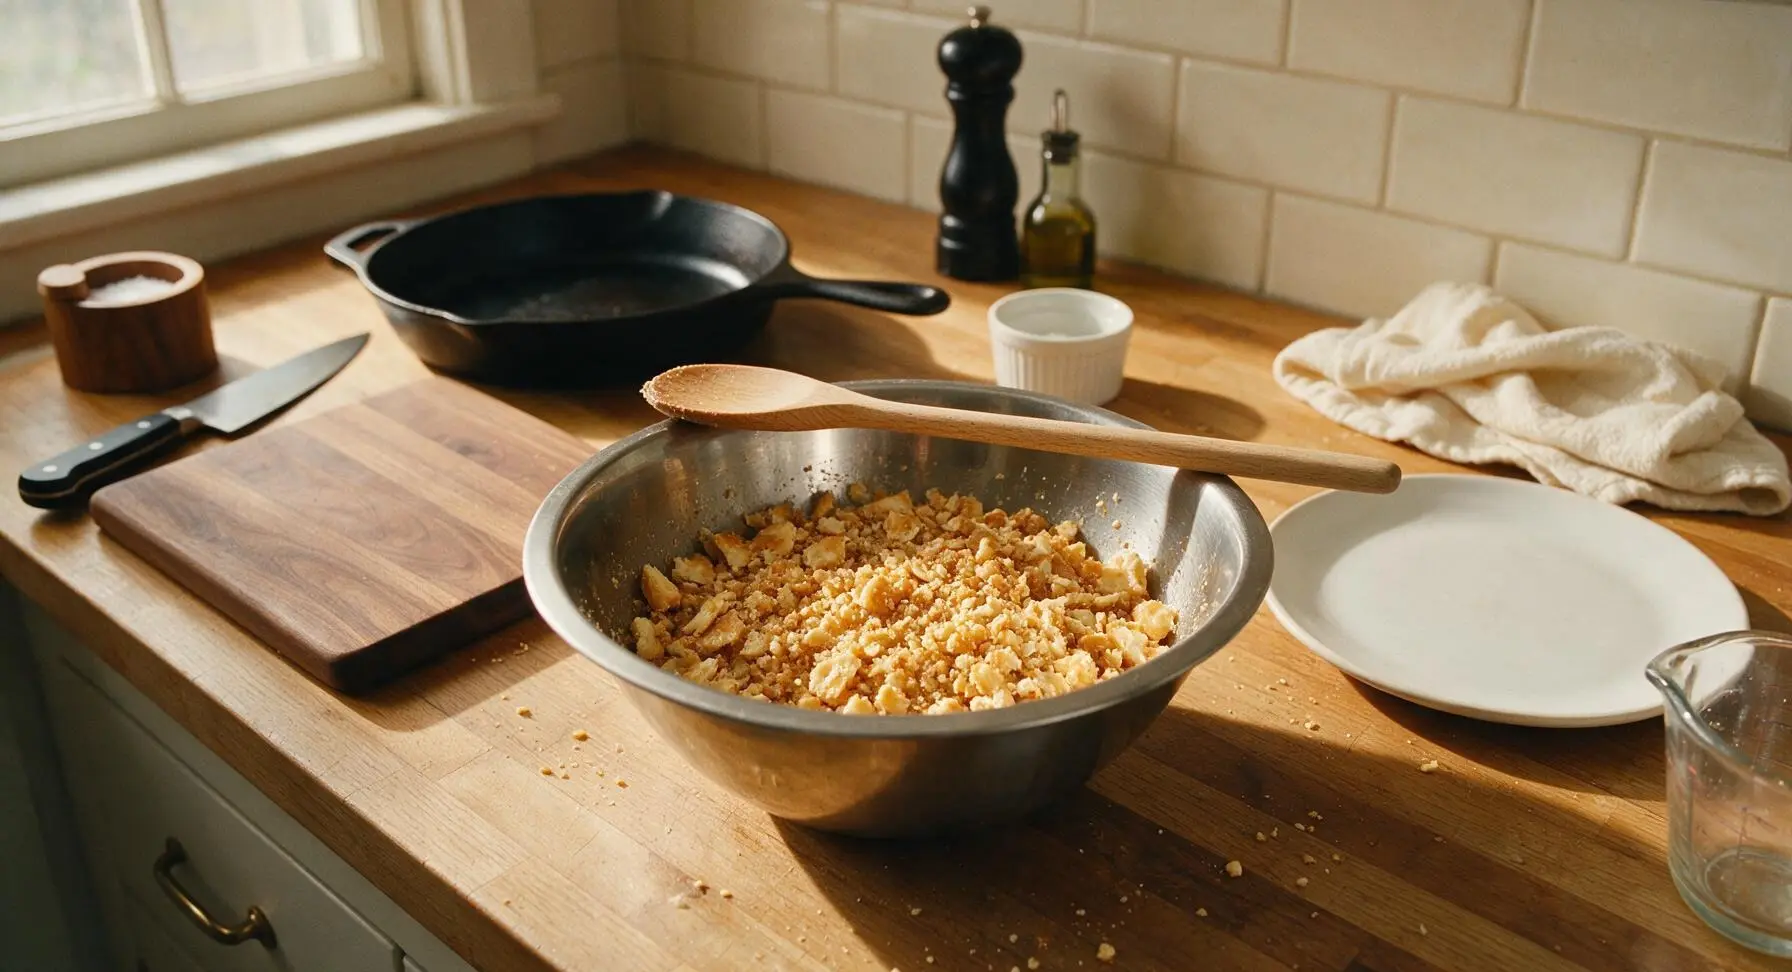
Place the buttery round crackers into the medium glass mixing bowl, and crush them into coarse crumbs (some pea-sized pieces should remain for texture, do not crush into fine powder). Melt the remaining 3 tbsp of butter, pour over the cracker crumbs, and stir with the wooden spoon until all crumbs are evenly coated in butter.
Step 6
step6:Prepare Cracker Topping
Step 6
step6:Prepare Cracker Topping
7

Assemble Casserole in Dish

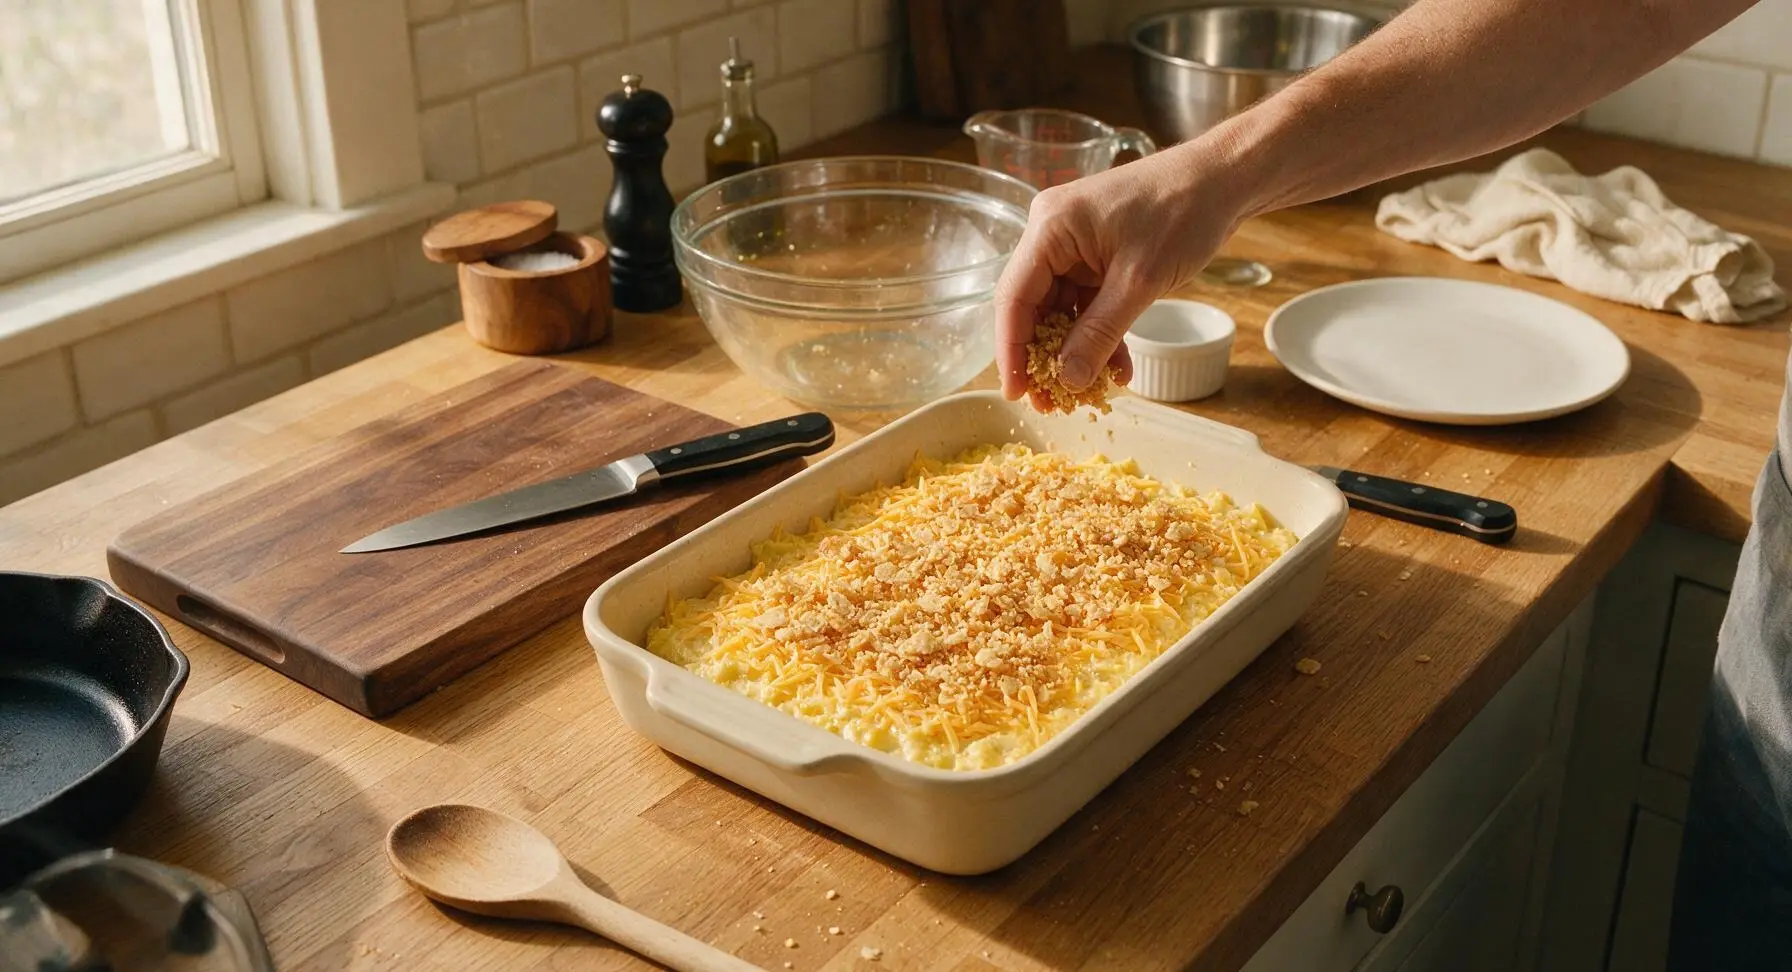
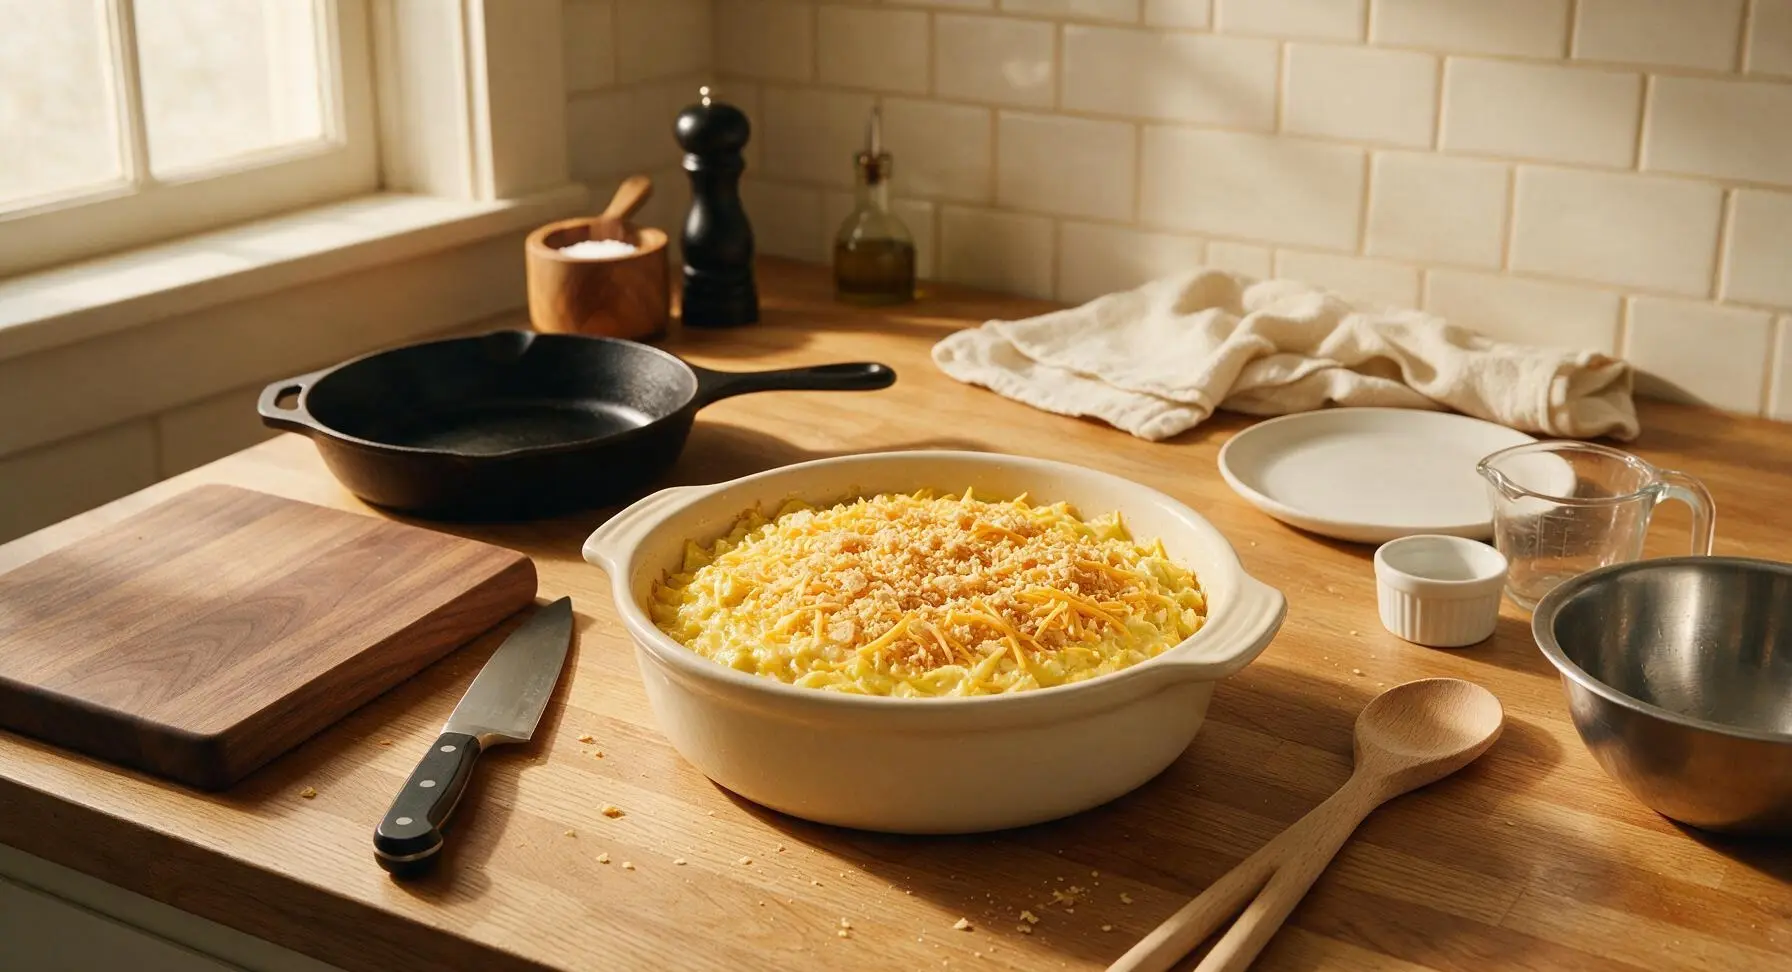
Pour the squash filling mixture into the 9x13 inch matte cream ceramic baking dish, spreading it into an even layer with the silicone spatula. Sprinkle the reserved 1/2 cup of shredded cheddar evenly over the top of the filling, then spread the buttered cracker crumbs in a uniform layer over the cheese, covering the entire surface.
Step 7
step7:Assemble Casserole in Dish
8

Bake to Golden Perfection

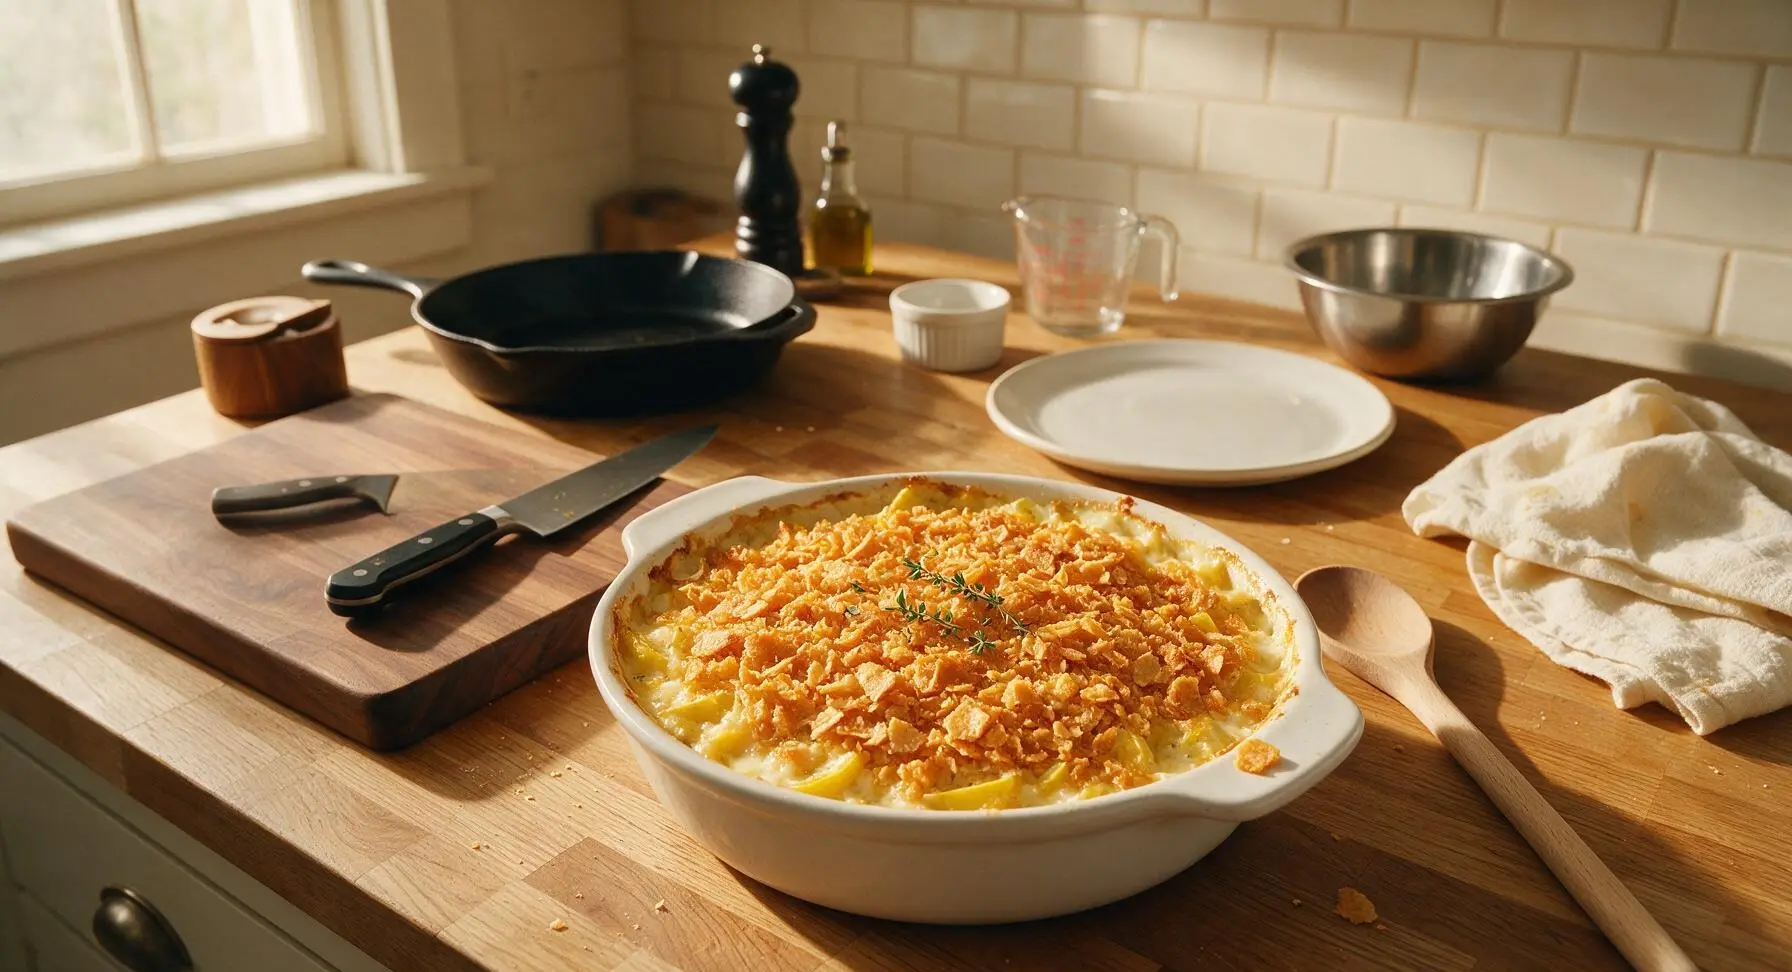
Place the assembled casserole in a preheated 350°F (175°C) oven, and bake for 30-35 minutes, until the filling is bubbly around the edges and the cracker topping is deep golden brown and crisp. Remove from the oven and let rest for 10 minutes before serving, to allow the filling to set. Garnish with extra fresh thyme leaves before serving.
Step 8
step8:Bake to Golden Perfection
Step 8
step8:Bake to Golden Perfection

Tips

1.Press all excess moisture from the drained cooked squash: Summer squash has very high water content, and skipping this 5-minute draining and pressing step will lead to a watery, loose casserole that never sets properly, rather than a thick, creamy, sliceable consistency.
2.Skip pre-shredded cheese for this recipe: Pre-packaged shredded cheese is coated in potato starch or natamycin to prevent caking, which prevents it from melting smoothly into the filling, resulting in a grainy texture instead of a silky, cheesy sauce.
3.Let the casserole rest for 10 full minutes after removing it from the oven: The eggs in the filling need time to set as they cool slightly, so cutting into the casserole immediately will cause the filling to run and ooze, while a short rest results in clean, neat scoops that hold their shape.


✨ You May Also Like

Side Dishes
🍜 India

Velvety, aromatic all-purpose curry sauce perfect for tossing with roasted veggies, grilled protein, or rice for fast, cozy, flavorful meals.

⏱️ 25 minuteSide Dishes ★ 4.8
Side Dishes
🍜 Spain

Tender, starchy boiled yuca tossed in bright, garlicky citrus mojo sauce—an iconic, zesty side that pairs beautifully with roasted pork, grilled meats, and rice and beans.

⏱️ 40 minuteSide Dishes ★ 5
Side Dishes
🍜 United States

Tender, paper-thin potato flatbread, a beloved Norwegian-American Minnesota Christmas staple, griddled until softly spotted and served warm with butter.

⏱️ 1 hour 30Side Dishes ★ 4.6
Side Dishes
🍜 United States

Rich, deeply savory cured salt pork, a long-lasting kitchen staple perfect for frying crispy as a side or adding umami to stews, beans, and chowders.

⏱️ 7 days (2Side Dishes ★ 4.9
Side Dishes
🍜 United States

Crispy, tangy classic Southern fried green tomatoes with a crunchy cornmeal crust, served hot for a nostalgic, comforting summery bite.

⏱️ 25 minuteSide Dishes ★ 4.9
Side Dishes
🍜 United States

Moist, golden-crusted savory muffins with sweet corn, zesty jalapeño, and melted cheddar, perfect for pairing with smoky summer grilled fare.

⏱️ 30 minuteSide Dishes ★ 4.9

Yellow Squash Casserole:Frequently Asked Questions

1.Can I use frozen yellow squash instead of fresh for this casserole? ▾
Absolutely! Just thaw the frozen squash completely first, then squeeze out as much excess moisture as possible with paper towels or a colander before mixing it in. Skipping that step will leave you with a watery, soggy casserole. Use the same measured amount as fresh, and expect a slightly softer but still totally tasty final texture.
2.Why does my squash casserole turn out watery every time I make it? ▾
Watery casserole almost always comes from undrained cooked squash! Summer squash has very high water content, so after sautéing or boiling your squash and onion, drain it thoroughly and press out extra liquid with a spatula before mixing with the creamy filling. Avoid overcooking squash pre-bake too, as that releases even more excess water.
3.Can I make this casserole ahead of time for a potluck or holiday meal? ▾
You sure can! Assemble the entire casserole, but hold off on adding the cracker crumb topping until right before baking, then cover it tightly in the fridge for up to 24 hours. When you’re ready to bake, add the buttery cracker topping, tack on 5-10 minutes of bake time to account for the cold dish, and it will turn out perfectly.
4.What kind of crackers work best for the crispy top topping? ▾
Classic buttery round crackers (like Ritz) are the traditional, fan-favorite pick for that nostalgic, buttery crunch, but you can also use saltine crackers, buttery panko breadcrumbs, or even crushed cheese crackers if that’s what you have on hand. Toss the crumbs with a couple tablespoons of melted butter first to get that golden, crisp top everyone loves.
5.Can I substitute a different cheese for sharp cheddar in this recipe? ▾
Sharp cheddar delivers that classic tangy, bold flavor that pairs perfectly with mild summer squash, but you can absolutely swap it for other melty cheeses if you prefer. Mild cheddar, Monterey Jack, Colby, or a Mexican cheese blend work great—just avoid pre-shredded cheese with anti-caking coatings, as those make the filling grainy.
6.Do I have to peel the yellow summer squash before using it? ▾
Nope! The skin of young, fresh yellow summer squash is thin, tender, and totally edible, plus it adds a nice pop of pale yellow color and extra fiber to the dish. If you’re using larger, more mature squash with tough, bumpy skin and large seedy centers, peel the skin and scoop out the seedy core before cooking to avoid tough, bitter bites.
7.What purpose do the eggs serve in this casserole? ▾
The large eggs act as a binder that holds the creamy, cheesy filling together so it doesn’t turn into a runny, loose mess when you serve it. They add subtle richness too, and help the casserole set into neat, scoopable slices once baked. Let your cooked squash cool slightly before mixing in eggs so you don’t accidentally scramble them.
8.Can I make this casserole without sour cream? ▾
If you don’t have sour cream on hand, you can swap it for equal parts full-fat plain Greek yogurt, crème fraîche, or even full-fat mayonnaise for that same tangy, creamy texture. Just skip low-fat or fat-free versions of these swaps—they have higher water content and can make the filling watery or rubbery after baking.
9.How long should I let the casserole rest after taking it out of the oven? ▾
Let it rest for 10 to 15 minutes before scooping and serving! This gives the creamy, eggy filling time to set up fully, so your slices hold their shape instead of oozing all over the plate. That short rest also lets the filling cool down from piping hot, so you don’t burn your mouth on the first bite.
10.Can I add extra mix-ins to this classic recipe? ▾
Of course! This base recipe is super flexible. Popular add-ins include crumbled cooked bacon, sautéed bell peppers, diced jalapeños for a little kick, a handful of frozen corn, or crispy fried onions mixed into the topping. Just make sure any extra veggies are cooked and drained well so they don’t add excess water to the filling.
11.How do I store leftover squash casserole? ▾
Let leftover casserole cool completely to room temperature first, then cover the baking dish tightly with plastic wrap or aluminum foil, or transfer leftovers to an airtight container. It will stay fresh in the refrigerator for 3 to 4 days. Reheat individual portions in the microwave or the whole dish in a 350°F oven until warmed through.
12.Can I freeze this yellow squash casserole for later? ▾
Yes, it freezes really well! You can freeze it either unbaked or baked for up to 3 months. If freezing unbaked, wrap it tightly in two layers of plastic wrap and foil, and thaw completely in the fridge before baking. If freezing baked leftovers, thaw in the fridge and reheat in the oven, adding a sprinkle of fresh cracker crumbs to crisp the top.
13.Do I need to cook the squash before baking it in the casserole? ▾
You do need to pre-cook the squash and yellow onion first, either by sautéing in a skillet or boiling briefly for 3 to 5 minutes until just tender. Raw squash will release tons of water as it bakes, leading to a soggy final dish, and the onion will stay crunchy and sharp instead of soft and sweet. Remember to drain all excess liquid after pre-cooking!
14.Why is my cracker topping getting burnt before the casserole is done? ▾
If your topping is browning too fast, loosely tent a sheet of aluminum foil over the top of the baking dish for the remaining bake time. This will stop the cracker crumbs from getting too dark or burning while the filling finishes cooking and setting up. For even browning, position your oven rack in the center, not too close to the top heating element.
15.Is this classic casserole spicy? Can I adjust the seasonings? ▾
The classic version is totally mild, family-friendly, and not spicy at all—its warm, comforting flavor comes from sweet squash, savory onion, tangy cheddar, and creamy sour cream. You can easily adjust seasoning to taste: add a pinch of cayenne, dash of hot sauce, black pepper for kick, or garlic powder and fresh thyme for extra depth.
16.What size baking dish works best for this recipe? ▾
A standard 9x9 inch square baking dish or 2-quart oval casserole dish is the perfect size for this classic recipe. If you only have a 9x13 inch dish, you can double the recipe to fill it, which is a great option if you’re cooking for a larger crowd or holiday gathering. Grease the dish well first to prevent cheesy filling from sticking to the sides.

Comments (12)

2 days ago

OMG I made this last night for our weekly family dinner and everyone went back for seconds! I had a ton of yellow squash from my backyard garden that I needed to use up, and this was so perfect. The crunchy onion topping is *chef’s kiss* — total game changer. Even my picky 7 year old ate all his veggies without complaining! SO good, will be making this every other week for sure.

yesterday

Did you use the regular French fried onions for the topping, or the panko mix some people add? I’m making this for a church potluck this weekend and want to get it right!

yesterday

So glad your family loved it, Jess! For potlucks, the classic French fried onions hold up really well to travel and stay crunchy longer — if you want extra texture, you can mix in 1/4 cup panko with the onions too!

1 week ago

Took this to our neighborhood block party last Saturday and people were asking me for the recipe before I even set the dish down! It was so easy to throw together, I prepped all the squash the night before and popped it in the oven 45 minutes before we left. Perfect side for smoked brisket, 10/10.

5 days ago

Love that this was a block party hit! Prepping the squash ahead is such a smart meal prep hack for busy weekends, thanks for sharing that tip!

3 days ago

Great easy weeknight side! I made a double batch on Sunday and portioned it out for lunches all week, it reheats so much better than I thought it would. I did add a little extra cheddar because who doesn’t love more cheese, right? Will be adding this to my regular rotation.

yesterday

Wait, does anyone know if this works with a gluten-free cream of mushroom soup? I have celiac so I have to swap out a lot of canned soups, and I’ve had bad luck with runny casseroles before. This looks so good I really want to make it for my mom’s birthday dinner next week!

2 hours ago

I made it last week with GF cream of chicken (mushroom was sold out) and it turned out perfect! Just make sure you don’t skip squeezing the extra water out of the cooked squash, that’s what keeps it from being runny!

30 minutes ago

Great question! Gluten-free condensed soup works perfectly here — Liz is spot on about squeezing excess moisture from the squash, that step makes all the difference for a creamy (not watery) casserole. Hope your mom loves it!

5 days ago

First time ever making a casserole and this was so hard to mess up, thank god lol. I didn’t have sour cream so I used plain Greek yogurt and it still slapped. 10/10 for us broke college kids trying to eat something other than ramen.

3 days ago

The Greek yogurt swap is genius! I’m gonna try that next time, I never have sour cream on hand either. Did you add extra garlic? I feel like that would slap too.

2 weeks ago

I’ve been making yellow squash casserole for 40 years and this recipe is almost exactly the one my mom passed down! The only thing I do different is add a dash of paprika on top of the onions before baking. Tastes like summer on a plate, brings back so many memories. Delicious.

yesterday

My wife made me try this last night and I’m shocked to say I actually liked it? I normally can’t stand squash of any kind but the cheese and onion topping masks the weird squash texture for me. Wild. Might even ask her to make it again.

2 hours ago

That’s the best kind of win! So happy this converted a squash hater — the cheesy, crunchy topping does win over even the pickiest veggie avoiders, glad you gave it a shot!

2 hours ago

Made this for our office potluck today and the whole pan was gone in 10 minutes! I had multiple coworkers come by my desk later asking for the link. I added a handful of crumbled bacon on top because everything is better with bacon, honestly. Can’t recommend enough.

30 minutes ago

The bacon addition sounds insane, why didn’t I think of that? Did you mix it into the casserole or just sprinkle it on top?

5 minutes ago

So glad the office loved it! Bacon is such a delicious add — pro tip, save a little of the bacon grease to sauté the squash in for extra smoky flavor, it’s next level.

1 week ago

Quick question — can I make this ahead and freeze it before baking? I’m stocking my freezer for after my baby is born next month and easy sides that go with chicken or pork would be a lifesaver right now.

5 days ago

I froze one last month before a big trip! I assembled it all, wrapped it tight in two layers of foil, and baked it straight from frozen (added 20 minutes to the cook time) and it turned out perfect! Didn’t taste freezer burned at all.

3 days ago

Congrats on the upcoming baby! This freezes beautifully, just like the tip above — assemble completely (hold off on adding the fried onion topping until the last 15 minutes of baking if cooking from frozen, so it doesn’t burn) and you’re all set for easy new parent meals.

2 days ago

This tastes exactly like the squash casserole my grandma used to make at every Sunday dinner! I was worried it would be too complicated but it was so straightforward, 45 minutes total start to finish is unbeatable for a side that feels this special. My husband said it’s the best thing I’ve made all month.

yesterday

There’s nothing better than a recipe that feels like family, right? So happy this brought back those sweet grandma memories for you — that’s exactly what we love to hear!

5 minutes ago

Okay full transparency, I forgot to salt the squash when I was cooking it and it was a little bland the first bite, so I sprinkled a little extra garlic salt and parmesan on top after it came out of the oven and it was chef’s kiss. Definitely don’t skip salting the squash, y’all, learn from my mistake! Still 5 stars because it was forgiving even when I messed up.

just now

Oh I did the exact same thing last week! I also squeezed way too much water out of the squash the first time so it was dry, second time I followed the steps exactly and it was perfect. It’s such a forgiving recipe for sure!

3 days ago

I swapped the fried onions for crushed pork rinds to make this low carb, and used full fat cream cheese instead of cream of mushroom, and it was absolutely delicious! Perfect for when I’m craving comfort food but don’t want to blow my carb count for the day. Even my non-low-carb teen loved it.



