
Breadsticks

title 1
Breadsticks
⏱️ cook time 1 hour 30 minutes
🍽️ servings 4
⚡ Difficulty easy

intro

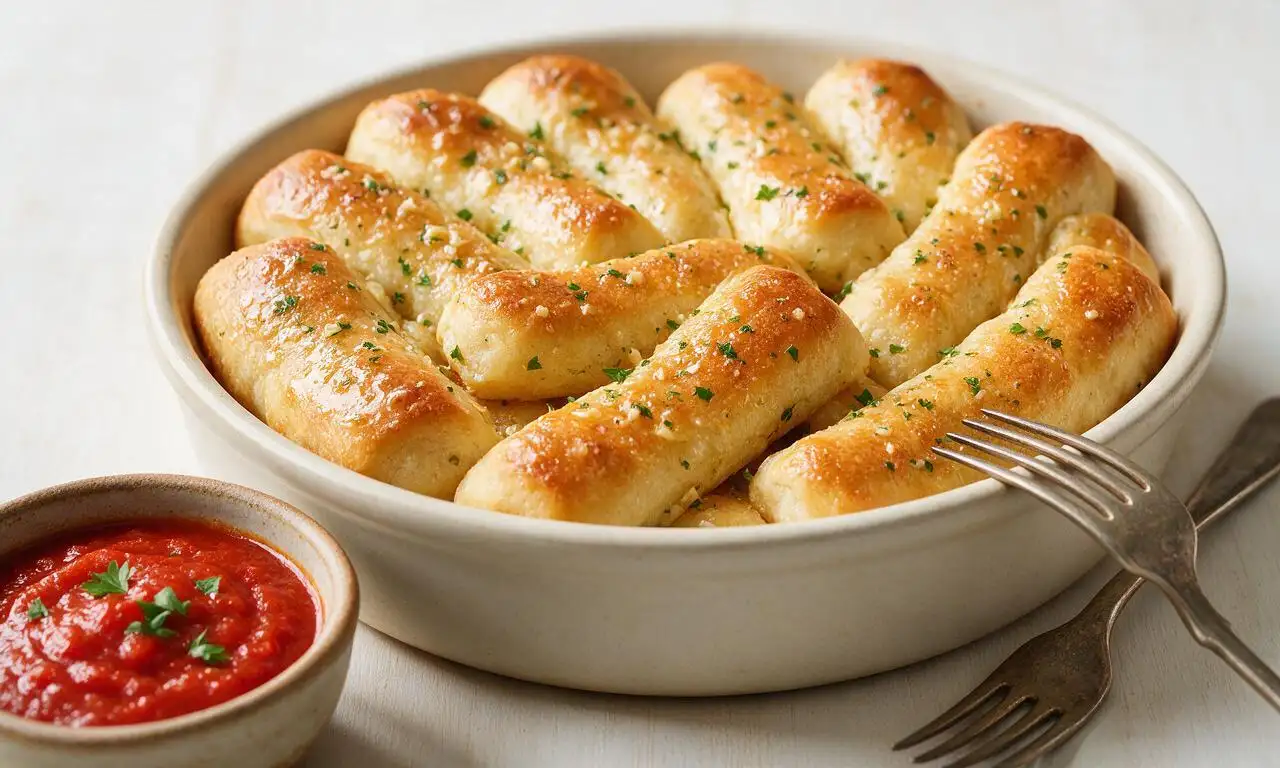
Soft, buttery garlic breadsticks with a crisp golden exterior, ideal for dipping in marinara, made with simple staples for a cozy, crowd-pleasing bite.

Ingredients

All-purpose flour 2 ½ cups (315g)
Instant dry yeast 1 ¼ teaspoons (4g)
Warm water 1 cup (240ml, 105–110°F / 40–43°C)
Granulated sugar 1 tablespoon (12g)
Fine sea salt 1 teaspoon (5g, divided)
Unsalted butter 4 tablespoons (56g, divided)
Garlic powder 1 teaspoon (3g)
Grated Parmesan cheese 2 tablespoons (10g)
Dried parsley flakes ½ teaspoon (1g)

Steps

1

Activate the yeast

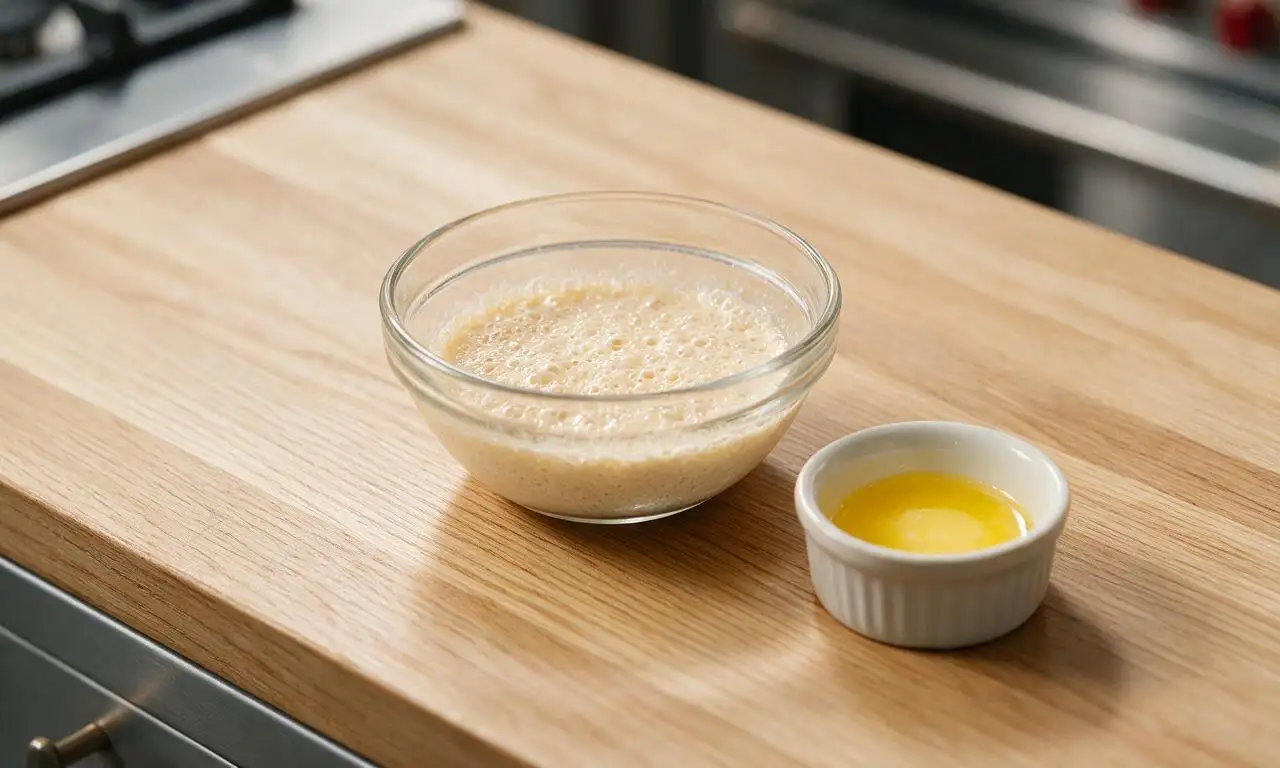
In a small bowl, combine warm (105–110°F / 40–43°C) water, granulated sugar, and instant yeast. Stir gently once to combine, then let rest for 5 minutes until the mixture turns foamy and frothy on top, confirming the yeast is active. Melt 2 tablespoons of the unsalted butter and set aside to cool to room temperature.
Step 1
step1:Activate the yeast
2

Knead the bread dough

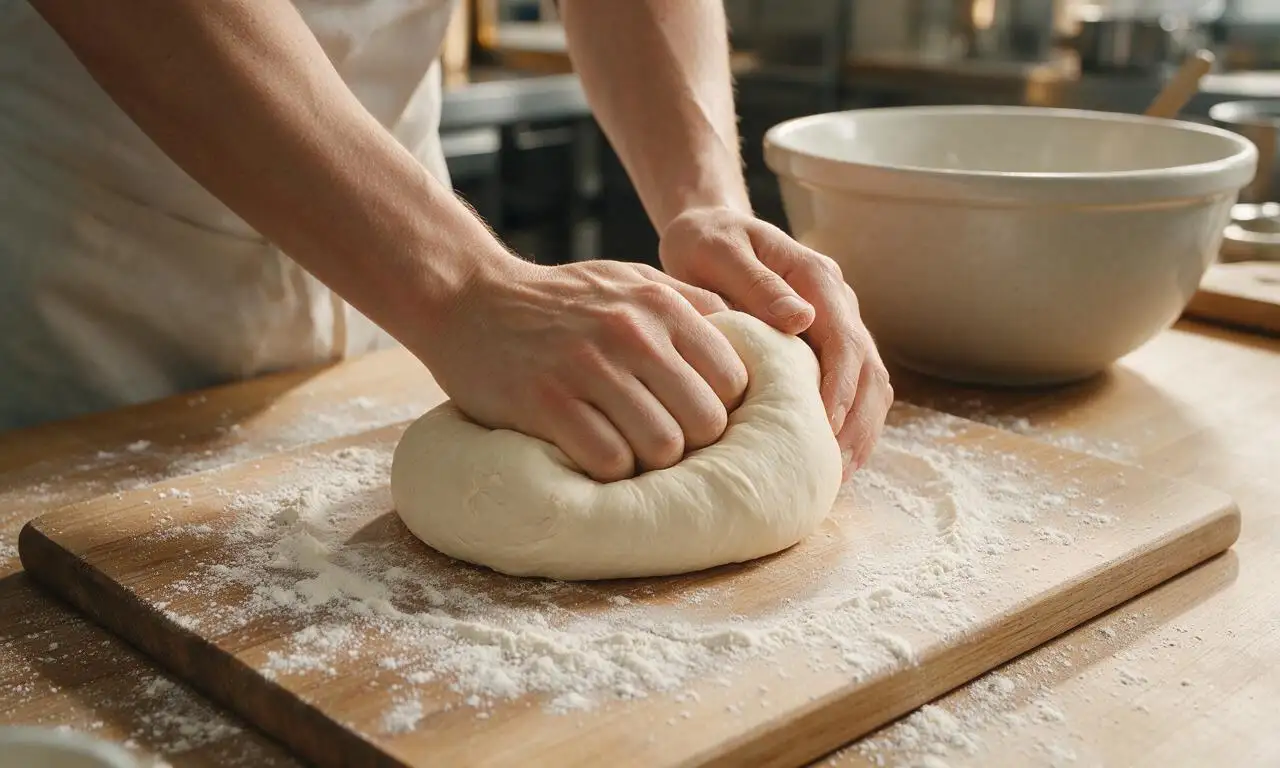
In a large mixing bowl, combine 2 cups (252g) of the all-purpose flour and ½ teaspoon of fine sea salt. Pour in the activated yeast mixture and cooled melted butter, stirring with a wooden spoon until a shaggy, lumpy dough forms. Add the remaining ½ cup (63g) flour 1 tablespoon at a time, then knead by hand on a lightly floured surface for 7 minutes until the dough is smooth, elastic, and no longer sticky to the touch.
Step 2
step2:Knead the bread dough
3

Let dough rise

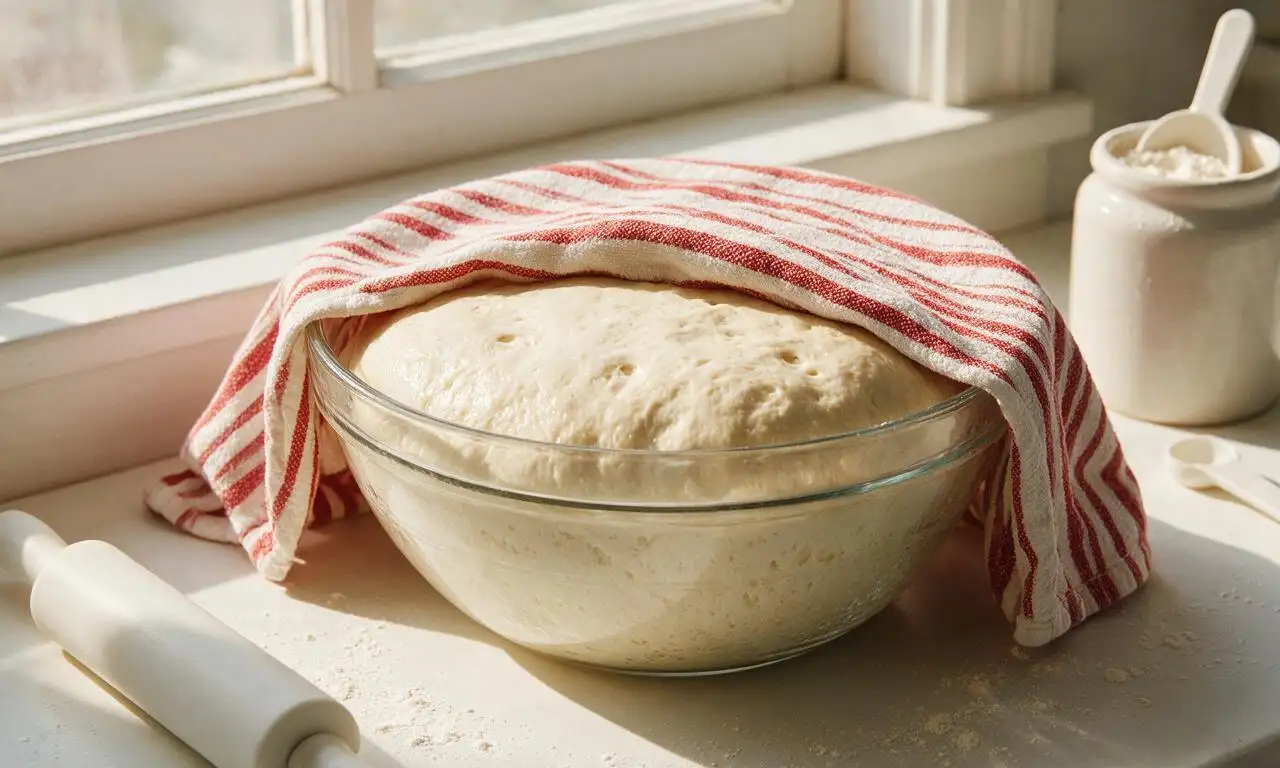
Grease a large clean bowl with nonstick cooking spray, place the kneaded dough inside, and turn it once to coat the entire surface in oil. Cover the bowl tightly with a damp cotton kitchen towel, and let it rest in a warm, draft-free spot (75–80°F / 24–27°C) for 60 minutes, until the dough doubles in volume and holds a 1-inch indent when poked with a floured finger.
Step 3
step3:Let dough rise
4

Shape breadstick strips

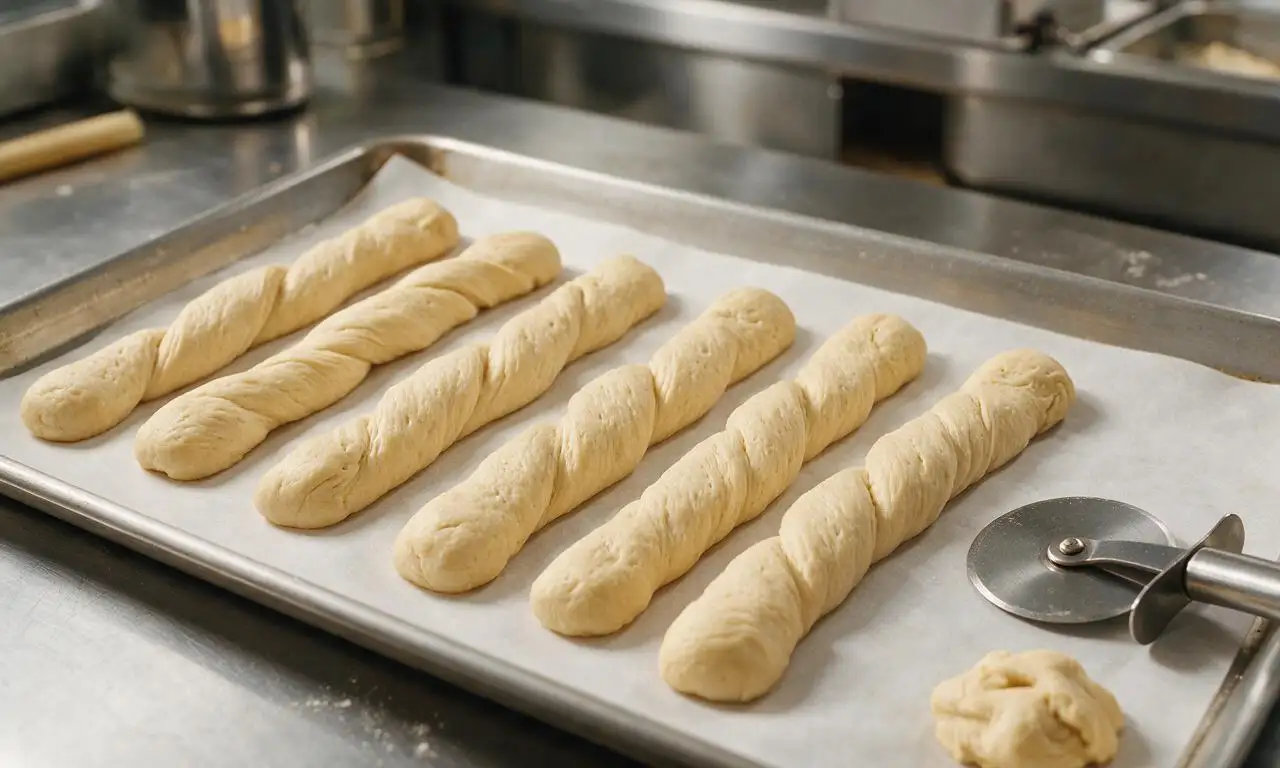
Once risen, punch the dough down firmly in the center to release all trapped air, then transfer it to a lightly floured work surface. Roll the dough out into a 12x8 inch (30x20cm) even rectangle, then cut it into 8 equal 1-inch wide strips with a sharp knife or pizza cutter. Twist each strip 2 to 3 times along its length, then place them 1 inch apart on a parchment paper-lined baking sheet.
Step 4
step4:Shape breadstick strips
5

Bake until golden

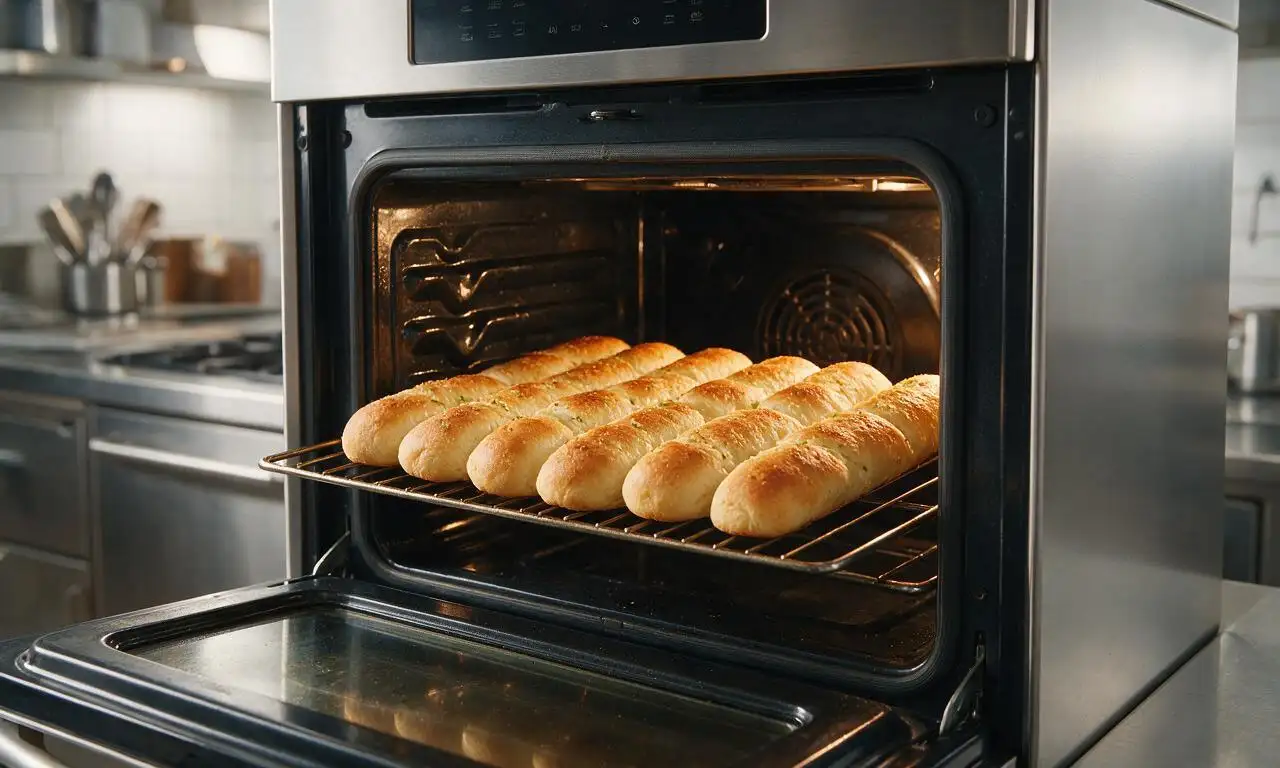
Preheat your oven to 400°F (200°C) while the shaped breadsticks rest for 10 minutes to puff slightly. Place the baking sheet on the middle oven rack, and bake for 12 to 14 minutes, until the breadstick tops are light golden brown, edges are crisp, and no raw, pale dough is visible in the twists.
Step 5
step5:Bake until golden
6

Coat with garlic butter

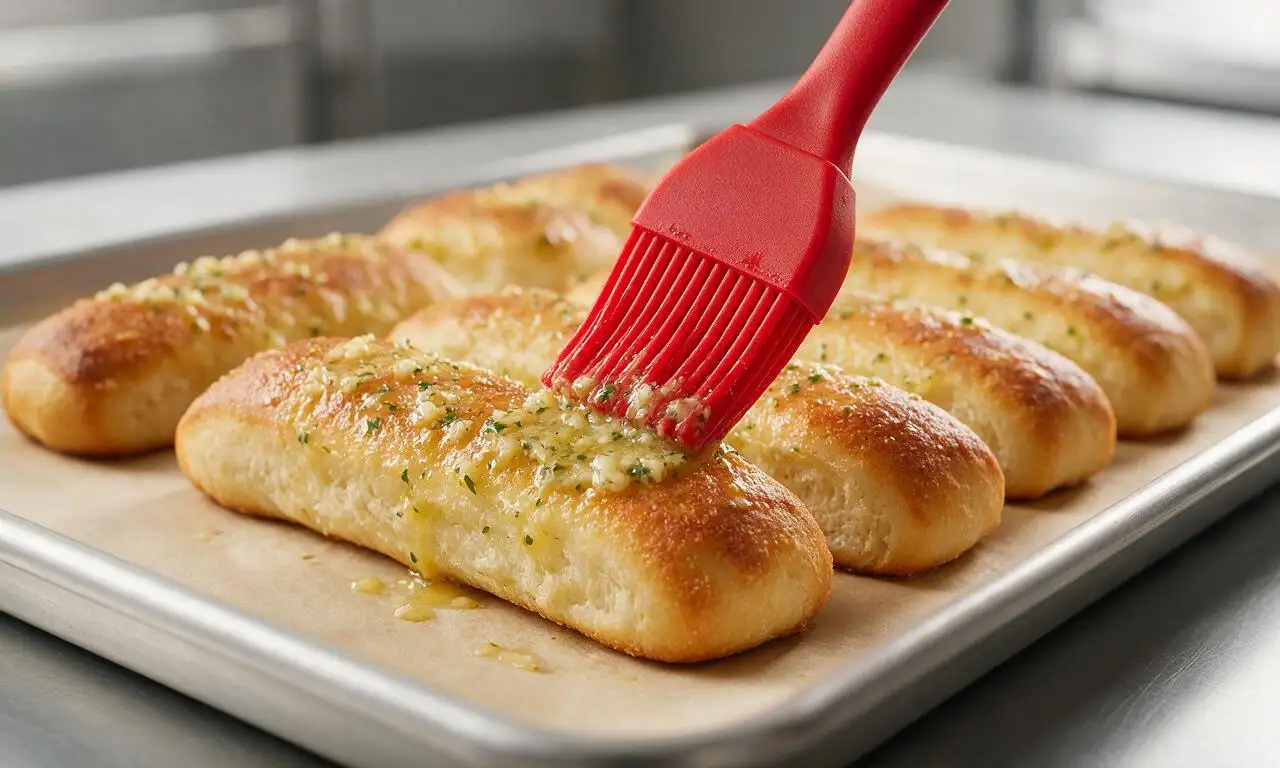
While the breadsticks bake, melt the remaining 2 tablespoons of unsalted butter, then stir in garlic powder, remaining ½ teaspoon sea salt, dried parsley flakes, and grated Parmesan cheese. Immediately after removing the hot breadsticks from the oven, brush the entire surface of each stick generously with the garlic butter mixture, then let cool for 3 minutes before serving.
Step 6
step6:Coat with garlic butter

Tips

1.If your yeast mixture does not turn foamy after 5 minutes, the yeast is likely expired or the water was too hot (temperatures over 115°F / 46°C kill yeast); start over with fresh yeast for a light, fluffy result.
2.To prevent soggy breadsticks, transfer them to a wire cooling rack immediately after brushing with garlic butter, rather than letting them sit on the warm baking sheet where trapped steam will soften the crust.
3.Serve breadsticks with warm marinara sauce, melted mozzarella dip, or ranch dressing for dipping; store leftovers in an airtight container at room temperature for up to 3 days, and reheat in a 350°F oven for 5 minutes to crisp up again.


✨ You May Also Like

Snacks & Appetizers
🍜 Mexico

Crispy thick-cut tortilla chips piled high with seasoned beef, melted cheese, and bright fresh toppings for a shareable, crowd-favorite bite.

⏱️ 25 minuteSnacks & Appetizers ★ 4.8
Snacks & Appetizers
🍜 United States

Crisp, sweet-tangy spiced pickled watermelon rind is a zero-waste summer staple, perfect with grilled meats, charcuterie, or eaten straight from the jar as a bright snack.

⏱️ 30 minuteSnacks & Appetizers ★ 4.6
Snacks & Appetizers
🍜 Germany

A tangy, jellied pork cold cut slow-simmered with aromatic spices, set into a firm sliceable loaf, served cold with mustard and crusty bread.

⏱️ 3 hours 4Snacks & Appetizers ★ 4.8
Snacks & Appetizers
🍜 United States

Creamy, tangy, perfectly seasoned hard-boiled egg halves filled with a rich, smooth yolk mixture, a timeless, crowd-pleasing bite for holiday and casual gatherings alike.

⏱️ 40 minuteSnacks & Appetizers ★ 4.8
Snacks & Appetizers
🍜 Russia

Silky, dill-forward no-smoke cured salmon, a Scandinavian classic with bright salty-sweet flavor, ideal for holiday starter platters and open-faced rye sandwiches.

⏱️ 48 hours Snacks & Appetizers ★ 4.7
Snacks & Appetizers
🍜 Japan

Crisp golden bottoms, juicy savory pork and vegetable filling, and tangy dipping sauce make these pan-fried gyoza a beloved shareable bite.

⏱️ 45 minuteSnacks & Appetizers ★ 4.8

Breadsticks:Frequently Asked Questions

1.Why did my breadsticks turn out dense instead of light and soft? ▾
Dense breadsticks usually stem from inactive yeast, too much extra flour during kneading, or insufficient rise time. First, confirm your yeast foams when mixed with warm (105–110°F) water and sugar for 5 minutes—no foam means it’s dead. Knead only until dough is smooth and slightly tacky, and let it double fully in a draft-free warm spot before shaping.
2.Can I make these breadsticks ahead of time for a party? ▾
Absolutely! For best results, shape the raw breadsticks, arrange them on your parchment-lined baking sheet, cover tightly, and chill in the fridge for up to 24 hours. When you’re ready to bake, pull them out 30 minutes first to take the chill off and puff slightly, then bake as directed and brush with garlic butter right before serving.
3.Do I have to use instant dry yeast, or can I swap in active dry yeast? ▾
You can absolutely use active dry yeast with one small adjustment. Use the same measured amount, but dissolve it in the warm water and sugar for 7–10 minutes until foamy before mixing in the flour and salt, instead of adding it straight to dry ingredients. Total rise times will be roughly 10–15 minutes longer overall.
4.How do I get that signature crisp golden exterior while keeping the inside soft? ▾
The trick is a hot 400°F oven and a light brush of melted butter both before and right after baking. Don’t overcrowd the baking sheet—leave 1 inch of space between each breadstick so hot air can circulate evenly. Bake just until edges are deep golden, 12–14 minutes, to avoid drying out the tender interior.
5.What’s the best way to reheat leftover breadsticks so they don’t get tough? ▾
Skip the microwave, which makes bread chewy and rubbery. Instead, wrap leftover breadsticks loosely in aluminum foil and bake at 350°F for 8–10 minutes until heated through. For an extra crisp edge, open the foil for the last 2 minutes of heating, then brush with a tiny bit of extra garlic butter if you have it handy.
6.Can I make this dough gluten-free for friends with dietary restrictions? ▾
Yes, you can swap the all-purpose flour for a 1:1 gluten-free baking blend that contains xanthan gum for structure. Add an extra ¼ teaspoon of instant yeast to help with lift, and let the first rise go 10 minutes longer, since gluten-free dough takes more time to puff. The final texture will be slightly less chewy but still soft and flavorful.
7.Why does the recipe call for granulated sugar? Will the breadsticks taste sweet? ▾
The small amount of sugar isn’t there to make the breadsticks sweet—it acts as food for the yeast to feed on to create carbon dioxide, which makes the dough rise light and fluffy. It also helps the exterior brown evenly in the oven. Finished breadsticks have a savory, buttery garlic flavor with no noticeable sweet aftertaste.
8.Can I use regular table salt instead of fine sea salt in this recipe? ▾
You can, but you’ll need to adjust the amount to avoid over-salting the dough. Fine sea salt has larger, less dense crystals than table salt, so use ¾ teaspoon of table salt for every 1 teaspoon of fine sea salt called for. Skip coarse sea salt for the dough itself, as it won’t dissolve evenly and can leave unpleasantly salty pockets in the baked breadsticks.
9.How long do I need to knead the dough if I’m doing it by hand vs. a stand mixer? ▾
If using a stand mixer with a dough hook, knead on low speed for 4–5 minutes until the dough pulls away from the bowl sides and feels smooth. If kneading by hand, turn dough out onto a lightly floured counter and knead for 7–9 minutes, adding only pinches of flour if it sticks, until it springs back when poked gently.
10.My kitchen is really cold in the winter—how do I get my dough to rise properly? ▾
Cold kitchen air slows yeast activity dramatically, so create a makeshift proofing box. Turn your oven on for 1 minute to warm it slightly (it should feel like a mild summer day inside, not hot), turn it off, place the covered dough bowl on the middle rack, and close the door. Dough will double in 45–60 minutes even in cold weather.
11.Can I freeze these breadsticks to enjoy later? ▾
Yes! Let fully baked breadsticks cool completely, then wrap them tightly in plastic wrap and a layer of aluminum foil, and freeze for up to 3 months. To serve, thaw them in the fridge overnight, then reheat wrapped in foil at 350°F for 10 minutes, and brush with fresh garlic butter to bring back that just-baked flavor.

Comments (12)

2 days ago

OMG these were SO good! I made them for our weekly family pasta night last night and my three kids devoured half the batch before I even got the spaghetti on the table. So soft, perfectly garlicky, not greasy at all. Total game changer for our weeknight rotation!

1 week ago

Took these to a neighborhood potluck over the weekend and people were asking me for the recipe left and right! I added a little extra parmesan on top before baking and it was chef’s kiss. Super easy even for someone who burns toast half the time, no cap.

5 days ago

Made a double batch on Sunday to portion out for weekday lunches with soup and salads, and they stayed soft in the fridge for 4 whole days! I was worried homemade bread would get rock hard after a day but these held up perfectly. 10/10 will make again.

3 days ago

First time ever making bread from scratch and these actually turned out? Wild. The instructions were so straightforward I didn’t mess it up even in my tiny dorm kitchen. Dusted them with a little Italian seasoning and my roommates thought I ordered them from the Italian place down the street lmao.

30 minutes ago

Wait, quick question — can I make the dough ahead of time and leave it in the fridge overnight before baking? I want to have these ready for brunch tomorrow but don’t want to wake up at 6am to let the dough rise 😅

5 minutes ago

Great question! Yes, you absolutely can make the dough ahead — after the first rise, punch it down, cover tightly, and store it in the fridge for up to 24 hours. Just take it out 20 minutes before shaping to let it come up to temp a little, then proceed with the rest of the steps! Hope you love them at brunch.

yesterday

I made these last night and they are literally better than the breadsticks from our favorite local pizza joint. I didn’t have fresh parsley so I used dried and it still slapped. No notes, 10/10.

2 hours ago

Ooh good to know dried parsley works! I never have fresh on hand so I was gonna skip it entirely, now I’ll just swap in the dried stuff I have in the spice cabinet. Can’t wait to make these for our movie night Friday!

2 weeks ago

Has anyone tried making these with a 1:1 gluten free flour blend? My youngest has celiac and I’ve been hunting for a soft garlic breadstick recipe that doesn’t turn out crumbly and gross.

1 week ago

Hi Tina! I’ve tested this with a couple popular 1:1 GF flour blends (the ones with xanthan gum already added) and it works really well! You might need to add an extra tablespoon or two of warm water if the dough feels too stiff, but otherwise follow the steps exactly. I hope your kiddo loves them!

1 week ago

Made these for the football watch party last Sunday and they were gone in 10 minutes flat. I brushed them with a little melted butter mixed with hot honey for a tiny sweet kick and people went crazy for it. Will absolutely be making these for every game day from now on.

3 days ago

Hot honey addition is genius! I’m hosting our next watch party this weekend and I’m 100% stealing that idea. Thanks for the tip!

2 days ago

Made these for a date night in with my girlfriend to go with homemade lasagna and she said it’s the best thing I’ve ever cooked. Win for me! Only thing I messed up was I forgot to add the salt to the dough first, but they still tasted amazing.

1 day ago

That sounds like the perfect date night meal, so glad they were a hit! Forgetting the salt happens to the best of us — I’m glad they still turned out tasty for you two.

5 days ago

How soft do these stay the next day? I want to make them for my kid’s class snack day but I’m worried they’ll get hard if I bake them the night before. Any tips for keeping them fresh?

3 days ago

I made these the night before for my son’s soccer snack and stored them in an airtight ziplock bag once they cooled completely, they were still perfectly soft the next day! The kids went nuts for them.

2 days ago

Jules is exactly right! Let them cool all the way before storing in an airtight container or bag, and they’ll stay soft for 2-3 days at room temp. If they feel a little firm, pop them in the microwave for 5 seconds and they’ll be good as new. Hope the class loves them!

yesterday

I added a handful of shredded mozzarella inside the dough twists and OMG. Cheese pull for days. 100% recommend that little hack if you’re a cheese fiend like me. I will never buy frozen breadsticks again.

2 hours ago

OH that sounds insane. Did the cheese leak out a lot while baking? I tried doing cheese stuffed breadsticks once and half the cheese oozed out and burnt on the pan lmao

30 minutes ago

I sealed the edges really tight when I twisted them and only had a tiny bit of leakage! I also put a little parchment paper down just in case, which made cleanup super easy. Definitely give it another shot, it’s so worth it!

1 week ago

Wait my dough came out super sticky when I was mixing it — did I do something wrong? I followed the measurements exactly but it was sticking to everything when I tried to shape it, had to add a bunch of extra flour and they turned out a little denser than I expected. Still tasted good but not as soft as the pictures look.

5 days ago

I had the same thing happen! I think it depends on the humidity where you live — I’m in western Washington and it’s so damp here I always have to add an extra 1/4 cup flour when I make yeast doughs. I added the extra flour slowly and mine still turned out soft, maybe you added a little too much at once?

3 days ago

Amy is spot on! Humidity and even how you measure your flour (scooping straight from the bag packs it in way more than spooning it into the measuring cup!) can make the dough feel stickier than expected. It’s totally fine to add a little extra flour a tablespoon at a time while kneading until it’s smooth and not sticking to your hands, just go slow to avoid adding too much which can make them dense. I’m glad they still tasted good for you both!



