
bubble egg waffle
intro
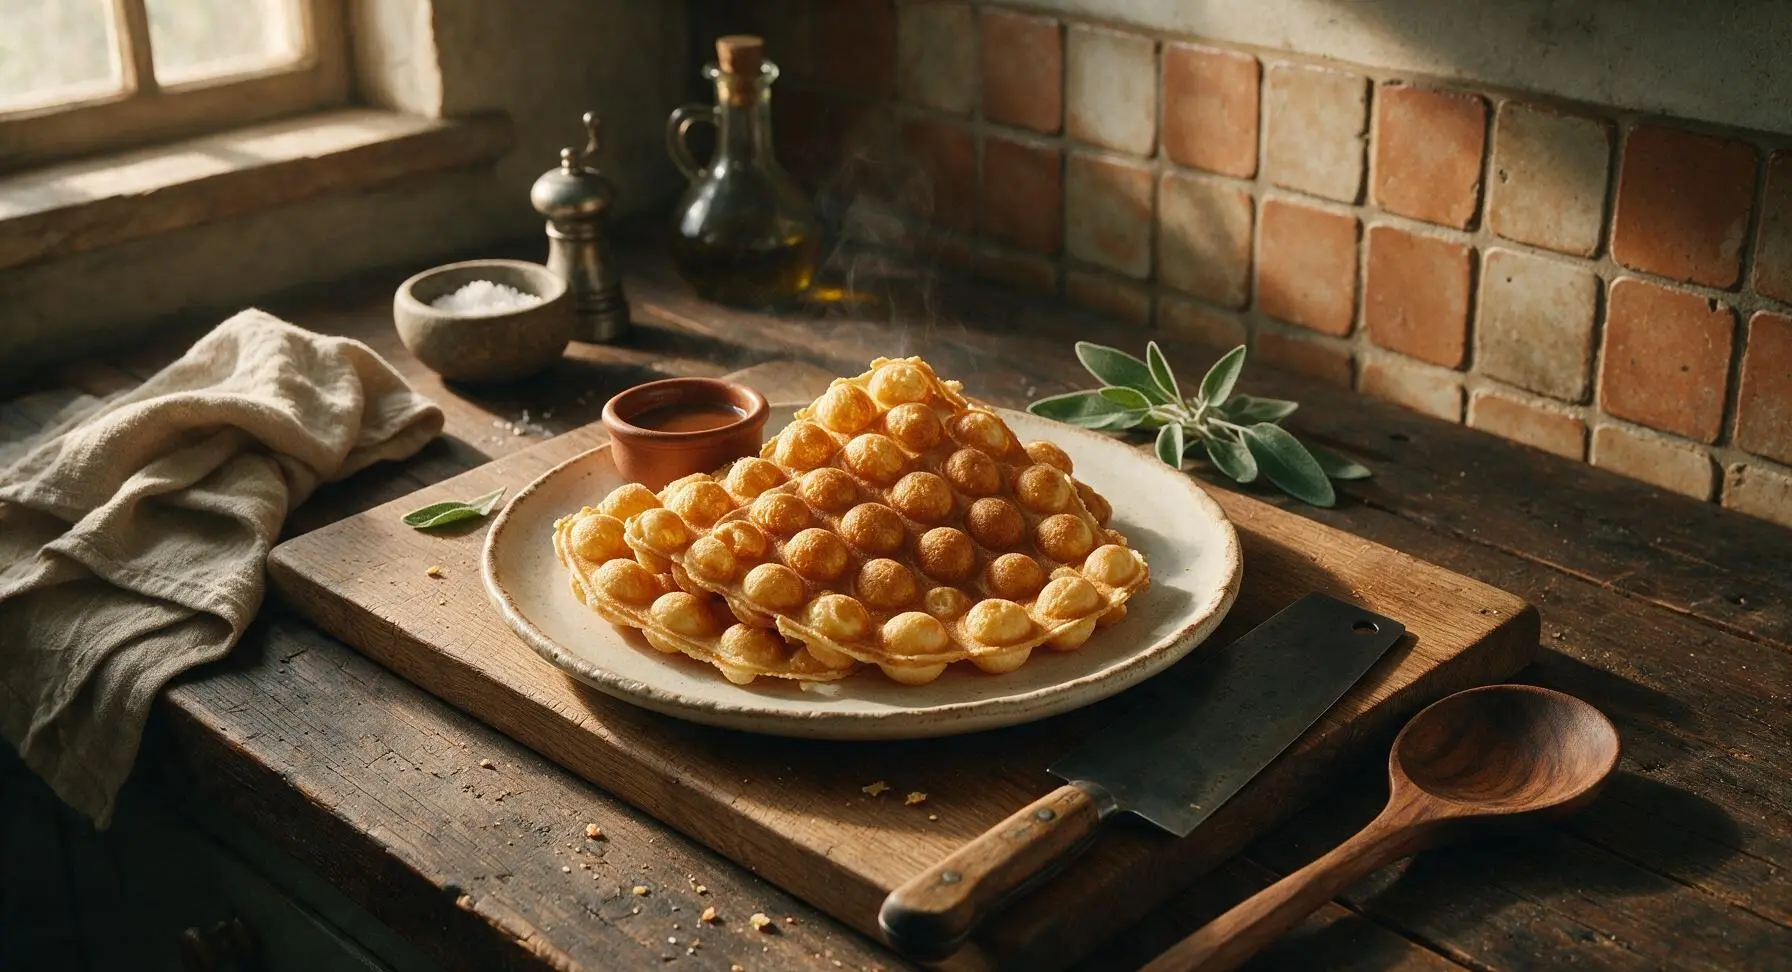
Golden, crisp Hong Kong-style bubble egg waffles with puffed crunchy pockets and soft chewy centers, lightly scented with vanilla—perfect for tearing and sharing on the go.
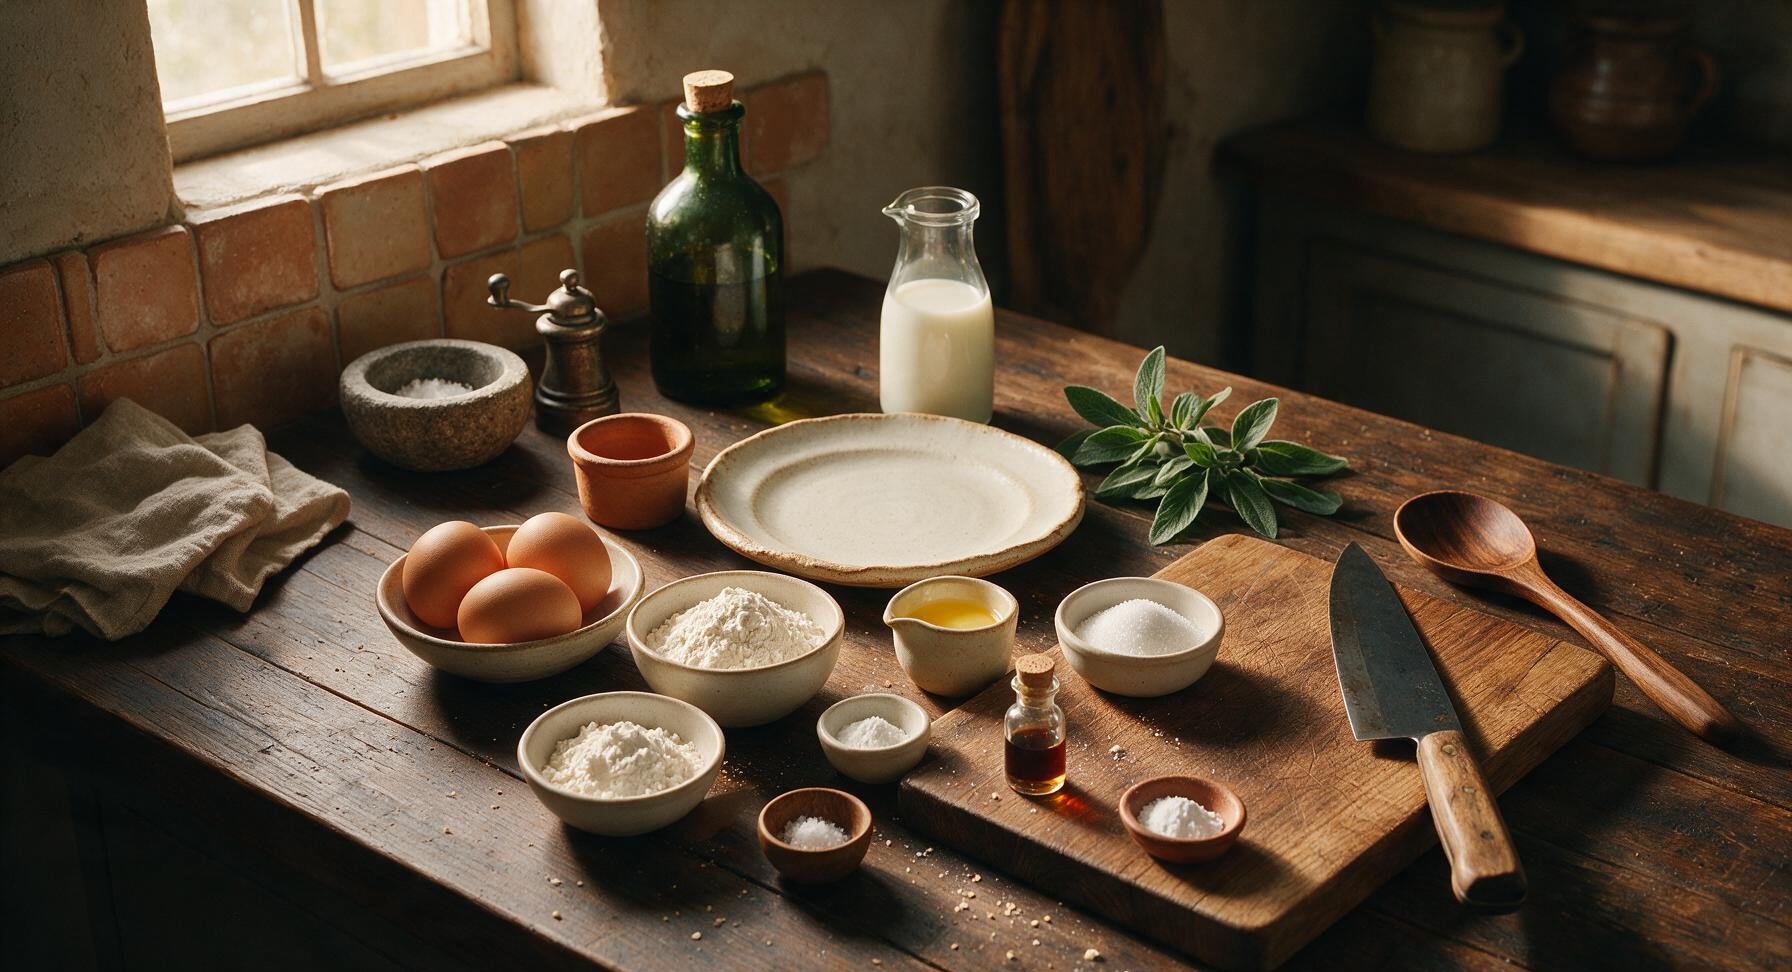
Ingredients
Steps
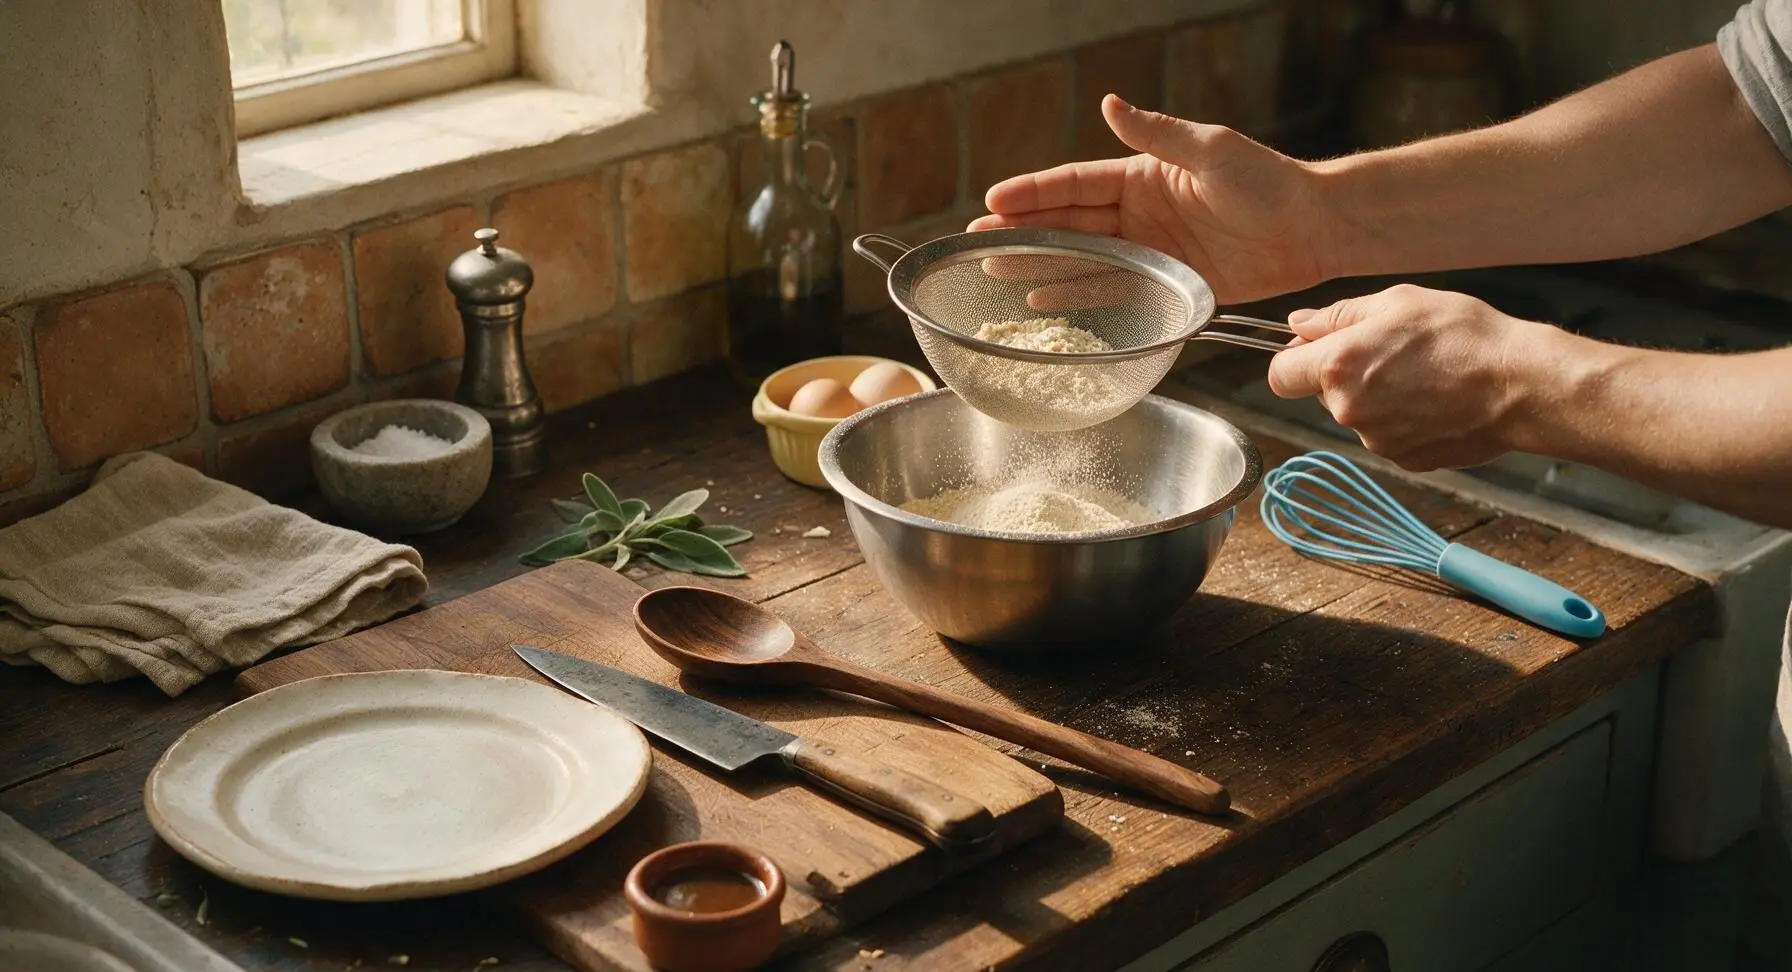
Sift Dry Ingredients
Set the medium stainless steel mixing bowl in its fixed counter position. Add 140g all-purpose flour, 20g tapioca starch, 2 tsp baking powder, 1/8 tsp fine sea salt, and 50g granulated sugar to the fine mesh sieve held over the bowl. Sift all dry ingredients together to break up lumps, then whisk briefly with the sky blue silicone whisk to create a uniform pale mixture free of large clumps.
Mix Smooth Batter
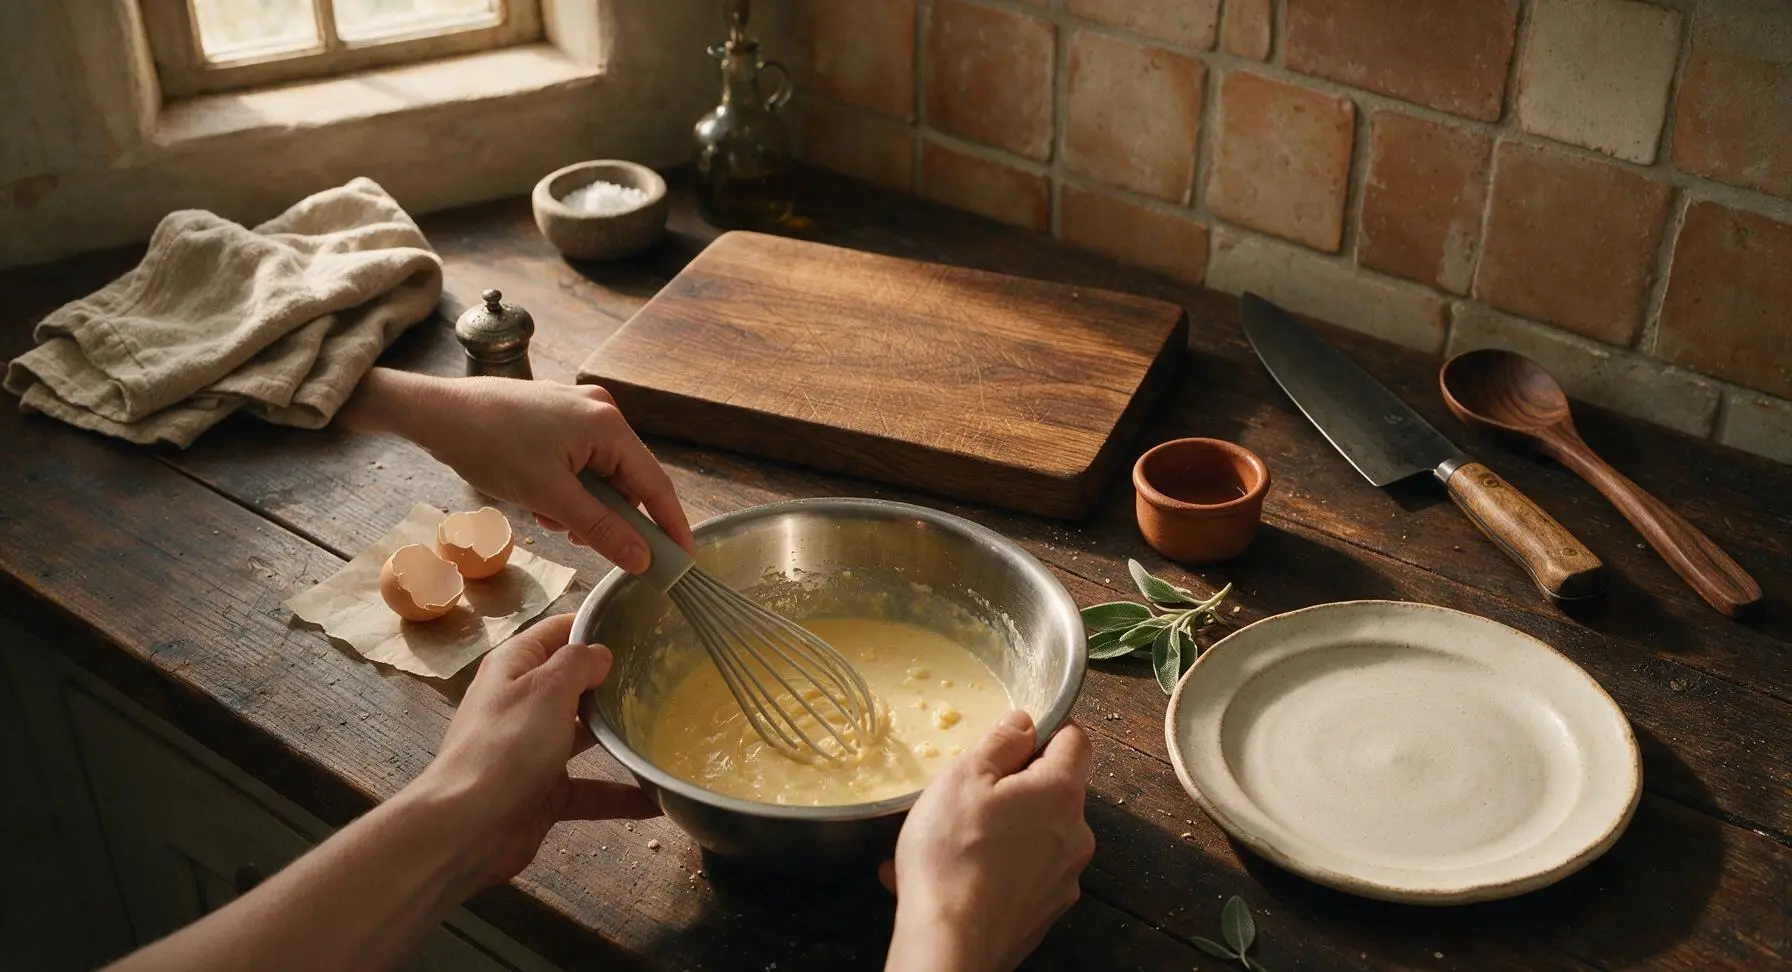
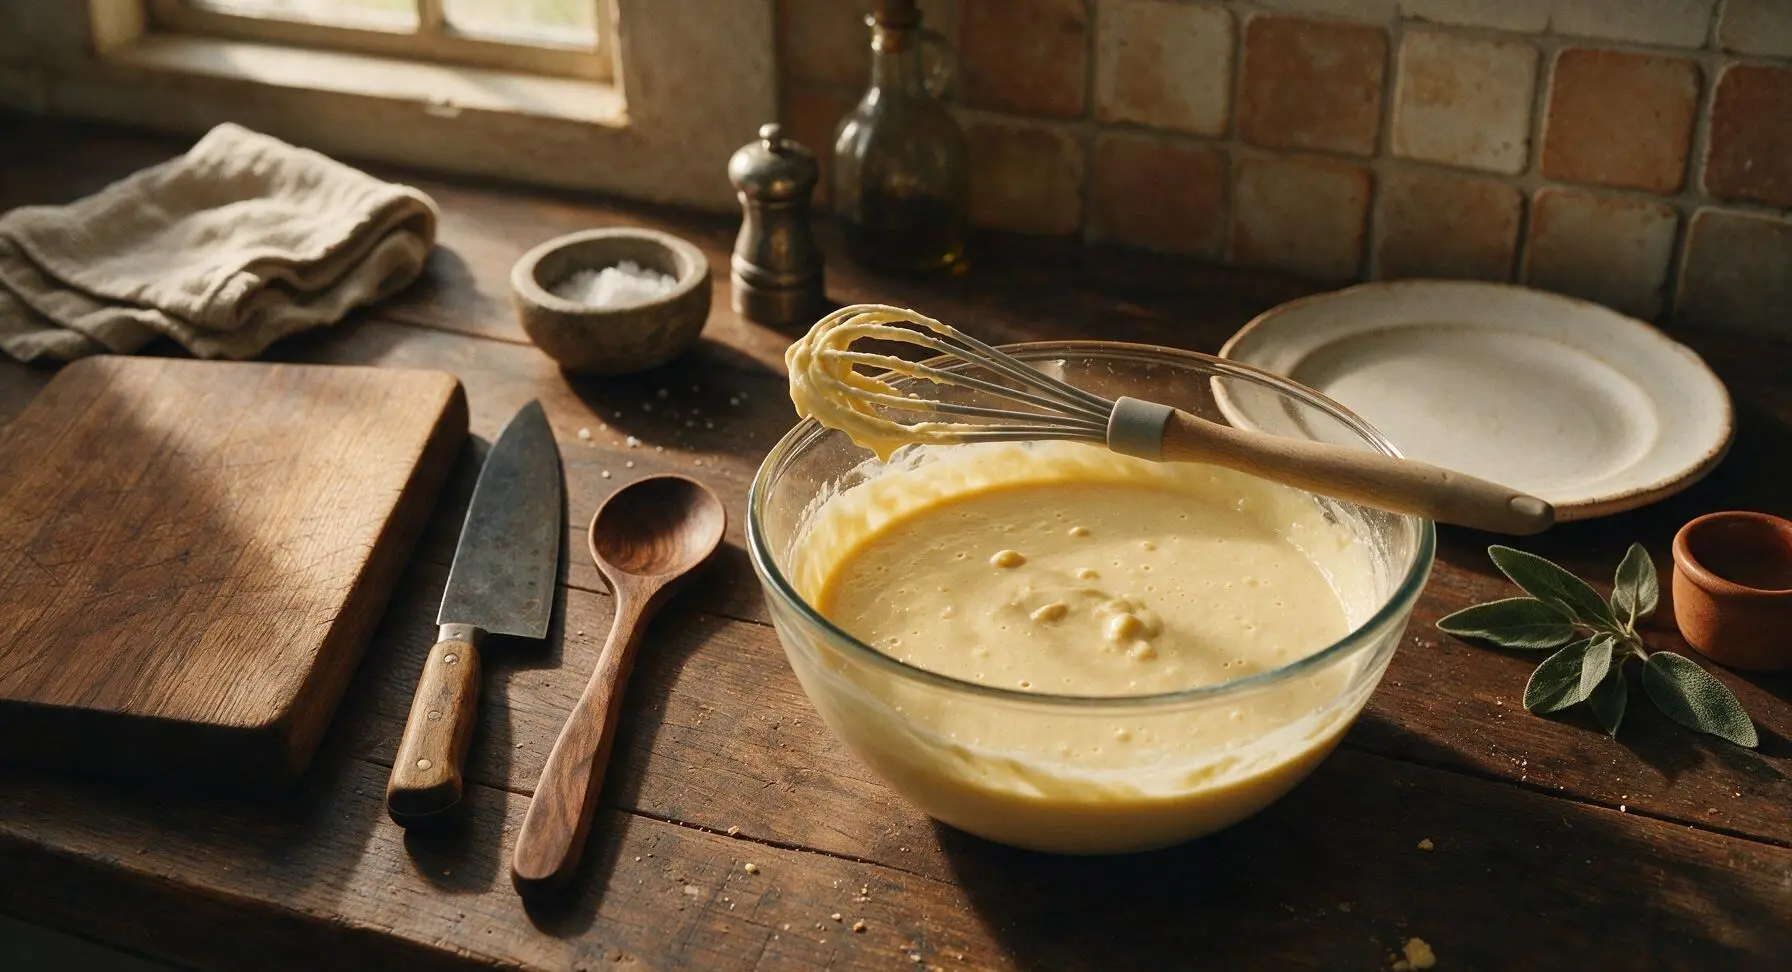
Crack the 3 large eggs into the dry mixture, then add 120ml whole milk, 1 tsp vanilla extract, and 30g cooled melted unsalted butter. Use the silicone whisk to stir the mixture in slow, gentle circular motions, just until no dry flour streaks remain. Do not overmix—small, pea-sized lumps in the batter are normal and will prevent tough, dense waffles. Let the batter rest for 5 minutes at room temperature to allow the leavener to activate.
Preheat Waffle Pan
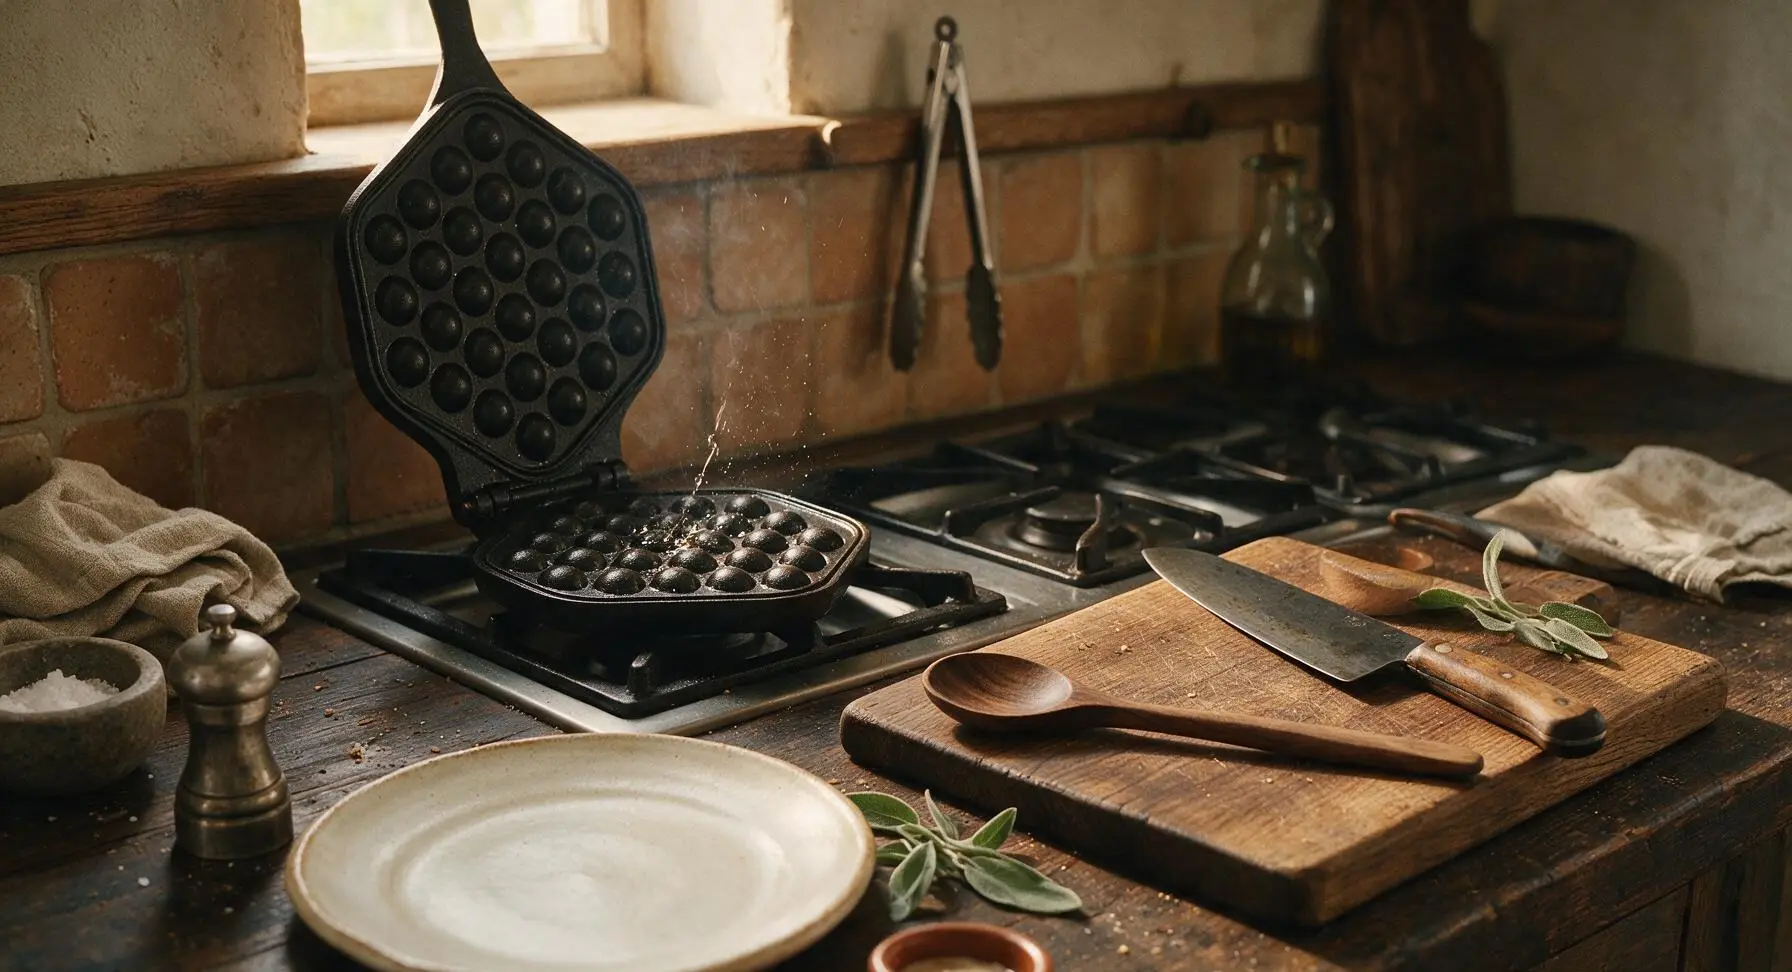
Place the cast iron bubble egg waffle pan on the left rear stovetop burner over medium-low heat (target pan temperature 160°C/320°F). Preheat both hinged sides of the pan for 2 minutes, flipping once with the tongs to ensure even heat distribution. Test the temperature by sprinkling a single drop of cold water onto the lower mold: it should sizzle and dance across the surface for 2-3 seconds before evaporating, indicating the pan is ready.
Grease Pan Molds
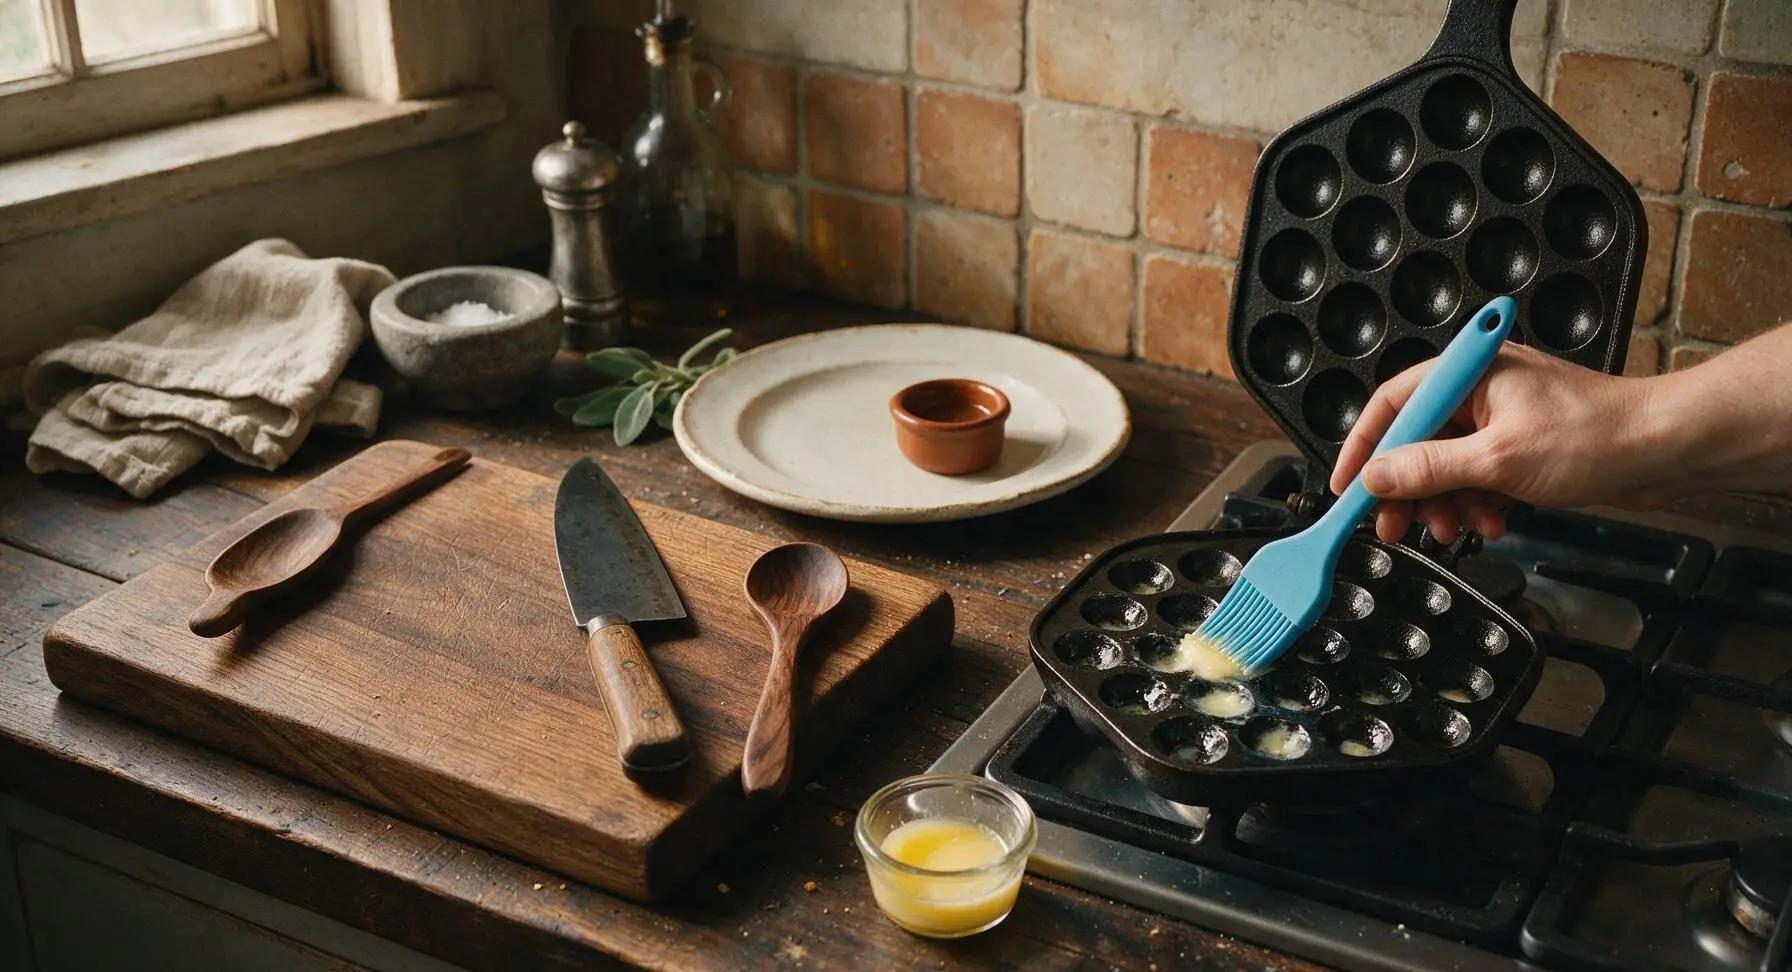
Use the sky blue silicone pastry brush to lightly coat both the upper and lower bubble mold surfaces with a thin layer of melted butter, making sure to brush butter into every rounded indentation. Wipe away any pooled excess butter with a corner of the cream linen napkin to prevent burnt, greasy spots on the finished waffle exterior.
Pour Evenly Into Pan
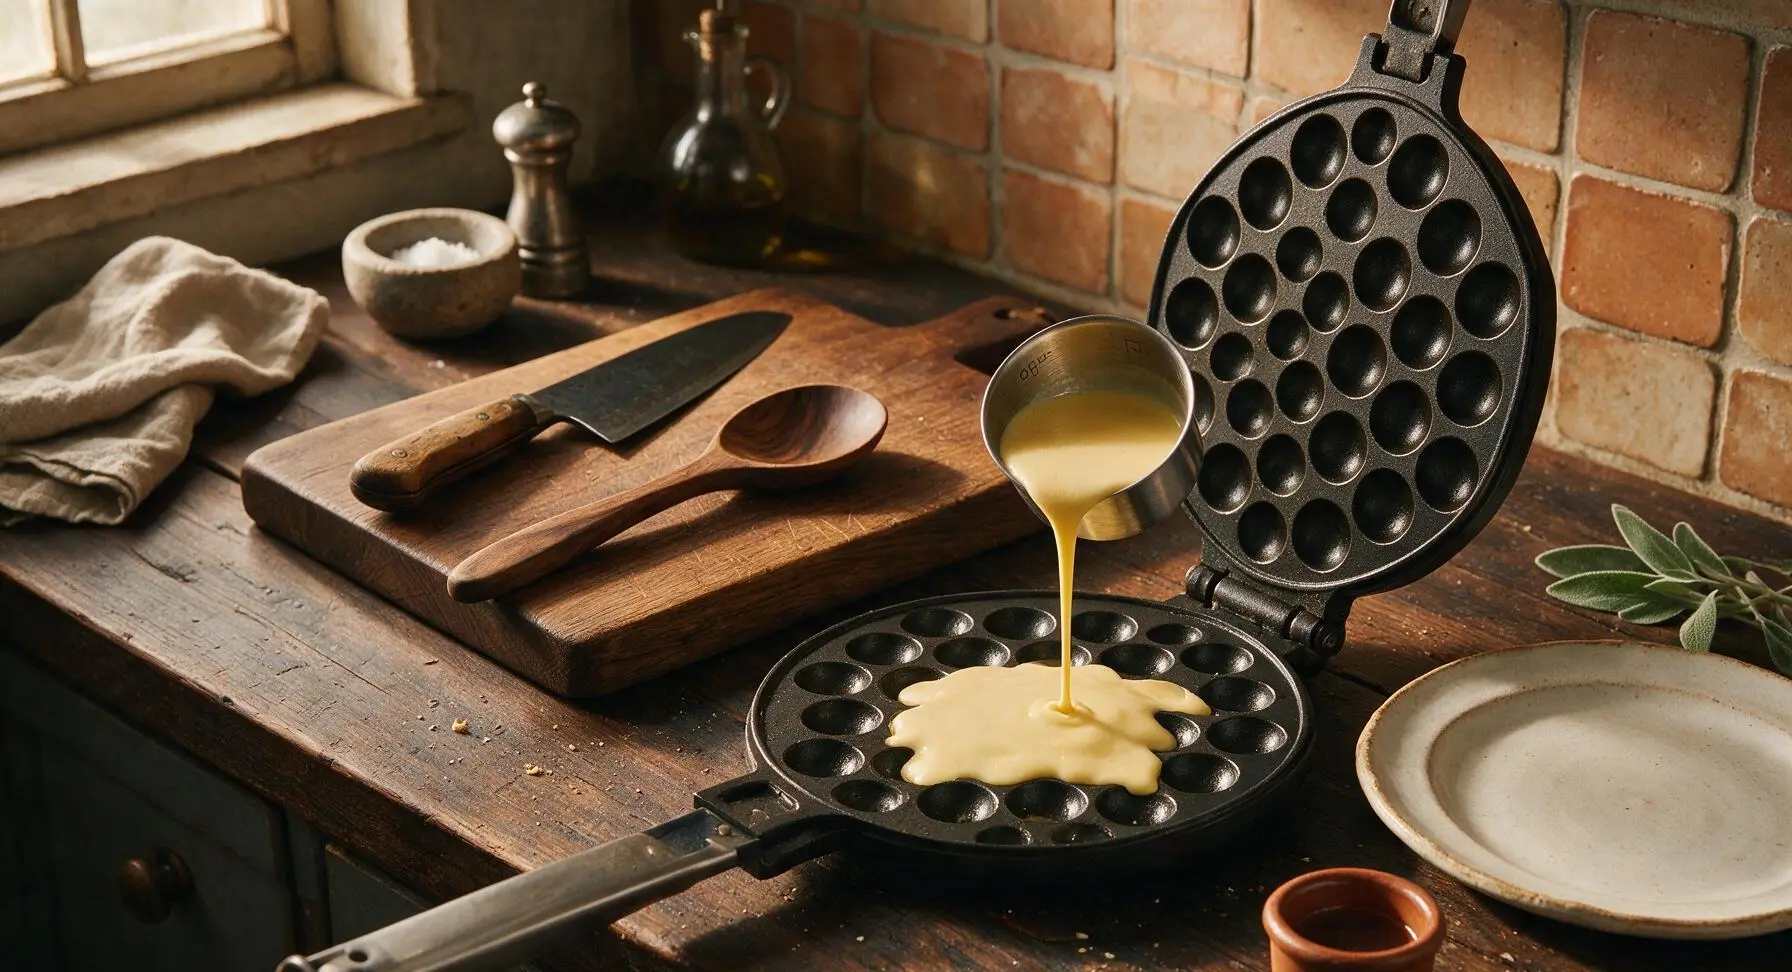
Use the 60ml stainless steel measuring cup to scoop 180ml (3/4 cup) of rested batter, pouring it slowly into the exact center of the lower greased mold. Tilt the pan gently in slow circular motions to let batter flow into the outer bubble pockets, filling each indentation to 3/4 capacity. Do not overfill, as batter will expand during cooking and leak out of the pan hinge when closed.
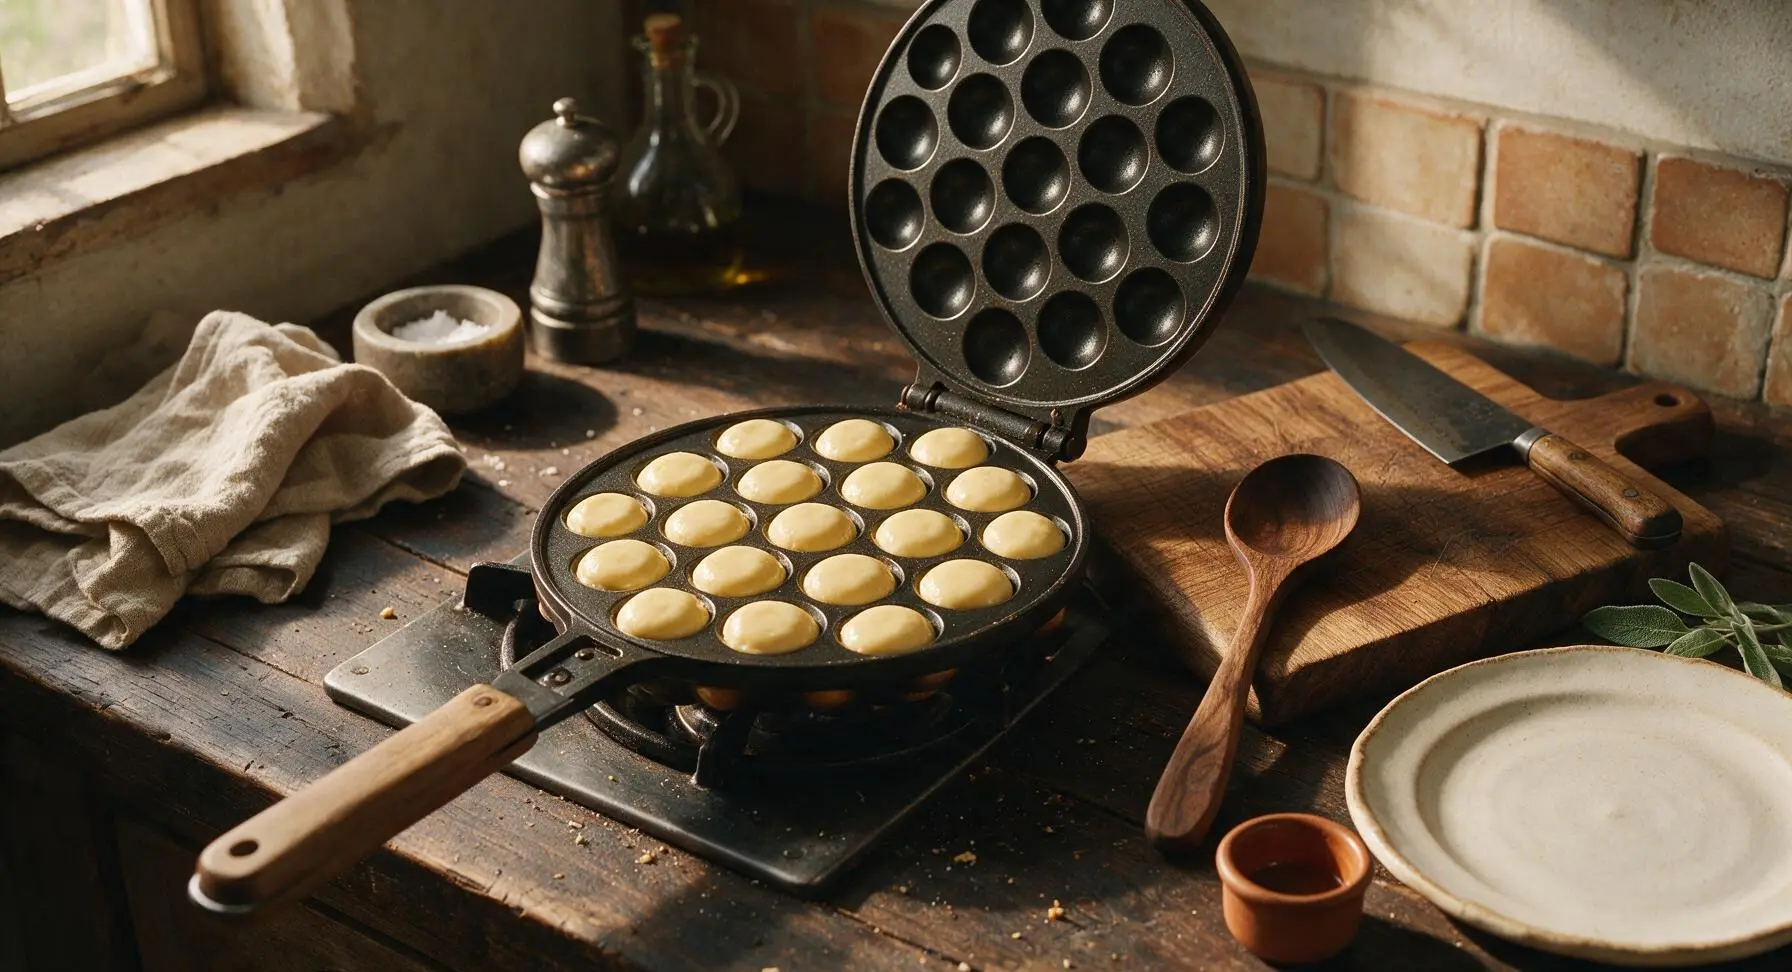
Cook First Side
Close the hinged pan immediately, secure the latch on the wooden handle, and cook for 1 minute and 30 seconds on the first side over medium-low heat. Do not open the pan during this time, as escaping steam will cause the delicate air bubbles to deflate, resulting in flat, dense waffles.
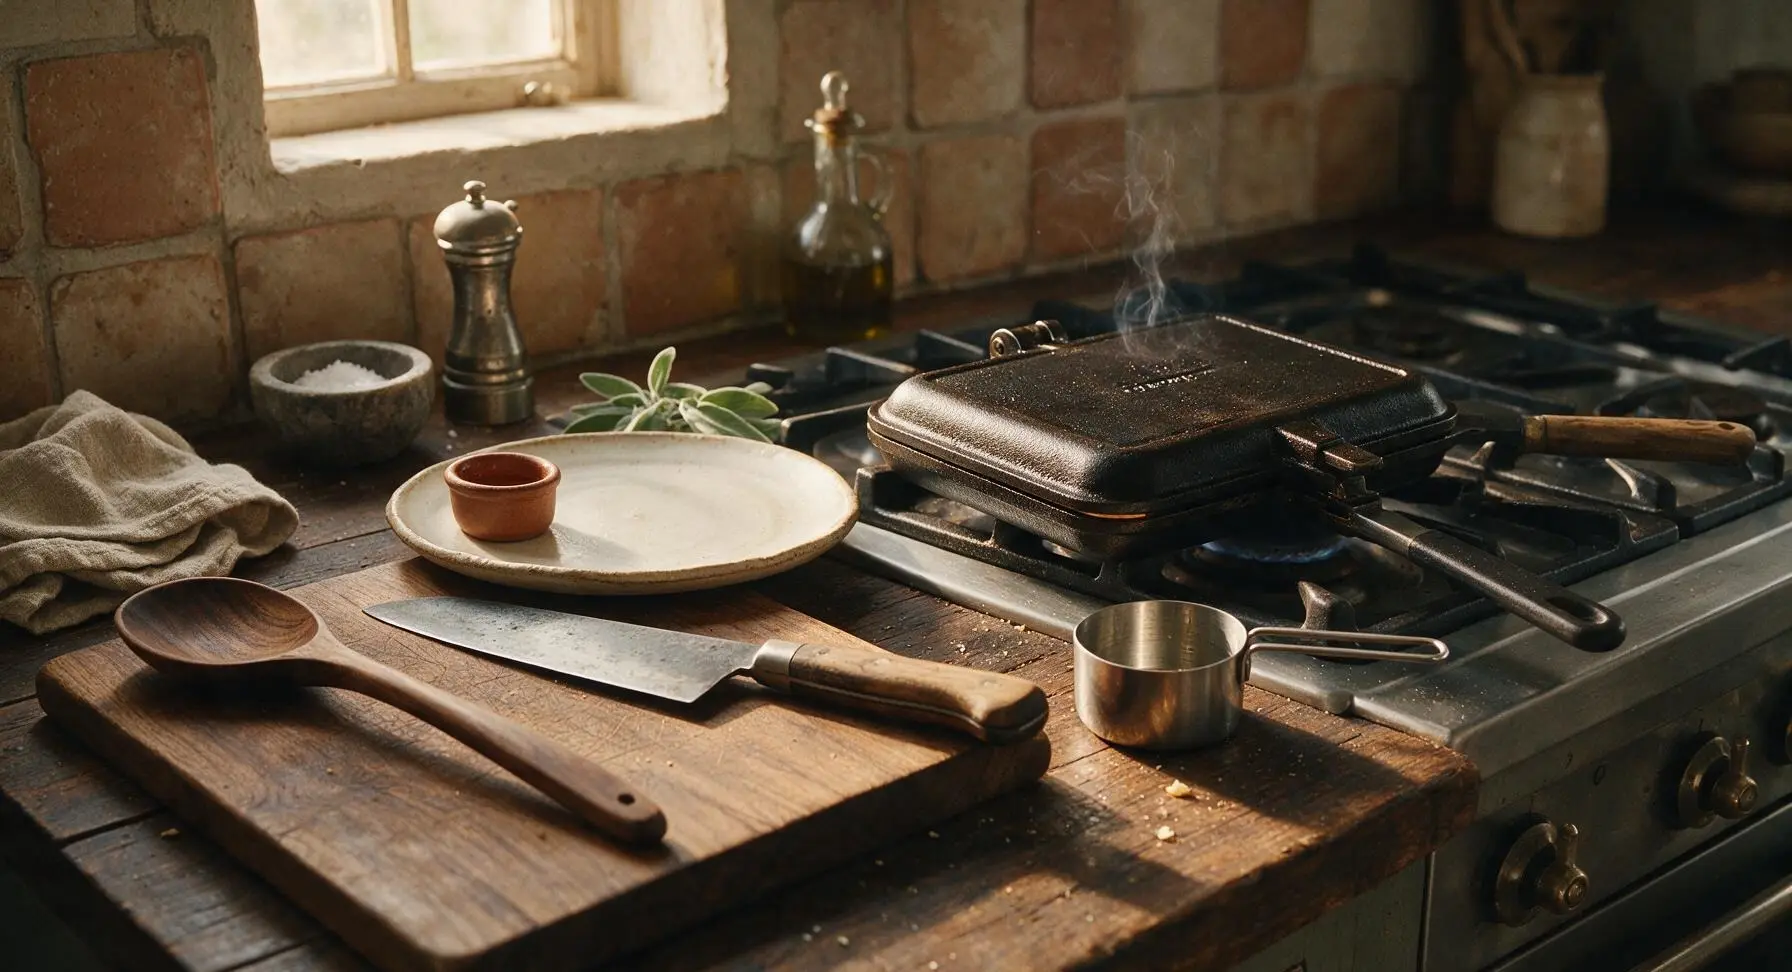
Flip to Finish Cooking
Use the stainless steel tongs to grip the oak pan handle (to avoid burns from conducted heat), carefully flipping the entire closed pan 180 degrees so the upper plate is now in direct contact with the burner. Cook for an additional 1 minute and 30 seconds, for a total cook time of 3 minutes per waffle, until the batter is fully set and deep golden brown.
Rest, Shape, and Serve
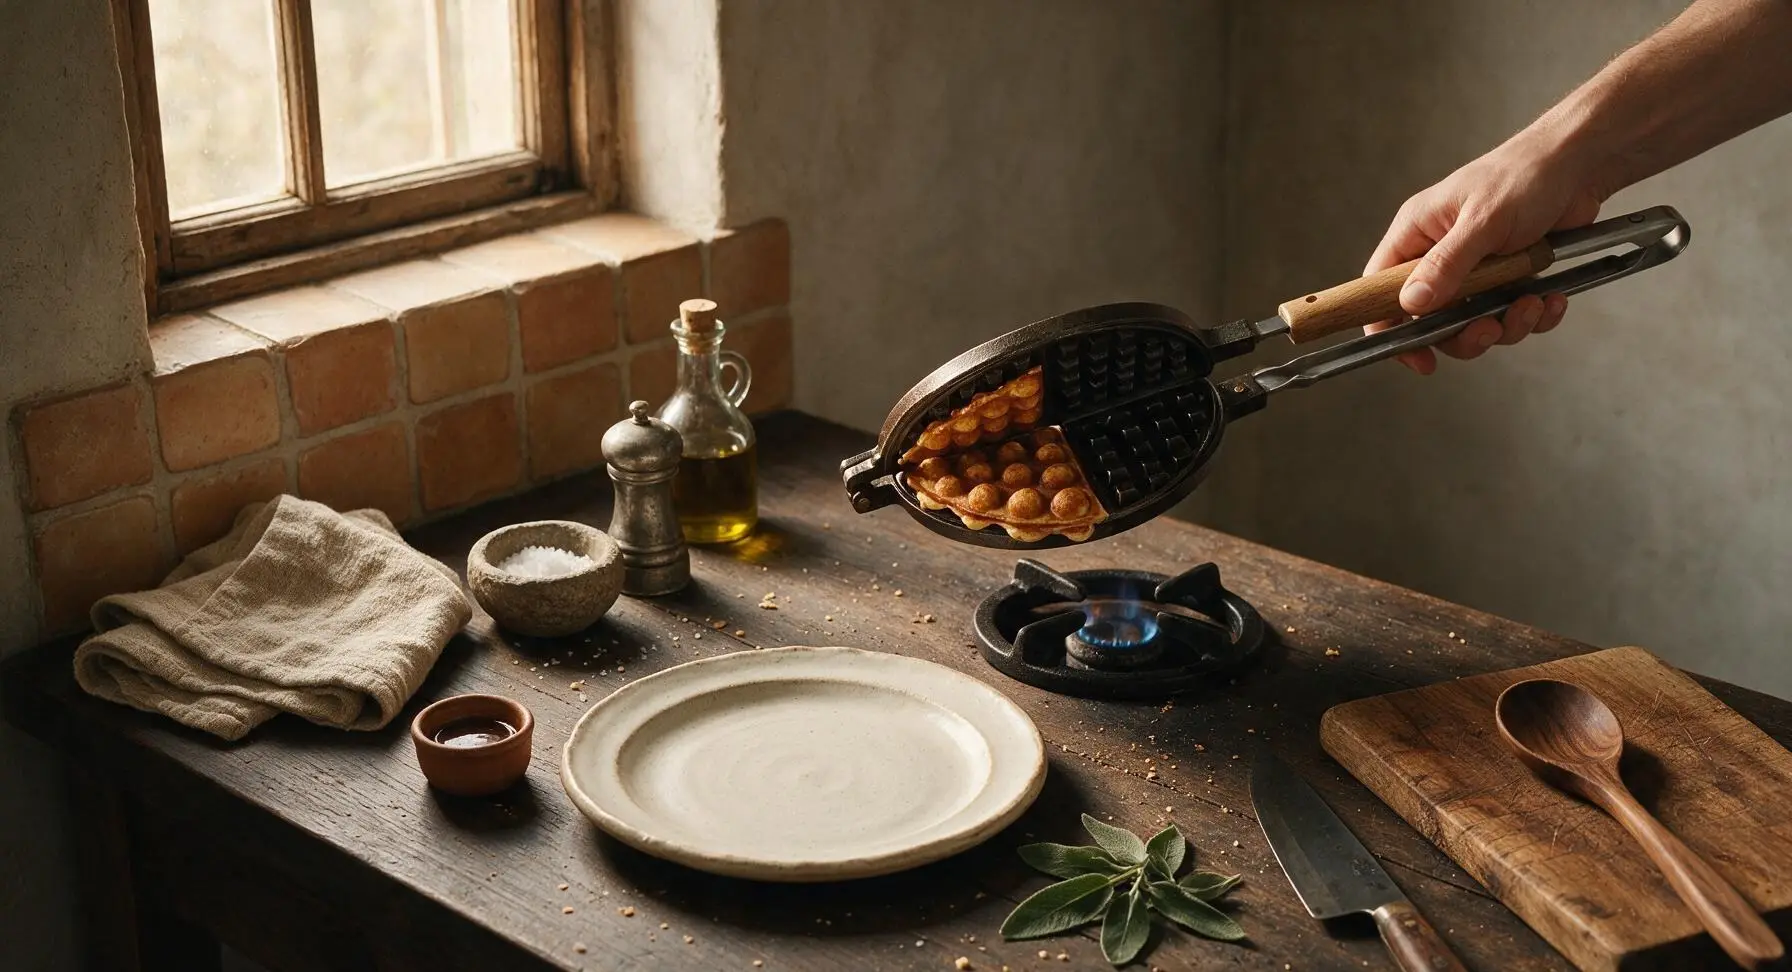
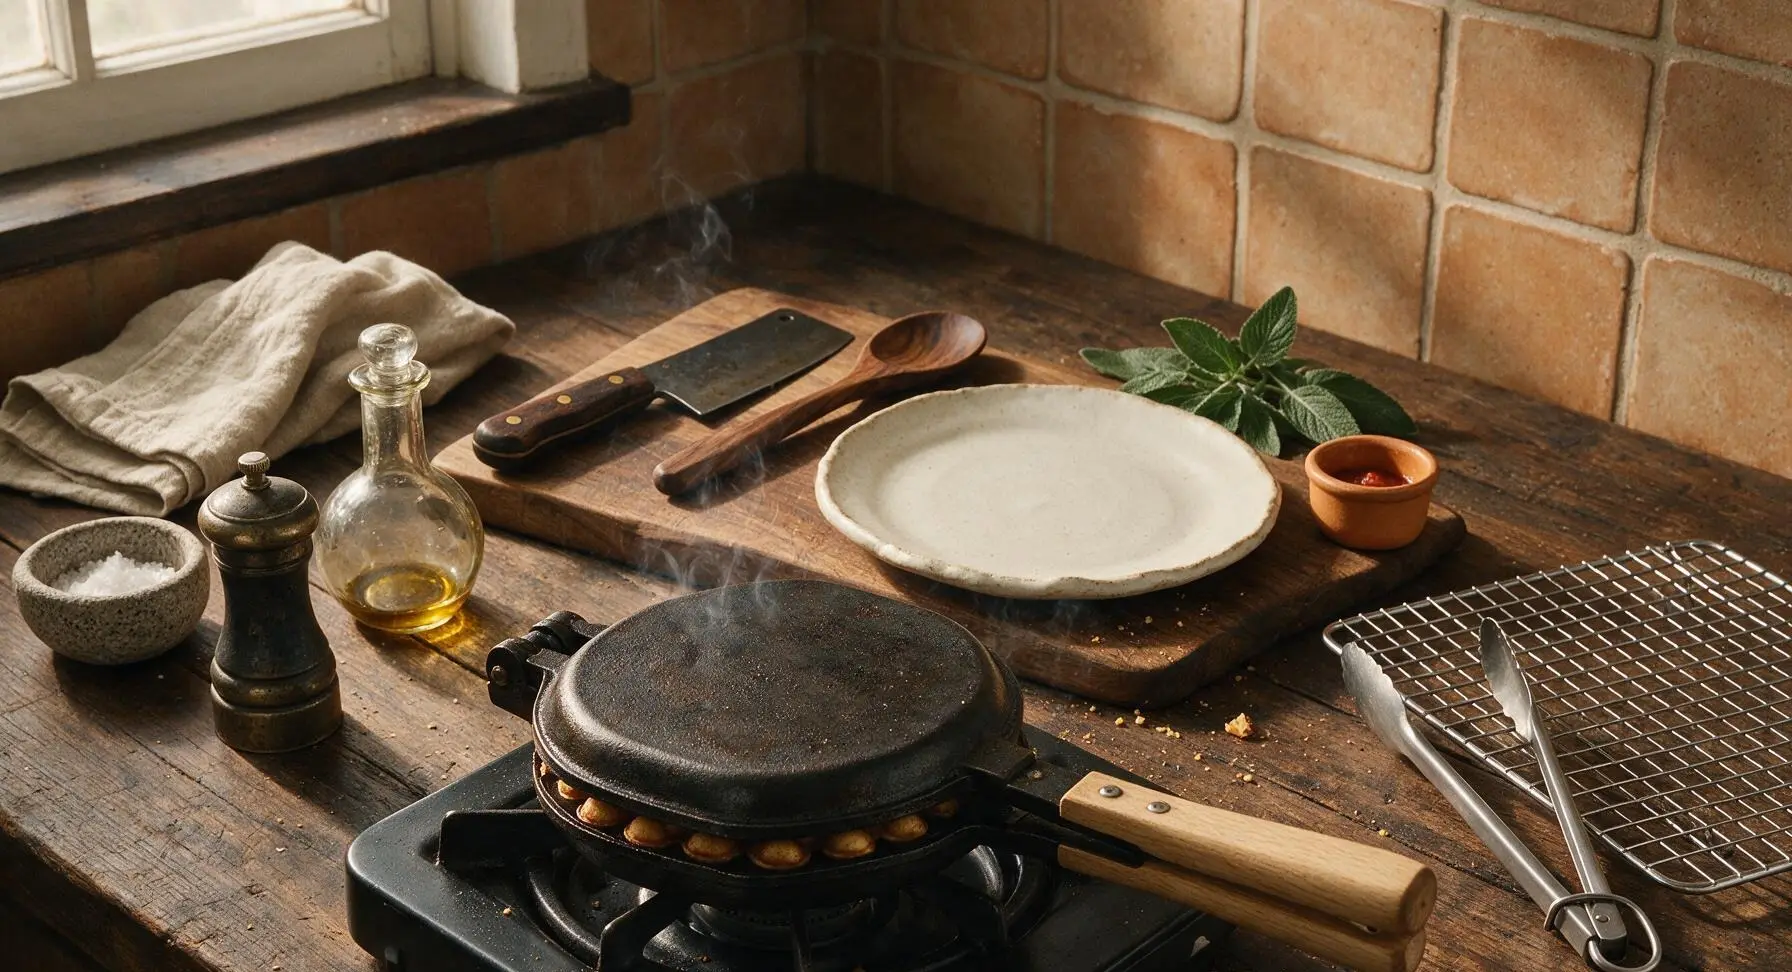
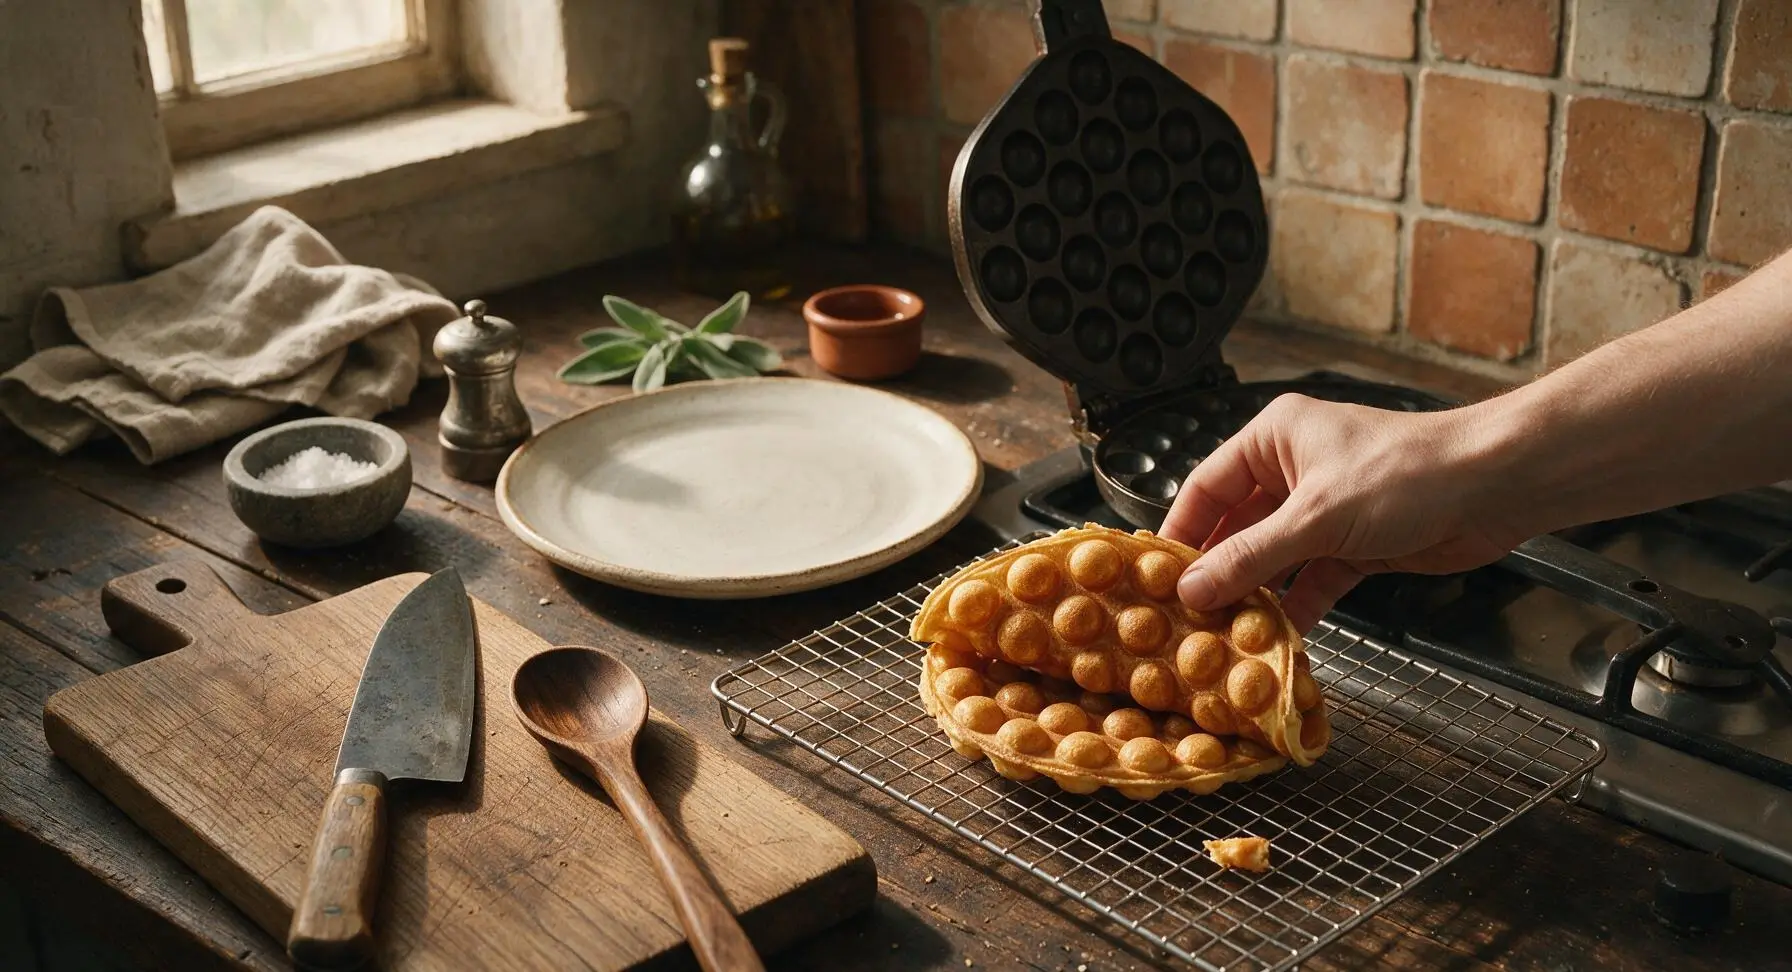
Unlatch the pan and open it carefully, tilting the pan to let the fully cooked golden waffle slide gently out onto the chrome wire cooling rack. Let the waffle rest for 30 seconds to crisp slightly, then fold it into a loose half-moon shape while it is still warm and pliable. Repeat the cooking process with remaining batter, greasing the pan lightly between batches. Arrange finished waffles on the matte cream ceramic serving plate, dust with a light layer of optional powdered sugar, and serve warm.
Tips
2.Keep stovetop heat at medium-low: if the pan is too hot, the outer bubble surfaces will burn before the batter inside the pockets cooks through, leading to raw centers and bitter, charred edges. The cold water drop test is the most reliable way to confirm correct pan temperature.
3.Shape waffles while they are still warm: once waffles cool for more than 1 minute after coming off the pan, they become rigid and crisp, and will crack instead of holding the classic curved half-moon shape. A 30-second rest on the cooling rack is all that is needed before shaping.






OMG these turned out SO good!!! I’ve been craving the bubble waffles I got on a trip to HK forever and this recipe was so easy even for someone who burns toast half the time. My kids devoured them with Nutella and fresh strawberries after school yesterday.
Super quick to throw together! Mine came out a little softer than I wanted, maybe I didn’t cook them long enough? Flavor was spot on though, brought them to my neighborhood potluck and everyone asked for the recipe.
Game changer for weekend brunch! I added a tiny bit of matcha powder to half the batter and it was chef’s kiss. Way cheaper than buying these from the boba shop down the street too.
Took me two tries to get the bubble shape right, but once I did these were so tasty! Meal prepped a batch to eat for quick breakfasts this week and they reheat really well in the toaster oven.
My picky 7 year old asked for seconds! That’s basically the highest possible review I can give any recipe. We topped ours with ice cream and sprinkles for a fun weeknight dessert.
I don’t even have a bubble waffle pan and I still made these work! I used my regular waffle iron and they still tasted incredible, just didn’t have the fun bubble shape. Still a win in my book.
So easy!!! I was intimidated because I thought Hong Kong style waffles needed super special ingredients but I had everything in my pantry already. 12 minute cook time is no joke, these came together so fast on a busy weeknight.
Made these for my roommate’s birthday and she cried because they tasted exactly like the ones she grew up eating when she visited family in Hong Kong. 10/10 will be making these again all the time.
Flavor is amazing, but I wish I’d sprayed my waffle mold better first — half the batter stuck and I lost half the bubbles on my first batch. Second batch was perfect once I greased it really well.
Brought these to a work potluck and people were fighting over the last piece. The texture is perfect — crispy on the edges, soft and chewy in the little bubbles, exactly how they’re supposed to be.
SO good. I’ve wasted so much money on terrible frozen bubble waffles from the grocery store, never going back. This recipe is cheaper, tastes better, and takes barely any time at all.
Made these with my niece over the weekend and we had so much fun! She loved filling the little bubbles with different toppings — peanut butter, jelly, mini chocolate chips, you name it. Such a fun kid-friendly activity.
Great base recipe! I added a teaspoon of vanilla bean paste and a dash of cinnamon and it elevated the flavor so much. Will definitely keep this in my regular rotation for quick breakfasts.
10/10 no notes. Crispy, chewy, sweet but not too sweet, exactly what I was craving. Made them last minute for movie night and they were gone in 10 minutes flat.
I was shocked how easy this was! I’m a total beginner cook and these came out perfect on the first try. Already texted the recipe link to all my friends.
Really solid recipe! I would just note that if you’re using an electric bubble waffle maker, the cook time is a little closer to 10 minutes instead of 12 so you don’t burn the edges. Otherwise flavor is perfect.
My whole family is obsessed! We did a whole waffle bar last Sunday with these, had whipped cream, fresh fruit, syrup, boba pearls, all the toppings. Best brunch we’ve done in months.
Game changer. I’ve been paying $7 a pop for these at my local boba shop and I can make a whole batch for less than that. Tastes identical if not better. Will be making these every week.
Made these for my book club meeting and everyone was raving! So many people asked for the recipe I ended up posting it in our group chat. Easy, delicious, crowd-pleaser, what more could you want?