
Butter Grits
intro
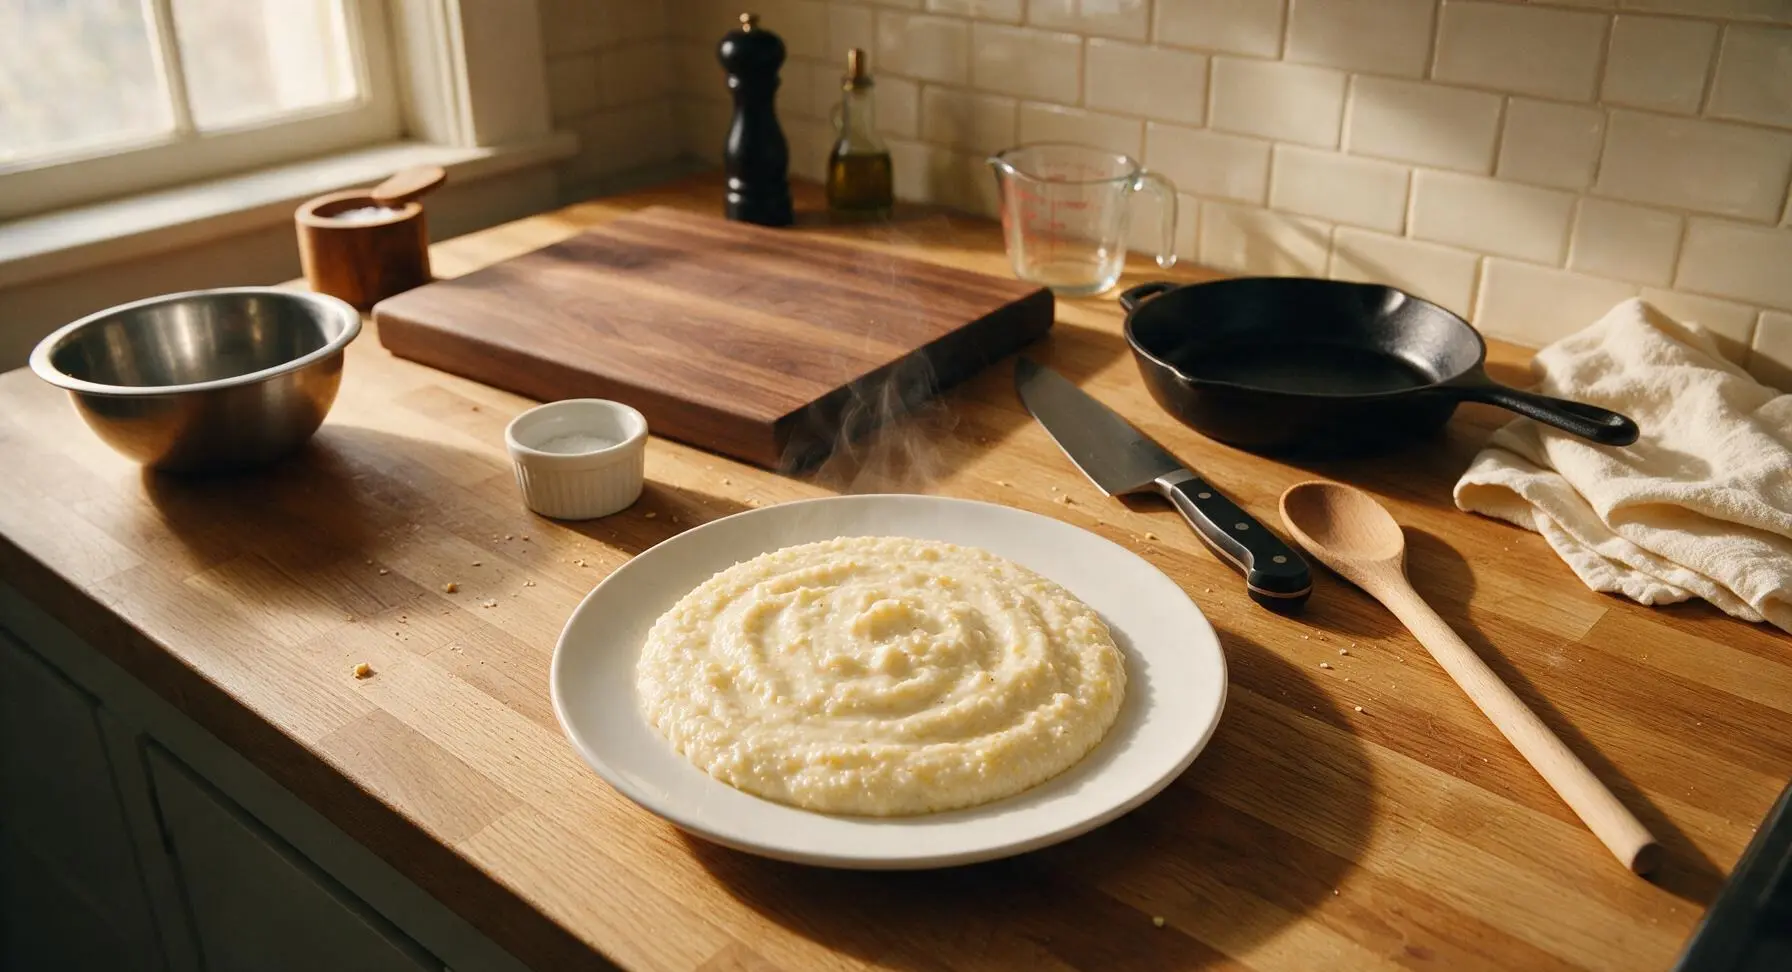
Silky, rich, and luxuriously creamy butter grits are the ultimate Southern comfort staple, versatile enough to pair with fried chicken, shrimp, or weekend breakfast eggs.
Ingredients
Steps
Prep and Measure Ingredients
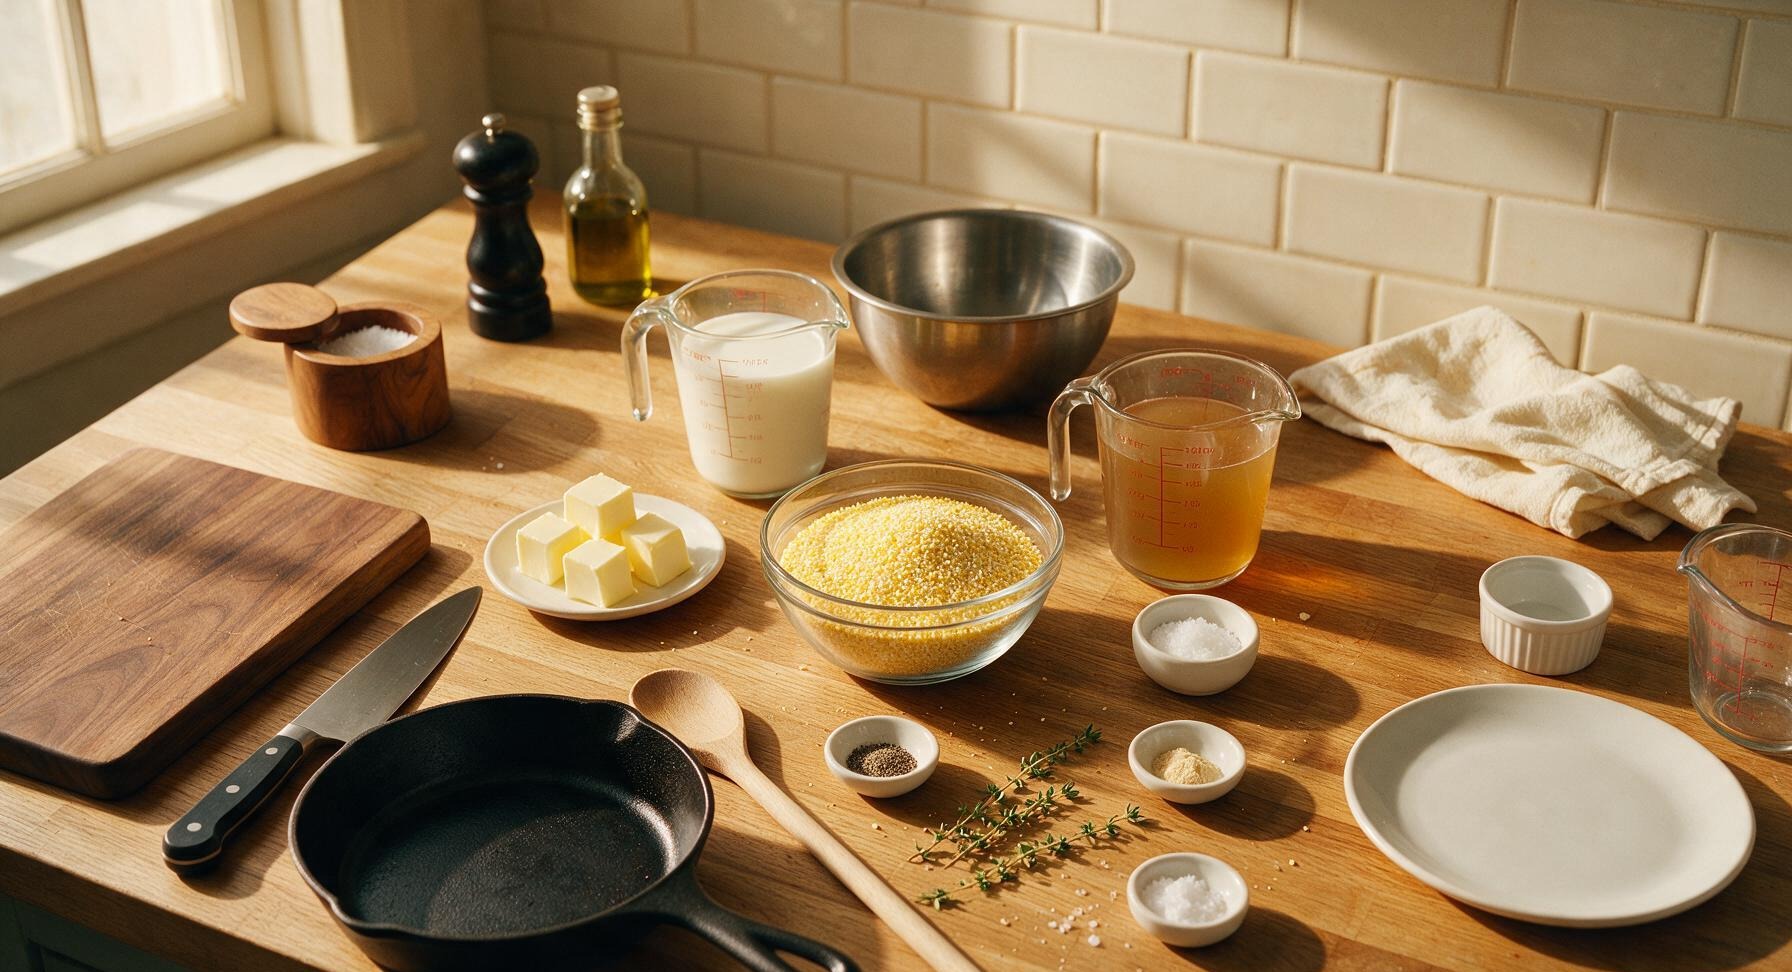
Use the matte black dry measuring cups and stainless steel measuring spoons to portion all ingredients before you begin cooking: measure 1 cup stone-ground yellow grits, 4 tablespoons cold unsalted butter cut into 4 equal pats, 1 teaspoon coarse kosher salt, 1/4 teaspoon freshly ground black pepper, and 1/8 teaspoon garlic powder. Pour 2 cups whole milk and 2 cups low-sodium chicken broth into the 4-cup clear glass measuring cup, stir gently to combine. Prepping ingredients first eliminates rushed additions mid-cook that cause lumpy or unevenly cooked grits.
Bring Liquid to Simmer
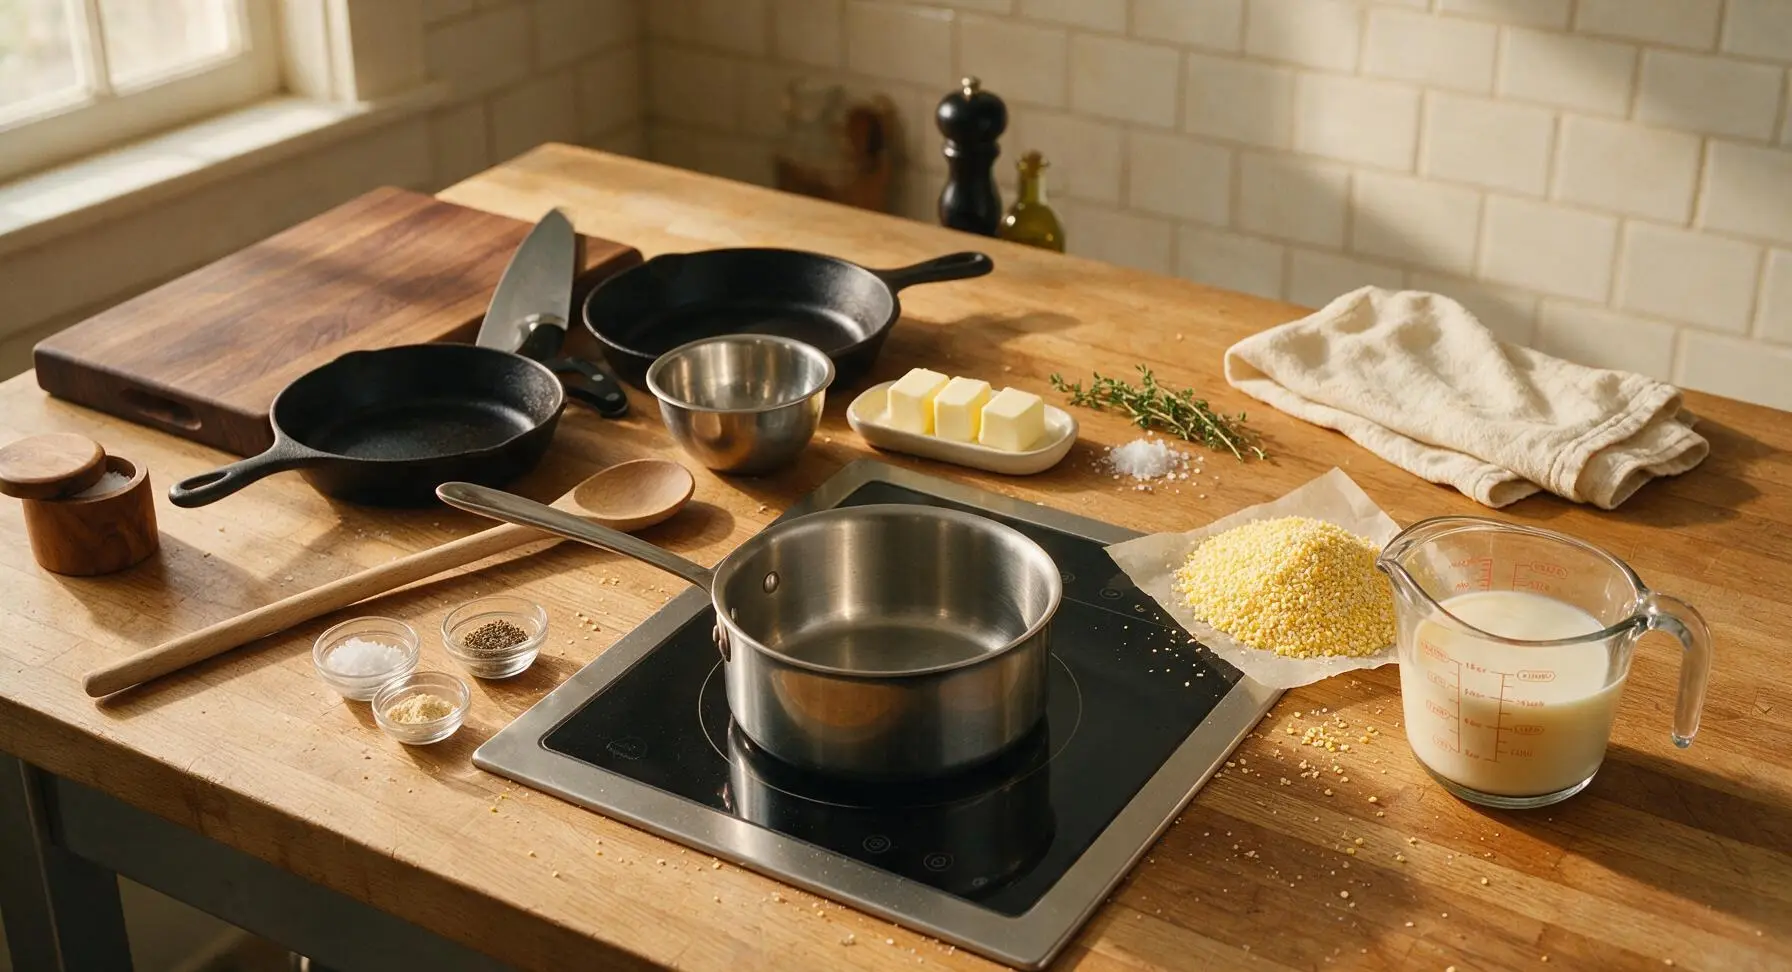
Place the 3-quart stainless steel saucepan on the induction cooktop set to medium heat. Pour the combined milk and broth mixture into the pan, add 3/4 teaspoon of the measured kosher salt. Heat the liquid for approximately 5 minutes until it reaches a gentle steady simmer (190°F / 88°C), where small, slow bubbles break around the pan edges but the liquid never reaches a rolling boil (a rolling boil will scald milk, causing curdling and a burnt, off flavor). Stir occasionally with the maple wooden spoon to prevent milk from sticking to the pan bottom.
Whisk in Grits Gradually
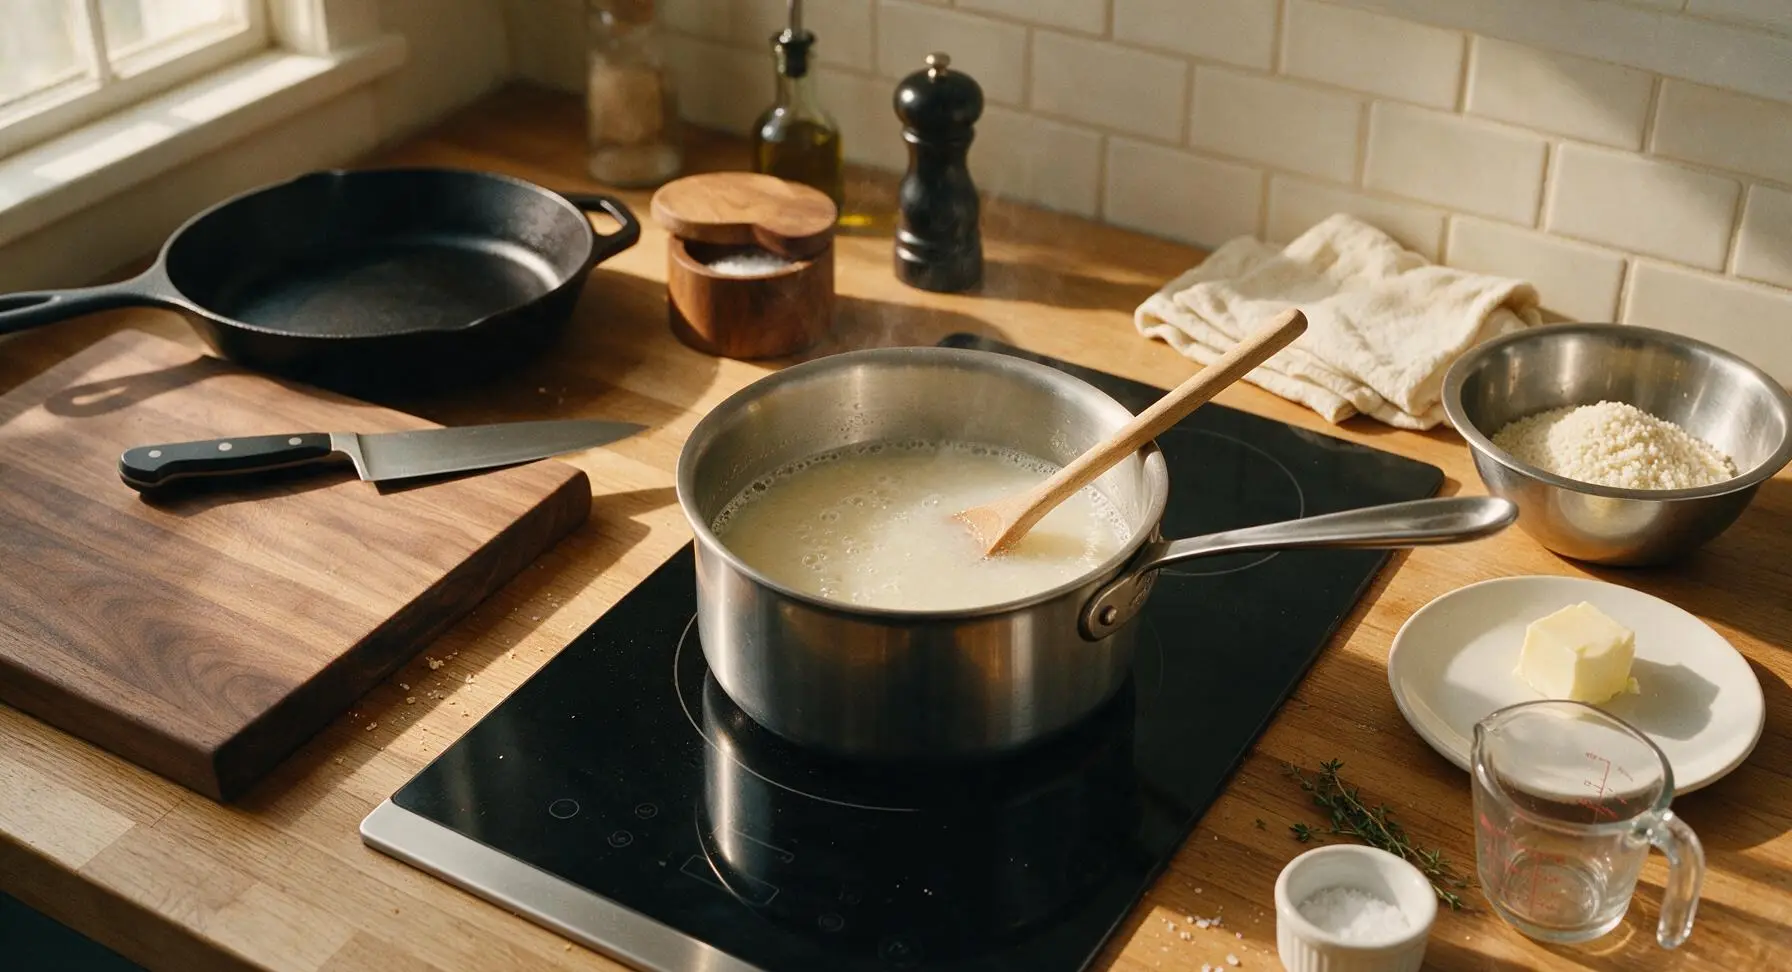
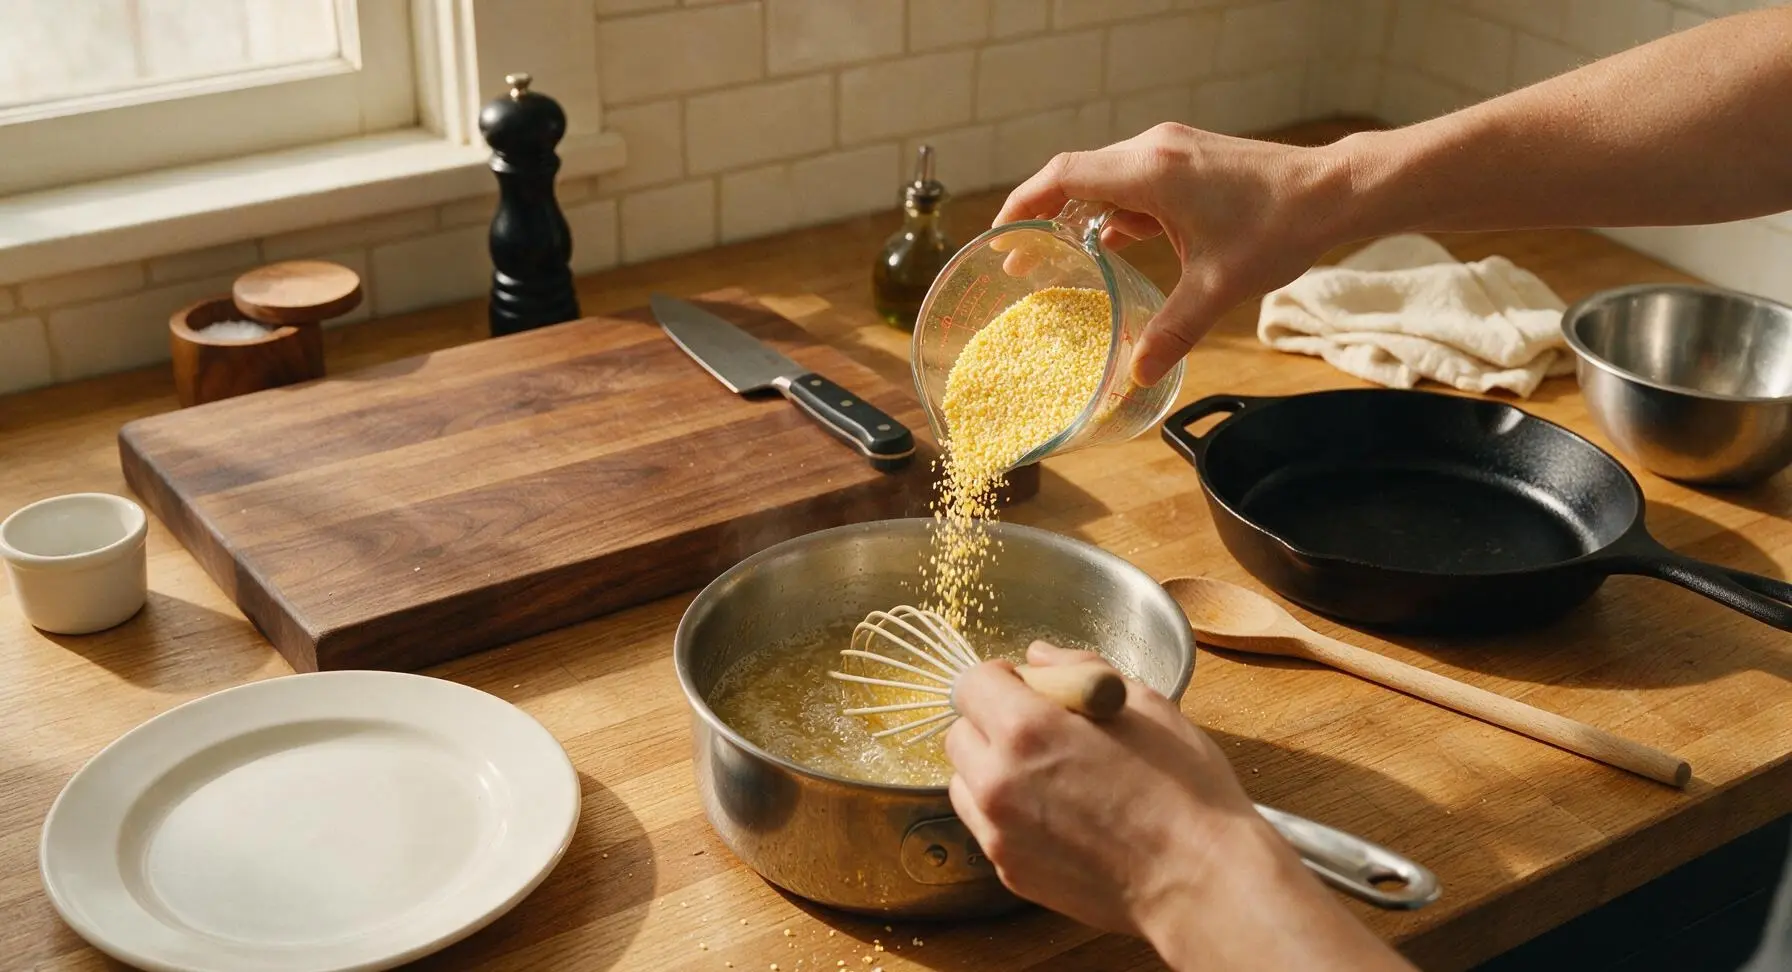
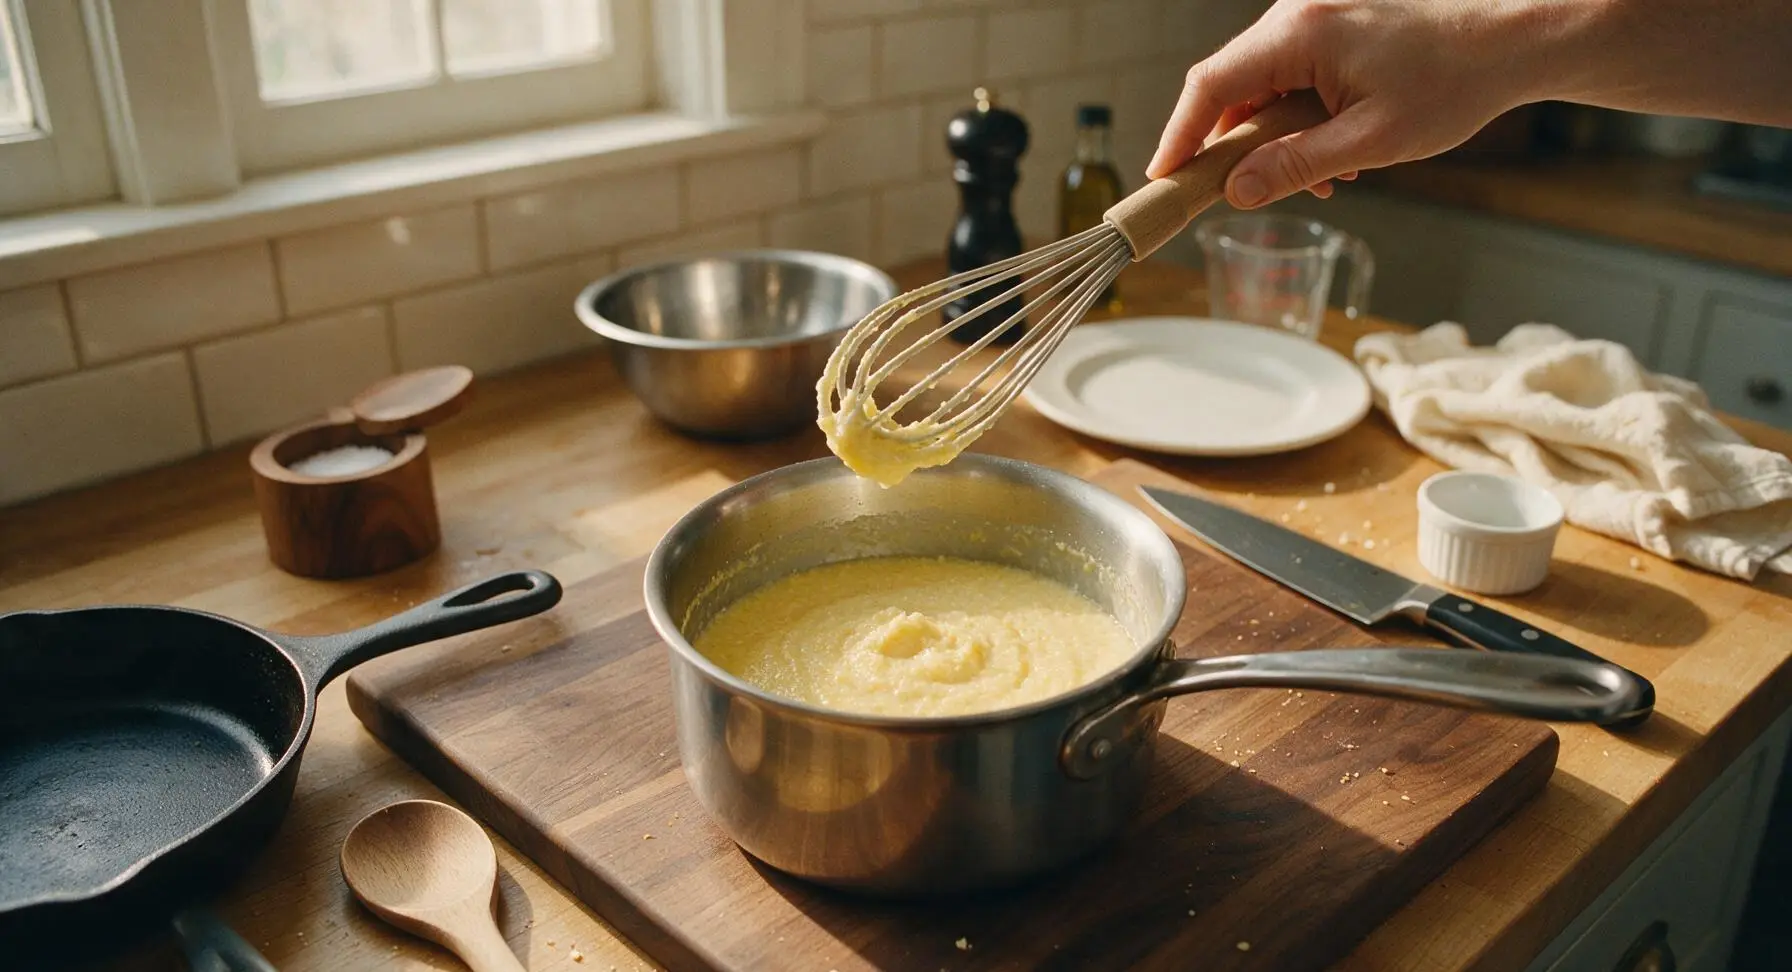
Hold the silicone whisk in one hand to stir the simmering liquid constantly as you slowly pour the measured stone-ground grits into the pan in a thin, steady stream. Never dump all grits in at once, as this creates dry, dense lumps that cannot be stirred smooth later. Whisk continuously for 1 full minute after all grits are added to break up any small clumps and ensure grits are evenly suspended in the liquid.
Simmer Grits Until Tender
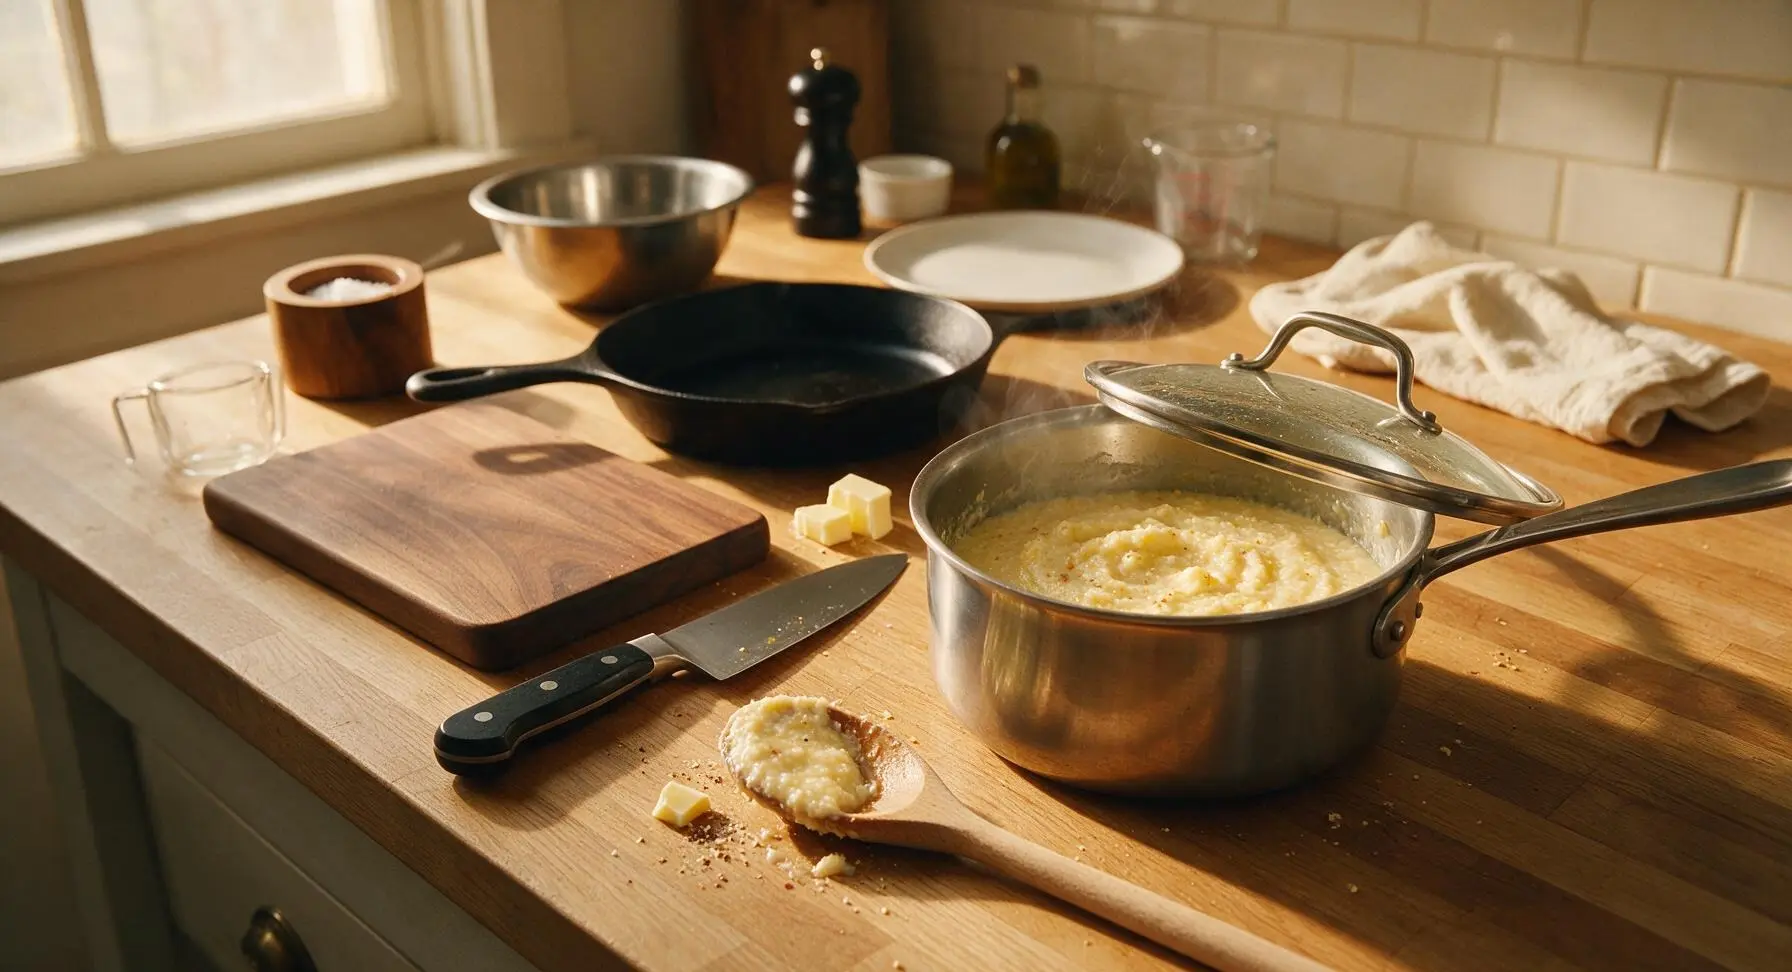
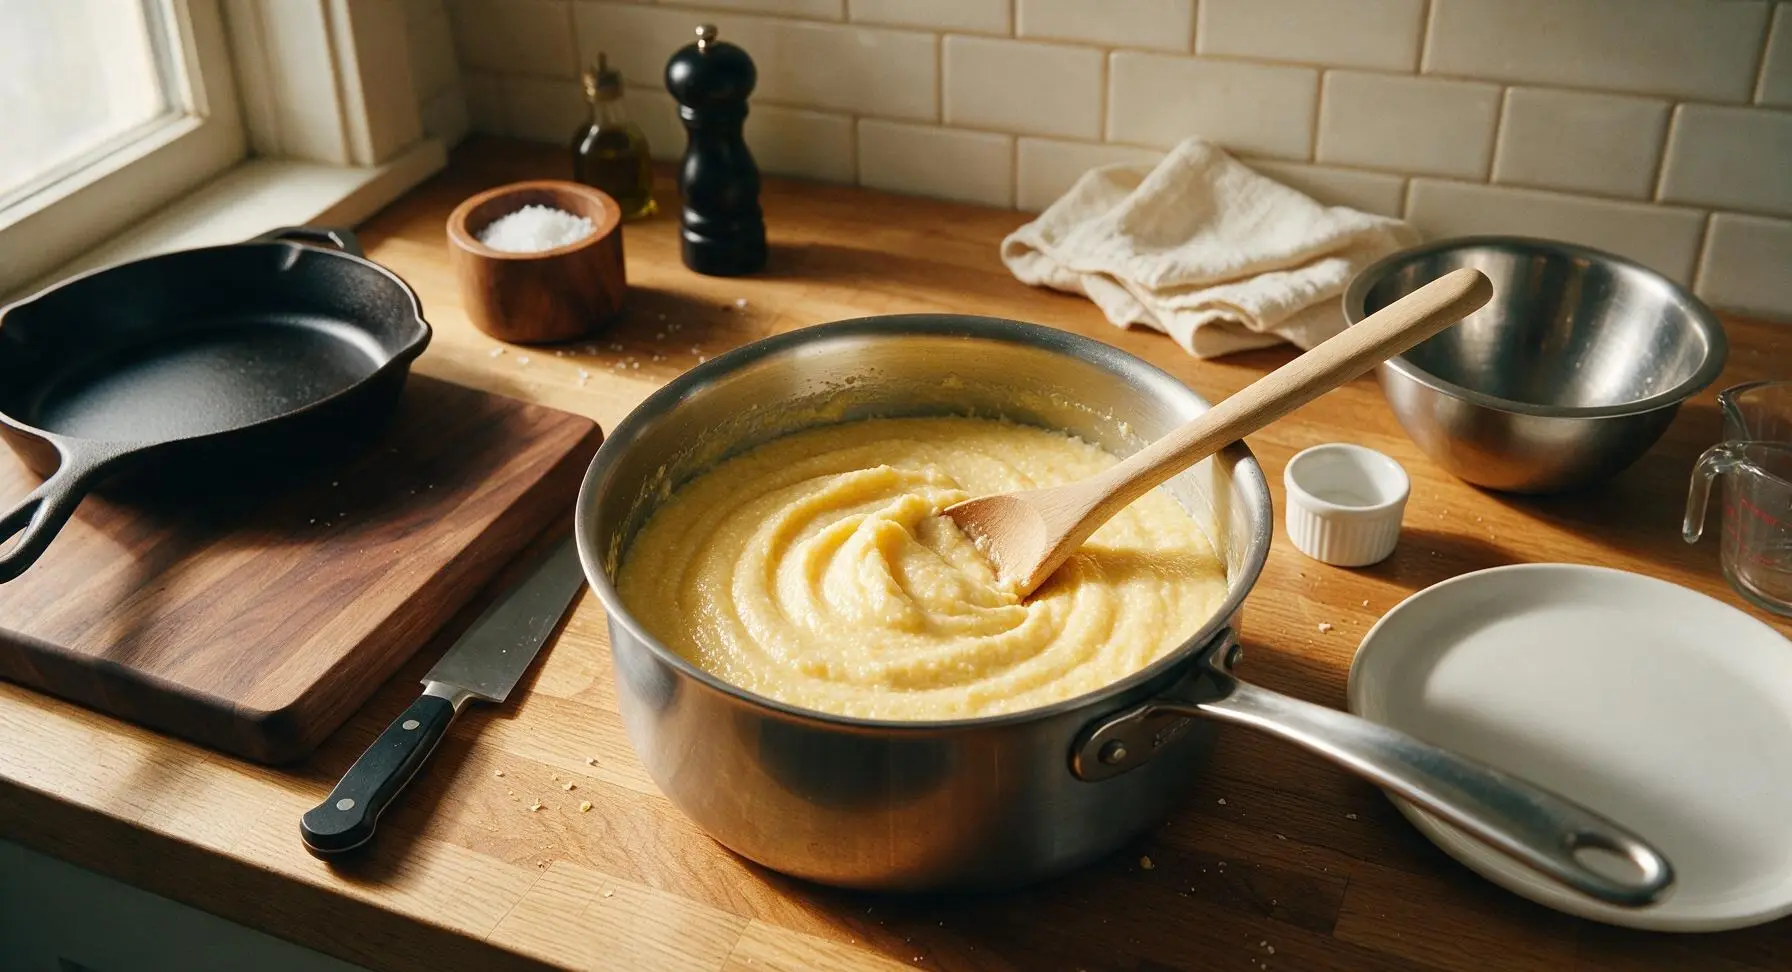
Reduce the cooktop heat to the lowest setting, rest the glass saucepan lid slightly ajar on the pan to let steam escape (a tight lid will trap too much heat and cause starchy boil-overs). Cook the grits for 15 minutes, stirring thoroughly with the wooden spoon every 3 minutes to scrape the pan bottom and sides, preventing grits from sticking or forming a tough, burnt crust. Grits are fully done when they are completely tender with no gritty, crunchy bite when tasted, and thick enough to heavily coat the back of the wooden spoon, dripping off slowly when the spoon is lifted.
Stir in Butter and Seasonings
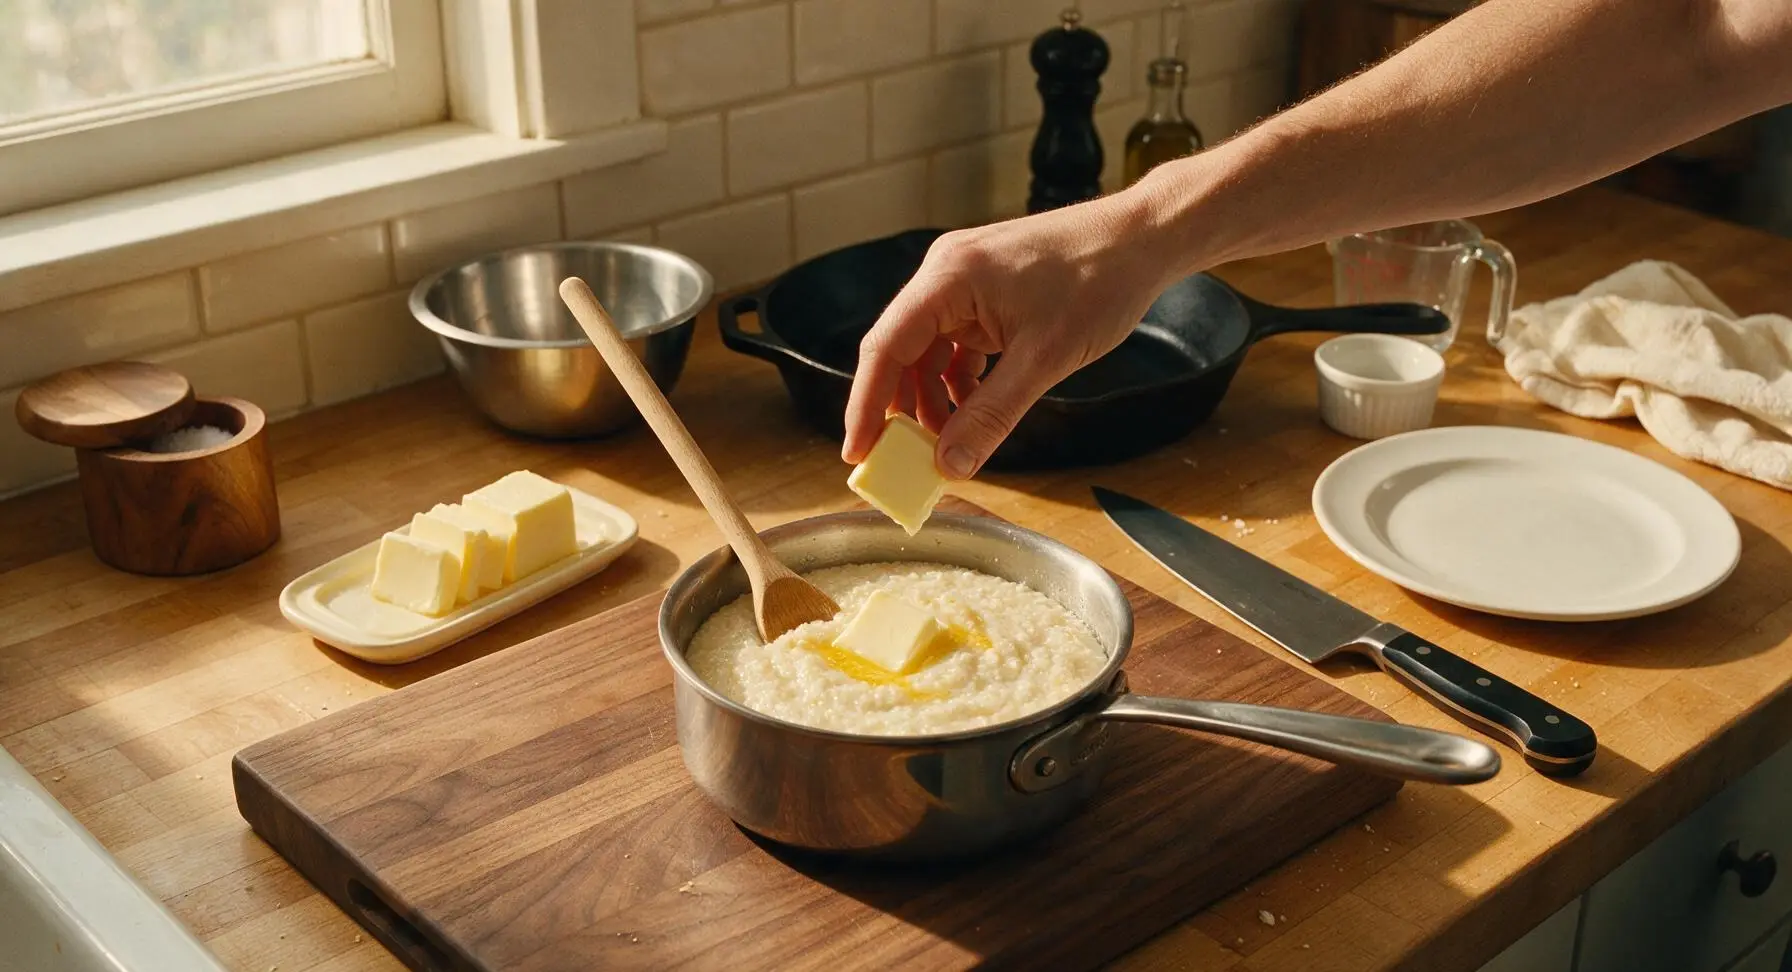
Turn off the cooktop heat, slide the saucepan off the hot burner. Add the cold butter pats one at a time, stirring vigorously with the wooden spoon after each addition until the butter is fully melted and emulsified into the grits, creating a silky, glossy texture. Add the remaining 1/4 teaspoon kosher salt, black pepper, and garlic powder, stirring to combine evenly. Taste and adjust salt if needed: finished grits should taste bright and corn-forward, not bland or overly salty.
Let Grits Rest Briefly
Place the glass lid fully back on the saucepan, and let the grits rest for 3 minutes off the heat. This short resting period allows grits to absorb any remaining free liquid and set to the perfect creamy, spoonable consistency; grits will thicken slightly more as they rest, so do not skip this step. If grits become too thick after resting, stir in 1-2 tablespoons of warm milk or broth to thin to your preferred consistency.
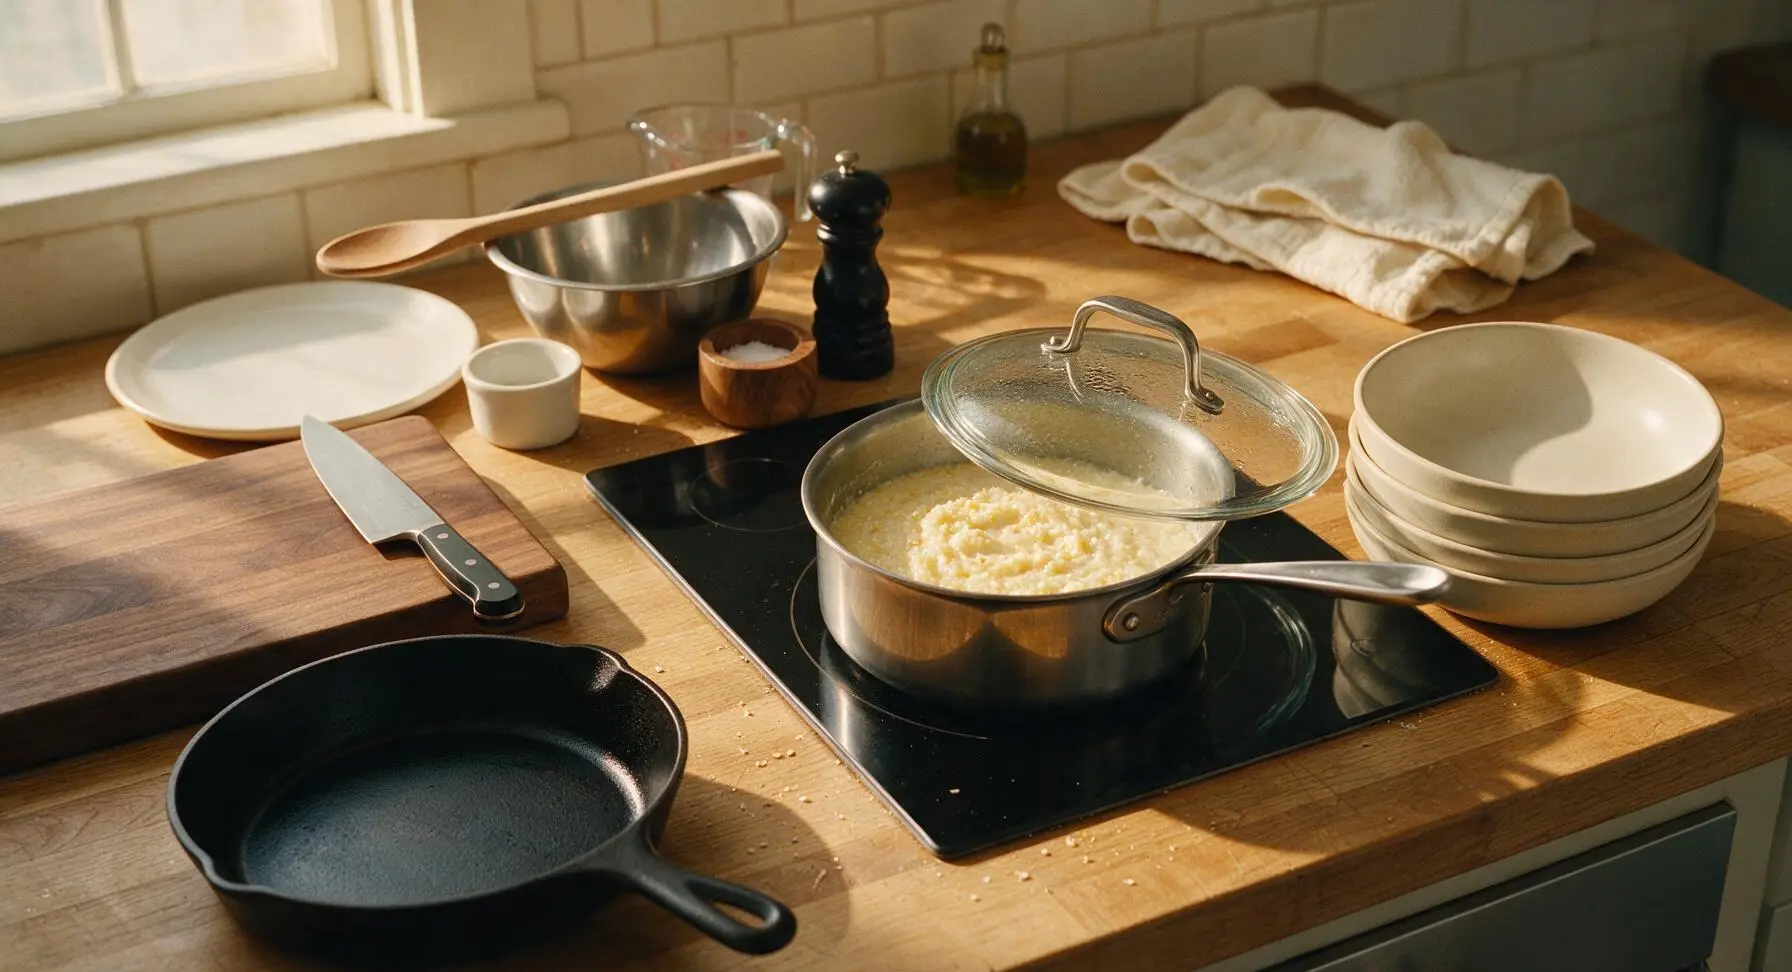
Plate and Garnish Grits
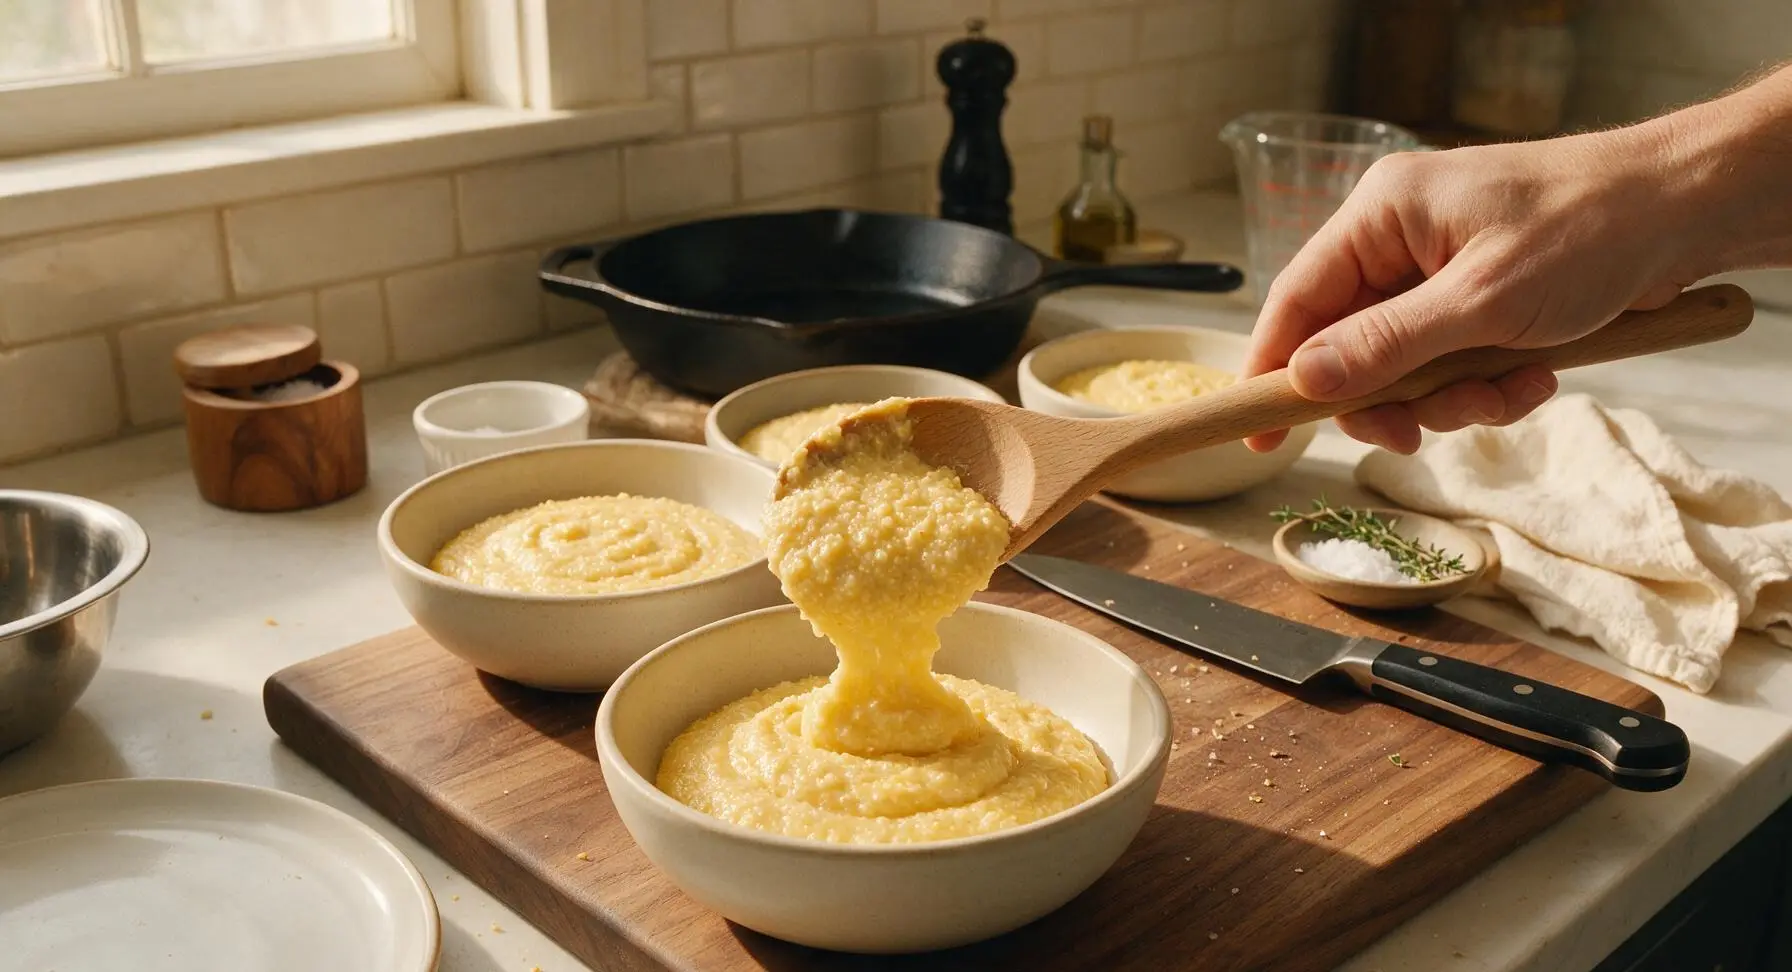
Remove the lid from the pan, stir the grits one final time with the wooden spoon to loosen them. Ladle equal portions of the creamy grits into each of the matte cream stoneware bowls. Top each serving with a tiny extra pat of butter if desired, a light pinch of flaky sea salt, and a single small fresh thyme sprig for a bright, herby garnish. Serve immediately while hot, as grits will thicken and stiffen as they cool.
Tips
2.Avoid cooking grits over high heat at any point: high heat scalds milk, burns the starchy grits that settle to the pan bottom, and creates a bitter, off-flavor that cannot be fixed. A low, gentle simmer ensures even cooking and a silky, lump-free texture.
3.Stir butter into grits off the heat, not while the pan is still sitting on a hot burner: adding cold butter to boiling-hot grits can cause the milkfat to separate, leaving a greasy film on top of the grits, while stirring butter into off-heat grits creates a smooth, emulsified, glossy texture.






OMG these grits are SO good! I made them for our Sunday family dinner alongside fried catfish and collards, and even my super picky 7 year old asked for seconds. Perfectly creamy, no grainy texture at all—total game changer for my weekly meal rotation.
Can’t wait to try these for my dorm brunch this weekend! Quick question though—can I use water instead of whole milk if I don’t have any on hand? I’m a broke college student and only have skim milk and butter right now, lol. Only knocking off one star because I haven’t gotten to taste them yet, but the instructions look so easy to follow!
Brought these grits to our neighborhood potluck last weekend and people were literally scraping the bowl clean! I added a handful of shredded sharp cheddar at the end because I’m a cheese fiend, and it was chef’s kiss. Will 100% be making these for every brunch from now on.
These hold up so well for meal prep! I made a big batch on Sunday, portioned them out into containers with grilled shrimp and roasted broccoli, and they were still creamy after reheating in the microwave all week. No weird gummy texture like other grits recipes I’ve tried. Total weekday lifesaver.
I grew up eating my grandma’s grits in Alabama and was skeptical a random online recipe could measure up, but wow—these taste exactly like hers! The slow stir and that extra pat of butter at the end make all the difference. I got a little emotional eating them ngl.
Made these for breakfast this morning with bacon and scrambled eggs for the kids, and they went crazy for it! My oldest said these are “fancy restaurant grits” which is the highest compliment I’ve ever gotten on my cooking, tbh. So easy to throw together too, 20 minutes is no time at all on a busy school morning.
So happy this recipe is naturally gluten free! I’ve been looking for an easy side to bring to my friend’s BBQ next weekend and these are perfect. Quick question—should I make them right before we head over, or will they stay creamy in a crockpot on warm for a couple hours?
Tried these for my at-home date night last night, served with blackened salmon and roasted asparagus. My boyfriend said I need to add these to our permanent date night menu stat. The texture is so luxe and buttery, you’d think they took way more effort than 20 minutes. 10/10.
I’ve been making grits for 40+ years and I have to say, this recipe is dead on for classic creamy southern grits. A lot of new recipes overcomplicate it with fancy add-ins, but you don’t need anything more than good stone ground grits, butter, milk, and salt. Well done.
Help! I tried making these last night and my grits were super grainy, what did I do wrong? I followed the cook time but maybe I had the heat too high? They tasted okay but the texture was off.
These are the perfect base for so many add-ins! I stirred in some roasted garlic, crumbled goat cheese, and a dash of hot sauce at the end, and it was absolute perfection. Served them with fried chicken for Sunday supper and my whole family was raving.