
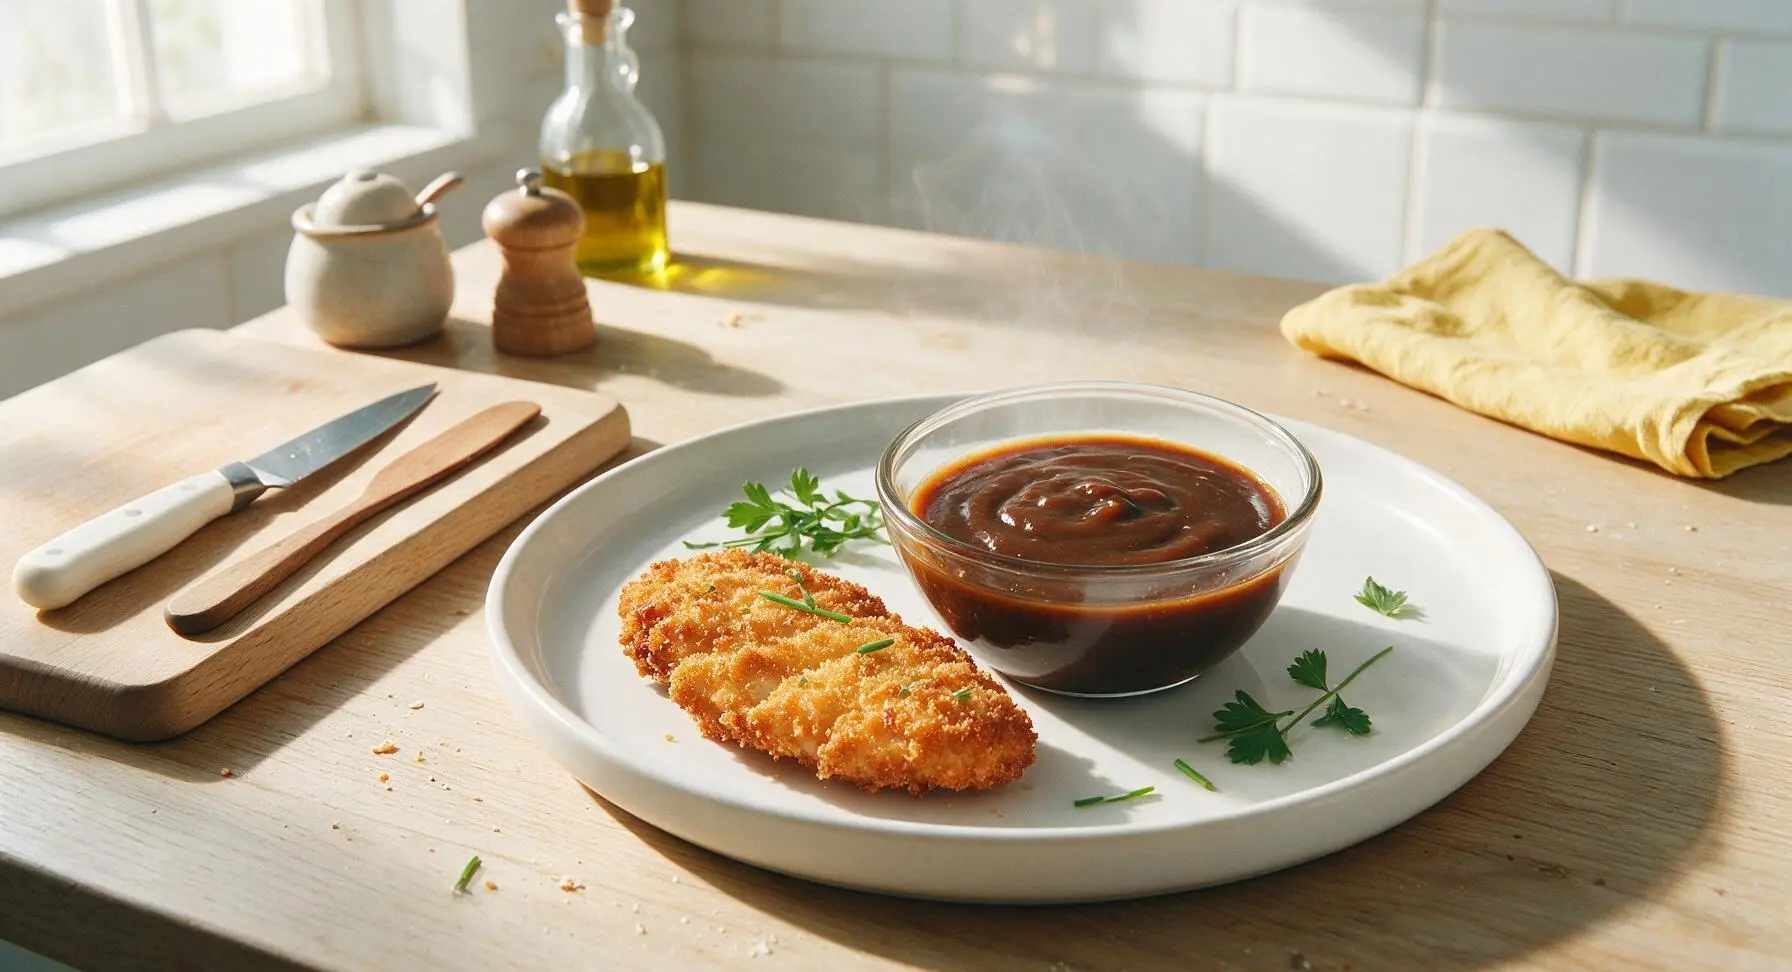
chicken katsu sauce

title 1
chicken katsu sauce
⏱️ cook time 5 minutes
🍽️ servings 4
⚡ Difficulty easy

intro

This rich, tangy-sweet homemade chicken katsu sauce is a glossy, umami-packed condiment, perfectly balanced to complement crispy fried chicken cutlets, with depth that far outshines store-bought versions.

Ingredients
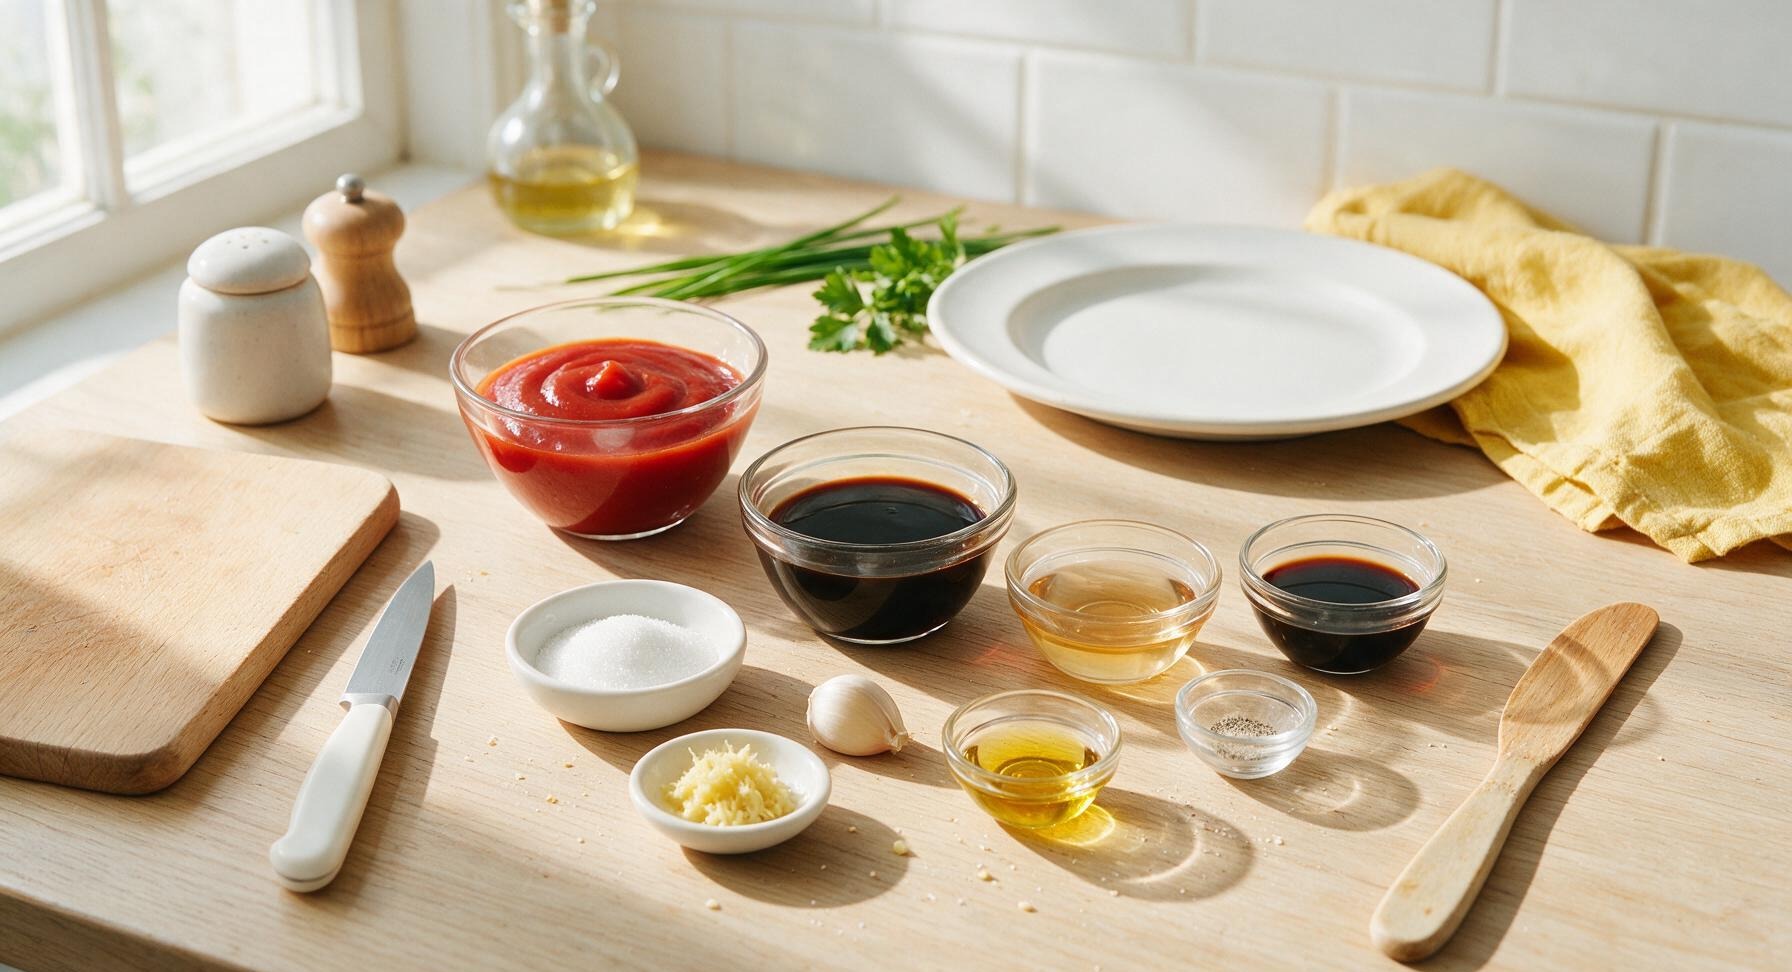
Tomato ketchup 1/2 cup (120ml)
Worcestershire sauce 3 tbsp (45ml)
Mirin 2 tbsp (30ml)
Low-sodium soy sauce 1 tbsp (15ml)
Granulated white sugar 1 tbsp (12g)
Fresh garlic 1 clove (5g)
Fresh ginger 1 tsp grated (2g)
Toasted sesame oil 1/4 tsp (1ml)
Ground white pepper 1/8 tsp

Steps

1

Prep Aromatic Ingredients

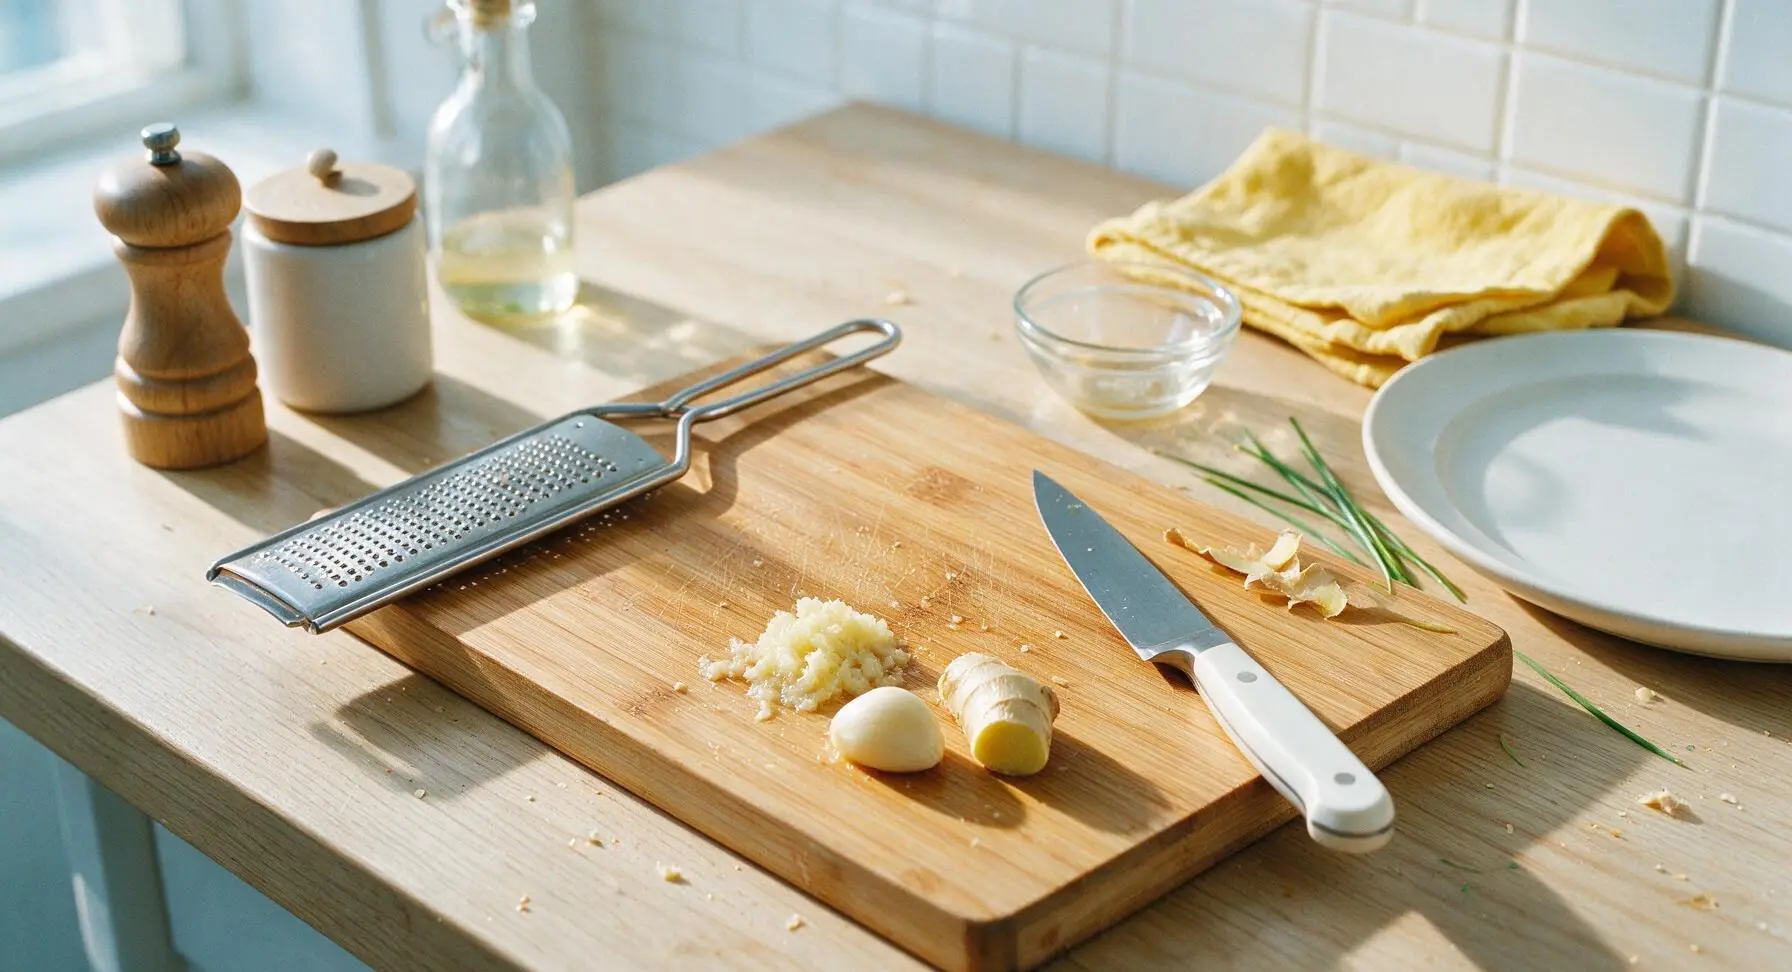
Place the honey-toned bamboo cutting board at the center of the work zone, with the stainless steel paring knife resting on its right edge and the fine-tooth hand grater on its left edge. Peel the single garlic clove and 2cm fresh ginger knob, then finely grate both to a smooth, juicy paste, discarding any tough, fibrous ginger bits that won’t break down. This prep takes roughly 2 minutes, and ensures no stringy bits end up in the finished sauce.
Step 1
step1:Prep Aromatic Ingredients
2

Measure Sauce Base

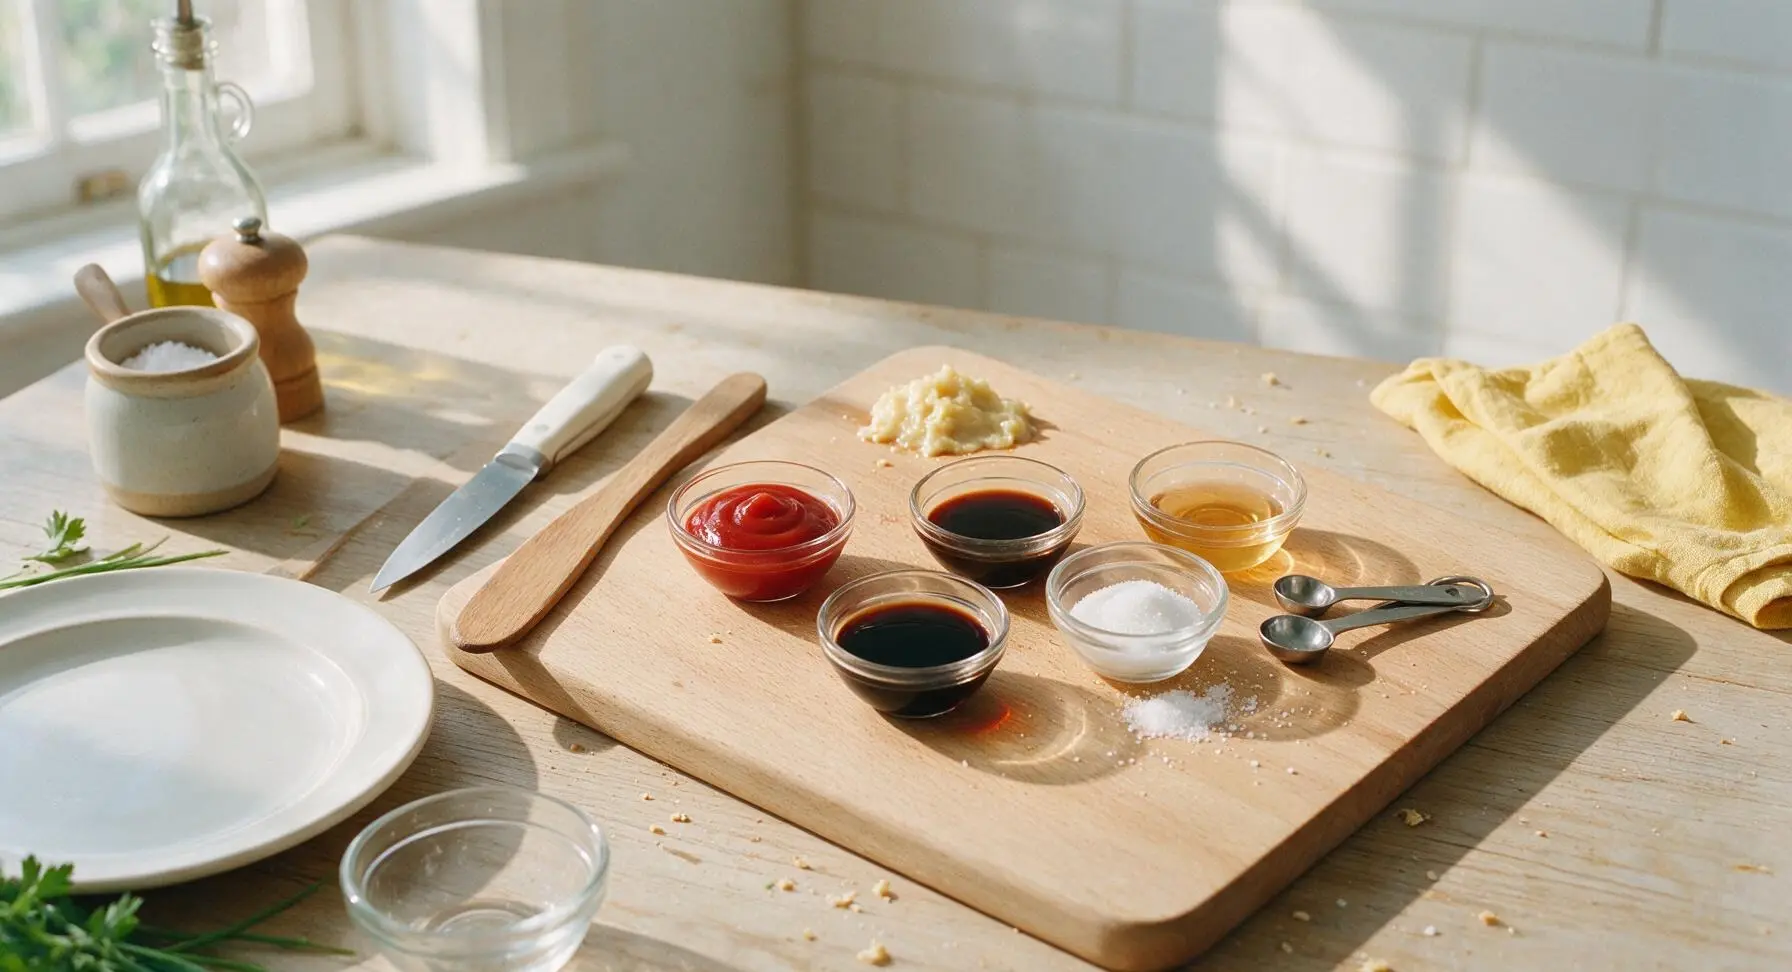
Using the stainless steel measuring spoons and small glass measuring cup, portion out 1/2 cup ketchup, 3 tablespoons Worcestershire sauce, 2 tablespoons mirin, 1 tablespoon low-sodium soy sauce, and 1 tablespoon granulated sugar into separate small glass prep bowls. Double-check measurements to avoid an overly sweet or salty final sauce; the tangy and sweet components should be roughly balanced at this stage.
Step 2
step2:Measure Sauce Base
3

Combine All Ingredients

Set the bamboo cutting board and prep bowls aside on the adjacent counter, then place the 1-quart matte stainless steel saucepan in its fixed center-right position (handle pointing right). Add all measured ingredients (ketchup, Worcestershire, mirin, soy sauce, sugar, grated garlic, grated ginger, 1/8 teaspoon ground white pepper) to the saucepan, then rest the matte black silicone whisk across the pan rim. Do not turn on the heat yet.
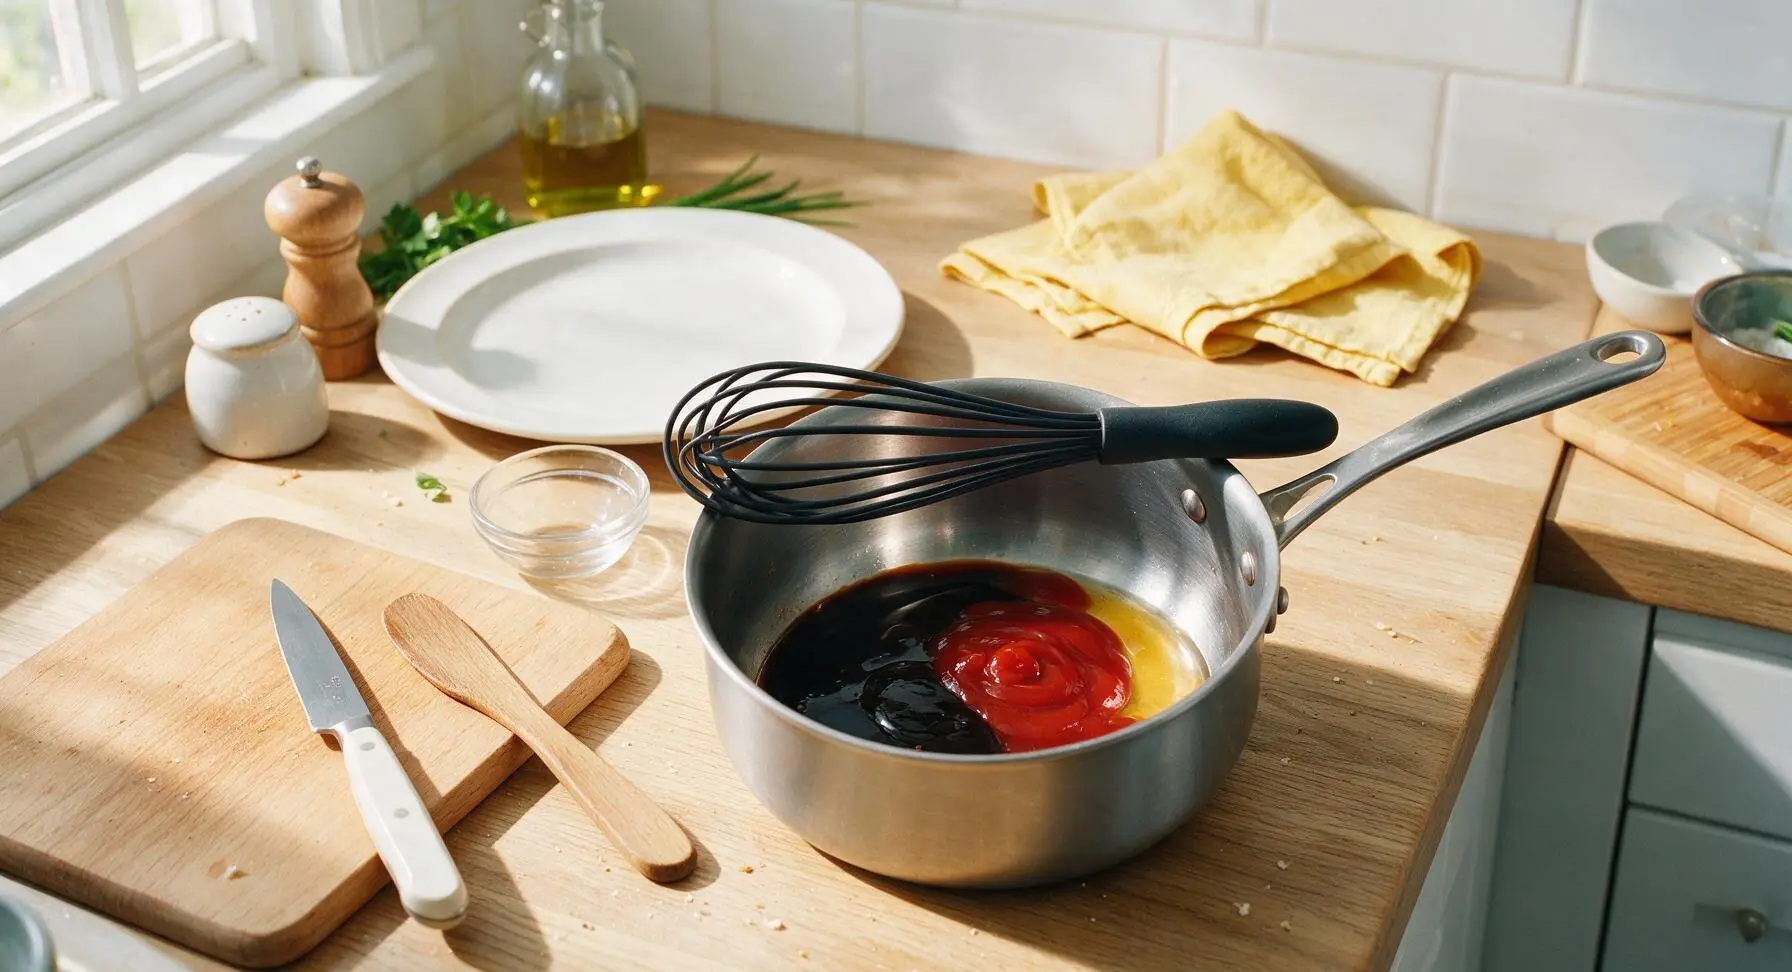
Step 3
step3:Combine All Ingredients
4

Whisk Until Smooth

Use the silicone whisk to stir the raw sauce mixture for 30-45 seconds, until all ingredients are fully incorporated with no streaks of separate ingredients, no undissolved sugar lumps or thick ketchup clumps remaining. The mixture will be a uniform deep reddish-brown at this stage, still completely cool to the touch.
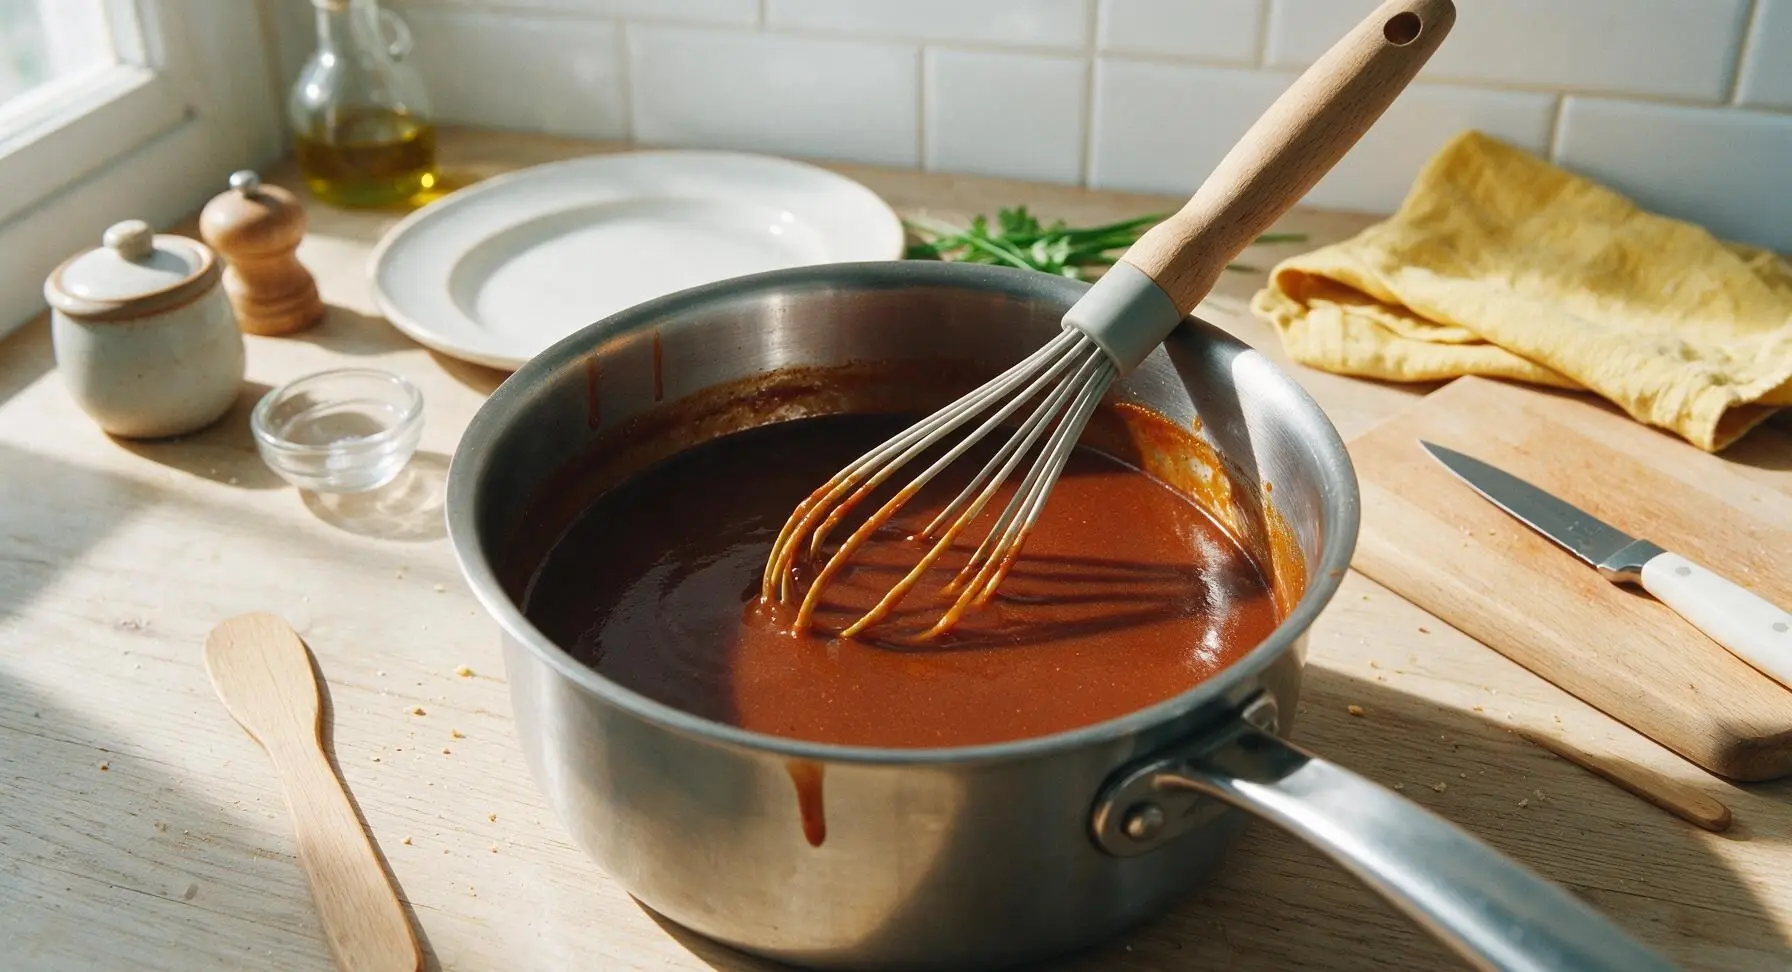
Step 4
step4:Whisk Until Smooth
5

Simmer Gently to Meld

Turn the stovetop burner to medium-low heat (3/10 setting) to bring the sauce to a very gentle simmer, never a rolling boil. Once tiny, slow bubbles break the surface around the pan edges (after 2-3 minutes), reduce heat to low, stir occasionally with the whisk, and hold at a simmer for 2 full minutes. This softens the sharp raw bite of garlic and ginger and melds all the flavor layers together; vigorous boiling will over-thicken the sauce and make the sugar taste bitter.
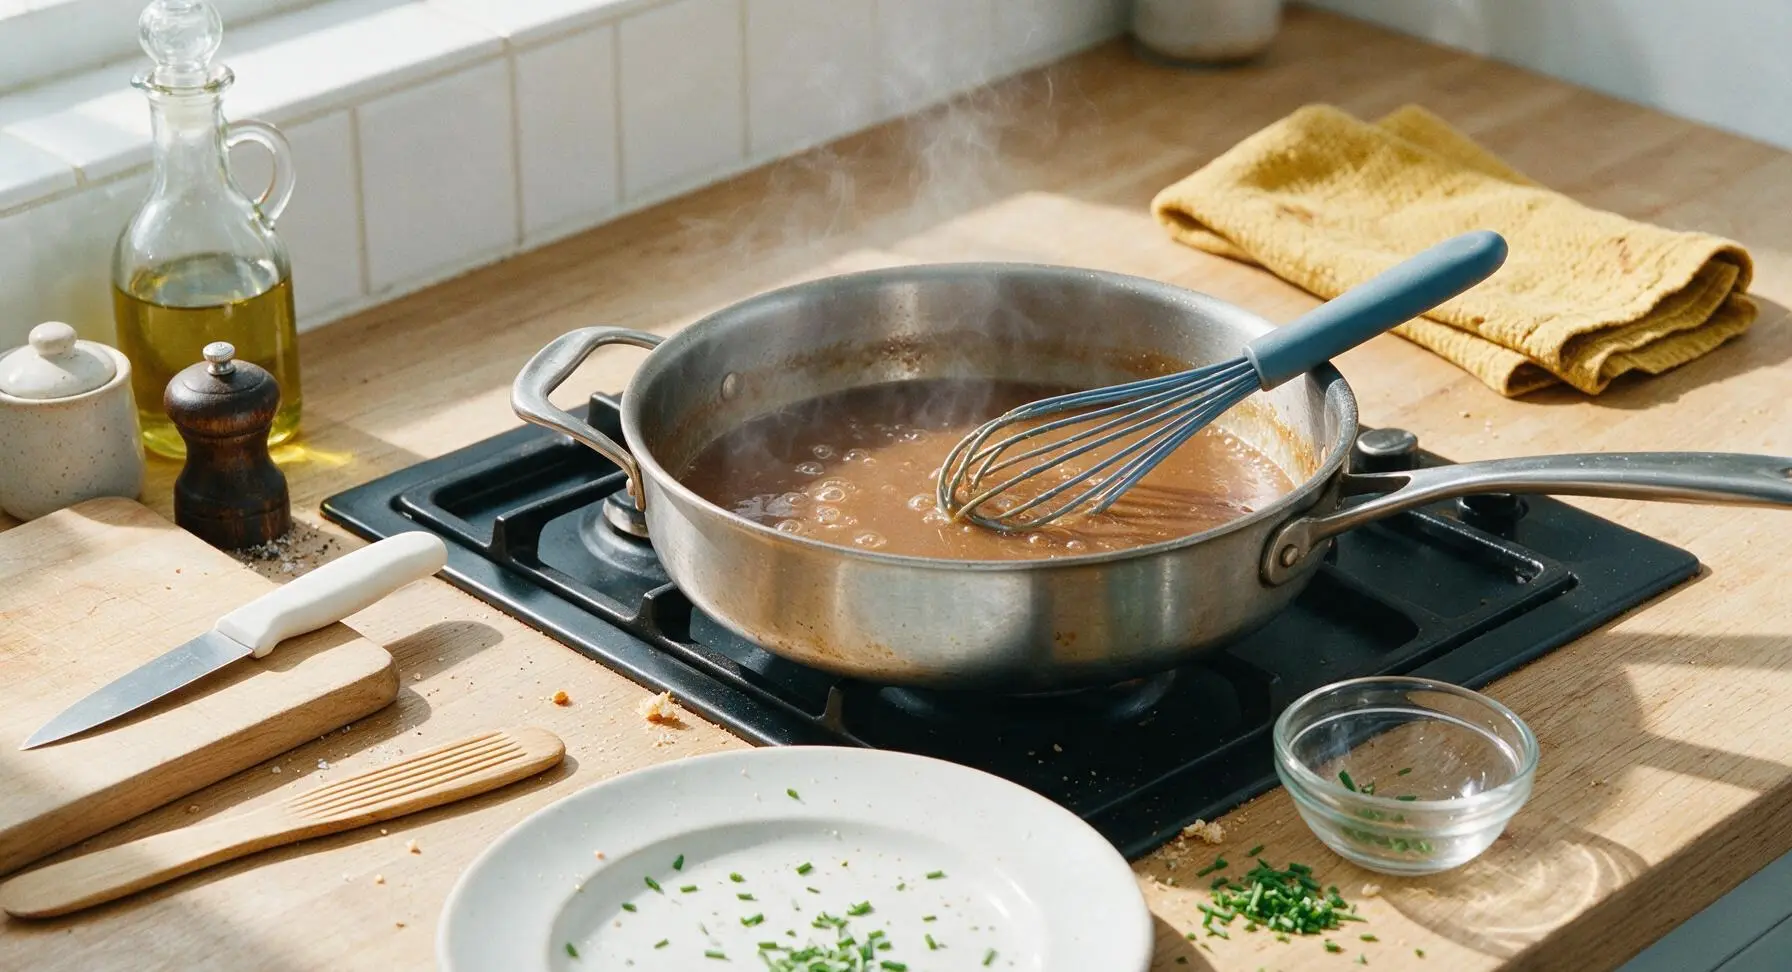
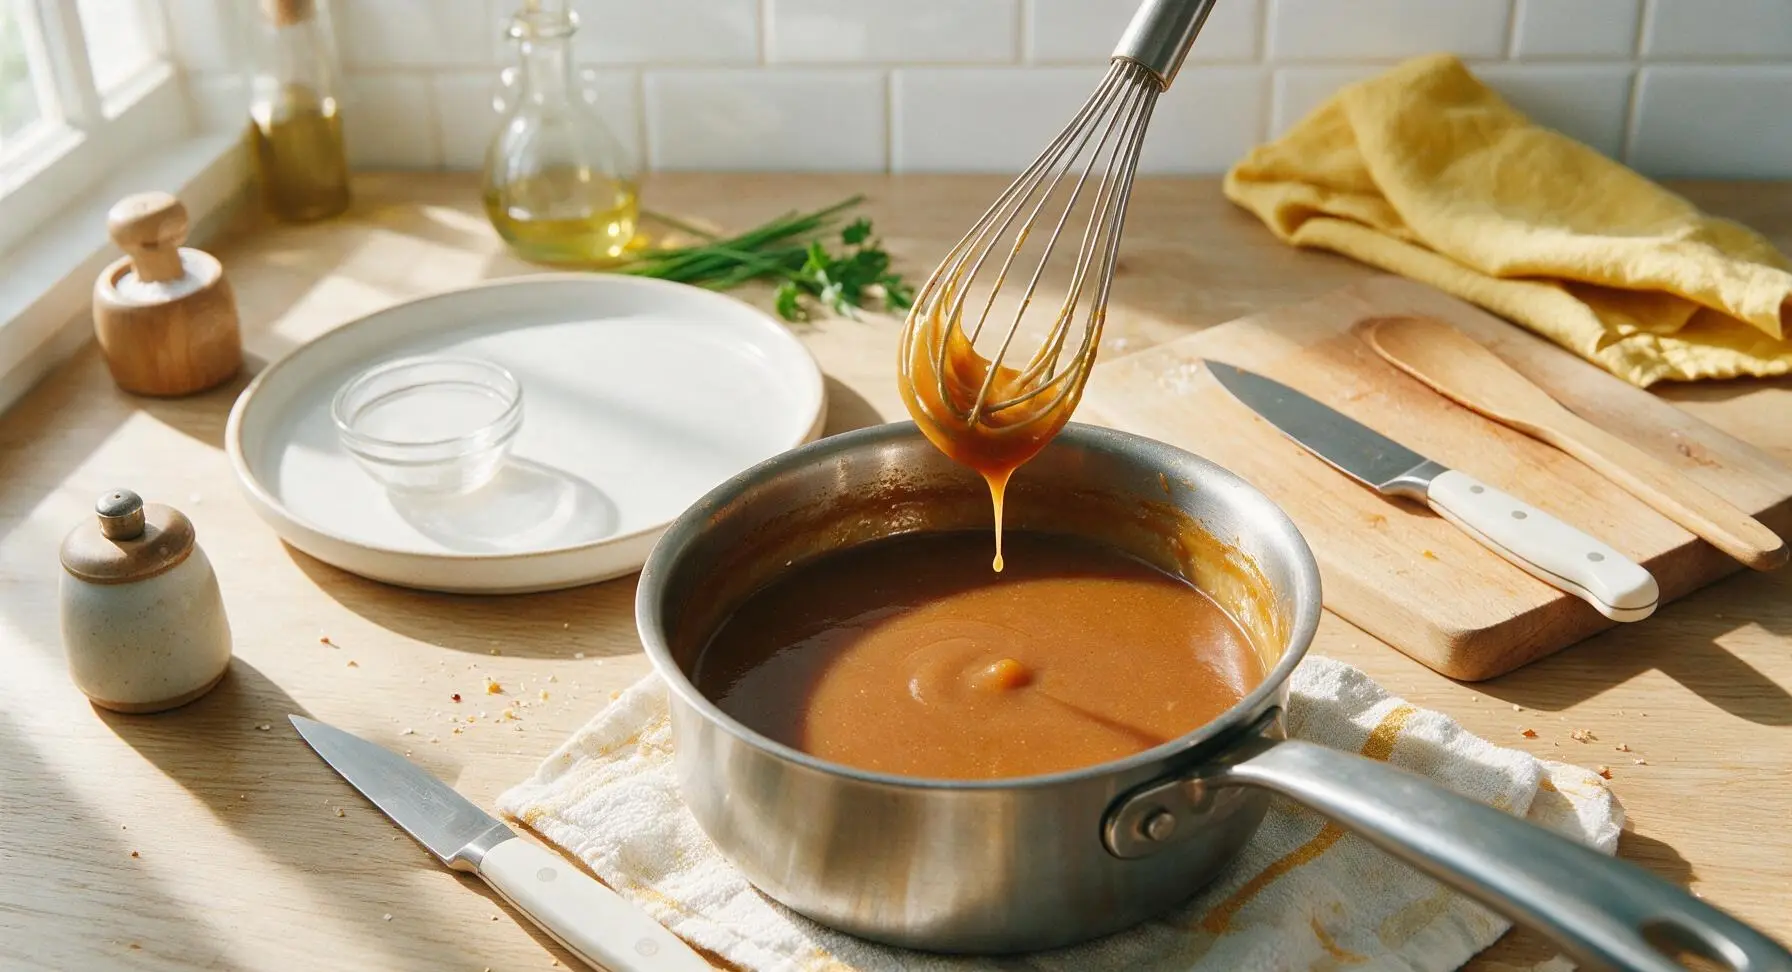
Step 5
step5:Simmer Gently to Meld
Step 5
step5:Simmer Gently to Meld
6

Add Finishing Sesame Oil

Turn off the stovetop heat, then stir in the 1/4 teaspoon toasted sesame oil until fully incorporated. The sesame oil adds a subtle nutty background note that cuts through the sauce’s sweetness and adds extra depth; do not add more than the measured amount, as its strong flavor can easily overpower the other balanced components.
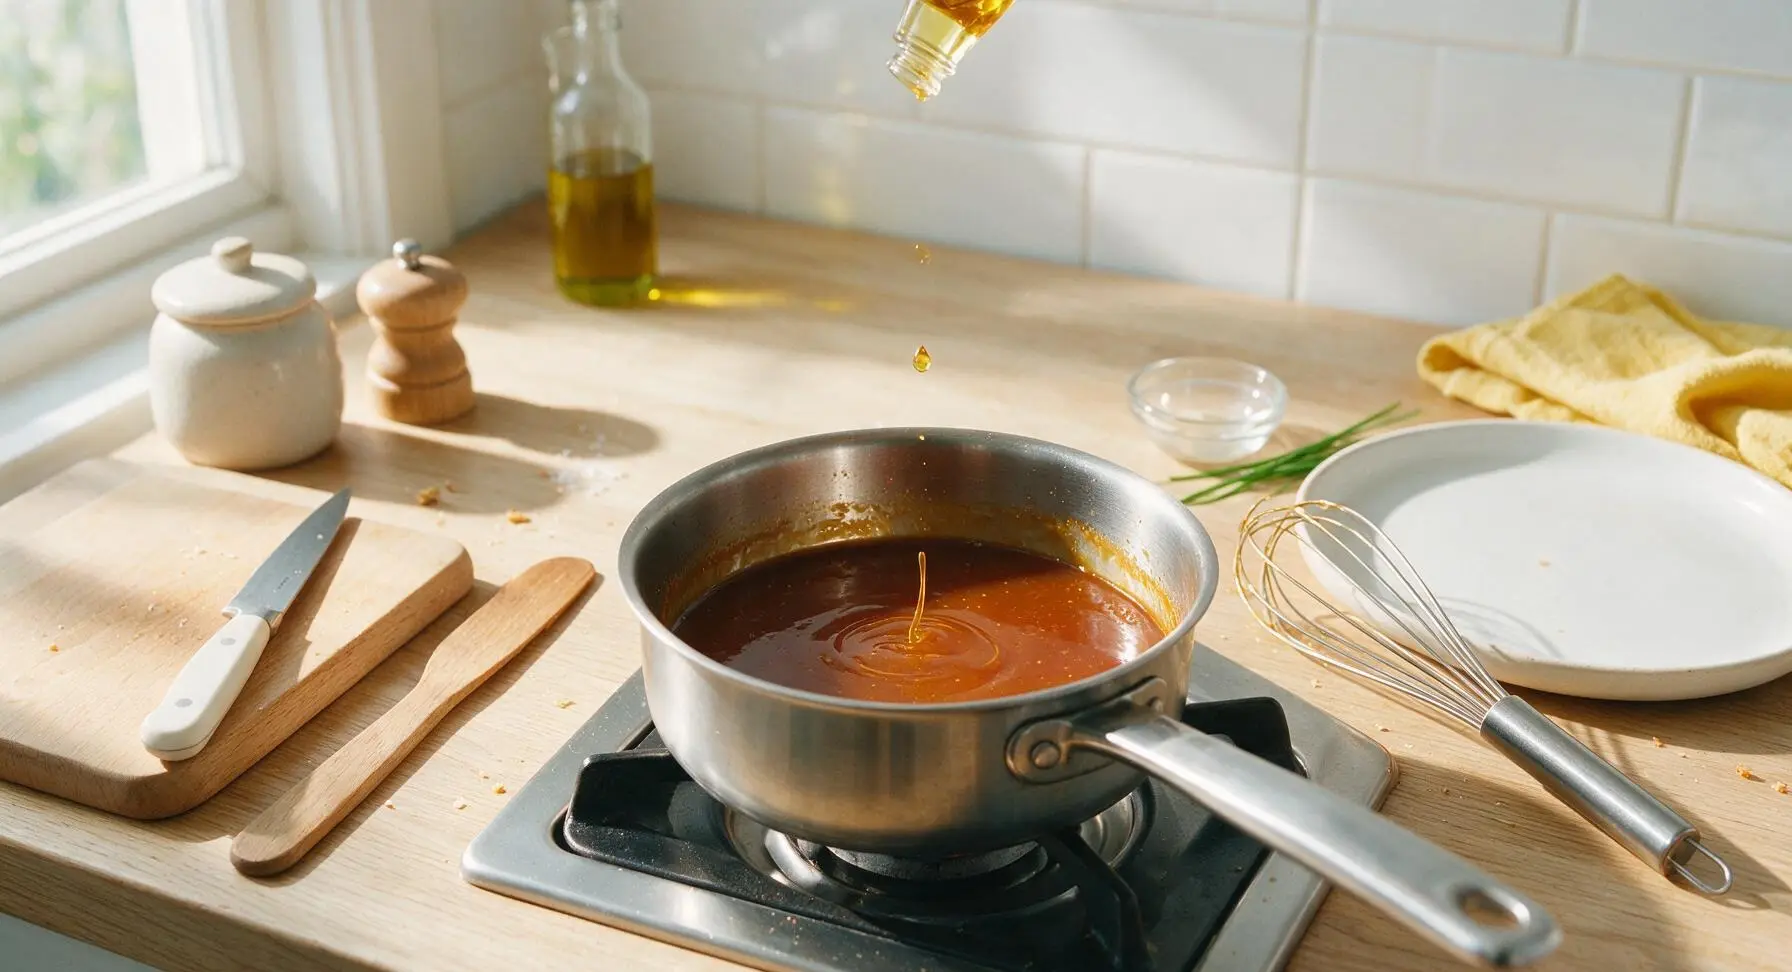
Step 6
step6:Add Finishing Sesame Oil
7

Strain and Rest Sauce

Set the fine-mesh stainless steel strainer across the top of the glossy white ceramic sauce bowl (positioned in the center work zone), then pour the warm sauce through the strainer to catch any small bits of ginger or garlic pulp, leaving a perfectly smooth texture. Let the sauce rest for 5 minutes to thicken slightly to a pourable, ketchup-like consistency before serving; it will thicken more as it cools, so avoid over-reducing it during simmering.
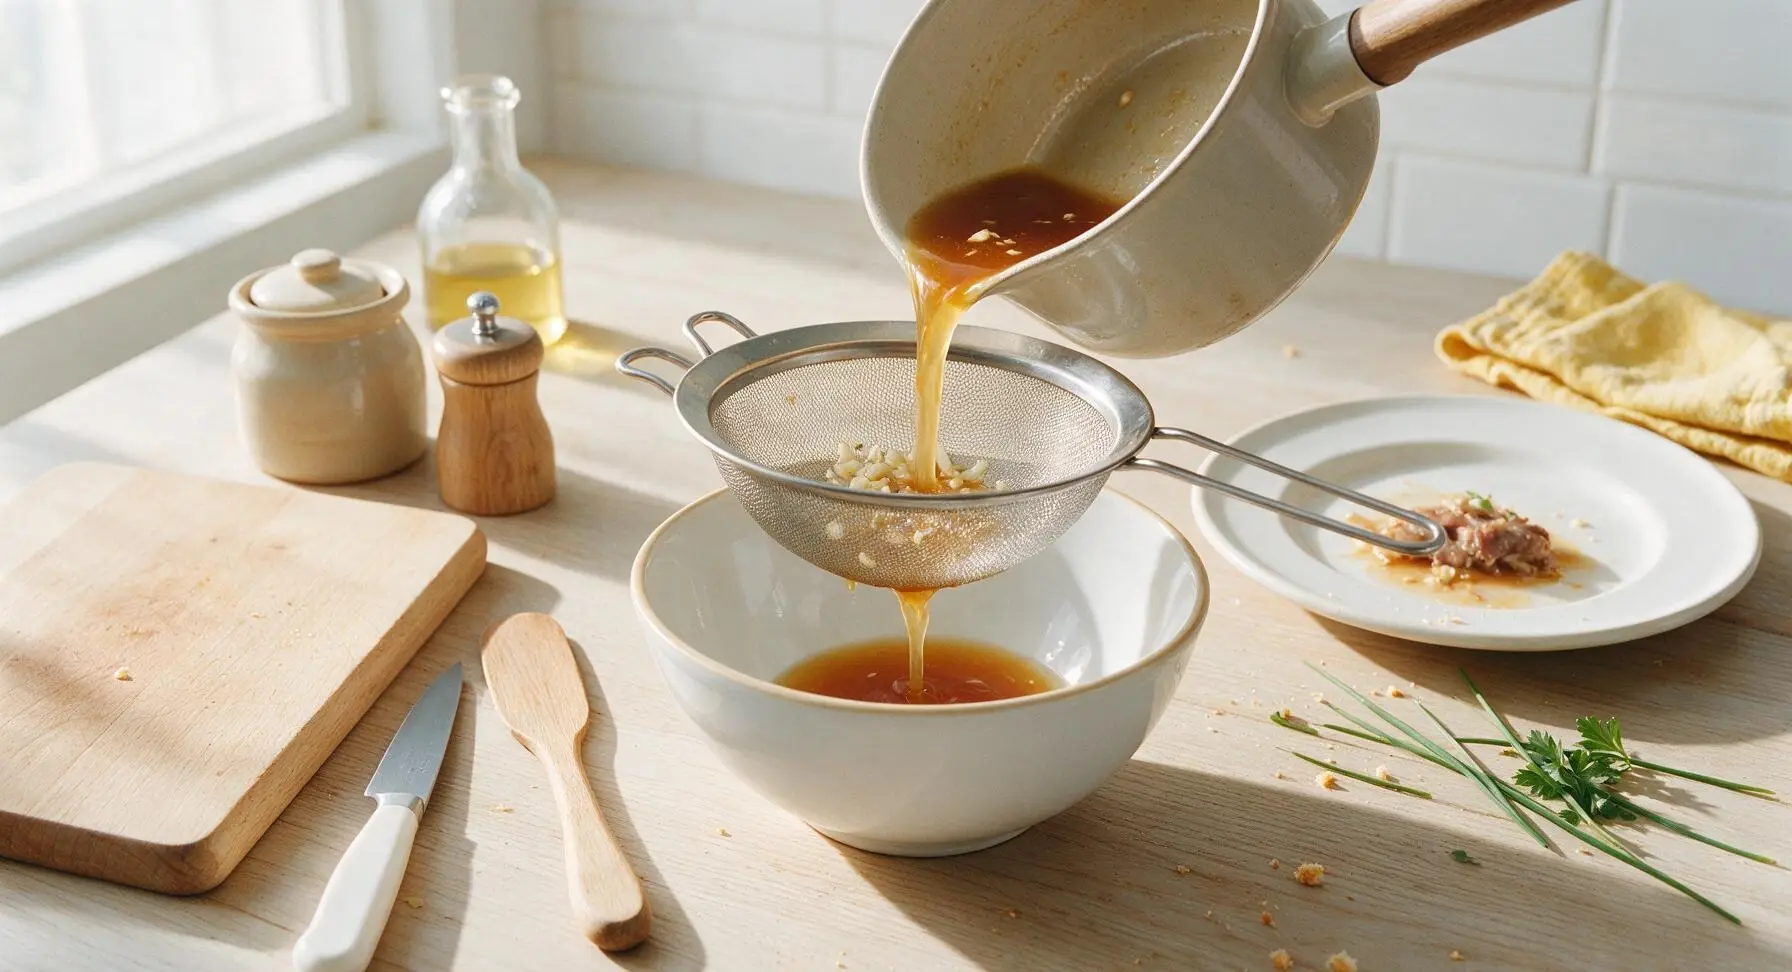
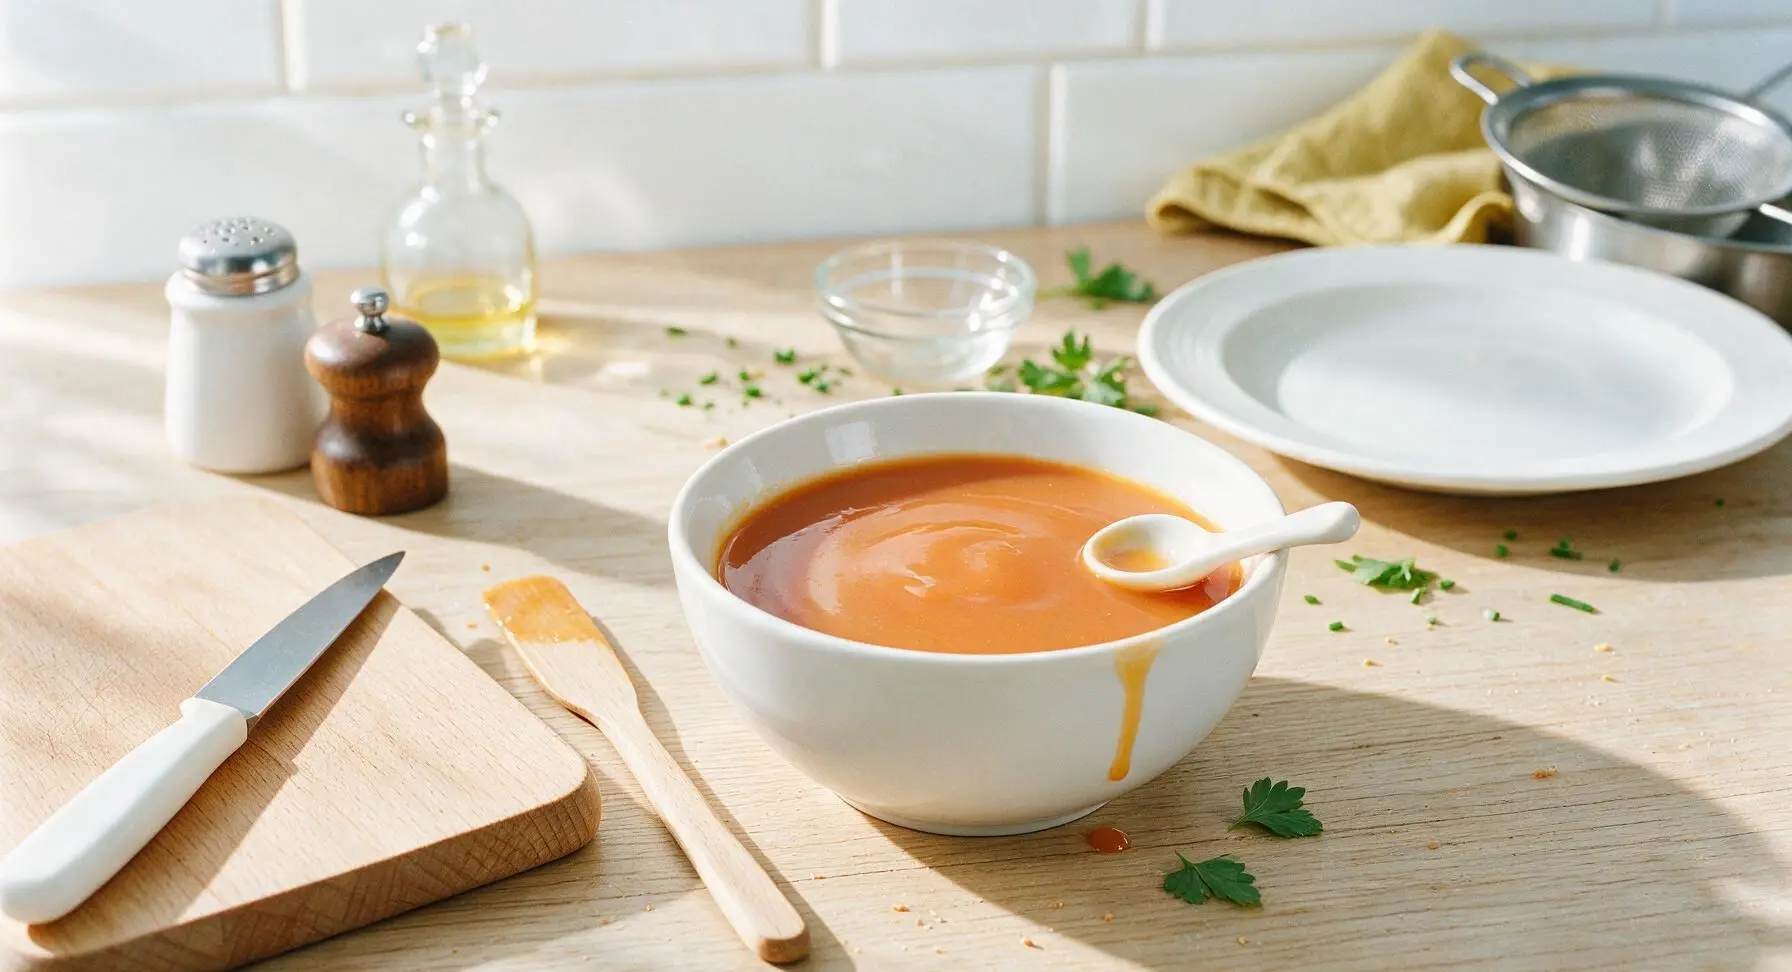
Step 7
step7:Strain and Rest Sauce
Step 7
step7:Strain and Rest Sauce

Tips

1.Avoid high heat when simmering: boiling the sauce rapidly will cause the sugar to caramelize too quickly, creating a bitter, burnt aftertaste, and will evaporate too much liquid leading to an overly thick, paste-like consistency. A slow, gentle simmer with tiny edge bubbles is all that’s needed to meld flavors.
2.If you don’t have mirin on hand, substitute 2 tablespoons dry sherry mixed with 1/2 teaspoon extra granulated sugar: this matches mirin’s mild sweet-savory profile without throwing off the sauce’s balance. Skip rice vinegar as a substitute, as it will add too much sharp tartness.
3.Store leftover sauce in a sealed airtight glass jar in the refrigerator for up to 2 weeks: the flavors will continue to meld and improve over the first 24 hours, making it perfect for leftover katsu sandwiches, drizzling over rice bowls, or dipping fried vegetables.


✨ You May Also Like

Side Dishes
🍜 India

Velvety, aromatic all-purpose curry sauce perfect for tossing with roasted veggies, grilled protein, or rice for fast, cozy, flavorful meals.

⏱️ 25 minuteSide Dishes ★ 4.8
Side Dishes
🍜 Spain

Tender, starchy boiled yuca tossed in bright, garlicky citrus mojo sauce—an iconic, zesty side that pairs beautifully with roasted pork, grilled meats, and rice and beans.

⏱️ 40 minuteSide Dishes ★ 5
Side Dishes
🍜 United States

Tender, paper-thin potato flatbread, a beloved Norwegian-American Minnesota Christmas staple, griddled until softly spotted and served warm with butter.

⏱️ 1 hour 30Side Dishes ★ 4.6
Side Dishes
🍜 United States

Rich, deeply savory cured salt pork, a long-lasting kitchen staple perfect for frying crispy as a side or adding umami to stews, beans, and chowders.

⏱️ 7 days (2Side Dishes ★ 4.9
Side Dishes
🍜 United States

Crispy, tangy classic Southern fried green tomatoes with a crunchy cornmeal crust, served hot for a nostalgic, comforting summery bite.

⏱️ 25 minuteSide Dishes ★ 4.9
Side Dishes
🍜 United States

Moist, golden-crusted savory muffins with sweet corn, zesty jalapeño, and melted cheddar, perfect for pairing with smoky summer grilled fare.

⏱️ 30 minuteSide Dishes ★ 4.9

chicken katsu sauce:Frequently Asked Questions

1.How long will this homemade chicken katsu sauce stay good in the fridge? ▾
Let the sauce cool fully after cooking, then store it in a sealed, airtight glass jar, and it will keep for 2 to 3 weeks in the refrigerator. I don’t recommend freezing it, as the texture will separate and turn grainy when thawed. Always give it a quick stir before serving to recombine any settled ingredients.
2.What can I use as a substitute if I don’t have mirin on hand? ▾
The closest easy swap is 2 tablespoons of dry sherry mixed with 1 teaspoon of extra granulated sugar for every 2 tablespoons of mirin the recipe calls for. You can also use unseasoned rice vinegar plus a pinch of sugar, but skip seasoned rice vinegar—it adds extra salt that will throw off the sauce’s balanced flavor.
3.Do I actually need to cook this sauce, or can I just stir the ingredients together cold? ▾
I strongly recommend a quick 3 to 4 minute simmer over medium-low heat. Cooking melts the granulated sugar fully, melds the tangy, savory, and sweet notes so the sauce doesn’t taste like a random mix of condiments, and creates that glossy, clingy texture that sticks to crispy katsu instead of running right off.
4.Is this sauce the same as the tonkatsu sauce served at Japanese restaurants? ▾
It’s extremely close! Traditional tonkatsu sometimes adds a small amount of grated apple or oyster sauce for extra depth, but this 5-ingredient version nails the classic tangy-sweet, umami profile most people love. It works equally well for chicken katsu, pork tonkatsu, or crispy panko-crusted tofu.
5.Can I use regular soy sauce instead of low-sodium soy sauce? ▾
You can, but cut the total soy sauce amount by about one-third, and hold off on adding any extra salt. Regular full-sodium soy sauce is much saltier, and it can easily overpower the sauce’s balanced sweet-tangy flavor if you use the same measurement specified for low-sodium. Always taste and adjust before removing it from the heat.
6.How do I get that perfectly smooth, glossy restaurant-style texture? ▾
First, whisk all ingredients together fully before turning on the heat to avoid lumps of undissolved sugar. Simmer on low heat (don’t let it come to a hard boil) and stir constantly as it thickens. If you end up with tiny lumps, just pour the sauce through a fine-mesh sieve before storing for a flawless, smooth finish.
7.Can I cut back on the sugar if I don’t prefer very sweet sauces? ▾
Absolutely! Start with two-thirds of the called-for granulated sugar, simmer the sauce, taste it, and add more sugar only if you feel it needs it. You can also bump up the savoriness with an extra 1/4 teaspoon of Worcestershire sauce to balance reduced sugar, just go slow to avoid throwing off the flavor balance.
8.What else can I use this sauce for, besides chicken katsu? ▾
It’s incredibly versatile! Drizzle it on crispy pork katsu, panko-crusted shrimp, or roasted veggies, use it as a dip for sweet potato fries and tater tots, toss a splash into fried rice, or spread it on katsu sandos. If it feels too thick for spreading, thin it with a tiny splash of warm water to reach your desired consistency.
9.How is this homemade version better than store-bought katsu sauce? ▾
For starters, you control every ingredient, so there are no weird preservatives, high-fructose corn syrup, or artificial flavorings. You can tweak the sweetness, salt, and tang exactly to your taste, and the fresh-simmered flavor has a brighter, deeper umami kick that tastes far more vibrant than bottled sauce that’s sat on a store shelf for months.
10.How do I know when the sauce is the right consistency after simmering? ▾
It should lightly coat the back of a spoon when finished, with a texture similar to warm maple syrup—not thick and goopy like molasses. Keep in mind it will thicken a little more as it cools, so if it feels slightly thin while warm, that’s totally normal. Don’t overcook it, or it will turn gummy once chilled.
11.Can I scale this recipe up to make a big batch for meal prep? ▾
Absolutely! Just scale all ingredients evenly (double, triple, or even quadruple the amounts to fit your needs) and follow the same simmer method, adding 1 to 2 extra minutes of cook time for larger batches. Let the sauce cool completely before pouring it into sterilized airtight jars, and it will keep just as long as a small batch.
12.What’s a good substitute if I don’t have Worcestershire sauce? ▾
The closest easy swap is an equal amount of classic steak sauce (like A.1.) mixed with a tiny pinch of smoked paprika to match Worcestershire’s deep, fermented savoriness. If you don’t have steak sauce, use equal parts soy sauce and apple cider vinegar with a pinch of garlic powder, though the flavor will be slightly less complex.
13.Should I serve this sauce warm or cold with crispy chicken katsu? ▾
Most traditional spots serve it slightly warm or at room temperature, so it doesn’t bring down the temperature of your katsu or make the crispy panko coating soggy the way ice-cold sauce can. If you pull it straight from the fridge, warm the serving amount for 10 seconds in the microwave or let it sit out 15 minutes before serving.
14.Can I add extra ingredients to customize the base sauce flavor? ▾
Totally! Once you master the core recipe, try stirring in a teaspoon of grated fresh ginger, one minced garlic clove, a tablespoon of grated apple for fruity depth, or a tiny dash of toasted sesame oil for nuttiness. Add these extras during the simmer so their flavors meld evenly, and taste as you go to keep the flavor balance intact.

Comments (14)

3 days ago

Made this for a potluck last weekend and people were literally dipping everything in it—egg rolls, chicken tenders, even tater tots lmao. So tangy and perfectly sweet, no weird preservatives like the store bought stuff. So easy I didn’t even have to look at the recipe a second time while making it.

1 week ago

Really solid katsu sauce! I added a tiny extra splash of soy sauce because I like mine a little saltier, but the base recipe is spot on. Took me literally 4 minutes from grabbing the ingredients to having it in a squeeze bottle. Great for quick weeknight dinners.

5 days ago

My three picky boys all gave this two thumbs up! I was worried it would be too tangy for them but they loved it drizzled over their katsu and rice. No more fighting at dinner time, win for mom. Already saved this to my permanent recipe folder.

2 weeks ago

Made this to go with crispy tofu katsu for my hiking group meal prep and everyone asked for the recipe! It holds up great in the fridge for a week too, which is perfect for packing lunches. Super easy, no fancy ingredients needed.

2 hours ago

Wait how did I never think to make this at home before??? I always thought katsu sauce required a million fancy ingredients but this is all stuff I already have in my pantry! Tastes exactly like the sauce from my favorite local Japanese spot. SO good.

30 minutes ago

So glad you love it! It’s wild how many restaurant-style sauces come together with basic pantry staples, right? It works great as a dip for fries too if you have leftovers!

yesterday

I messed up the first batch because I accidentally used garlic powder instead of fresh garlic? Wait no, actually it still slapped? Is that normal? Like it was still so tasty even with my dumb mistake.

2 hours ago

I did the exact same thing last week! I also added a pinch of ginger powder and it was chef’s kiss. No mistakes here, just happy accidents 😂

30 minutes ago

Just whipped this up to go with my Sunday meal prep katsu bowls and oh my gosh, the flavor is perfect. Not too sweet, not too savory, just the right balance. How long does this keep in an airtight container in the fridge?

5 minutes ago

Great question! It will stay fresh for up to 2 weeks in a sealed airtight container in the fridge—just give it a quick stir before using if any separation happens!

2 days ago

Really great base recipe! I added a tiny bit of sriracha to give it a little heat kick and it paired so well with the crispy chicken. My partner said it’s better than the takeout version we usually get.

yesterday

Oh the sriracha add is genius! I’m definitely doing that next time, I’ve been looking for a way to give this a little extra zing. Thanks for the tip!

1 week ago

Brought this to a neighborhood cookout last week and people were asking if I bought it from the fancy Japanese restaurant downtown. When I told them it took 5 minutes to make at home they didn’t believe me! Total crowd pleaser.

5 days ago

That’s the best compliment! Nothing beats impressing a crowd with a super quick, low-effort recipe that tastes like a million bucks. So happy it was a hit!

5 days ago

It was good, but I thought it was a little too sweet for my taste. I ended up adding extra Worcestershire and a splash of rice vinegar to cut the sweetness and that fixed it for me. Just a heads up for people who don’t love super sweet sauces.

3 days ago

Thanks for the heads up! I’m not big on overly sweet sauces either so I’ll definitely cut the sugar a little and add extra vinegar when I make this this weekend.

30 minutes ago

Wait a second, I’m a broke college student with literally 5 ingredients in my pantry—does this really work without mirin? I don’t have mirin and can’t afford to run to the store right now lmao.

5 minutes ago

I made it last week without mirin! I used a tiny bit of extra sugar and a splash of white vinegar as a substitute and it turned out so good, no one could tell the difference.

just now

Great question! If you don’t have mirin, you can substitute 1 tsp of sugar mixed with 1 tsp of dry sherry or even white grape juice in a pinch, but the user tip above works perfectly too for a super budget-friendly swap!

3 days ago

Has anyone made this gluten free? I have celiac so I can’t have regular soy sauce, just wondering if tamari works as a swap here without messing up the flavor?

2 days ago

I made it with low-sodium tamari last week and it was perfect! I couldn’t taste any difference from when I’ve made it with regular soy sauce, totally safe for celiac as long as your other ingredients are GF too.

yesterday

Absolutely! Tamari works as a perfect 1:1 swap for soy sauce here to make this recipe gluten free. I’ve tested it multiple times and the flavor is virtually identical.

2 weeks ago

I made this to go with air fryer chicken katsu last night and my entire family was raving! Even my super picky mother in law who hates everything I cook asked for the recipe. I’m calling that a massive win.

1 week ago

Oh how long did you cook your katsu in the air fryer? I’ve been trying to nail crispy katsu in mine and it always comes out soggy! The sauce sounds amazing though, definitely saving this.

5 days ago

That’s such a huge win, congratulations on winning over the mother in law! For anyone making air fryer katsu, 400F for 12-14 minutes flipping halfway with a light spray of oil on the panko gives perfect crispy results every time to pair with this sauce!

2 hours ago

Wait can I use this sauce on other stuff besides katsu? I’m thinking drizzling it on burgers, using it as a dip for sweet potato fries, maybe even tossing it with roasted veggies? Is that weird?

30 minutes ago

Not weird at all! I put this on EVERYTHING. I used it as a dipping sauce for mozzarella sticks last weekend and my friends lost their minds. It’s so versatile.

5 minutes ago

It’s not weird at all—this sauce is incredibly versatile! It’s amazing on burgers, as a fry dip, tossed with roasted veggies, even as a spread for sandwiches. Don’t let the ‘katsu sauce’ name limit you, get creative with it!



