
chicken livers in air fryer
intro
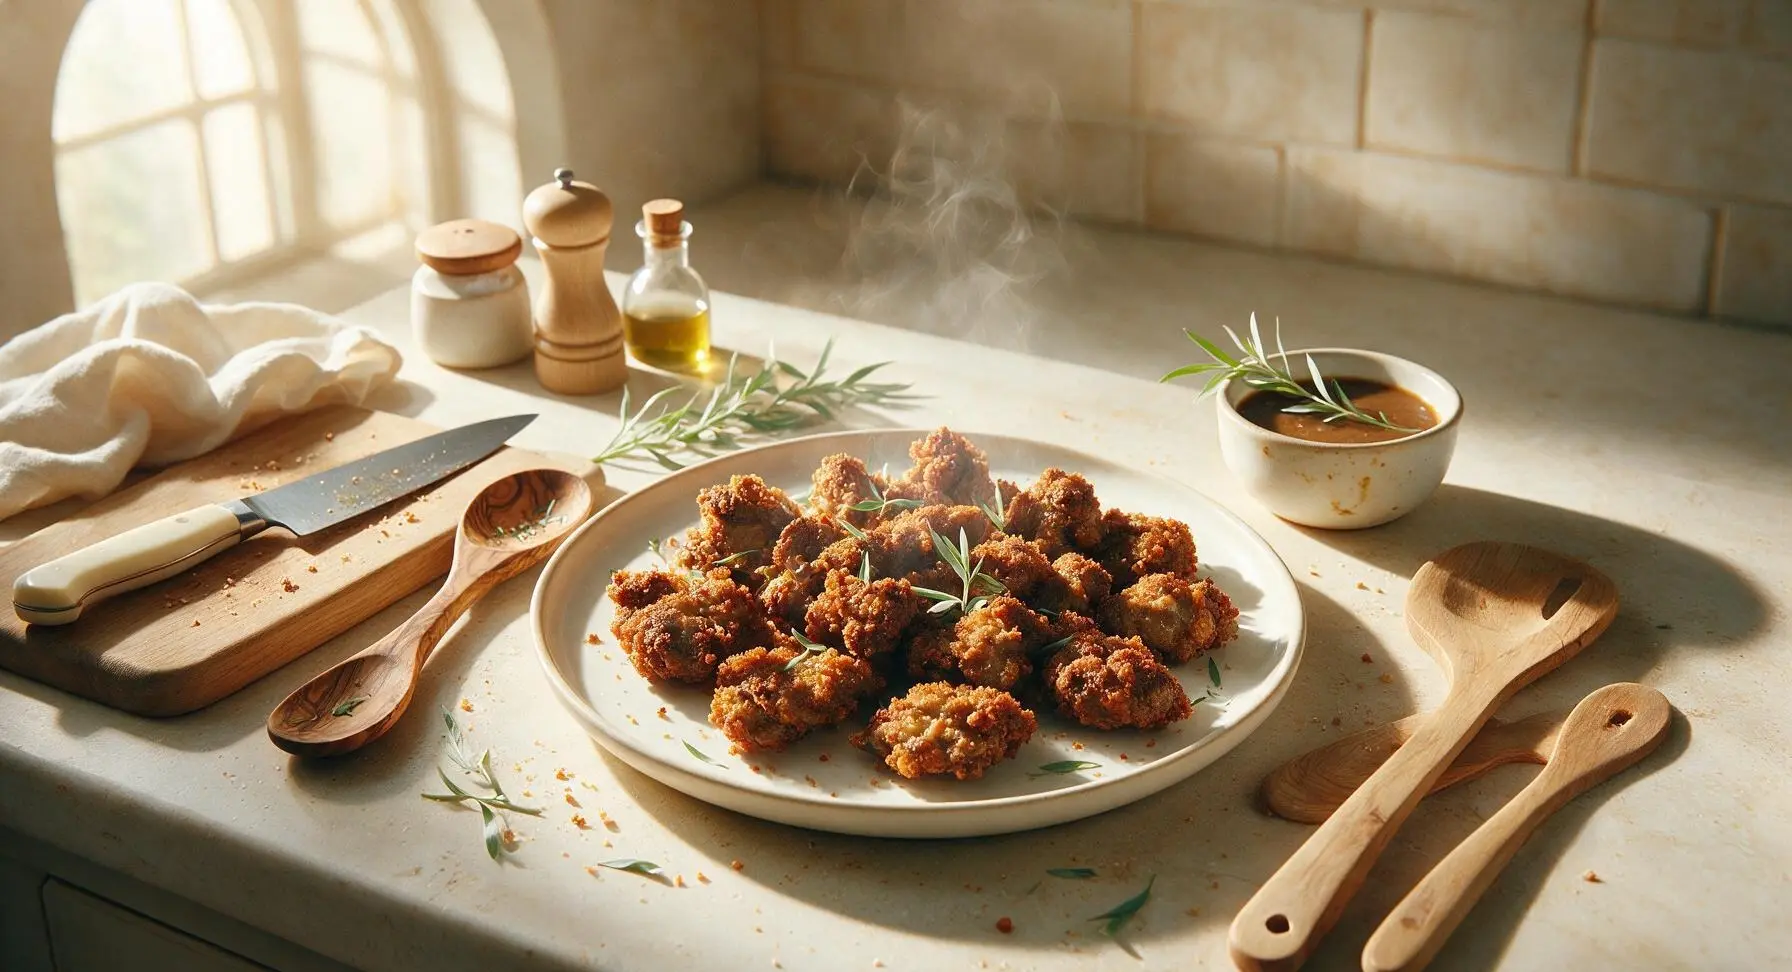
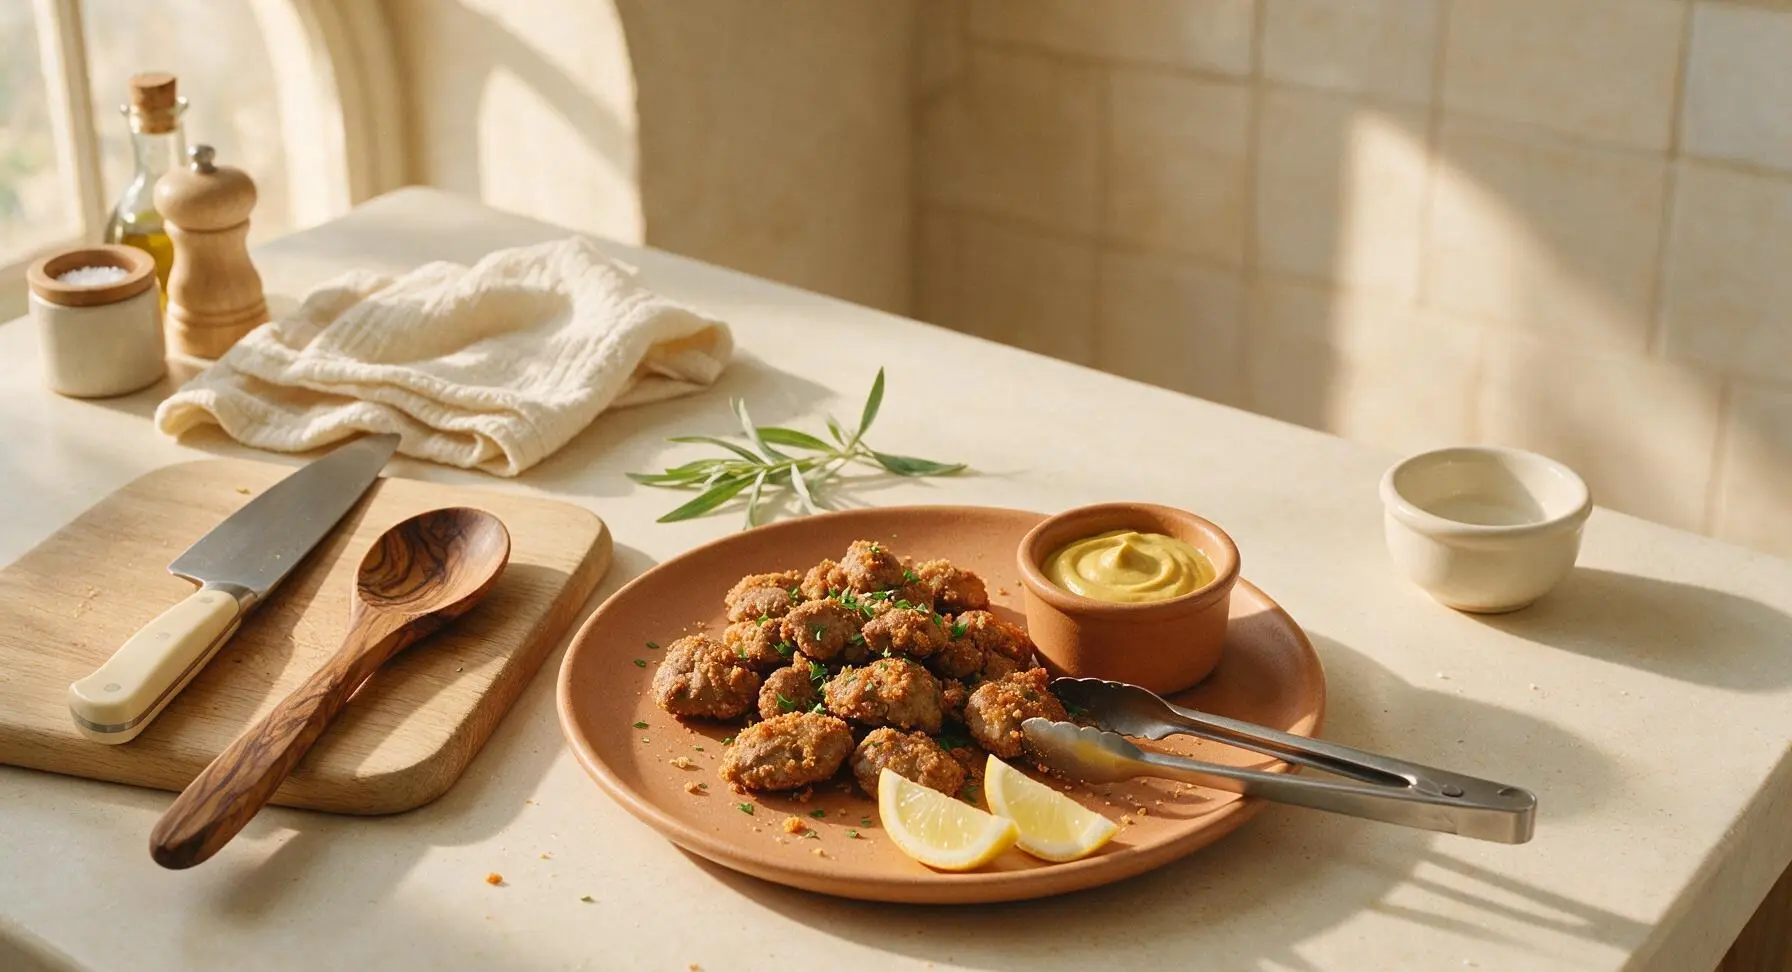
Tender, juicy chicken livers with a shatteringly crisp outer coating, cooked fast in the air fryer for a rich, savory bite perfect for quick weeknights or casual gatherings.
Ingredients
Steps
Rinse and Trim Livers
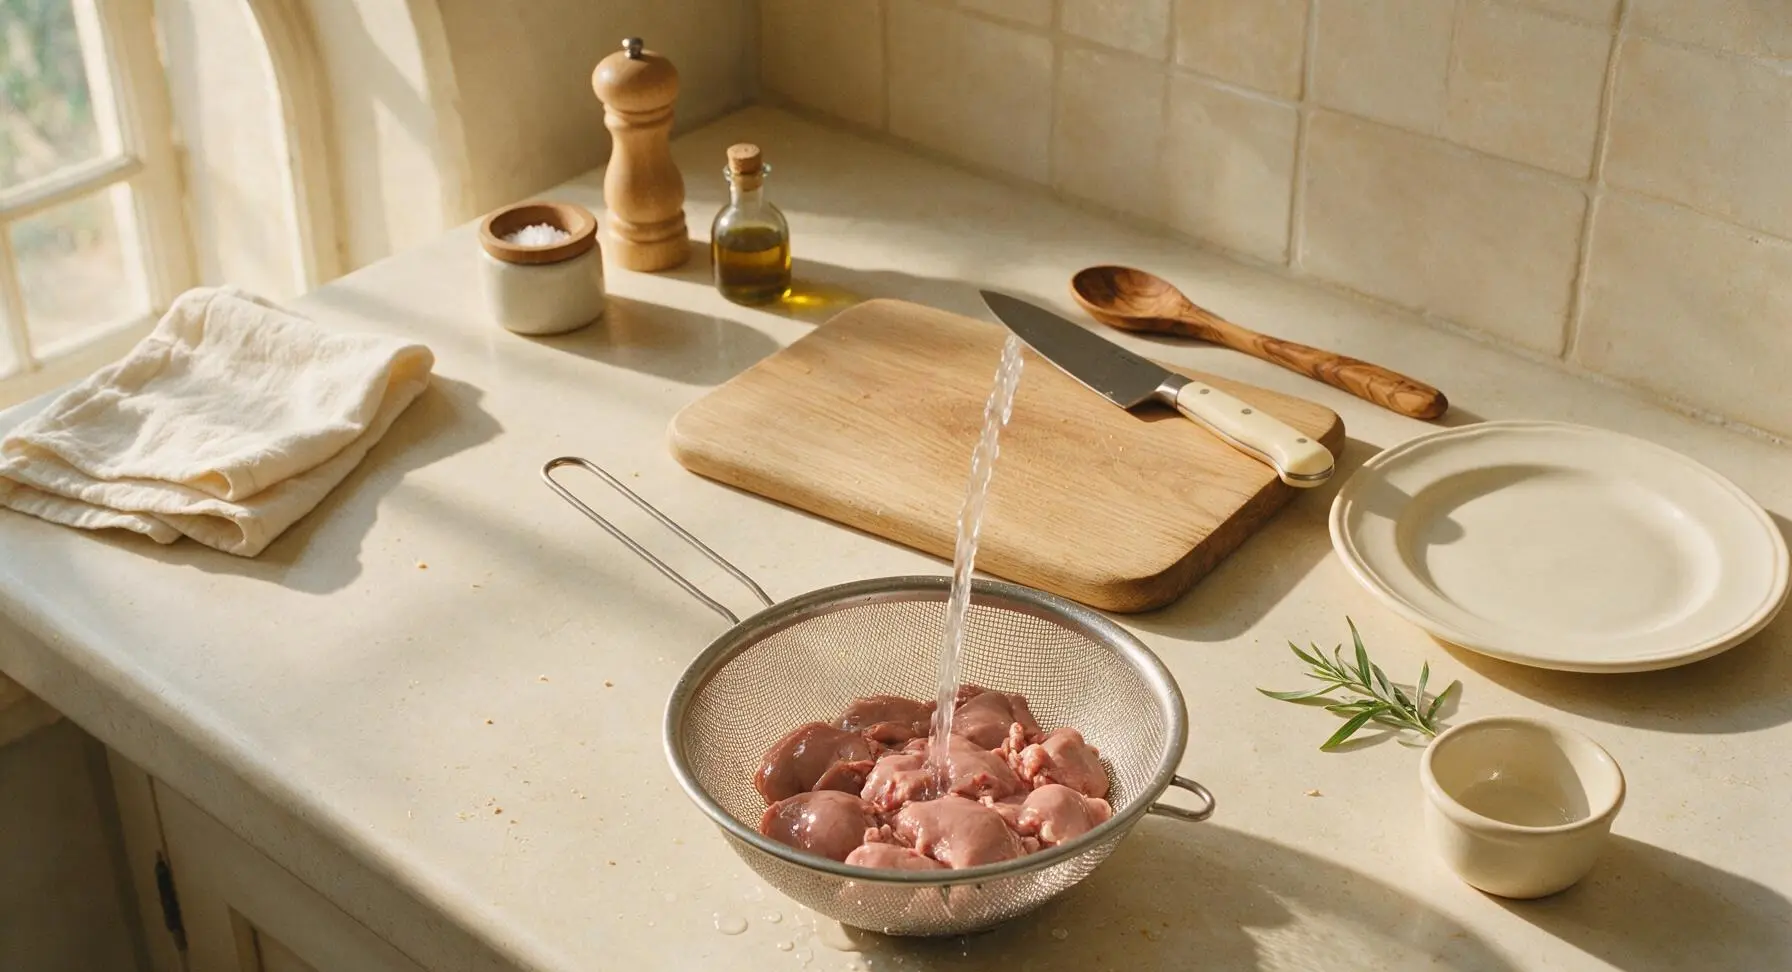
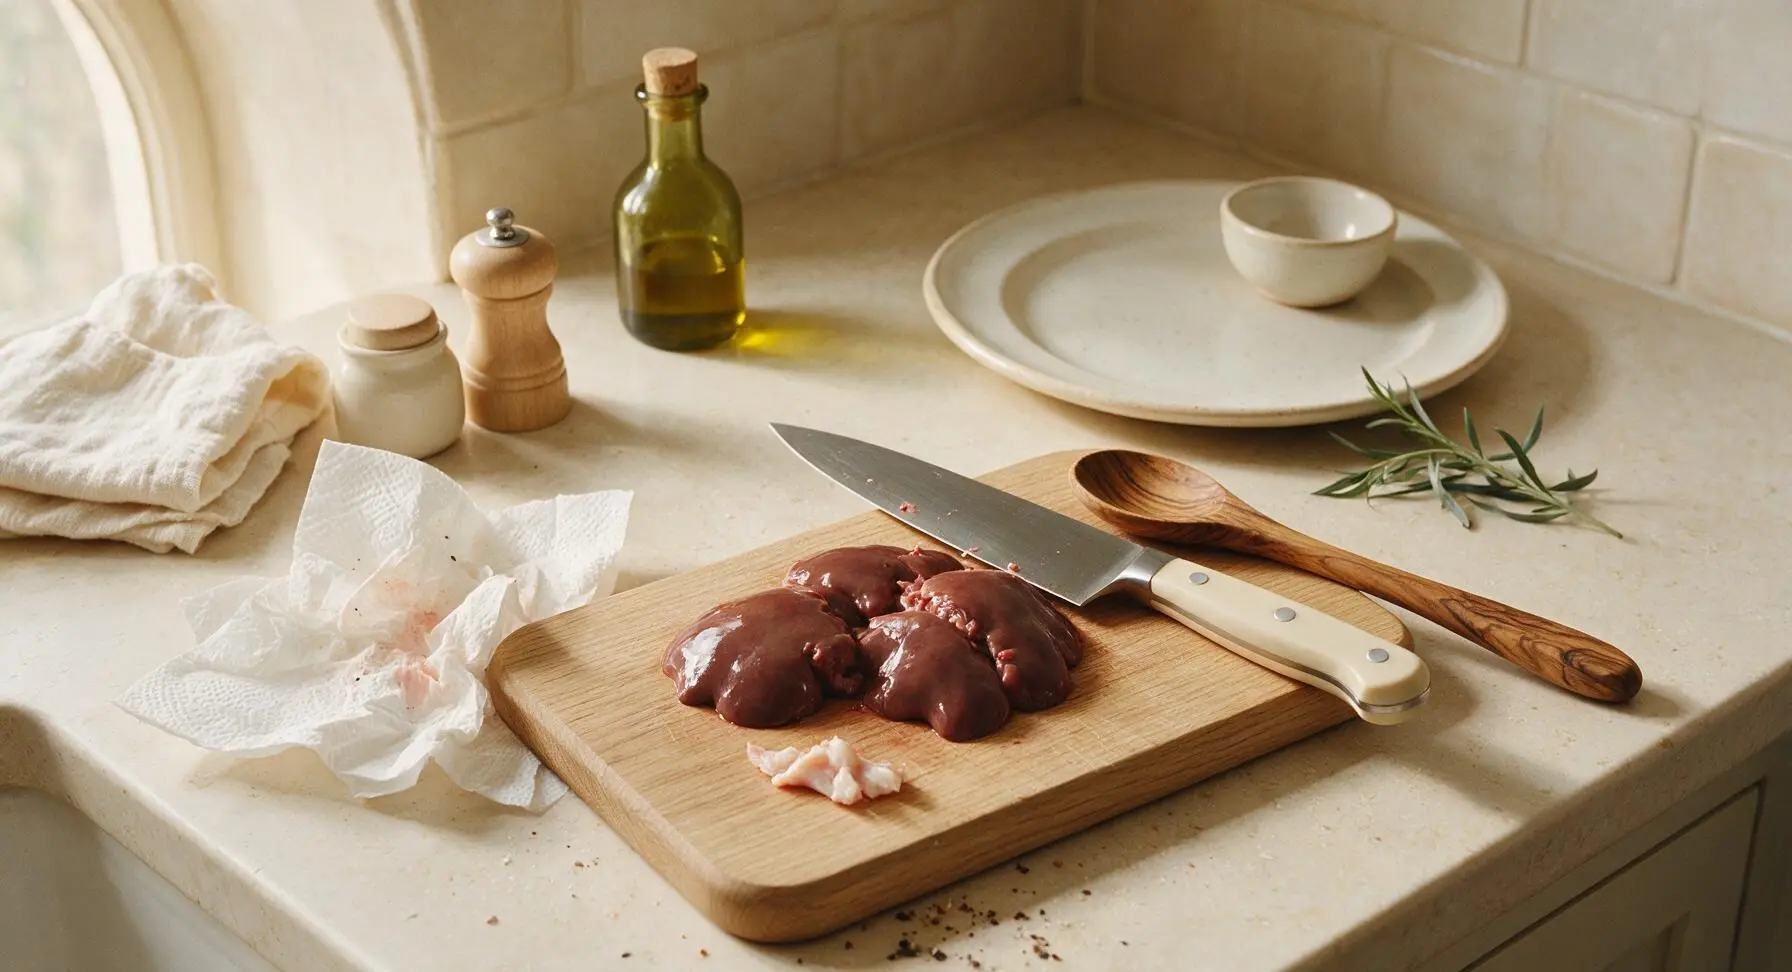
Place the raw chicken livers in the stainless steel fine-mesh colander, rinse under cold running water for 1 minute. Transfer rinsed livers to the acacia wood cutting board. Use the 7-inch stainless steel chef knife to trim away any visible green bile spots, tough white connective tissue, and excess fat. Cut any extra-large livers in half to create uniform 1.5-inch pieces, so they cook evenly. Pat all livers completely dry with sheets of unbleached paper towel from the roll at left— a fully dry surface is critical for achieving a crispy crust.
Mix Seasoned Coating
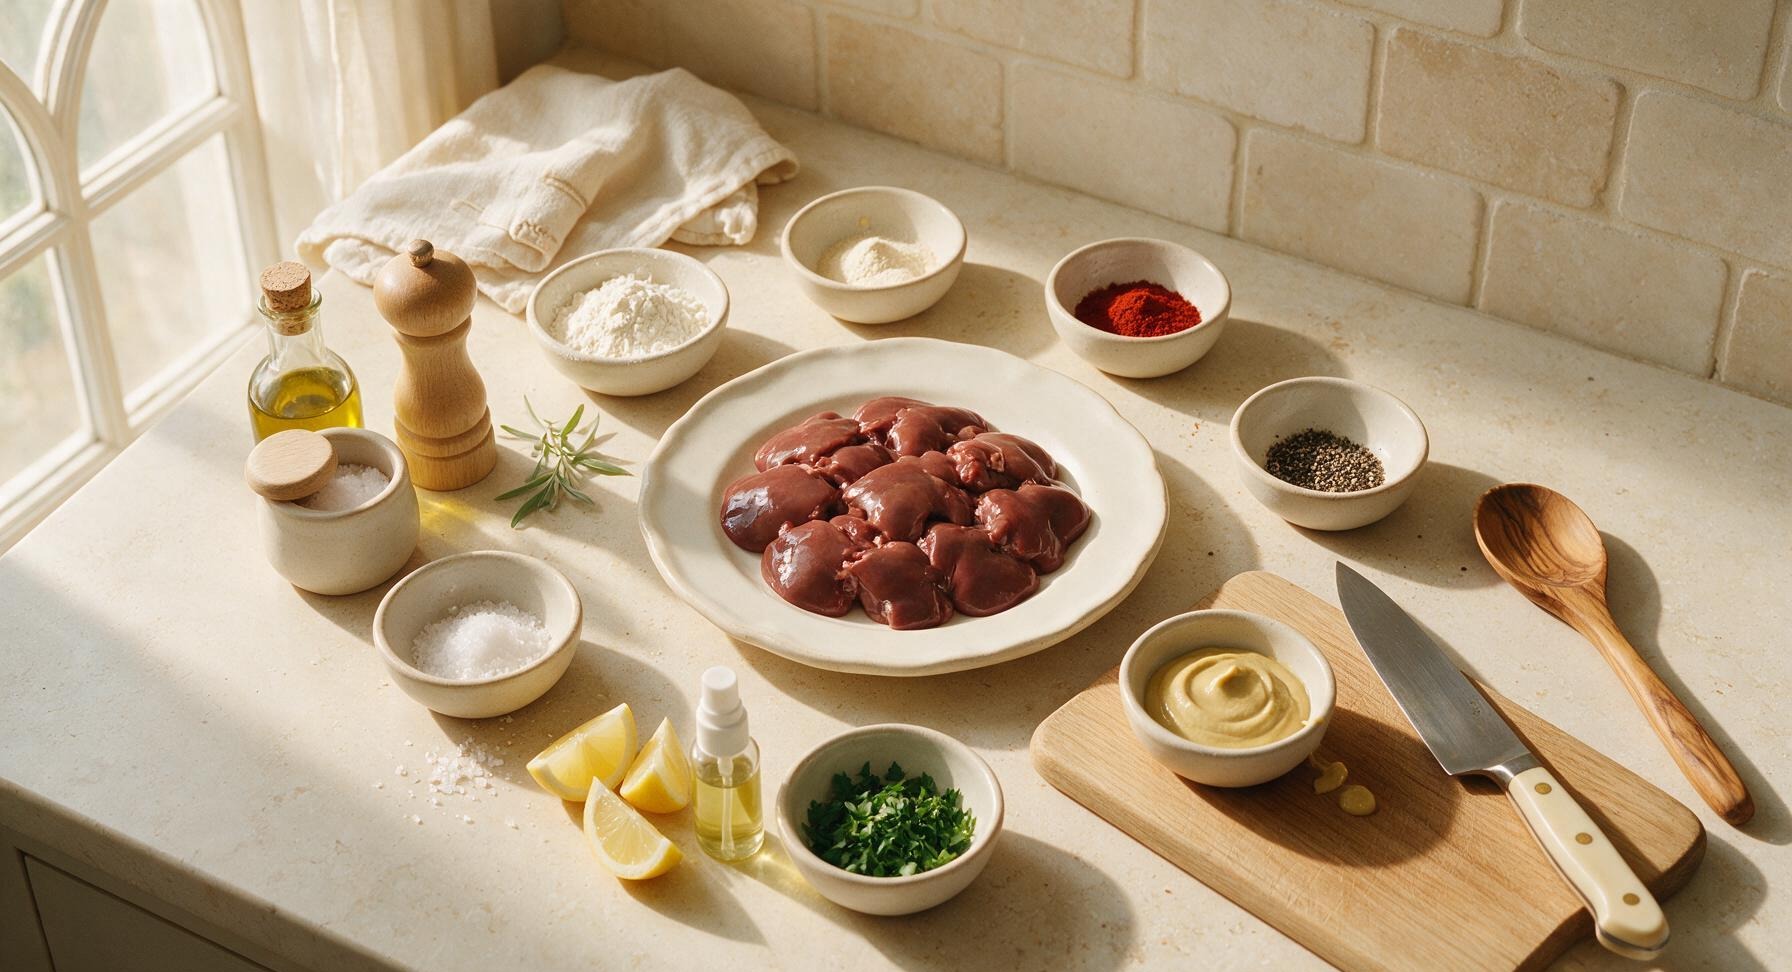
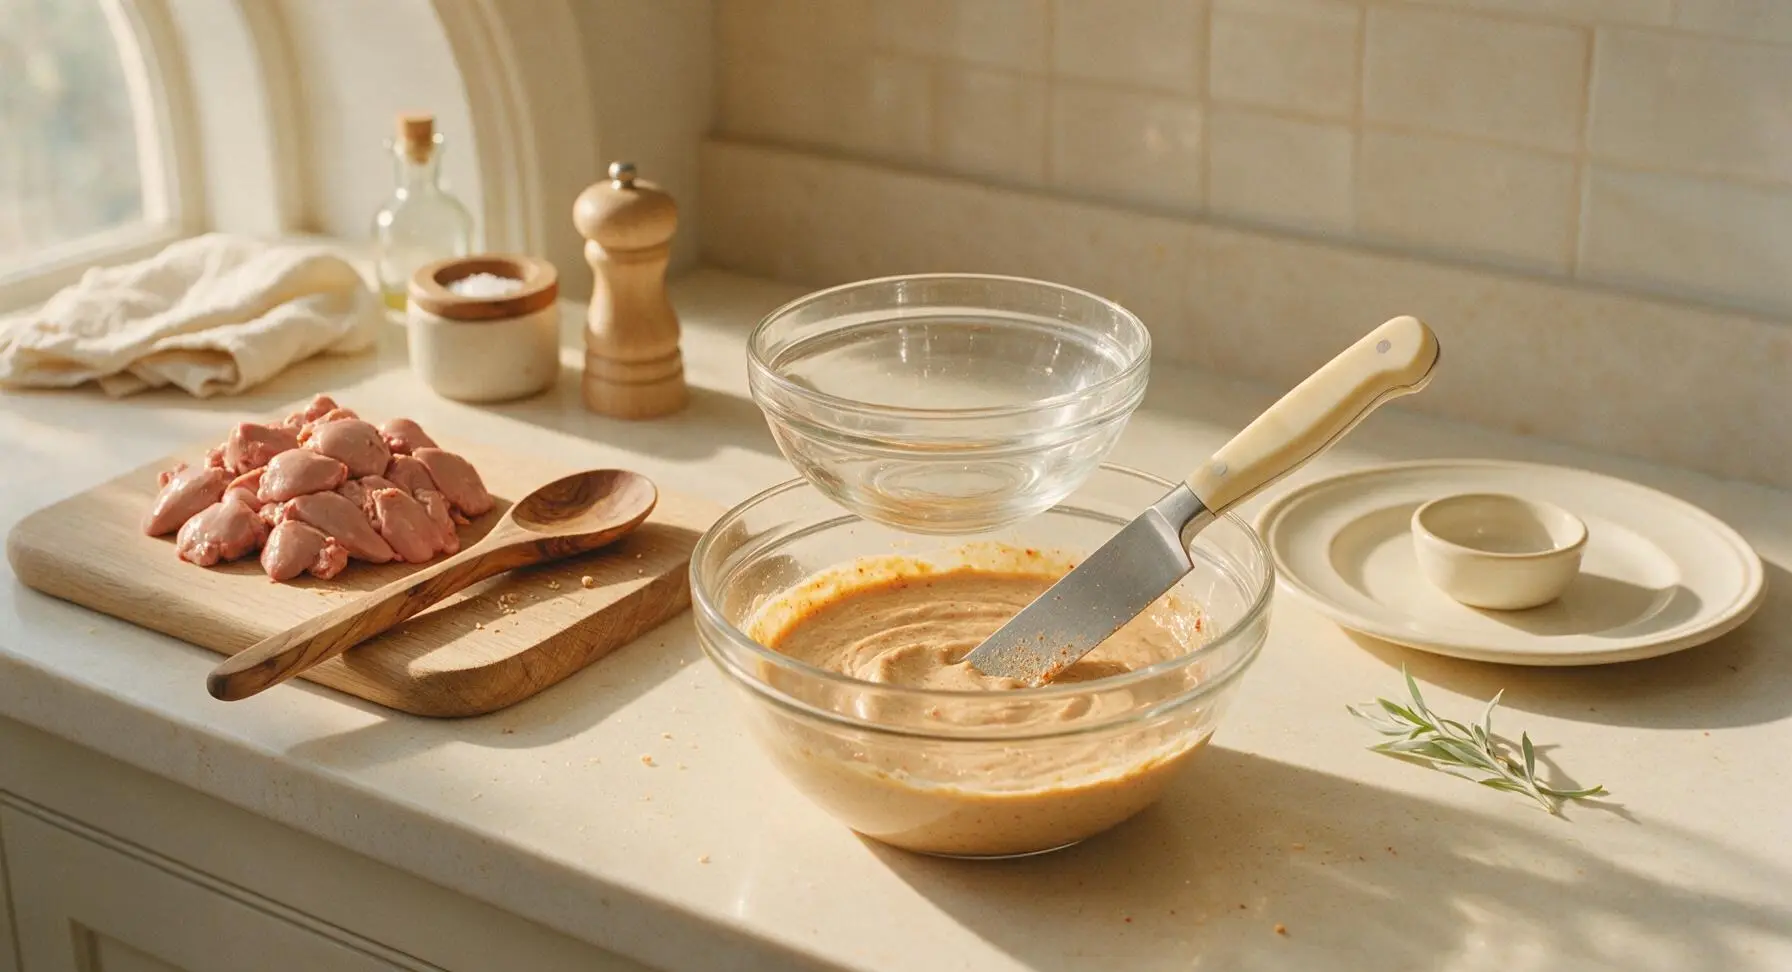
Take the clear glass prep bowl holding the all-purpose flour, add the measured garlic powder, smoked paprika, kosher salt, and black pepper from the second prep bowl. Stir with the tip of the chef knife to fully combine the spices and flour, so no clumps of spice remain. The finished mixture should be a uniform pale tan color with faint flecks of red paprika.
Coat Livers Evenly
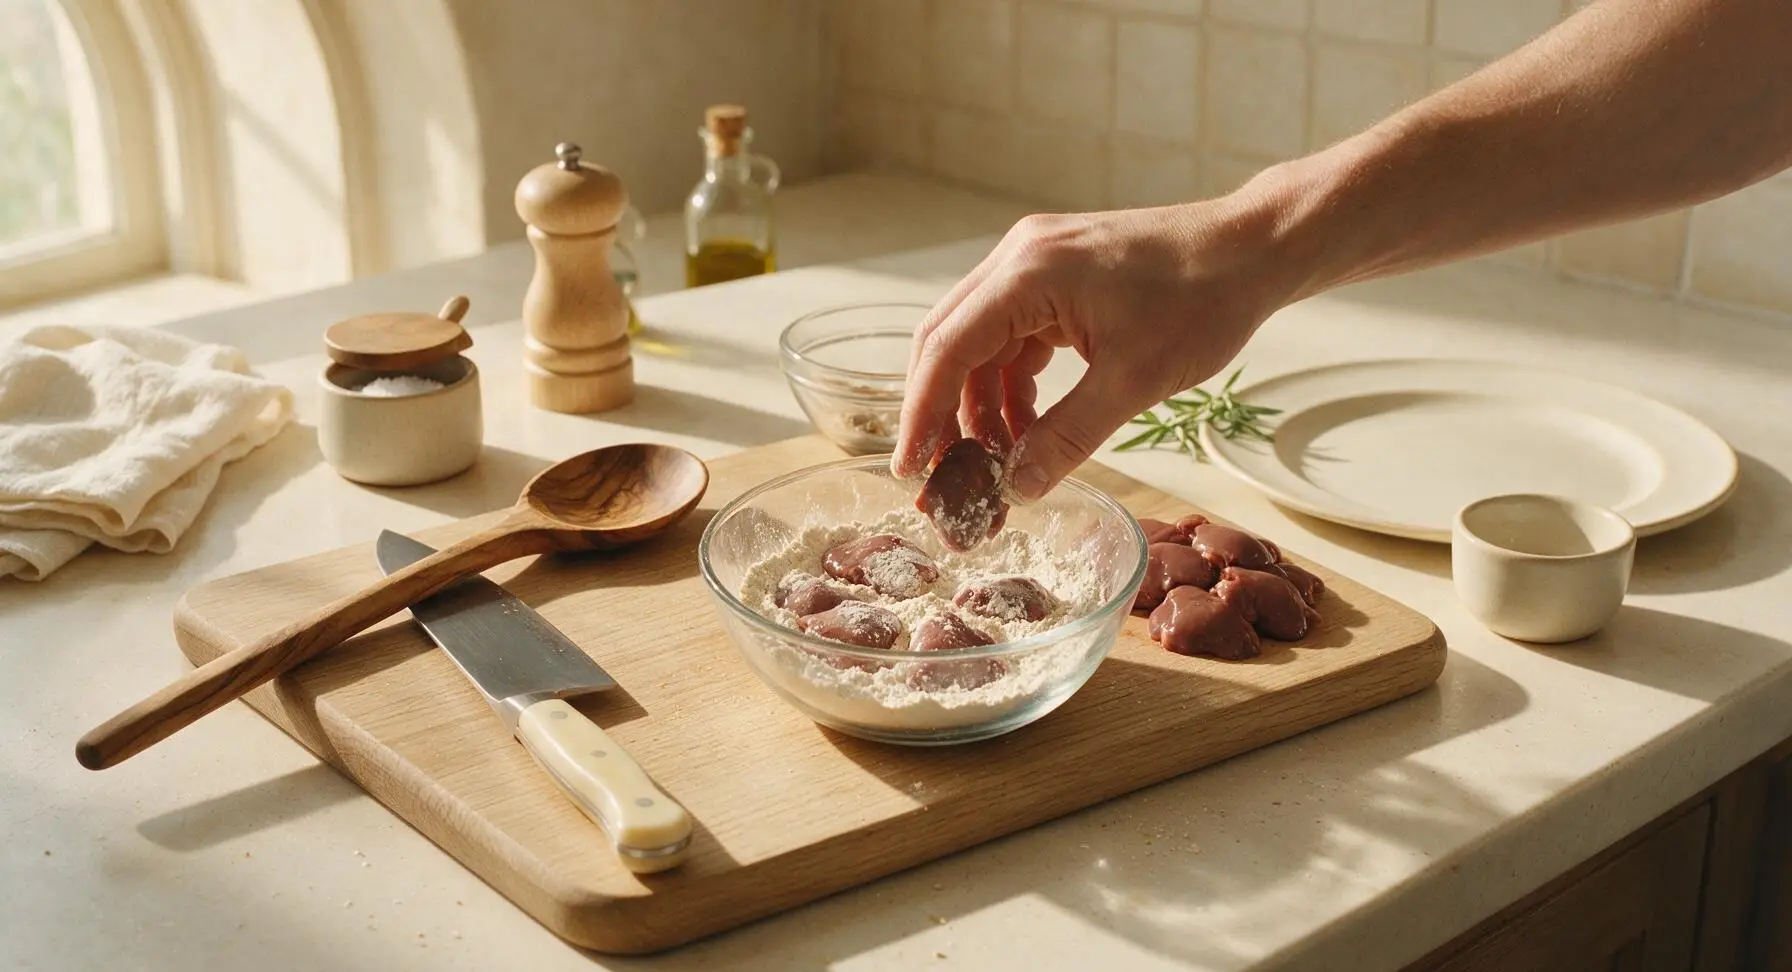
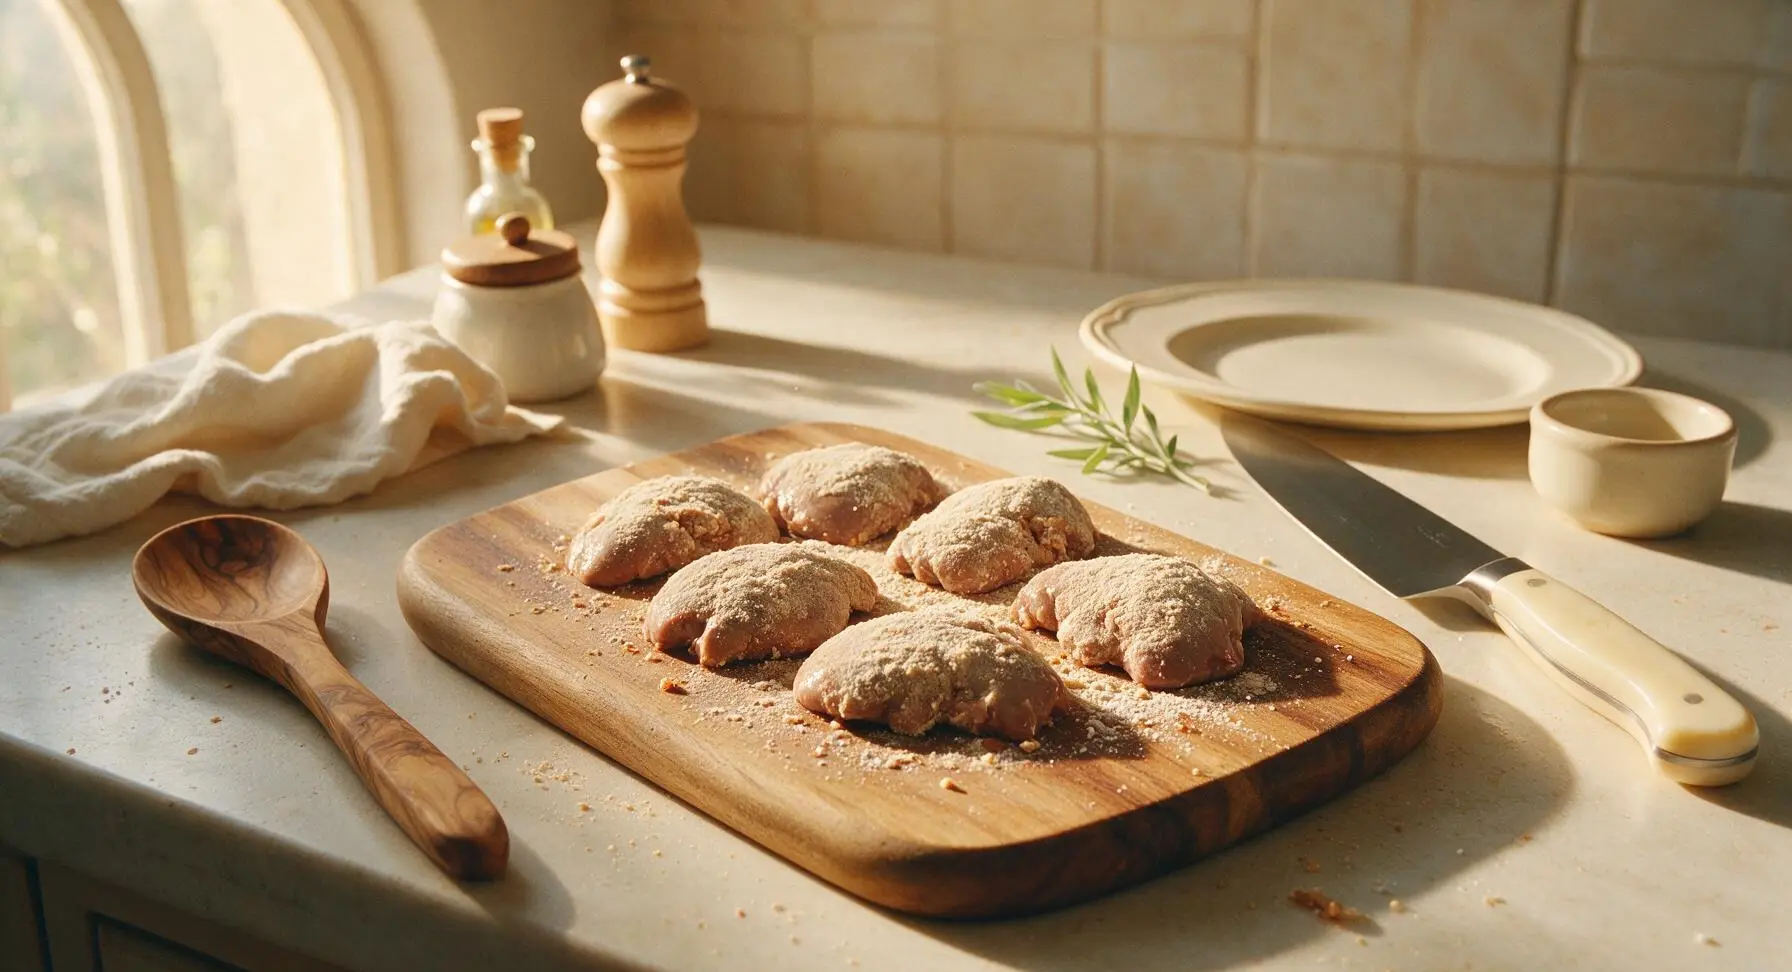
Working in batches of 5-6 pieces, add dried chicken livers to the seasoned flour mixture. Toss gently to fully coat every surface of each liver, then shake off excess flour back into the bowl. Place coated livers on a clean section of the acacia cutting board, making sure pieces do not stick together. Aim for a thin, even flour layer—thick clumps of flour will turn gummy in the air fryer.
Preheat Air Fryer
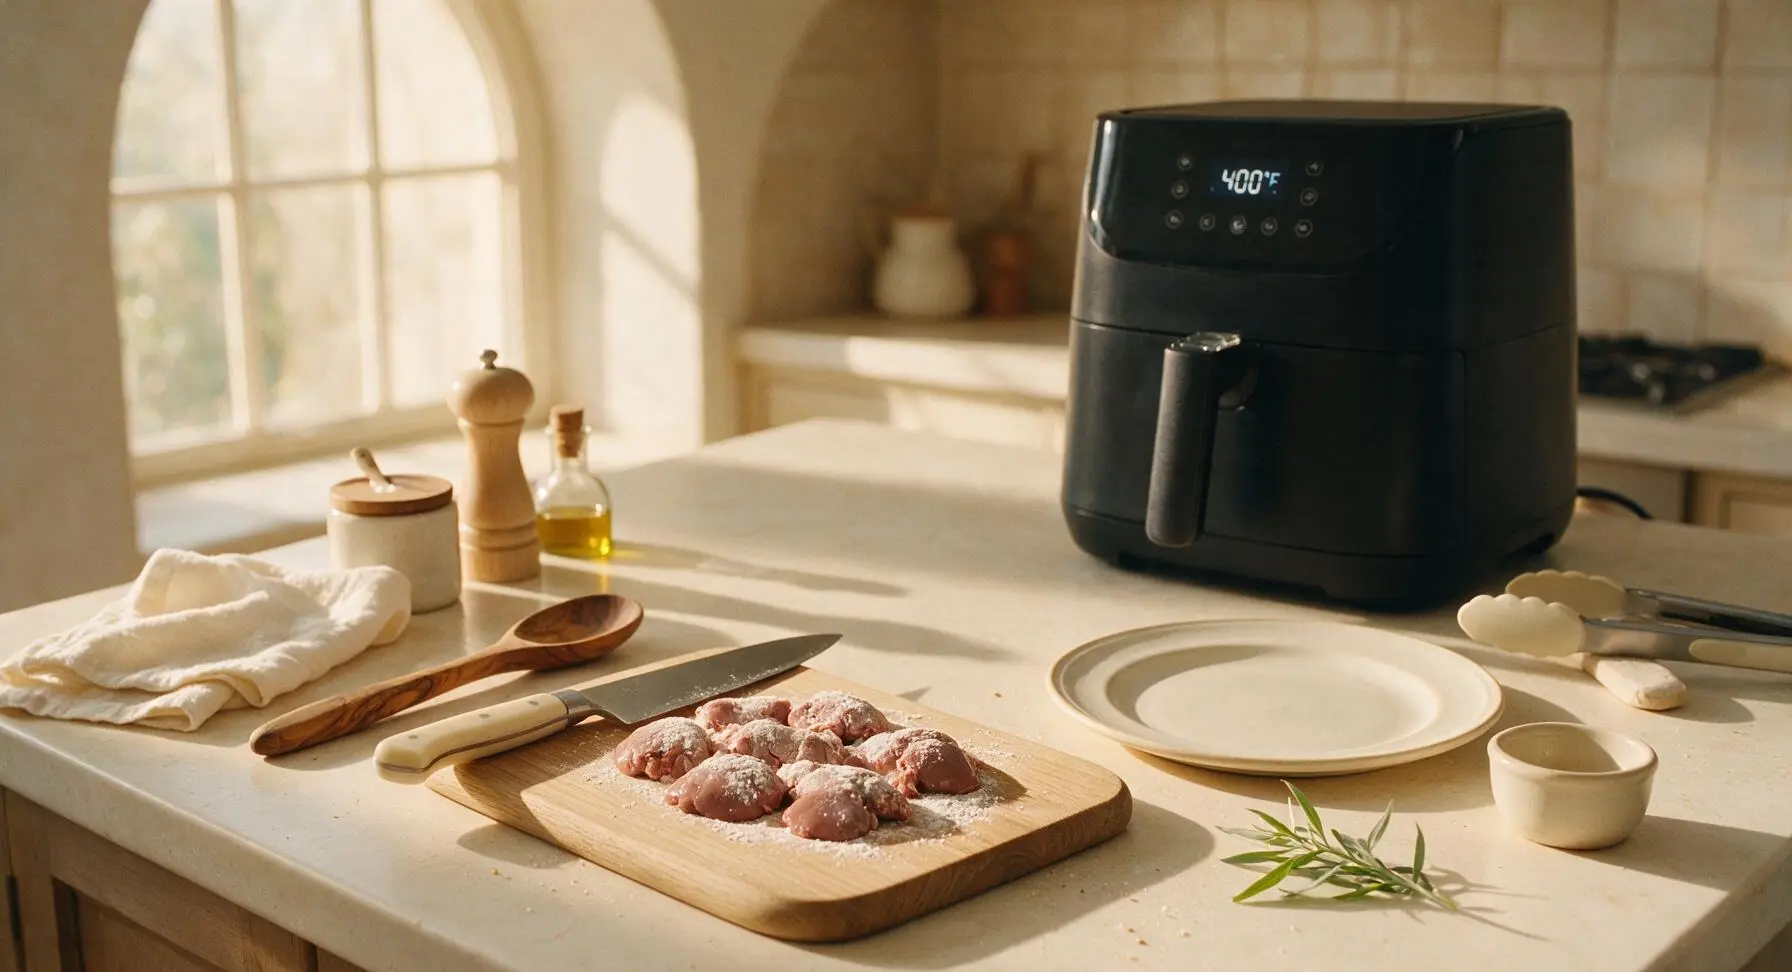
Slide the basket of the matte black air fryer closed, set the temperature to 400°F (200°C), and preheat for 3 minutes. Preheating ensures the livers start searing immediately when added, preventing sticking and creating a crispier crust. While preheating, give the coated livers one final check to brush off any excess flour that has clumped.
Load Air Fryer Basket
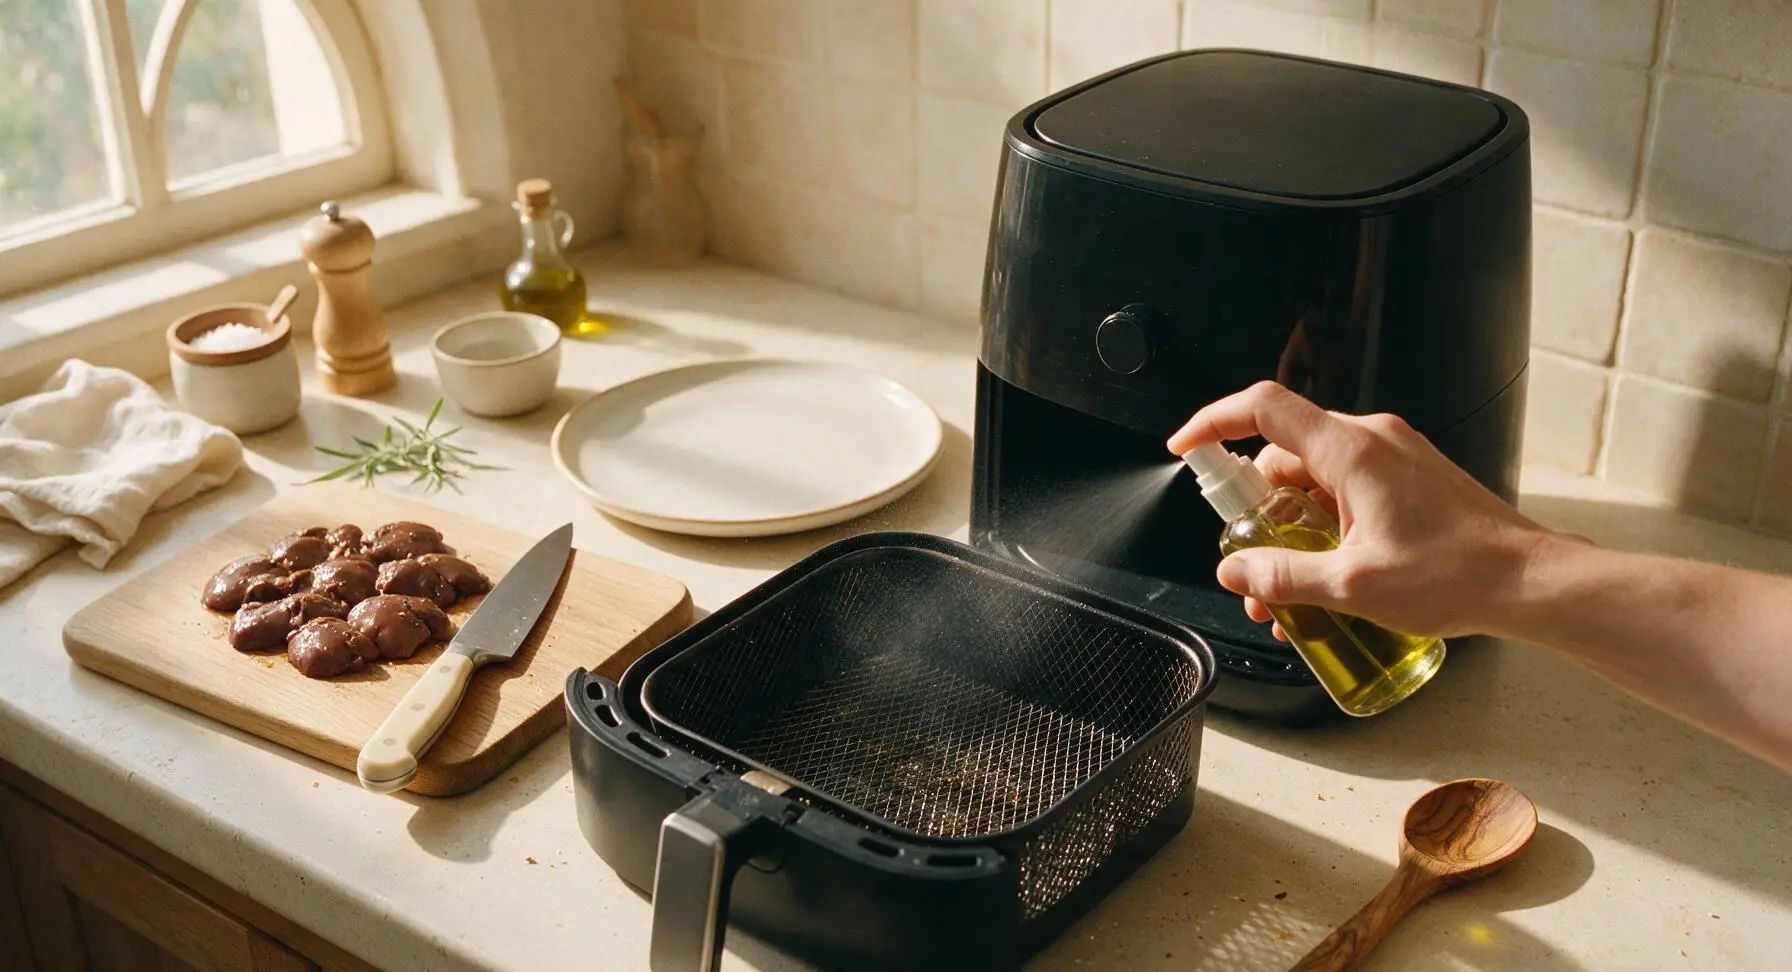
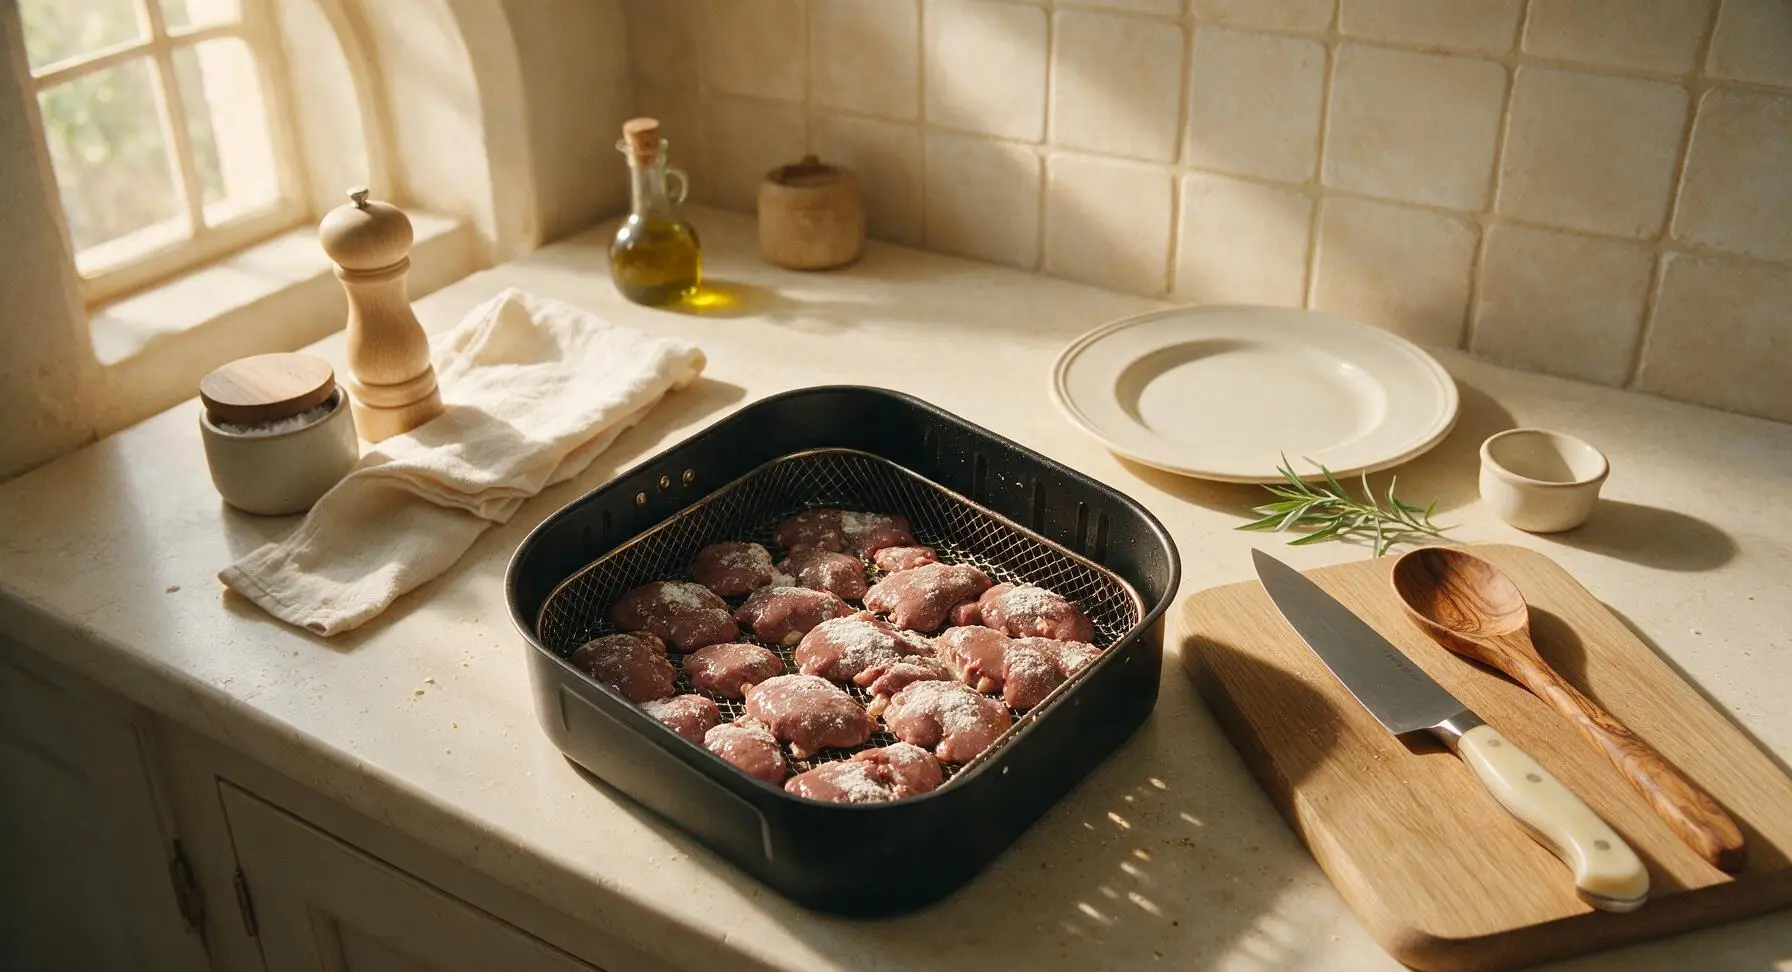
Once preheated, pull the air fryer basket out. Lightly coat the basket mesh surface with 2 sprays of olive oil from the glass spray bottle. Arrange the coated chicken livers in a single, even layer in the basket, leaving ¼ inch of space between each piece to allow air circulation—do not overcrowd, cook in batches if needed. Give the tops of the livers a light, even spray of olive oil (2-3 sprays total) to help crisp the coating.
Air Fry to Crispness
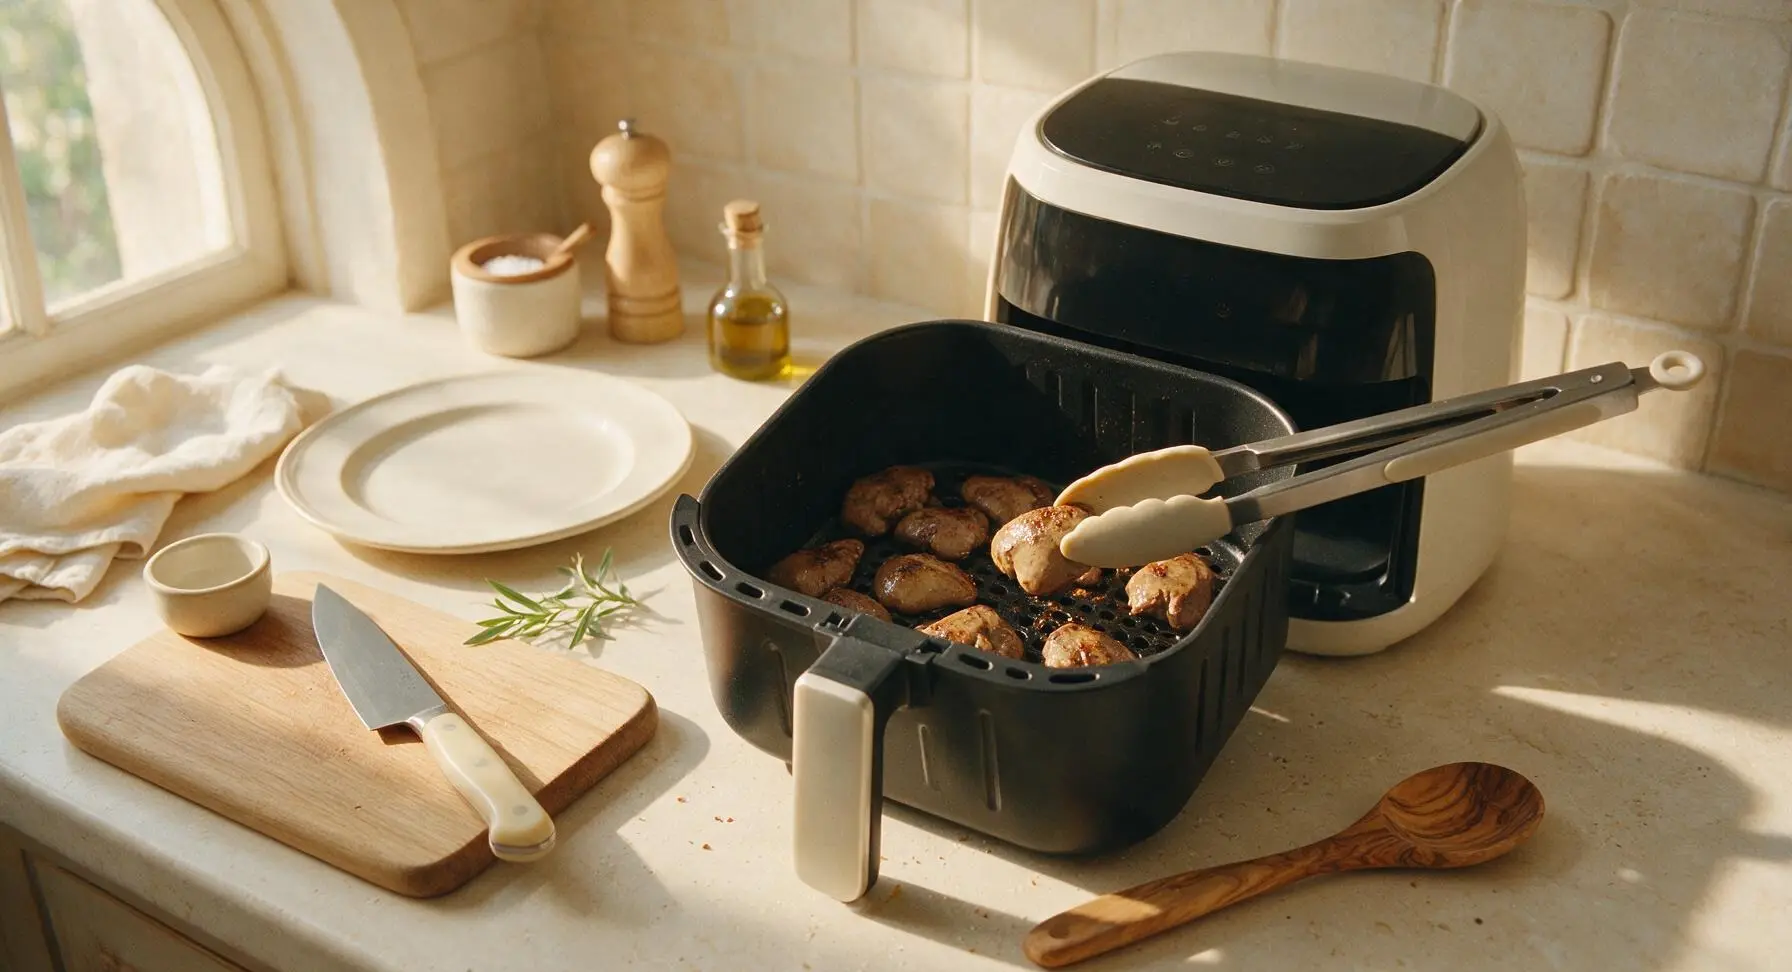
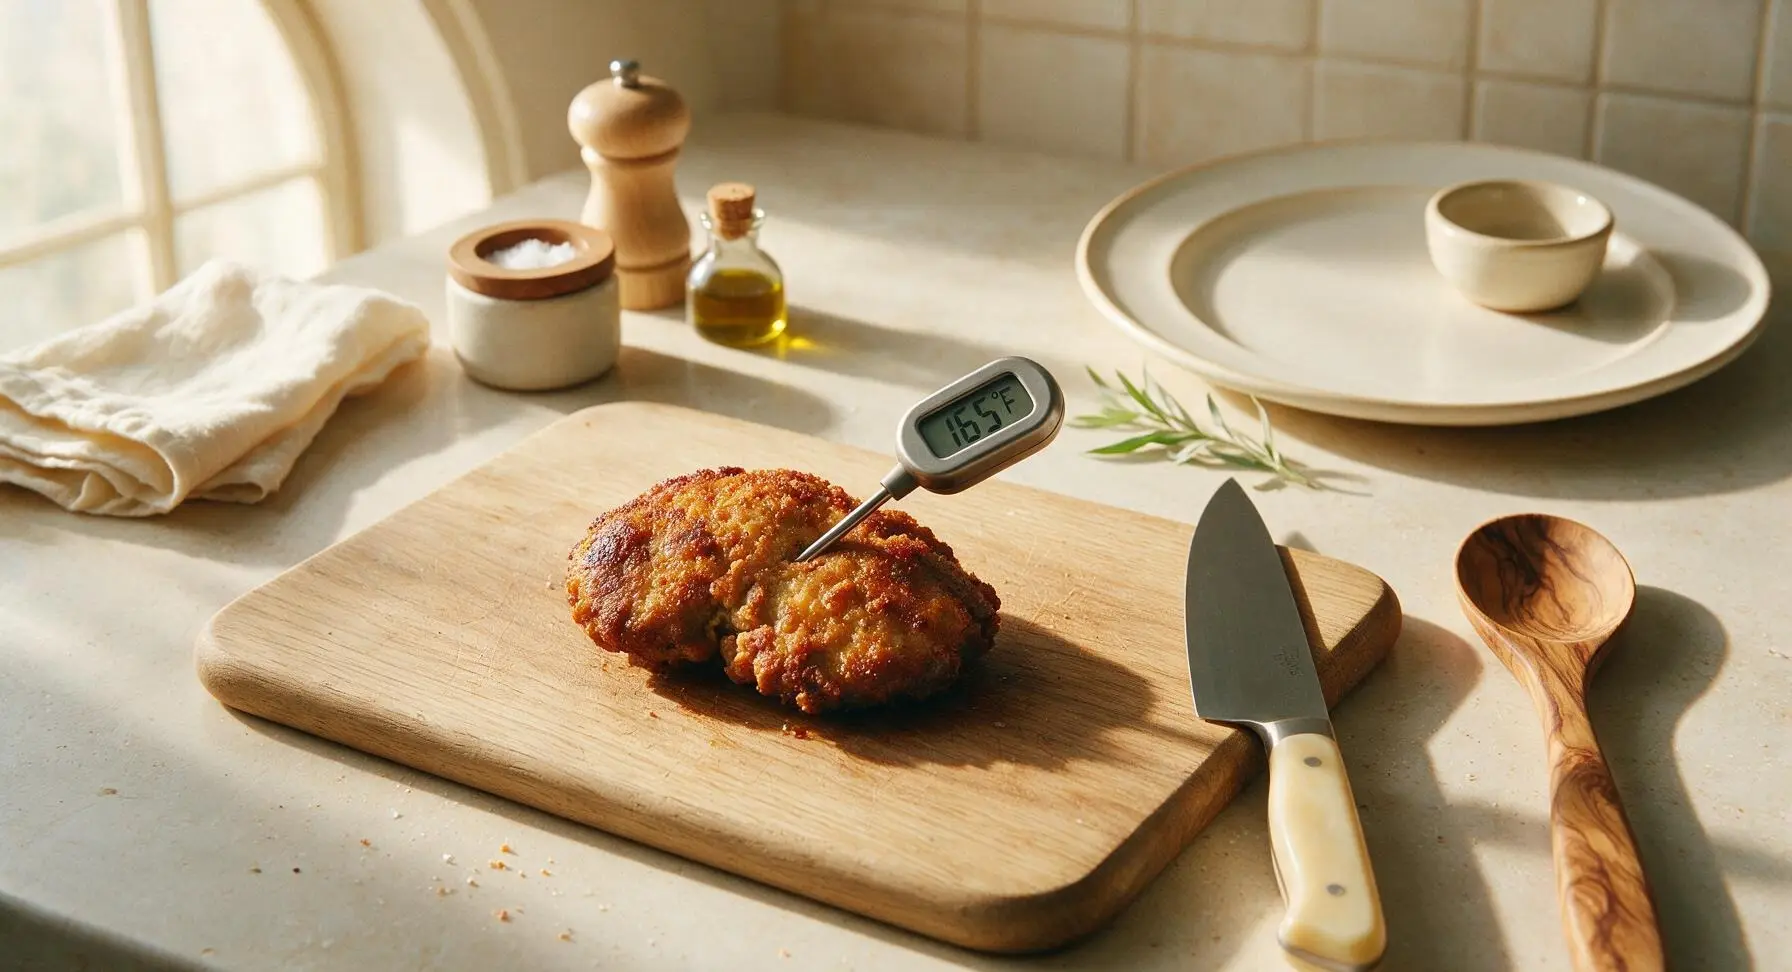
Slide the basket back into the air fryer, cook at 400°F (200°C) for 5 minutes. After 5 minutes, use the silicone-tipped tongs to carefully flip each liver over. Cook for an additional 4 minutes, until the exterior is deep golden brown and crispy, and the internal temperature reaches 165°F (74°C) when checked with the digital meat thermometer. Do not overcook, as livers will become tough and grainy; the center should be just barely pink and juicy, not raw or dull grey.
Rest and Plate Dish
Use the tongs to transfer cooked livers from the air fryer basket to the matte warm terracotta dinner plate. Let the livers rest for 2 minutes to allow juices to redistribute—this prevents juice from running out when you bite into them. While resting, chop the fresh flat-leaf parsley for garnish, and spoon the measured dijon mustard from the third prep bowl into the small terracotta ramekin for dipping. Cut the lemon into wedges and arrange alongside the livers.
Tips
2.Avoid overcrowding the air fryer basket: Hot air needs space to circulate around each liver to create even crispness. If using a 3-4 quart air fryer, cook the livers in two separate batches, keeping the first batch warm on a plate while the second cooks, to avoid soggy spots.
3.Don’t overcook for tender results: Chicken livers turn tough, chalky, and grainy after just 1-2 minutes of extra cook time. Pull them when the internal temperature hits 165°F (74°C) at the thickest point; a faint pale pink center is food-safe and delivers the creamiest, most tender texture.






OMG y’all, I was so skeptical chicken livers could get this crispy without deep frying! I made these for last night’s family dinner and even my 10 year old who turns his nose up at all ‘weird meat’ gobbled up three servings. Game changer for weeknight meals! Cooked exactly 9 minutes, came out perfect, no weird rubbery texture at all.
SO good, I make a batch of these every Sunday for my weekday high protein lunches. Way cheaper than buying pre-cooked protein, and 9 minutes cook time is unbeatable on busy prep days. I toss them in a little cajun seasoning instead of plain salt and pepper and it’s chef’s kiss.
Brought these to our neighborhood potluck last weekend and people were hovering over the platter asking for the recipe! A couple people said they hated chicken livers until they tried these. The only thing I did differently was serve them with a little side of spicy honey mustard for dipping. Will absolutely make again.
Grew up eating fried chicken livers at my grandma’s Sunday suppers and these taste exactly like hers, minus the greasy mess all over the stove. Crispy on the outside, creamy on the inside, perfectly seasoned. I’ll be making these at least once a month from now on.
Full disclosure: this is the first time I’ve ever cooked chicken livers in my life, and I was terrified I’d mess them up. The recipe was so easy to follow, 9 minutes in the air fryer and they came out perfect! My roommate said they’re better than the ones we get at our local dive bar.
These are the perfect high protein, low carb snack! I’ve been looking for something quick to make after my gym sessions and these hit the spot. Only thing is I cooked mine a minute too long my first batch so they were a little tough, so definitely stick to the 9 minute cook time if your air fryer runs hot.
Wait a second, my 7 year old asked for SECONDS of chicken livers??? I never thought I’d see the day. I breaded mine with a little panko and parmesan for extra crunch and she thought they were fancy chicken nuggets. Total win for weeknight dinners.
I’ve been chasing that perfect crispy liver taste from the old diner my parents used to take me to as a kid, and this recipe nails it. No splatters all over my kitchen, no standing over a hot pan of oil, just perfect crispy livers in 9 minutes. 10/10, will be a staple.
Chicken livers are so cheap at the grocery store and this recipe makes them feel like a fancy appetizer! I served these when my friends came over for game night and everyone was shocked how good they were. Total budget-friendly win.
I use my air fryer for literally everything but I’d never tried making livers in it until now. Why did I wait so long??? These are so crispy, so flavorful, and way less messy than any other method I’ve tried. I seasoned mine with paprika, garlic powder, and a little cayenne for a kick.
Okay, I’ve always thought chicken livers were gross but my partner loves them so I decided to give this recipe a shot. I was shocked how much I liked them! The crunch totally won me over, and they don’t have that weird metallic taste I remember from livers I tried as a kid.
Made these for our weekly family Sunday dinner and they were gone in 10 minutes flat. My husband said these are the best livers I’ve ever made, and I’ve been making them for 30 years! The air fryer really does make everything better.
Tossed these in Nashville hot seasoning after they came out of the air fryer and OH MY GOODNESS they are incredible. Crispy, spicy, perfect with a side of pickles and ranch. This is going to be my new go-to game day snack for sure.
I live in a tiny studio apartment with no stove, so my air fryer is my only cooking appliance. This recipe was so easy, no extra equipment needed, and it came out perfectly crispy. I was worried I’d miss out on good fried liver living in a small space but this is even better than the stovetop version.
This recipe is so much healthier than traditional deep fried livers, I don’t feel guilty eating a whole serving as a snack. I didn’t even use any breading, just tossed them in a little olive oil and seasoning and they still got crispy! Didn’t think that was possible.
We raise our own chickens and have a ton of livers in the freezer from processing this year, so I was thrilled to find a quick, easy way to cook them. These came out amazing, we’ll be using this recipe every time we have livers on hand. No more wasting them because I don’t feel like dealing with pan frying!
Made these at 10pm when I was craving something salty and crispy and they hit the spot so much better than chips or takeout. 9 minutes cook time meant I didn’t have to wait forever for my snack, and the protein kept me full so I didn’t keep rummaging through the pantry all night. Total win.