
chinese fried chicken batter
intro
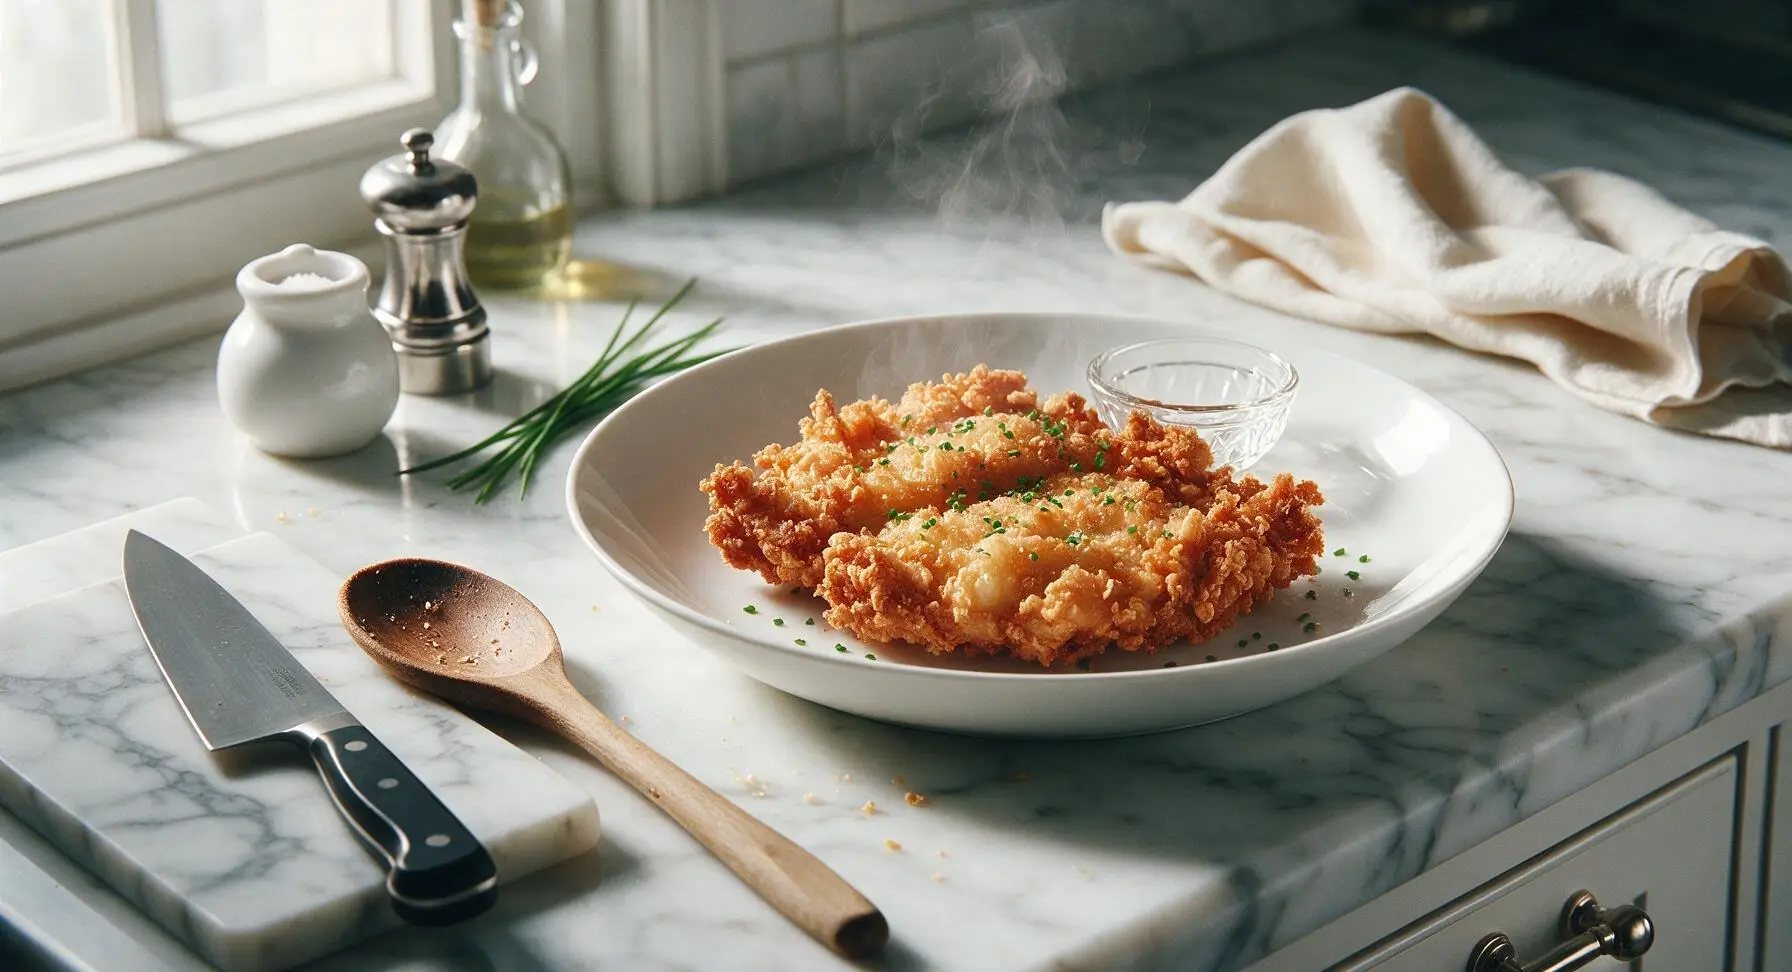
This shatteringly crisp Cantonese-style fried chicken batter creates a light, non-greasy crust that stays crunchy for 30+ minutes, perfect for wings, popcorn chicken, and fried thighs.
Ingredients
Steps
Measure Dry Ingredients
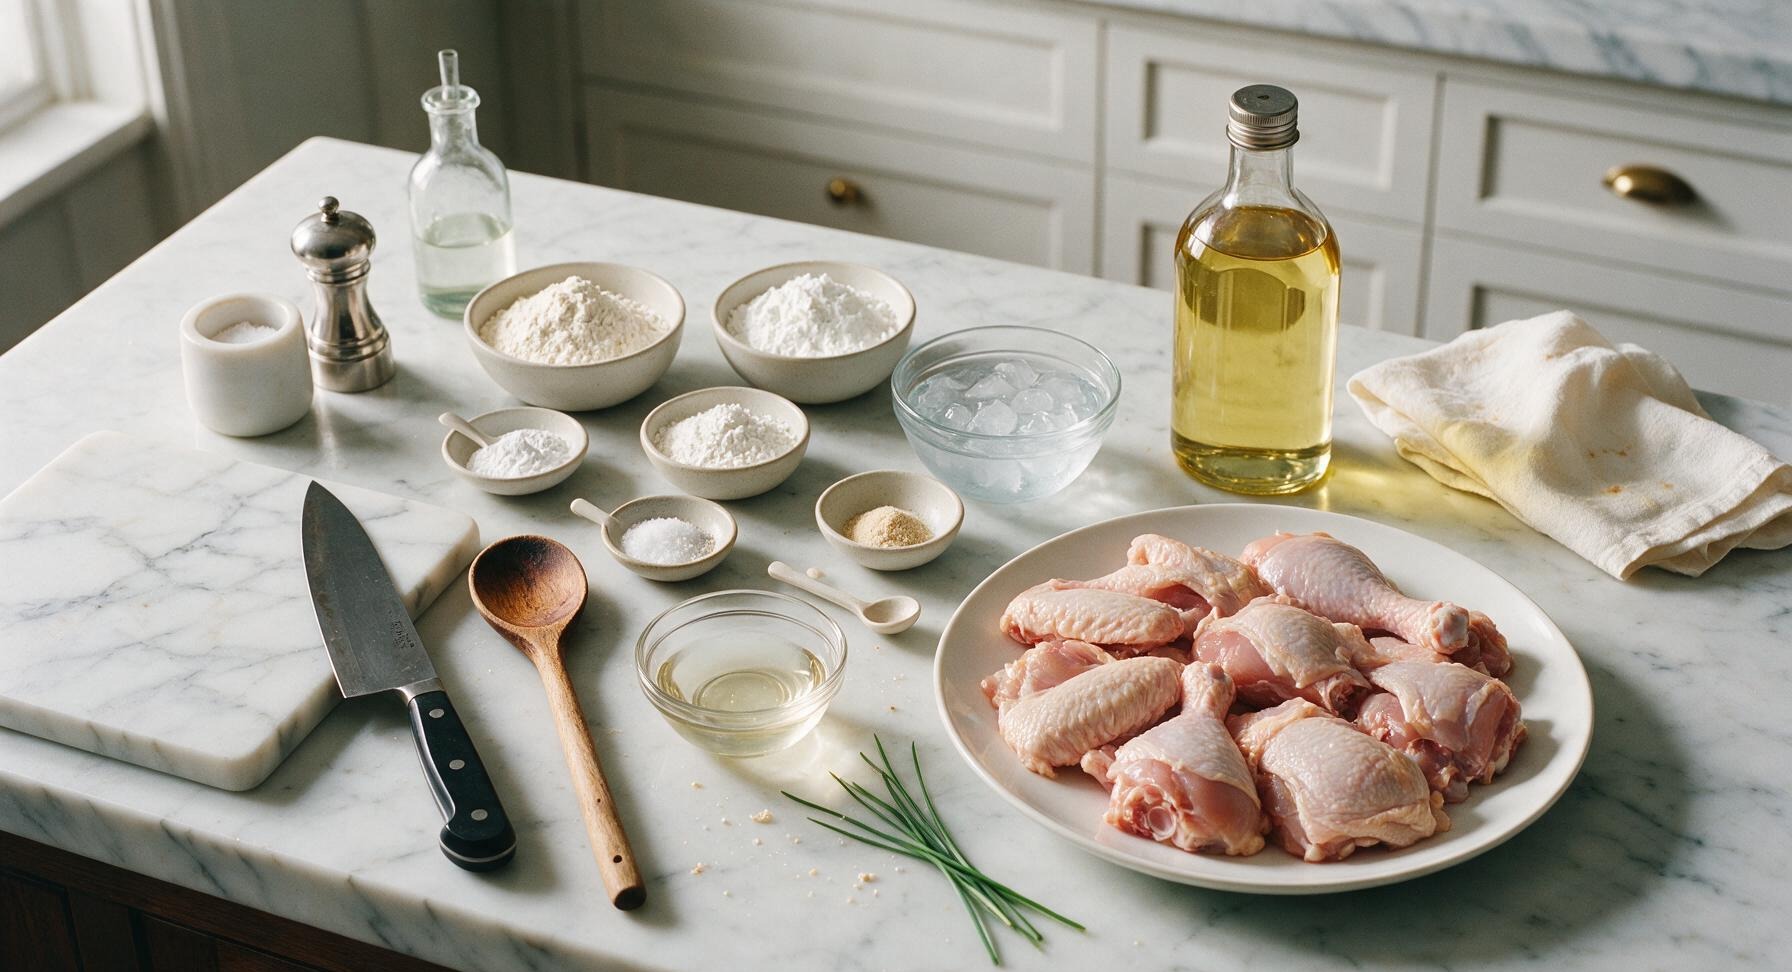
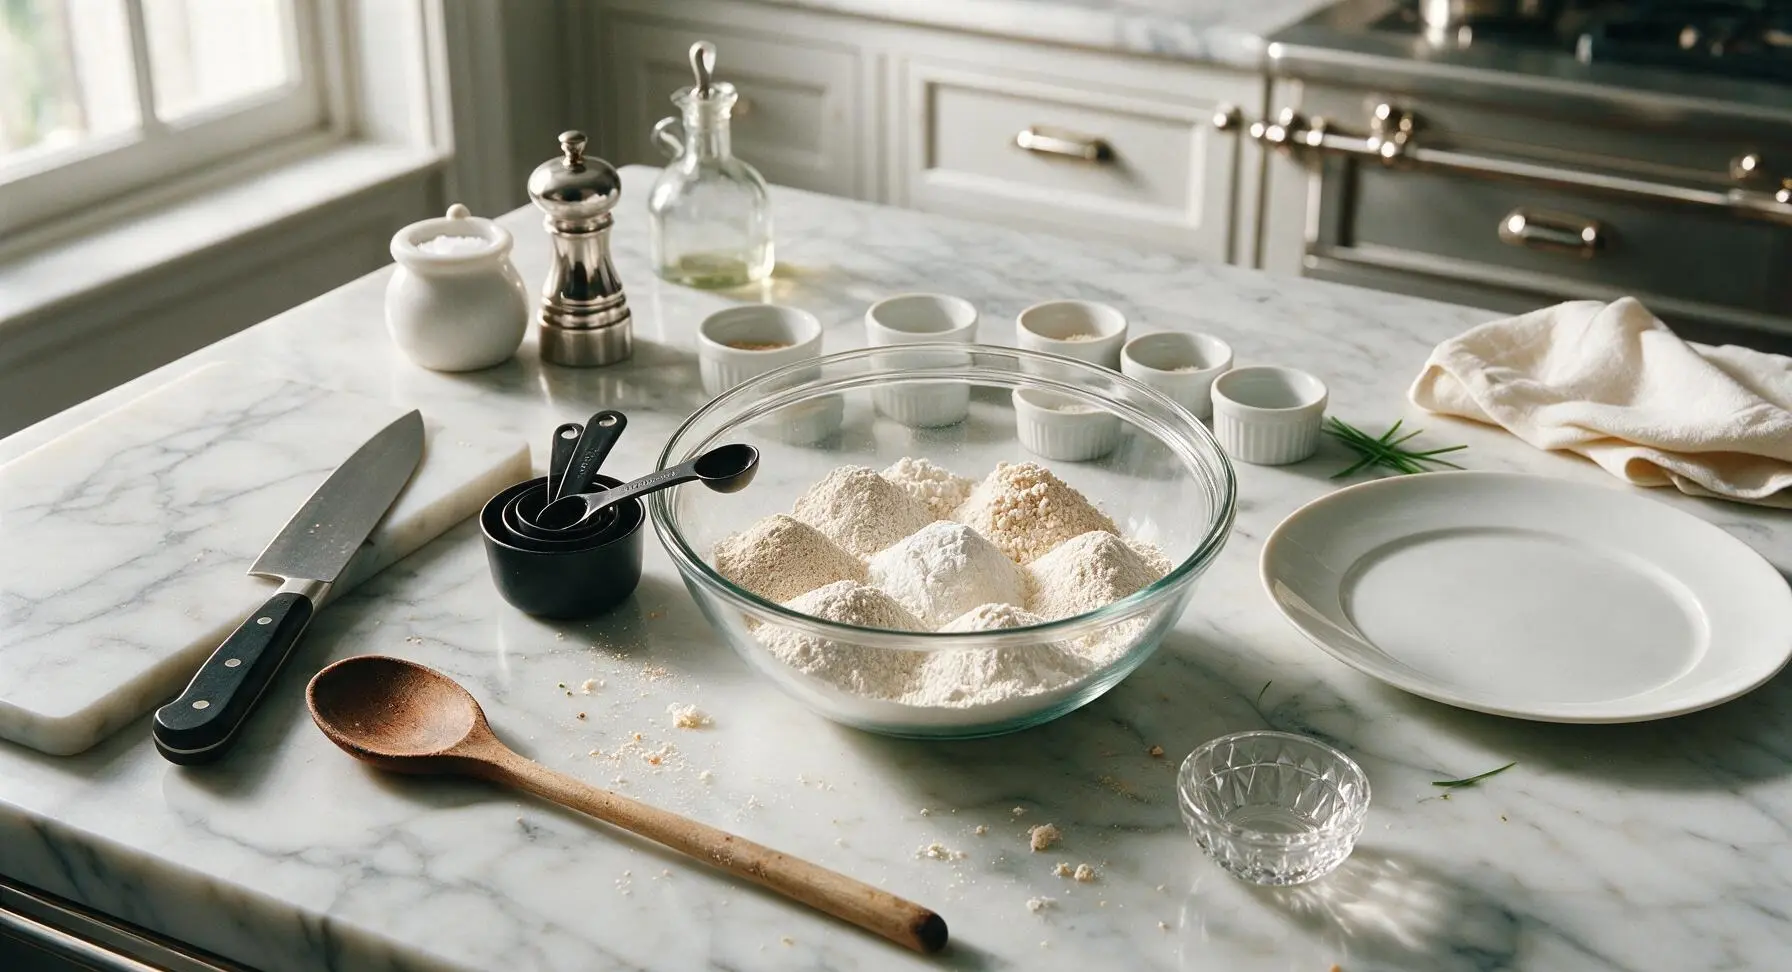
Add 120g all-purpose flour, 80g cornstarch, 20g glutinous rice flour, 1 tsp baking powder, 1 tsp kosher salt, 1/2 tsp ground white pepper, and 1/2 tsp garlic powder to the clear glass mixing bowl at the center of the counter. Use the appropriate sized measuring spoons and cups for each ingredient to ensure accuracy; too much baking powder will create a bitter, soapy-tasting crust. Do not pack flour into measuring cups, as this will create a thick, tough batter.
Whisk Dry Mixture
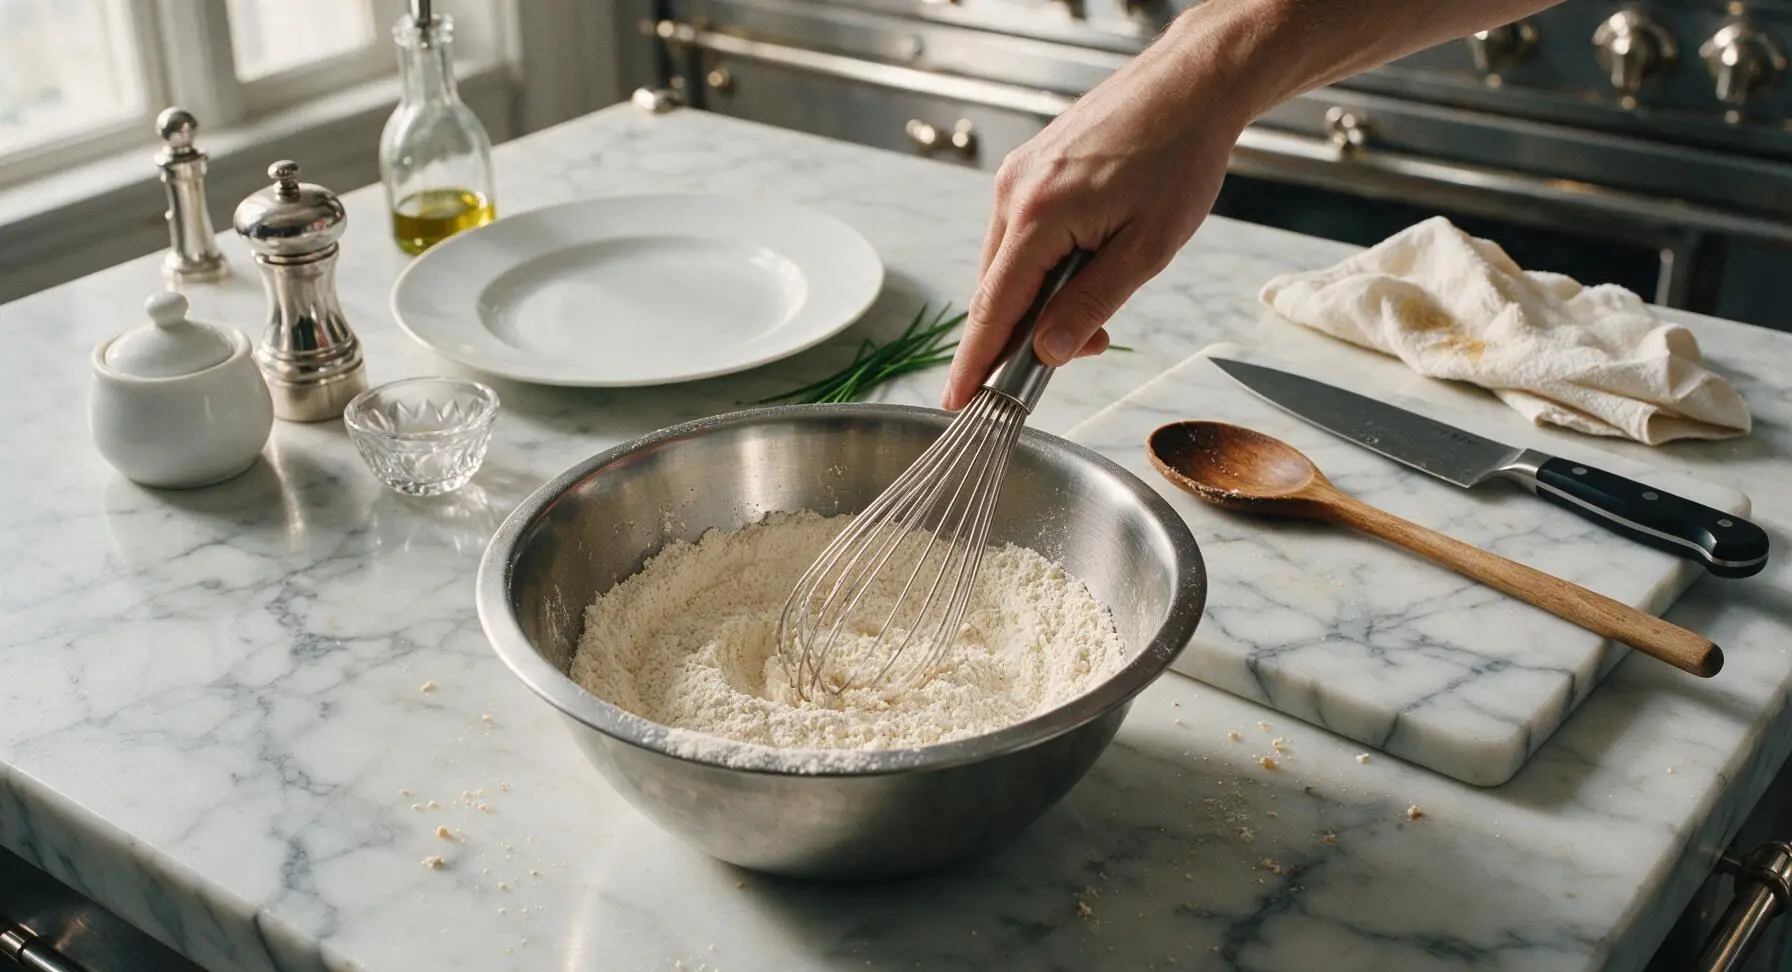
Use the stainless steel whisk to stir the dry ingredients together for 45-60 seconds, until all components are fully and evenly combined, with no clumps of baking powder or concentrated spice pockets visible. The finished uniform mixture should be a pale off-white color, with consistent fine texture throughout. Even mixing ensures leavening is distributed evenly, so the crust rises consistently without uneven bubbling during frying.
Add Cold Liquids
Slowly pour 180ml ice-cold filtered water and 1 tbsp cold vodka into the center of the dry mixture. It is critical to use ice-cold liquid to slow gluten development in the flour, which keeps the crust crisp rather than tough. The vodka evaporates faster than water during frying, creating a lighter, crunchier crust with no residual alcohol aftertaste; substitute with extra ice-cold water if vodka is unavailable.
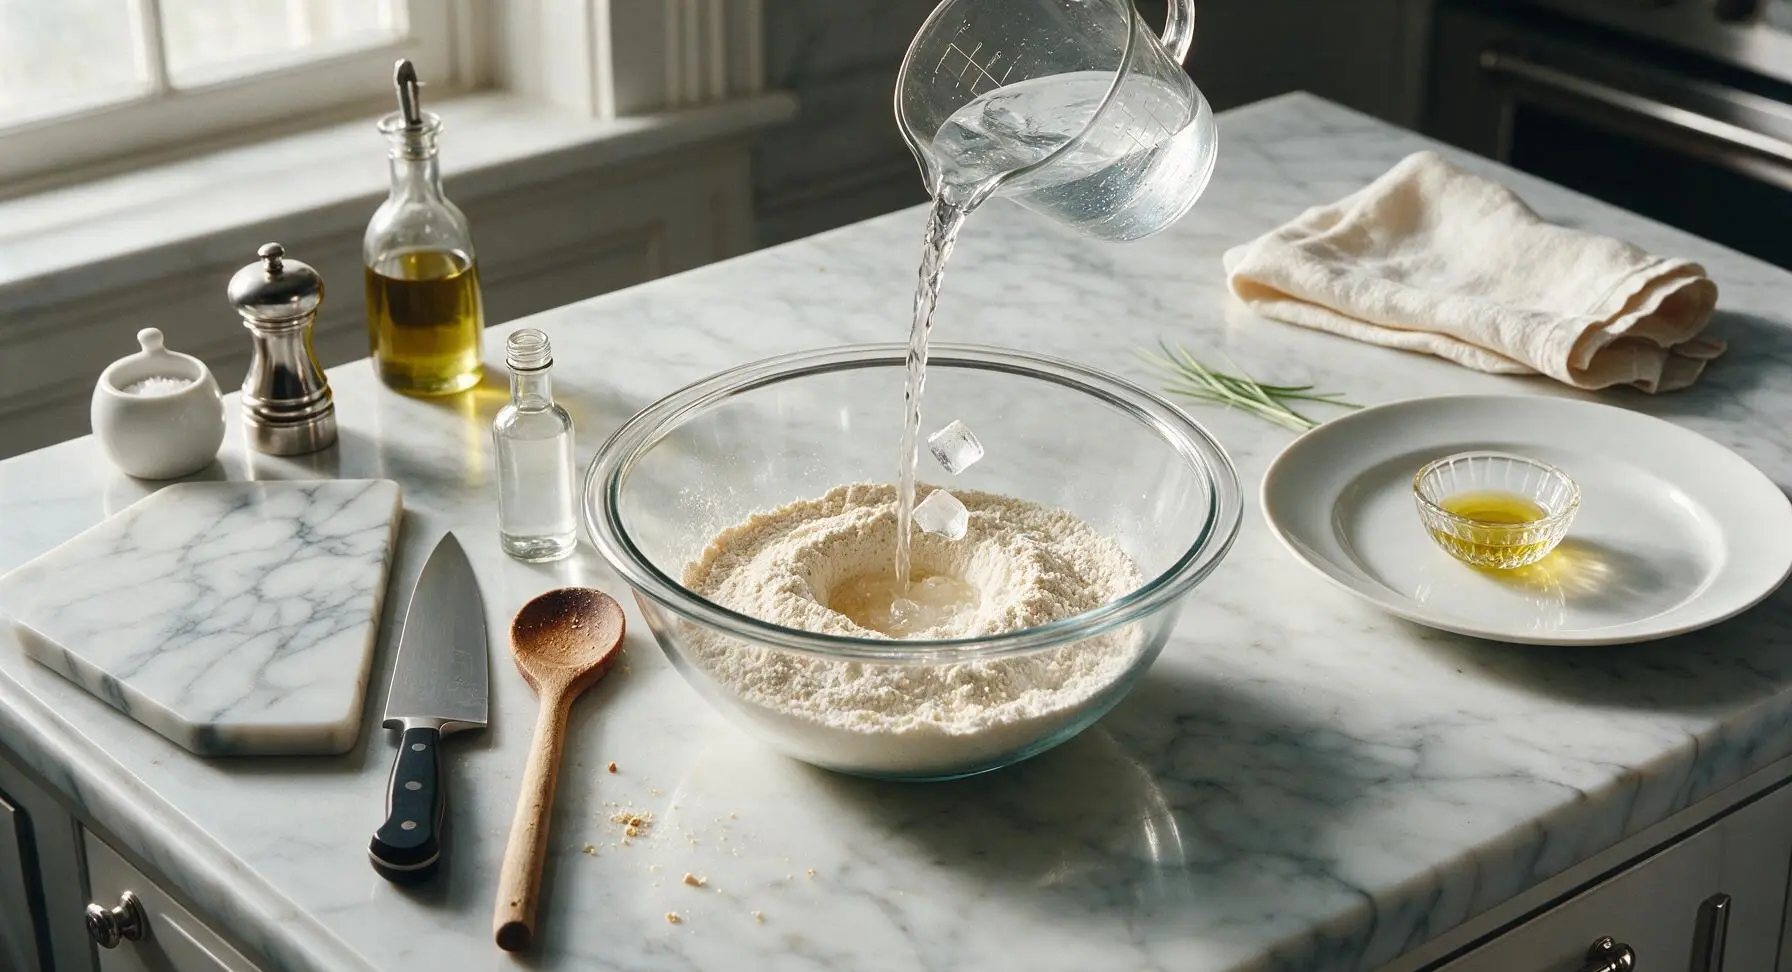
Mix Batter Consistently
Use the whisk to gently stir the liquid into the dry ingredients, mixing only just until no large dry flour clumps remain. Stop mixing as soon as the batter comes together; it should have the same thickness as cold heavy cream, with a few small pea-sized lumps remaining (similar to good pancake batter). Over-mixing will develop gluten and lead to a tough, chewy crust, rather than a light, shattery crisp. Let the batter rest for 5 minutes at room temperature before use; it will thicken slightly as the starches absorb liquid.
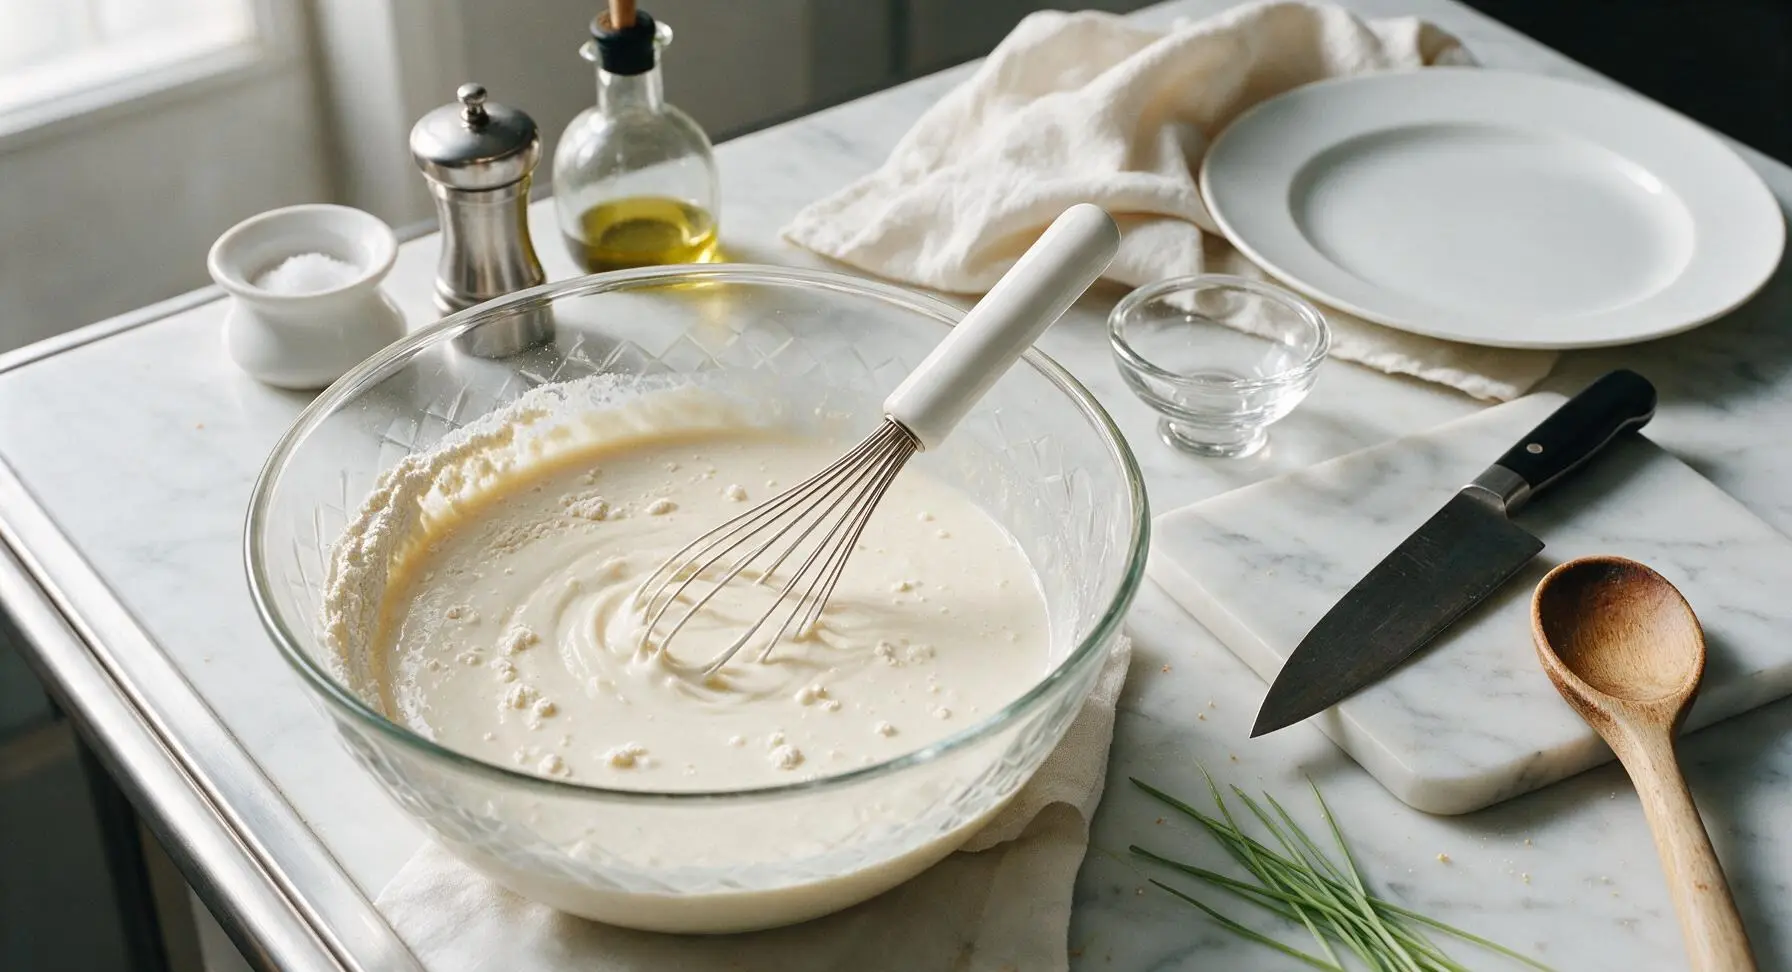
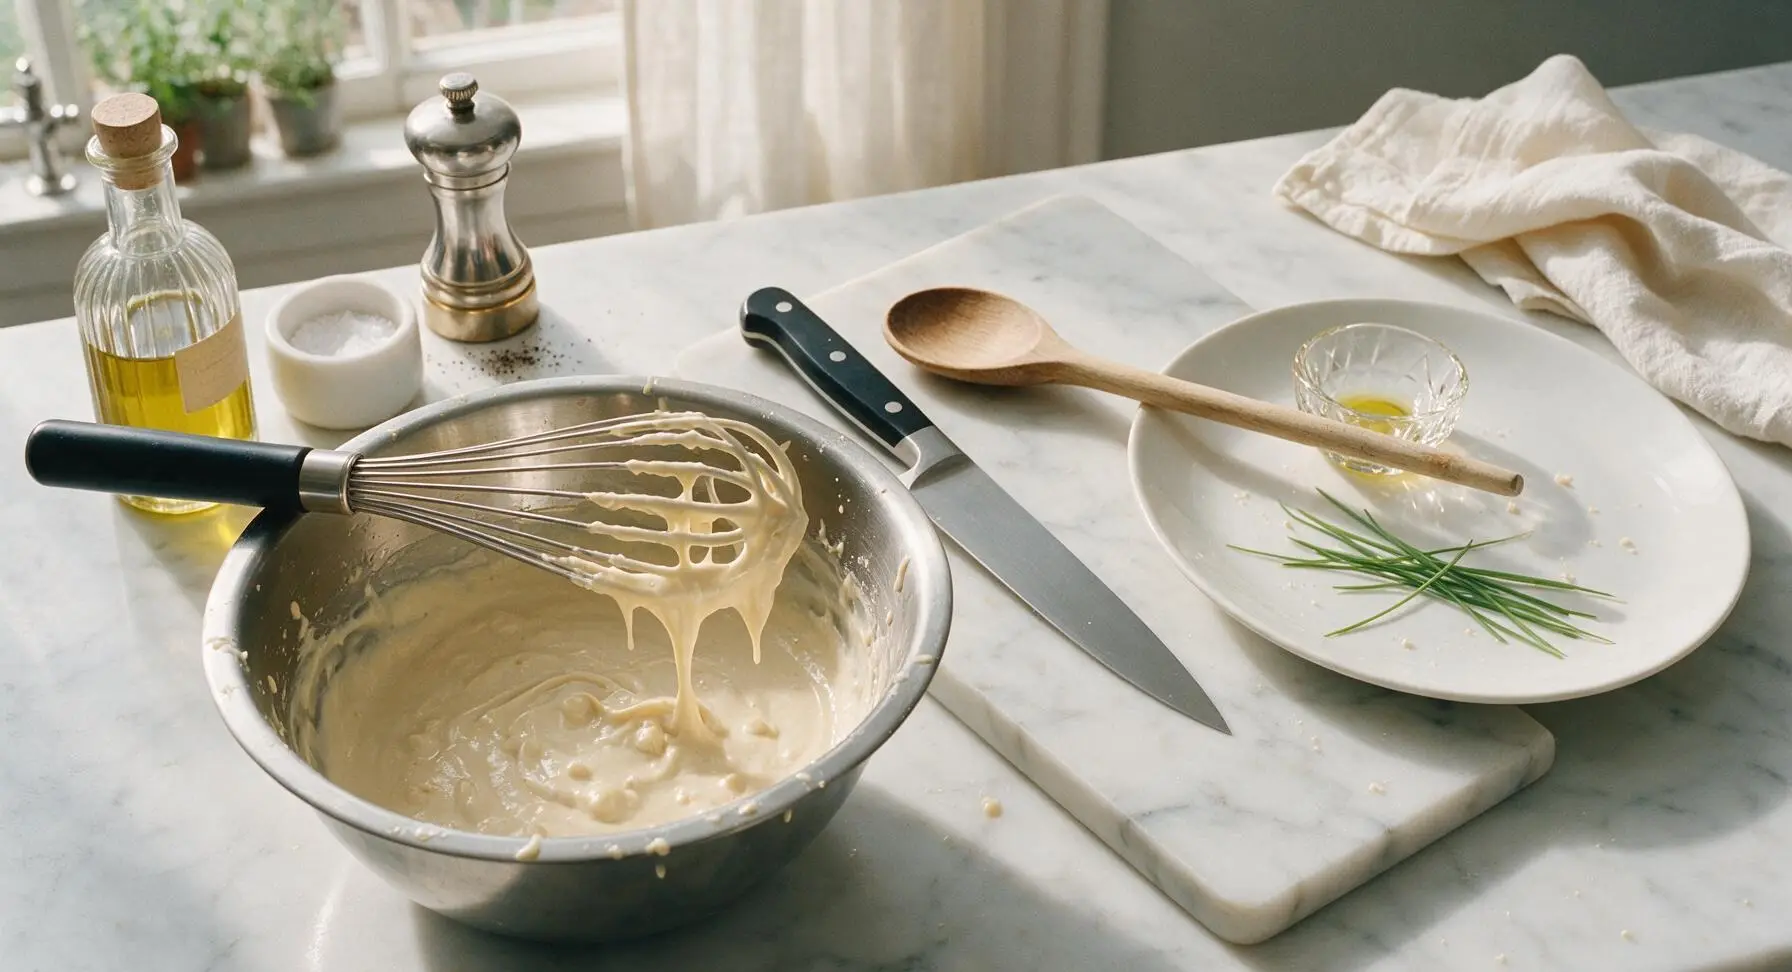
Heat Frying Oil
Place the 12-inch carbon steel wok 20cm to the right of the mixing bowl, add 1.5L neutral peanut or canola oil, and heat over medium-high heat until the oil reaches exactly 175C (350F). Use a candy thermometer to verify temperature: oil that is too cool will make the batter absorb excess grease and turn soggy, while oil that is too hot will burn the crust to a dark brown before the chicken cooks through.
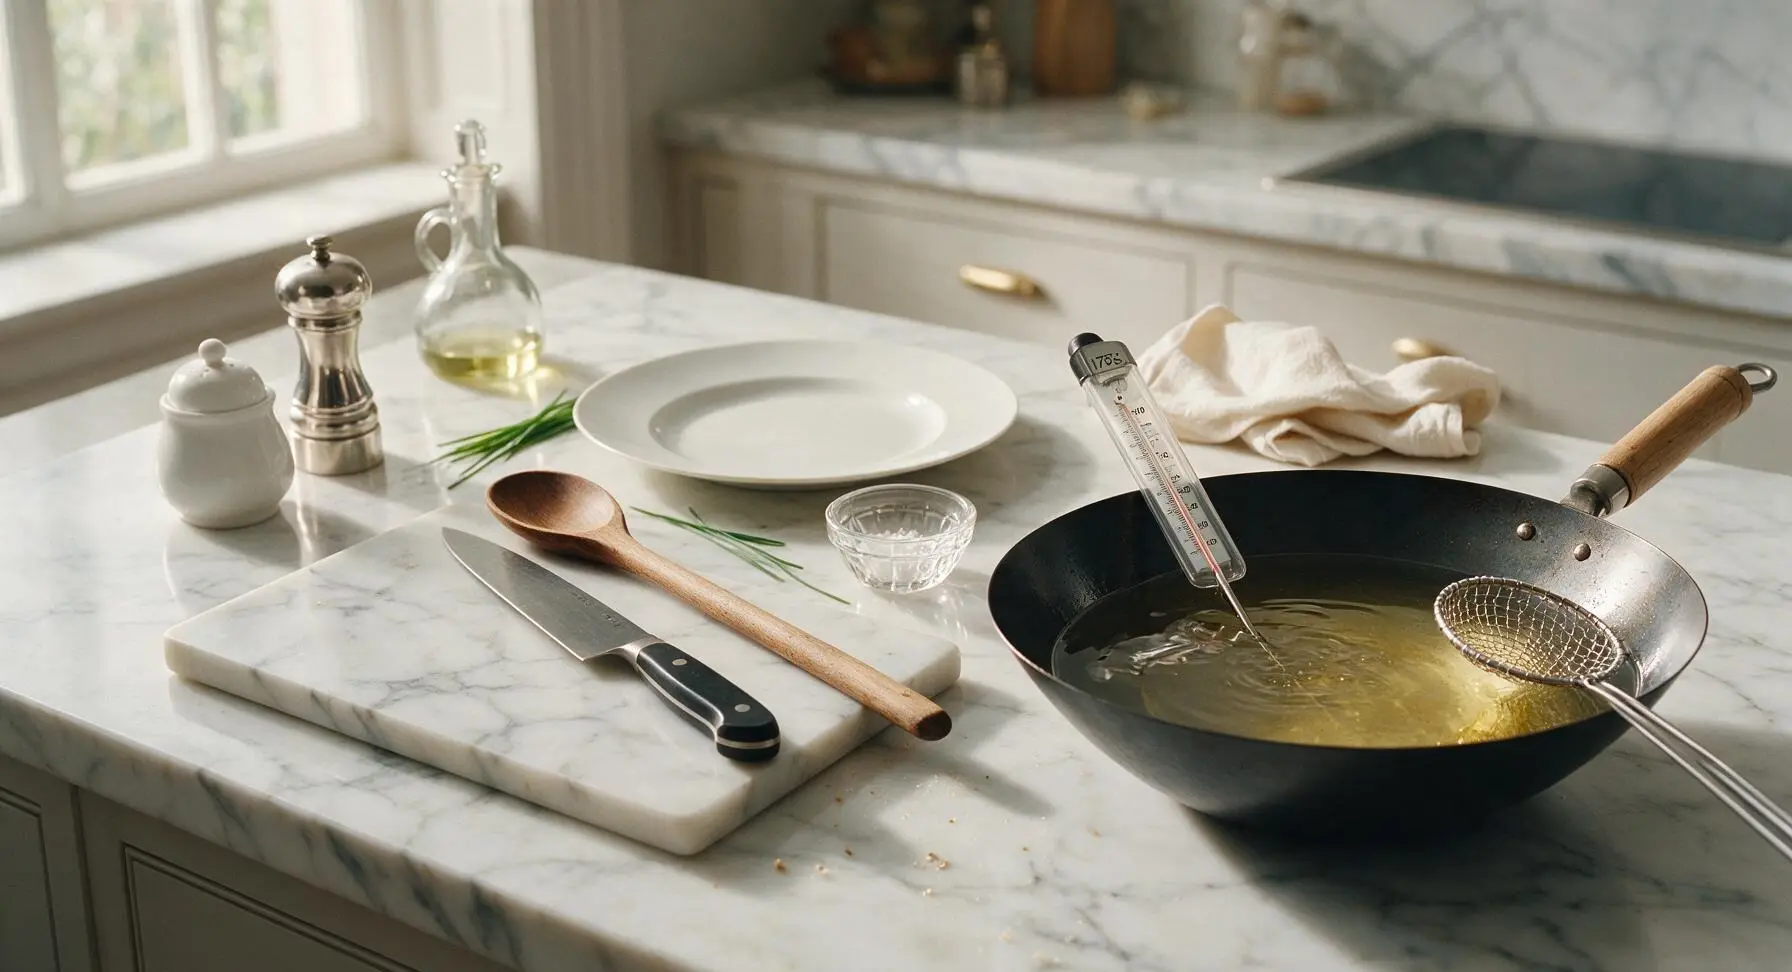
Coat Chicken Pieces
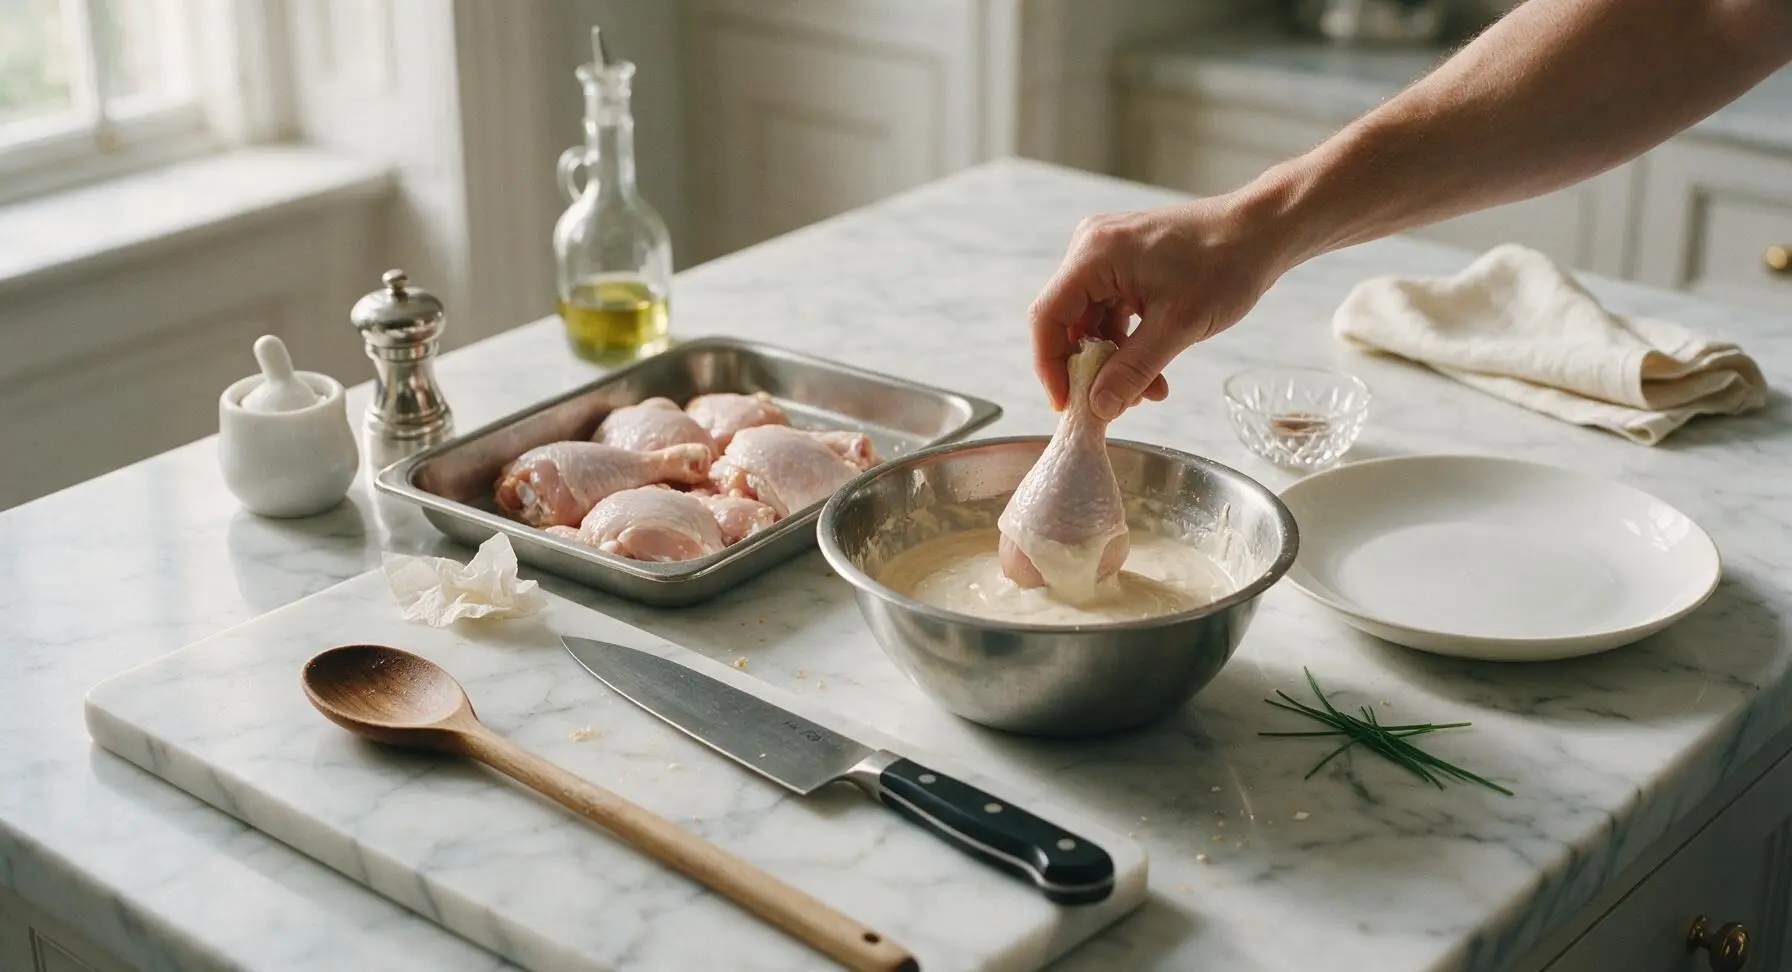
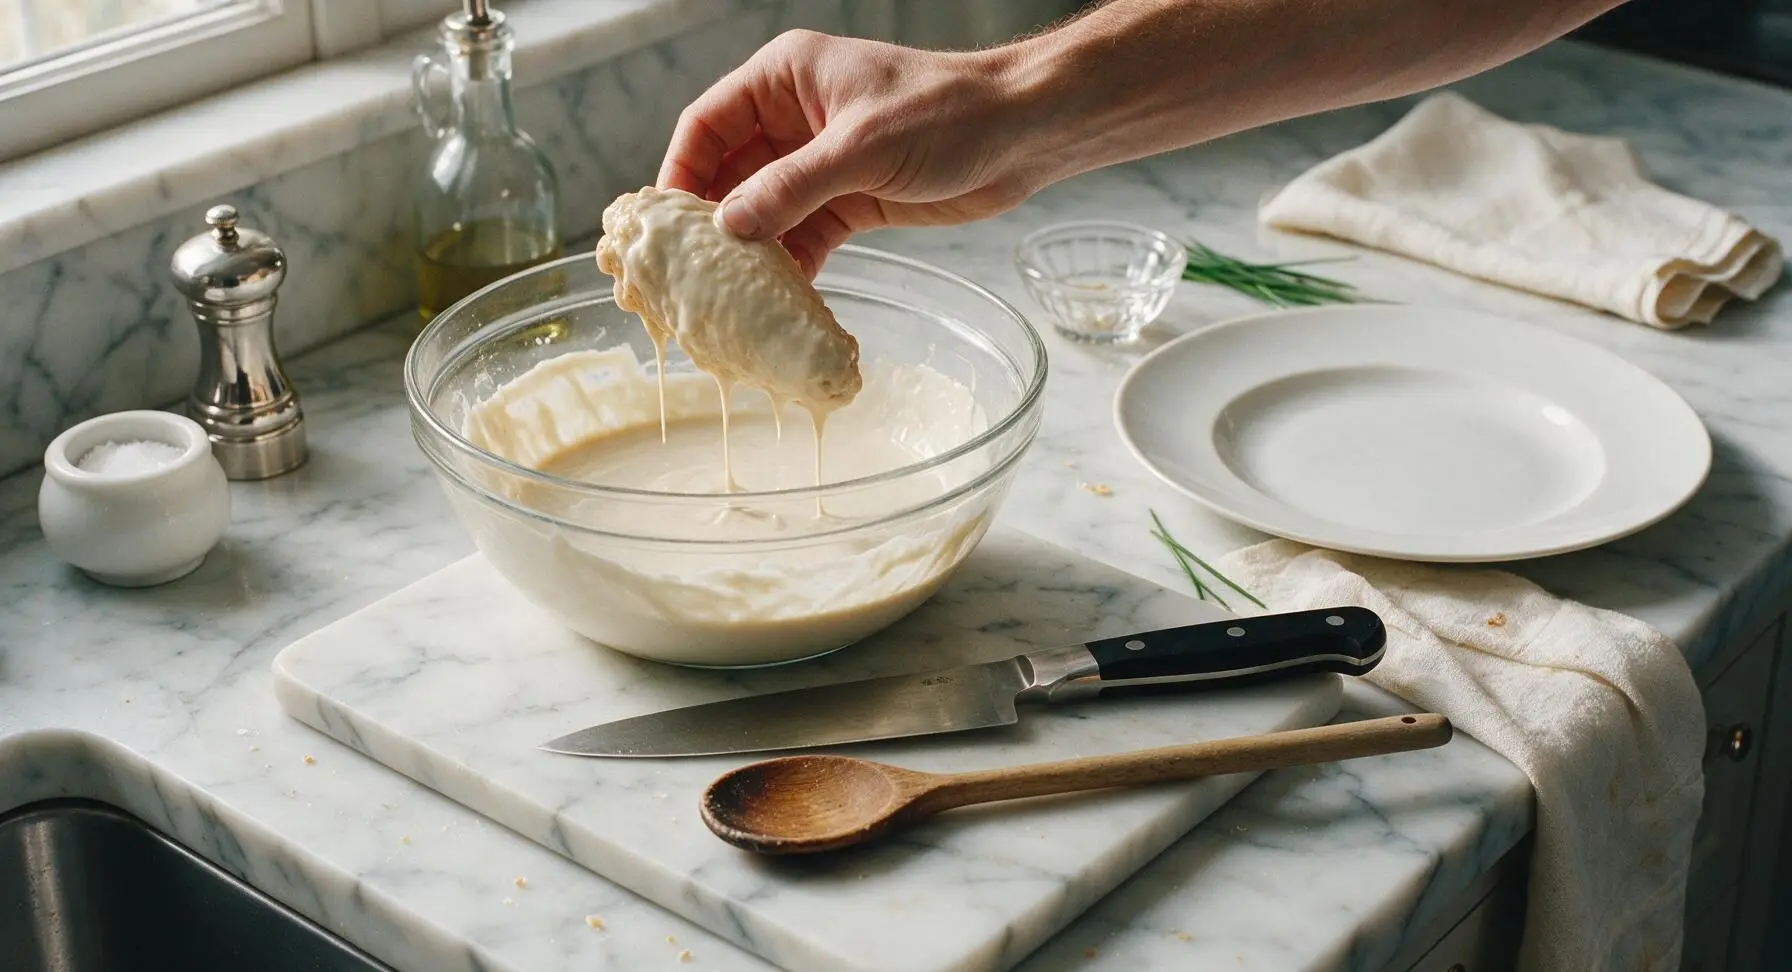
Pat 1kg of bone-in, skin-on chicken pieces (wings, drumsticks, 5cm boneless thigh chunks) completely dry with paper towels first — excess moisture on the chicken surface will cause the batter to slide off during frying and create dangerous oil splatters. Dip each piece fully into the rested batter, turning to coat every surface evenly, then hold the piece above the bowl for 2 seconds to let excess batter drip off. The coating should be a thin, even layer across the chicken, not thick or gloppy.
Fry Chicken Batches
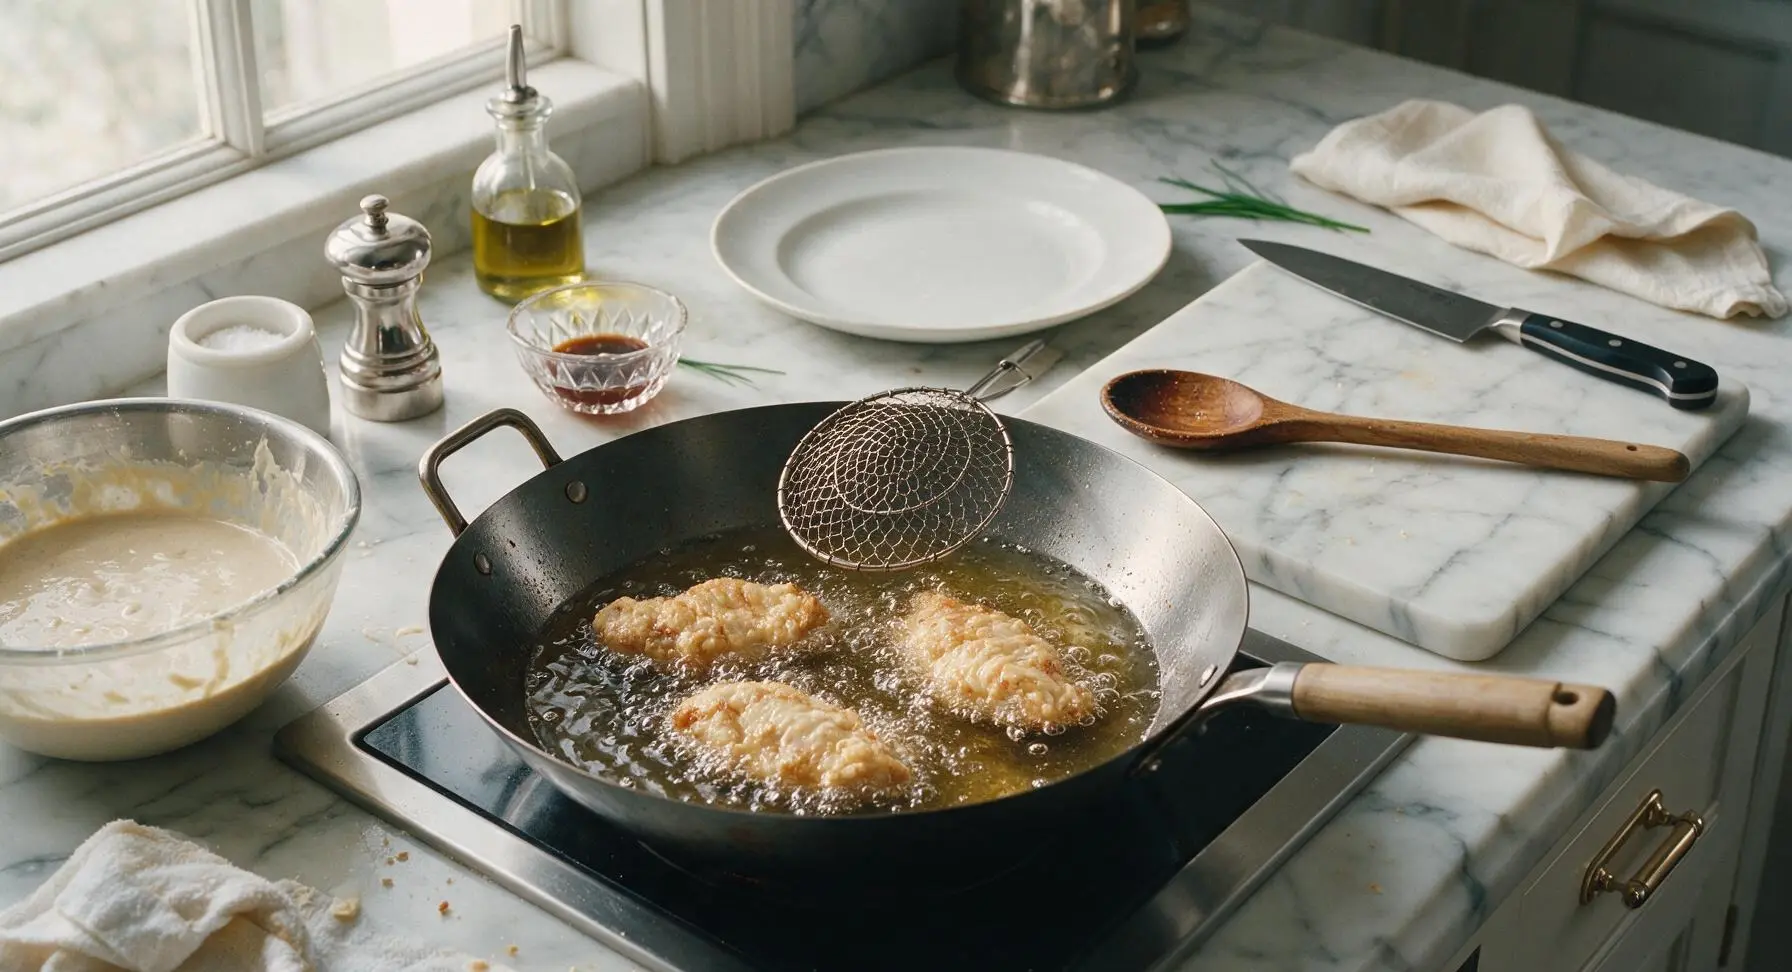
Carefully lower 2-3 coated chicken pieces into the 175C oil, working in small batches to avoid dropping the oil temperature by more than 10C. Do not overcrowd the wok. Fry for 8-10 minutes for bone-in pieces, 5-6 minutes for boneless chunks, turning occasionally with the mesh skimmer, until the crust is deep golden brown, craggy, and crisp, and the internal temperature of the chicken reaches 75C (165F).
Drain and Rest
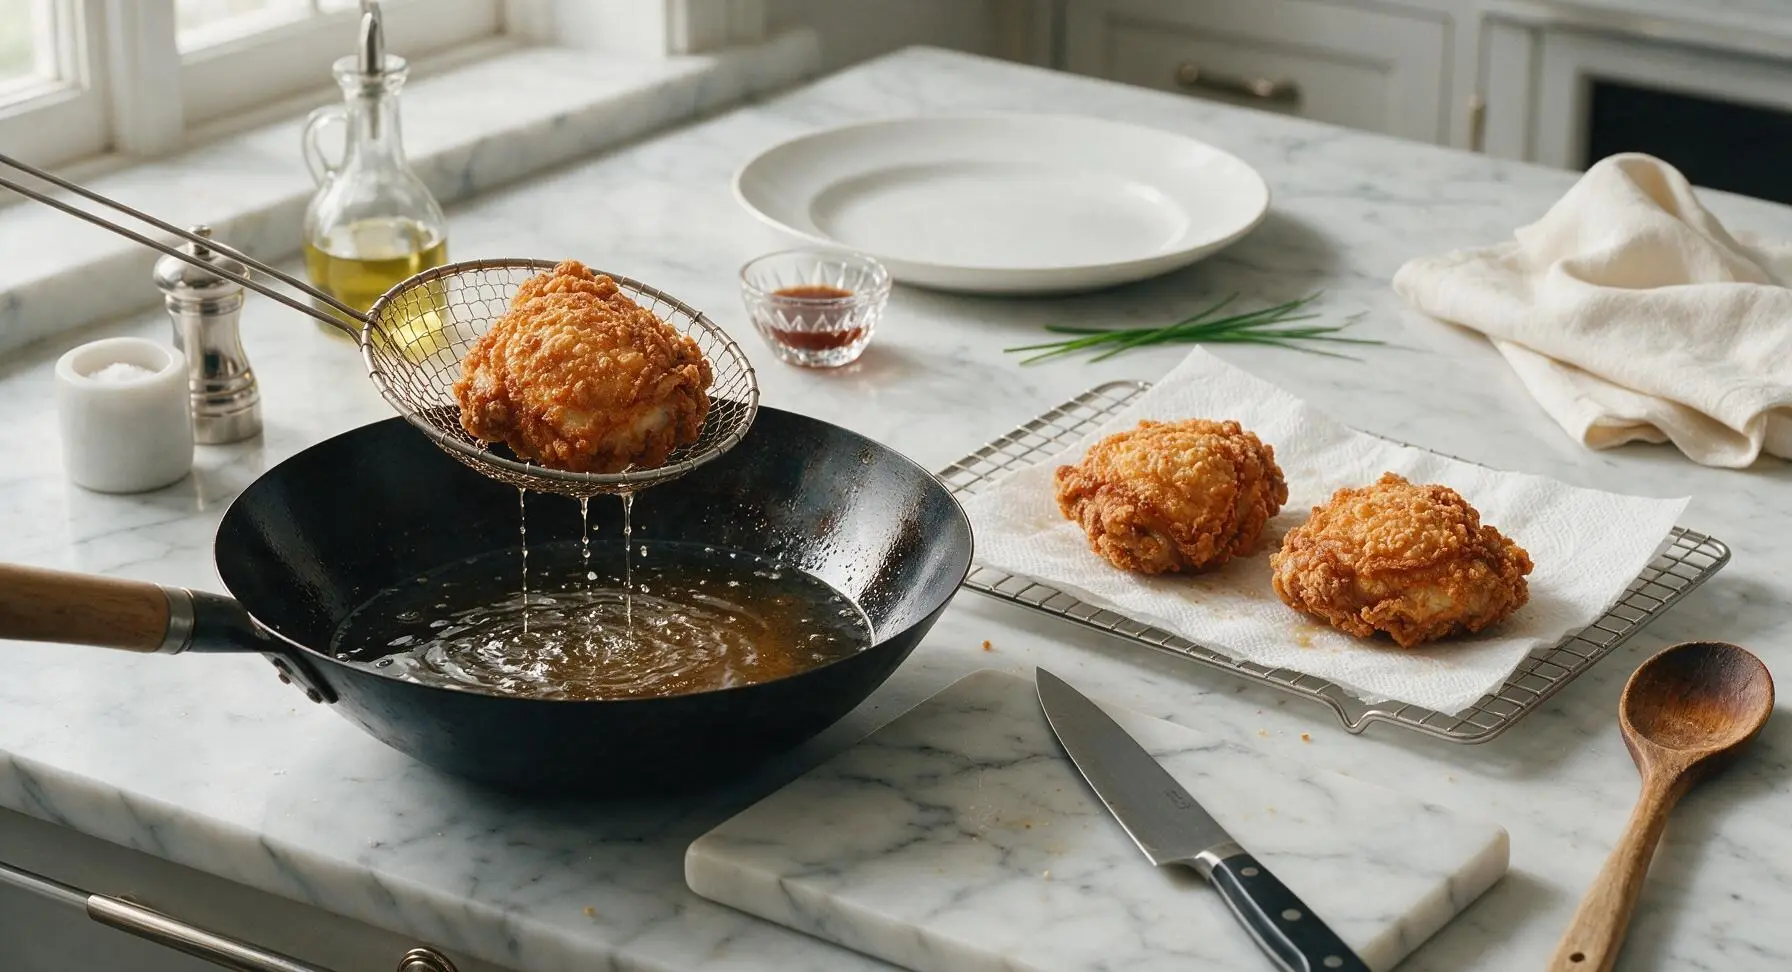
Use the mesh skimmer to lift cooked chicken pieces out of the oil, holding them above the wok for 3 seconds to let excess oil drain off, then transfer them to the paper towel-lined wire rack to the right of the wok. Do not stack the pieces while they rest; leave 2cm of space between pieces to let steam escape, which keeps the crust crisp. Let pieces rest for 2 minutes before serving — the crust will get even crispier as it cools slightly, rather than softening.
Tips
2.Skip egg wash or dairy milk in this batter: traditional Cantonese fried chicken batter uses no egg or milk, as these ingredients add moisture that softens the crust as it cools, preventing it from staying crisp for long periods. The starch and flour blend alone creates the signature shattery, long-lasting crunch.
3.For an extra-craggy, sauce-ready crust, use the double-dip method: after applying the first thin batter coat, let the chicken rest on the wire rack for 2 minutes until the batter looks slightly matte, then dip a second time in batter before frying. This creates extra textured ridges that hold onto salt and pepper seasoning, sweet and sour sauce, or spicy glaze without going soggy.






OMG this batter is a total game changer! I’ve been trying to nail that takeout-style crispy Cantonese fried chicken for YEARS and this was so easy to throw together. Made it for our Sunday family dinner last night and even my super picky 7 year old asked for seconds. The crunch stayed even after I tossed the chicken in a little sweet and sour sauce?! *Chef’s kiss*
SO good! 20 minute cook time is no joke, I knocked this out after work on a Tuesday no problem. The only thing I adjusted was adding a tiny pinch of five spice to the batter because I love that extra depth, but the base recipe is perfect as written. Will be adding this to my regular meal prep rotation for sure.
Really solid batter recipe! I messed up the first batch because I made my oil too hot so the crust burned before the chicken cooked through, but that was 100% my mistake. Second batch turned out perfectly crispy, paired great with garlic fried rice for a quick weeknight meal. Knocked a star off only because I wish the recipe had a note about optimal oil temp, but otherwise it’s fantastic!
Wait hold on, I grew up eating my popo’s Cantonese fried chicken and I was skeptical a random online batter recipe could hit, but this is dead on? The crunch is that perfect shattery kind, not that thick heavy breading you get at fast food places. Brought a batch to my friend’s game night and everyone was begging for the link.
My kids loved it!!! I’ve been struggling to find dinner ideas that don’t end with them pushing food around their plates, and they devoured every last bite of chicken made with this batter. I used chicken tenders so they were easy for little hands to hold, 10/10 will make again for our next neighborhood cookout.
Total home run. I usually buy pre-made fried chicken from the grocery store for meal prep but this was way cheaper, tasted better, and the cleanup was way less than I expected. The batter doesn’t clump up if you whisk it slow, which I appreciated as someone who’s definitely not a pro cook.
This was super easy to make! Only reason I’m not giving 5 stars is I wish the recipe noted what oil is best to use for frying. I used canola and it turned out fine, but I was wondering if peanut oil would give it a more authentic takeout taste? The crunch was still chef’s kiss even with canola, don’t get me wrong.
Game. Changer. I tested this batter out tonight after seeing it pop up on my feed, and wow — that crispy shattery crust is exactly what I’ve been chasing from my local Cantonese takeout spot. It was so easy too, I didn’t even have to run to the store for special ingredients, I had everything in my pantry already. Already texted the recipe to my roommate and my mom, they’re gonna lose it when I make this for our Sunday potluck.
Wait y’all I’m literally mid-fry right now and the smell alone is incredible. I’ve tried so many fried chicken batter recipes that come out soggy 10 minutes after frying, but the test piece I pulled out is CRUNCHY. Like, loud crunch when I bit into it. So excited to plate this for my date night in tonight!
Super easy recipe, worked exactly as advertised. I used this batter for fried cauliflower too for my vegan cousin at our family dinner last weekend and it came out just as crispy as the chicken. Absolute keeper recipe, will be making this on repeat all summer.