
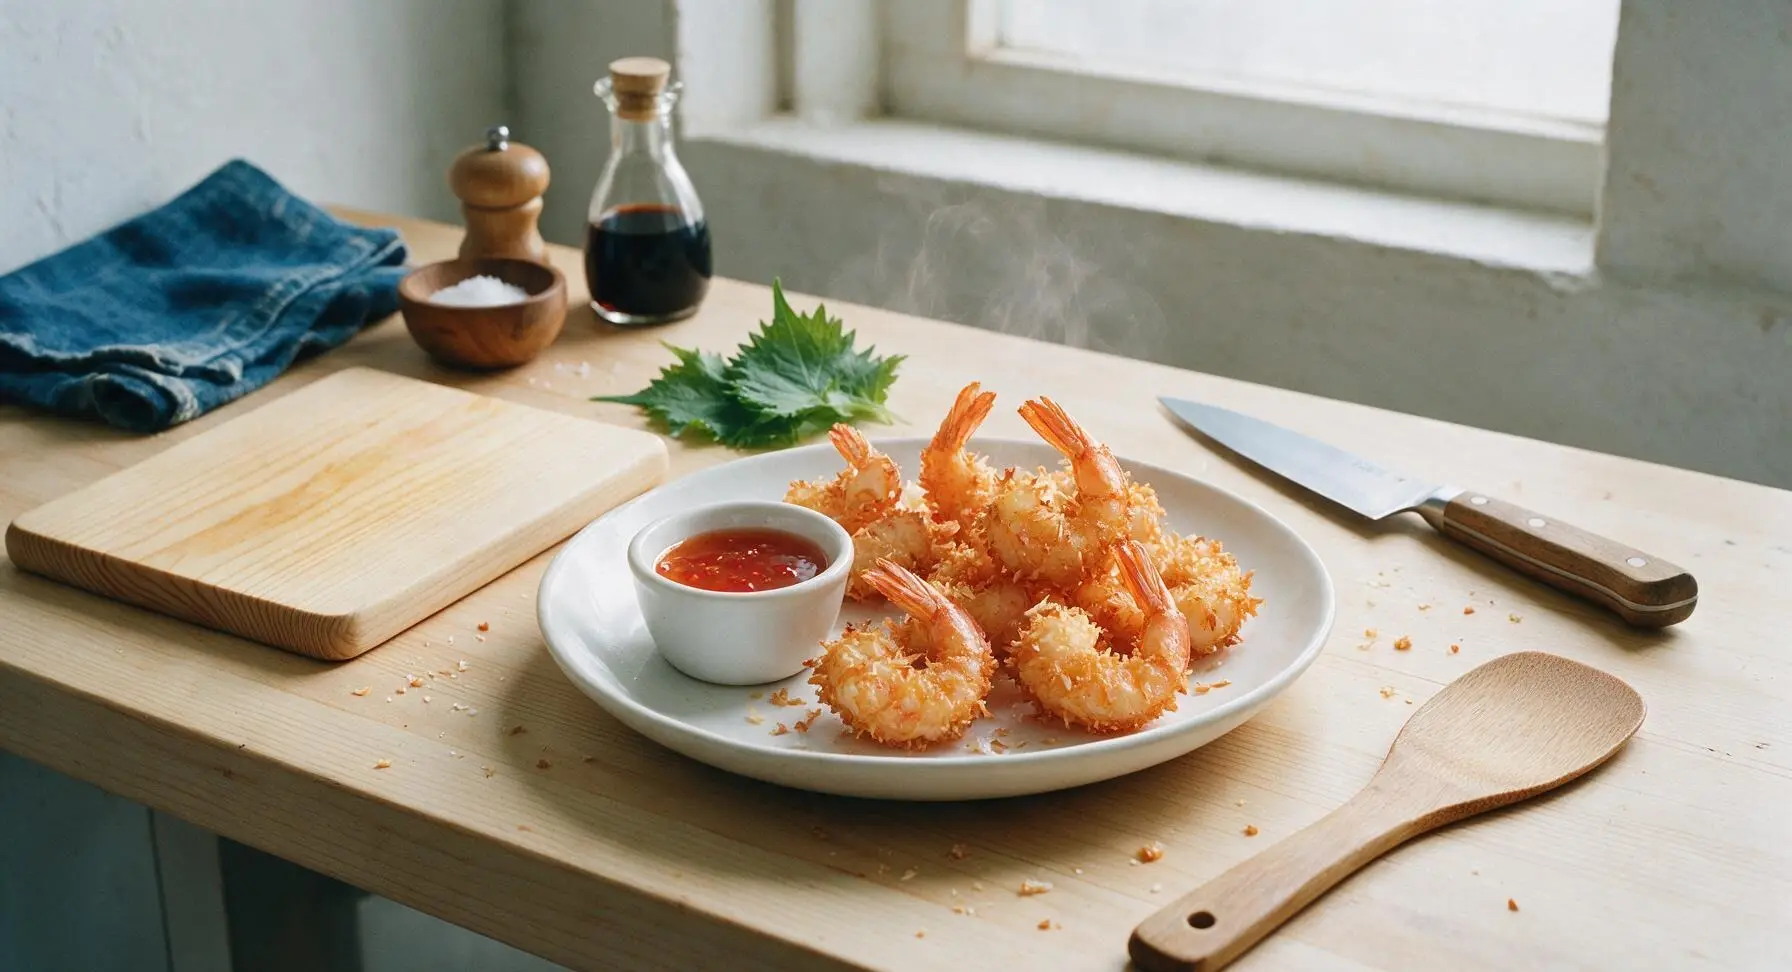
coconut shrimp

title 1
coconut shrimp
⏱️ cook time 10 minutes
🍽️ servings 4
⚡ Difficulty easy

intro

Shatteringly crisp golden coconut crust wrapped around sweet, juicy tail-on shrimp, served with tangy sweet chili dip for a bright, shareable tropical bite.

Ingredients
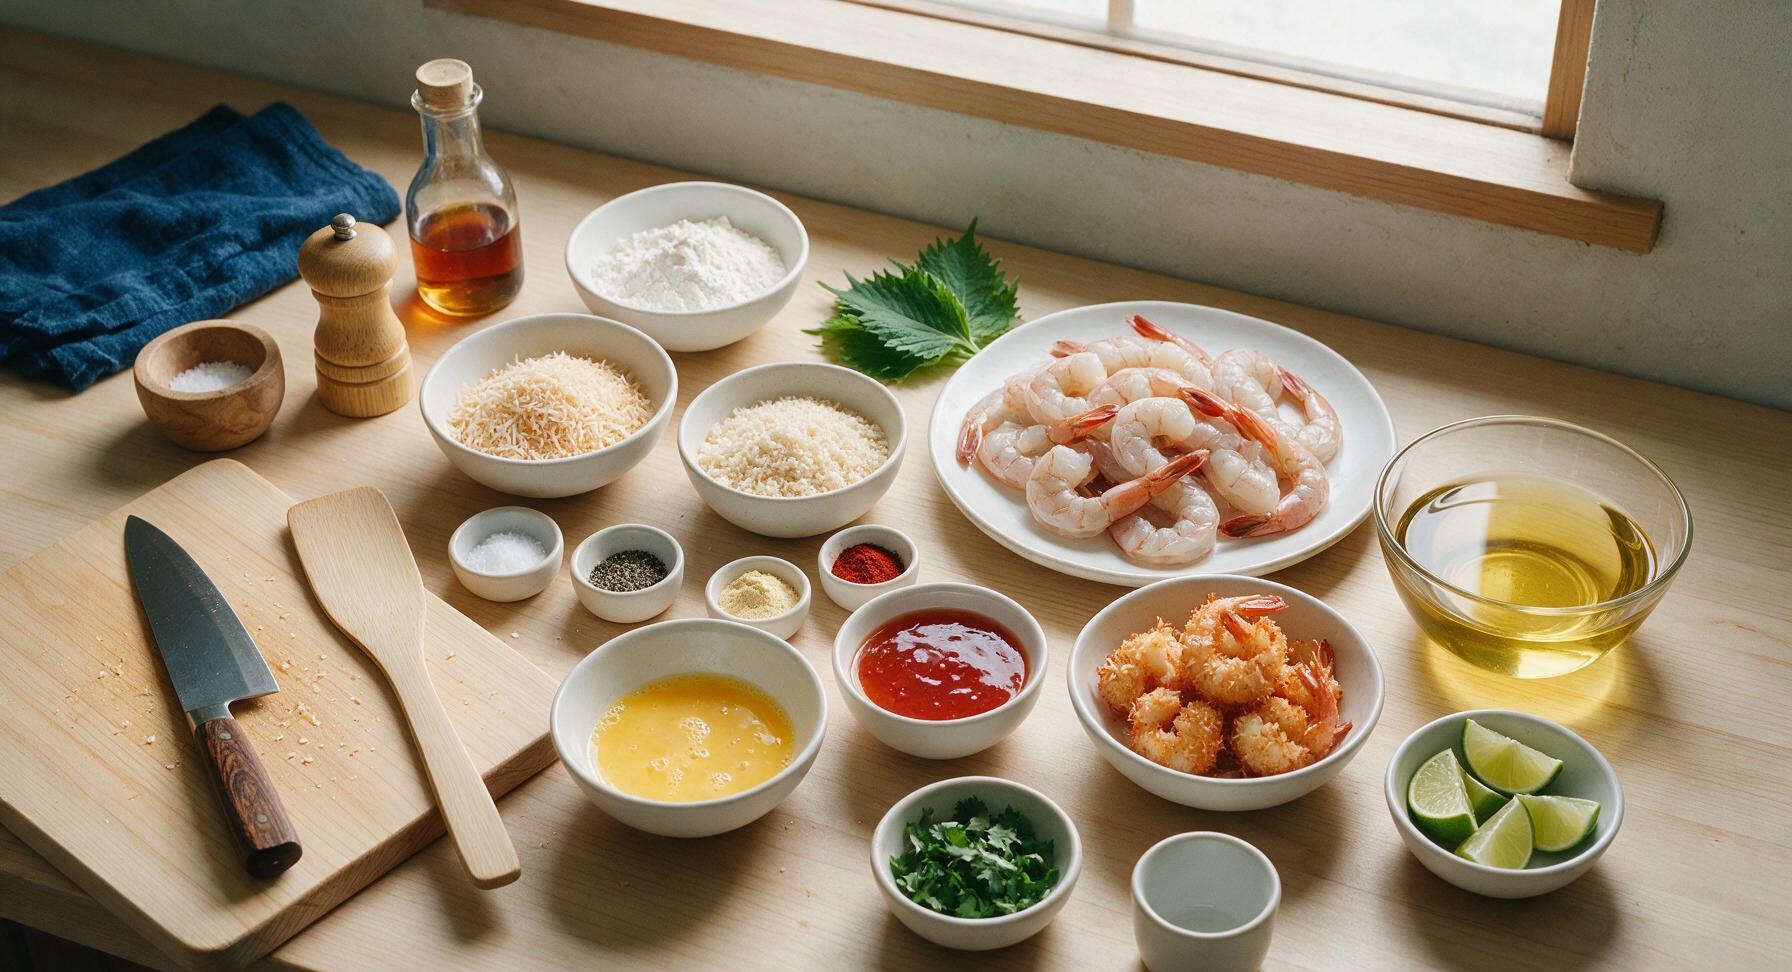
Large raw shrimp (16/20 count, peeled, deveined, tail-on) 1 lb (450g)
All-purpose flour ½ cup
Large eggs 2, beaten
Unsweetened shredded coconut 1 ½ cups
Panko breadcrumbs ½ cup
Kosher salt 1 tsp
Freshly ground black pepper ½ tsp
Garlic powder ½ tsp
Smoked paprika ¼ tsp
Neutral frying oil (avocado or canola) 2 cups
Sweet chili sauce ½ cup
Fresh lime 1, cut into wedges
Fresh cilantro 2 tbsp, chopped

Steps

1

Prep and Pat Shrimp Dry

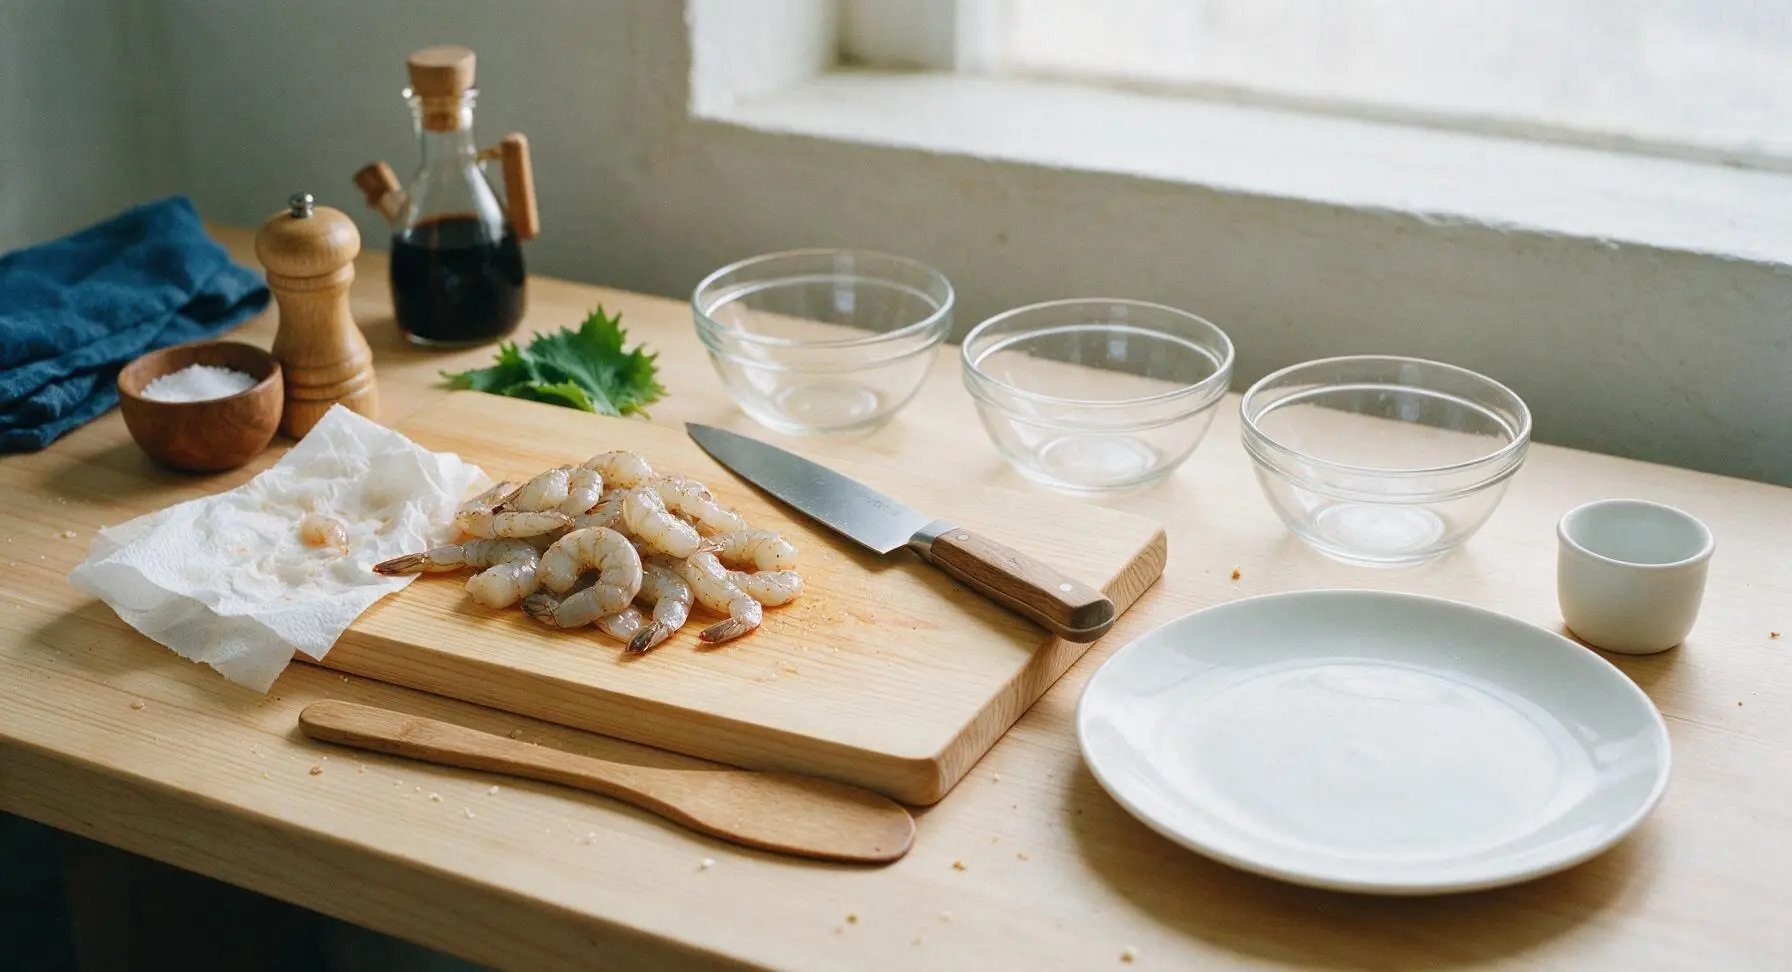
Start with fully thawed 16/20 count shrimp, peeled and deveined with tails left intact. Pat shrimp completely dry on all sides with paper towels—any surface moisture will make the breading soggy and prevent crisping. Season shrimp evenly with ½ tsp kosher salt, ¼ tsp freshly ground black pepper, and ¼ tsp smoked paprika, tossing gently to coat. Let rest 5 minutes at room temperature to allow seasoning to penetrate.
Step 1
step1:Prep and Pat Shrimp Dry
2

Arrange Breading Station

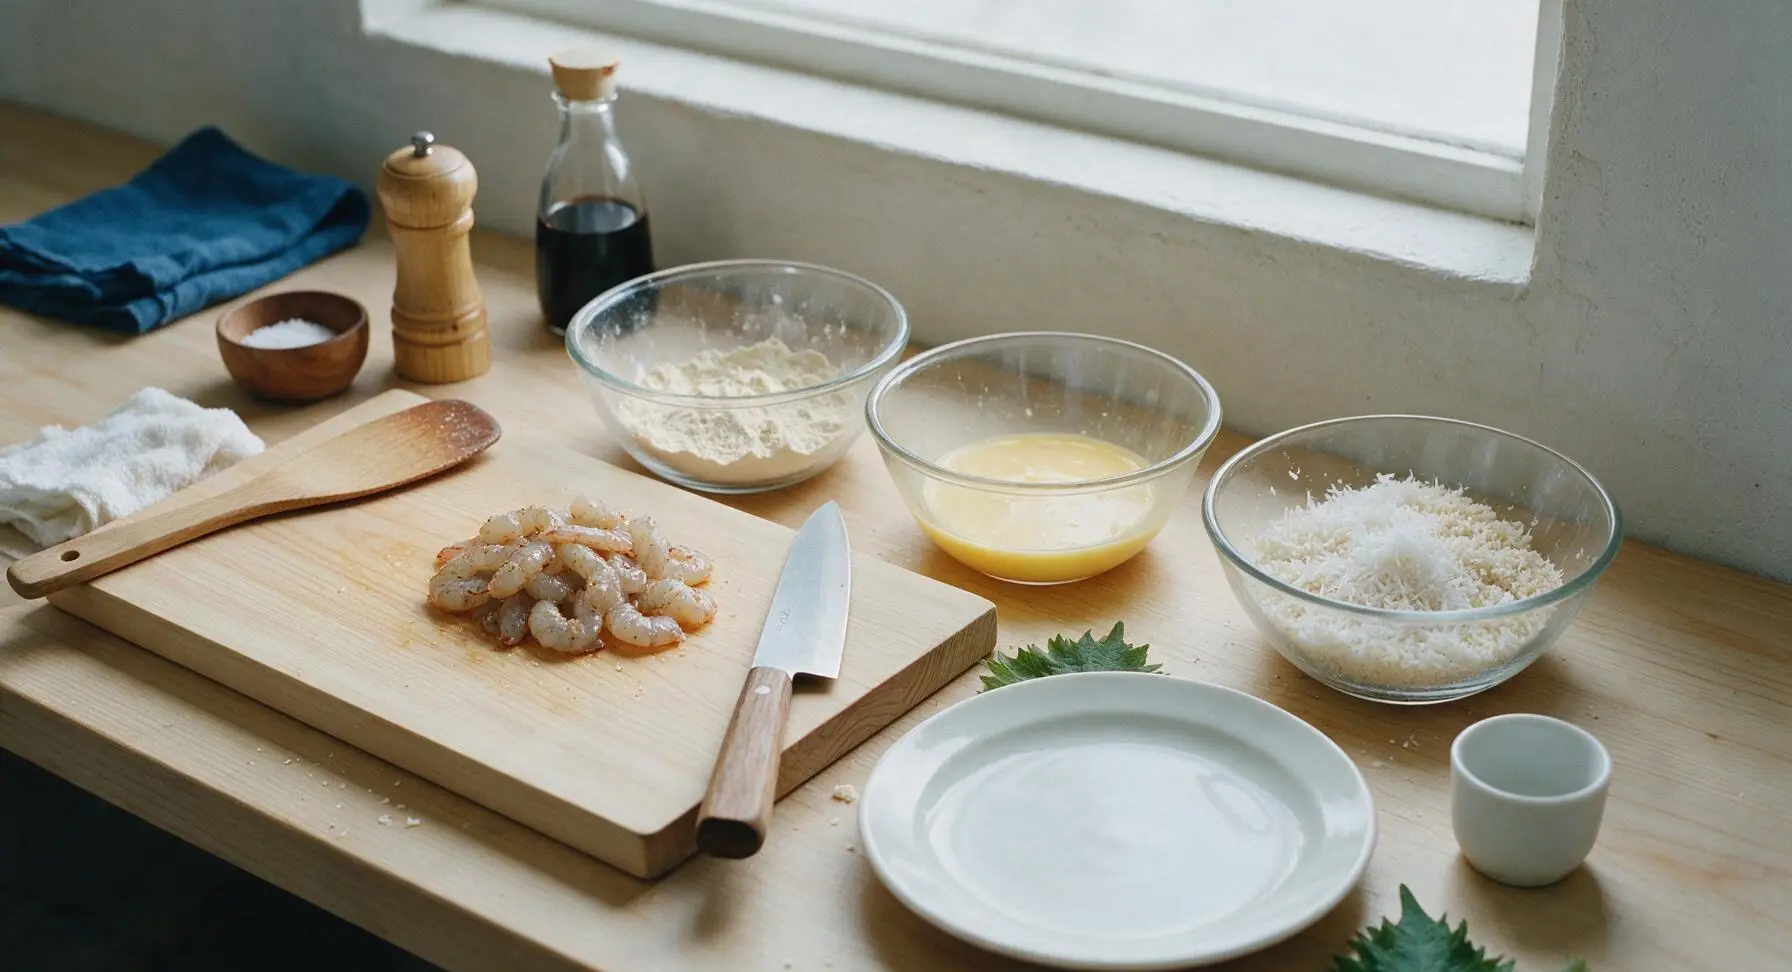
Line up the three clear shallow glass bowls in a left-to-right assembly line on the counter adjacent to the cutting board. In the first bowl, mix ½ cup all-purpose flour with the remaining ½ tsp kosher salt, ¼ tsp black pepper, and ½ tsp garlic powder, stirring to combine evenly. In the second bowl, whisk 2 large eggs until completely smooth with no visible streaks of egg white. In the third bowl, stir together 1 ½ cups unsweetened shredded coconut and ½ cup panko breadcrumbs until fully mixed.
Step 2
step2:Arrange Breading Station
3

Dredge Shrimp in Flour

Working one shrimp at a time, hold the shrimp by its exposed tail and dip it fully into the seasoned flour, turning to coat every surface except the tail. Gently shake off all excess flour over the bowl, leaving only a thin, even dusting—thick clumps of flour will create a gummy layer under the coconut coating. Set floured shrimp on a clean section of the beech cutting board as you work.
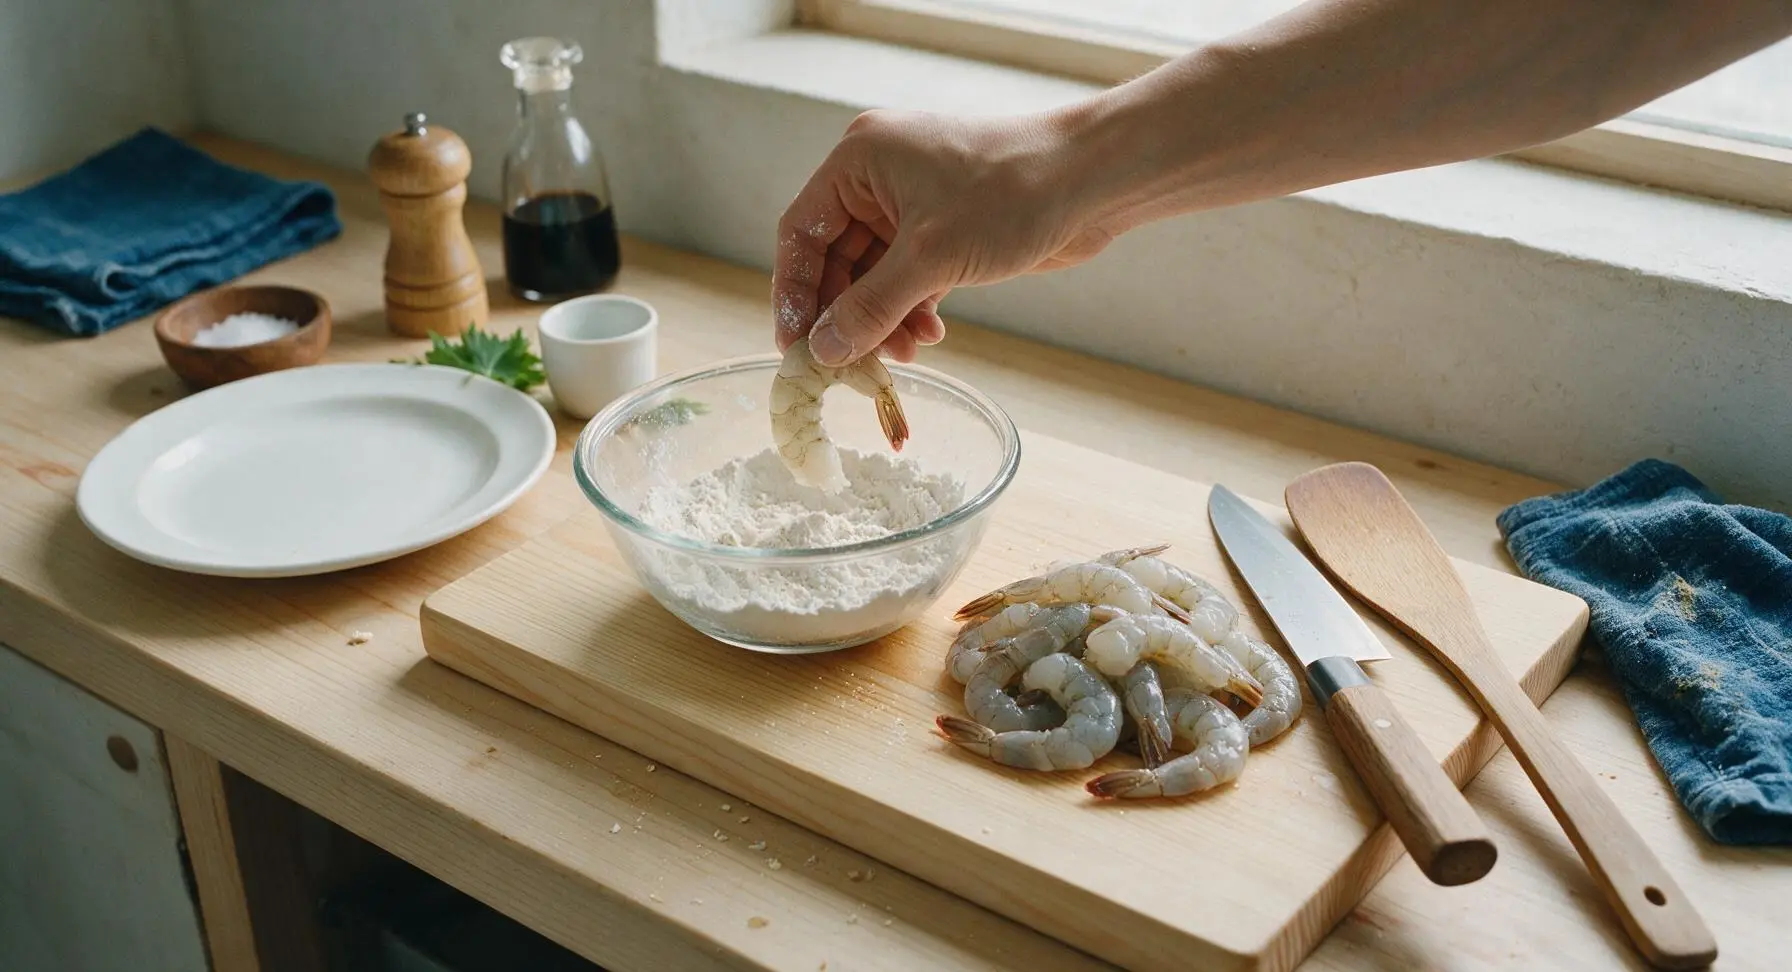
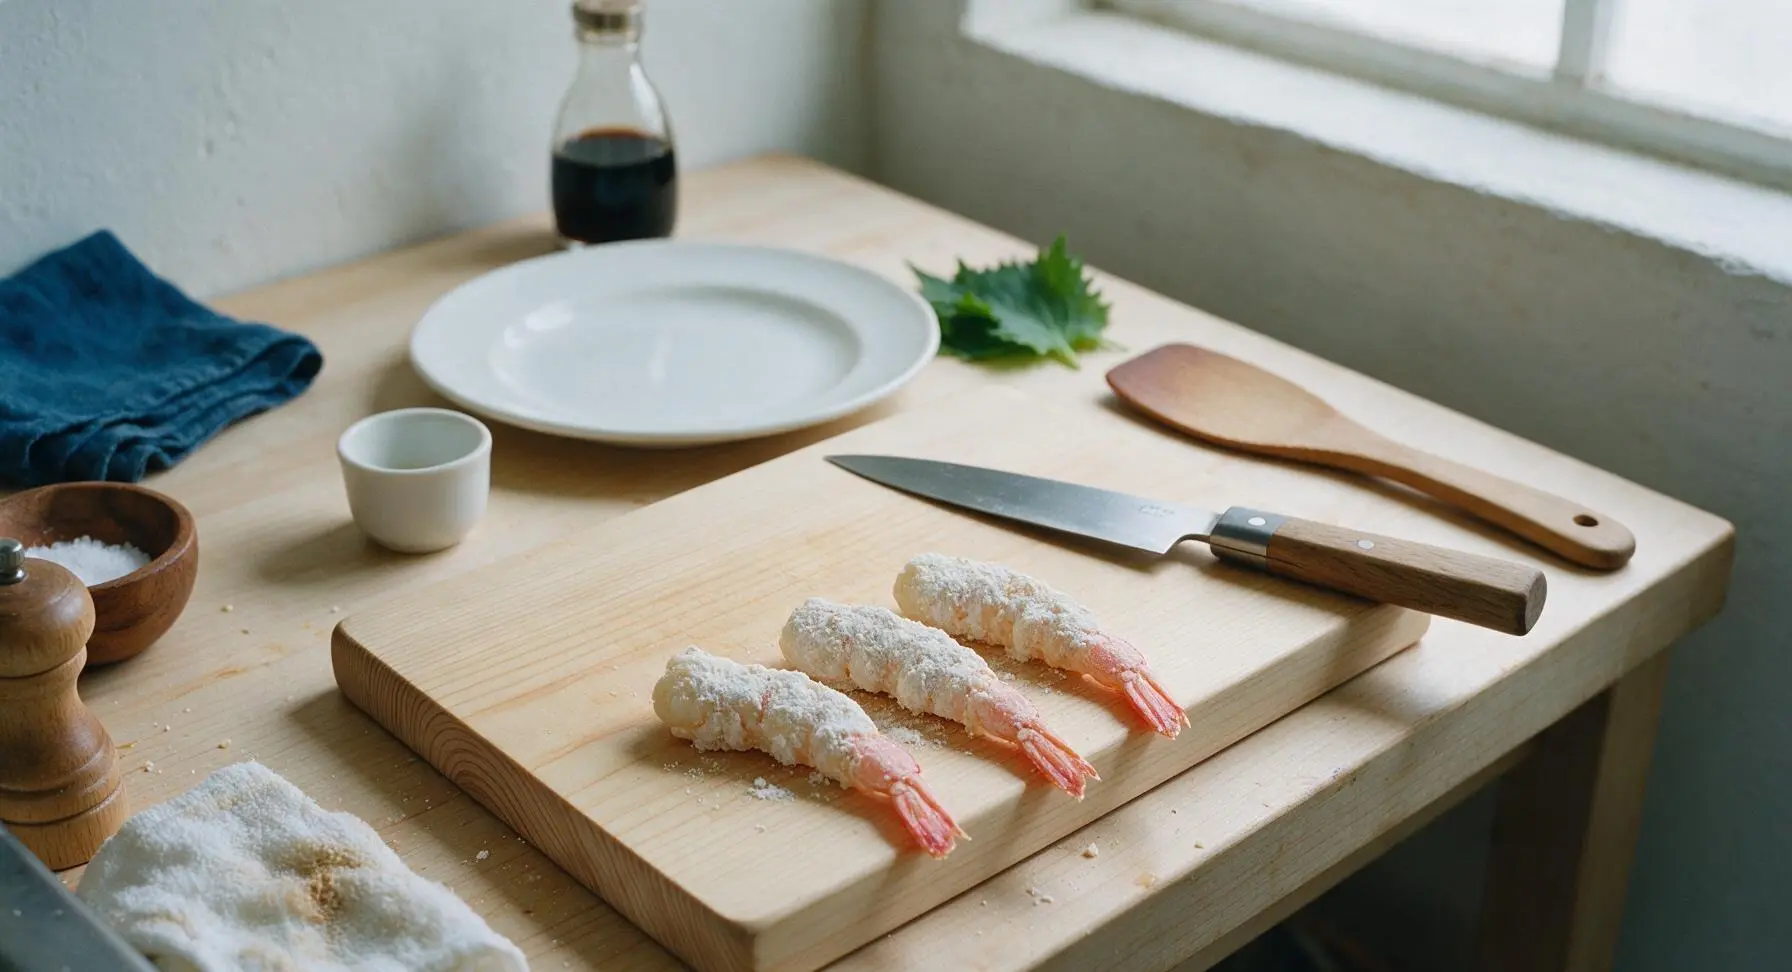
Step 3
step3:Dredge Shrimp in Flour
Step 3
step3:Dredge Shrimp in Flour
4

Coat with Coconut Panko

Take each floured shrimp and dip it fully into the beaten egg, holding it over the bowl for 2 seconds to let excess egg drip off. Immediately transfer the shrimp to the coconut-panko mixture, pressing firmly with your fingertips to pack the coating onto every surface (leaving the tail uncoated). Press hard enough to make the coconut flakes adhere, so they do not fall off during frying. Set fully coated shrimp back on the cutting board, and let rest 5 minutes before frying to let the coating set.
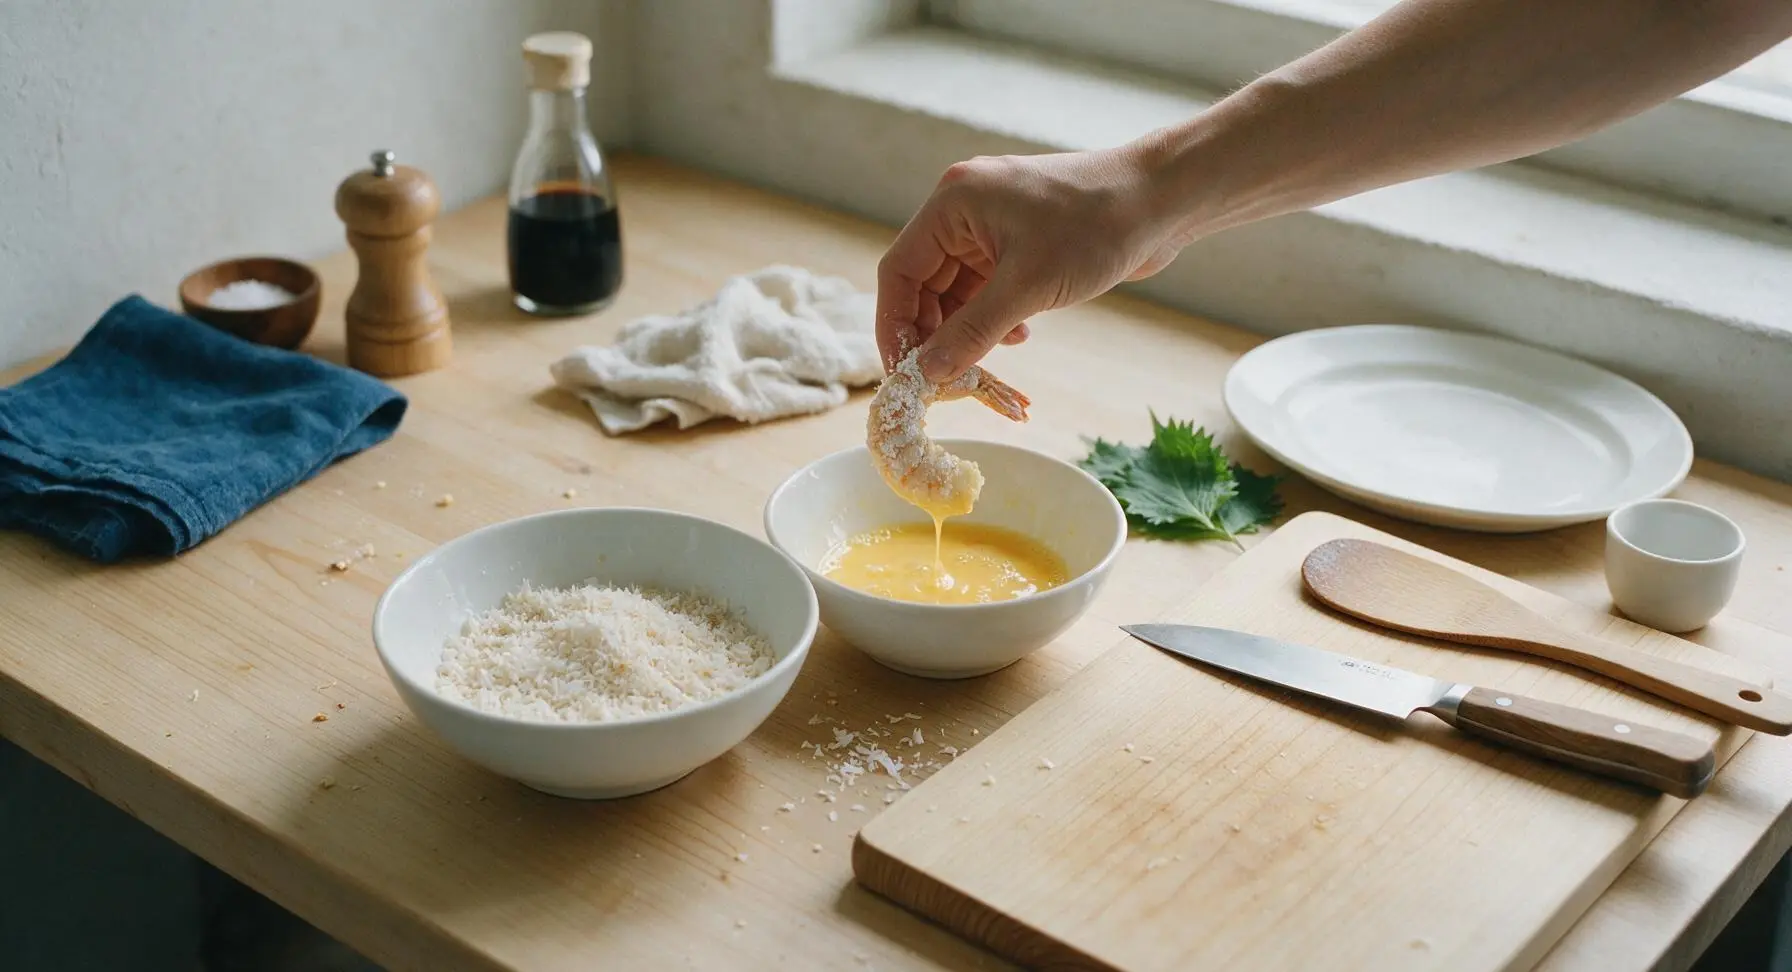
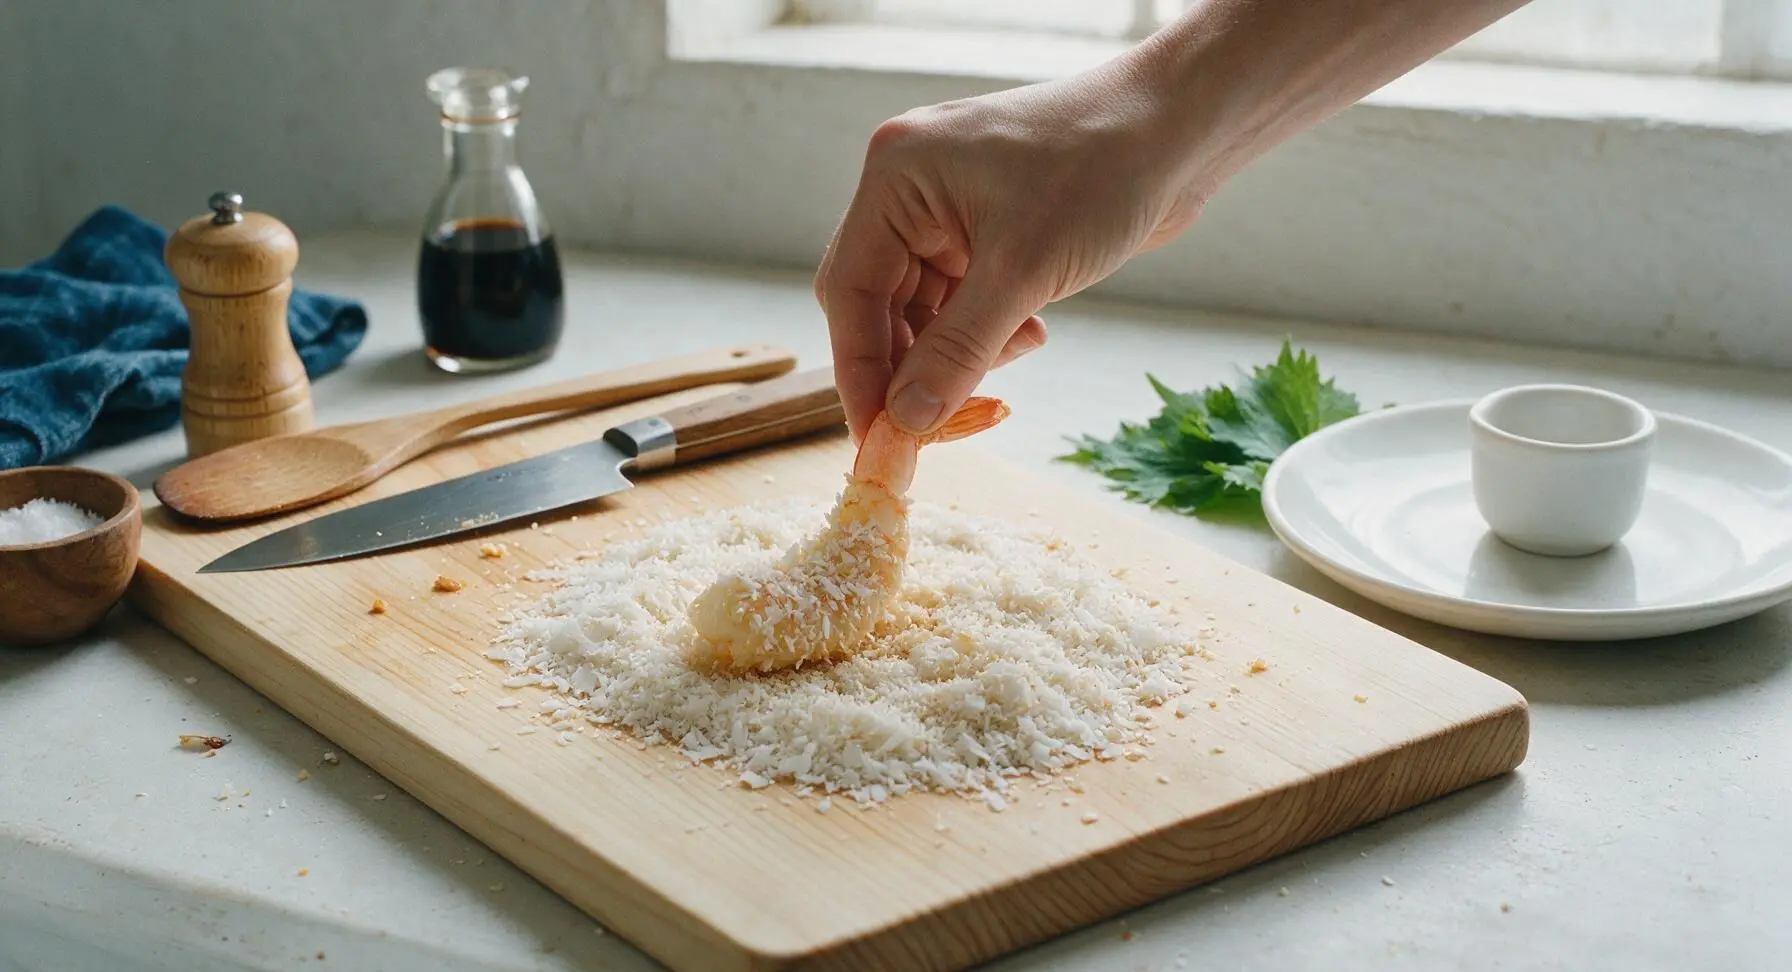
Step 4
step4:Coat with Coconut Panko
Step 4
step4:Coat with Coconut Panko
5

Heat Oil for Frying

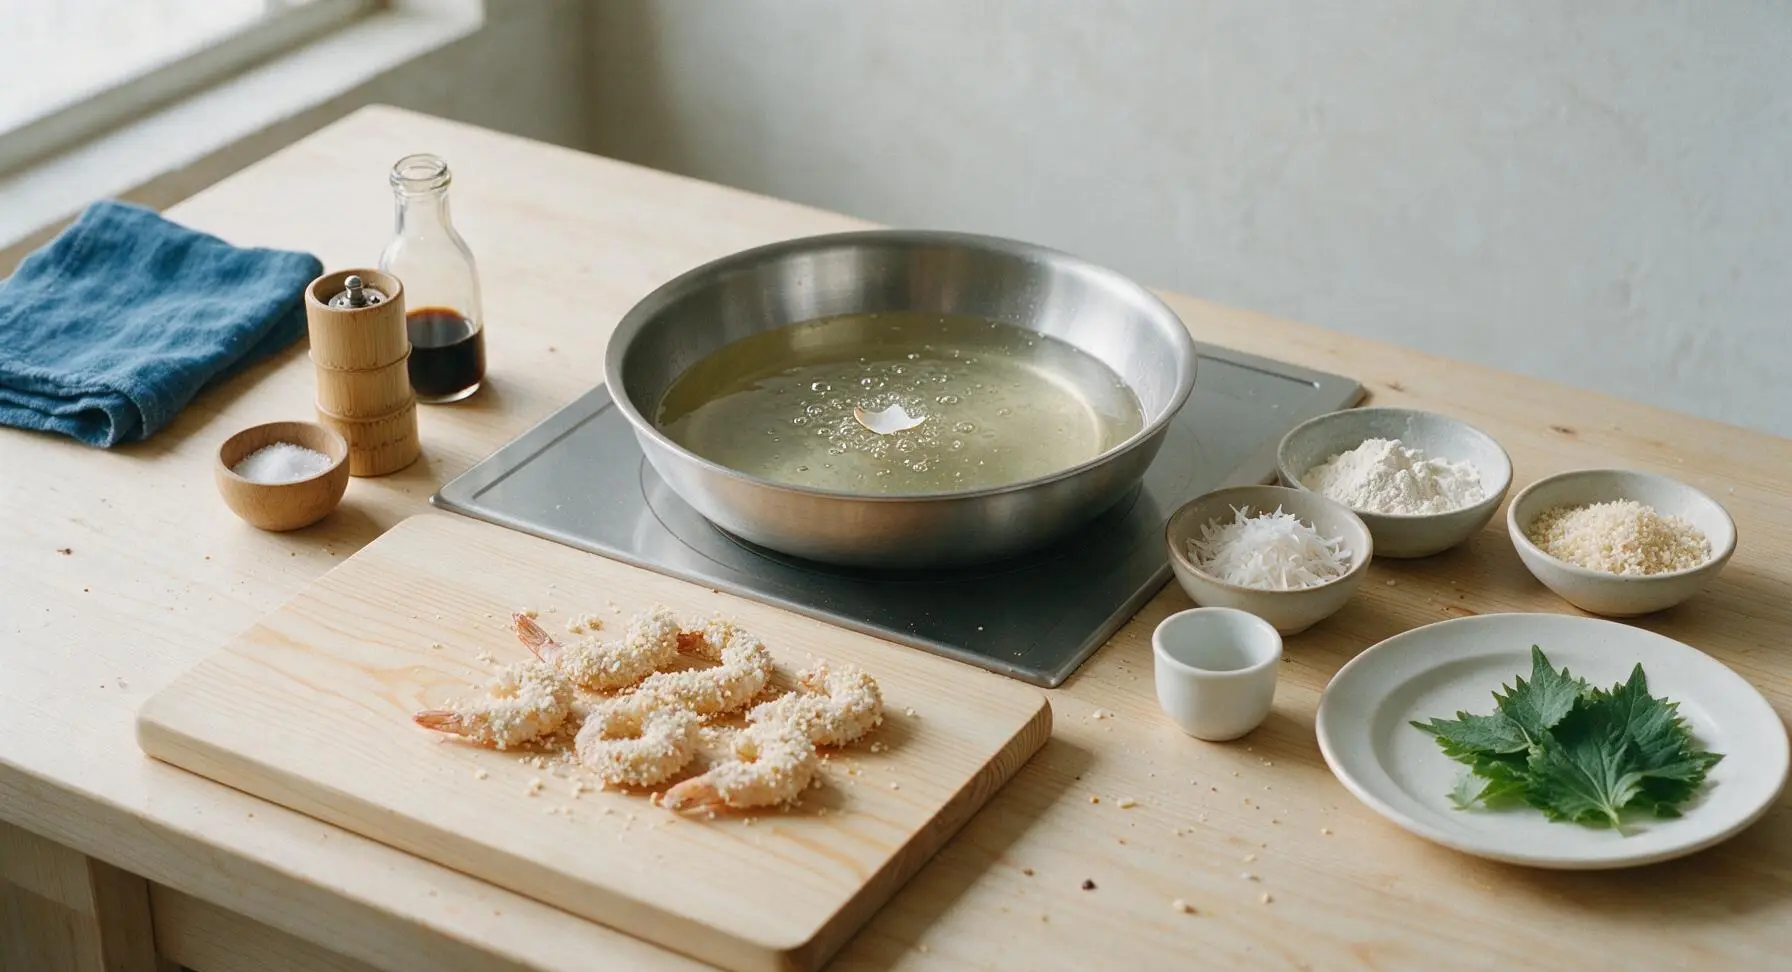
Place the 22cm brushed stainless steel deep skillet on the flush induction cooktop, and pour in 2 cups of neutral frying oil. Heat oil over medium heat until it reaches a steady 350°F (175°C), measured with a candy thermometer if available. Test oil readiness by dropping a single shred of coconut into the oil: it should sizzle immediately, rise to the surface, and turn pale golden in 3 seconds—if it burns instantly, the oil is too hot; if it sinks with no bubbles, the oil is too cold.
Step 5
step5:Heat Oil for Frying
6

Fry Shrimp in Batches

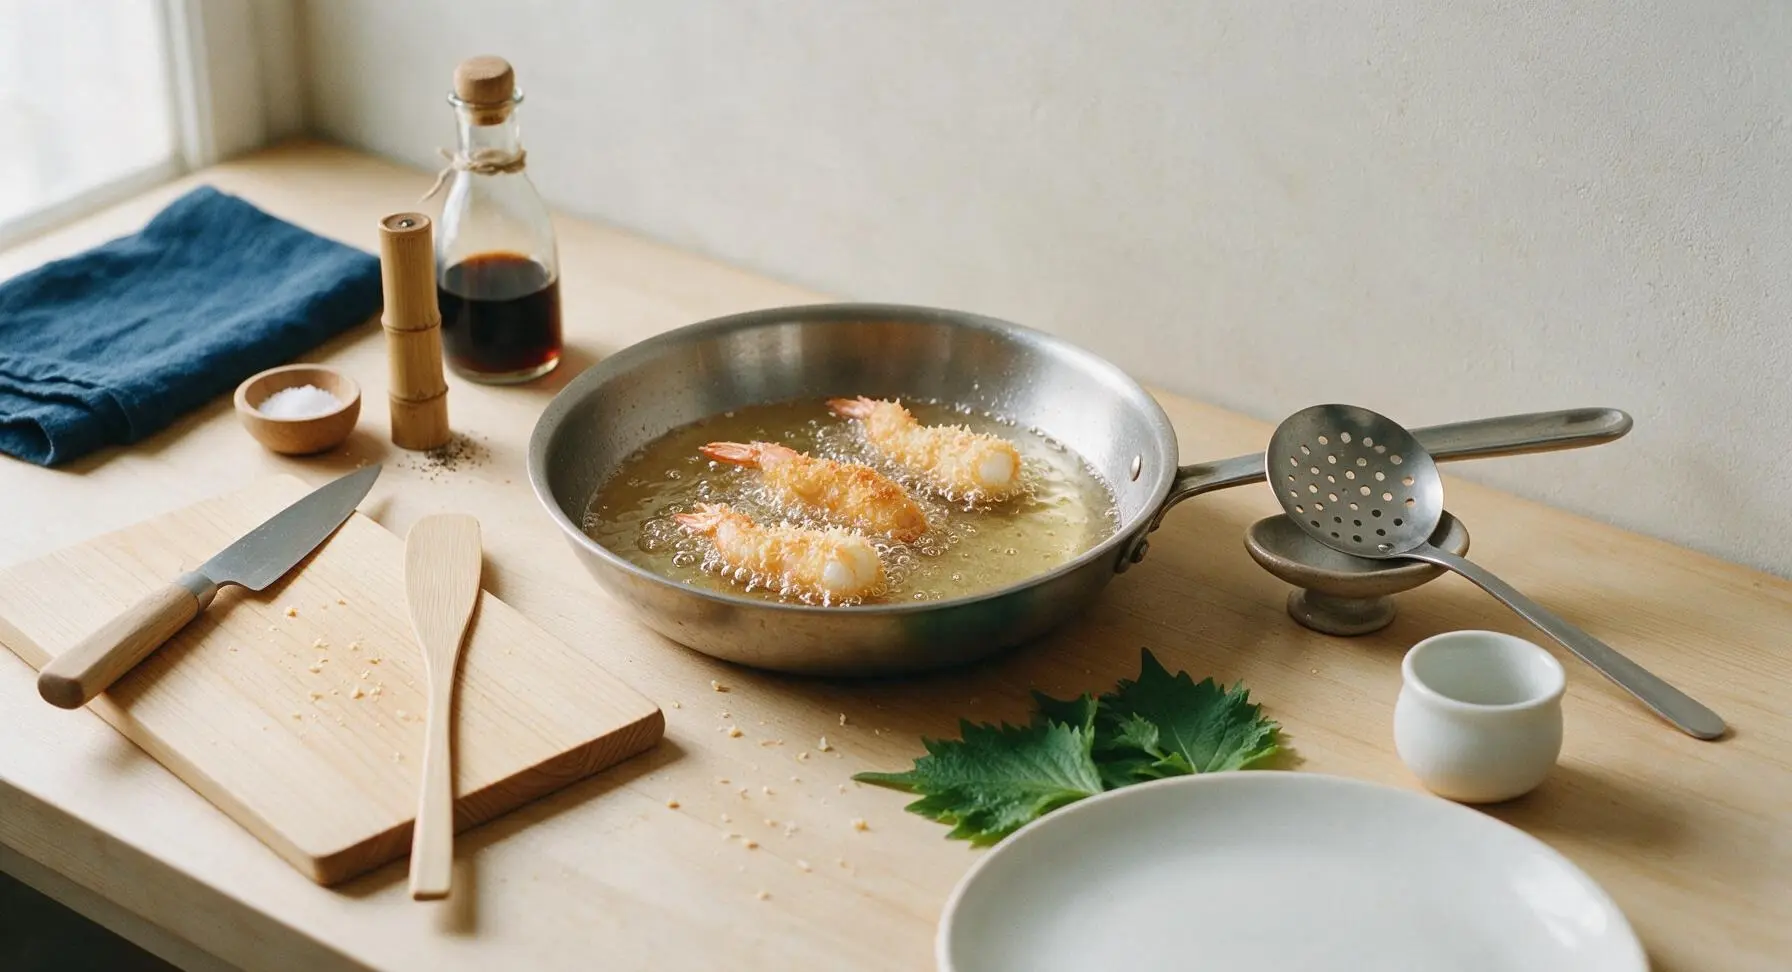
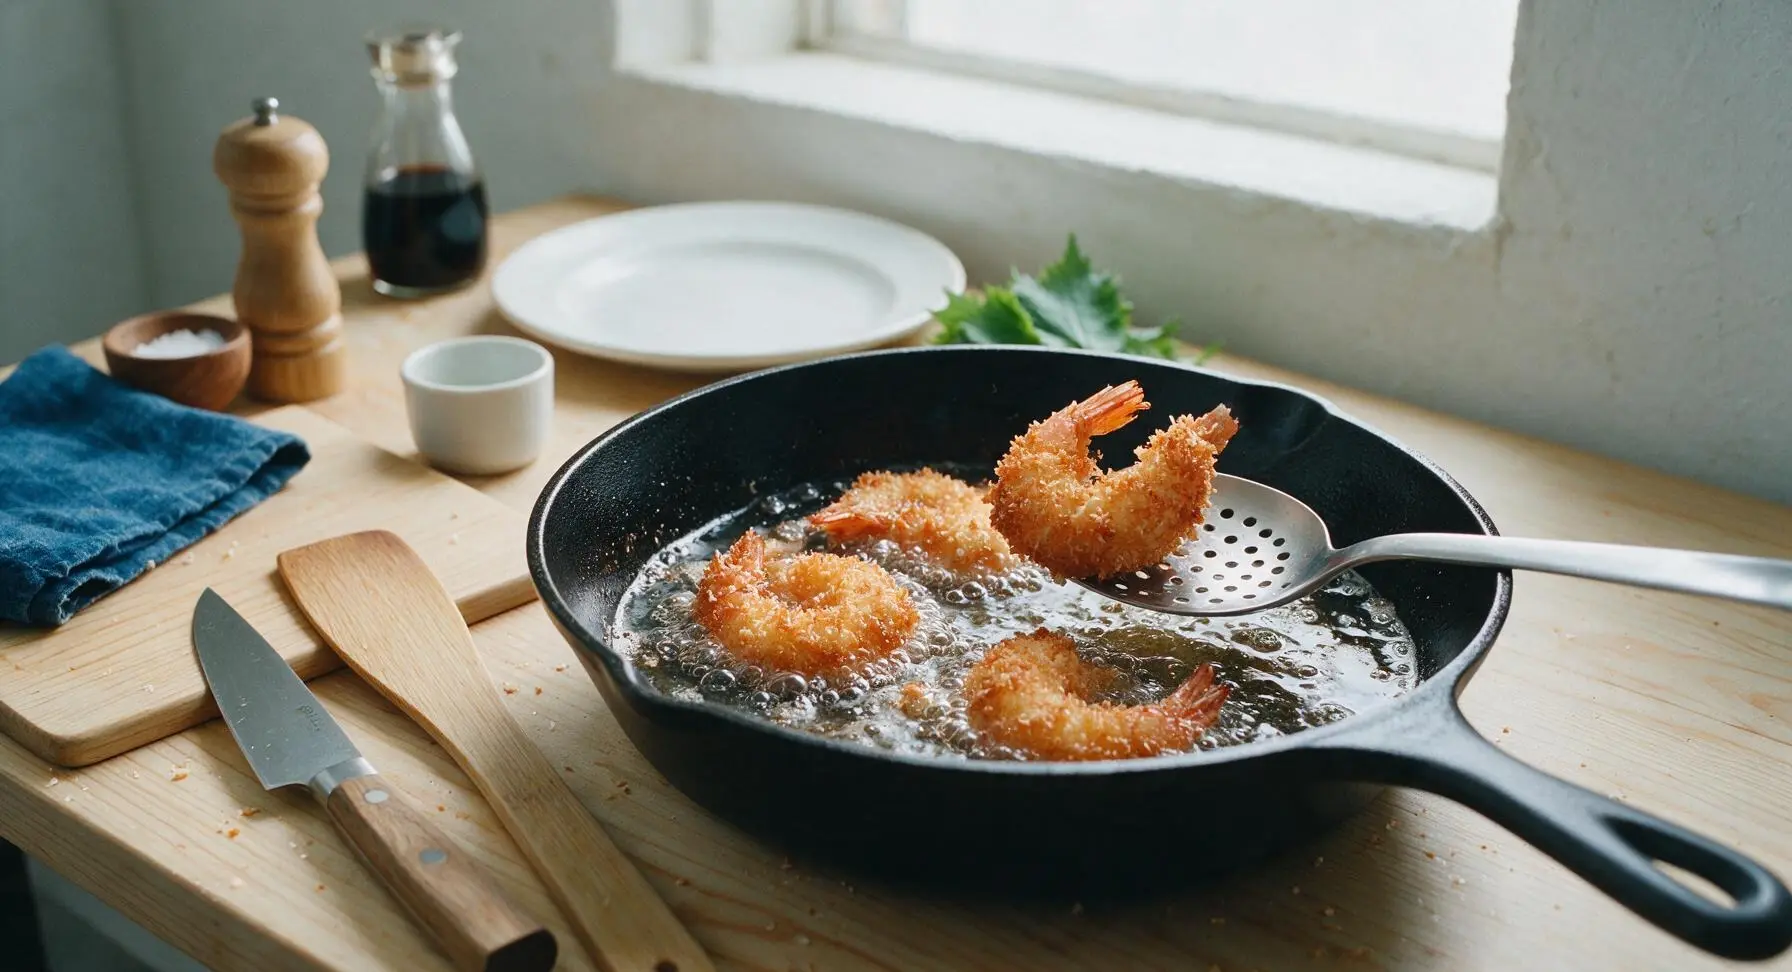
Carefully lower 3-4 coated shrimp into the hot oil at a time, taking care not to splash hot oil. Never overcrowd the pan, as this will drop the oil temperature rapidly and result in soggy, greasy shrimp. Fry for 2 to 2.5 minutes total, using the slotted spoon to flip each shrimp halfway through cooking, until the coconut crust is a uniform deep golden brown and the shrimp flesh is opaque white.
Step 6
step6:Fry Shrimp in Batches
Step 6
step6:Fry Shrimp in Batches
7

Drain Excess Oil

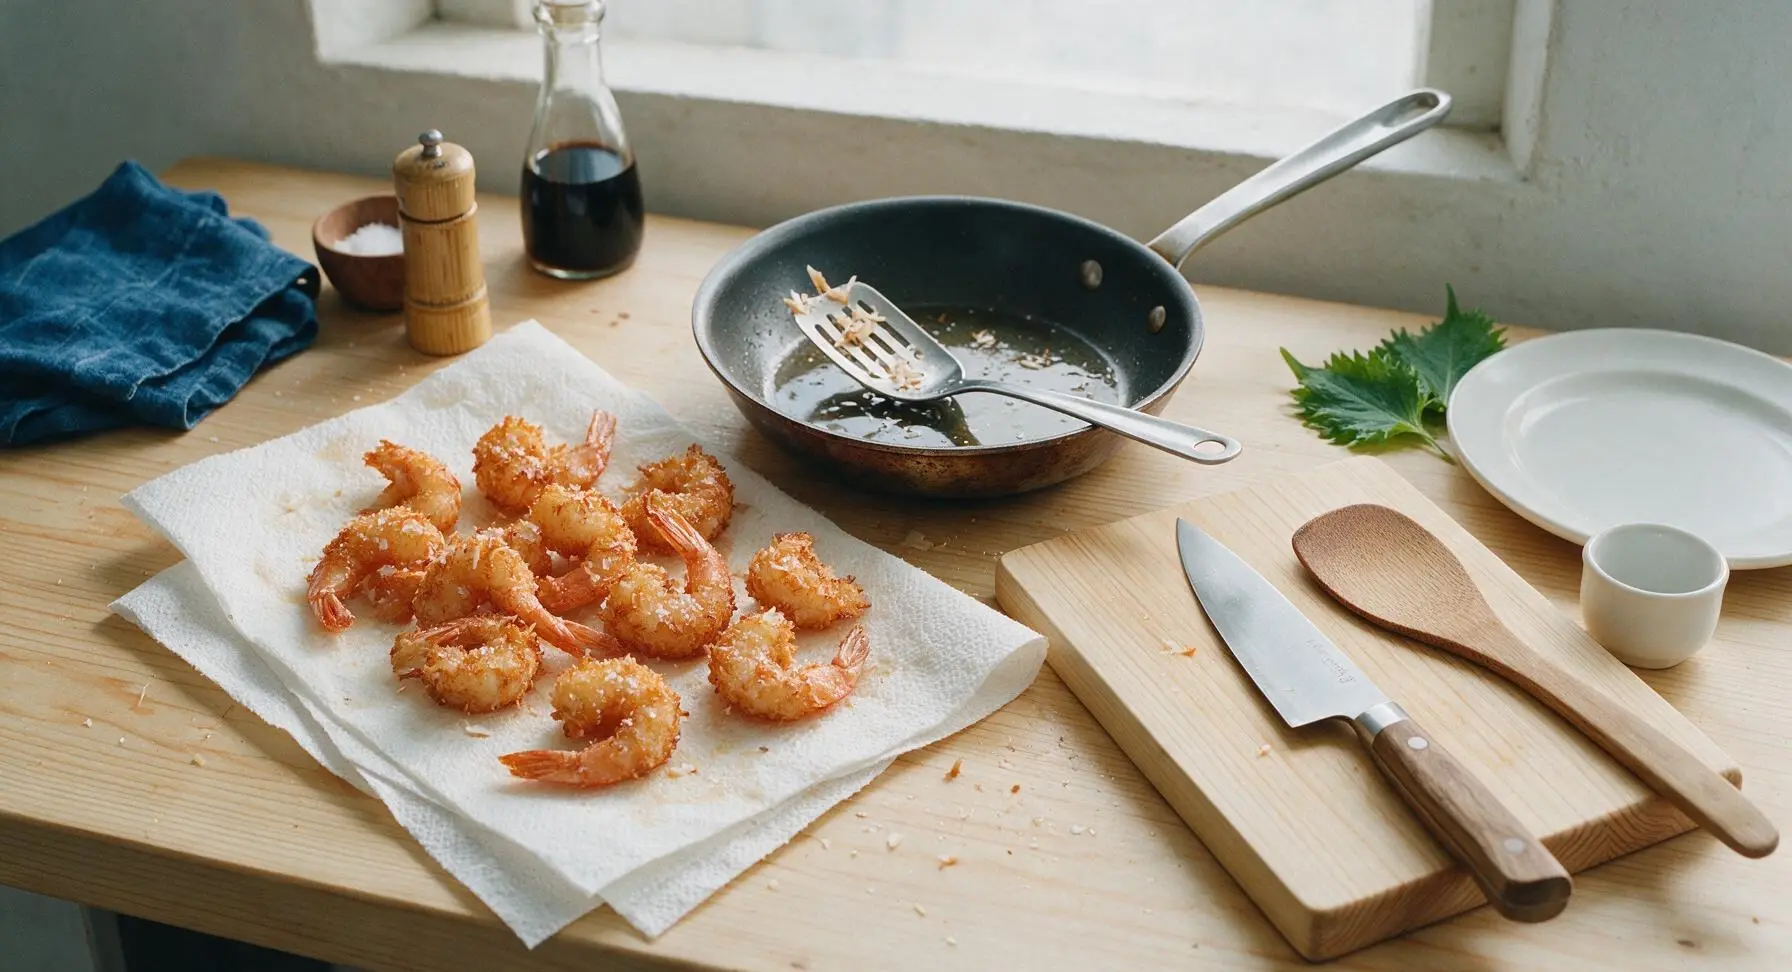
Once cooked, lift shrimp from the oil with the slotted spoon, holding them over the skillet for 3 seconds to let excess oil drip back into the pan. Transfer shrimp to a double layer of unbleached paper towels to drain for 1 minute, and immediately sprinkle with a tiny pinch of flaky sea salt while the surface is still hot and oil is glistening—this helps the salt stick.
Step 7
step7:Drain Excess Oil
8

Plate and Garnish

Arrange the drained, crispy shrimp in a loose, casual pile on the wide-rimmed matte cream ceramic dinner plate. Fill the small 8cm terracotta bowl with ½ cup sweet chili sauce and nestle it on the plate beside the shrimp. Tuck 2-3 lime wedges around the pile, and sprinkle 2 tbsp of chopped fresh cilantro lightly over the shrimp. Serve immediately, while the crust is shatteringly crisp and the shrimp is tender and juicy.
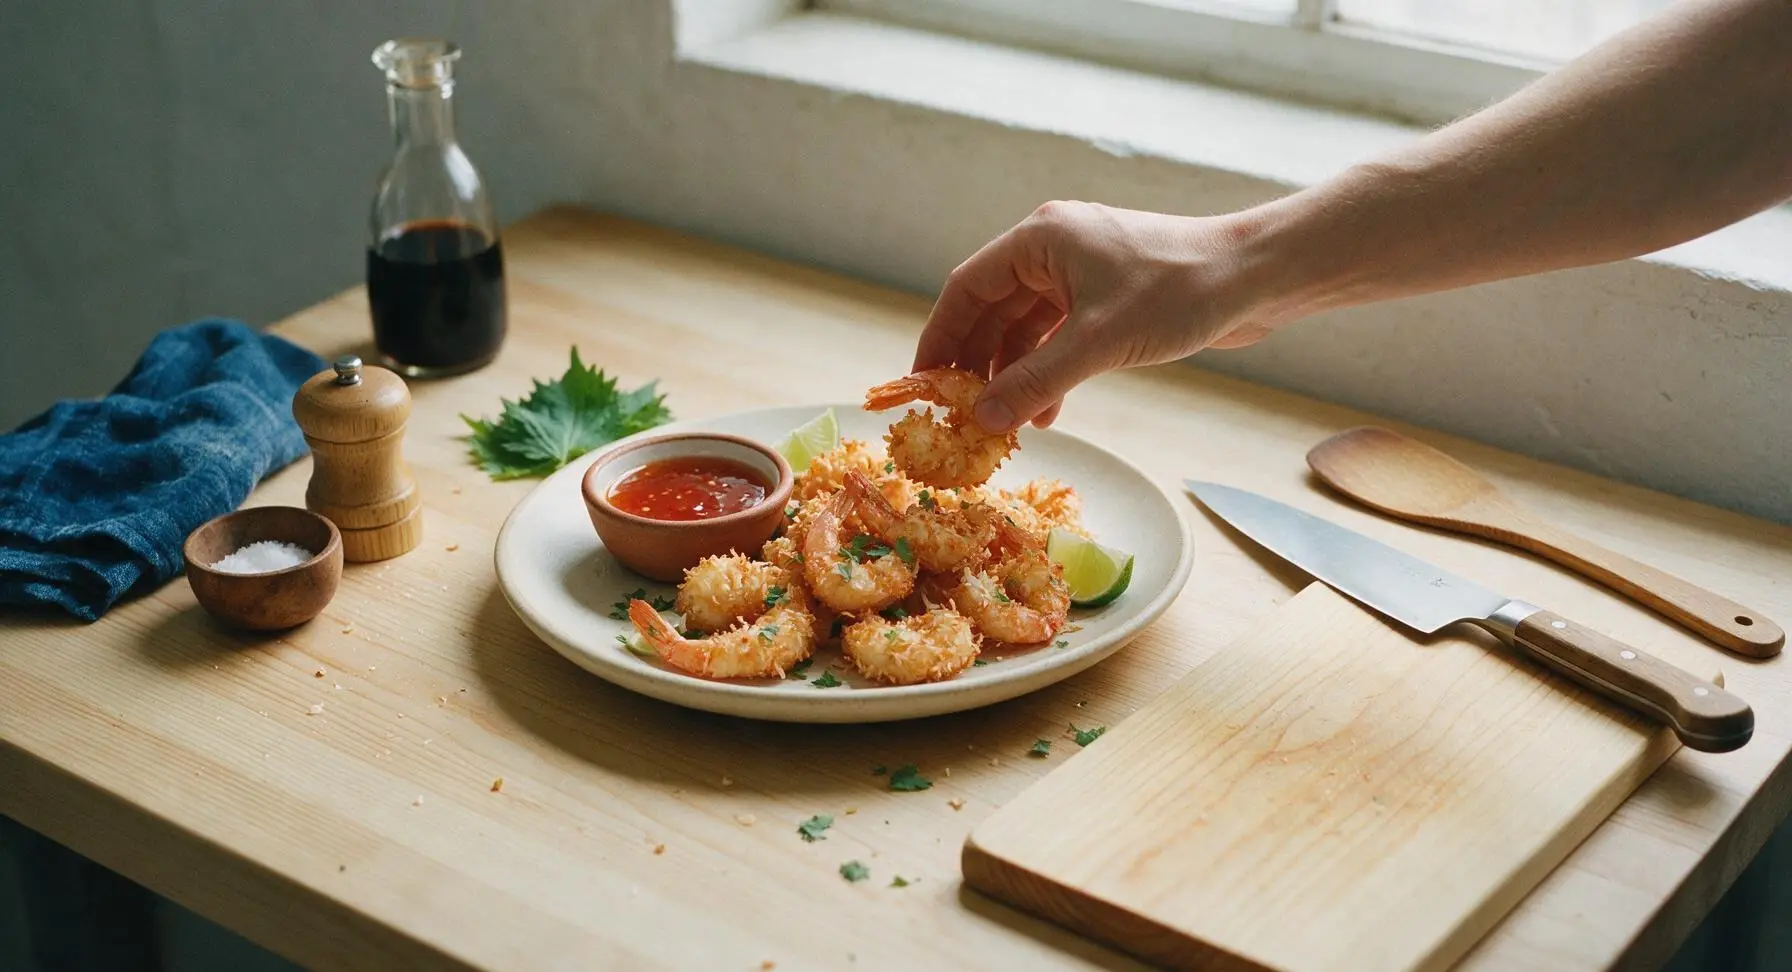
Step 8
step8:Plate and Garnish

Tips

1.Use unsweetened shredded coconut instead of sweetened: sweetened coconut is coated in added sugar that burns rapidly at 350°F, leading to a dark, bitter crust before the shrimp cooks through, while unsweetened coconut toasts slowly to a perfect golden, nutty crust.
2.Let coated shrimp rest 5 minutes before frying: this short rest allows the flour and egg to bind tightly to the coconut flakes, preventing the coating from detaching and falling off into the hot oil, which keeps the oil cleaner and ensures every shrimp has a full, even crust.
3.Fry in small batches of 3-4 shrimp: adding too many shrimp at once drops the oil temperature by 50-75°F instantly, which makes the coconut crust absorb excess oil and turn soggy instead of crisping up immediately on contact.


✨ You May Also Like

Snacks & Appetizers
🍜 Mexico

Crispy thick-cut tortilla chips piled high with seasoned beef, melted cheese, and bright fresh toppings for a shareable, crowd-favorite bite.

⏱️ 25 minuteSnacks & Appetizers ★ 4.8
Snacks & Appetizers
🍜 United States

Crisp, sweet-tangy spiced pickled watermelon rind is a zero-waste summer staple, perfect with grilled meats, charcuterie, or eaten straight from the jar as a bright snack.

⏱️ 30 minuteSnacks & Appetizers ★ 4.6
Snacks & Appetizers
🍜 Germany

A tangy, jellied pork cold cut slow-simmered with aromatic spices, set into a firm sliceable loaf, served cold with mustard and crusty bread.

⏱️ 3 hours 4Snacks & Appetizers ★ 4.8
Snacks & Appetizers
🍜 United States

Creamy, tangy, perfectly seasoned hard-boiled egg halves filled with a rich, smooth yolk mixture, a timeless, crowd-pleasing bite for holiday and casual gatherings alike.

⏱️ 40 minuteSnacks & Appetizers ★ 4.8
Snacks & Appetizers
🍜 Russia

Silky, dill-forward no-smoke cured salmon, a Scandinavian classic with bright salty-sweet flavor, ideal for holiday starter platters and open-faced rye sandwiches.

⏱️ 48 hours Snacks & Appetizers ★ 4.7
Snacks & Appetizers
🍜 Japan

Crisp golden bottoms, juicy savory pork and vegetable filling, and tangy dipping sauce make these pan-fried gyoza a beloved shareable bite.

⏱️ 45 minuteSnacks & Appetizers ★ 4.8

coconut shrimp:Frequently Asked Questions

1.What size shrimp is best for crispy coconut shrimp? ▾
16/20 count large shrimp are ideal, meaning you get 16 to 20 shrimp per pound. They’re substantial enough to stay juicy through frying, hold the coconut crust well, and make perfect bite-sized shareable pieces. Avoid smaller shrimp, as they cook too fast and can overcook before the crust turns golden crisp, leaving you with tough, rubbery shrimp.
2.Can I use sweetened shredded coconut instead of unsweetened? ▾
I strongly recommend sticking to unsweetened shredded coconut for this recipe. Sweetened coconut has added sugar that burns very quickly at frying temperatures, leading to a dark, bitter crust before the shrimp cooks through. If you only have sweetened on hand, rinse it thoroughly, pat completely dry to cut excess surface sugar, and monitor fry temp closely.
3.Why do the recipe instructions say to leave the shrimp tails on? ▾
Leaving the tails on serves two key purposes: first, it gives you a convenient built-in handle for dipping and eating, which makes these perfect for shareable appetizer spreads. Second, the tail helps seal in extra moisture as the shrimp cooks, keeping flesh juicier than fully peeled shrimp, and adds nice visual contrast to the golden coconut crust.
4.How do I get the coconut crust to stick instead of falling off while frying? ▾
The key to a securely attached crust is a proper three-step breading station, plus patting shrimp completely dry first. Dredge lightly in all-purpose flour, shake off excess, dip fully in beaten egg, then press firmly into the panko-coconut mix so it adheres. Let breaded shrimp rest 10 minutes on a wire rack before frying to help the coating set.
5.Why mix panko breadcrumbs with the coconut instead of using all coconut? ▾
Panko breadcrumbs create that signature shatteringly crisp texture you can’t get from coconut alone. Shredded coconut is denser and can turn chewy or greasy on its own, but mixing it with light, flaky panko adds air pockets that crisp up beautifully, balances coconut flavor so it doesn’t overpower sweet shrimp, and helps crust hold crunch longer.
6.What type of oil should I use for frying coconut shrimp? ▾
Use a neutral, high-smoke-point oil like canola, vegetable, peanut, or refined avocado oil for frying. Heat it to a steady 350°F, and avoid overcrowding the pot, which drops oil temp and leads to soggy, greasy shrimp. Skip olive oil or toasted sesame oil, as their low smoke points burn easily and leave bitter off-flavors on your crispy crust.
7.Can I bake these coconut shrimp instead of deep frying for a lighter option? ▾
Absolutely! For baked crispy coconut shrimp, arrange breaded shrimp on a wire rack set over a baking sheet, spritz lightly all over with cooking oil, and bake at 425°F for 12 to 15 minutes, flipping halfway through. The wire rack lets air circulate under the shrimp so the crust crisps all over, instead of turning soggy on the side touching the pan.
8.How do I tell when the coconut shrimp are fully cooked? ▾
Shrimp cook very quickly, so keep a close eye on them. They’re done when the coconut crust is deep golden brown, and shrimp flesh is opaque white with no translucent gray spots—usually 2 to 3 minutes per batch at 350°F. Fully cooked shrimp curl into a loose C shape; if they curl into a tight O, they’re overcooked and rubbery.
9.Can I prep these coconut shrimp ahead of time for a party? ▾
You can bread the raw shrimp up to 8 hours ahead of time! Arrange them in a single layer on a wire rack set over a baking sheet, cover loosely, and store in the fridge until you’re ready to cook. Avoid cooking them ahead and reheating if possible, as the crust loses crispness; fry or bake right before serving for the best texture.
10.What can I substitute for all-purpose flour in the dredge? ▾
If you don’t have all-purpose flour, you can use cornstarch, rice flour, or a 1:1 gluten-free all-purpose flour blend as a direct swap. The point of the first dredge is to create a dry, starchy base for the egg to stick to, so any fine, neutral starch works—just shake off all excess before dipping in egg to avoid a thick, doughy crust.
11.Why did my coconut shrimp turn out soggy instead of crispy? ▾
Soggy crust almost always traces back to one of three common issues: your oil temperature was too low (below 325°F), you overcrowded the frying pan which dropped the oil temp, or you didn’t pat your shrimp dry before breading. Use a thermometer to monitor oil temp, cook in small batches, and pat shrimp fully dry with paper towels before breading.
12.Do I have to serve these with sweet chili dip, or are there other good sauce options? ▾
Sweet chili dip is the classic pairing because its tangy, bright, slightly spicy flavor balances the rich, nutty coconut crust and sweet shrimp, but you have lots of great options. Mango habanero salsa, pineapple teriyaki dip, spicy mayo, creamy cilantro lime sauce, or orange marmalade horseradish dip all pair beautifully.
13.Can I use frozen shrimp for this recipe? ▾
Frozen shrimp works perfectly here, as long as you thaw it properly first. Thaw shrimp overnight in the fridge, or in a sealed bag submerged in cold water for 15 to 20 minutes, then pat them extremely dry with paper towels before breading. Never use still-frosty shrimp, as excess water makes crust slide off and causes dangerous oil splatters.
14.How do I reheat leftover coconut shrimp so they stay crispy? ▾
To reheat leftovers and bring back that shatteringly crisp crust, skip the microwave—it will make the crust chewy and rubbery. Instead, arrange shrimp on a wire rack over a baking sheet and heat in a 375°F oven for 8 to 10 minutes, or air fry at 350°F for 3 to 4 minutes, until heated through and the crust is crisp again.
15.Can I make crispy coconut shrimp in an air fryer? ▾
Air fryers make fantastic crispy coconut shrimp with barely any oil! Arrange breaded shrimp in a single layer in the air fryer basket (don’t stack them), spritz lightly with oil, and cook at 375°F for 8 to 10 minutes, flipping halfway through, until the crust is golden and shrimp is opaque. You’ll get deep-fry level crunch with a fraction of the oil.

Comments (12)

2 days ago

OMG these came out SO crispy! I made them for our family taco night last night and everyone went back for seconds. Dipped them in that sweet chili sauce I had in the fridge, total game changer. 10 minute cook time is no joke too, perfect for busy weeknights!

yesterday

Wait sweet chili sauce? That sounds insane, I was gonna use tartar but I’m definitely grabbing a bottle on my way home from work today!

yesterday

So glad you loved them! Sweet chili is one of our favorite pairings too, it cuts the richness of the coconut perfectly. Pro tip: add a tiny squeeze of lime to the sauce for extra zing!

1 week ago

My kids are OBSESSED. I’ve made this three times in the last two weeks, they request it every time their friends come over after school. I was worried the coconut would fall off while frying but it stuck perfectly every time. So easy even my 12 year old can help bread them!

5 days ago

That makes our day to hear! Getting kids involved in the breading station is such a fun way to get them excited about dinner, we love that your 12 year old is helping out!

3 days ago

Made these for our weekend potluck up in the mountains and they were gone in 10 minutes flat. People were asking me for the recipe before I even got a chance to grab a second one myself! Next time I’m doubling the batch for sure.

5 days ago

This was so good! I swapped the regular panko for gluten free panko and it worked like a charm. Only thing is my first batch got a little too dark because my oil was too hot, so definitely keep an eye on that temp!

3 days ago

Great call on the gluten free panko swap! Thanks for the temp tip too – we recommend keeping oil around 350°F to get that golden crispy outside without burning the coconut. So glad you enjoyed them!

3 days ago

I made these last night and they were chef’s kiss, but has anyone tried making them in the air fryer instead of pan frying to cut back on oil? I’d love to make these a weekly staple but don’t want to heat up a pot of oil every time.

2 days ago

I did! Spray them generously with olive oil spray, cook at 400 for 8 minutes flipping halfway, they get almost as crispy as deep fried! I make a batch every Sunday for my lunch prep.

2 days ago

Great question! We’ve tested the air fryer method too – Mandy’s tip is spot on, just make sure not to overcrowd the basket so they crisp up evenly instead of getting soggy.

1 week ago

Made these for my date night last Friday and my girlfriend thought I ordered takeout from our favorite seafood spot. Win for me! Super straightforward recipe, no fancy ingredients needed, came out perfectly crispy just like the photos. 10/10

30 minutes ago

Quick question – I used sweetened shredded coconut because that’s all I had at the store, and they came out a little sweeter than I expected. Is unsweetened the move here?

5 minutes ago

Great question! We call for unsweetened shredded coconut in the recipe to keep the sweetness balanced, but if you only have sweetened on hand, just add a tiny pinch of salt to your breading mix to cut the extra sweetness. Glad you gave them a try!

yesterday

SO. GOOD. I’ve tried so many coconut shrimp recipes over the years and this is the only one that actually gets that perfect shatteringly crisp crust that doesn’t slide right off the shrimp. The seasoning in the breading is perfect too, not too bland, not overpowering.

2 hours ago

Right?! I gave up on making coconut shrimp at home years ago because the coating always fell off, this recipe totally changed that for me too. Making them for my Super Bowl party this weekend!

2 weeks ago

Pro tip for other busy parents: you can totally use frozen pre-peeled shrimp for this, just thaw them completely and pat them super dry before breading. Saved me so much prep time tonight, the whole family devoured them.

1 week ago

Oh thank god for this tip, I only have frozen shrimp in my freezer right now and I was about to run to the store. Patting dry makes sense, I always forget that step with seafood!

1 week ago

That’s such a great hack, Brian! Patting the shrimp completely dry is 100% the secret to getting the coating to stick, whether you’re using fresh or thawed frozen shrimp. So glad your family loved them!

2 weeks ago

These were really tasty! I added a half teaspoon of cayenne to the breading mix to give them a little kick, and it was chef’s kiss. Only reason I’m not giving 5 stars is I wish the recipe had a suggested dipping sauce included, I had to rummage through my fridge to find something to go with them.

1 week ago

Thanks for the feedback, Sam! We love the cayenne addition, that sounds delicious. We’ll be updating the recipe next week to include our favorite creamy mango dipping sauce recipe that pairs perfectly with these shrimp, so stay tuned!

5 days ago

Brought these to our neighborhood block party last weekend and I can’t even tell you how many people asked for the recipe. The crispy coconut coating is so addictive, I caught three people sneaking extra off the platter when they thought no one was looking. Will be making these for every gathering from now on!

3 days ago

I was at that block party! These were literally the best thing there, I’ve been checking the site every day waiting for him to share the recipe lol

2 days ago

That’s what we love to hear! These are such a crowd pleaser for potlucks and parties because you can even serve them at room temp and they still taste amazing. Thanks for sharing!

just now

As someone who can barely make mac and cheese without burning it, I was shocked how easy these were to make! 10 minute cook time is so real, I had dinner on the table in under 30 minutes total including prep. Tastes just like the appetizer they serve at the chain restaurant down the street, but way cheaper.



