
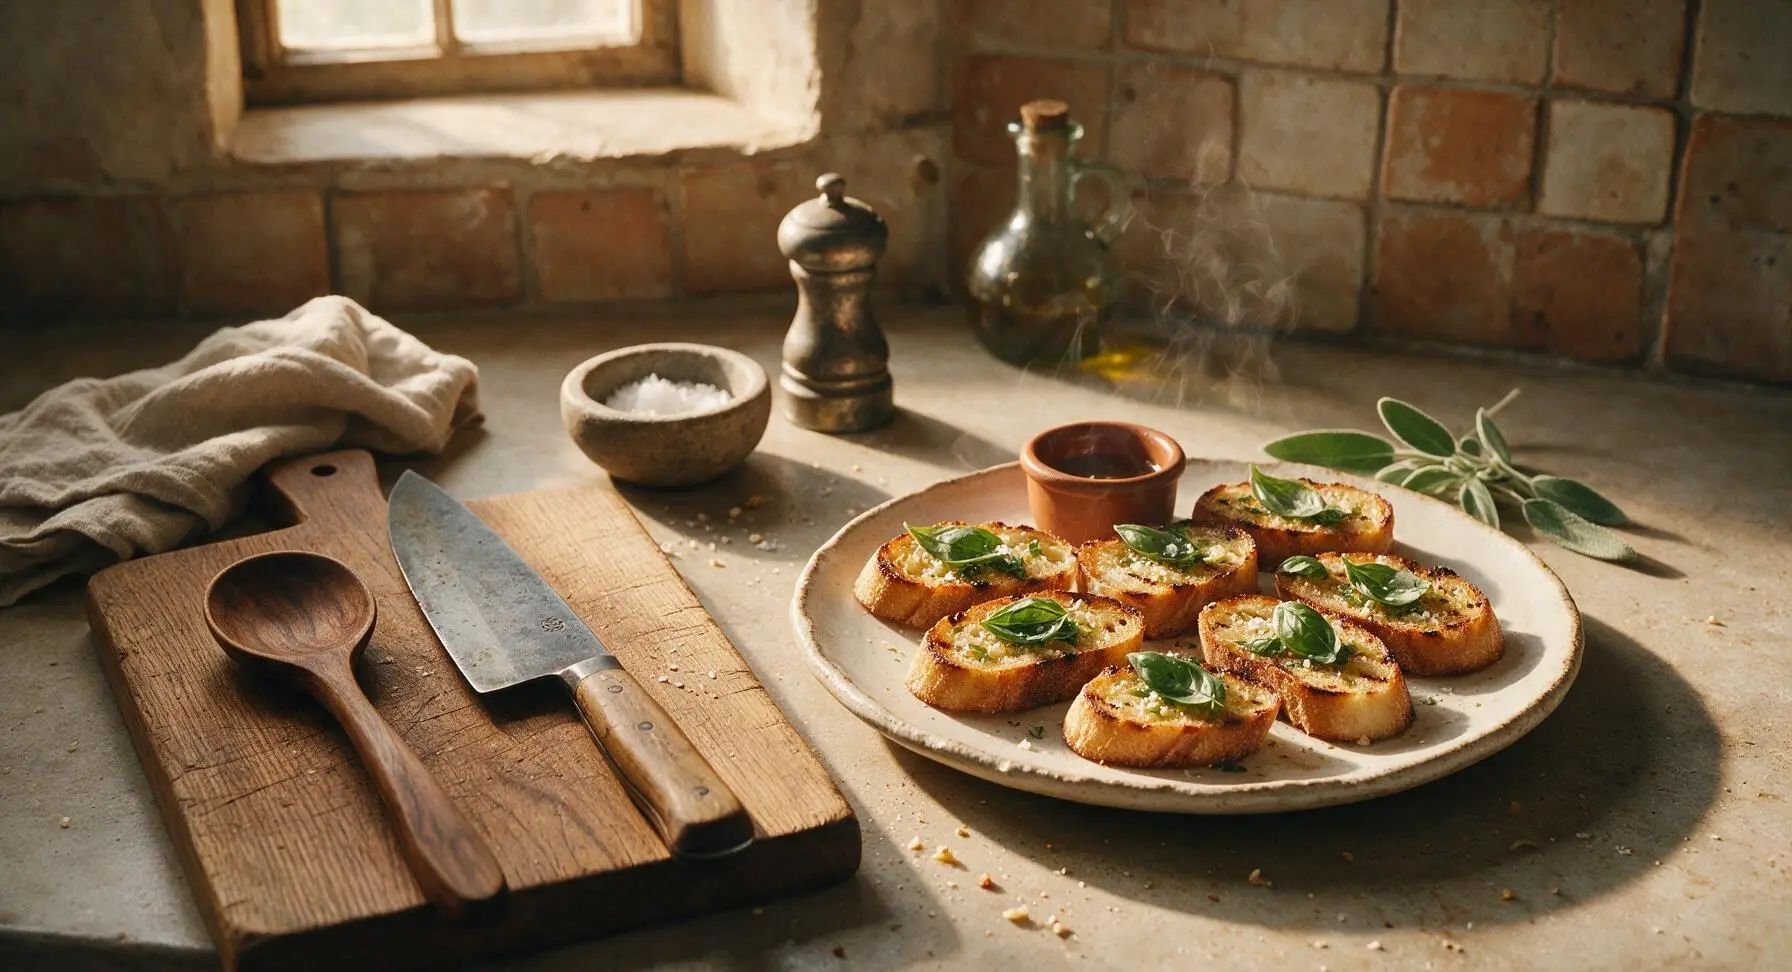
crostini toast

title 1
crostini toast
⏱️ cook time 8 minutes
🍽️ servings 4
⚡ Difficulty easy

intro

Crispy, golden olive oil-toasted bread rubbed with fresh garlic, finished with basil and flaky salt—a classic Italian antipasto perfect for topping or enjoying on its own.

Ingredients
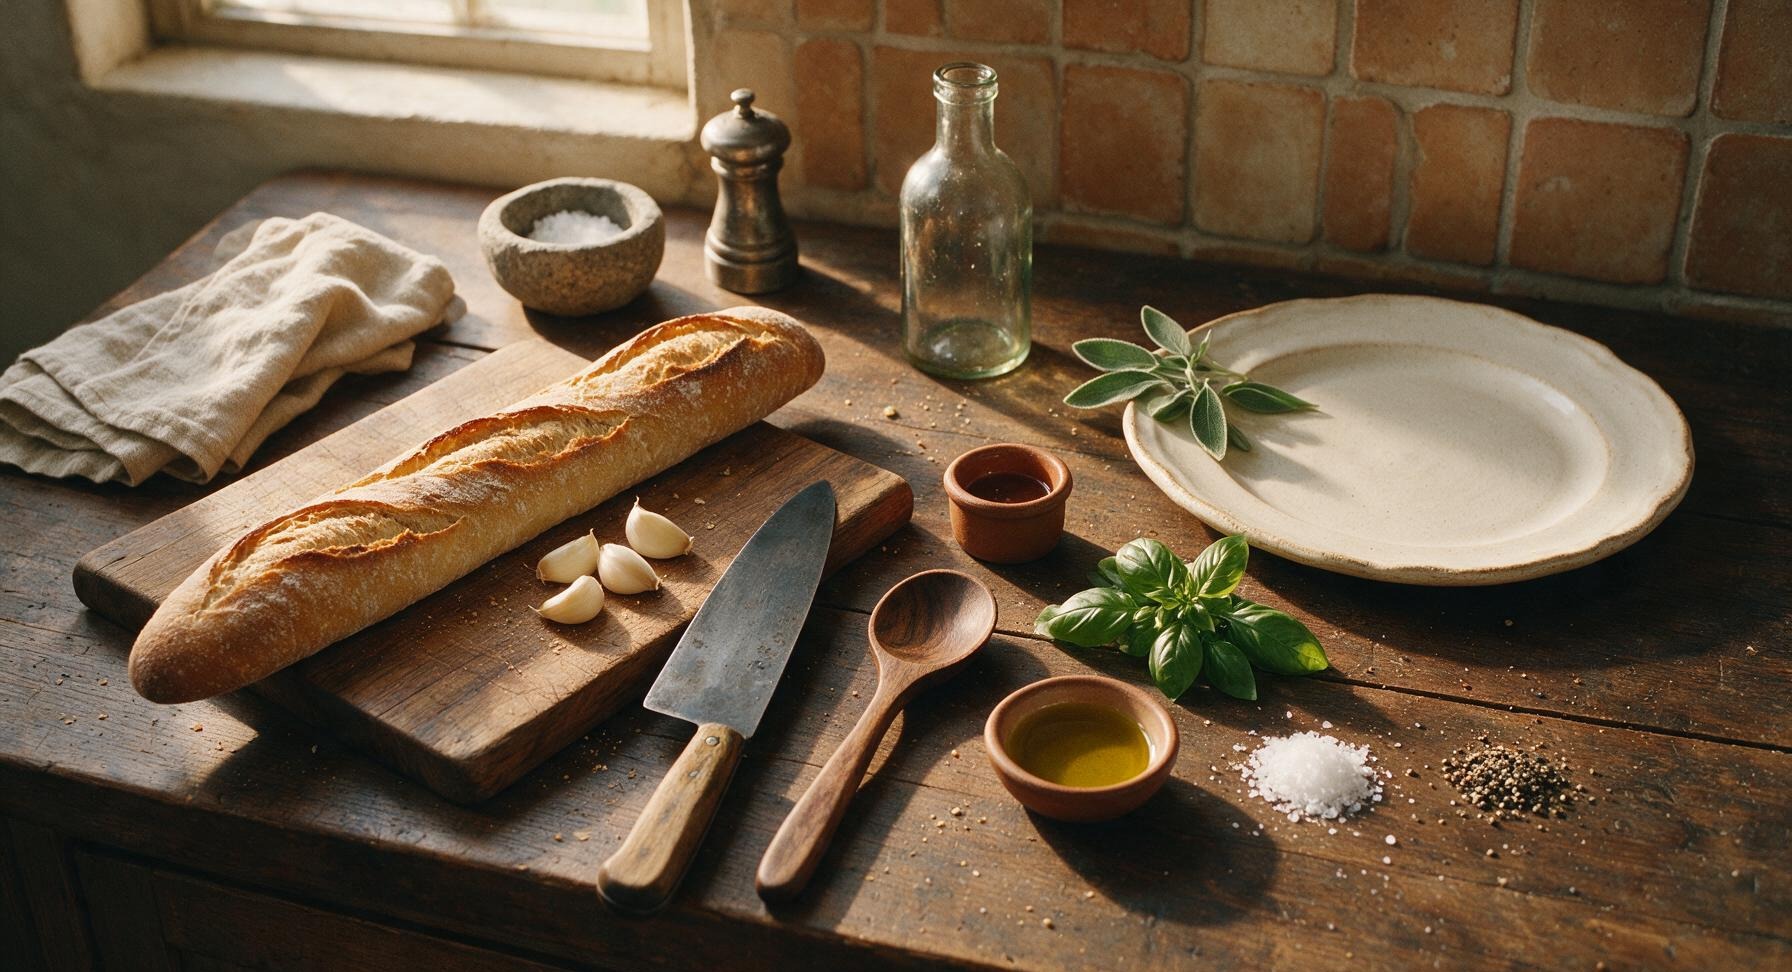
Day-old sourdough baguette 1 whole (250g, 30cm long)
Extra-virgin olive oil 2 tbsp (30ml)
Fresh garlic cloves 3 large
Fresh basil 1 small bunch (15g)
Flaky sea salt 1 tsp
Freshly cracked black pepper 1/2 tsp

Steps

1

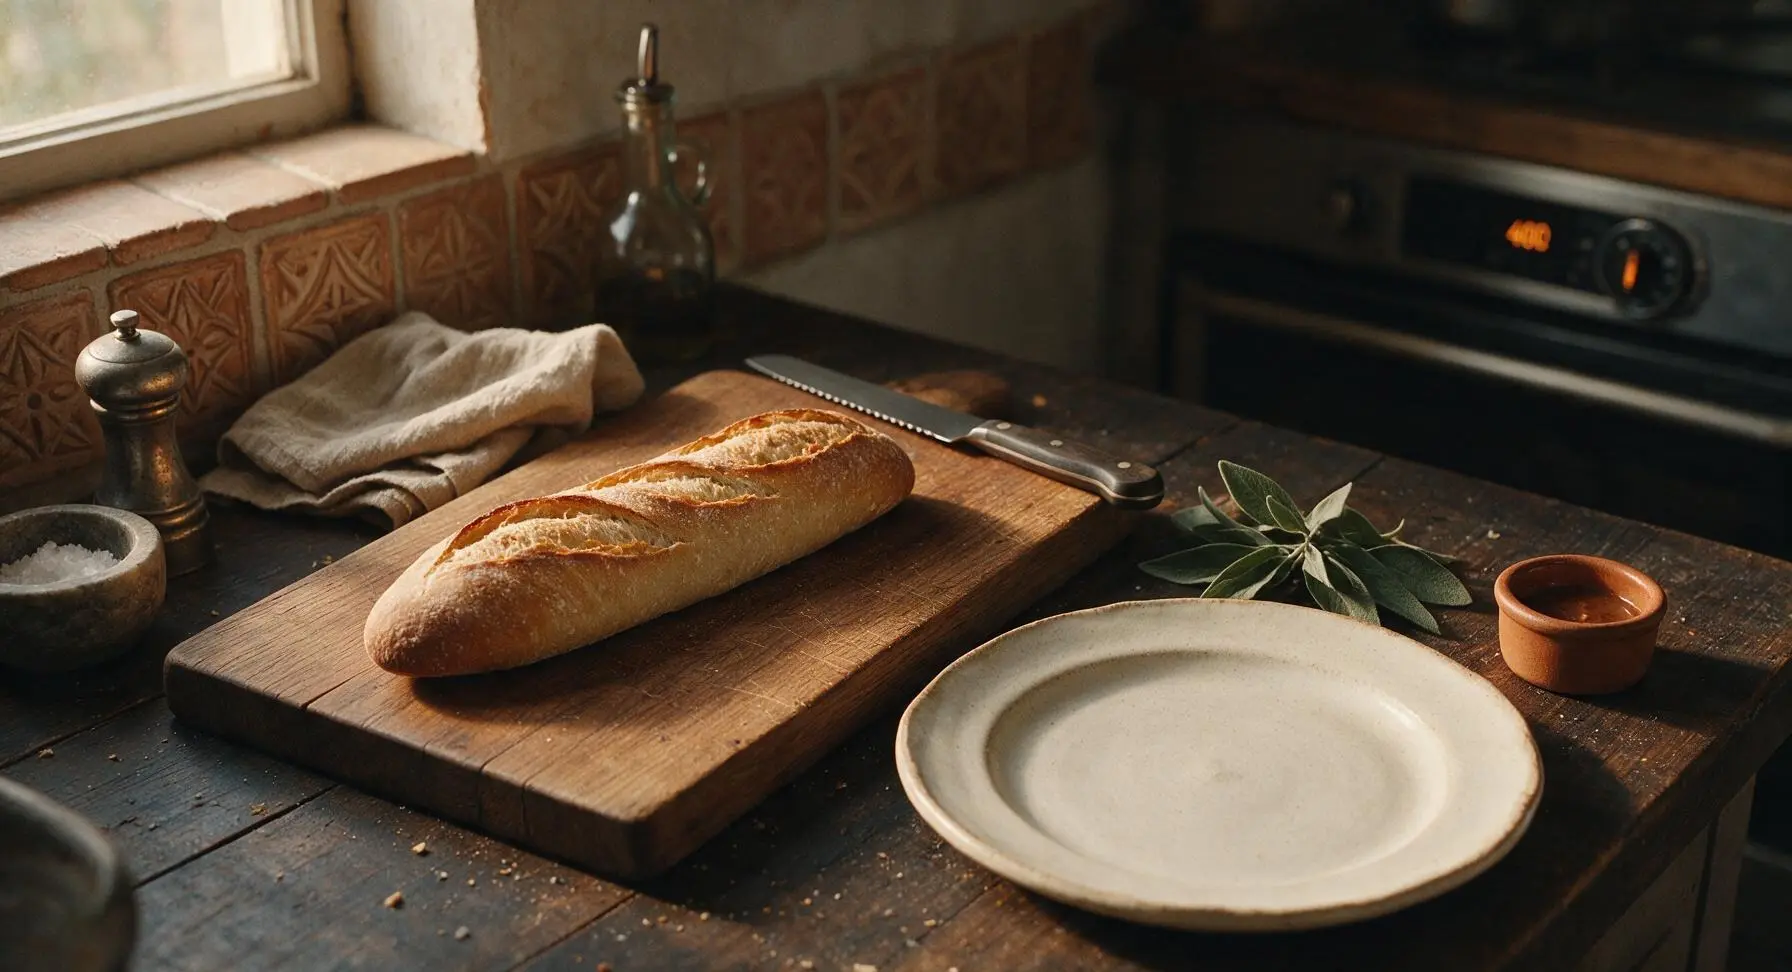
Preheat Oven for Toasting

Adjust your oven rack to the middle position, then preheat the oven to 200°C (400°F). Confirm the serrated bread knife is clean and resting on the edge of the acacia cutting board, with all ingredients within easy reach. This high, even heat will create a crisp, golden crust without drying out the tender bread center.
Step 1
step1:Preheat Oven for Toasting
2

Slice Baguette Evenly

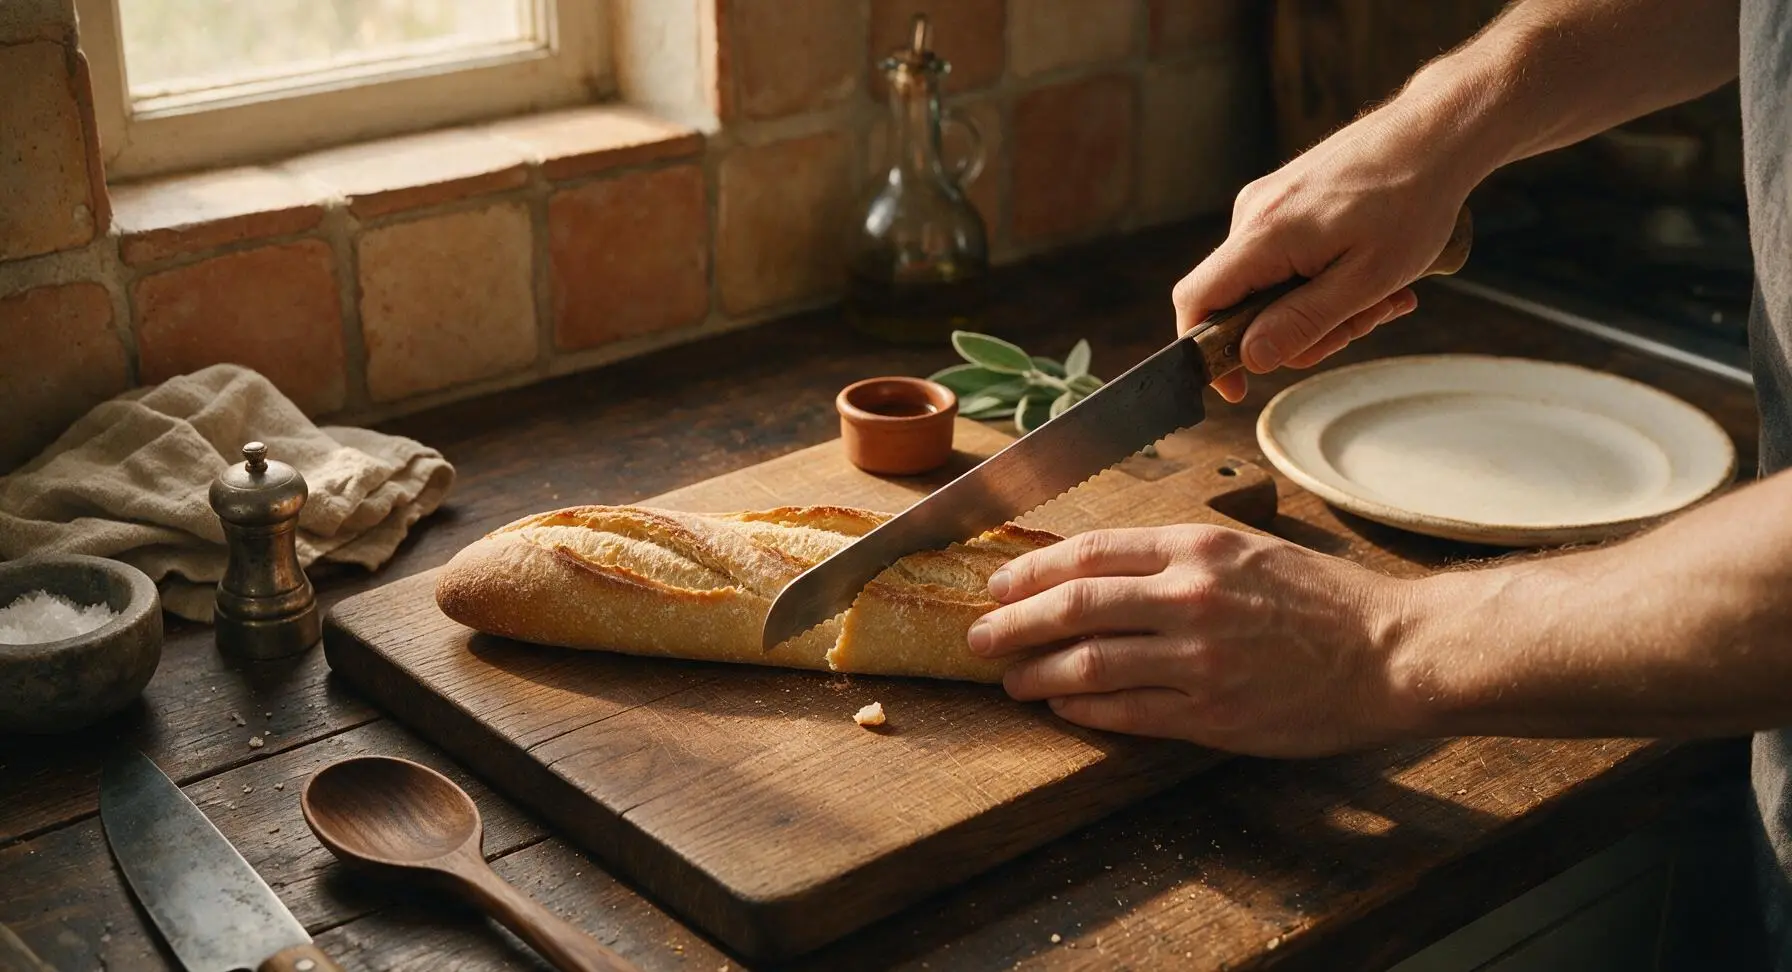
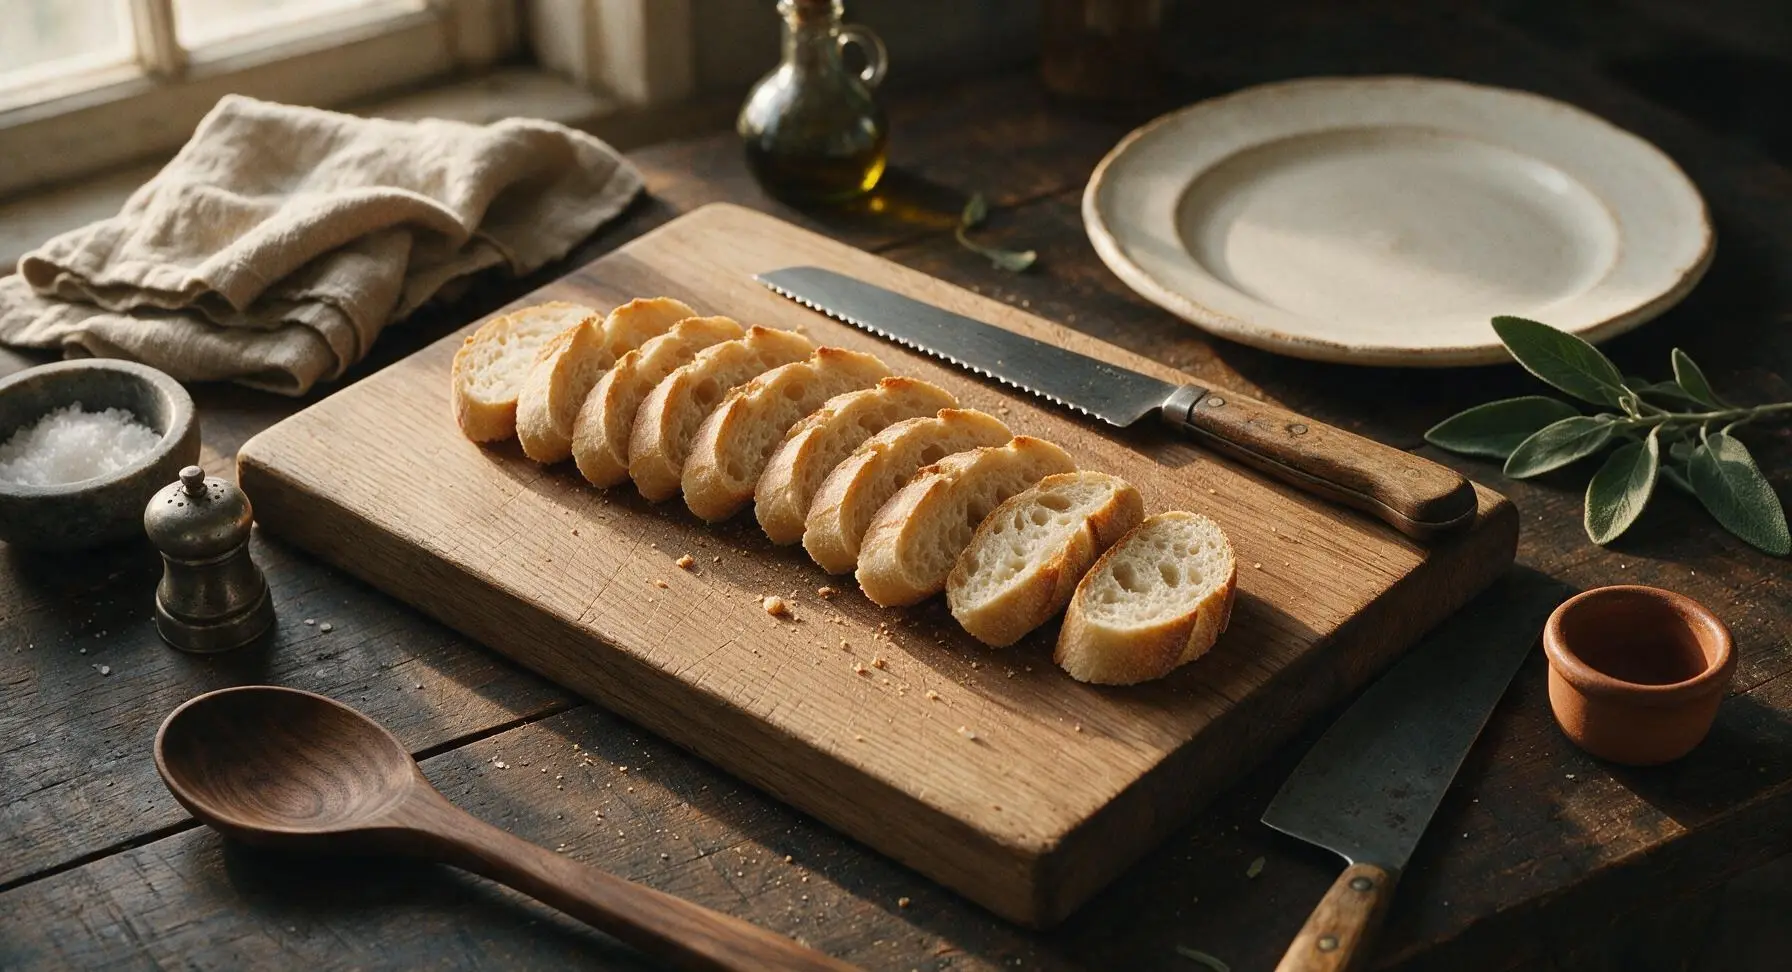
Place the day-old baguette flat on the acacia cutting board. Using the serrated bread knife, cut the loaf on a slight diagonal into 1.5cm (1/2-inch) thick slices, using a gentle sawing motion to avoid squishing the soft crumb. You should yield 12 even slices with clean, non-ragged edges. Day-old bread is ideal here because it cuts cleanly and toasts without sogginess.
Step 2
step2:Slice Baguette Evenly
Step 2
step2:Slice Baguette Evenly
3

Arrange Slices on Baking Sheet

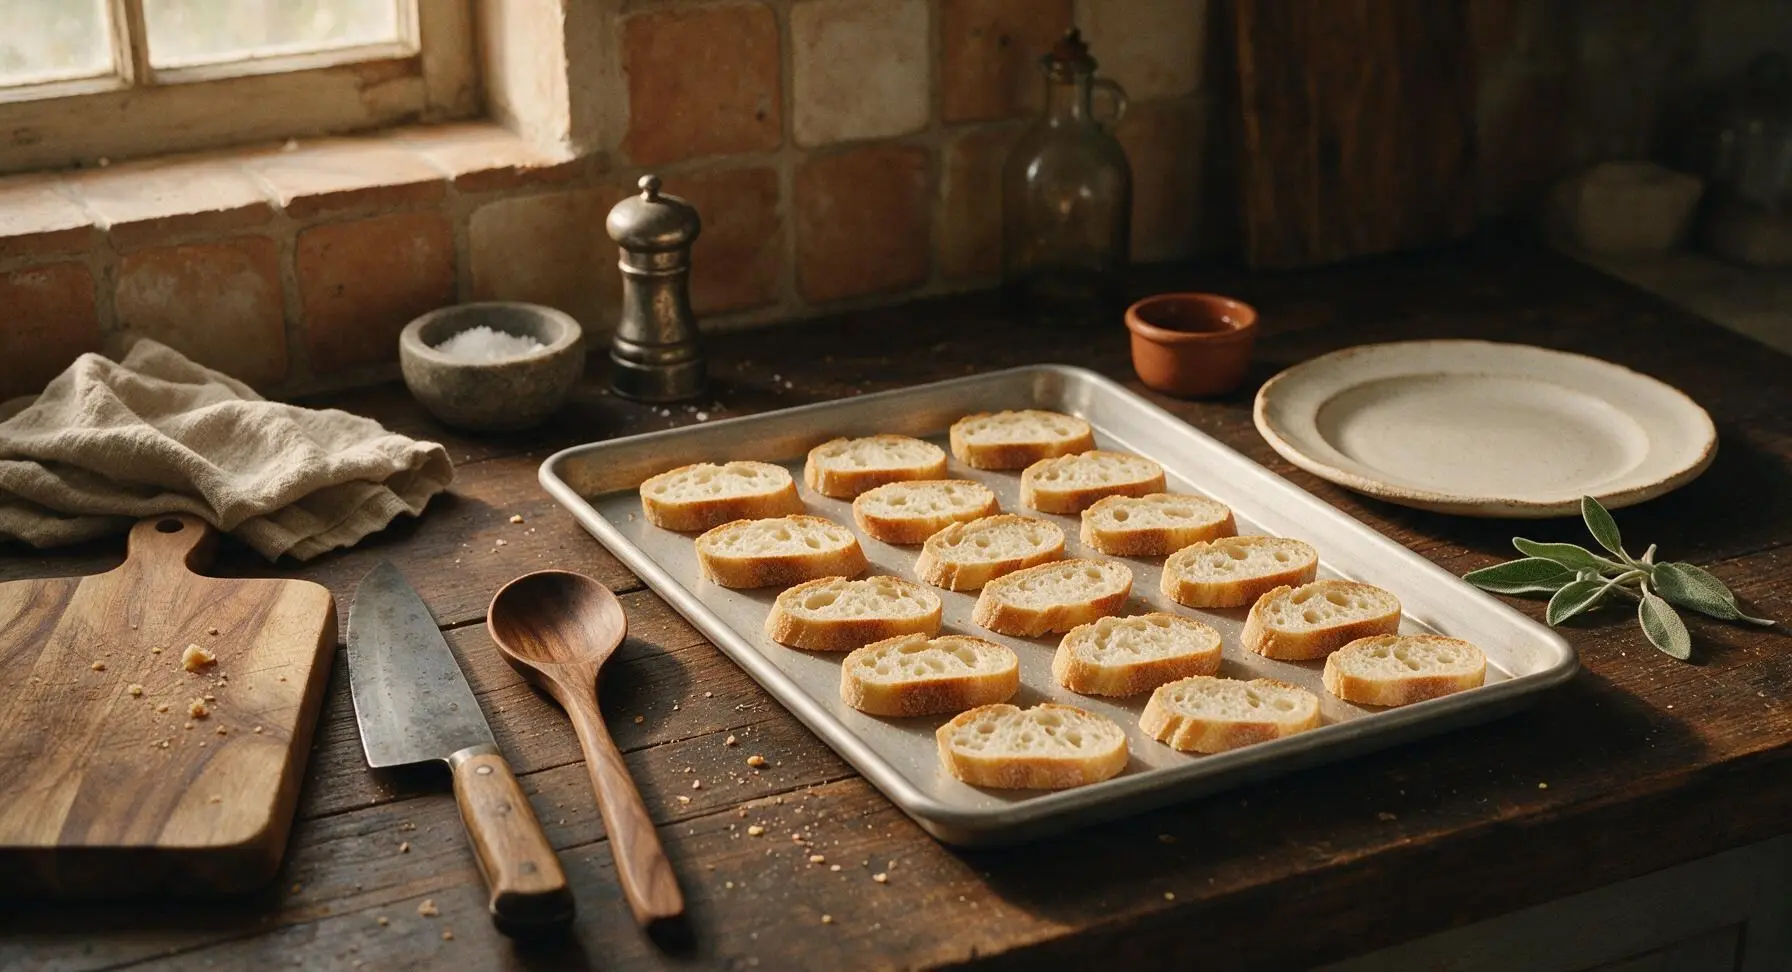
Retrieve the matte aluminum baking sheet from below the counter, placing it in its fixed center-right position on the counter. Arrange the baguette slices in a single, even layer across the sheet, leaving 5mm (1/4-inch) of space between each slice to allow hot air to circulate. Do not overlap slices, as this will cause uneven toasting and soft, soggy spots.
Step 3
step3:Arrange Slices on Baking Sheet
4

Brush with Olive Oil

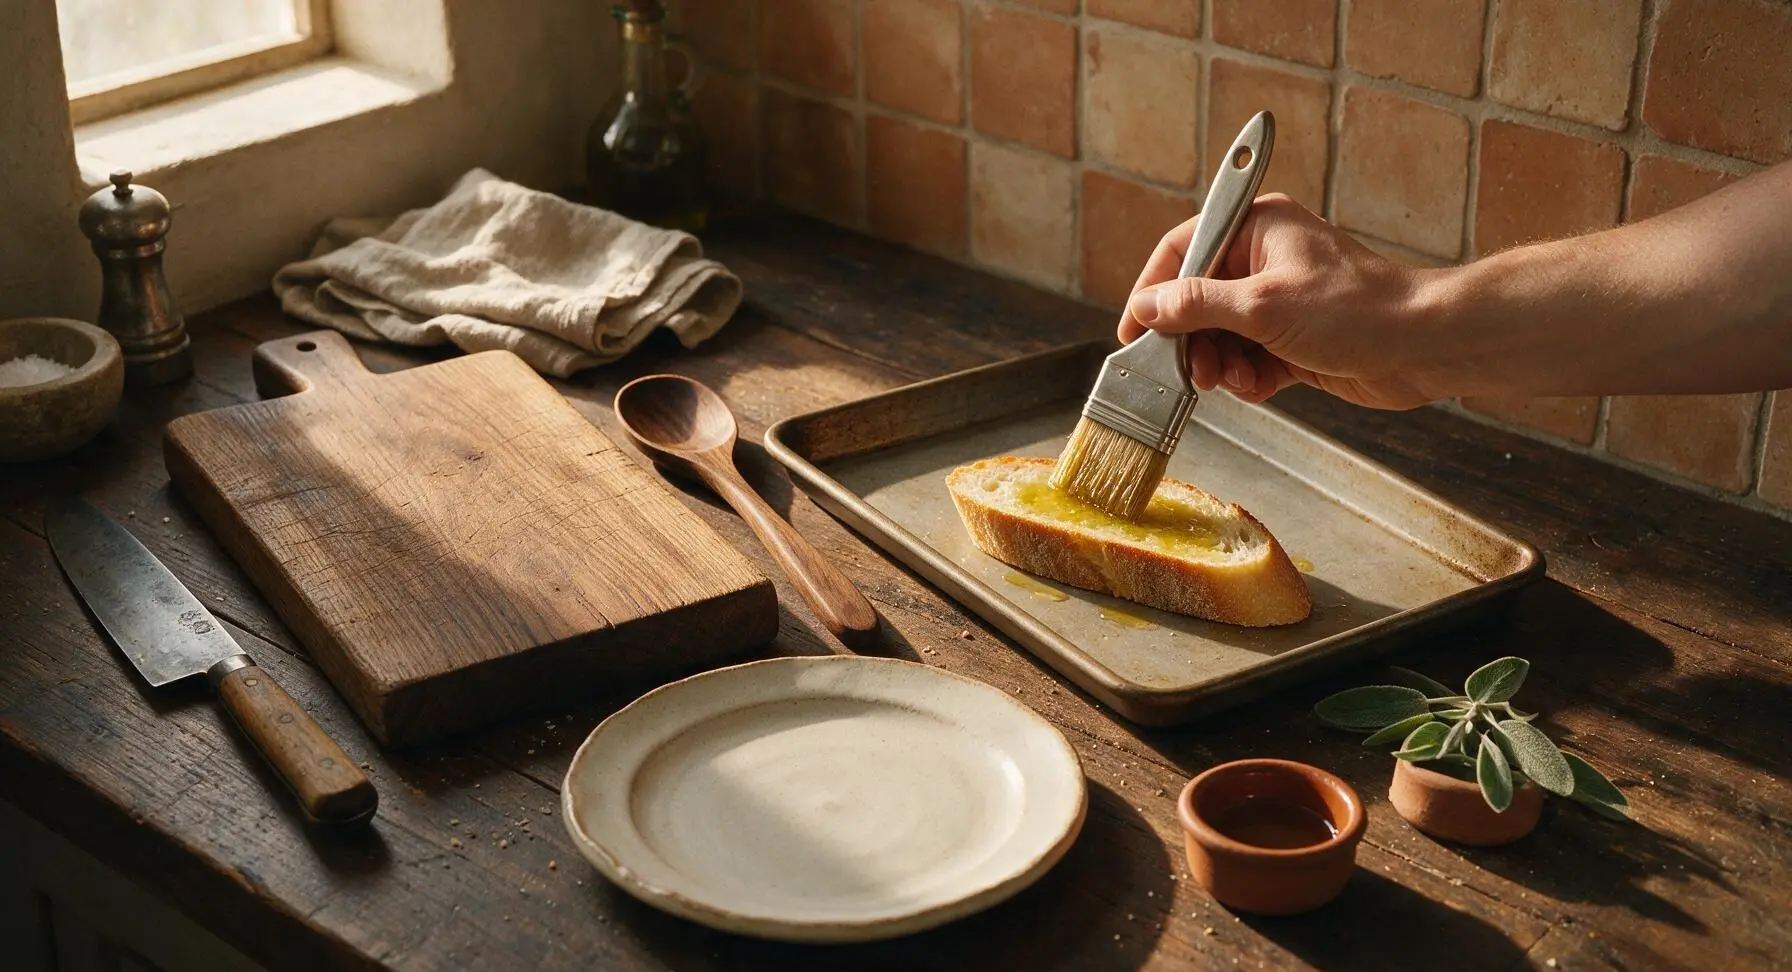
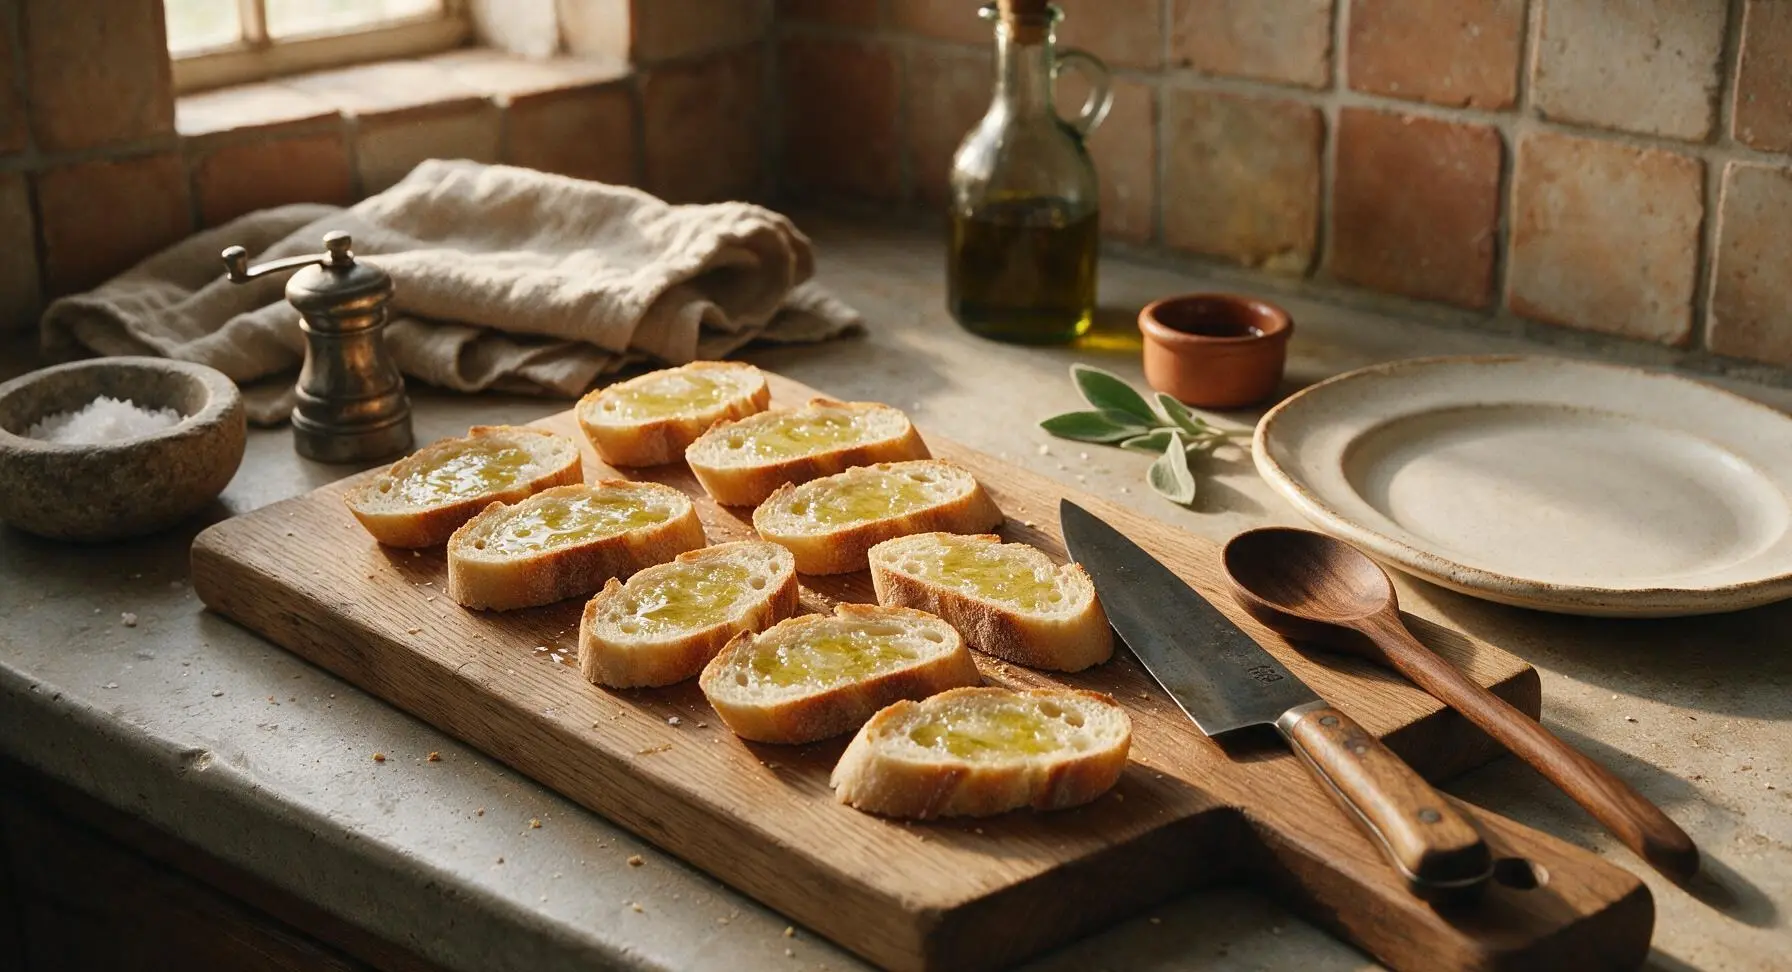
Pick up the stainless steel pastry brush from its terracotta rest. Dip the bristles lightly into the olive oil, then brush a thin, even coat of oil across the top surface of every bread slice. Use just enough oil to lightly coat the surface—about 1/4 tsp per slice—so the bread crisps without becoming greasy. The edges of the bread should glisten slightly, but no oil should pool on the baking sheet.
Step 4
step4:Brush with Olive Oil
Step 4
step4:Brush with Olive Oil
5

Toast Until Golden Crisp

Carefully slide the baking sheet onto the middle oven rack. Bake for 6-8 minutes, until the top edges of the bread are deep golden brown and the center feels dry and crisp to the touch. Watch closely after the 5 minute mark, as thin bread slices can burn very quickly. Do not flip the slices during toasting.
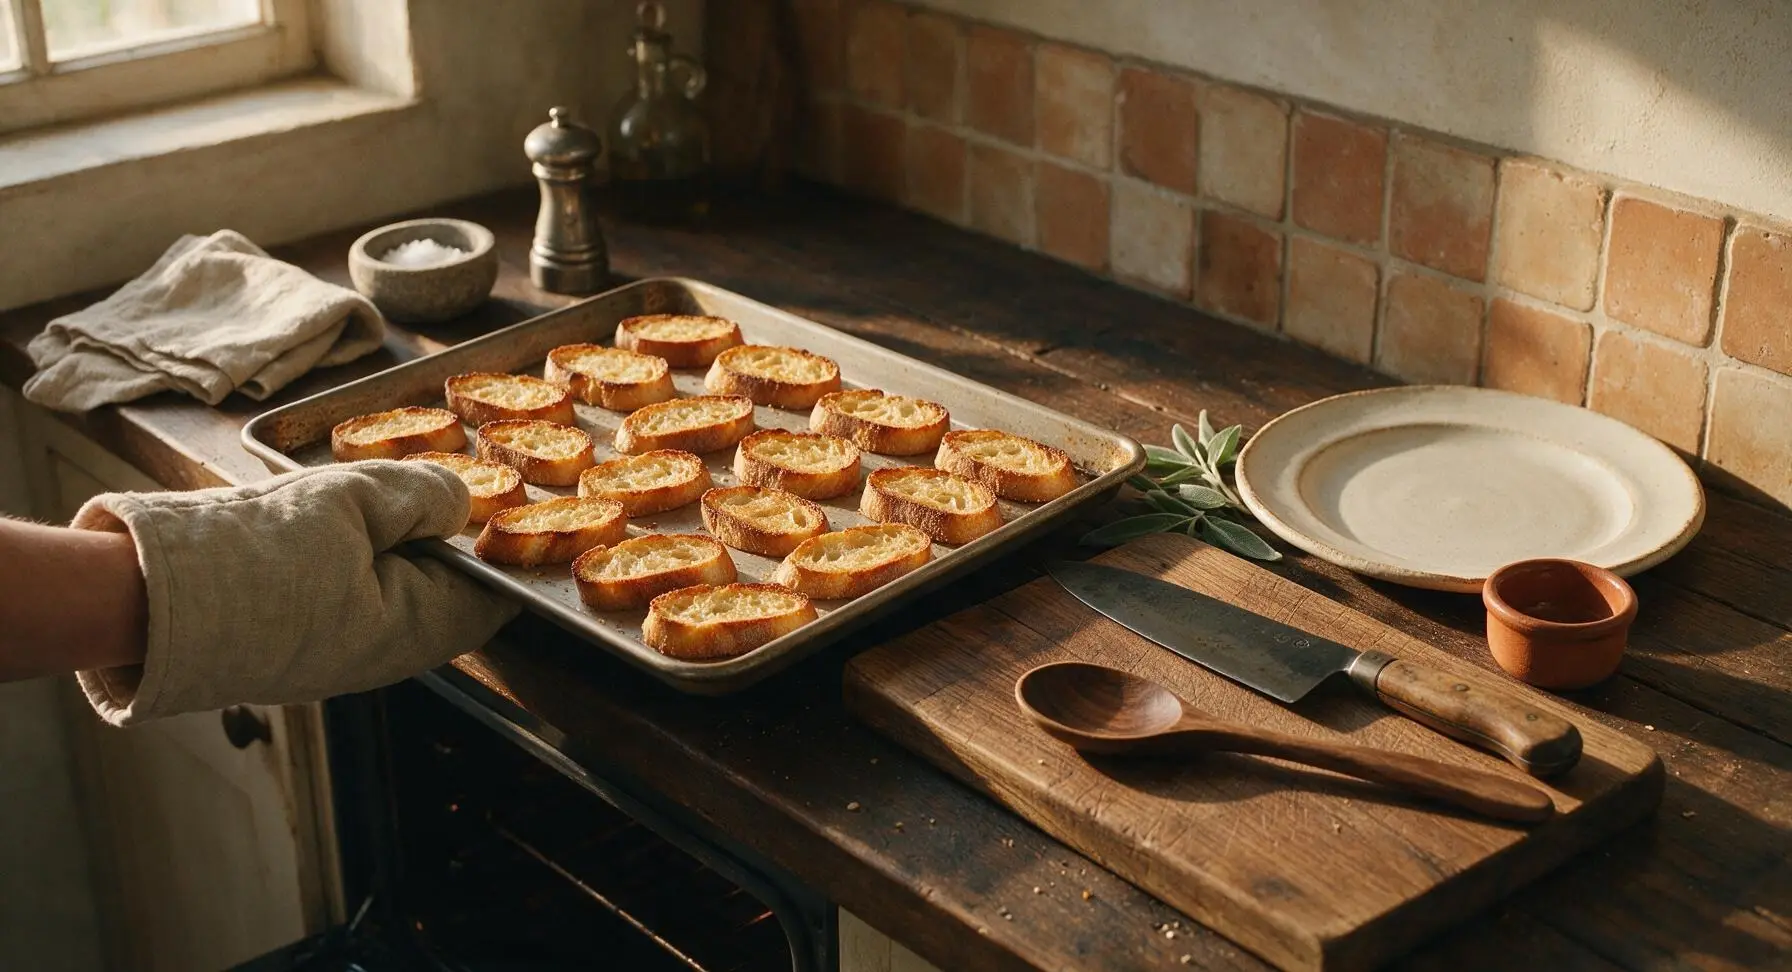
Step 5
step5:Toast Until Golden Crisp
6

Rub Toast with Garlic

Once the crostini are removed from the oven, transfer the baking sheet back to its center-right position on the counter. Let the toasts cool for 2 minutes, until they are cool enough to handle but still warm. Peel the 3 garlic cloves, then rub the cut flat end of a garlic clove lightly across the warm, oiled top surface of each toast. The heat of the toast will soften the garlic and release its aromatic oils, creating a mild, sweet garlic flavor without harsh raw bite.
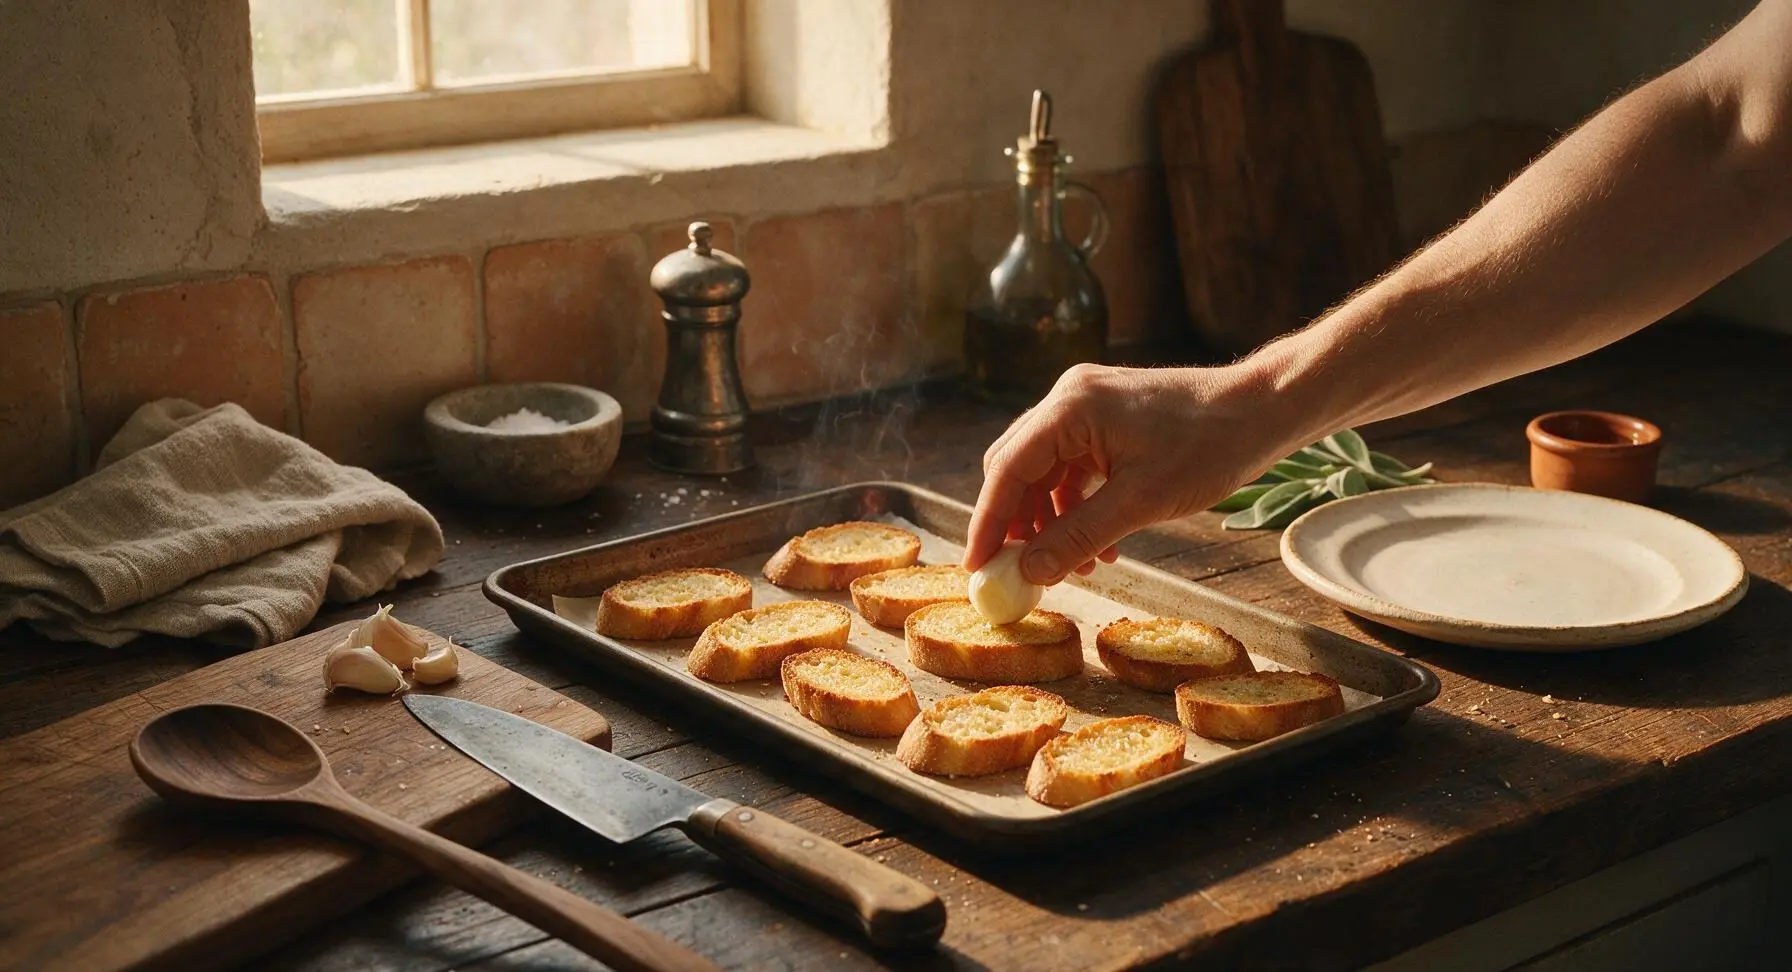
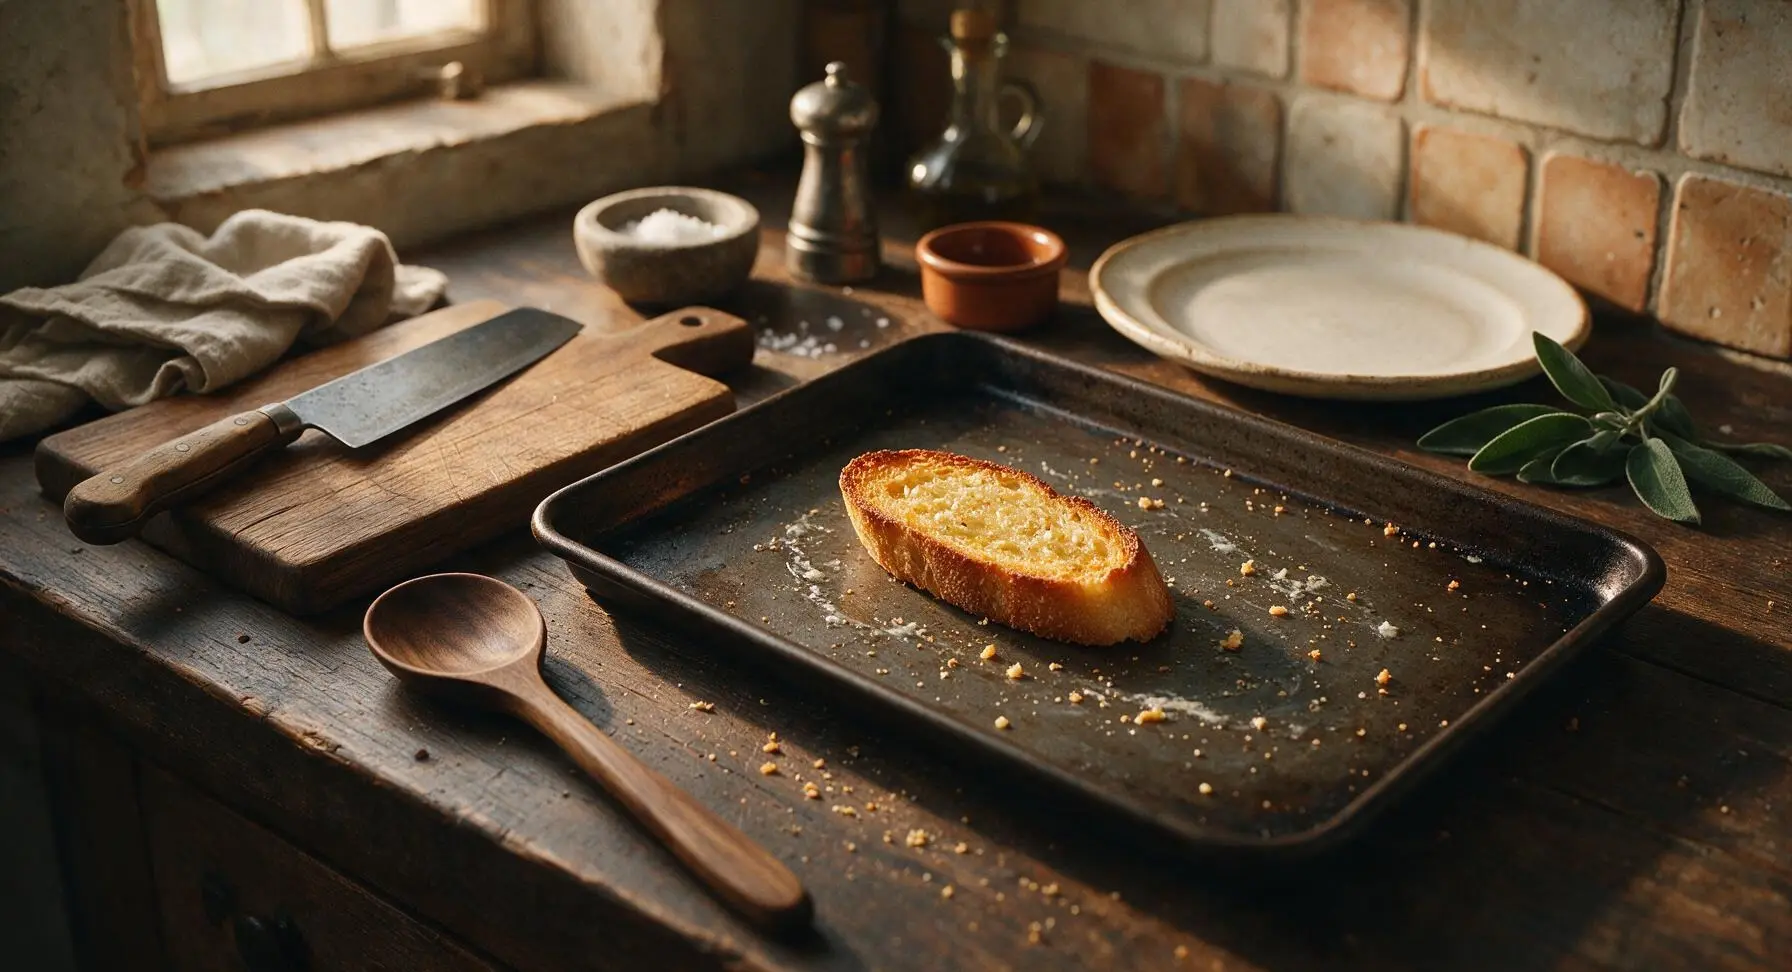
Step 6
step6:Rub Toast with Garlic
Step 6
step6:Rub Toast with Garlic
7

Season and Garnish

Sprinkle the warm garlic-rubbed crostini lightly with flaky sea salt and freshly cracked black pepper, to taste. Tear 4-5 fresh basil leaves into small pieces, scattering them across the top of the toasts for a bright, herby aroma. Do not chop the basil—tearing it prevents bruising and keeps the flavor bright and fresh.
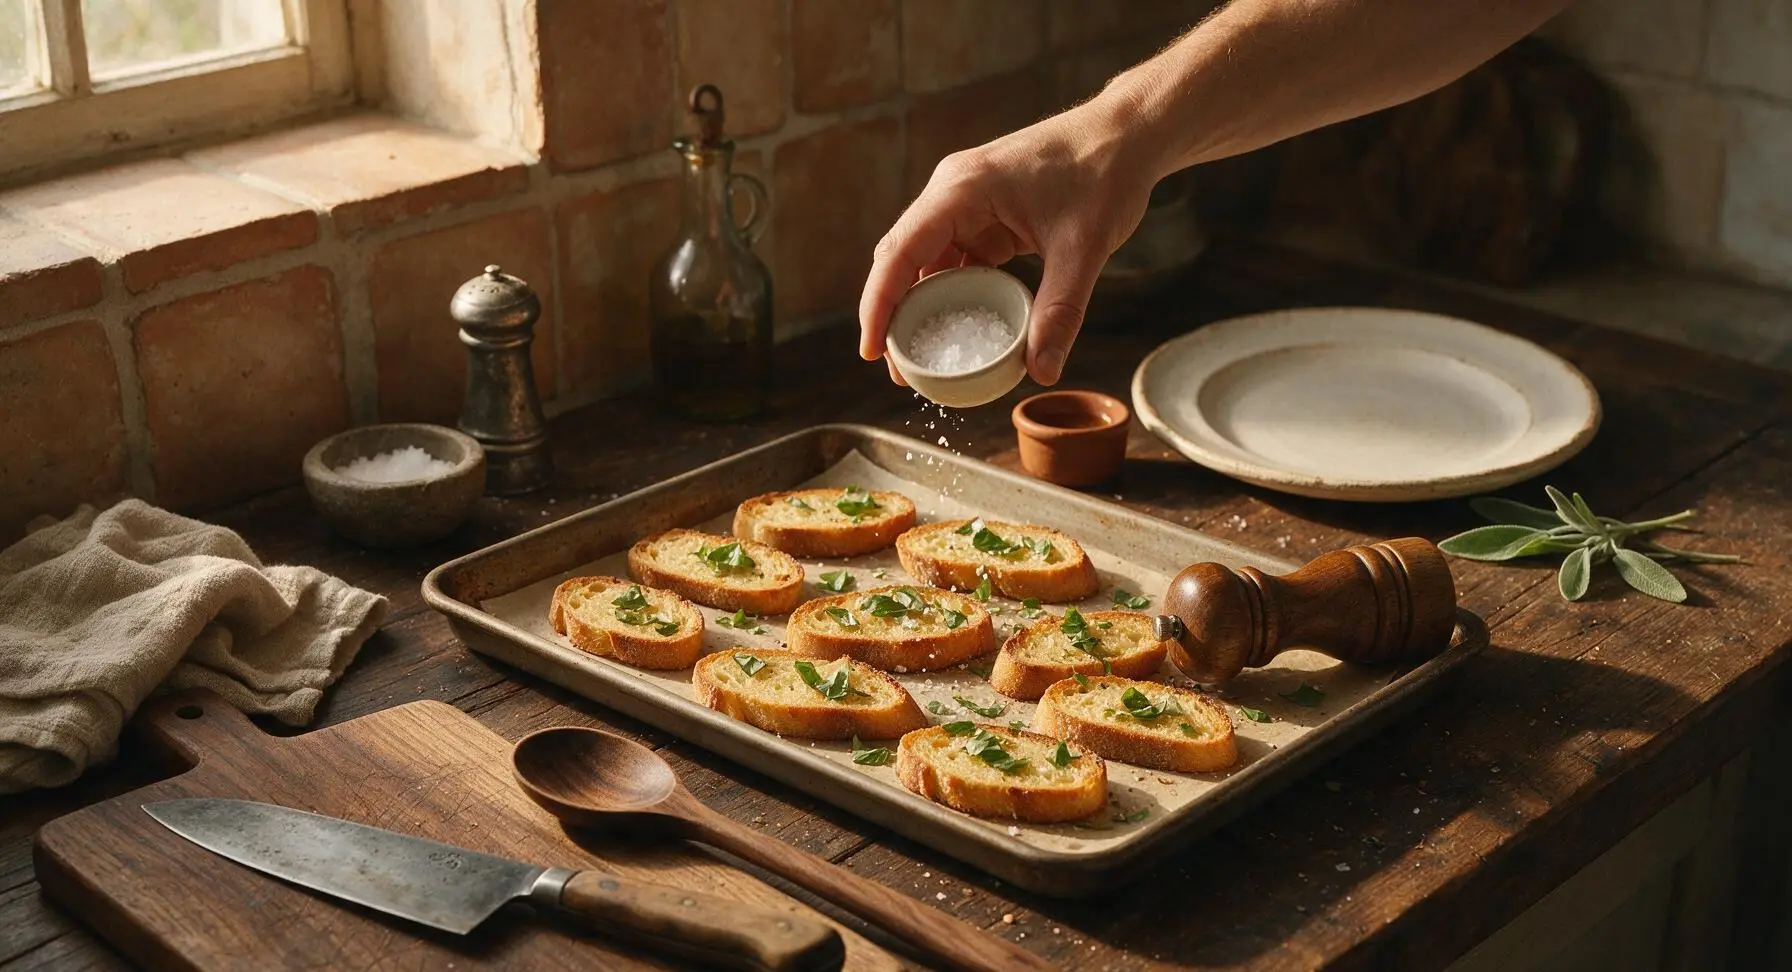
Step 7
step7:Season and Garnish
8

Transfer to Serving Platter

Once seasoned, arrange the crostini in a loose overlapping circle on the fixed hand-thrown terracotta serving platter. Let them cool for 3 more minutes, until they are fully crisp and hold their shape. They can be served warm or at room temperature, plain or topped with your favorite spreads, cheeses, or diced summer tomatoes.
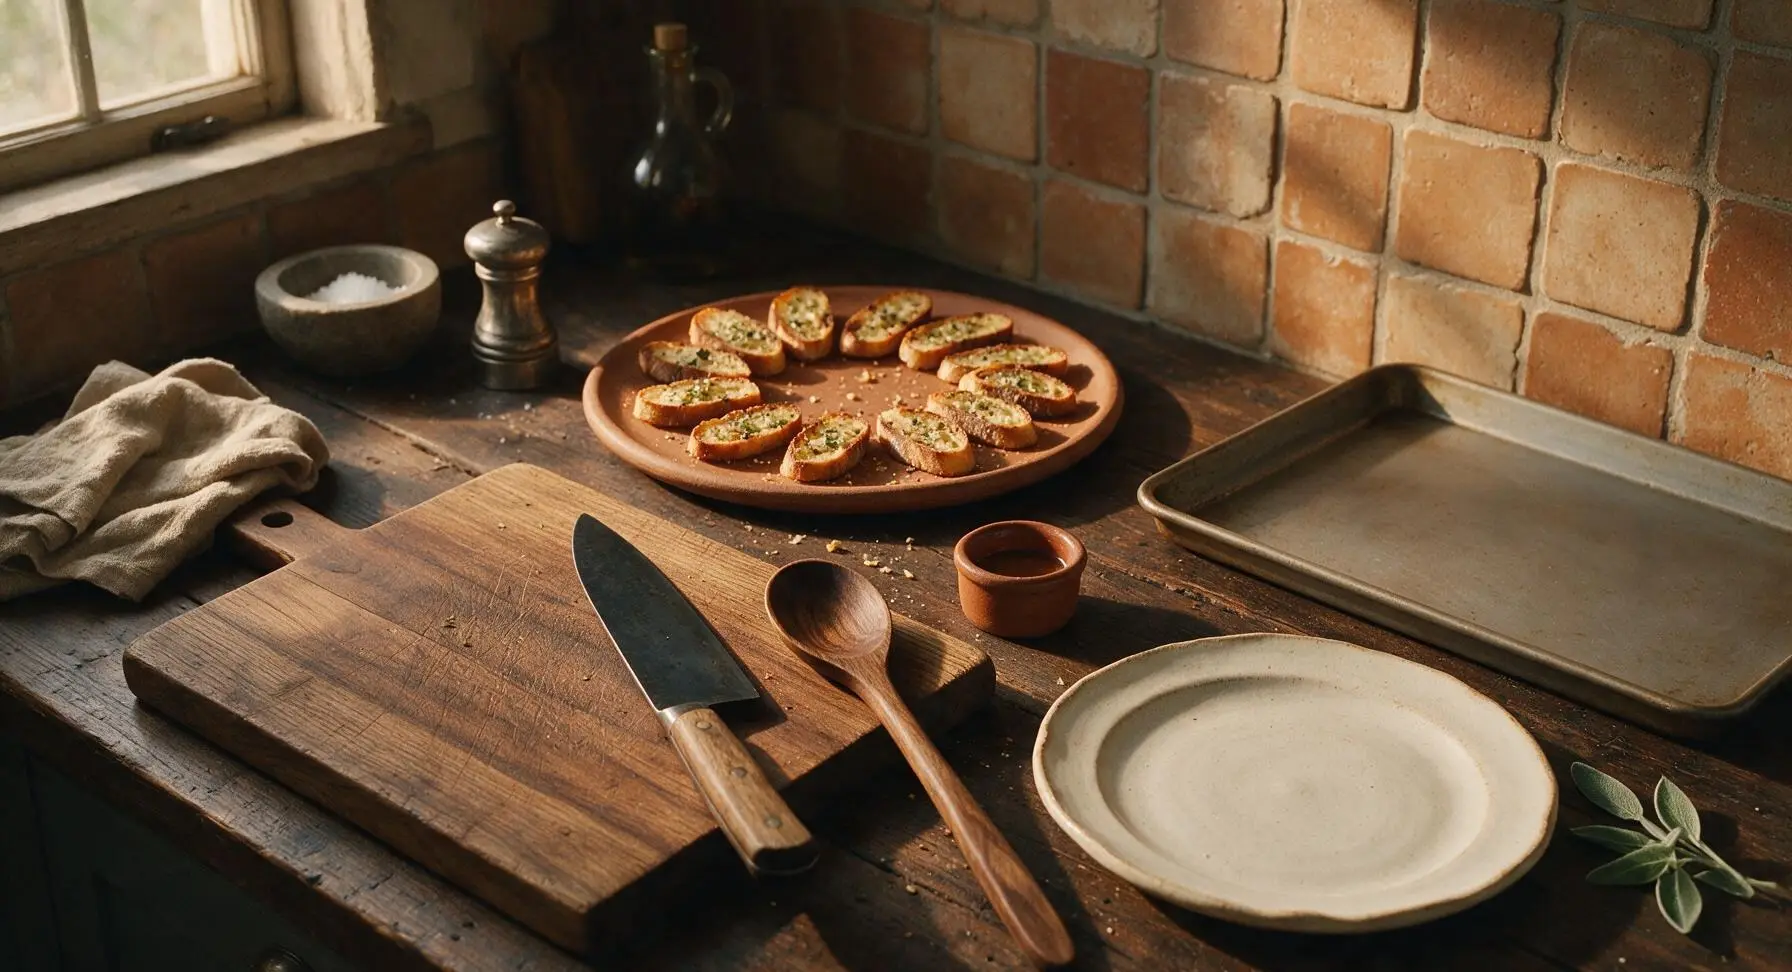
Step 8
step8:Transfer to Serving Platter

Tips

1.Use day-old bread instead of fresh: Stale, slightly dry bread absorbs olive oil evenly and toasts to a crisp texture without turning soggy in the center, unlike soft fresh bread which can become greasy and squish when sliced.
2.Don’t over-apply olive oil: A thin, even coat (about 1/4 tsp per slice) is all you need—too much oil will seep into the bread crumb, making crostini heavy and greasy, and can cause excess oil to smoke in the oven leading to bitter, burnt flavor.
3.Wait 2 minutes after toasting before rubbing garlic: If toasts are straight out of the oven and too hot, the garlic will cook too quickly and turn bitter; letting them cool slightly creates a soft, mellow garlic flavor instead of a harsh raw bite.


✨ You May Also Like

Snacks & Appetizers
🍜 Mexico

Crispy thick-cut tortilla chips piled high with seasoned beef, melted cheese, and bright fresh toppings for a shareable, crowd-favorite bite.

⏱️ 25 minuteSnacks & Appetizers ★ 4.8
Snacks & Appetizers
🍜 United States

Crisp, sweet-tangy spiced pickled watermelon rind is a zero-waste summer staple, perfect with grilled meats, charcuterie, or eaten straight from the jar as a bright snack.

⏱️ 30 minuteSnacks & Appetizers ★ 4.6
Snacks & Appetizers
🍜 Germany

A tangy, jellied pork cold cut slow-simmered with aromatic spices, set into a firm sliceable loaf, served cold with mustard and crusty bread.

⏱️ 3 hours 4Snacks & Appetizers ★ 4.8
Snacks & Appetizers
🍜 United States

Creamy, tangy, perfectly seasoned hard-boiled egg halves filled with a rich, smooth yolk mixture, a timeless, crowd-pleasing bite for holiday and casual gatherings alike.

⏱️ 40 minuteSnacks & Appetizers ★ 4.8
Snacks & Appetizers
🍜 Russia

Silky, dill-forward no-smoke cured salmon, a Scandinavian classic with bright salty-sweet flavor, ideal for holiday starter platters and open-faced rye sandwiches.

⏱️ 48 hours Snacks & Appetizers ★ 4.7
Snacks & Appetizers
🍜 Japan

Crisp golden bottoms, juicy savory pork and vegetable filling, and tangy dipping sauce make these pan-fried gyoza a beloved shareable bite.

⏱️ 45 minuteSnacks & Appetizers ★ 4.8

crostini toast:Frequently Asked Questions

1.Why do you recommend using day-old bread instead of fresh for this crostini? ▾
Day-old sourdough baguette has lost just enough surface and internal moisture to toast up shatteringly crisp without turning soggy, even after the garlic rub or added toppings. Fresh bread holds too much residual moisture, so it will turn chewy or gummy in the center instead of holding that perfect golden, snappy texture classic crostini is known for.
2.Can I use a different type of bread if I don’t have a sourdough baguette? ▾
Absolutely! Day-old crusty French baguette, ciabatta, or rustic Italian loaf all work beautifully. Stick to loaves with a sturdy, open crumb and firm crust; avoid soft, squishy sandwich bread, as it won’t hold up to toasting and the garlic rub without falling apart or turning soggy before you serve it.
3.What’s the best method to get evenly golden, crisp toast every time? ▾
My go-to method is to brush both sides of ½-inch thick bread slices generously with extra-virgin olive oil, then bake on a sheet pan at 400°F for 5 to 7 minutes per side, until edges are deep gold and centers are crisp. You can also toast slices on a grill pan over medium heat for a subtle smoky char, if you prefer.
4.Do I have to rub garlic directly on the toast, or can I mix it into the olive oil? ▾
Rubbing a halved fresh garlic clove on warm, just-toasted bread delivers a perfect mellow, evenly distributed garlic kick without the harsh, bitter bite you get from raw garlic mixed into oil. The rough, warm toast surface acts like a fine grater, leaving just a thin, fragrant layer of garlic on every slice.
5.How much garlic should I use per slice of crostini? ▾
One whole peeled garlic clove, halved crosswise to expose its juicy cut surface, will cover 4 to 5 slices of warm toast, depending on how garlicky you like it. Rub lightly for a subtle, background garlic flavor, or press a little firmer as you rub if you want a bolder, more pronounced garlic taste on every bite.
6.When should I add the basil so it doesn’t wilt or turn brown? ▾
Add fresh basil right before you’re ready to serve the crostini. You can tuck whole small basil leaves on top, or chiffonade larger leaves for a delicate, even sprinkle. Don’t add basil too far ahead; exposure to warm toast and air will make it turn dark, mushy, and lose its bright, peppery fresh flavor.
7.Can I use dried basil instead of fresh for this recipe? ▾
I really don’t recommend it for this classic preparation. Dried basil has a muted, earthy flavor that can’t match the bright, fresh, anise-kissed pop of fresh basil, and its crumbly texture feels out of place on crisp toast. If you’re in a total pinch, stir a tiny pinch into your toasting oil, but fresh is always worth it here.
8.Why do you call for flaky sea salt instead of regular table salt? ▾
Flaky sea salt has large, delicate, irregular crystals that dissolve slowly on your tongue, delivering bright pops of salty flavor that balance garlic and basil perfectly, instead of making the whole toast taste uniformly over-salted. Fine table salt is too dense, making it easy to over-season, and it adds no pleasant textural contrast.
9.How do I keep crostini from getting soggy if I’m making them ahead for a party? ▾
Toast the bread slices fully, then let them cool completely to room temperature on a wire rack before storing in an airtight container at room temperature for up to 2 days. Wait to rub with garlic, add basil, or add any toppings until right before guests arrive; trapping warm, moist toast in a container causes sogginess fast.
10.Can I freeze leftover toasted crostini slices for later use? ▾
Absolutely! Let fully toasted, unseasoned slices cool completely, then stack them between sheets of parchment paper in a freezer-safe zip-top bag, and freeze for up to 3 months. When you’re ready to use them, pop slices straight on a baking sheet in a 350°F oven for 2 to 3 minutes to crisp back up, then season as normal.
11.How thick should I cut the bread slices for the best texture? ▾
Aim for uniform ½-inch thick slices, cut on a slight diagonal to give you extra surface area for the garlic rub and any future toppings. Slices that are too thin will burn easily and shatter when you bite them, while slices thicker than ¾ inch will stay chewy and soft in the center instead of toasting all the way through.
12.Is there a way to make this recipe if I don’t have an oven? ▾
Definitely! You can toast oil-brushed bread slices in a dry cast iron skillet over medium-low heat for 2 to 3 minutes per side, until golden and crisp, or even use a countertop toaster if you keep a close eye on it to avoid burning. Just make sure bread is warm all the way through so the garlic rub adheres well.
13.What easy toppings can I add to these crostini for a heartier appetizer spread? ▾
These classic garlic-basil crostini make the perfect base for all kinds of toppings! Try adding a slice of fresh mozzarella and tomato jam, a smear of ricotta and roasted cherry tomatoes, a thin slice of prosciutto, or a dollop of white bean dip. Just keep the base garlic, oil, and salt to let that core bright flavor shine.
14.Why does my garlic rub sometimes taste bitter on finished crostini? ▾
Bitter garlic flavor usually happens if you use old, sprouted garlic cloves, or if you press too hard and rub the tough, woody core of the clove into warm toast. Stick to firm, fresh, unsprouted garlic cloves, and rub only the juicy, cut fleshy surface lightly across the toast—you don’t need to scrape pulp onto the bread for great flavor.
15.Can I use infused olive oil for extra flavor in this recipe? ▾
Absolutely! Mild chili-infused, lemon-infused, or light rosemary-infused olive oil adds lovely subtle depth without overpowering the classic garlic and basil flavor. Just skip heavily flavored or smoked olive oils for this recipe; they’ll compete with the fresh, simple flavors that make this crostini such a timeless, beloved antipasto.
16.How long will fully assembled crostini stay crisp when set out for a party? ▾
Fully assembled crostini with garlic, basil, and flaky salt will stay crisp and delicious for 45 minutes to an hour at room temperature, as long as they’re not sitting in direct sun or a very humid spot. If you’re serving for a longer event, set out small batches every 30 minutes instead of piling all slices on a platter at once to keep them crisp.

Comments (7)

2 days ago

OMG these crostini were SUCH a hit at my book club potluck last night! I toasted them a tiny bit longer than 8 minutes because I love extra crunch, rubbed the garlic while the bread was still piping hot, and topped each piece with a little flaky sea salt in addition to the fresh basil. Everyone asked me for the recipe before the night was over, total game changer!!

yesterday

Wait how much flaky salt do you add per piece? I always overdo it when I try that trick and end up with salt bombs 😂

2 hours ago

So glad these were such a hit at your book club! A light pinch of flaky salt per toast is perfect for that salty kick without overpowering the garlic and basil. If you love extra crunch, keeping them in the oven 1-2 extra minutes (just keep a close eye so they don’t burn!) is totally the right call.

yesterday

Super easy weeknight side! I made these to go with our spaghetti and meatball dinner last night, my kids devoured half the batch before we even sat down at the table. Only tiny change I made was adding a light sprinkle of grated parmesan right after they came out of the oven so it melted a little. Will absolutely be making these again for our weekly pasta nights.

5 minutes ago

Love the parmesan addition! That melted cheesy bite pairs so perfectly with the garlic and fresh basil, I’ll have to try that next time I make these for my own family dinner. So happy your kids enjoyed them!

1 week ago

These are perfect for meal prep! I made a batch on Sunday, tossed them in an airtight container once they cooled completely, and they stayed crispy all week for quick work lunches. I topped a few with leftover tomato bruschetta mix midweek and it was chef’s kiss. SO good, so easy, no fancy ingredients required.

3 days ago

First time making crostini ever and I totally burned the first batch 😂 Turns out my oven runs way hot, so I knocked the temp down 25 degrees and kept a close eye on the second batch, and they came out perfect. Rubbing the raw garlic on the warm toast is such a genius hack, I never thought to do that before instead of mixing garlic into butter! Will absolutely be making these all summer.

2 days ago

Oh my gosh my oven runs hot too! I always have to lower the temp by 25 degrees for every toast or baked good recipe, saves so many burnt batches. So glad your second round turned out!

yesterday

So sorry about the first burnt batch! Oven temperature calibration varies so much from appliance to appliance, that’s such a smart call adjusting it for your oven. So happy the second batch turned out well — that garlic rub trick works like a charm every time!

5 days ago

Made these for a girls’ wine night last weekend and they were gone in 10 minutes flat! I used a sourdough loaf instead of a regular baguette because that’s what I had lying around from the farmers market, and it worked so well. The chewy, tangy sourdough with the sharp garlic and fresh basil? Unreal. 10/10.

3 days ago

Sourdough is such a fantastic swap! The tangy flavor pairs so beautifully with the bright basil and sharp garlic, I’m so glad that worked out for your wine night. Sounds like the perfect girls’ night spread!

2 hours ago

Quick question — can I make these on the grill instead of the oven? We’re doing a big backyard cookout this weekend for my roommate’s birthday and I don’t want to heat up the kitchen if I don’t have to. These look perfect to serve alongside our grilled chicken and pasta salad!

30 minutes ago

I made these on the grill last month for our Memorial Day cookout! Just toast them over medium indirect heat for 1-2 minutes per side, don’t put them directly over the flame or they’ll char super fast. Turned out amazing, had that little smoky flavor that was chef’s kiss. Highly recommend!

2 weeks ago

Wow, 8 minute cook time? That is a total lifesaver for chaotic school nights! I’m always scrambling to throw together a quick side when I get home from carpool and work, and this is way fresher and tastier than the frozen garlic bread I used to stock in the freezer. My kids all went crazy for it, even my pickiest 7-year-old who turns his nose up at anything with green flecks ate two pieces! Will be adding this to our regular dinner rotation for sure.



