
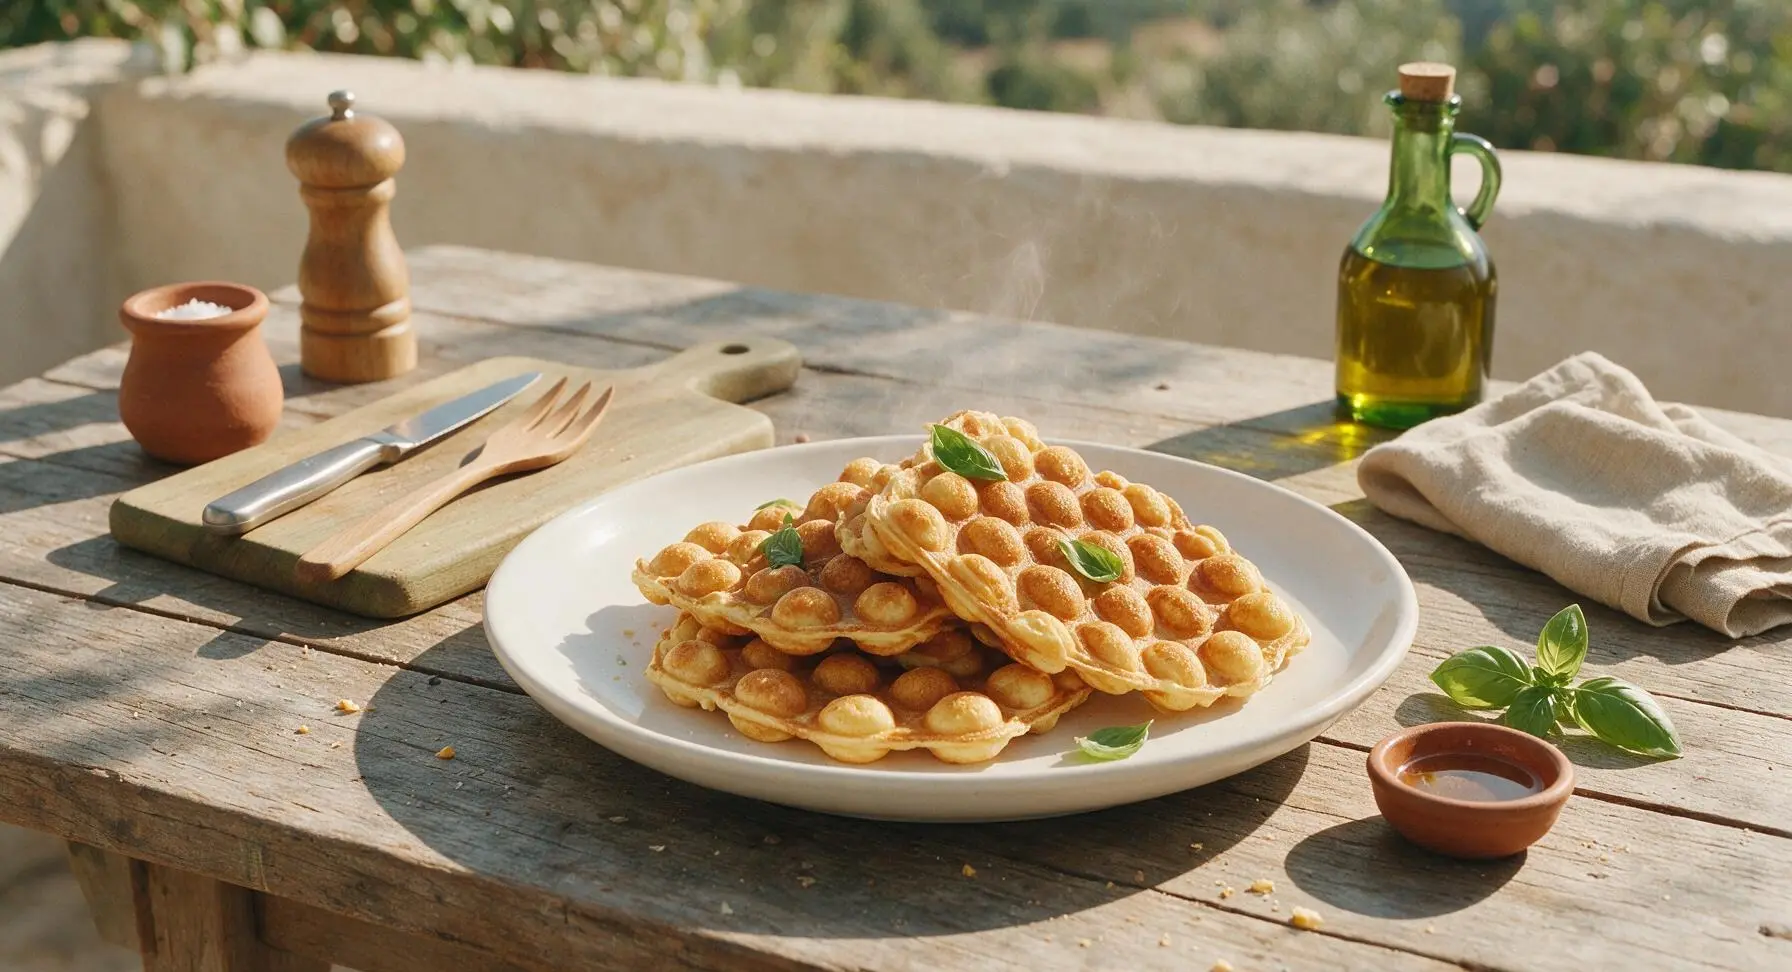
egg waffle machine

title 1
egg waffle machine
⏱️ cook time 15 minutes
🍽️ servings 4
⚡ Difficulty easy

intro

Crisp, bubbly Hong Kong-style egg waffles with soft chewy centers, made easily at home with a countertop egg waffle machine—perfect handheld, shareable snack for casual gatherings.

Ingredients
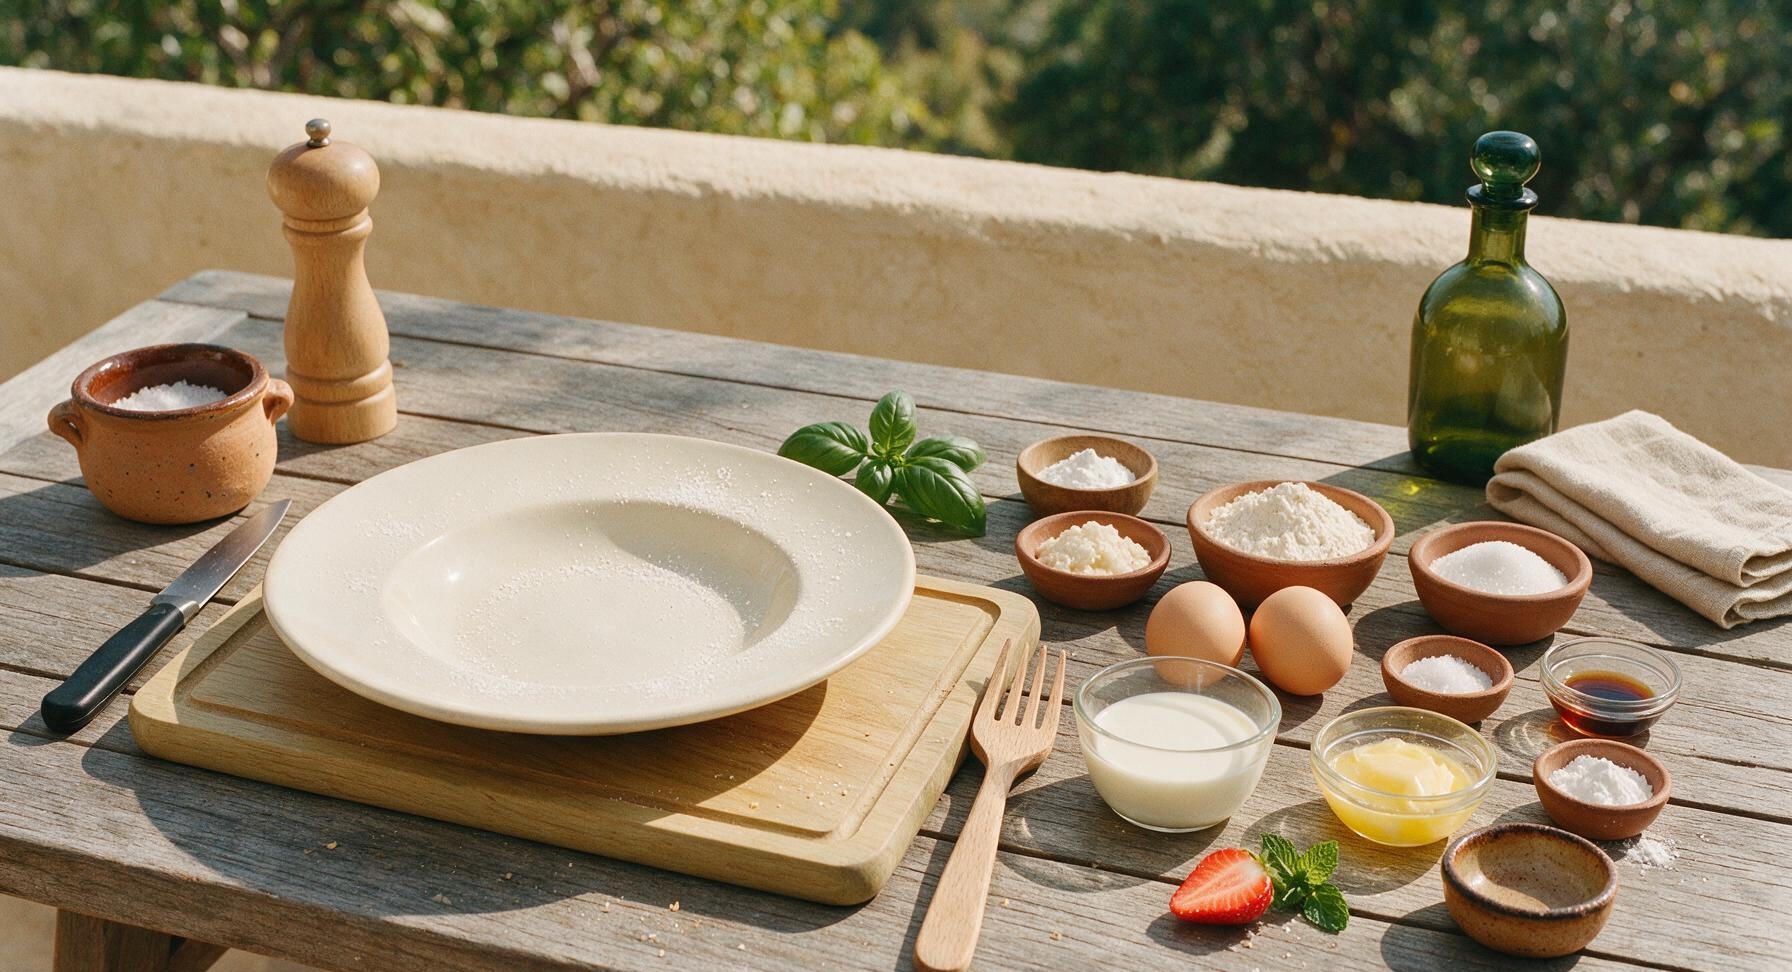
All-purpose flour 140g (1 cup)
Tapioca starch 15g (2 tbsp)
Large eggs 2 (100g, shelled)
Granulated sugar 80g (1/3 cup + 1 tbsp)
Baking powder 4g (1 tsp)
Fine sea salt 1.5g (1/4 tsp)
Whole milk 120ml (1/2 cup)
Unsalted butter, melted and cooled 28g (2 tbsp)
Pure vanilla extract 5ml (1 tsp)
Non-stick cooking spray (or extra melted butter) 5g (for greasing plates)
Powdered sugar 10g (2 tsp, for dusting)
Fresh strawberry 1, halved (for garnish)
Fresh mint sprig 1 small (for garnish)

Steps

1

Sift Dry Ingredients

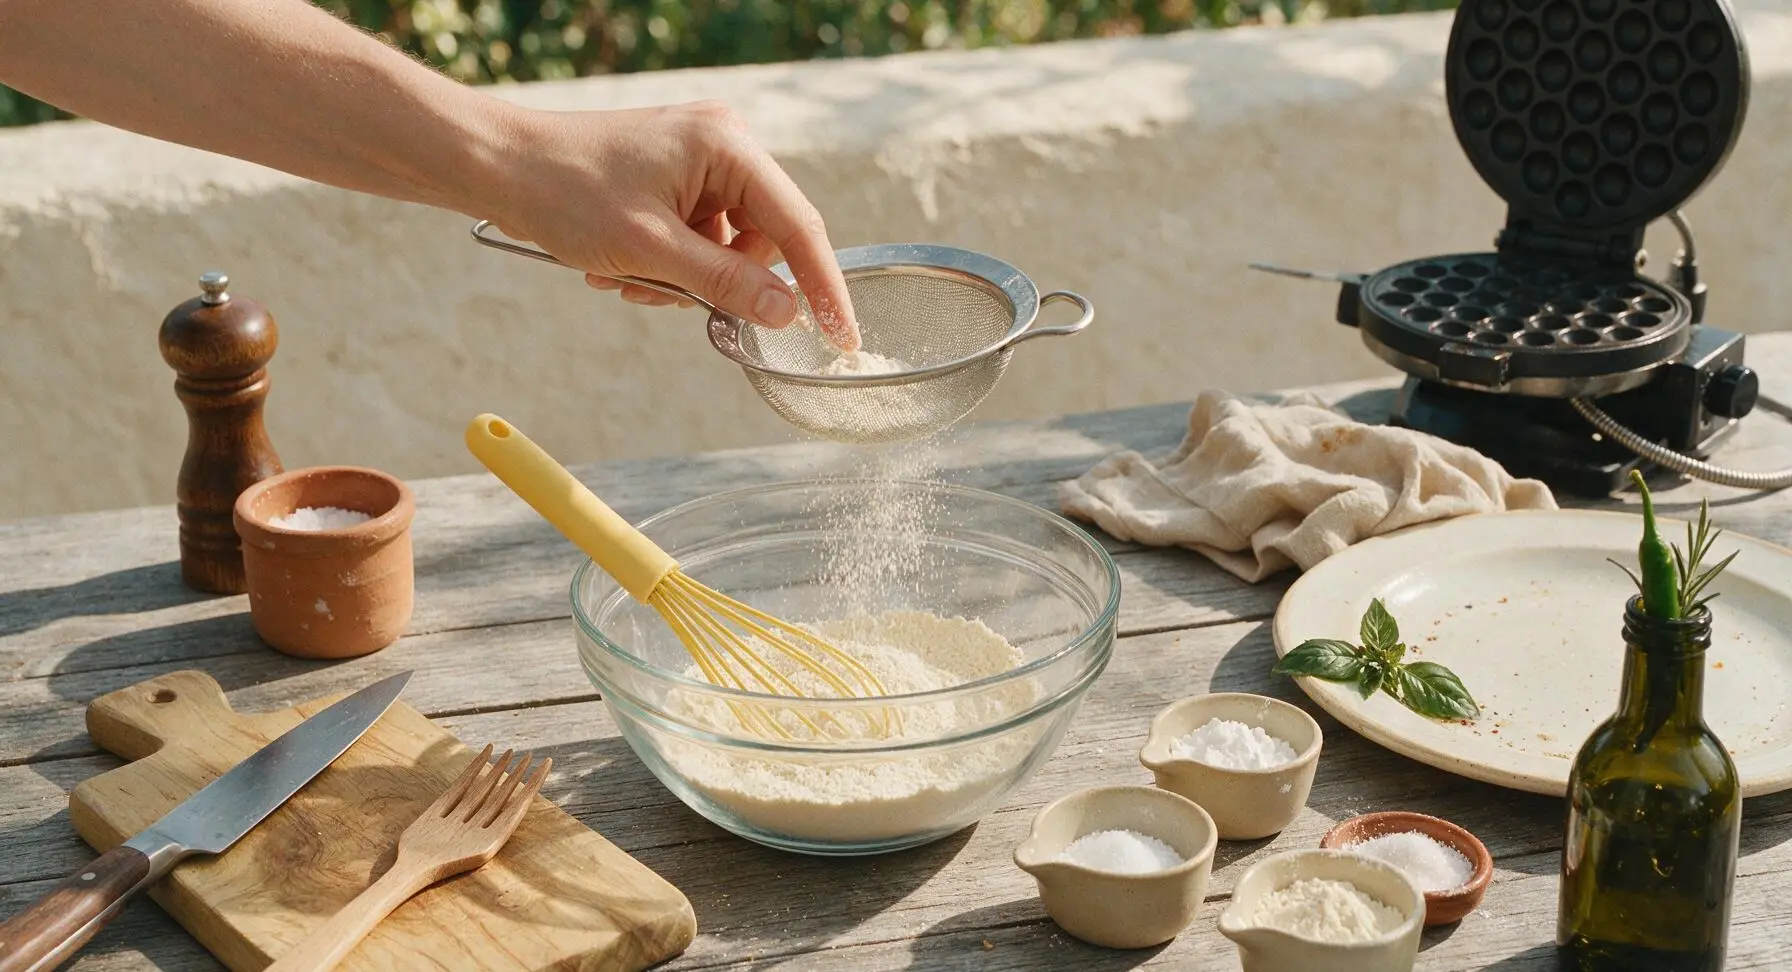
Place the stainless steel fine-mesh sieve over the clear glass mixing bowl. Add all-purpose flour, tapioca starch, baking powder, and fine sea salt to the sieve. Tap the edge of the sieve gently to sift all dry ingredients into the bowl below, discarding any small hard lumps caught in the mesh. Use the pale yellow silicone whisk to stir the sifted dry ingredients for 10 seconds to evenly combine. The finished dry mixture should be a uniform pale off-white with no clumps.
Step 1
step1:Sift Dry Ingredients
2

Whisk Wet Ingredients

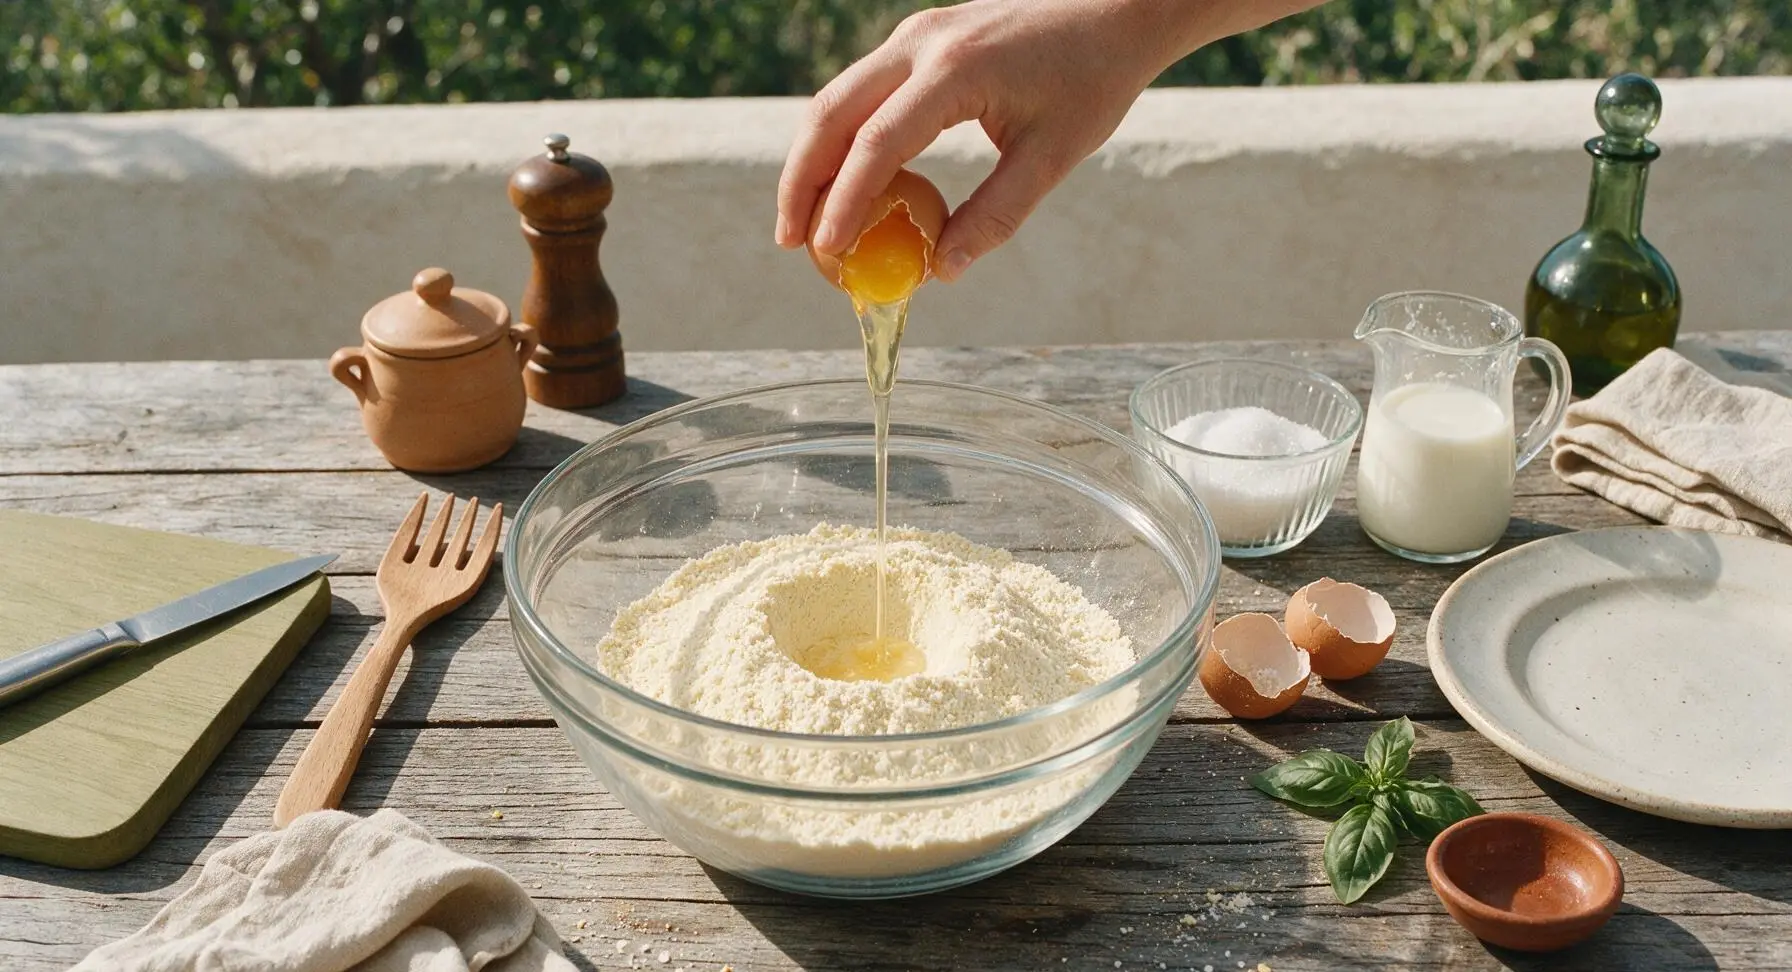
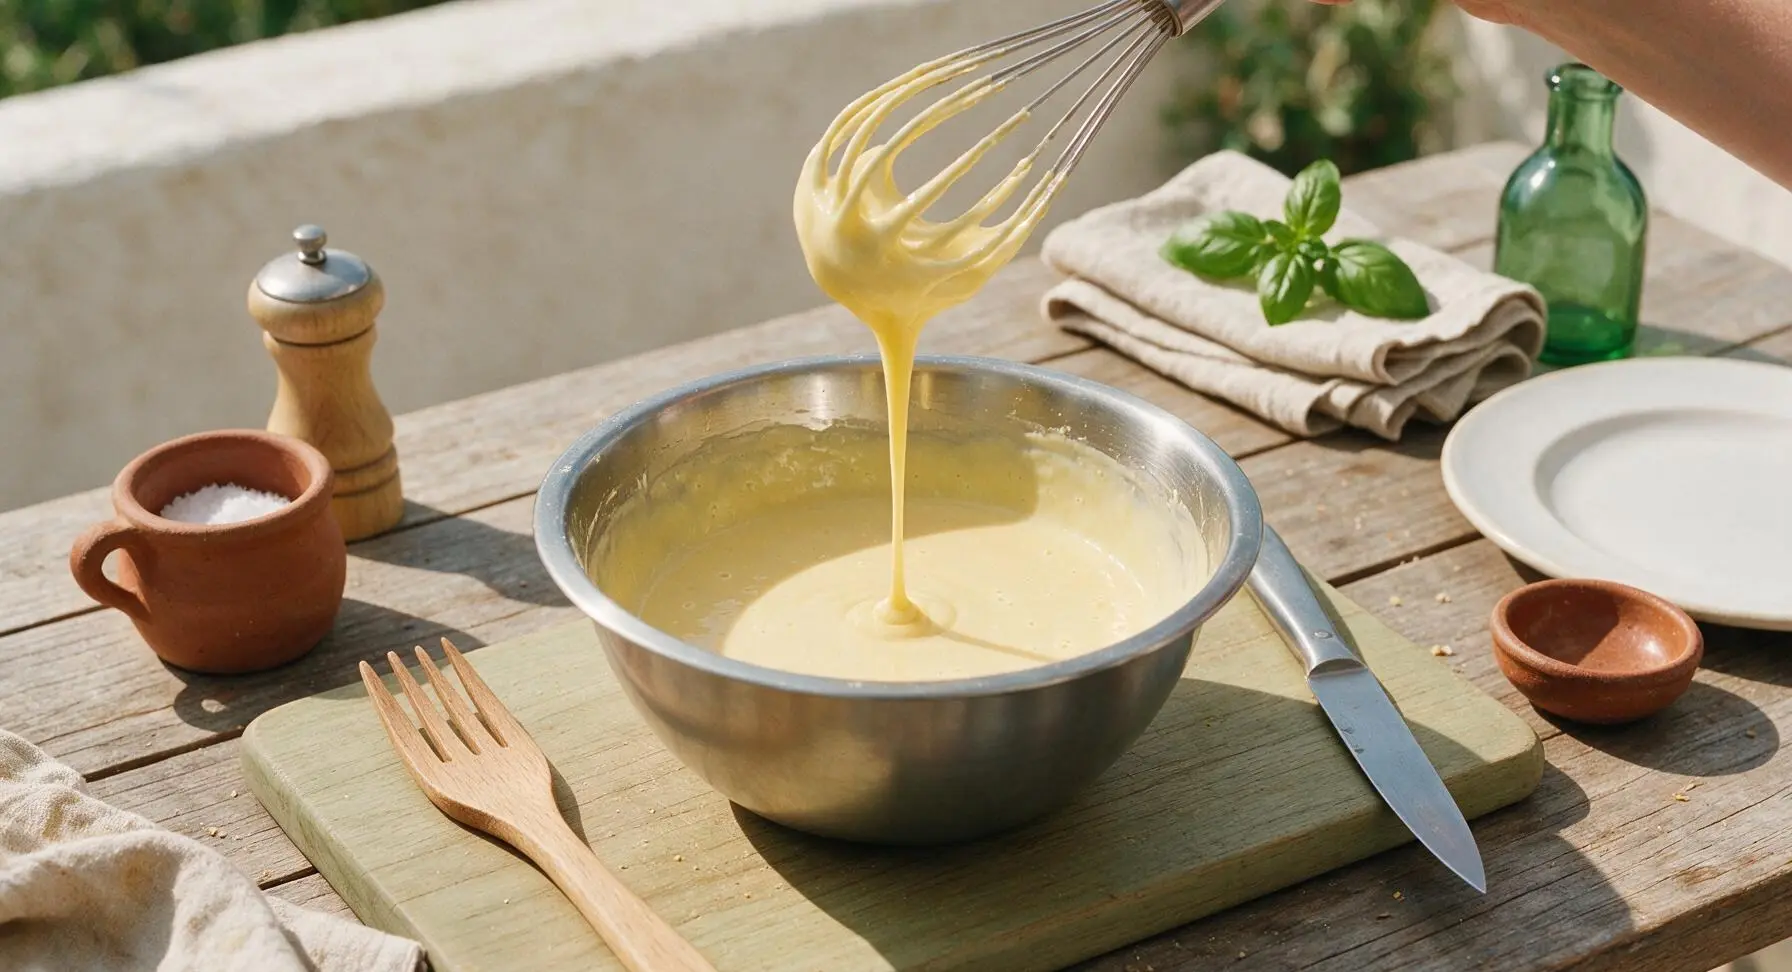
Create a small well in the center of the sifted dry ingredients. Crack the 2 large eggs into the well, then add granulated sugar, whole milk, cooled melted butter, and vanilla extract. Whisk slowly at first to draw dry ingredients in from the edges of the well, then increase speed slightly to mix until the batter is completely smooth with no visible flour streaks. Do not over-whisk—stop as soon as the batter comes together to avoid developing gluten that will make waffles tough. The finished batter should be the consistency of thin pancake batter, flowing easily off the end of the whisk when lifted.
Step 2
step2:Whisk Wet Ingredients
Step 2
step2:Whisk Wet Ingredients
3

Rest the Batter

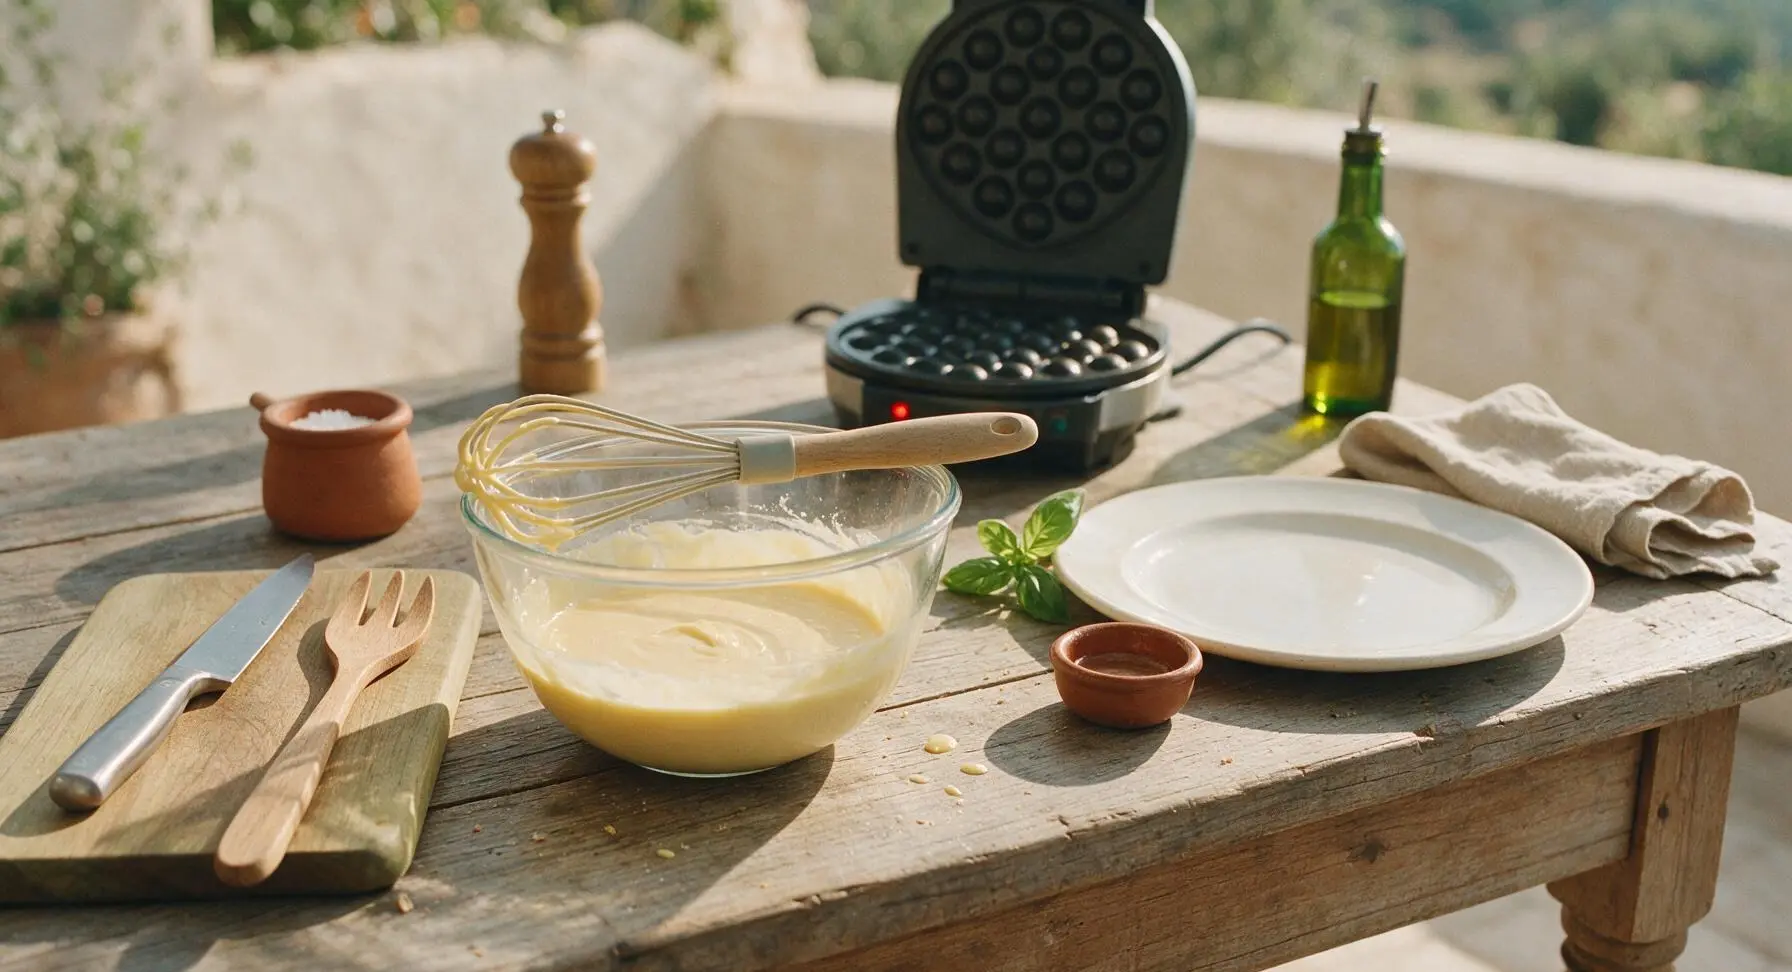
Let the mixed batter rest uncovered in the mixing bowl for 10 minutes at room temperature. This resting period allows flour and starch granules to fully absorb moisture, pops large air bubbles that would cause uneven, holey waffles, and creates the signature chewy-crisp texture. While the batter rests, plug in the egg waffle machine to preheat to 180C (350F), waiting until the built-in red indicator light signals it has reached cooking temperature.
Step 3
step3:Rest the Batter
4

Grease Waffle Plates

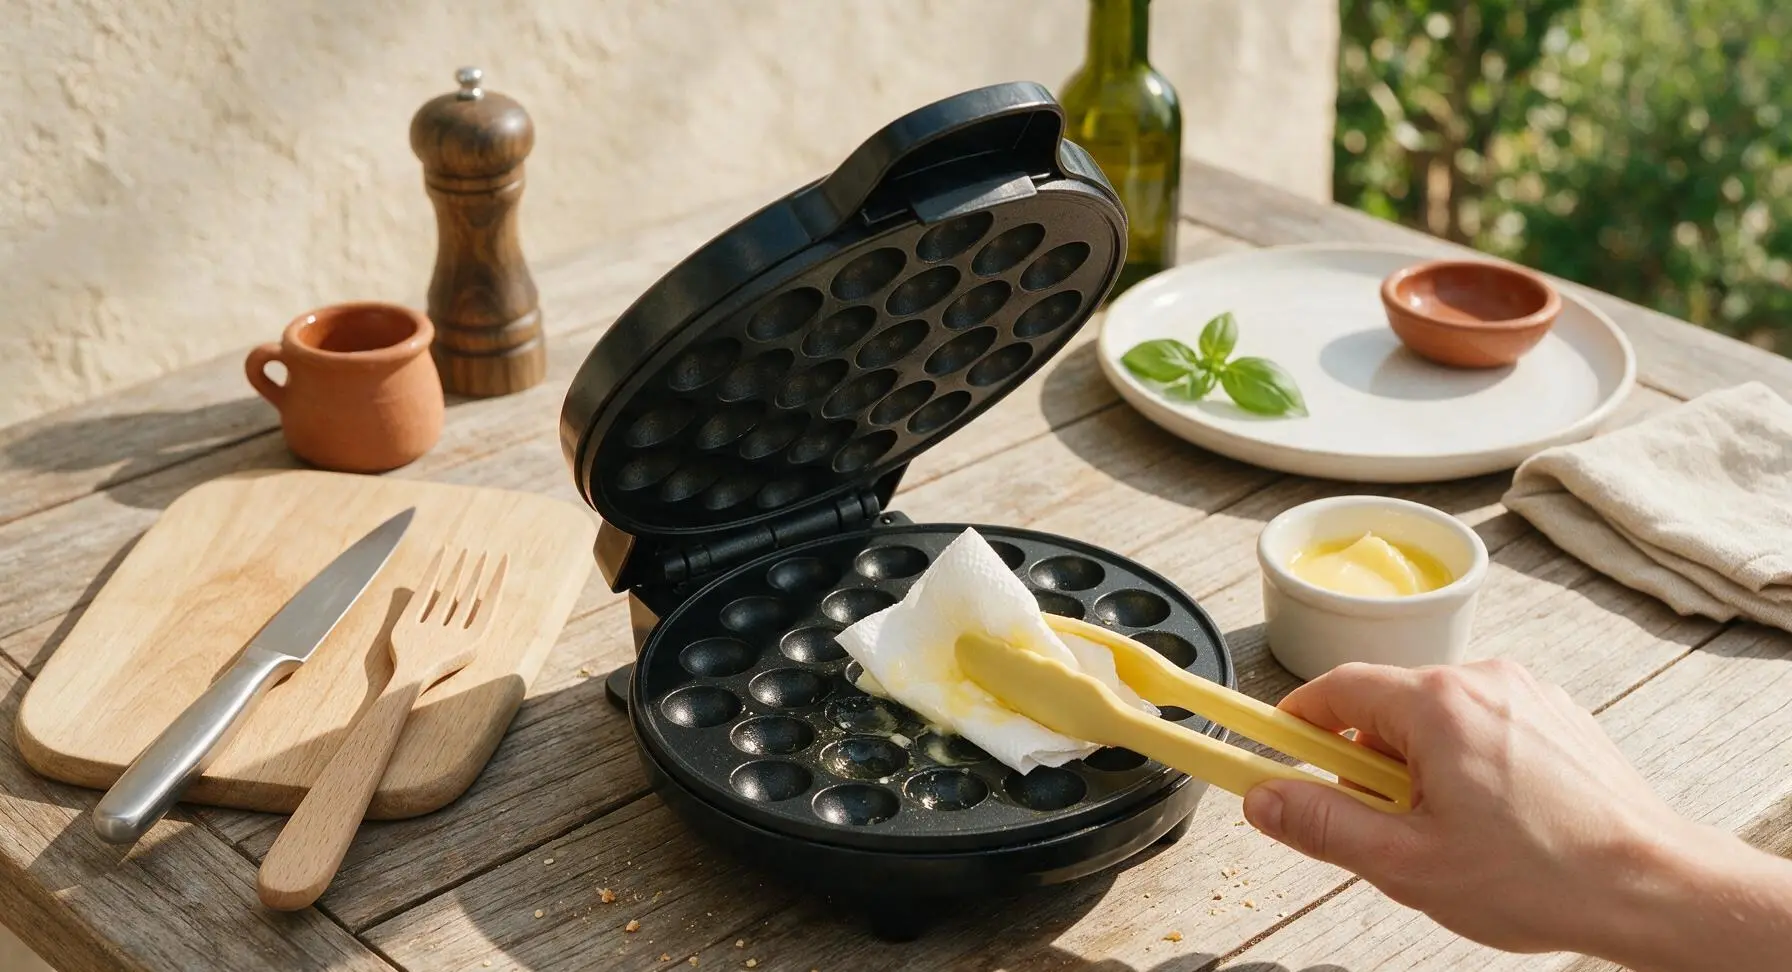
Once the waffle machine is fully preheated, open the lid. Use the pale yellow silicone tongs (taken from the right wall hook) to hold a folded paper towel dipped in melted butter from the white ceramic ramekin, wiping a thin, even layer across both top and bottom bubble grid plates. Wipe off any excess butter to avoid smoking or burnt, greasy edges on finished waffles.
Step 4
step4:Grease Waffle Plates
5

Pour Batter Evenly

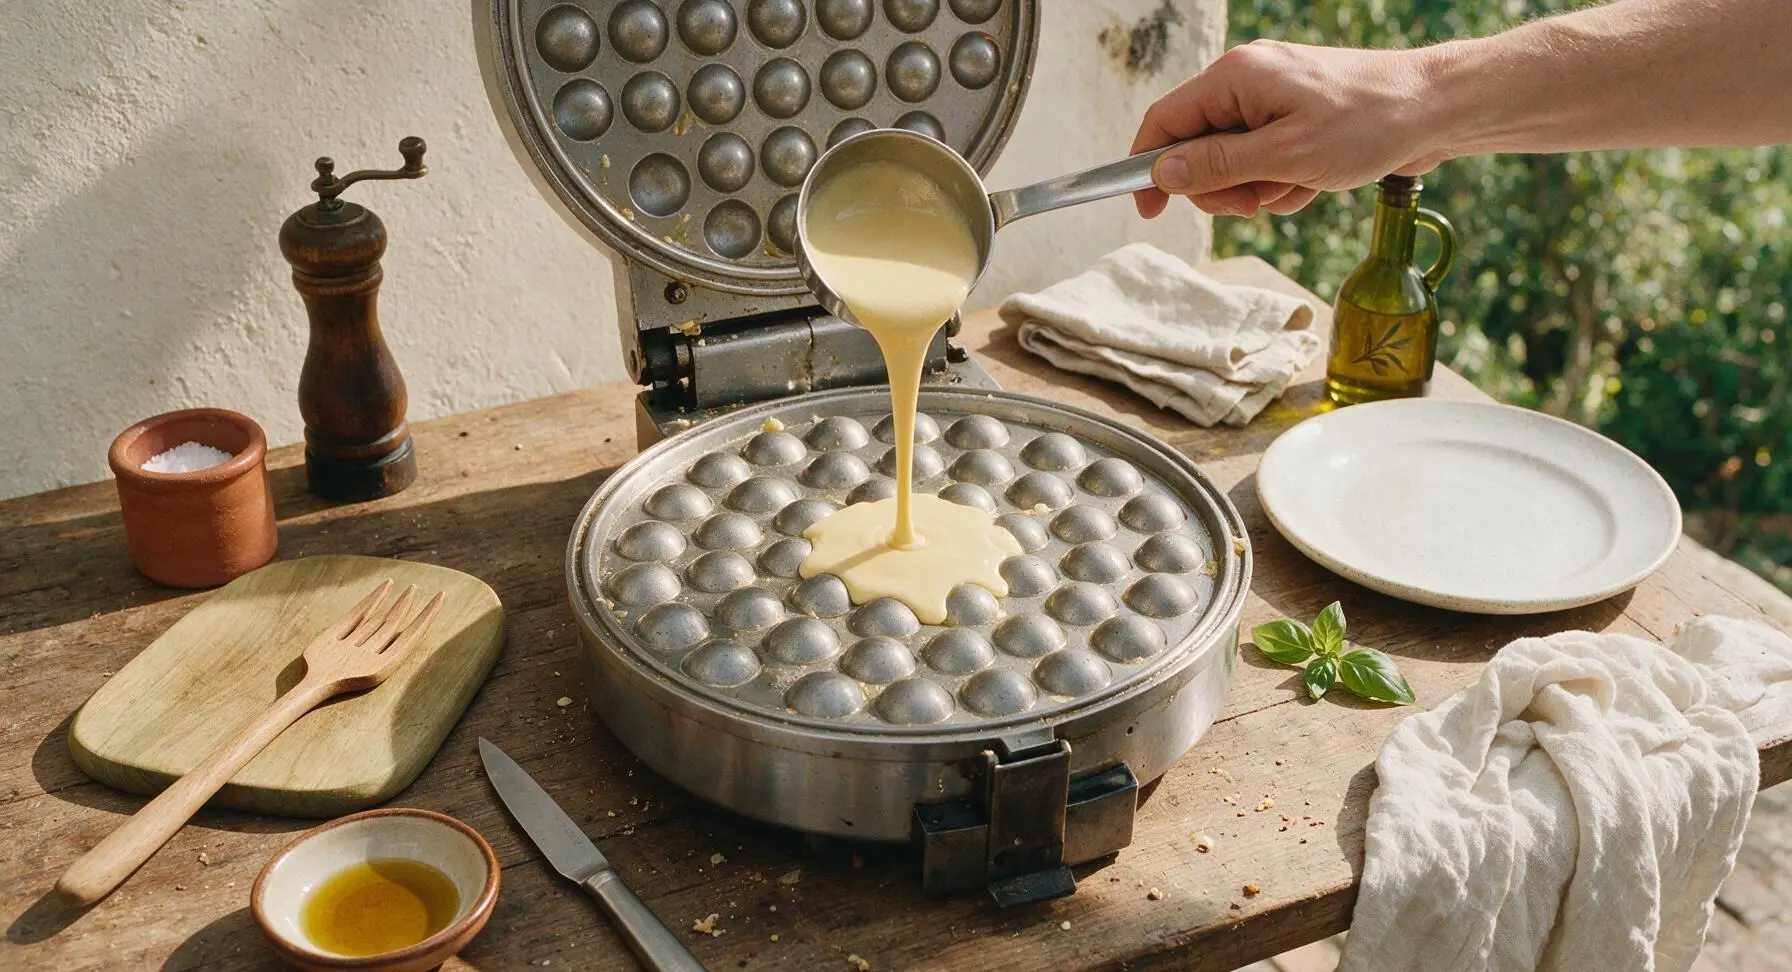
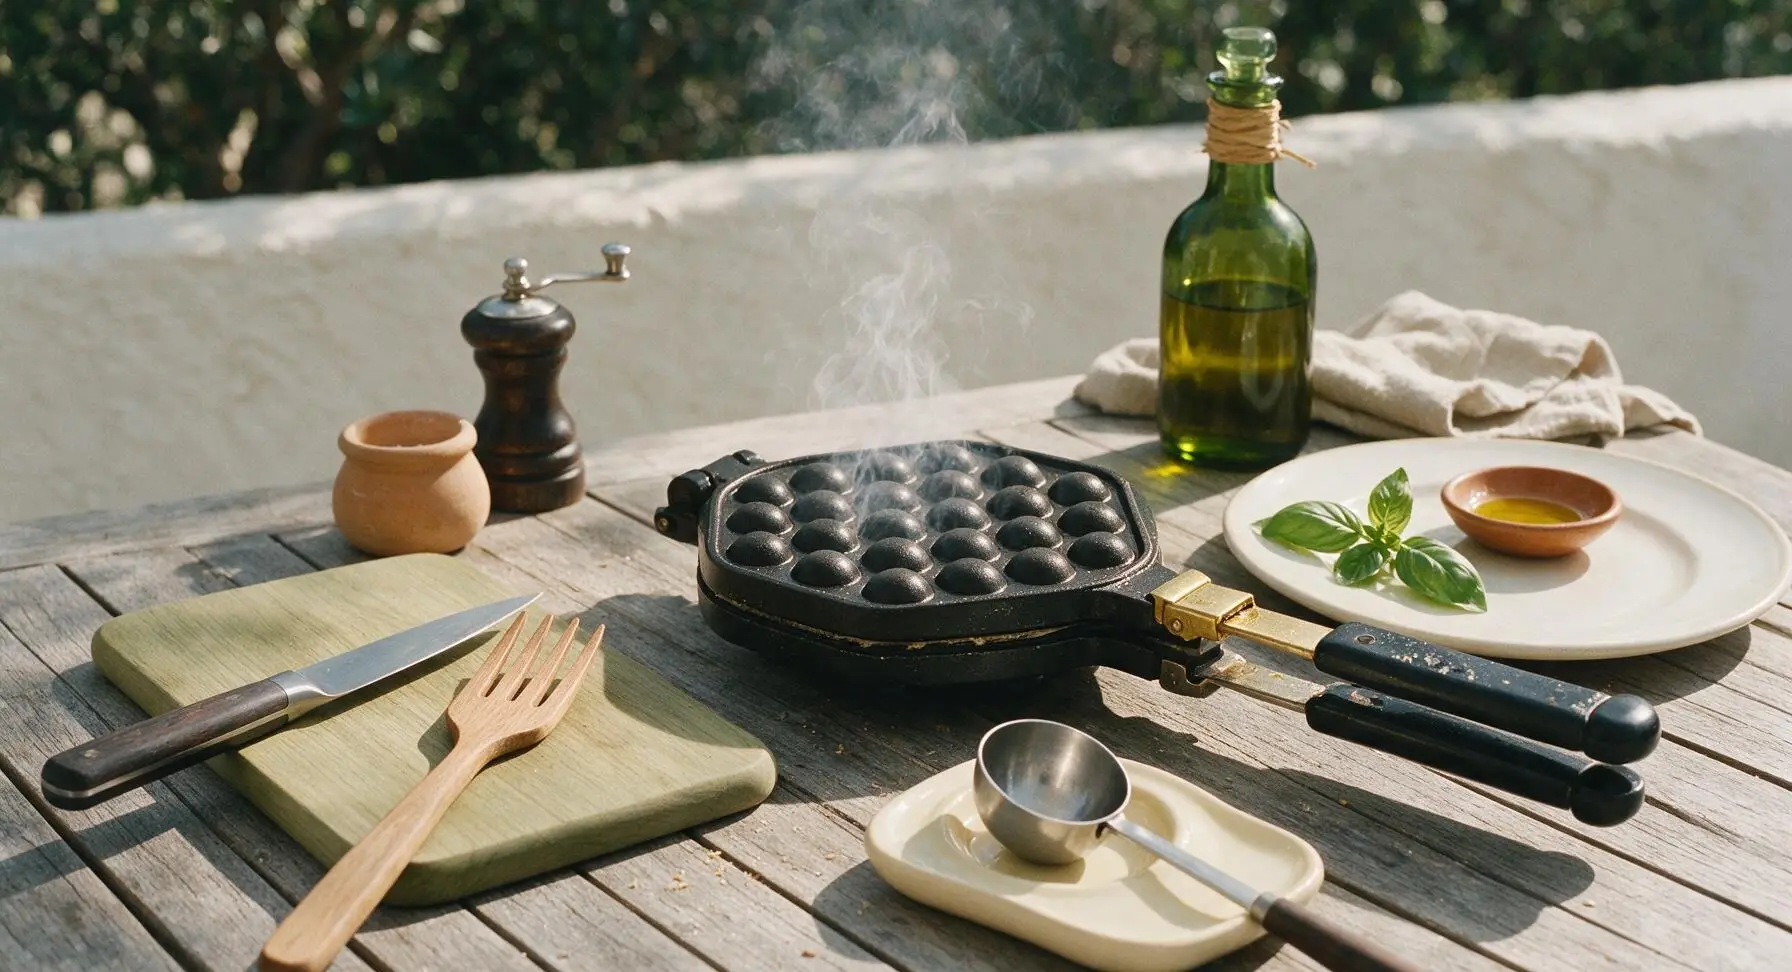
Use the stainless steel 1/4 cup ladle to scoop exactly 180ml (3/4 cup) of rested batter, pouring it directly into the center of the greased bottom waffle plate. Do not spread the batter manually—close the lid immediately and latch it shut. The batter will spread naturally into the bubble grids as it heats, creating the iconic puffed shape. Pouring too much batter will cause leaks and misshapen waffles, while too little will leave flat, incomplete bubbles.
Step 5
step5:Pour Batter Evenly
Step 5
step5:Pour Batter Evenly
6

Cook Until Golden

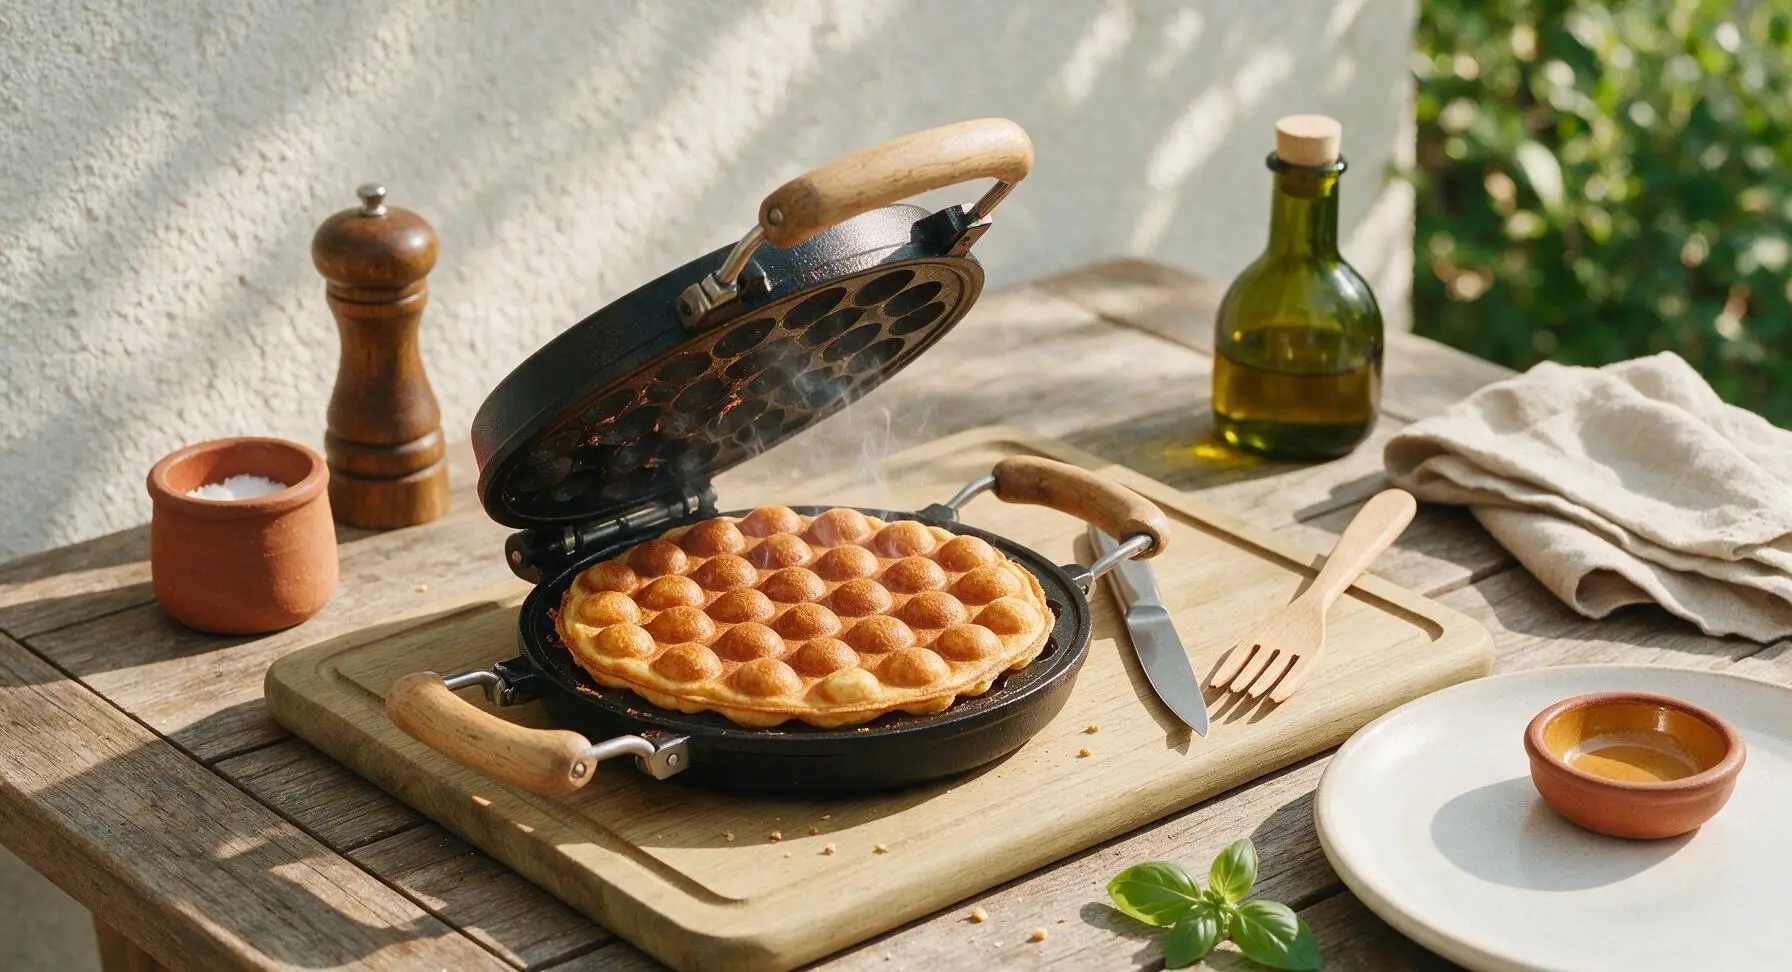
Let the waffle cook for 3.5 minutes without opening the lid for the first 3 minutes. Peeking too early will cause the partially set waffle to split and stick to the top plate. After 3.5 minutes, open the lid to check doneness: the waffle should be evenly golden brown across all bubbles, crisp on the outside, and pull away easily from the non-stick plates. If pale spots remain, close the lid and cook for an additional 30 seconds.
Step 6
step6:Cook Until Golden
7

Remove and Stack Waffles

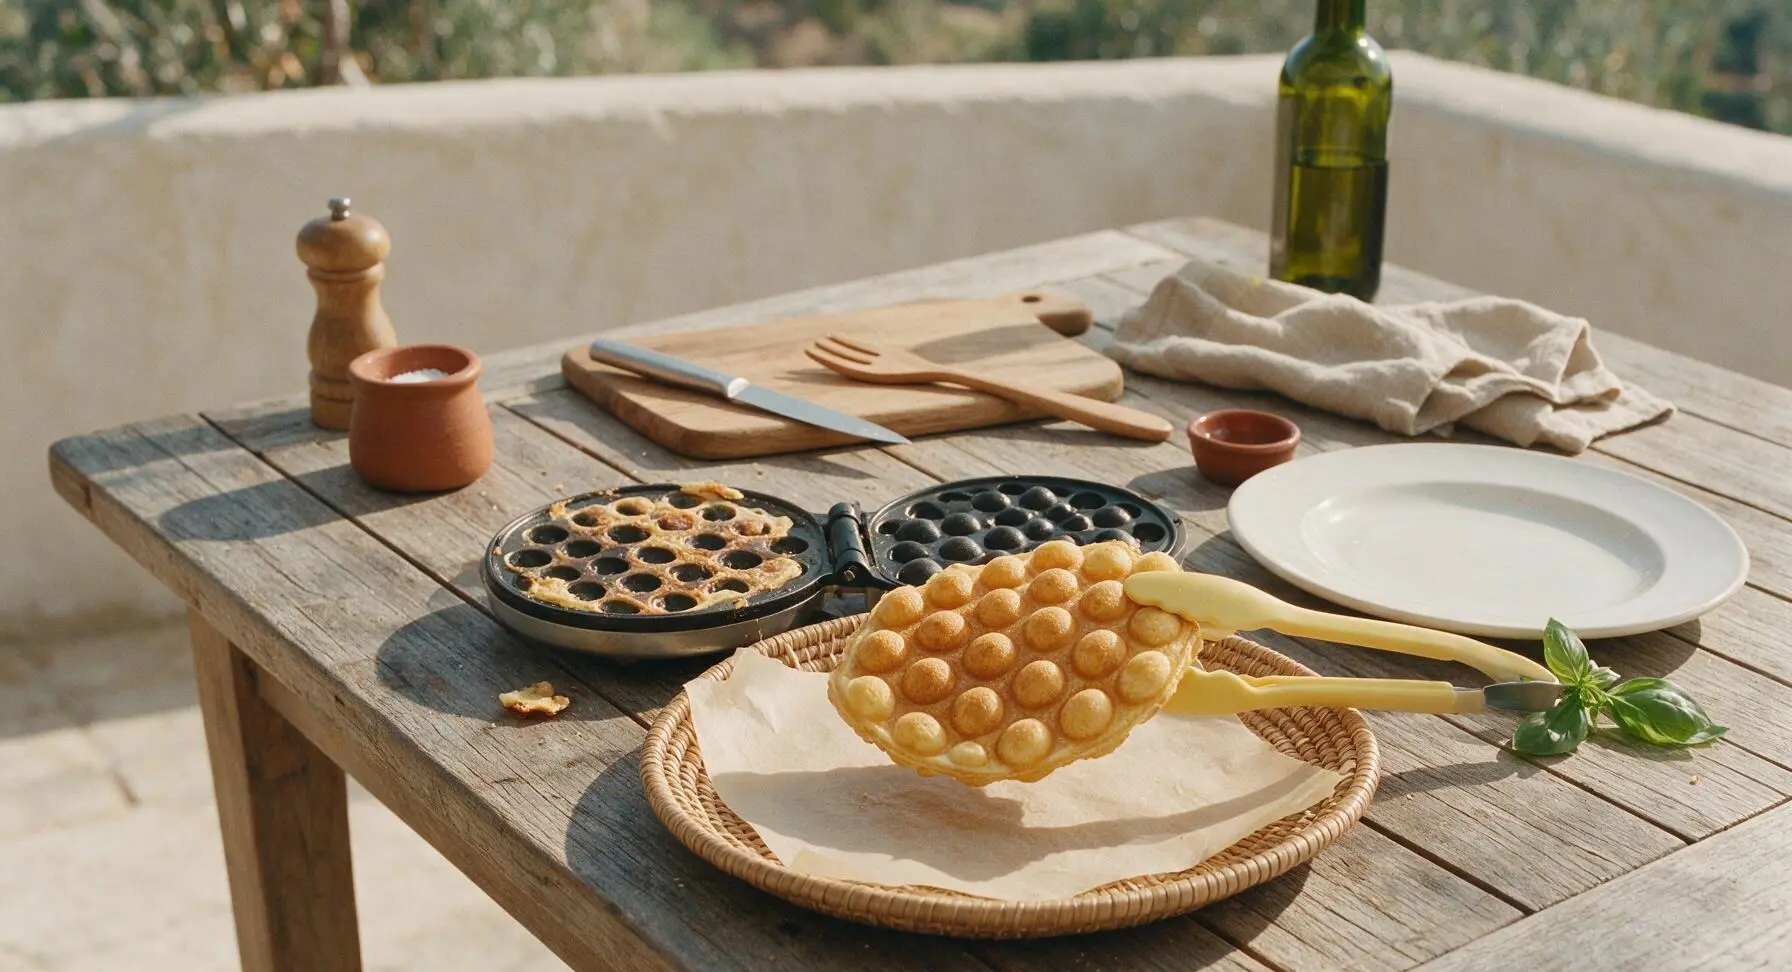
Use the silicone tongs to gently lift the cooked waffle out of the machine, transferring it to the natural rattan serving plate lined with unbleached parchment. Let each waffle rest for 1 minute after removing to allow the exterior to crisp fully, instead of turning soggy from trapped steam. Repeat the greasing, pouring, and cooking process with the remaining batter to make 3 more waffles, greasing plates lightly between batches and stacking finished waffles loosely on the serving plate.
Step 7
step7:Remove and Stack Waffles
8

Dust and Garnish

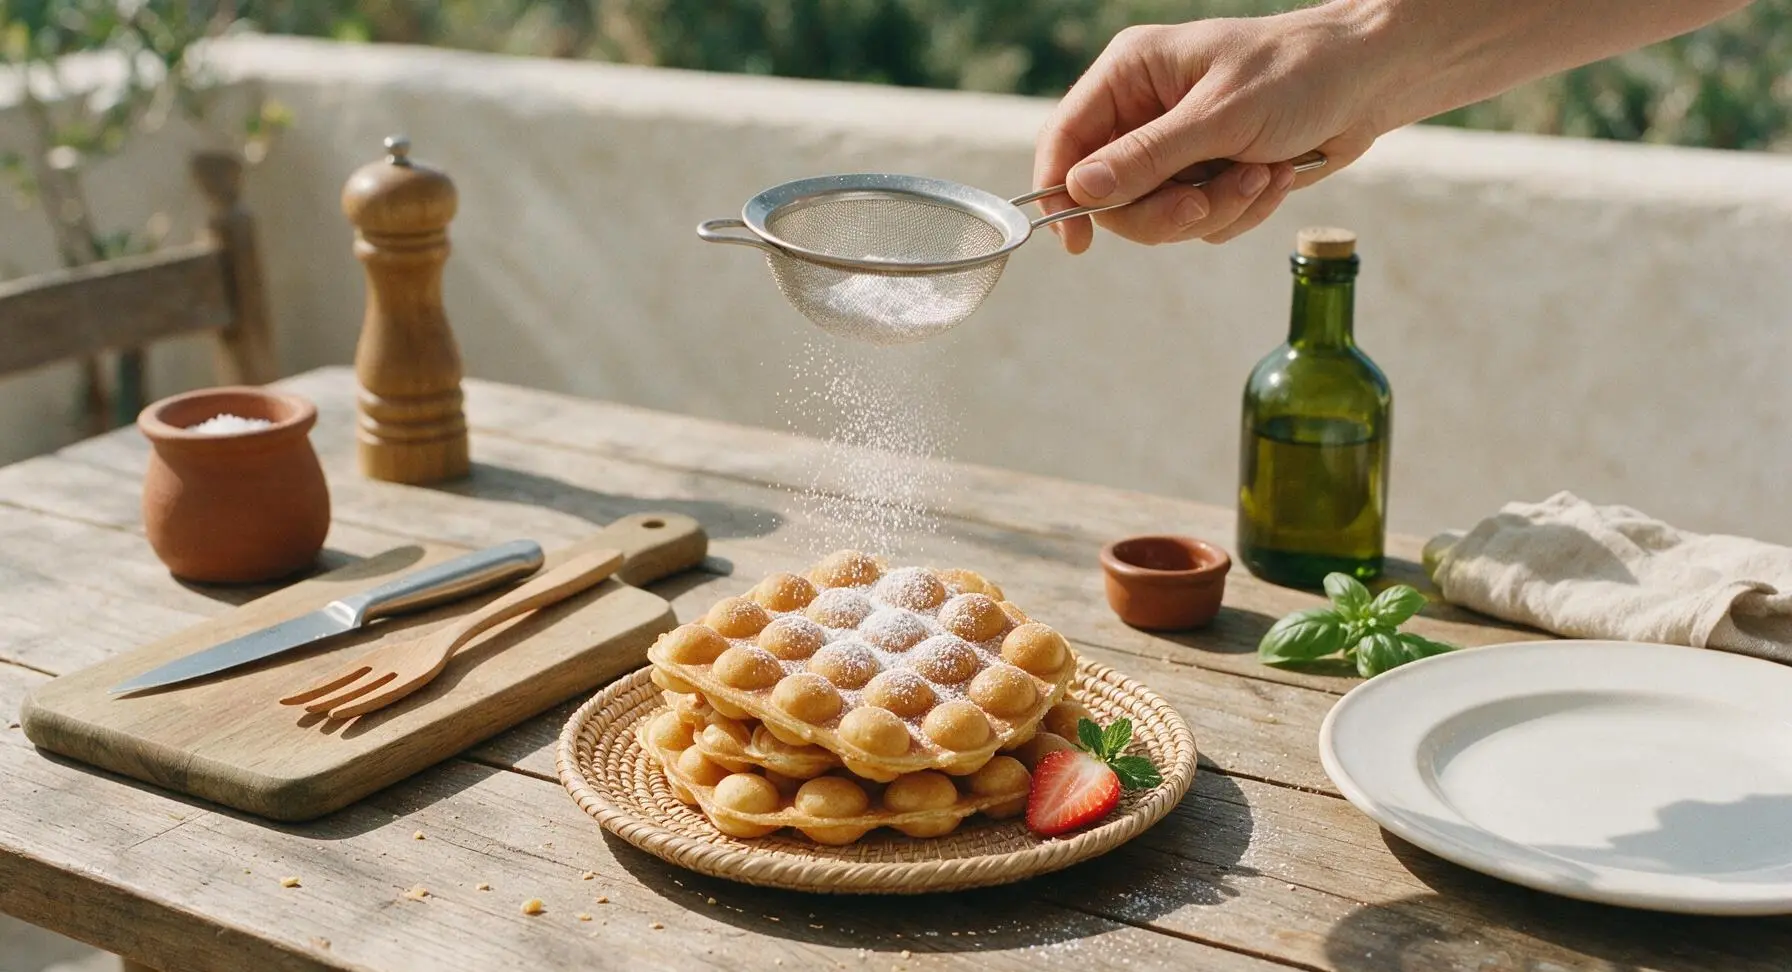
Once all four waffles are loosely stacked on the rattan serving plate, hold the stainless steel fine-mesh sieve 15cm above the waffles, add the powdered sugar, and tap the edge lightly to dust a fine, even layer across the top bubble surfaces. Tuck the halved strawberry and small mint sprig at the 3 o’clock position on the edge of the plate for a bright fresh garnish. Serve immediately while warm, when the exterior is crisp and the center is soft and chewy.
Step 8
step8:Dust and Garnish

Tips

1.Do not skip the tapioca starch in the batter: Using only all-purpose flour will produce soft, cakey waffles instead of the iconic chewy, slightly stretchy center and shatteringly crisp bubble edges that define authentic Hong Kong egg waffles. Cornstarch works as a last-minute substitute, but tapioca starch delivers the most traditional texture.
2.Avoid overfilling the waffle machine: 3/4 cup of batter is the exact measurement for most standard 22cm home egg waffle makers. Pouring more batter will cause it to leak out the sides of the machine, burn on the outer housing, and create misshapen waffles with flat, undercooked bubbles.
3.Resist the urge to open the lid early: Peeking at the waffle before the 3-minute mark can cause the partially set batter to split and stick to the top plate, ruining the uniform bubble shape. Wait until the steady stream of steam from the machine edges slows slightly before checking for doneness.


✨ You May Also Like

Snacks & Appetizers
🍜 Mexico

Crispy thick-cut tortilla chips piled high with seasoned beef, melted cheese, and bright fresh toppings for a shareable, crowd-favorite bite.

⏱️ 25 minuteSnacks & Appetizers ★ 4.8
Snacks & Appetizers
🍜 United States

Crisp, sweet-tangy spiced pickled watermelon rind is a zero-waste summer staple, perfect with grilled meats, charcuterie, or eaten straight from the jar as a bright snack.

⏱️ 30 minuteSnacks & Appetizers ★ 4.6
Snacks & Appetizers
🍜 Germany

A tangy, jellied pork cold cut slow-simmered with aromatic spices, set into a firm sliceable loaf, served cold with mustard and crusty bread.

⏱️ 3 hours 4Snacks & Appetizers ★ 4.8
Snacks & Appetizers
🍜 United States

Creamy, tangy, perfectly seasoned hard-boiled egg halves filled with a rich, smooth yolk mixture, a timeless, crowd-pleasing bite for holiday and casual gatherings alike.

⏱️ 40 minuteSnacks & Appetizers ★ 4.8
Snacks & Appetizers
🍜 Russia

Silky, dill-forward no-smoke cured salmon, a Scandinavian classic with bright salty-sweet flavor, ideal for holiday starter platters and open-faced rye sandwiches.

⏱️ 48 hours Snacks & Appetizers ★ 4.7
Snacks & Appetizers
🍜 Japan

Crisp golden bottoms, juicy savory pork and vegetable filling, and tangy dipping sauce make these pan-fried gyoza a beloved shareable bite.

⏱️ 45 minuteSnacks & Appetizers ★ 4.8

egg waffle machine:Frequently Asked Questions

1.Why do my egg waffles turn out soggy instead of crisp on the outside? ▾
Start by making sure your egg waffle machine is fully preheated (wait 3–5 minutes until the indicator light turns off) before pouring batter. Don’t pry the lid open early—wait the full 4–5 minute cook time. Let finished waffles rest 1 minute on a wire rack instead of a flat plate, so trapped steam can escape instead of softening the crisp crust.
2.Can I substitute tapioca starch if I don’t have any on hand? ▾
Tapioca starch creates that signature bouncy, chewy center and delicate crisp edge, but you can swap it 1:1 for cornstarch in a pinch, though the chew will be slightly milder. Do not replace it with extra all-purpose flour—this will make waffles dense, cakey, and completely missing that classic Hong Kong-style bite.
3.How do I stop batter from leaking out of the machine when I close the lid? ▾
The #1 cause of leaks is overfilling the molds! Only pour batter to fill ¾ of each rounded bubble well, not all the way to the top edge. Right after pouring, close the lid tightly and flip the machine immediately per your model’s instructions—this lets batter set fast before it can seep out as it rises and expands.
4.Why are my waffle centers tough and dense instead of soft and chewy? ▾
This almost always comes from overmixing the batter! Whisk ingredients just until no dry flour streaks remain—small lumps are totally normal and fine. Overworking the batter develops gluten in the all-purpose flour that leads to tough bakes. Also, confirm your baking powder is fresh; expired leavening won’t create that light, airy bubble structure.
5.Can I make the batter ahead of time for casual gatherings? ▾
You can pre-mix the dry ingredients (all-purpose flour, tapioca starch, sugar, baking powder) up to 3 days ahead, stored in an airtight container at room temperature. Wait to mix in eggs and any other wet ingredients until right before cooking—if mixed batter sits longer than 30 minutes, the baking powder loses leavening power, leading to flat, less bubbly waffles.
6.How do I get perfectly round, distinct bubbles instead of misshapen waffles? ▾
First, give your preheated machine a light, even coating of neutral oil (like canola or avocado) before pouring batter. After pouring and closing the lid, flip the machine right away so batter coats every rounded mold evenly as it sets. Avoid jostling the machine while cooking, which can pull batter away from mold edges before it firms up.
7.How do I store leftovers and reheat them to bring back crispness? ▾
Let leftover waffles cool fully, then store in an airtight container in the fridge for up to 3 days, or freeze for up to 1 month. Skip the microwave for reheating—it turns waffles soggy fast. Instead, pop them in a 350°F toaster oven or air fryer for 2–3 minutes until edges crisp up and centers are warmed through.
8.Can I make this recipe in a regular waffle iron if I don’t have an egg waffle machine? ▾
This recipe is calibrated for countertop bubble egg waffle machines to nail the signature shape and crisp-chewy texture balance. A regular standard or Belgian waffle iron will work in a pinch, but you won’t get the iconic bubbly shape, and you’ll need to adjust cook time by 1–2 minutes to match your iron’s specific heat level.

Comments (7)

30 minutes ago

OMG these came out SO crispy the first try! I’ve been chasing that perfect bubble waffle texture I got at the SF Chinatown night market for years and this recipe nailed it. My kids went crazy for them, we topped ours with matcha ice cream and a drizzle of condensed milk for Sunday dessert. 10/10 will be making these every weekend now.

5 minutes ago

Wait did you use the exact batter rest time listed? I tried a different recipe last month and it came out super soggy, wondering if that was my mistake.

just now

So happy you loved the recipe, Mia! Quick note for anyone reading: resting the batter for the full 45 minutes really helps develop that light, crisp texture instead of dense, soggy waffles. Don’t skip that step!

2 hours ago

Game changer for quick after-school snacks! Cook time really is only 15 minutes like it says, I keep a batch of the dry mix pre-measured in a jar in my pantry so I can whip these up on busy weekdays. My teen and his friends devoured a whole batch in 5 minutes flat when they came over after practice yesterday.

yesterday

Super easy recipe even for a total beginner like me! I was worried my cheap off-brand egg waffle maker wouldn’t work right, but these came out perfectly golden and crispy on the first go. I brought a batch to my office potluck last week and everyone was asking for the recipe.

30 minutes ago

That makes us so happy to hear, Sarah! This recipe works great with every standard egg waffle machine we’ve tested, no fancy brand required. So glad your coworkers enjoyed them!

2 days ago

Wait, has anyone tried making these without the custard powder? I have a corn allergy and can’t have the regular stuff, wondering if there’s a good swap?

2 hours ago

I used corn-free vanilla pudding mix last time I made these and it worked great, added a nice little vanilla kick too. Crisped up exactly like the original.

3 days ago

These are SO good, but my first batch stuck really bad to the waffle iron even though I sprayed it with nonstick spray. Did I do something wrong? I was really looking forward to making these for my daughter’s birthday party this weekend.

2 days ago

I had the same issue the first time! Turns out I was pouring the batter in before the iron was fully heated up. Wait until the indicator light turns off before adding batter, they slide right out now for me.

yesterday

Great tip from Ron! We also recommend giving the iron a light brush with melted butter instead of spray for the best non-stick results and extra crispy edges. Your birthday party batch is going to be amazing!

1 week ago

Took me right back to my childhood trips to Hong Kong! The crunch is exactly right, not too sweet, perfect for loading up with all your favorite toppings. I did half plain and half with a little sesame seed mixed in and both were chef’s kiss.

5 days ago

The sesame seed addition sounds absolutely delicious, Lila! We love hearing when people put their own fun twists on the recipe, we’ll have to try that version ourselves soon.

2 weeks ago

Meal prep win! I made a big batch on Sunday, let them cool completely, and stored them in an airtight container for quick breakfasts all week. I just pop them in the toaster oven for a minute to crisp them back up and they taste fresh as day one. Way better than the frozen waffles I used to buy!



