
fried shrimp ball
intro
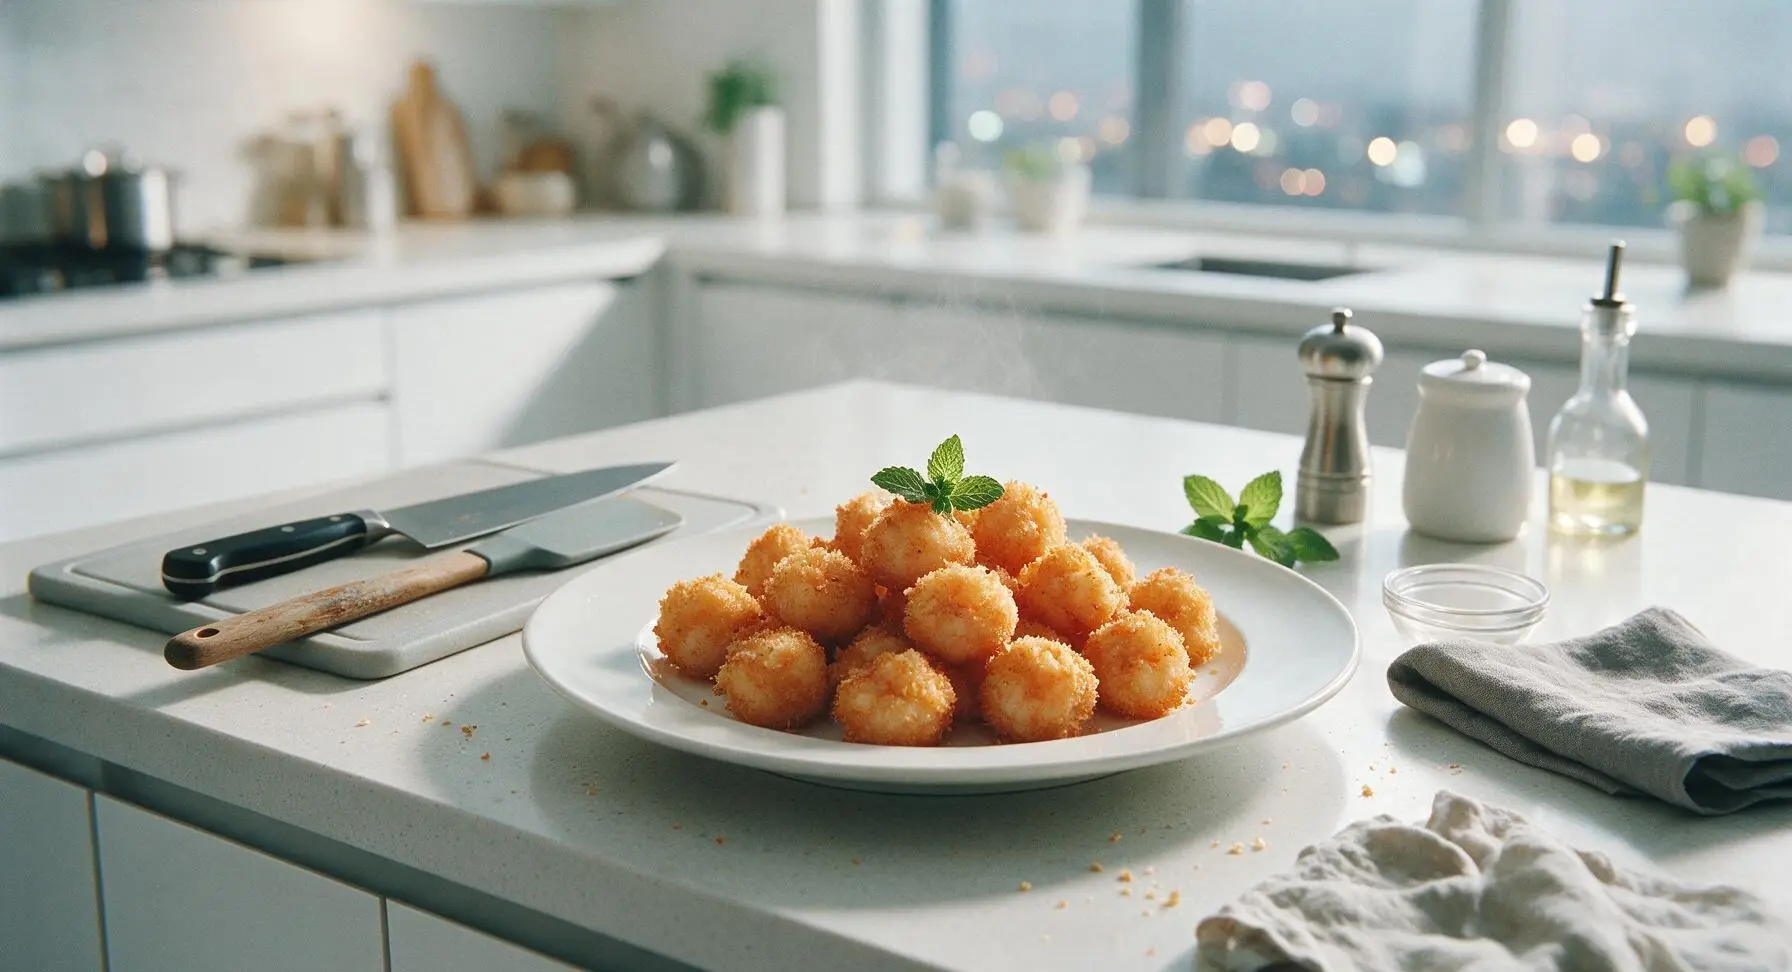
Crispy golden Cantonese fried shrimp balls with a springy, juicy shrimp interior, subtle savory seasoning, and satisfying crunch—perfect for sharing at festive gatherings.
Ingredients
Steps
Pat Shrimp Dry
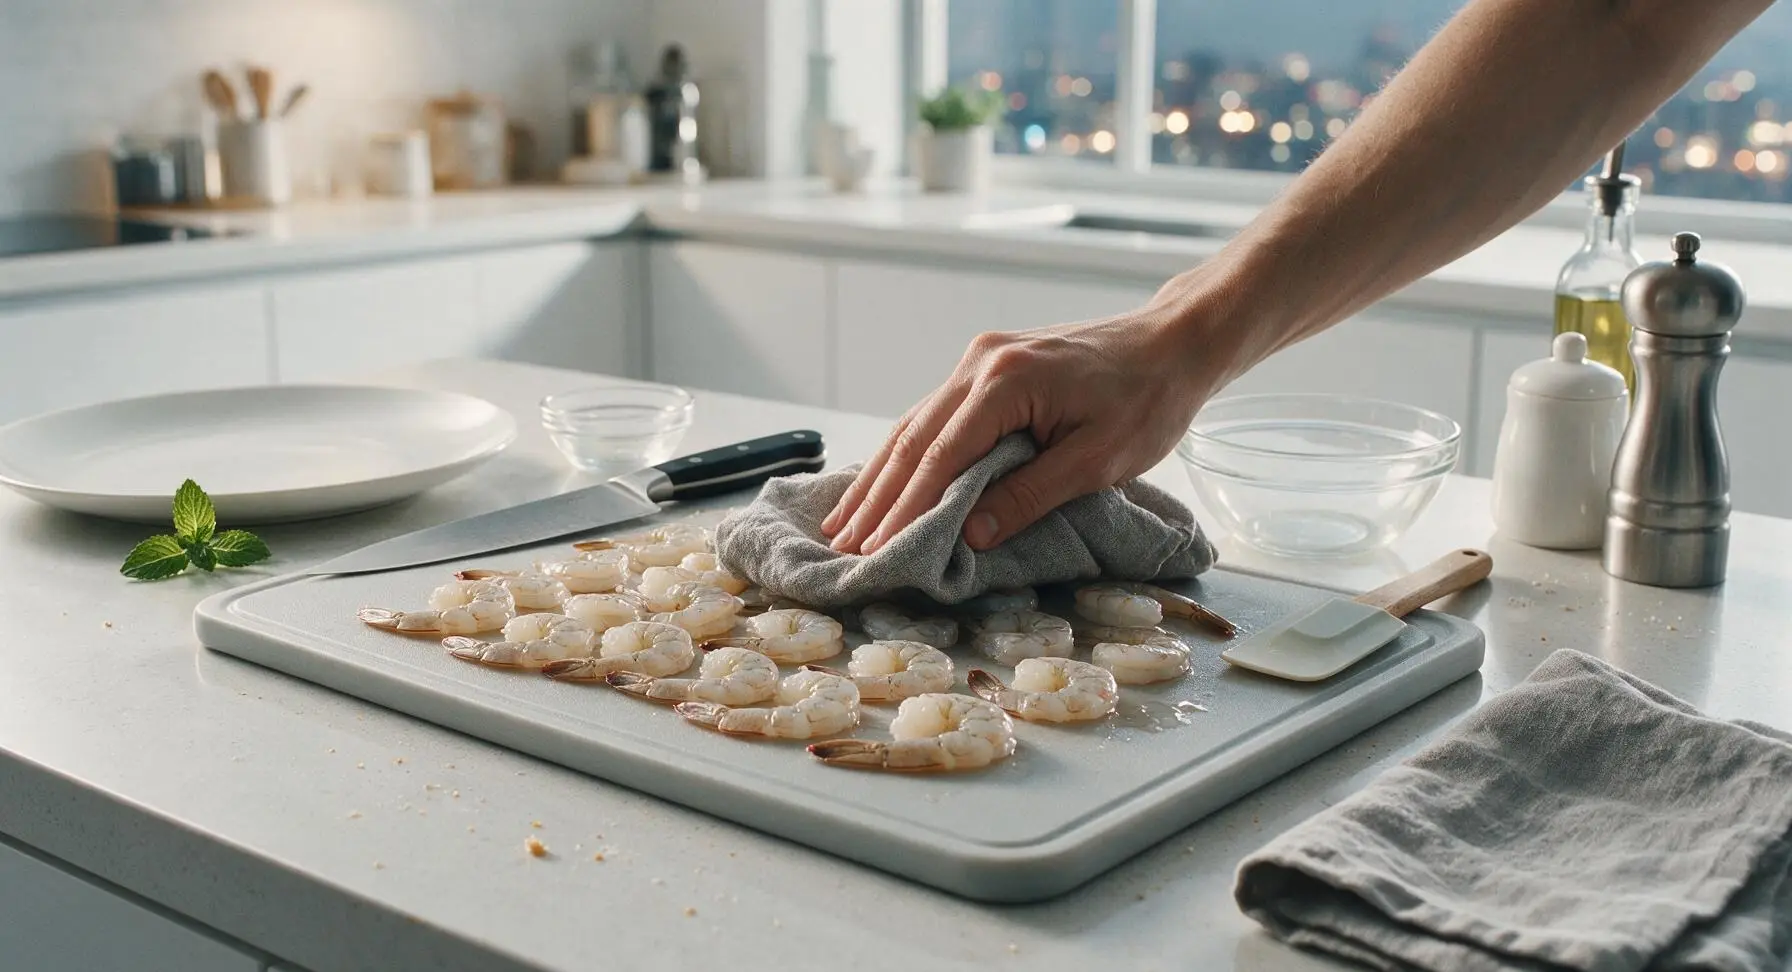
Place the peeled, deveined shrimp on the bamboo cutting board. Use a corner of the fixed linen towel to firmly pat every shrimp surface completely dry, removing all excess surface moisture. Properly dried shrimp will create a springy paste instead of a watery, loose mixture; the shrimp should feel tacky, not wet, to the touch when done. Pick out and discard any leftover small shrimp veins you spot during this process.
Chop Shrimp Paste
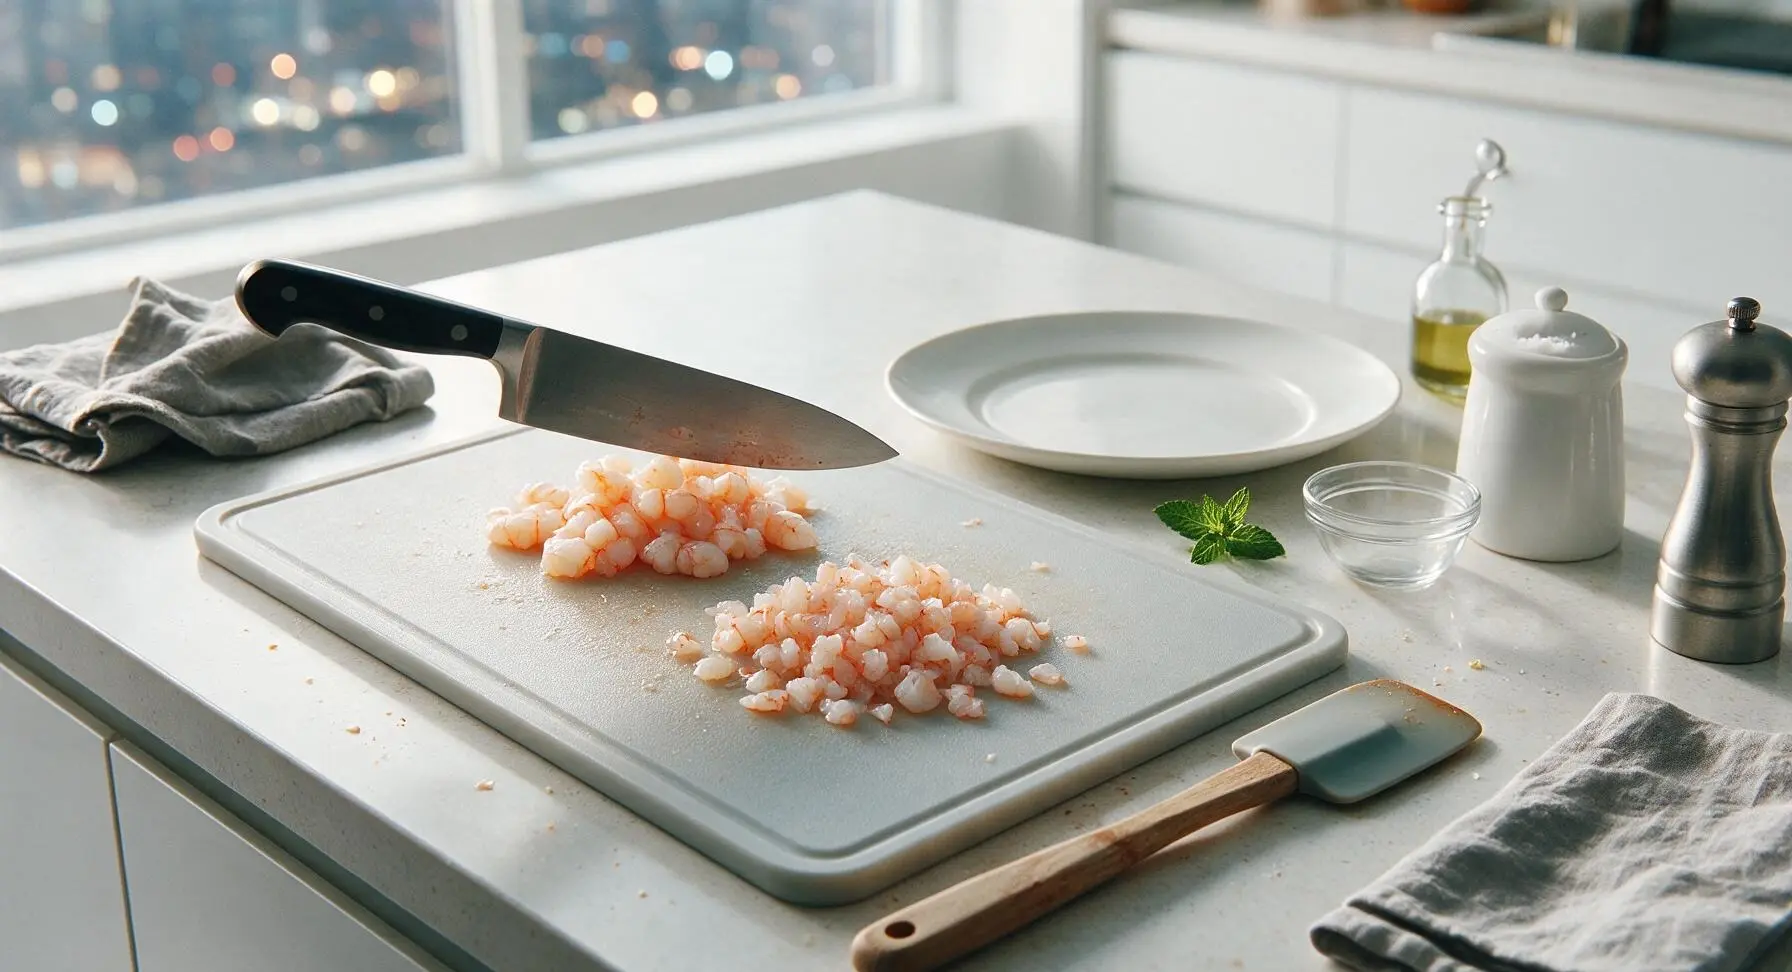
Use the 7-inch chef knife to roughly chop 3/4 of the dried shrimp into a coarse, uneven paste (pieces ranging from 1/4cm to 1/2cm in size, not fully smooth). Cut the remaining 1/4 of the shrimp into 1cm chunks to add textural contrast to the finished balls. Avoid using a food processor, as over-blending creates a mushy, bounceless texture. Transfer all chopped shrimp to the clear glass mixing bowl when done.
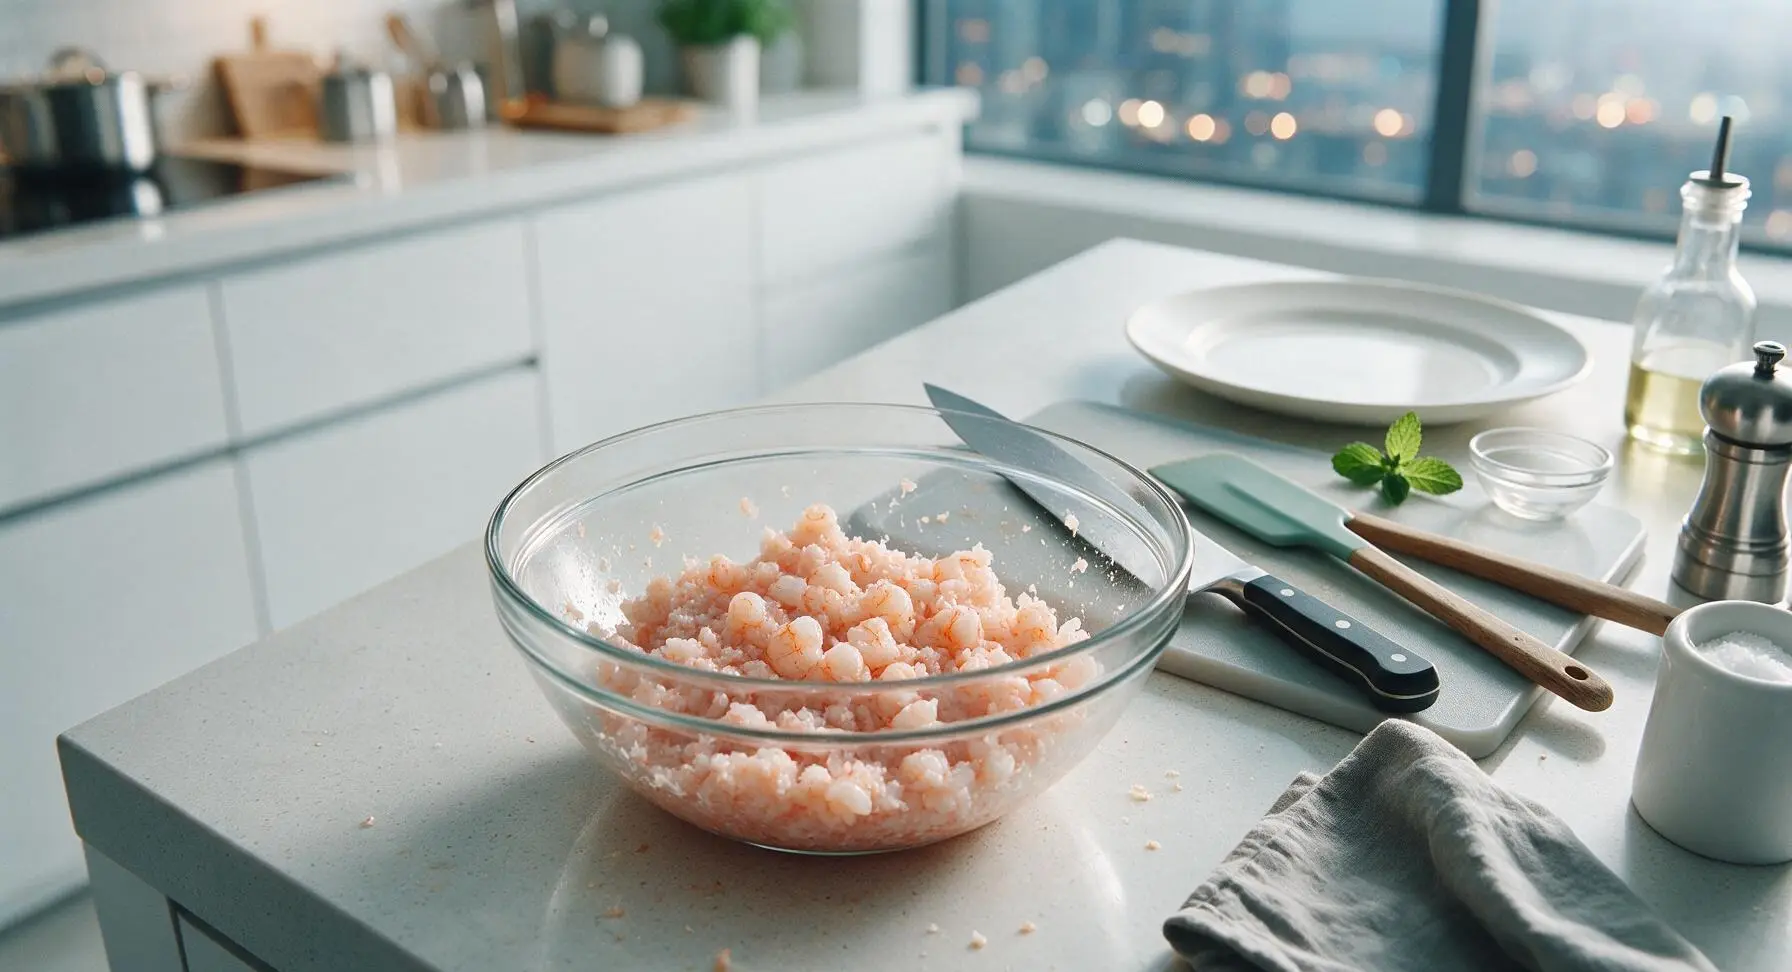
Mix Paste Seasonings
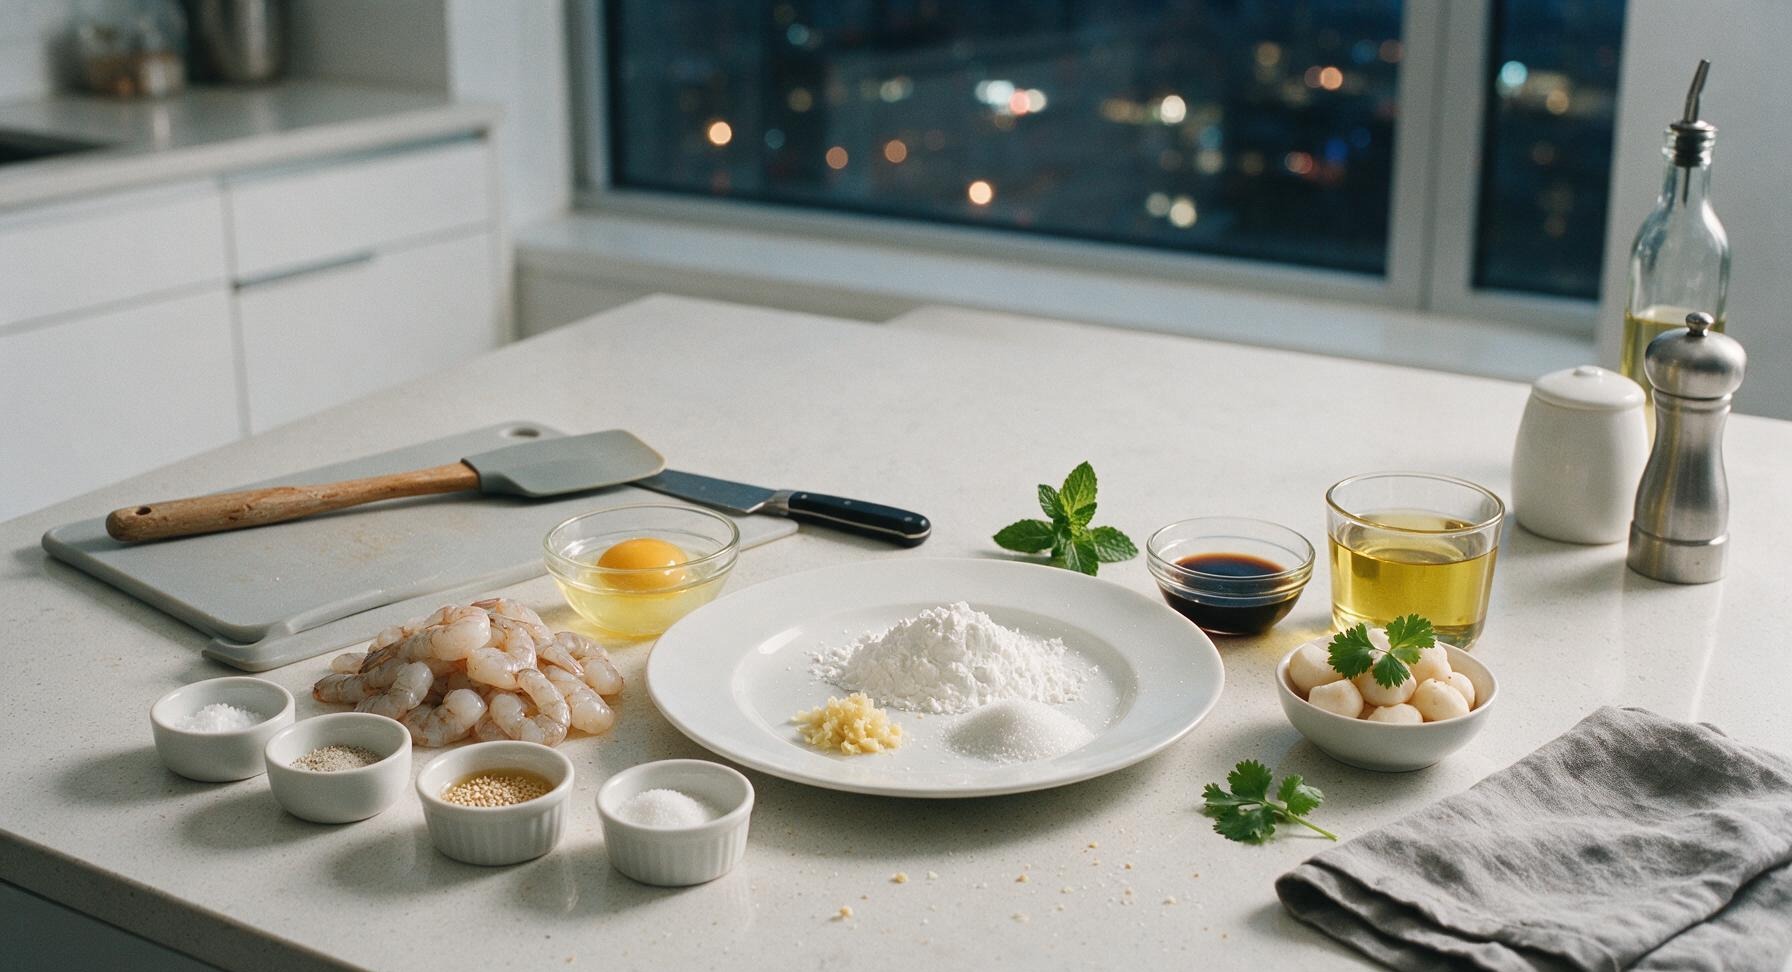
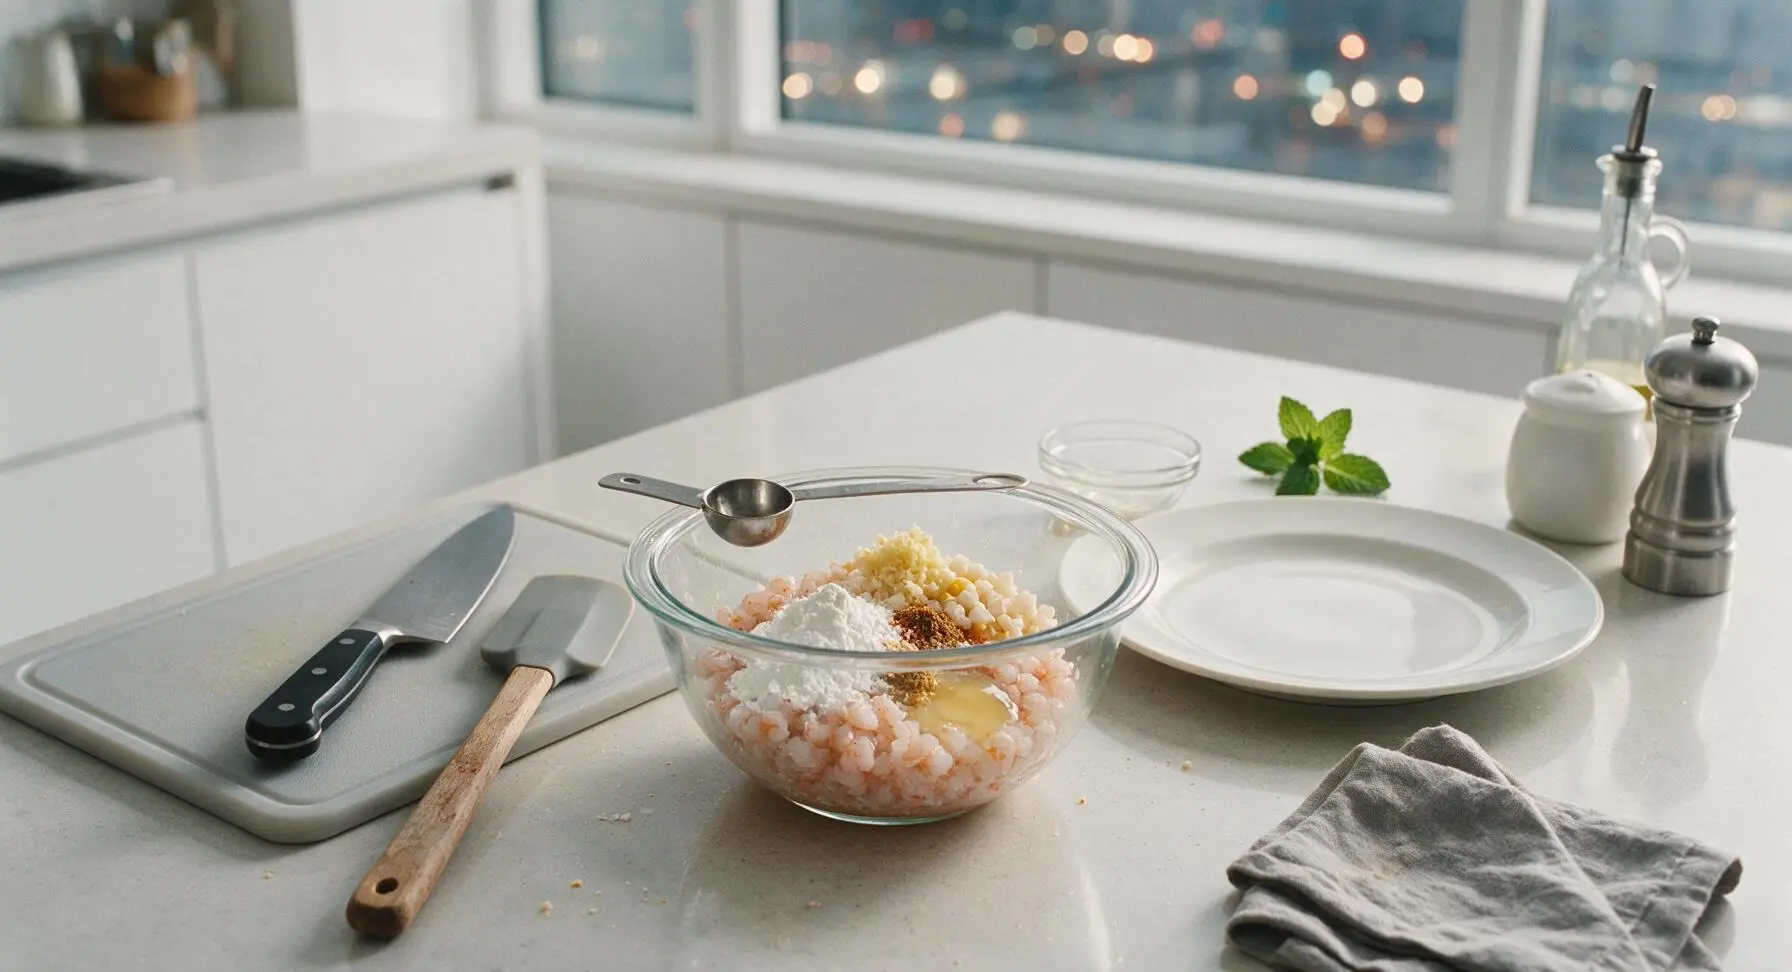
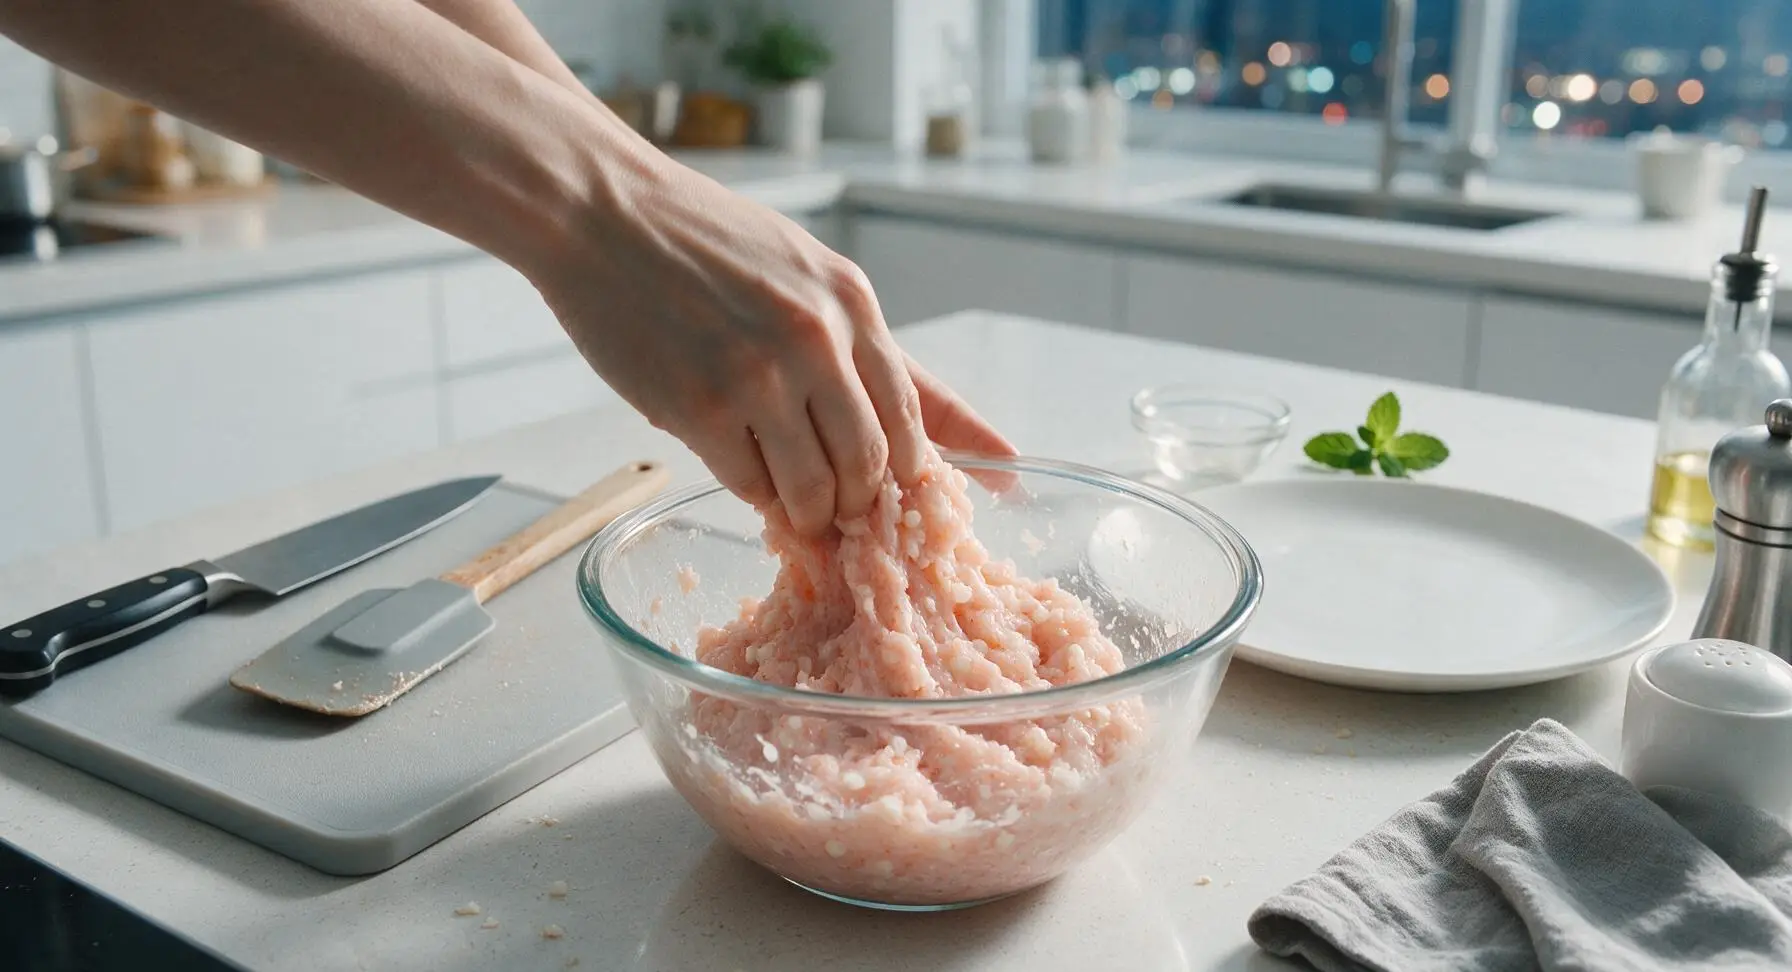
Add the 1 egg white, 2 tablespoons cornstarch, 1/2 teaspoon fine sea salt, 1/4 teaspoon white pepper, 1/2 teaspoon sugar, 1 teaspoon sesame oil, 1 teaspoon minced ginger, and 50g finely diced water chestnuts to the glass mixing bowl with the chopped shrimp. Use a clean hand to stir the mixture in one consistent clockwise direction for 3 full minutes, until the paste becomes sticky, cohesive, and pulls away from the sides of the bowl easily. Do not change stirring direction, as this breaks down the protein bonds that create the signature springy shrimp ball texture.
Form Uniform Shrimp Balls
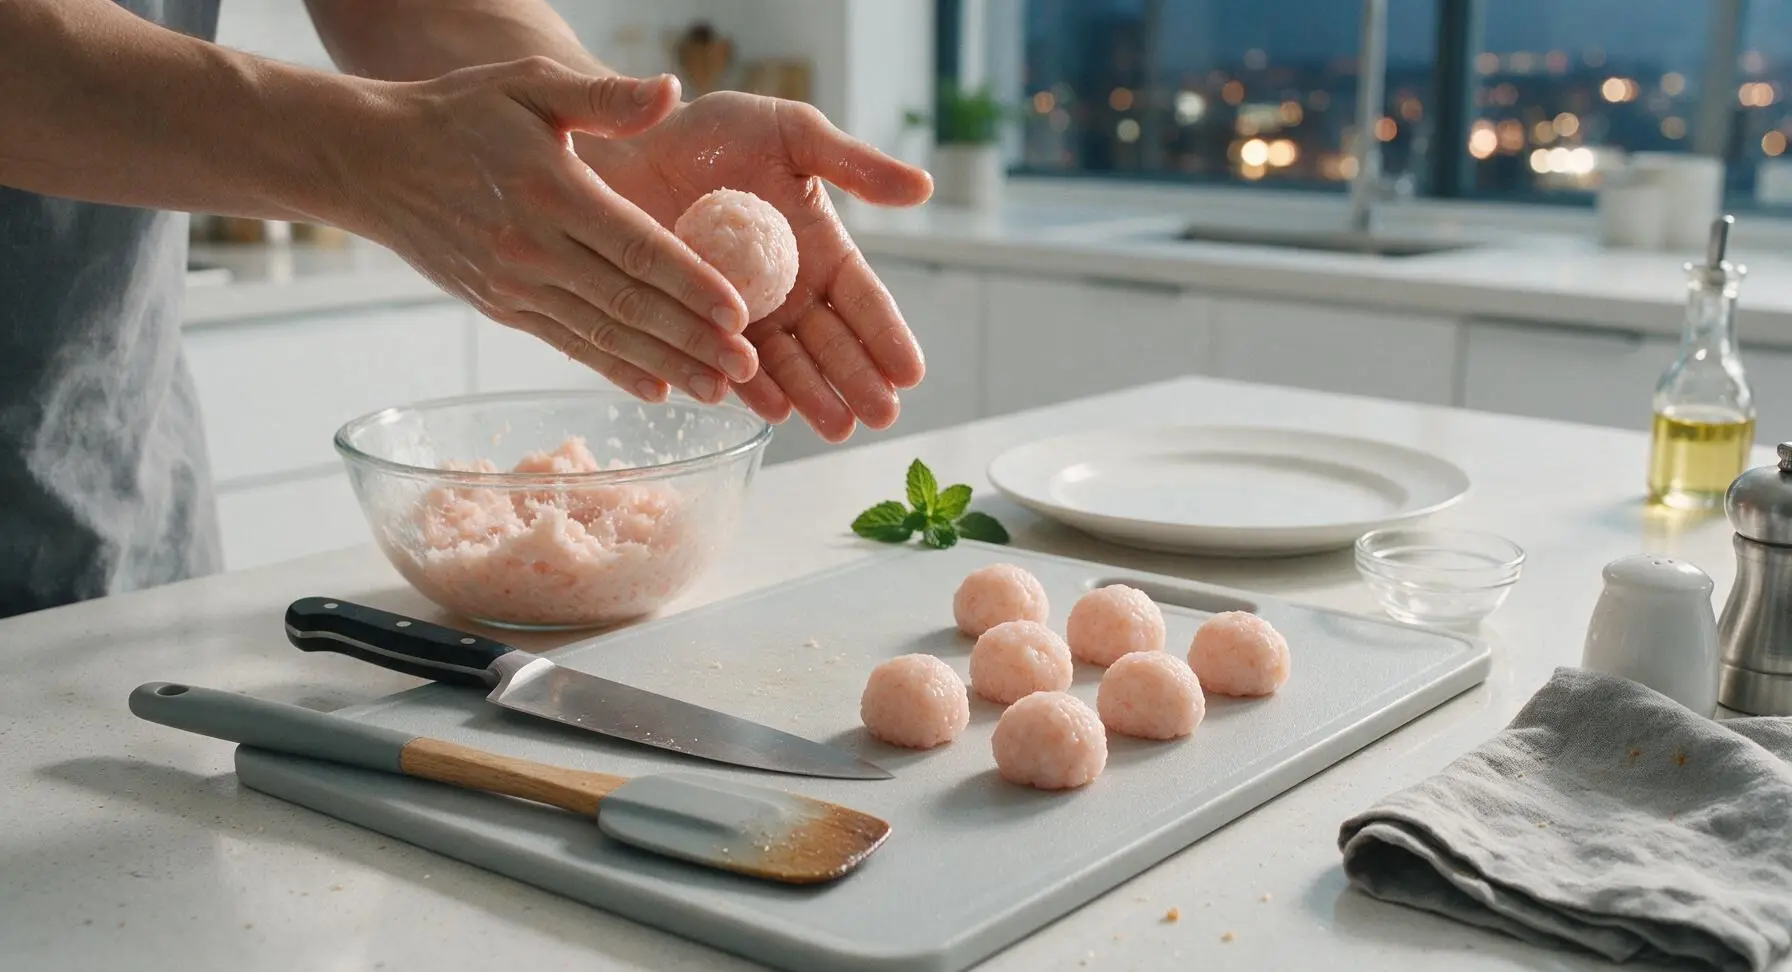
Lightly oil the palm of one hand with a tiny drop of canola oil to prevent sticking. Scoop 1 tablespoon (about 20g) of the shrimp paste, then gently toss the paste between your two palms to form a smooth, round 3cm ball. Set formed balls on the clean section of the bamboo cutting board as you work, leaving 1cm of space between each ball to prevent sticking. You should yield approximately 20–24 small balls total, uniform in size for even cooking.
Heat Frying Oil
Pour the 500ml canola oil into the 3L carbon steel wok, set over medium heat. Use the instant-read kitchen thermometer to monitor oil temperature until it reaches 170C (340F). Maintain this steady temperature throughout frying; oil that is too hot will burn the crust before the interior cooks, while oil that is too cool will make the balls greasy and soggy.
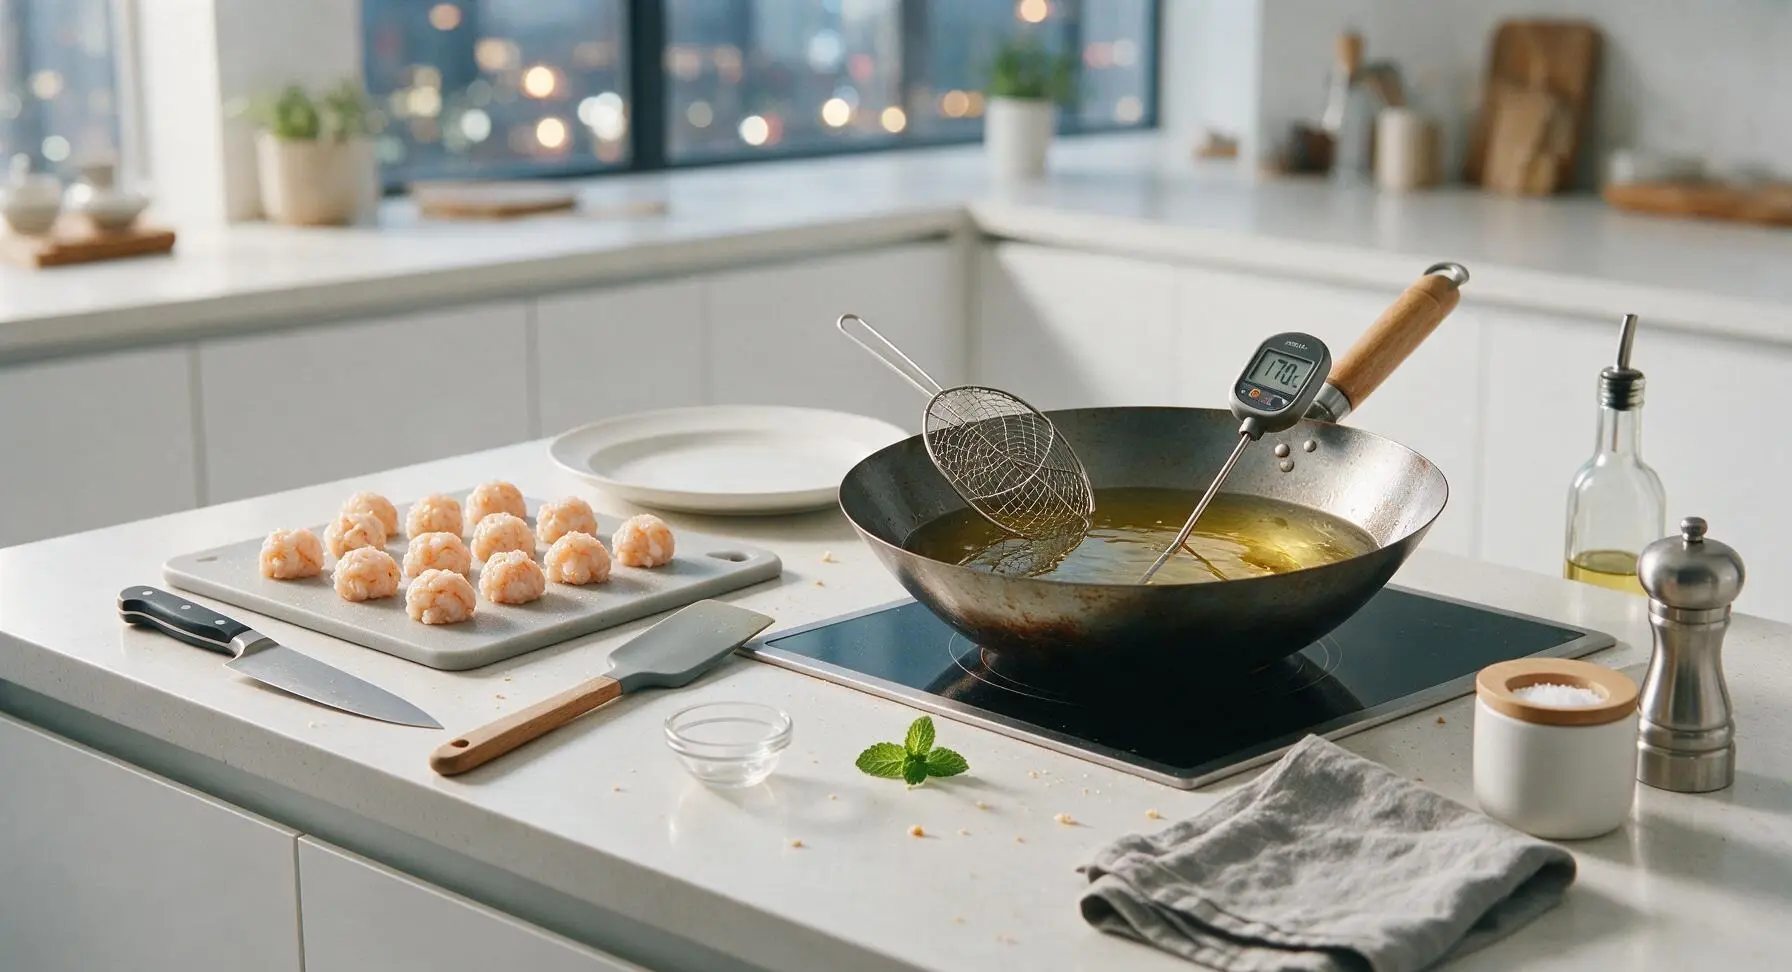
Fry Balls In Batches
Gently lower 8–10 shrimp balls into the heated oil one at a time, taking care not to splash hot oil. Fry for 3 minutes, using the stainless steel wire skimmer to gently nudge and turn the balls occasionally for even browning, until they turn a uniform deep golden brown and float steadily to the oil surface. Do not overcrowd the wok, as this drops oil temperature too quickly and leads to greasy balls. Repeat with remaining batches, checking oil temperature between batches and adjusting heat to maintain 170C.
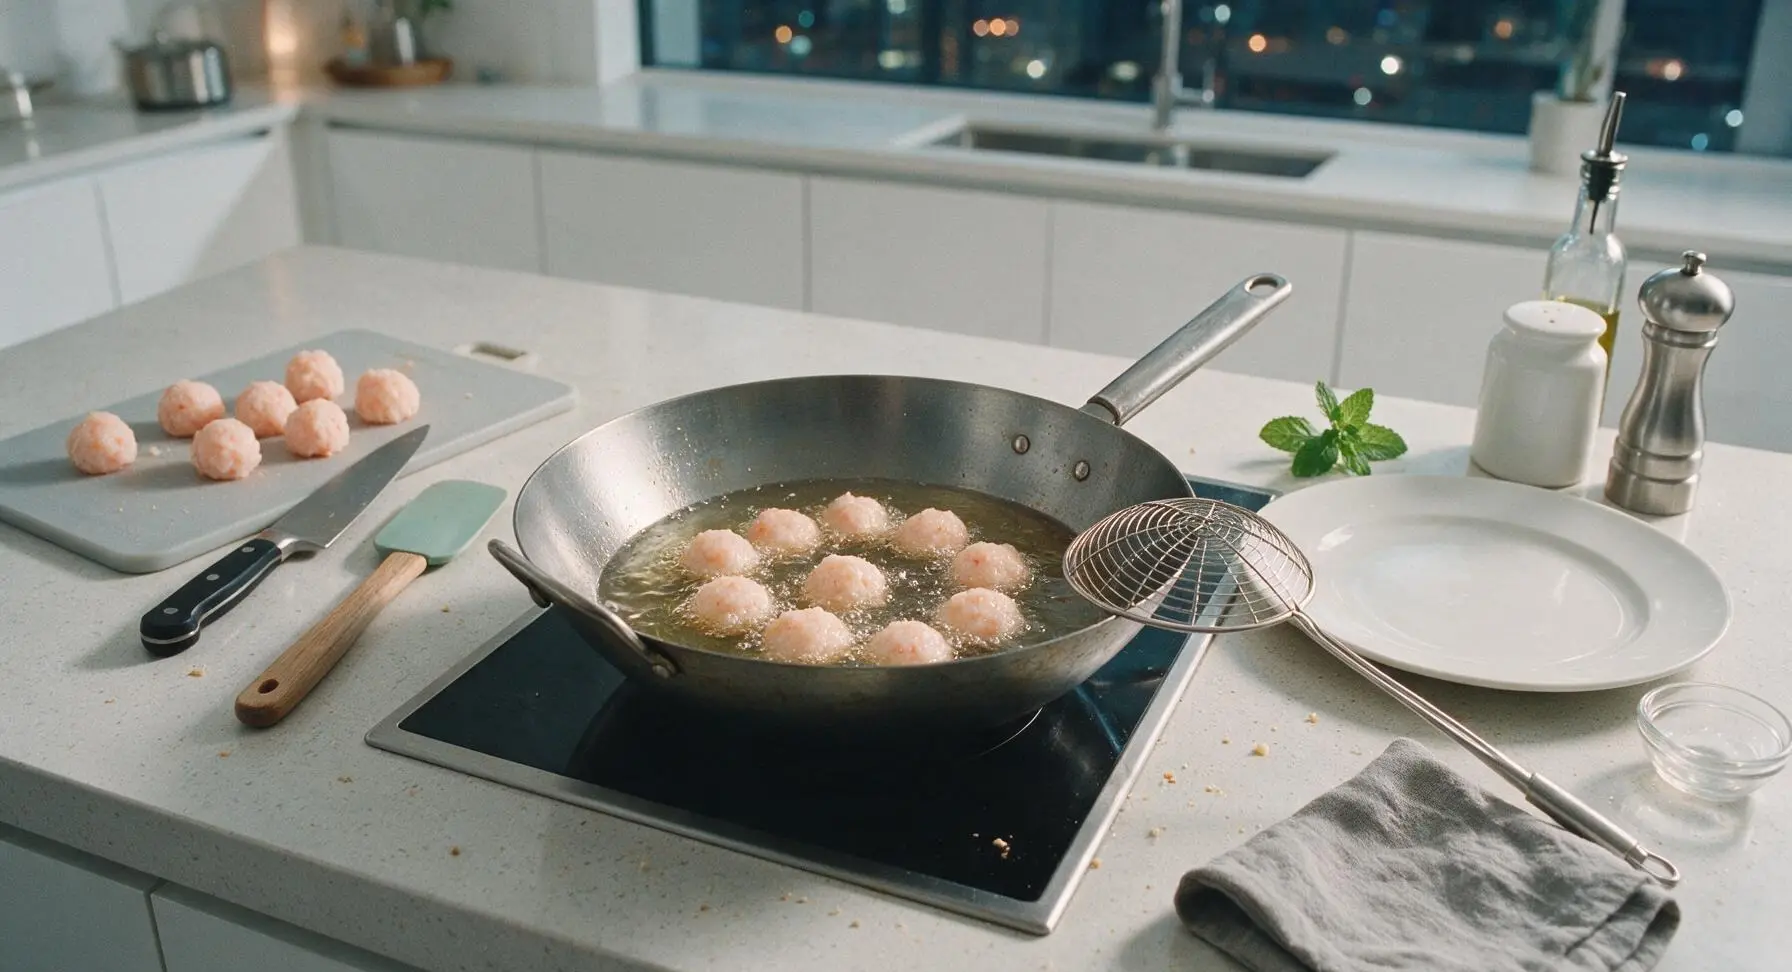
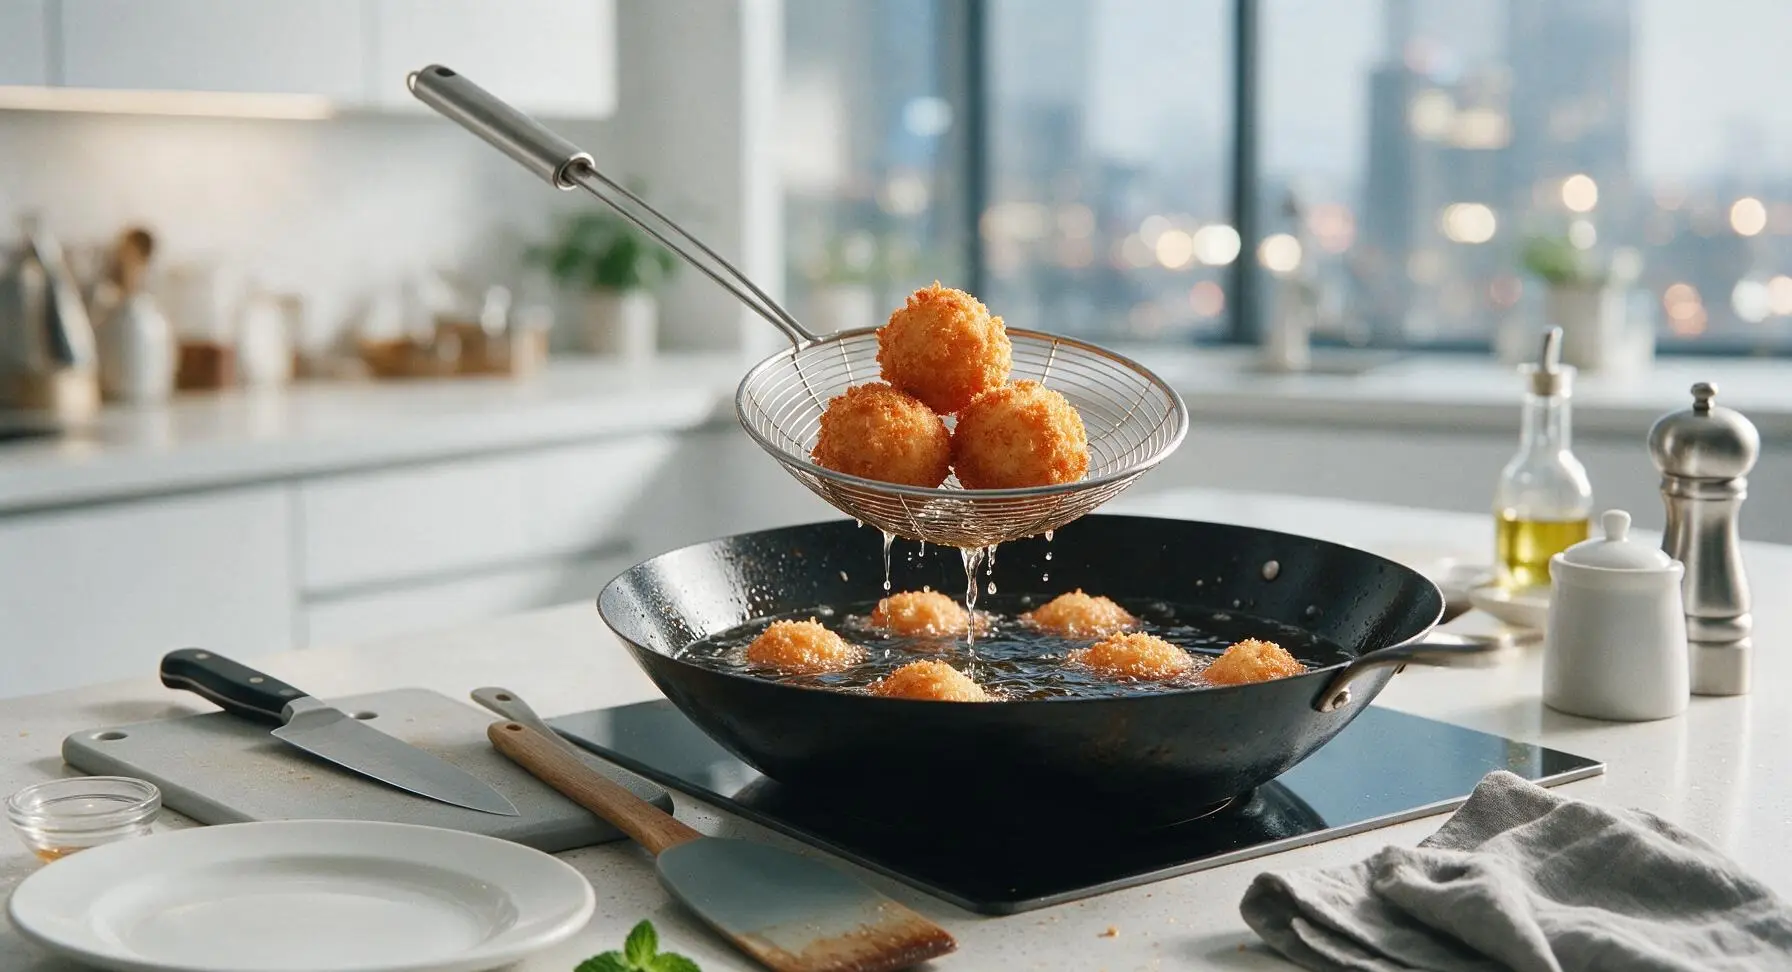
Drain And Plate Balls
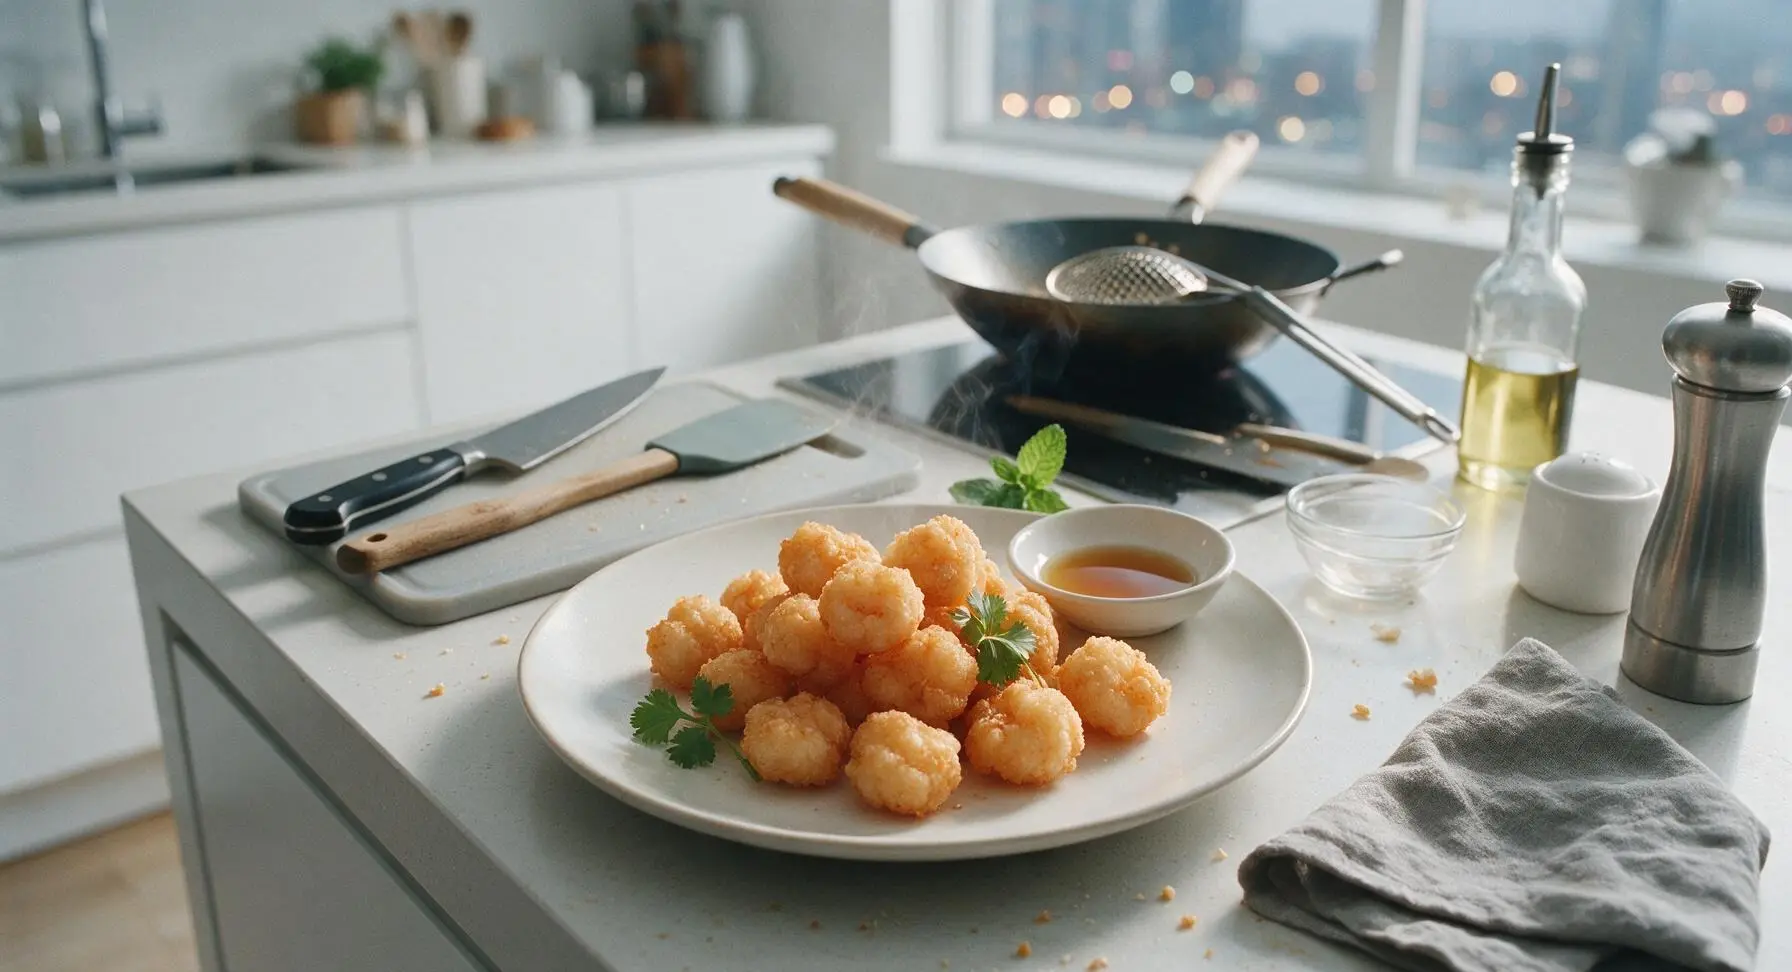
Hold the skimmer of cooked shrimp balls over the wok for 10 seconds to let excess oil drain off, then transfer the balls to the matte cream ceramic serving plate. Repeat until all batches are cooked and piled loosely on the plate. Blot any excess surface oil very lightly with a corner of the linen towel if needed, but do not press hard or you will crush the crispy crust.
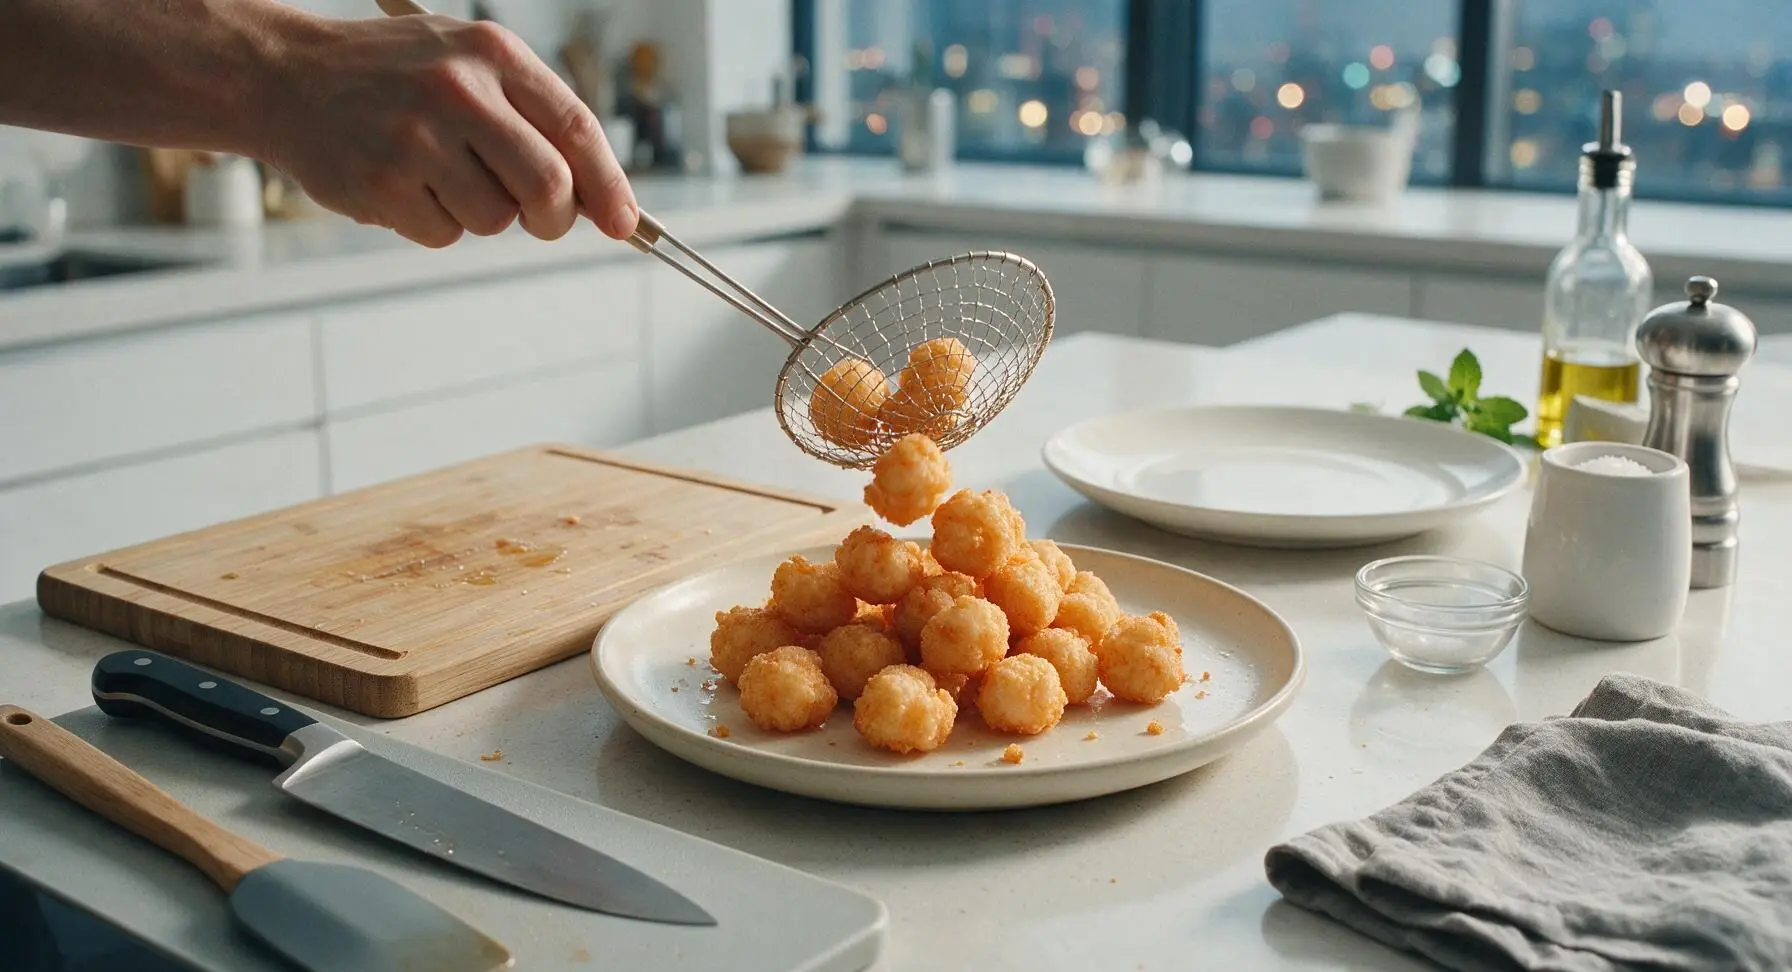
Garnish And Serve
Tuck 2 fresh cilantro sprigs among the shrimp balls on the serving plate as garnish. Pour the 2 tablespoons light soy sauce into the small matte white ceramic dipping dish, set the dish next to the serving plate. Serve immediately while hot and crispy, for the best texture.
Tips
2.Stir the shrimp paste only in one consistent clockwise direction: this aligns shrimp protein strands to create a cohesive, bouncy paste that holds its round shape while frying, instead of breaking apart in the hot oil.
3.Monitor oil temperature closely with a thermometer: oil below 160C (320F) will make shrimp balls greasy and soggy, while oil above 180C (355F) will burn the outer crust before the interior cooks through, leaving raw paste in the center.






OMG these Cantonese crispy shrimp balls were a total game changer for our weekly family dinner! My 2 picky kids gobbled up 3 each before I even sat down, and my husband asked if I could make a double batch for his office potluck next week. The crunch was perfect, not greasy at all, and the shrimp flavor was so fresh. 10/10 will be on rotation from now on!
I’ve tried so many shrimp ball recipes that turn out soggy or rubbery, but this one? *Chef’s kiss* The 10 minute cook time is no joke too, I threw these together after work last night when my friends texted they were stopping by for drinks. They kept asking where I ordered takeout from, lmao. SO good.
Brought these to our neighborhood block party this weekend and they were gone in 10 minutes flat! I prepped the shrimp mixture the night before (meal prep win!) and fried them up right before heading over, and they stayed crispy for the whole walk over. Multiple people asked for the recipe, I sent them all straight here. Only note: I added a tiny pinch of white pepper to the mix and it elevated the flavor so much!
Medium difficulty is totally accurate here – I’m a pretty casual home cook and I only messed up the first two balls when I was getting the hang of forming them without them falling apart in the oil. Once I got the rhythm down it was smooth sailing, and the final result was so worth it. Dipped them in sweet chili sauce and it was chef’s kiss.
Wait y’all, I was skeptical because I usually mess up fried seafood, but these came out so crispy on the first try! I didn’t have any fancy frying oil, just used regular canola oil heated to 350F, and it worked perfectly. Served them with some garlic noodles for a fakeout takeout night that was way cheaper than ordering from our local Cantonese spot.
Tried these last night for my roommate’s birthday dinner and we were all obsessed. The only reason I’m not giving 5 stars is because I wish the recipe had a note about how much oil to use for frying – I ended up pouring way too much at first and made a little bit of a mess on my stovetop. Flavor was 10/10 though, will make again now that I know how much oil I need.
Made these for my Sunday brunch spread and they were such a hit! I paired them with a spicy mayo dipping sauce (sriracha + mayo + a little lime juice) and people were drizzling that sauce on everything else on the table too. The crisp held up even when they sat out for an hour while we finished making mimosas, which is a total win for brunch.
10 minute cook time is no lie! I got home late from spin class, had a bag of frozen shrimp in the freezer, thawed it real quick, and had these on the table in less than 20 minutes total. Perfect for those nights when I don’t feel like putting in a ton of effort but still want something that tastes like a restaurant meal. SO good.
Finally got around to making these after seeing all the rave reviews, and they did not disappoint! I made a small plant-based shrimp batch for myself (thanks for the tip, Chef Admin! Shellfish allergy here) and a regular batch for the rest of the family, plus added a little finely chopped water chestnut to both mixtures for extra crunch. Served them with fried rice for our Sunday family dinner, and even my super picky mother in law asked for seconds. Will absolutely be making these for our Thanksgiving appetizer spread this year!
Made these in my tiny dorm kitchen with a cheap countertop deep fryer and they came out perfect! My floor mates all smelled them and knocked on my door asking for bites, I ended up sharing half the batch. Way better than the frozen pizza we usually eat on weeknights, and super easy even with my limited cooking supplies.