
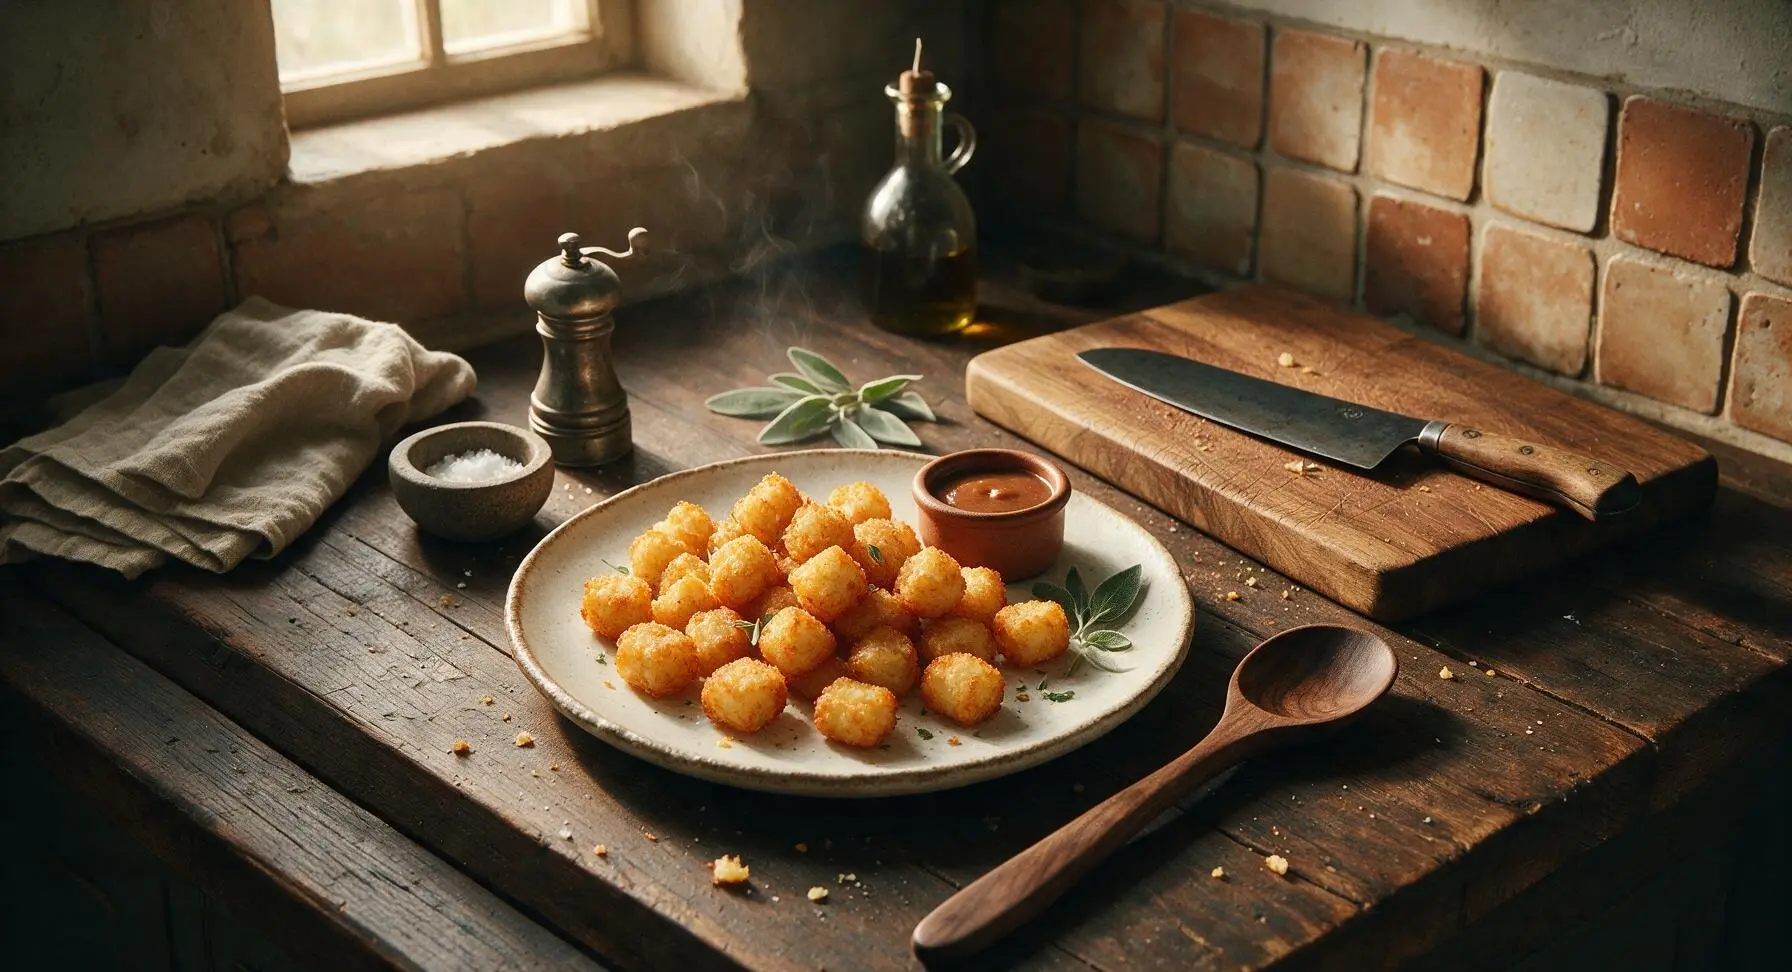
home made tots

title 1
home made tots
⏱️ cook time 30 minutes
🍽️ servings 4
⚡ Difficulty easy

intro

Crispy golden homemade potato tots with fluffy, seasoned centers—far crunchier than store-bought, perfect for dipping and sharing with friends.

Ingredients
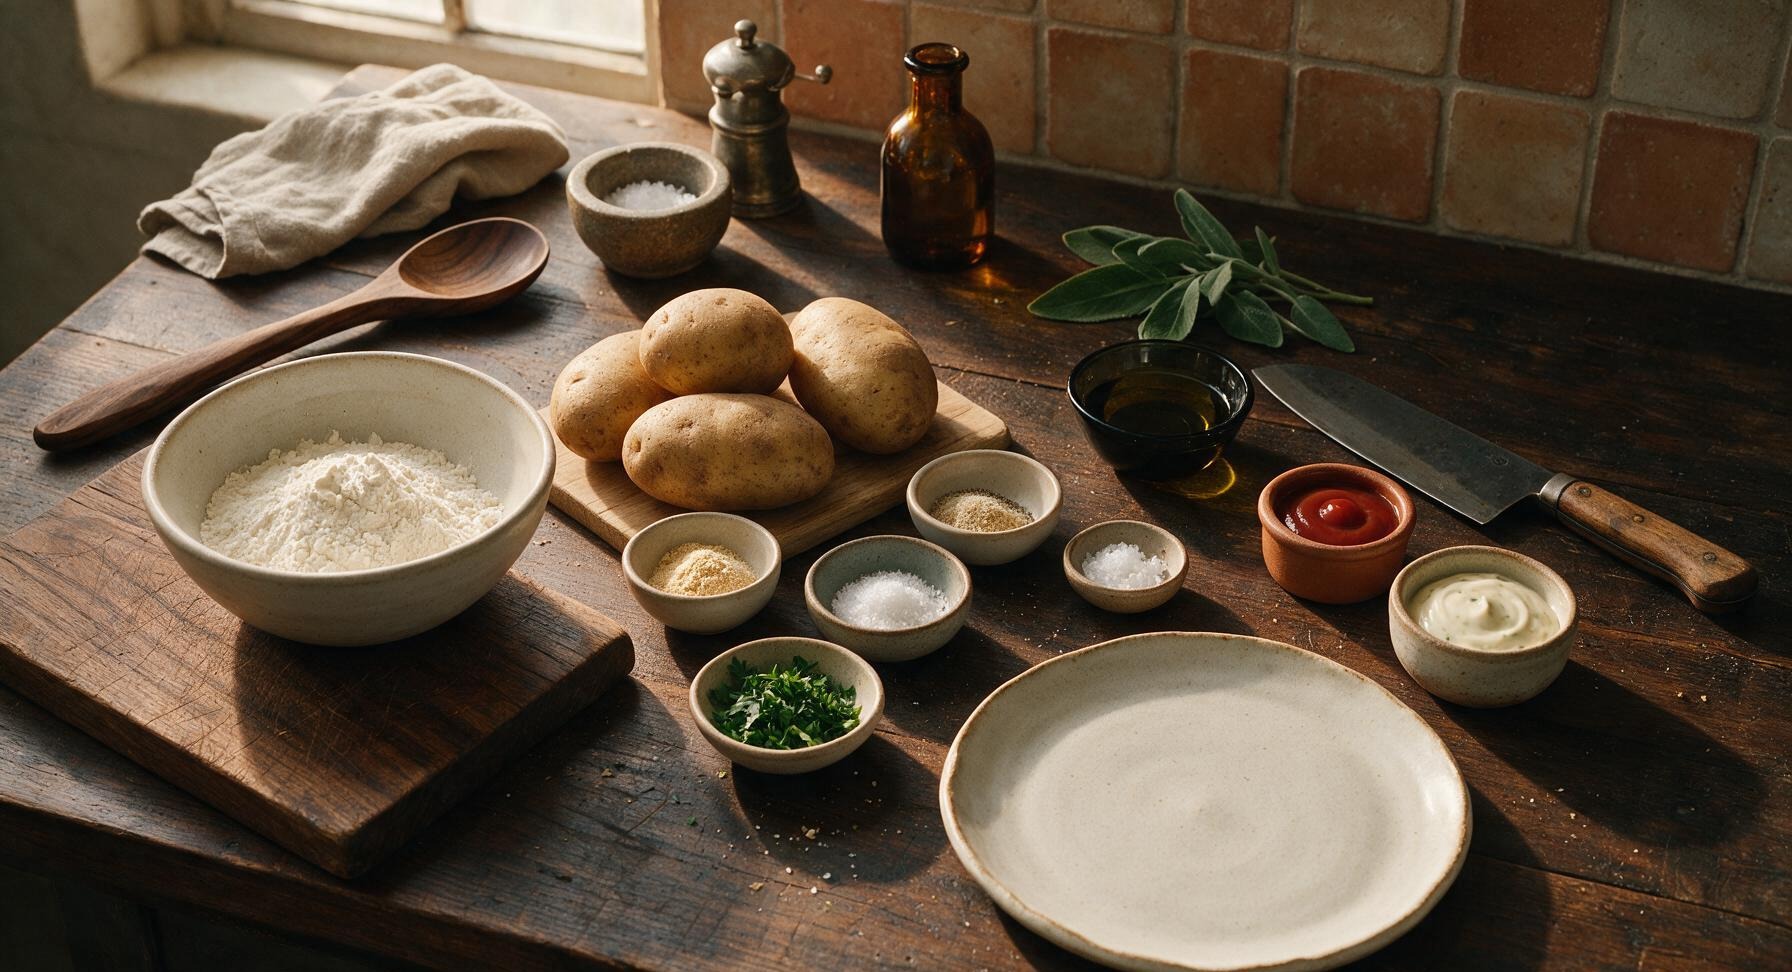
Russet potatoes 900g (about 4 medium)
All-purpose flour 2 tablespoons
Garlic powder 1 teaspoon
Onion powder 1 teaspoon
Fine sea salt 1.5 teaspoons, plus extra flaky salt for finishing
Freshly ground black pepper 1/2 teaspoon, plus extra for finishing
Neutral frying oil (canola or vegetable) 1 liter
Fresh flat-leaf parsley 1 tablespoon, finely chopped
Ketchup and garlic aioli 1/2 cup each, for serving

Steps

1

Parboil whole potatoes

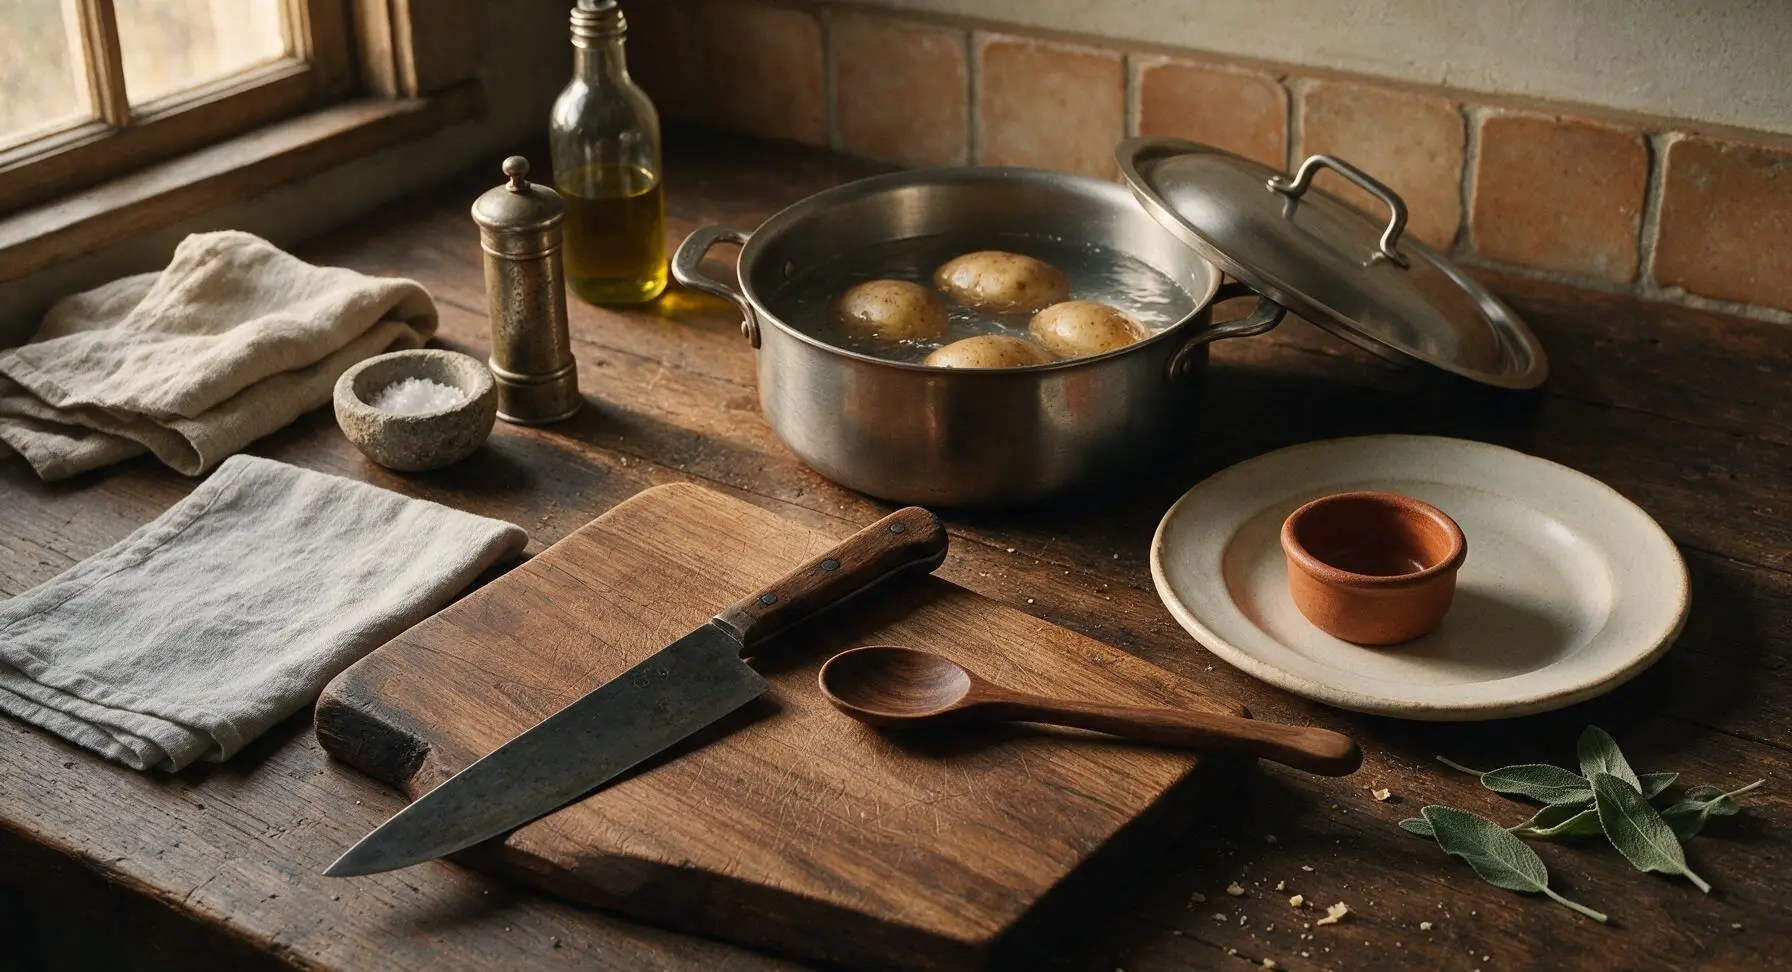
Scrub 900g (about 4 medium) russet potatoes well, leaving skins intact for extra texture. Place whole unpeeled potatoes in the 3-quart stainless steel Dutch oven filled with heavily salted cold water, bring to a rolling boil over high heat, then reduce to a simmer and cook for exactly 7 minutes. Potatoes will be firm, not fully tender: a fork inserted into the center should meet firm resistance. Drain immediately and set aside to cool completely for 15 minutes before handling.
Step 1
step1:Parboil whole potatoes
2

Grate cooled potatoes

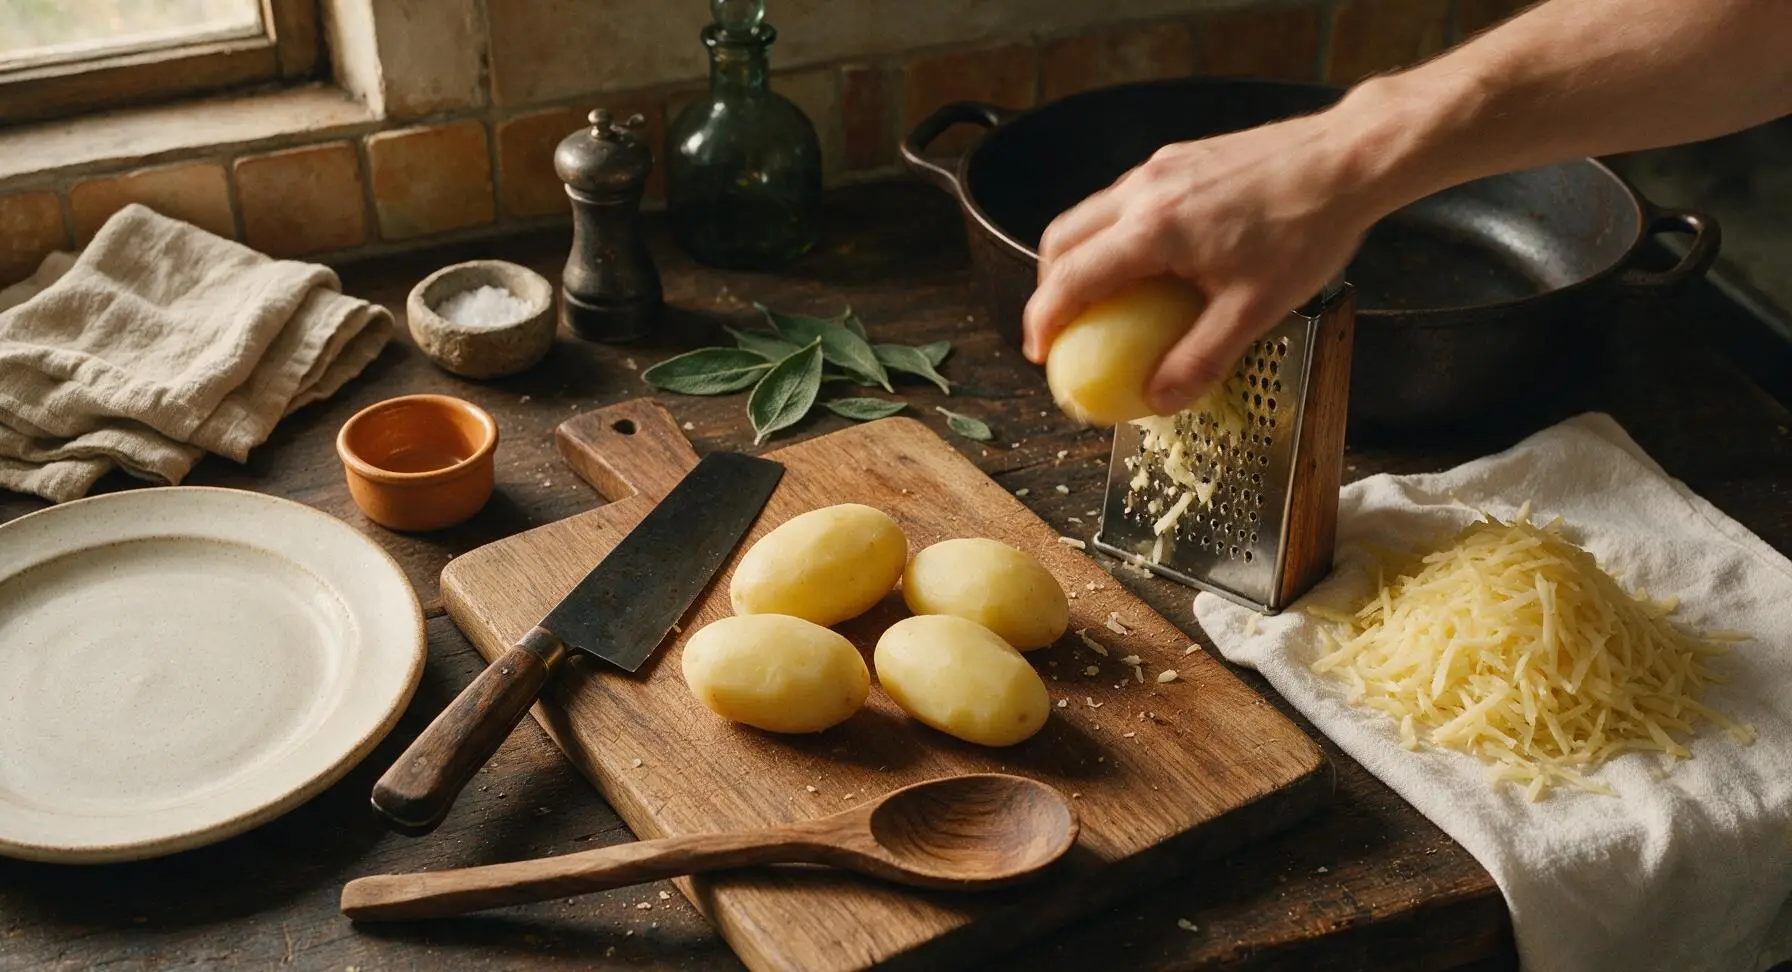
Once parboiled potatoes are cool enough to handle, slip off the thin skins (they will peel away easily with light pressure from your fingers). Position the coarse stainless steel box grater to the right of the cutting board, then grate all potatoes into long, thin shreds directly onto the clean cotton kitchen towel. Avoid using the fine grater side, as this will create mushy, dense tots.
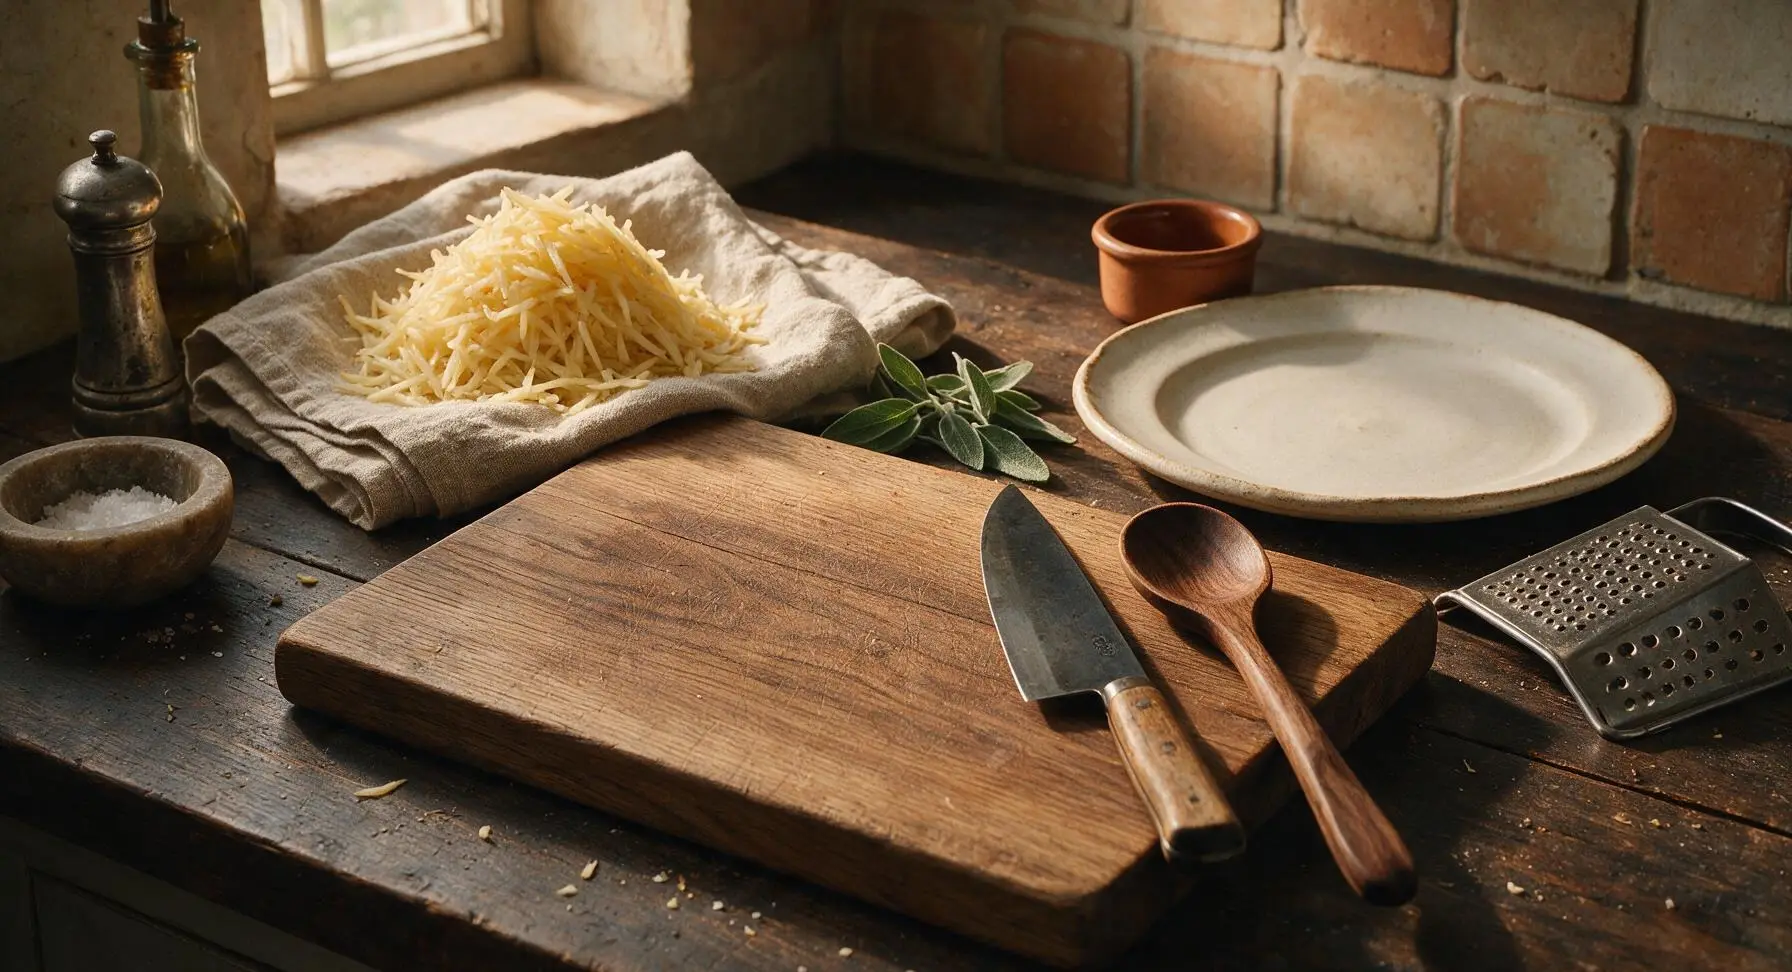
Step 2
step2:Grate cooled potatoes
Step 2
step2:Grate cooled potatoes
3

Squeeze excess moisture

Gather the edges of the cotton kitchen towel tightly around the grated potato shreds to form a sealed bundle. Squeeze as firmly as possible over the stainless steel mixing bowl to remove all excess starch and moisture—this is the most critical step for crisp, non-soggy tots. Continue squeezing for 2 minutes until no more cloudy starchy liquid drips from the towel; you will remove roughly 1/2 cup of liquid total.
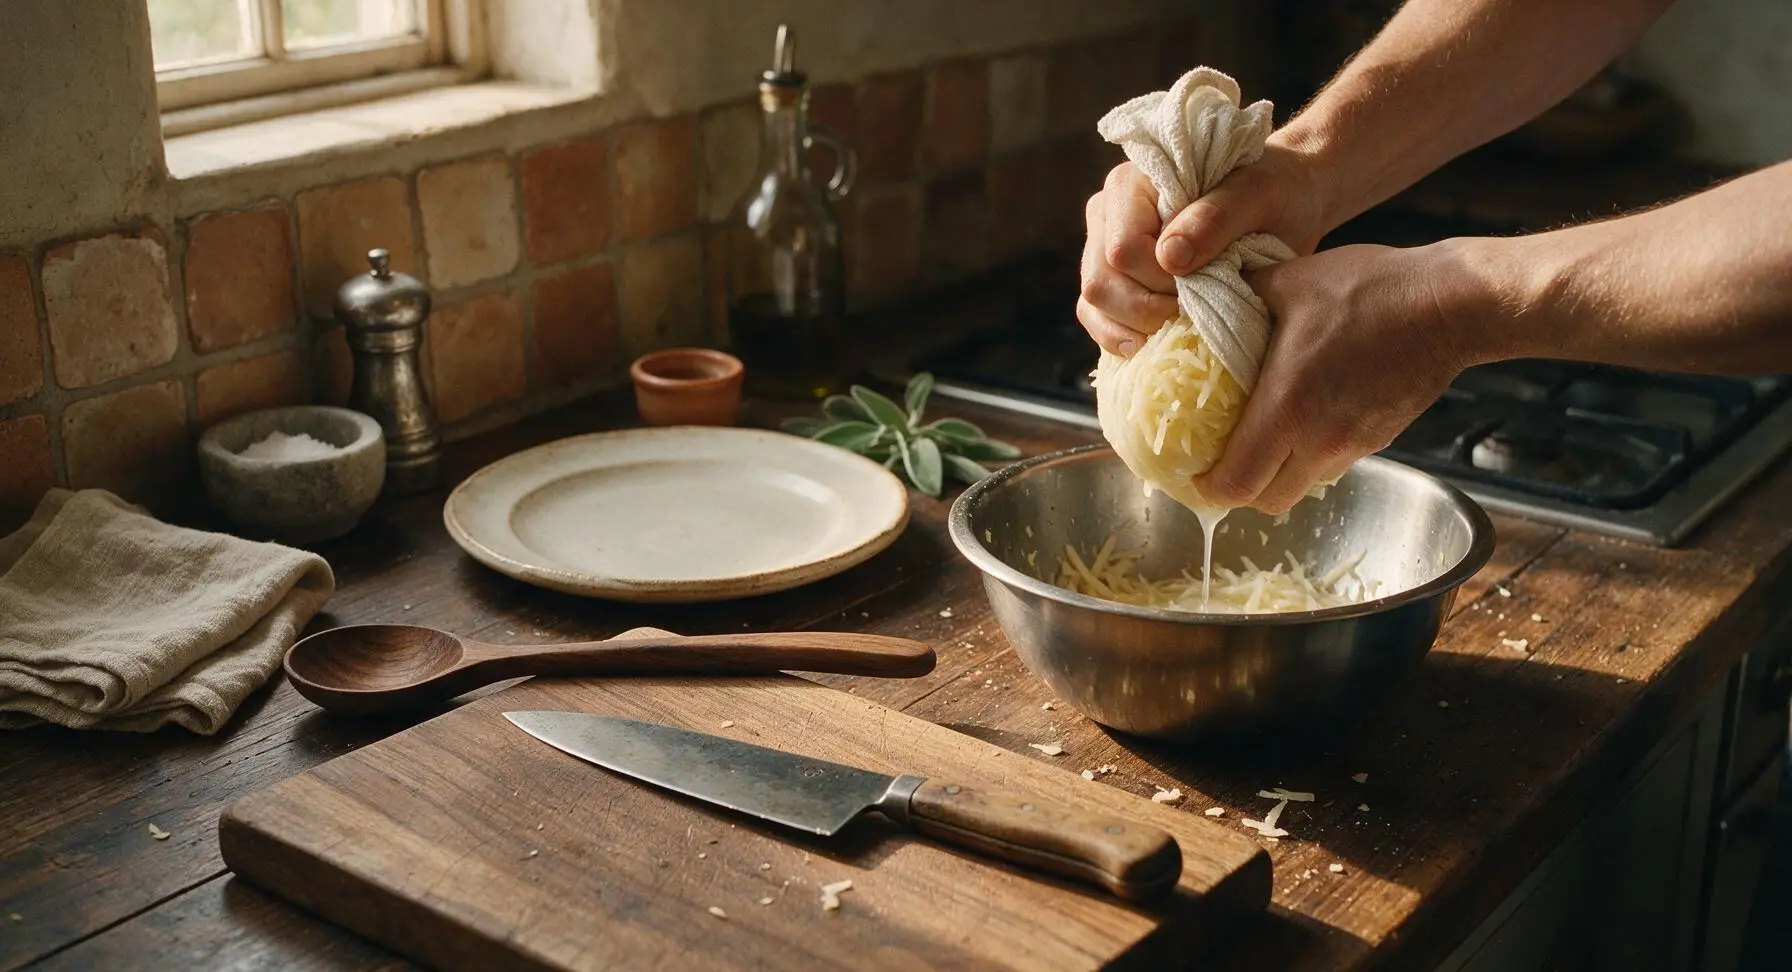
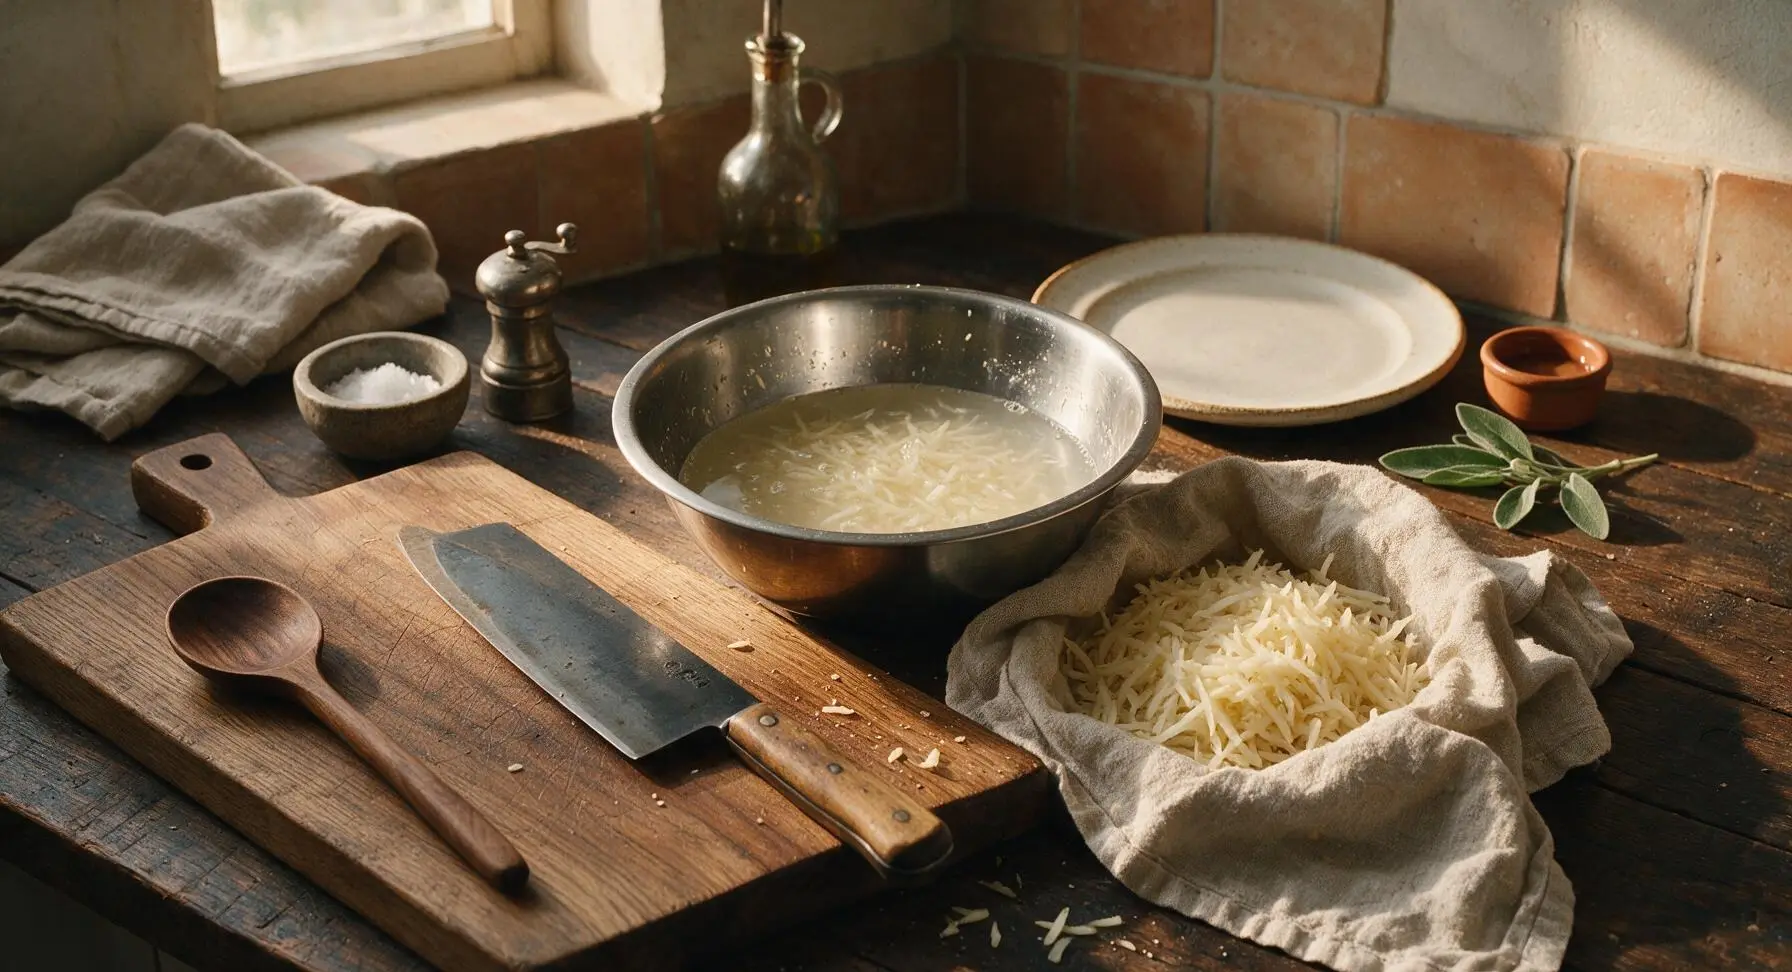
Step 3
step3:Squeeze excess moisture
Step 3
step3:Squeeze excess moisture
4

Season potato mixture

Transfer the fully dried potato shreds to the dry stainless steel mixing bowl. Add 2 tablespoons all-purpose flour, 1 teaspoon garlic powder, 1 teaspoon onion powder, 1 teaspoon fine sea salt, and 1/2 teaspoon freshly ground black pepper. Toss gently with your fingers until all shreds are evenly coated in seasoning and flour, taking care not to mash the delicate potato shreds.
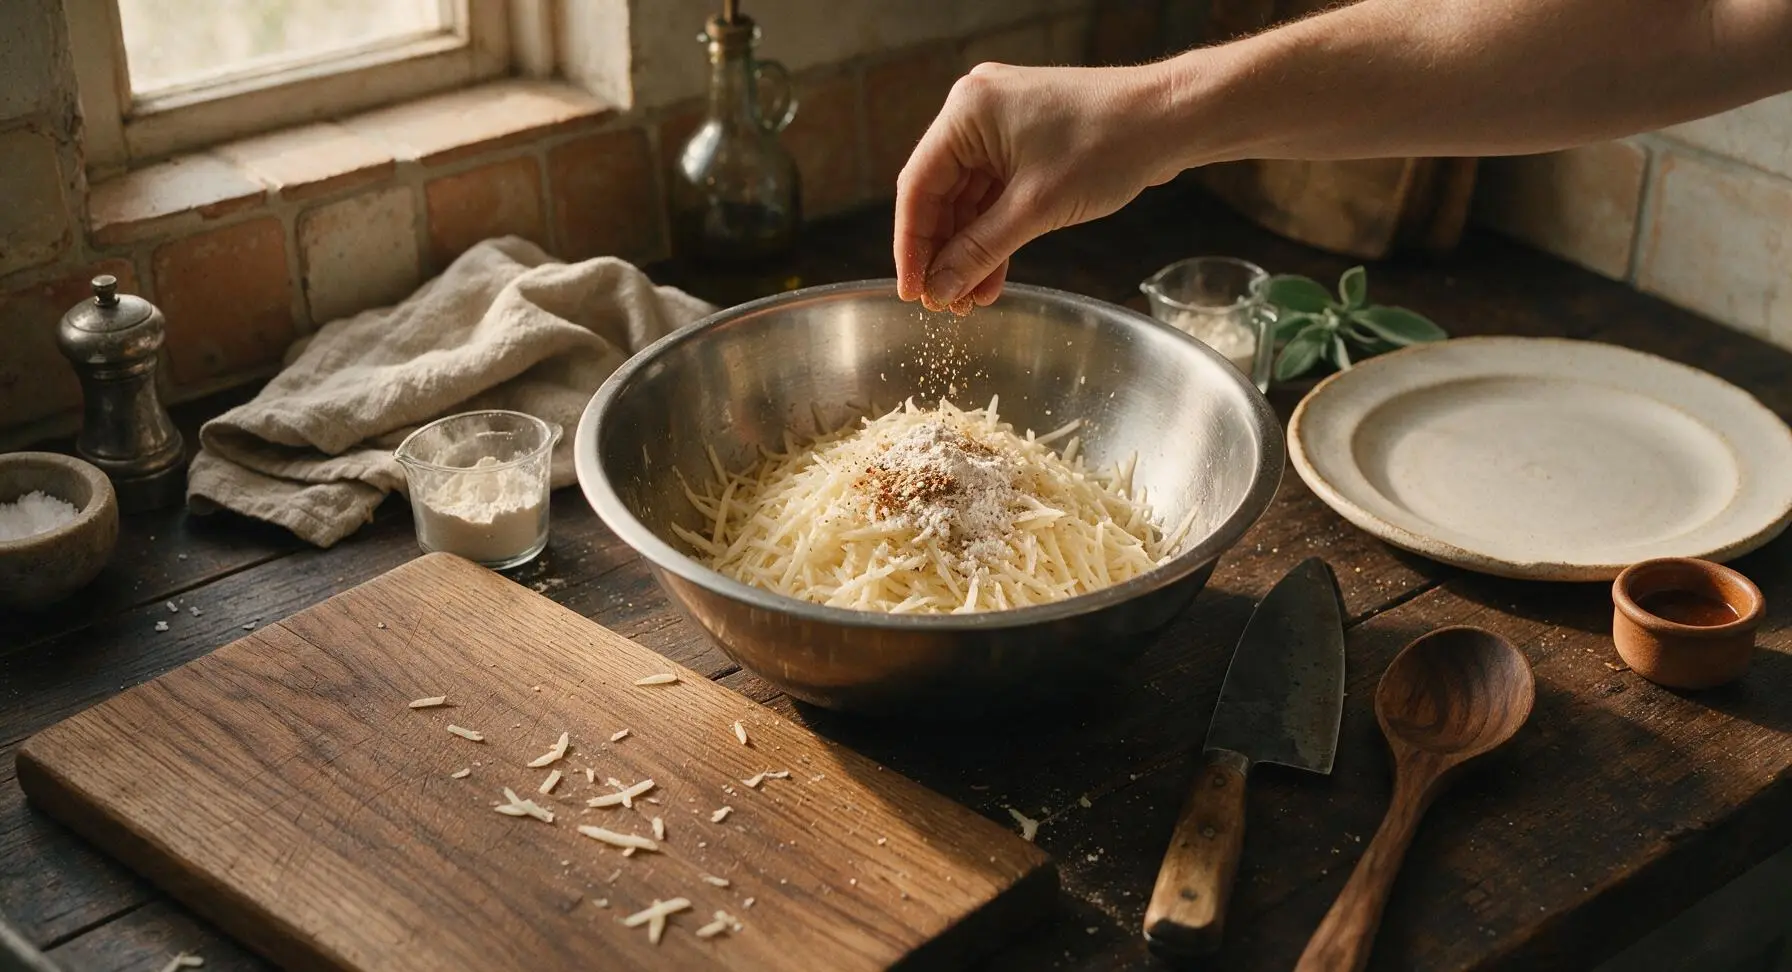
Step 4
step4:Season potato mixture
5

Shape individual tots

Scoop 1-tablespoon portions of the seasoned potato mixture, squeezing firmly between your palms to form compact, small cylindrical tots roughly 1 inch wide and 1.5 inches long. Place shaped tots on the clean light grey cutting board as you work, leaving a small gap between each to prevent sticking. You will yield approximately 40 tots total.
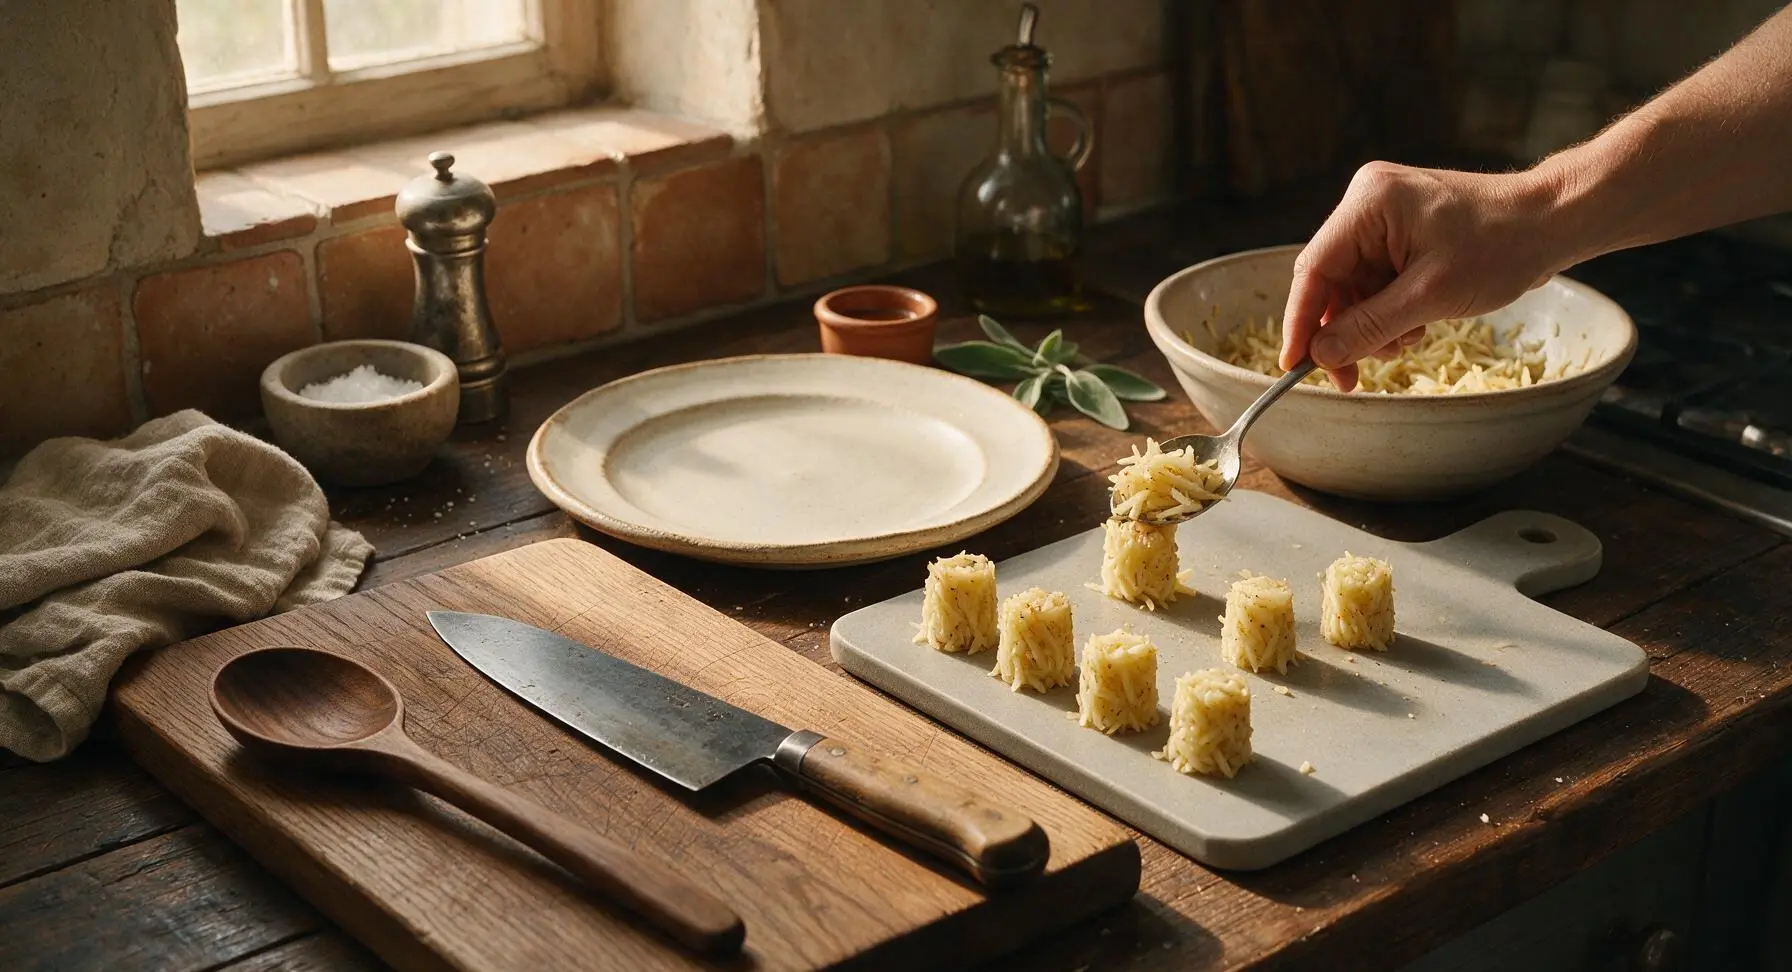
Step 5
step5:Shape individual tots
6

Heat frying oil

Pour 1 liter of neutral canola or vegetable oil into the 3-quart Dutch oven, clip the digital deep fry thermometer to the pot rim, and heat oil over medium heat until it reaches a steady 350°F (175°C). Do not heat oil above 375°F, as this will burn the tot exterior before the interior heats through.
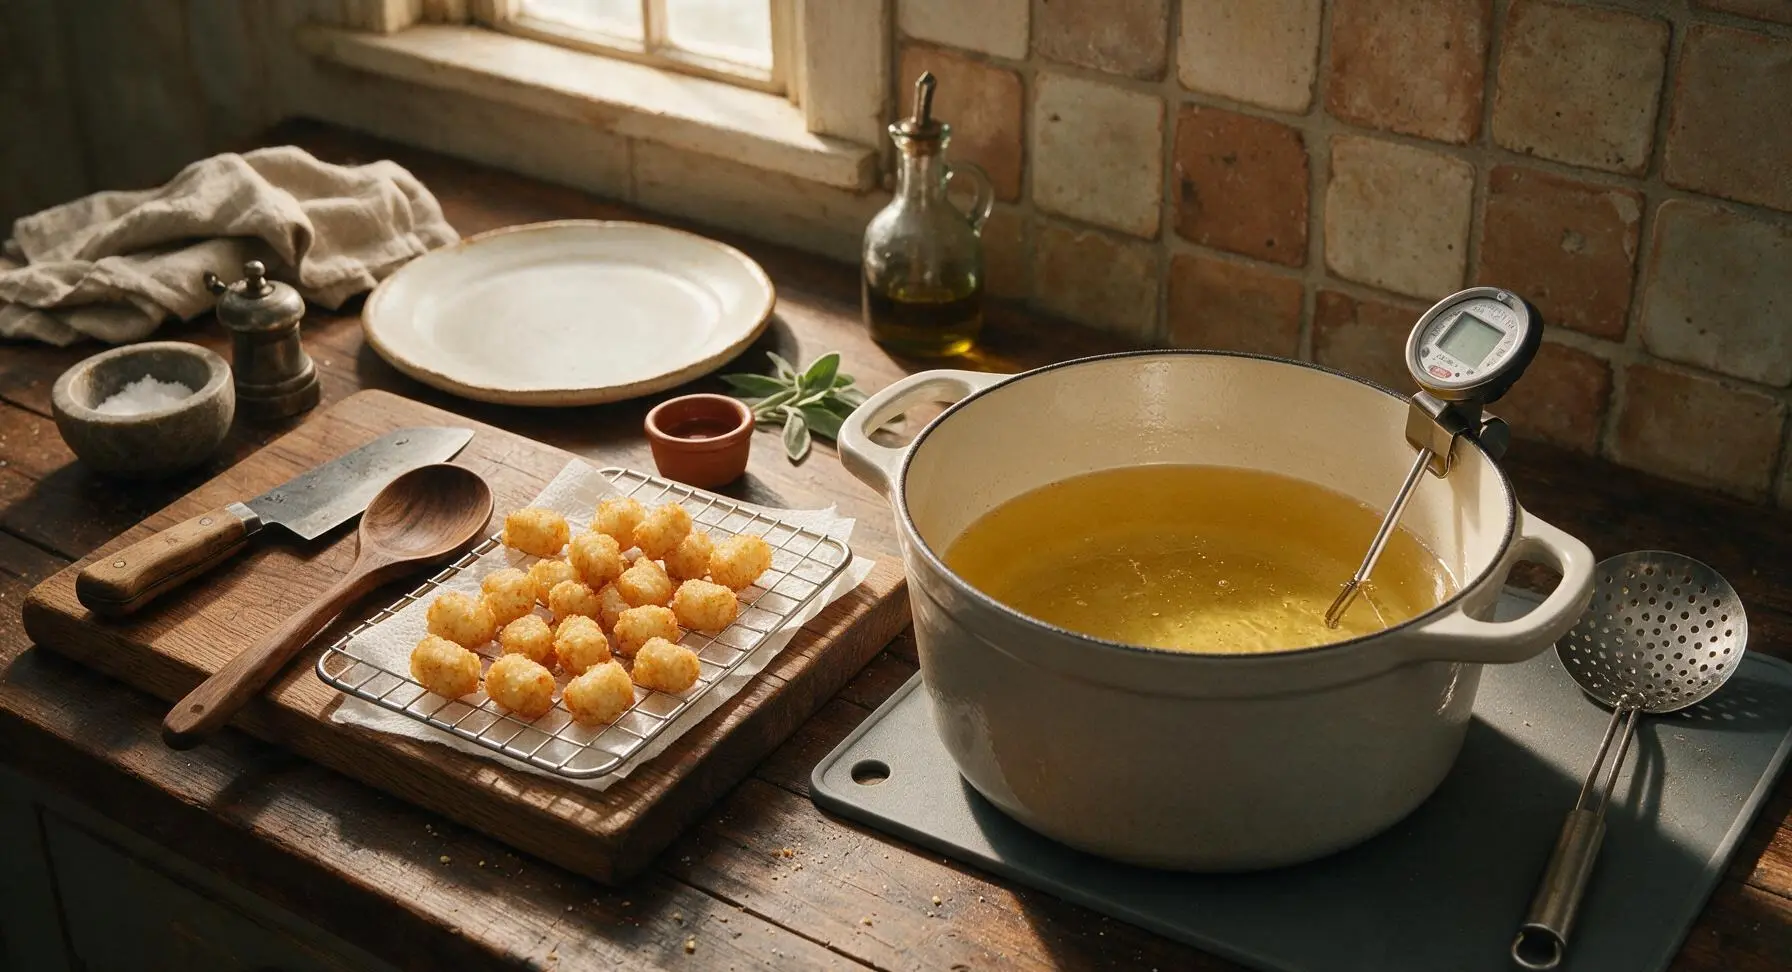
Step 6
step6:Heat frying oil
7

Fry tots in batches

Carefully lower 8-10 tots at a time into the hot oil using the spider skimmer; do not overcrowd the pot, as this drops oil temperature and leads to soggy, greasy tots. Fry for 3-4 minutes per batch, turning once halfway through, until tots are deep golden brown and crispy on all sides. Wait for oil to return to 350°F between batches.
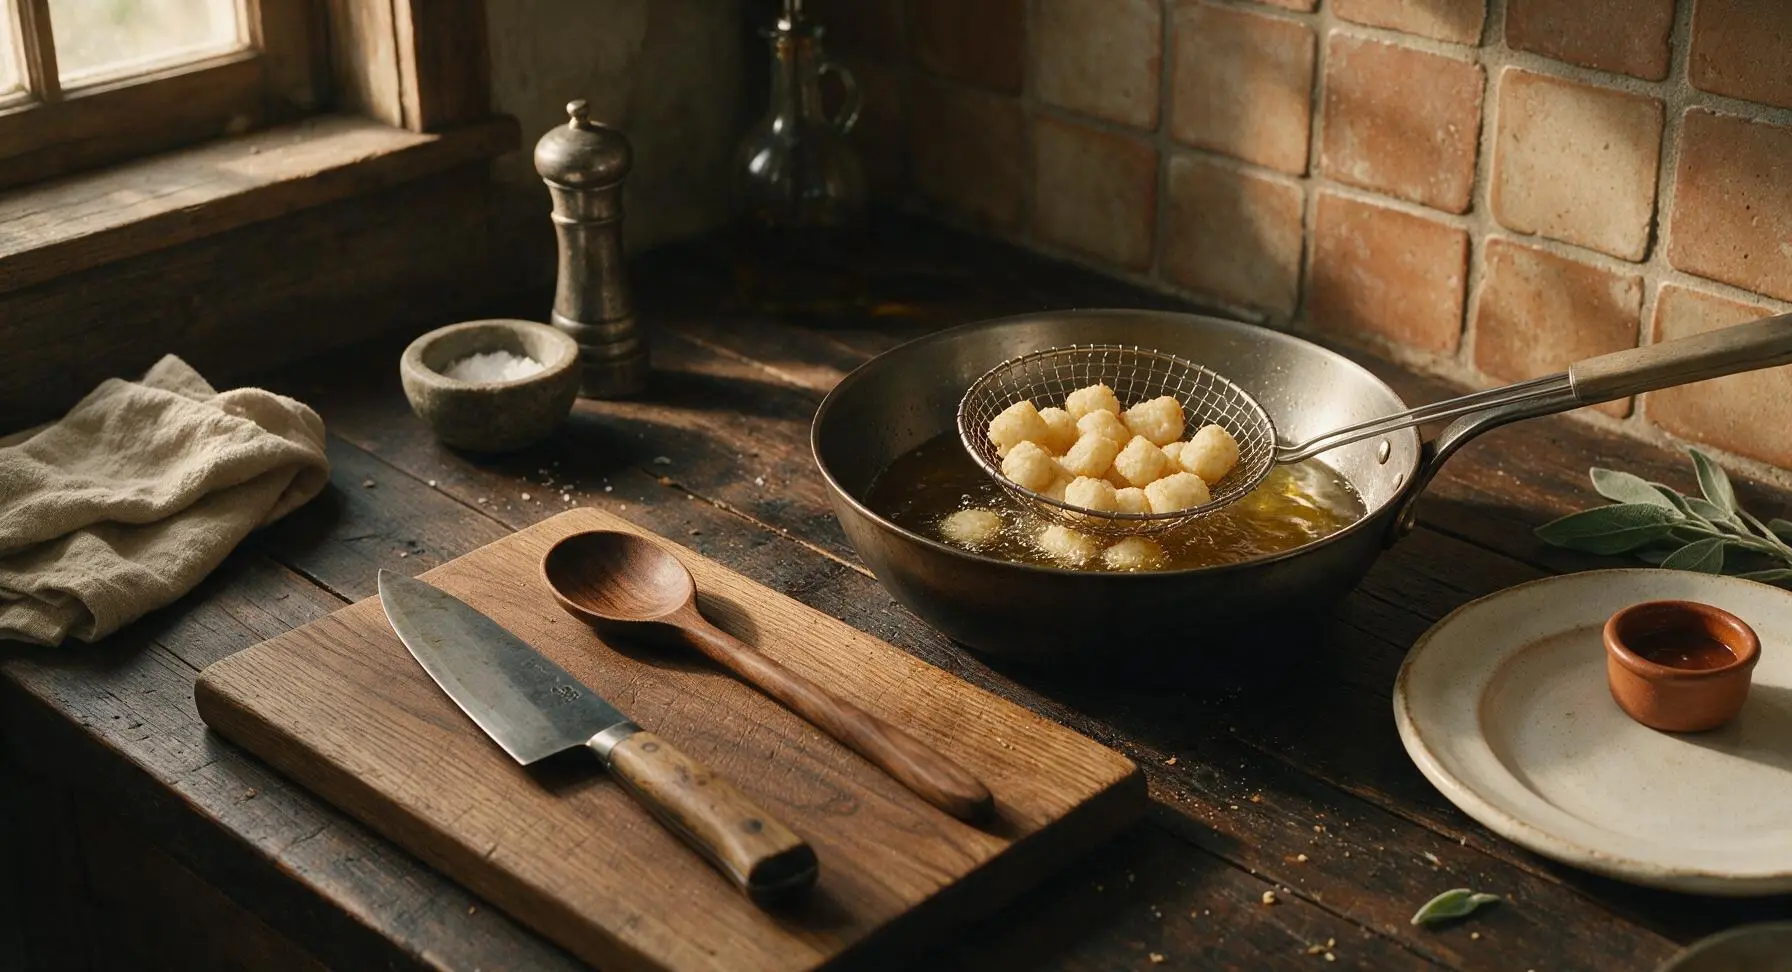
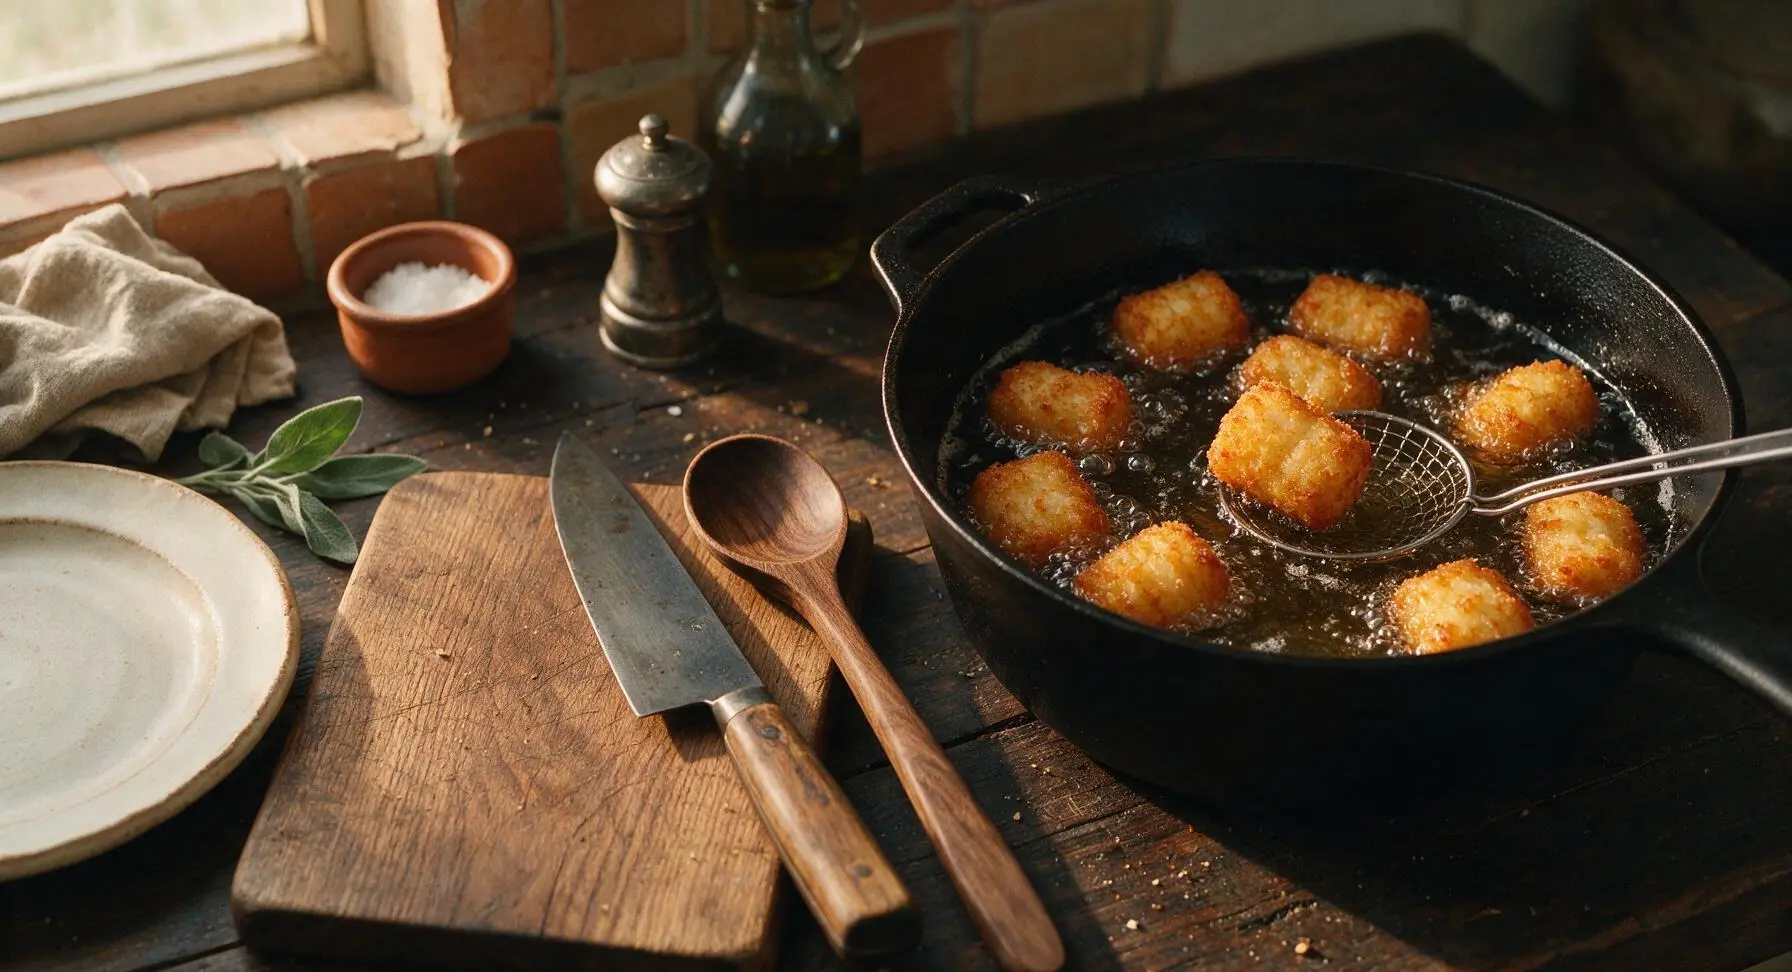
Step 7
step7:Fry tots in batches
Step 7
step7:Fry tots in batches
8

Drain and season tots

Use the spider skimmer to transfer cooked tots to the paper towel-lined wire rack to drain. Sprinkle immediately with a pinch of flaky sea salt and extra black pepper while the surface oil is still hot, so seasoning adheres properly. Let tots rest for 1 minute on the rack before plating to allow excess oil to drip off and the crust to set.
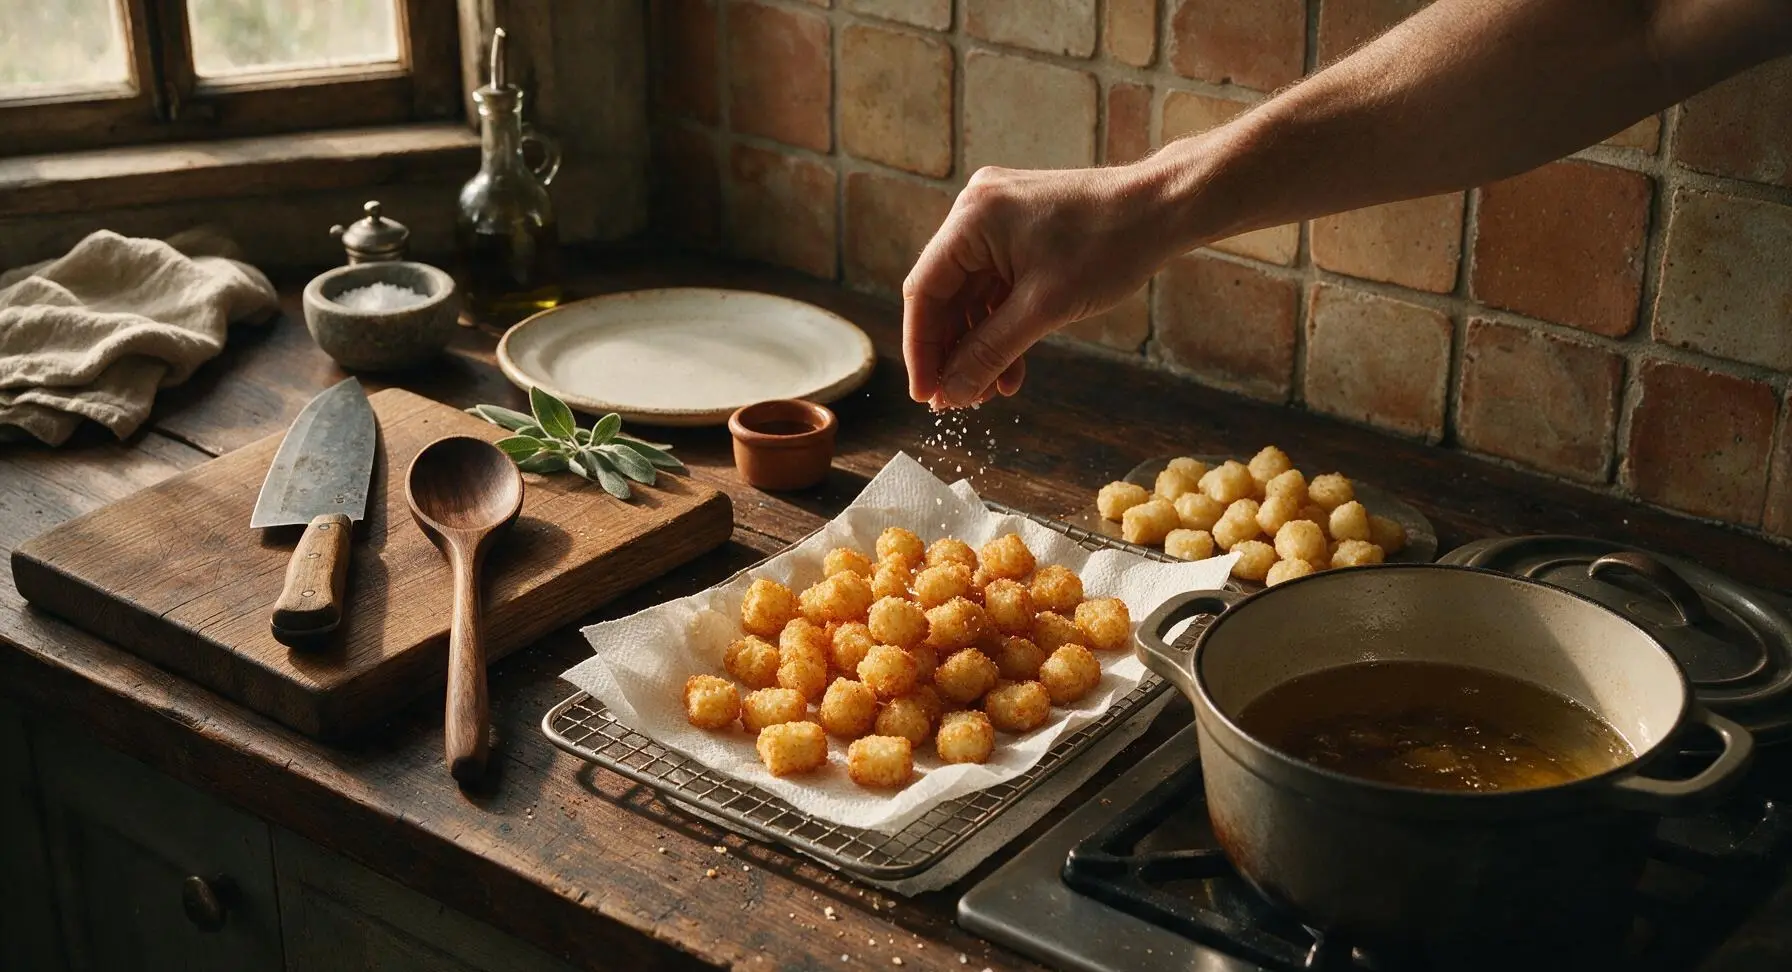
Step 8
step8:Drain and season tots
9

Plate and serve hot

Transfer all drained, seasoned tots to the matte cream white ceramic serving platter, piling them in a casual loose mound. Garnish with 1 tablespoon finely chopped fresh flat-leaf parsley. Serve immediately with ketchup and garlic aioli in the small clear glass ramekins for dipping.
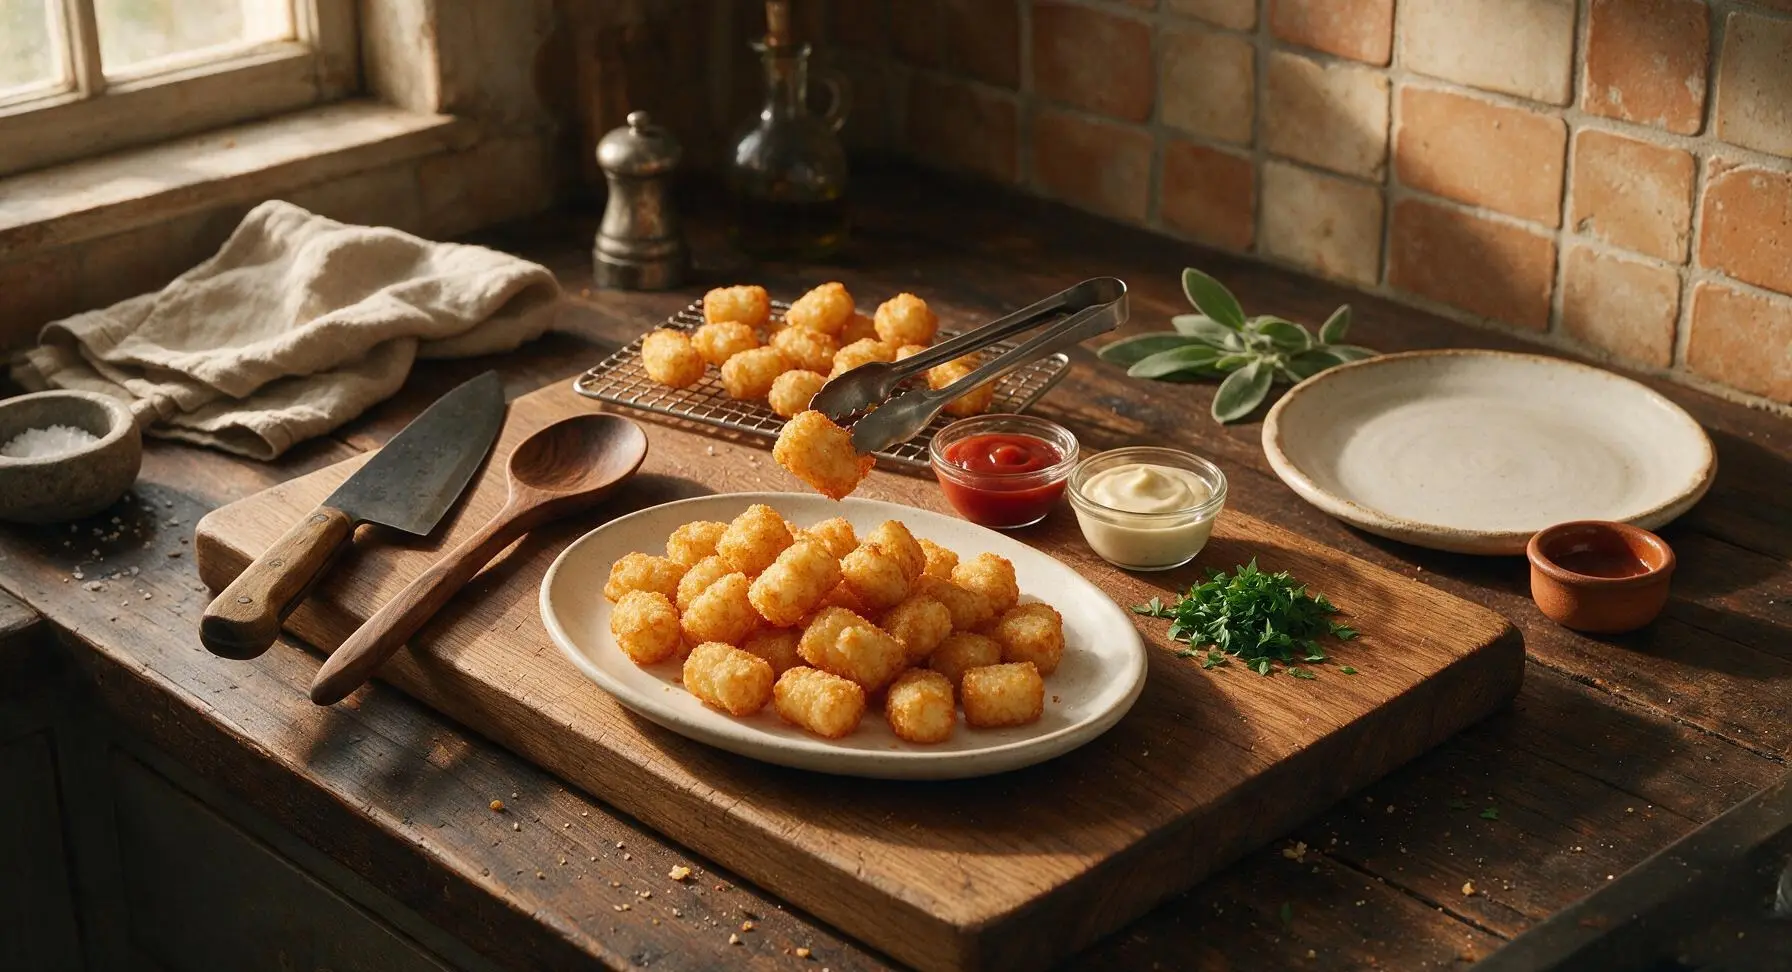
Step 9
step9:Plate and serve hot

Tips

1.Squeezing every last drop of moisture from the grated potatoes is non-negotiable: excess starch and water will steam inside the tot instead of crisping, leading to soggy, greasy tots that fall apart in the fryer. For extra dry shreds, let them rest on the open towel for 10 minutes after squeezing before mixing.
2.Always wait for the frying oil to return to 350°F between batches: adding tots to oil that is too cool causes them to absorb excess oil, resulting in a heavy, greasy texture instead of a light, crisp crust. Use the clip-on thermometer to monitor temperature consistently.
3.Freeze uncooked shaped tots on a parchment-lined baking sheet for 1 hour, then transfer to a sealed freezer bag for up to 3 months. Fry directly from frozen (add 1 minute to cook time, no thawing needed) for quick, homemade tots on demand without extra prep work.


✨ You May Also Like

Snacks & Appetizers
🍜 Mexico

Crispy thick-cut tortilla chips piled high with seasoned beef, melted cheese, and bright fresh toppings for a shareable, crowd-favorite bite.

⏱️ 25 minuteSnacks & Appetizers ★ 4.8
Snacks & Appetizers
🍜 United States

Crisp, sweet-tangy spiced pickled watermelon rind is a zero-waste summer staple, perfect with grilled meats, charcuterie, or eaten straight from the jar as a bright snack.

⏱️ 30 minuteSnacks & Appetizers ★ 4.6
Snacks & Appetizers
🍜 Germany

A tangy, jellied pork cold cut slow-simmered with aromatic spices, set into a firm sliceable loaf, served cold with mustard and crusty bread.

⏱️ 3 hours 4Snacks & Appetizers ★ 4.8
Snacks & Appetizers
🍜 United States

Creamy, tangy, perfectly seasoned hard-boiled egg halves filled with a rich, smooth yolk mixture, a timeless, crowd-pleasing bite for holiday and casual gatherings alike.

⏱️ 40 minuteSnacks & Appetizers ★ 4.8
Snacks & Appetizers
🍜 Russia

Silky, dill-forward no-smoke cured salmon, a Scandinavian classic with bright salty-sweet flavor, ideal for holiday starter platters and open-faced rye sandwiches.

⏱️ 48 hours Snacks & Appetizers ★ 4.7
Snacks & Appetizers
🍜 Japan

Crisp golden bottoms, juicy savory pork and vegetable filling, and tangy dipping sauce make these pan-fried gyoza a beloved shareable bite.

⏱️ 45 minuteSnacks & Appetizers ★ 4.8

home made tots:Frequently Asked Questions

1.Why do my homemade tater tots turn out soggy instead of crispy? ▾
Sogginess almost always stems from excess potato moisture or incorrect cooking temperature. After shredding your Russet potatoes, squeeze them firmly in a clean kitchen towel or cheesecloth until no more liquid drips out. Never overcrowd your cooking vessel, and hold frying oil at a steady 375°F, or preheat your oven fully to 425°F if baking.
2.Can I use a different type of potato instead of Russets for this recipe? ▾
Russets are ideal because their high starch content creates that perfect fluffy center and crisp exterior, but you can substitute other starchy baking potatoes if needed. Avoid waxy varieties like red or Yukon Gold potatoes—their lower starch and higher moisture lead to dense, soggy tots that won’t hold their shape while cooking.
3.Do I have to fry these tater tots, or can I bake them for a lighter option? ▾
You can absolutely bake them for a lower-oil version! Toss shaped tots in 1–2 tablespoons of neutral oil, arrange them in a single layer on a wire rack set over a baking sheet, and bake at 425°F for 30–35 minutes, flipping halfway, until deep golden and crispy. Skip placing tots directly on the baking sheet, as that creates soggy bottoms.
4.How fine should I shred the potatoes for the best tater tot texture? ▾
Aim for the smallest holes on a standard box grater, or the fine shredding attachment on your food processor. Finely shredded potatoes bind easily with the small amount of all-purpose flour in the recipe, creating that classic compact tot shape, while cooking evenly to deliver a crisp outside and light, fluffy center. Avoid thick shreds that fall apart while cooking.
5.Can I make these tater tots ahead of time and freeze them for later? ▾
Definitely! After shaping the raw tots, arrange them in a single layer on a parchment-lined baking sheet and freeze solid for 2–3 hours, then transfer to a sealed freezer bag for up to 3 months. No need to thaw before cooking—just add 2–3 minutes to your usual fry or bake time until they’re heated through and crispy.
6.The recipe uses all-purpose flour—can I swap it for a gluten-free alternative? ▾
Yes, you can easily make these gluten-free by swapping the all-purpose flour for a 1:1 gluten-free all-purpose baking blend that contains xanthan gum. The flour only acts as a light binder to hold the shredded potato together, so you won’t notice a texture or flavor difference as long as your blend is made for cup-for-cup AP flour replacement.
7.How do I season these tater tots so they don’t turn out bland? ▾
The base recipe uses garlic powder, onion powder, and fine sea salt mixed directly into the potato shreds for even, consistent flavor, but you can easily amp it up. Add a pinch of smoked paprika, black pepper, grated parmesan, or chopped chives to the mix before shaping, and taste a tiny pinch of the raw blend to adjust salt levels.
8.Why do my tater tots fall apart while I’m cooking them? ▾
Tots usually fall apart for two common reasons: too much remaining moisture in the shredded potatoes, or insufficient binding. Make sure you’ve squeezed every last bit of liquid out of your Russet shreds, measure the all-purpose flour accurately, and press the shreds firmly when forming tots to compact them tightly before cooking.
9.What oil is best for frying these homemade tater tots? ▾
Use a neutral, high-smoke-point oil for frying, like canola, vegetable, peanut, or refined avocado oil. These oils won’t burn or add off-flavors when held at the 375°F frying temperature needed for crispy, non-greasy tots. Avoid olive oil or butter, which have low smoke points and will burn quickly, leaving bitter, unpleasant-tasting tots.
10.What dips pair best with these crispy tater tots for serving? ▾
These crunchy, fluffy tots pair perfectly with classic dips like ketchup, spicy mayo, warm cheese sauce, or ranch dressing for a casual shareable snack. For a fun twist, serve them with garlic aioli, honey mustard, or a tangy sour cream and chive dip when hosting friends. They’re sturdy enough for thick dips, so feel free to use your favorite.

Comments (3)

3 days ago

OMG these are SO good!! I’ve tried so many homemade tater tot recipes that turned out soggy and mushy in the middle, but these were perfectly crispy all the way through. My kids devoured half the batch before I even got them on the dinner table last night, total game changer for our weekly family burger nights. 10/10 will be making these for our neighborhood potluck next weekend too!

2 days ago

Wait did you shred the potatoes and squeeze every last bit of water out like the recipe says? I almost skipped that step last time I made tater tots and that’s always why they turn out soggy, wondering if that’s the big trick here!

yesterday

Great question! Squeezing all the excess moisture out of the shredded potatoes is absolutely the #1 trick to getting that perfect crispy crunch — we even recommend squeezing them a second time with a clean paper towel after the first wring to make sure no extra water is left. So glad your family loved the recipe!

2 hours ago

Obsessed with how easy this was! I was low-key intimidated to make tater tots from scratch but the steps were so straightforward, and it only took 30 minutes total just like the recipe says. I made a double batch on Sunday to portion out for weekday lunches and they reheated perfectly in the air fryer — way better than the frozen grocery store ones, no weird unpronounceable additives. These will be a staple in my meal prep rotation for sure!

30 minutes ago

So happy to hear these worked great for your meal prep! Pro tip: if you’re freezing extra batches for later, par-bake them for 15 minutes first, let them cool completely, then stash them in a freezer bag — they’ll crisp right up straight from the freezer when you’re ready to eat. Thanks for giving the recipe a try!

1 week ago

Made these last night for my roommates after seeing the recipe pop up on my feed and we were all shocked how good they came out for how cheap and easy they were! We tossed them in a little cajun seasoning before baking and dipped them in homemade queso, absolute chef’s kiss. Way better than dropping $10 on takeout tots when we’re on a tight student budget.



