
Homemade soy milk (plant-based milk)
intro
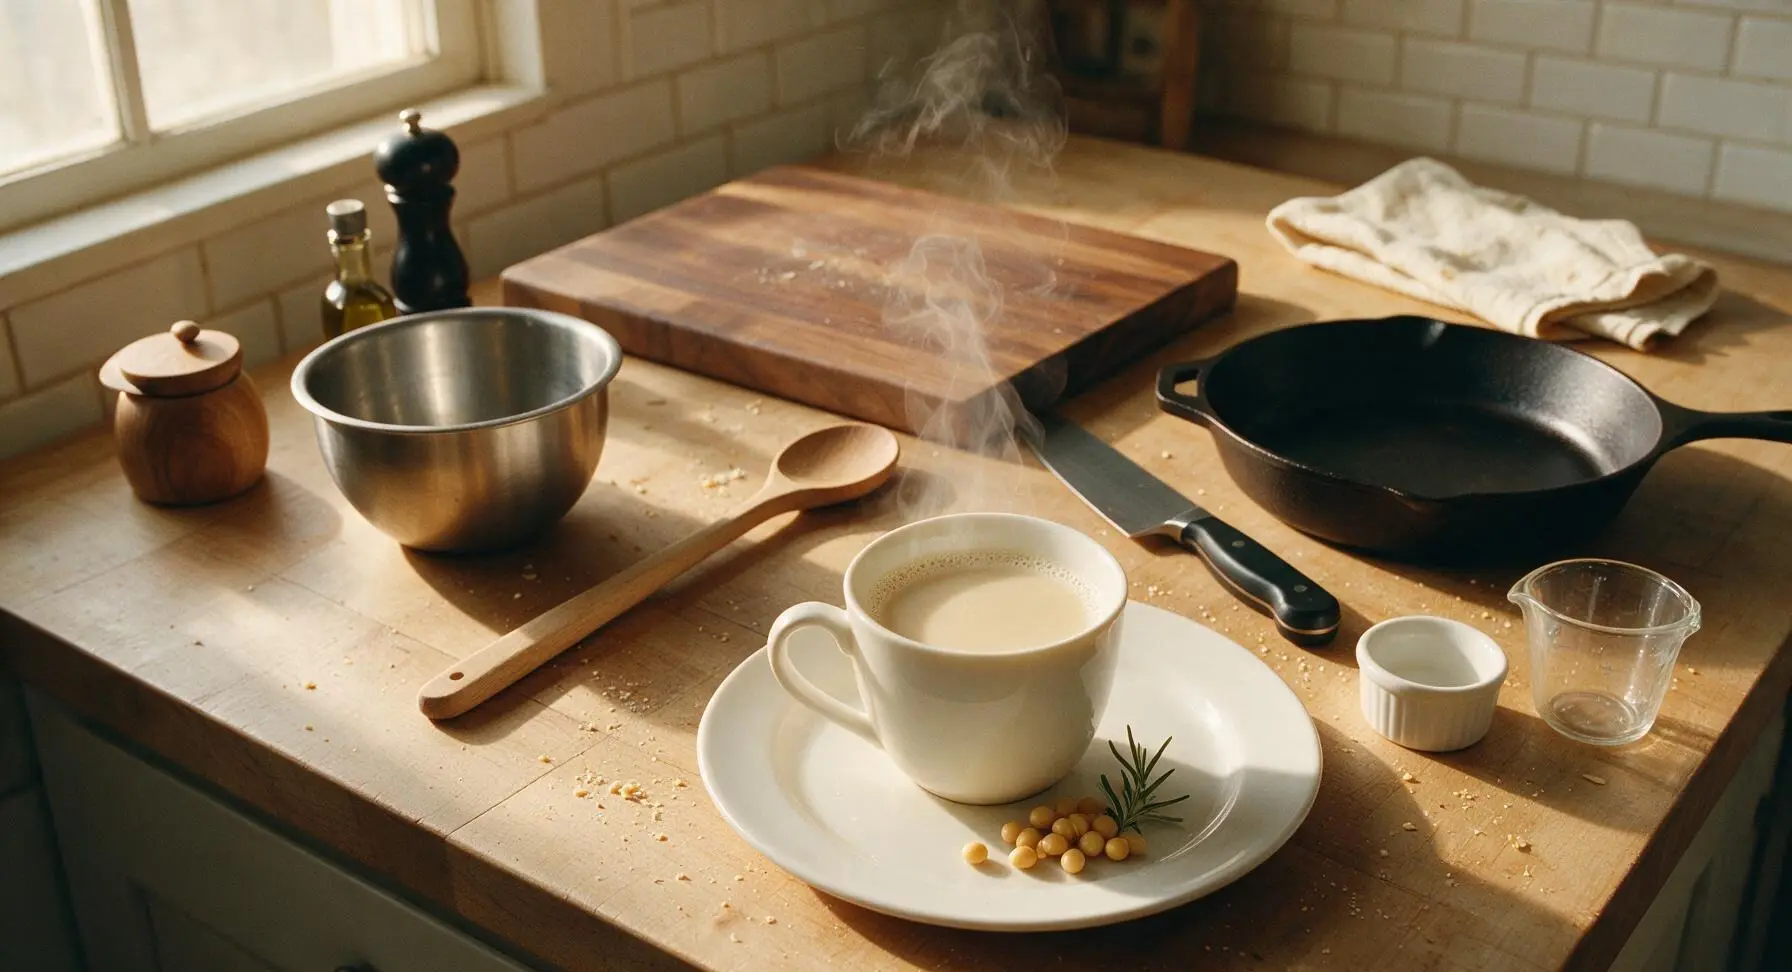
Silky, additive-free homemade soy milk with a bright, nutty soybean flavor, perfect for sipping warm, adding to lattes, or pouring over cereal for a cozy dairy-free treat.
Ingredients
Steps
Rinse and Soak Beans
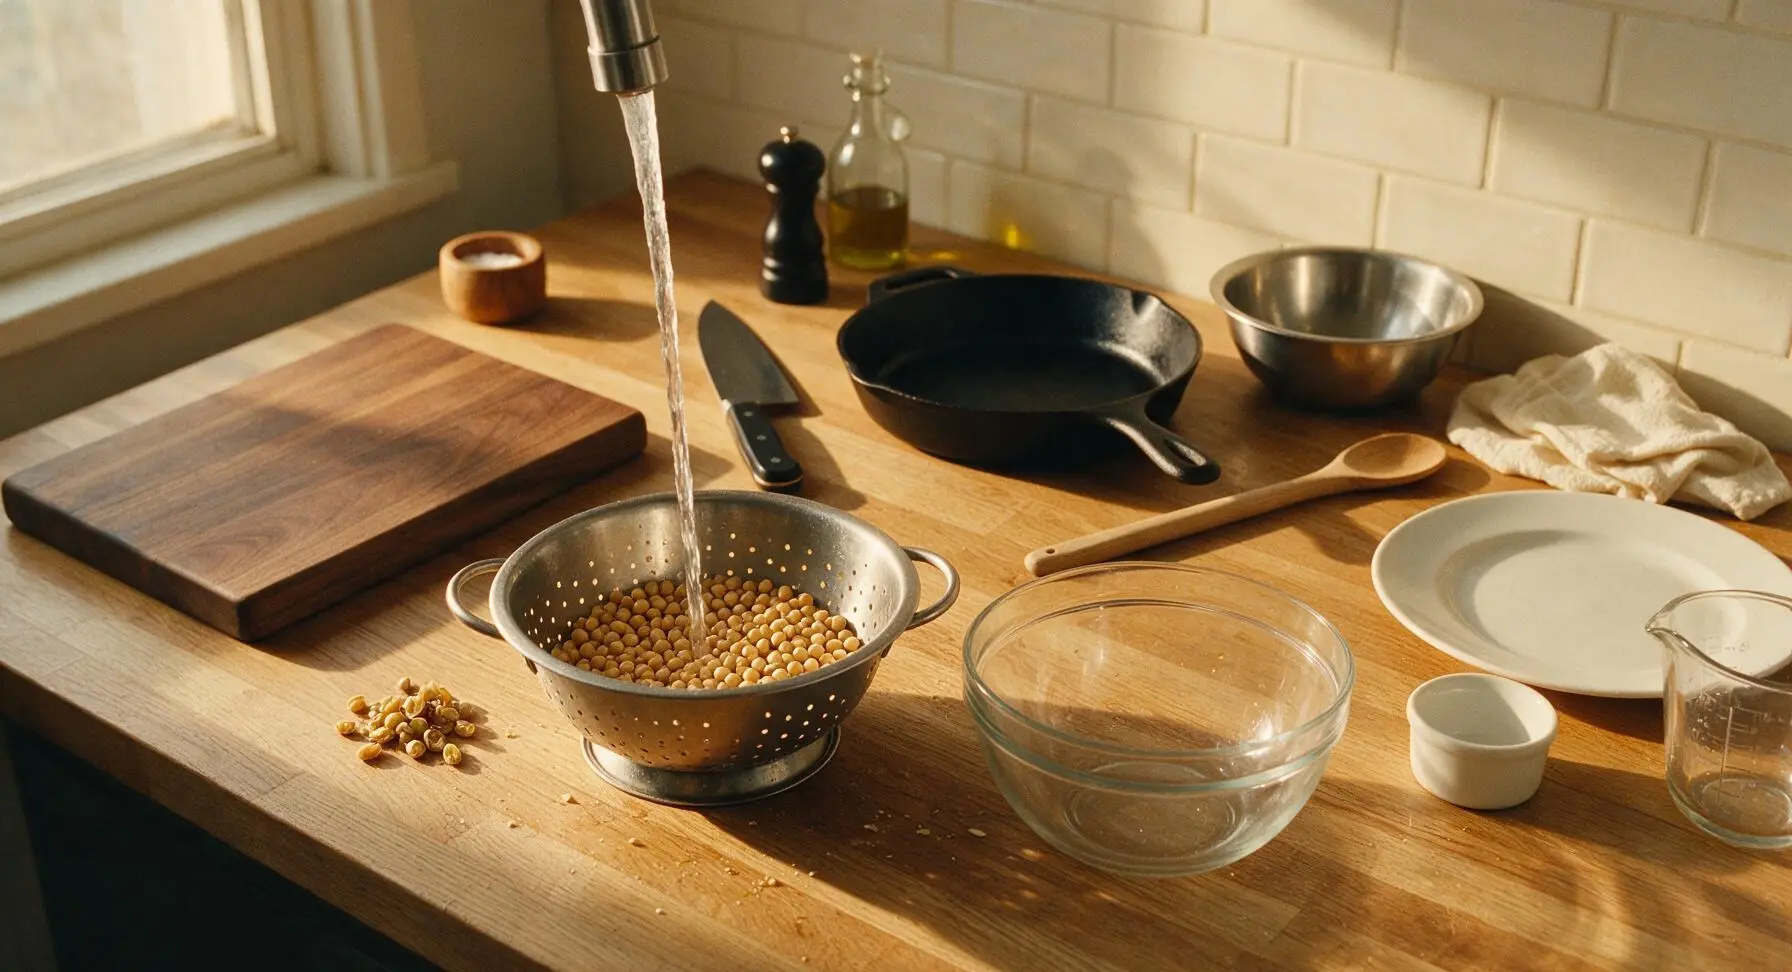
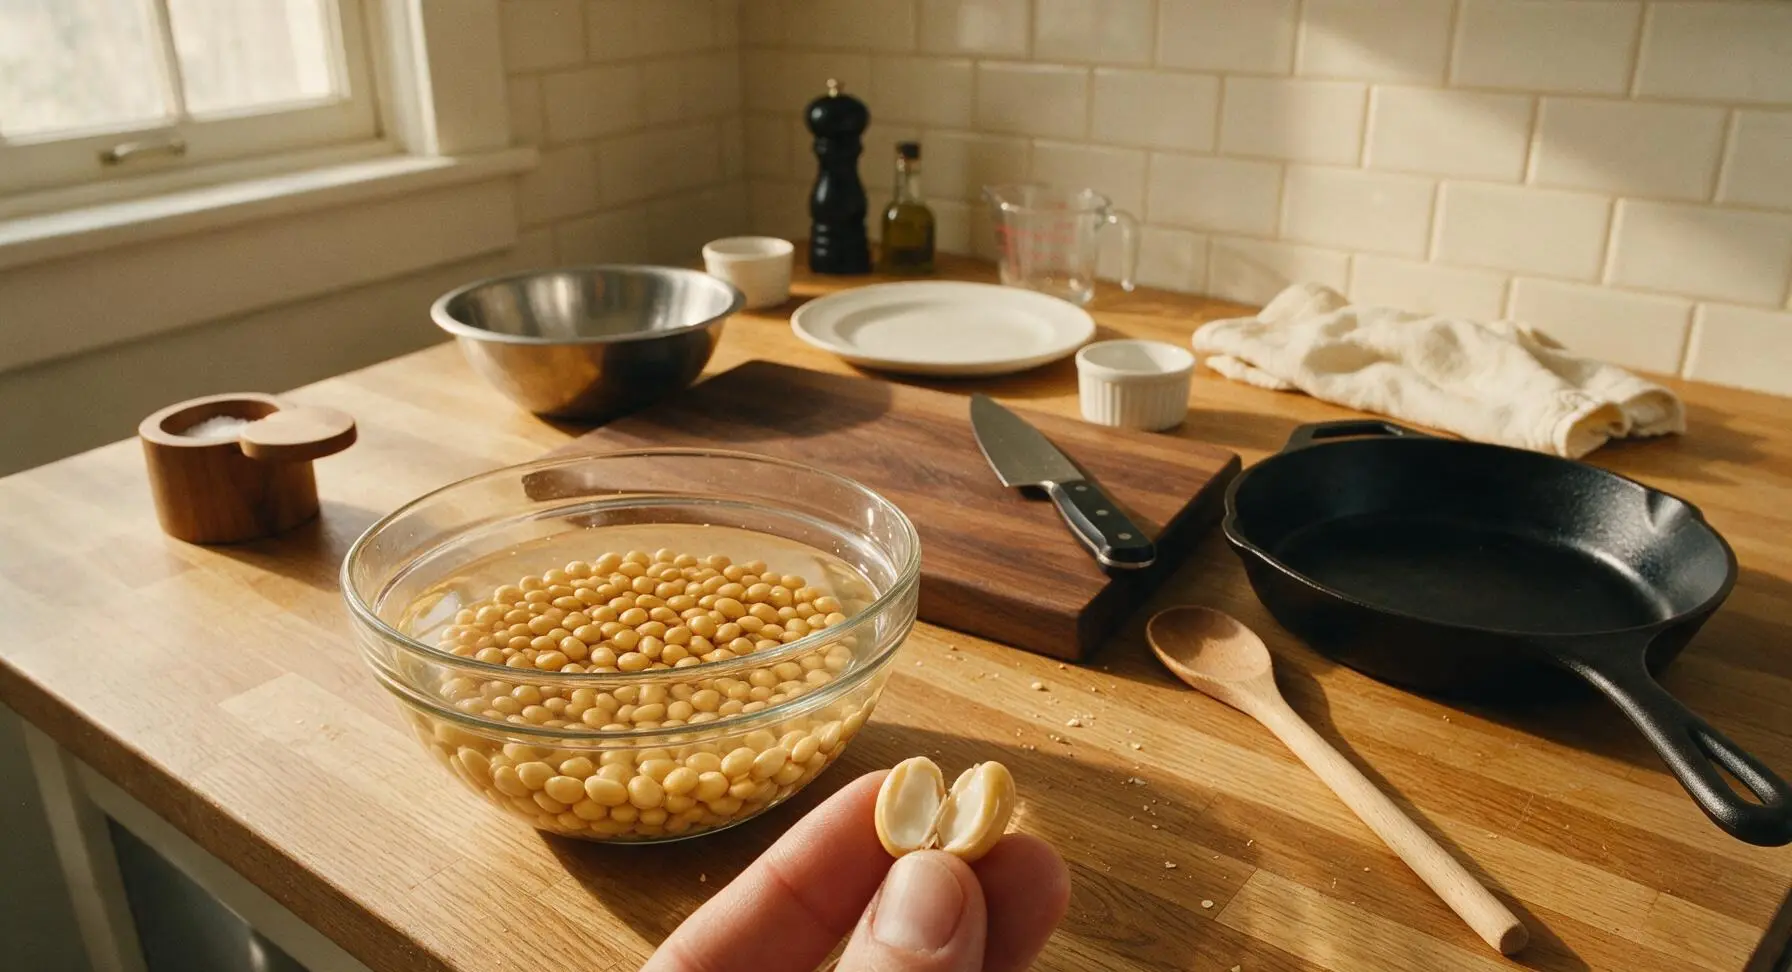
Place the dried soybeans in the stainless steel colander, and rinse under cool running water for 1 minute, picking out and discarding any discolored, shriveled beans or small debris. Transfer rinsed beans to the clear glass soaking bowl, cover with 5cm of cool filtered water, and leave to soak at room temperature for 8-12 hours (or overnight) until beans are plump, doubled in size, and split easily when squeezed between your fingers. Do not soak for longer than 16 hours, as beans may ferment.
Drain Soaked Beans
After soaking is complete, pour the beans and soaking water back into the stainless steel colander to drain fully. Rinse the soaked beans once more under cool running water for 30 seconds to wash away any residual beany flavor, shaking the colander gently to remove excess water. Discard the soaking water—do not use it for blending, as it contains bitter, indigestible compounds.
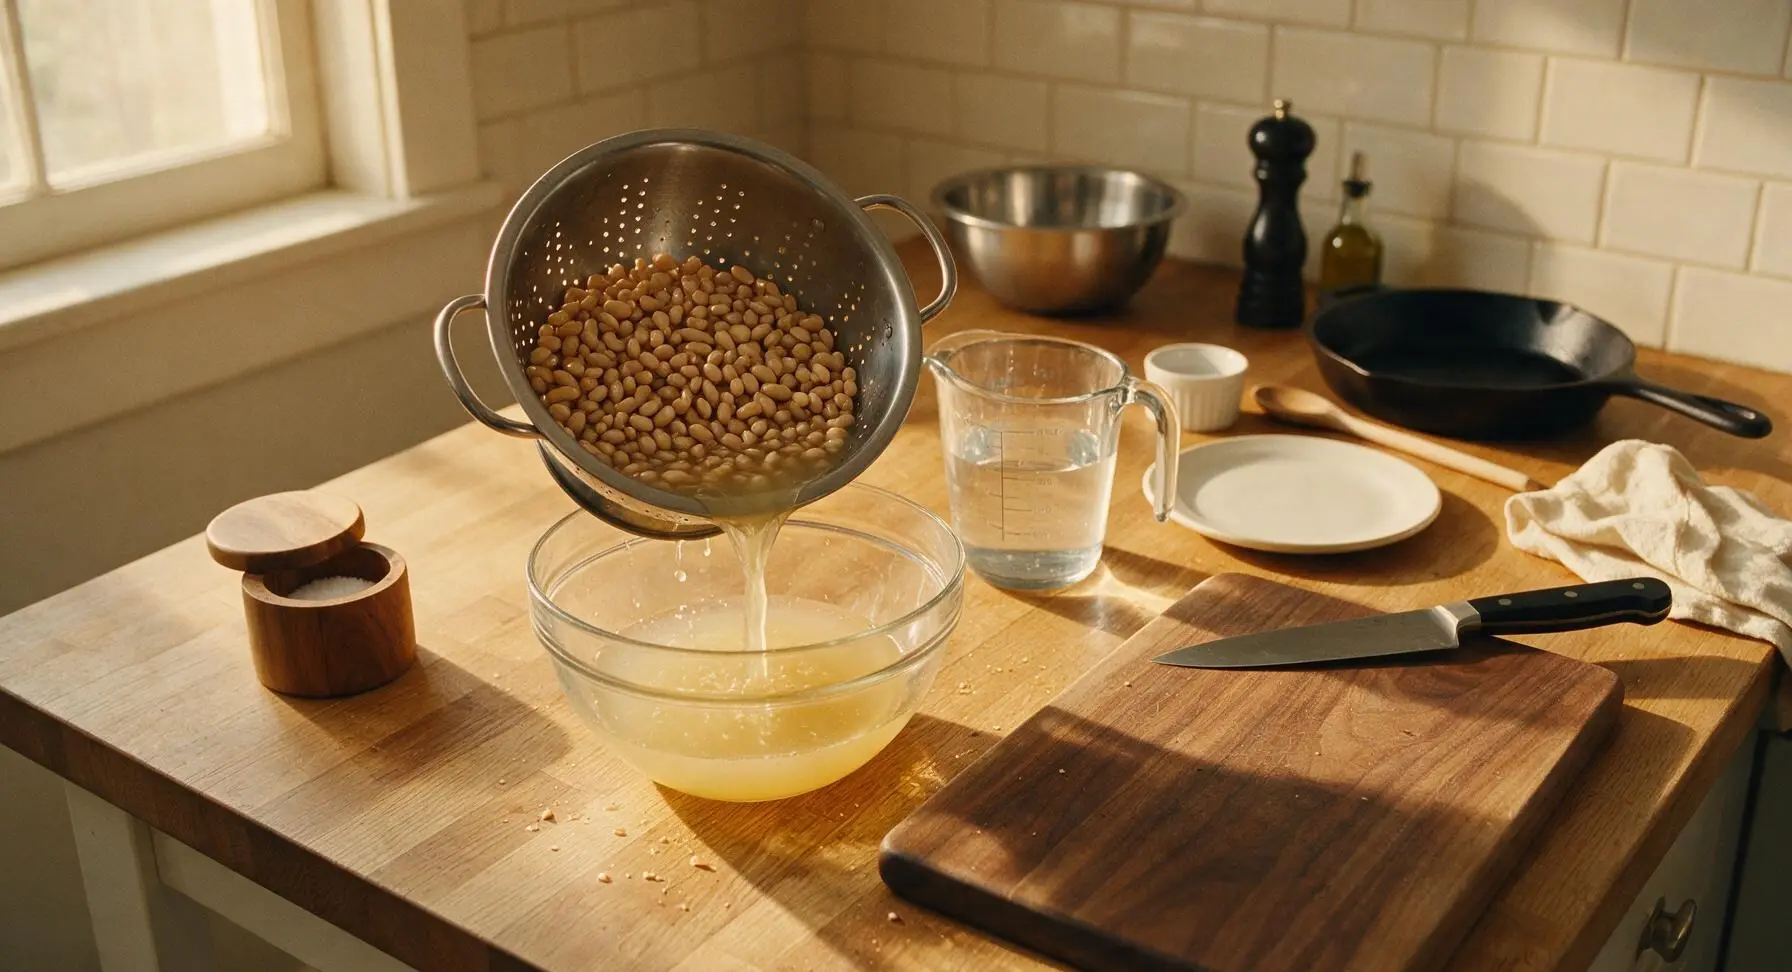
Blend Beans and Water
Transfer the drained, rinsed soybeans to the blender jar. Add 1L of cold filtered water and the pinch of fine sea salt. Secure the blender lid tightly, and blend on high speed for 1-2 minutes, until the mixture is a smooth, pale off-white slurry with no large visible bean chunks. Stop and scrape down the sides of the jar once halfway through blending if needed to ensure even processing.
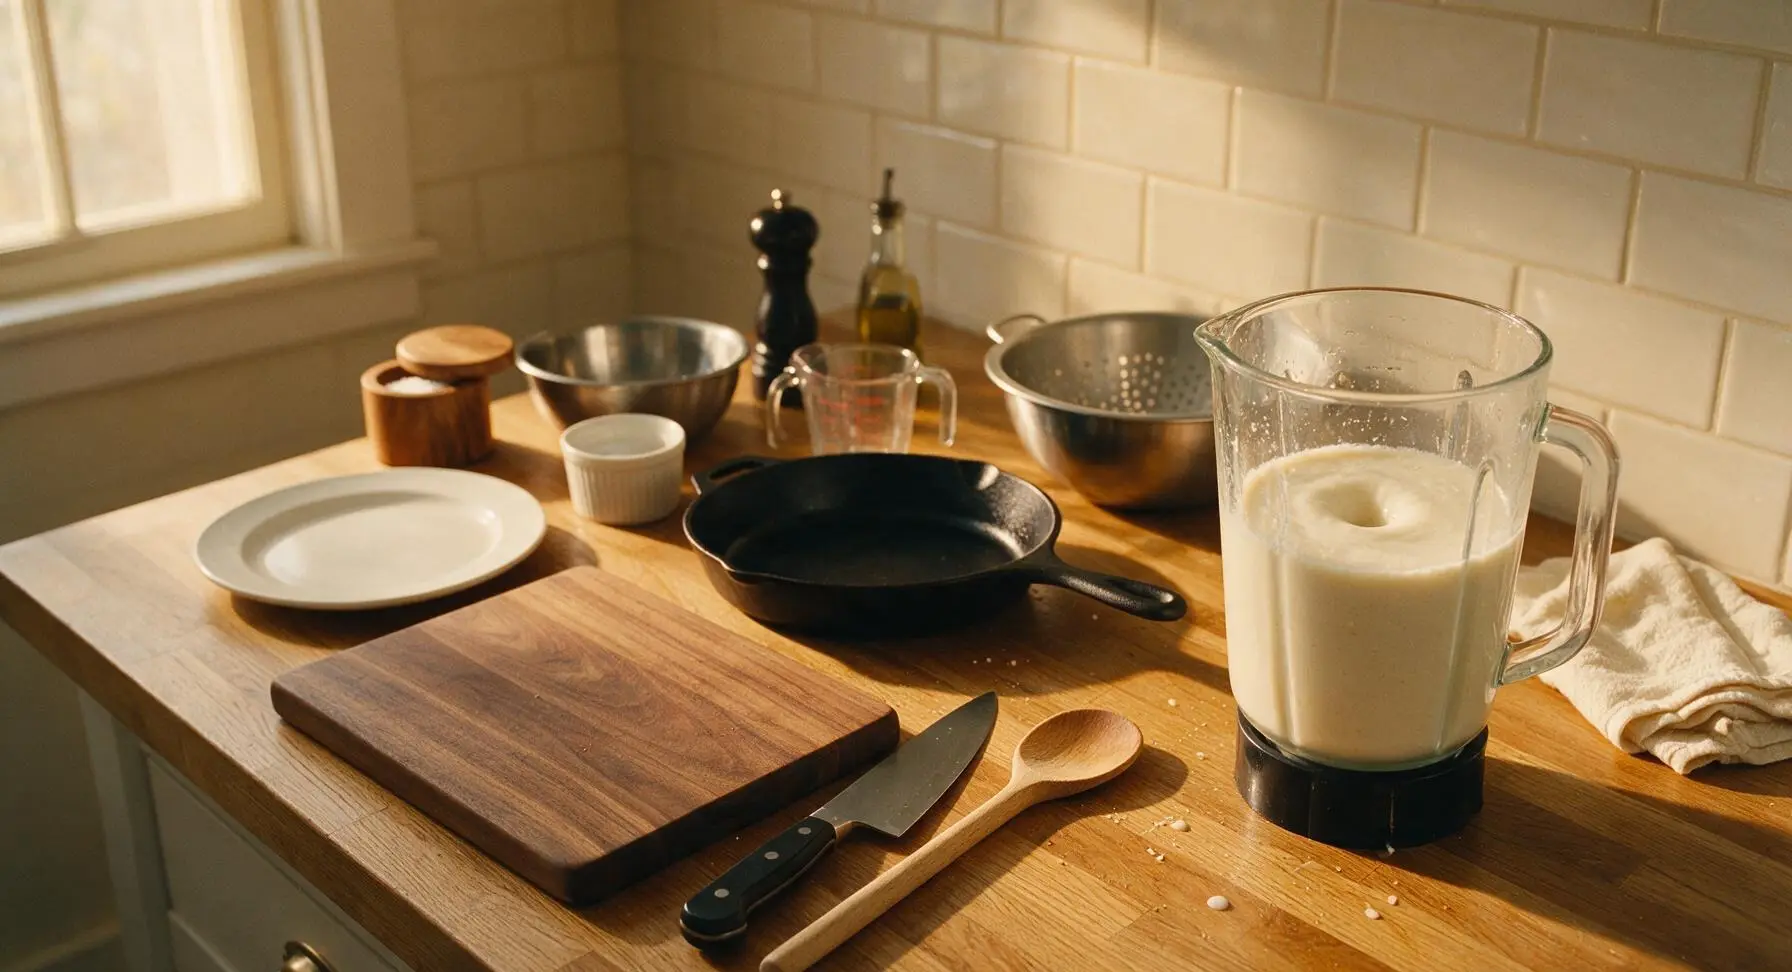
Strain Soy Slurry
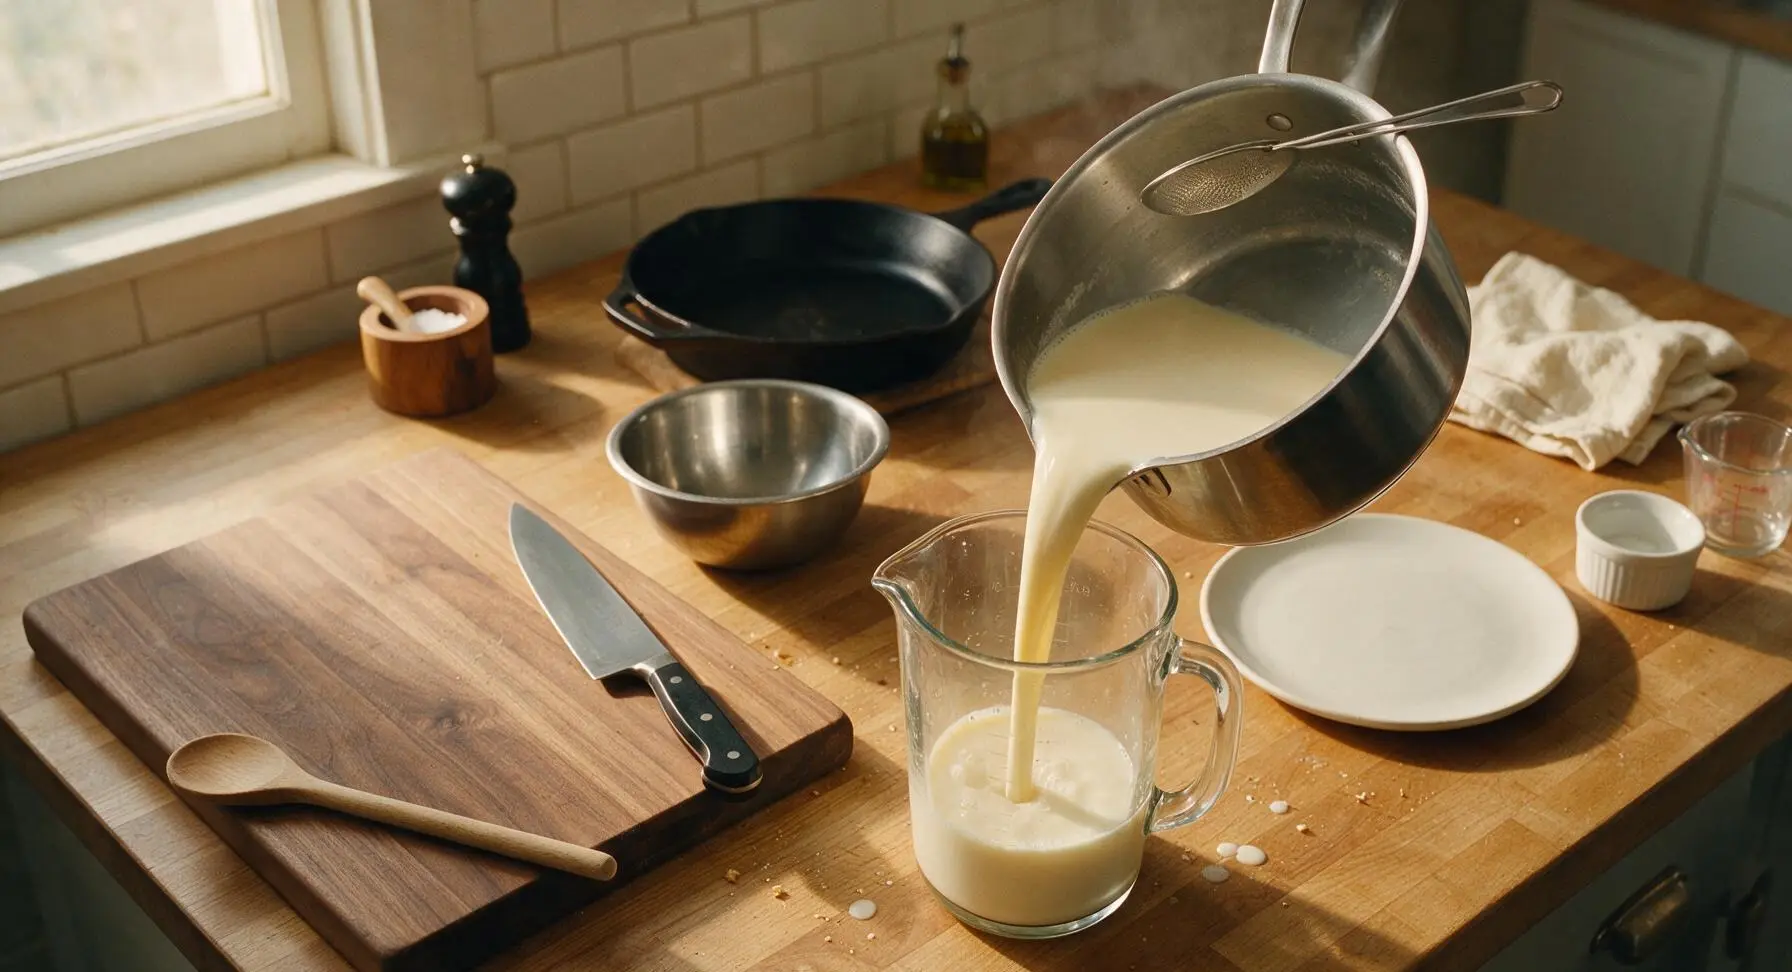
Open the nut milk bag and drape it over the mouth of the clear glass pitcher, folding the top edges over the pitcher rim to hold it securely. Slowly pour the blended soybean slurry into the nut milk bag. Once all slurry is added, gather the top of the bag and squeeze firmly with both hands to extract all possible liquid, leaving only dry, crumbly pale yellow okara (soy pulp) inside the bag. This process takes 2-3 minutes of steady squeezing; you should yield roughly 1.1L of strained raw soy milk in the pitcher.
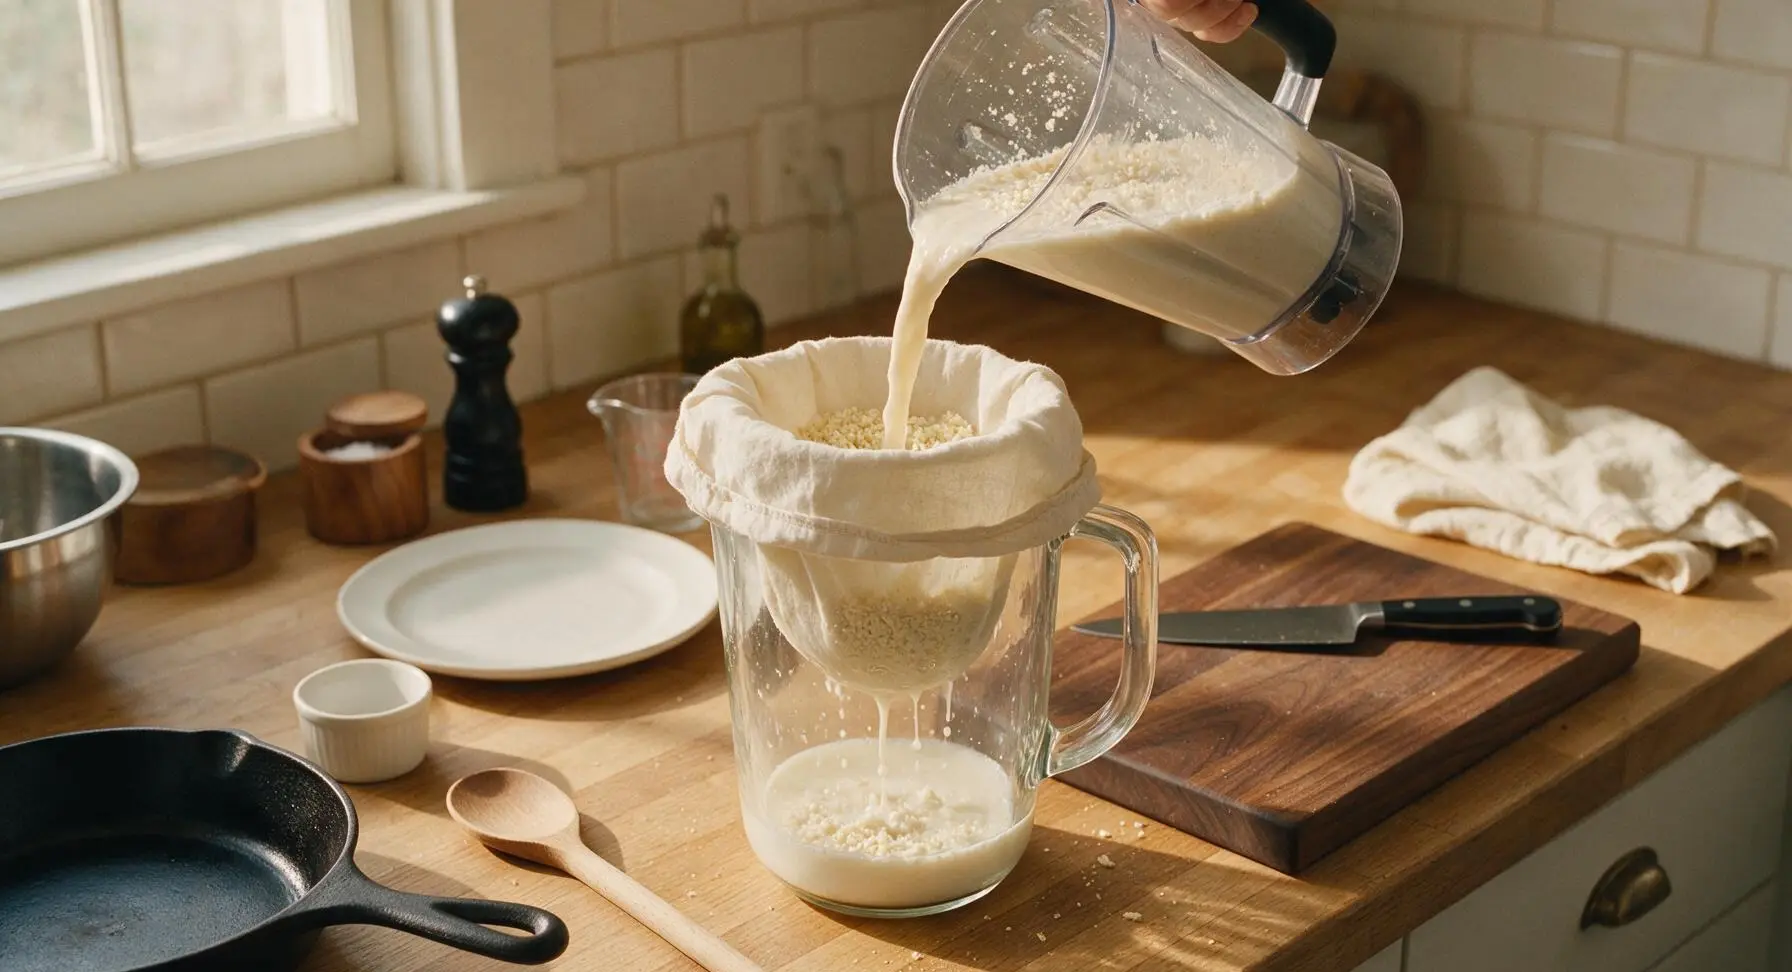
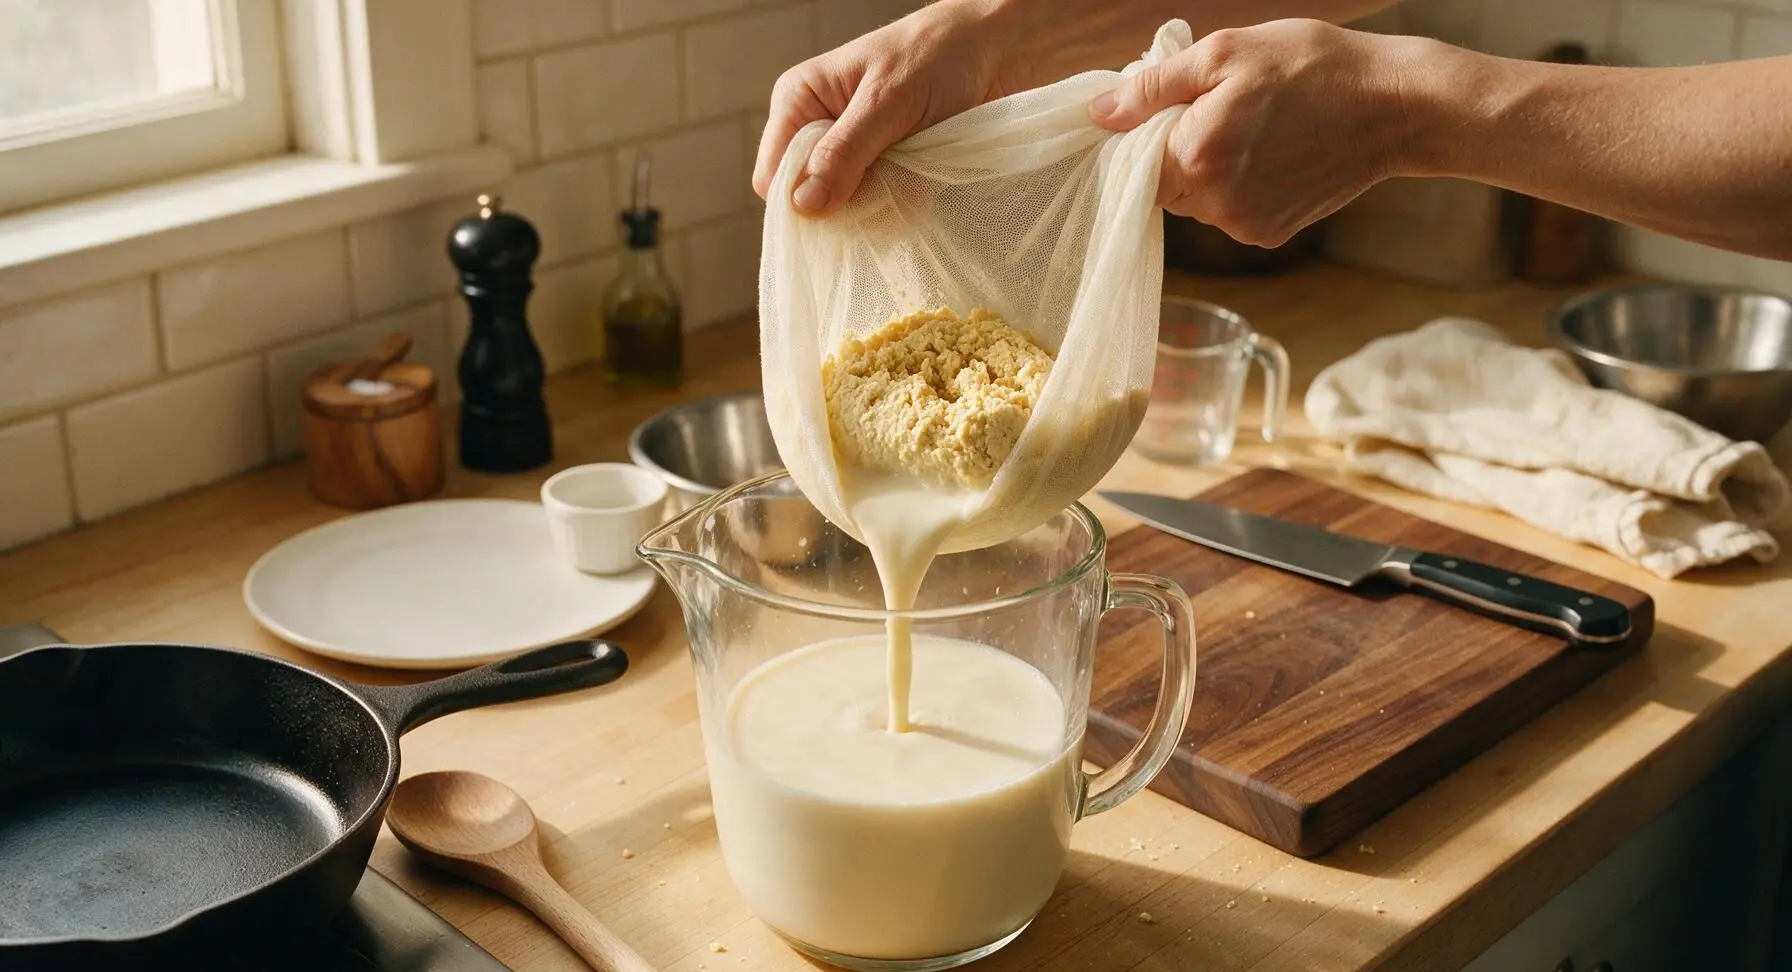
Simmer Soy Milk
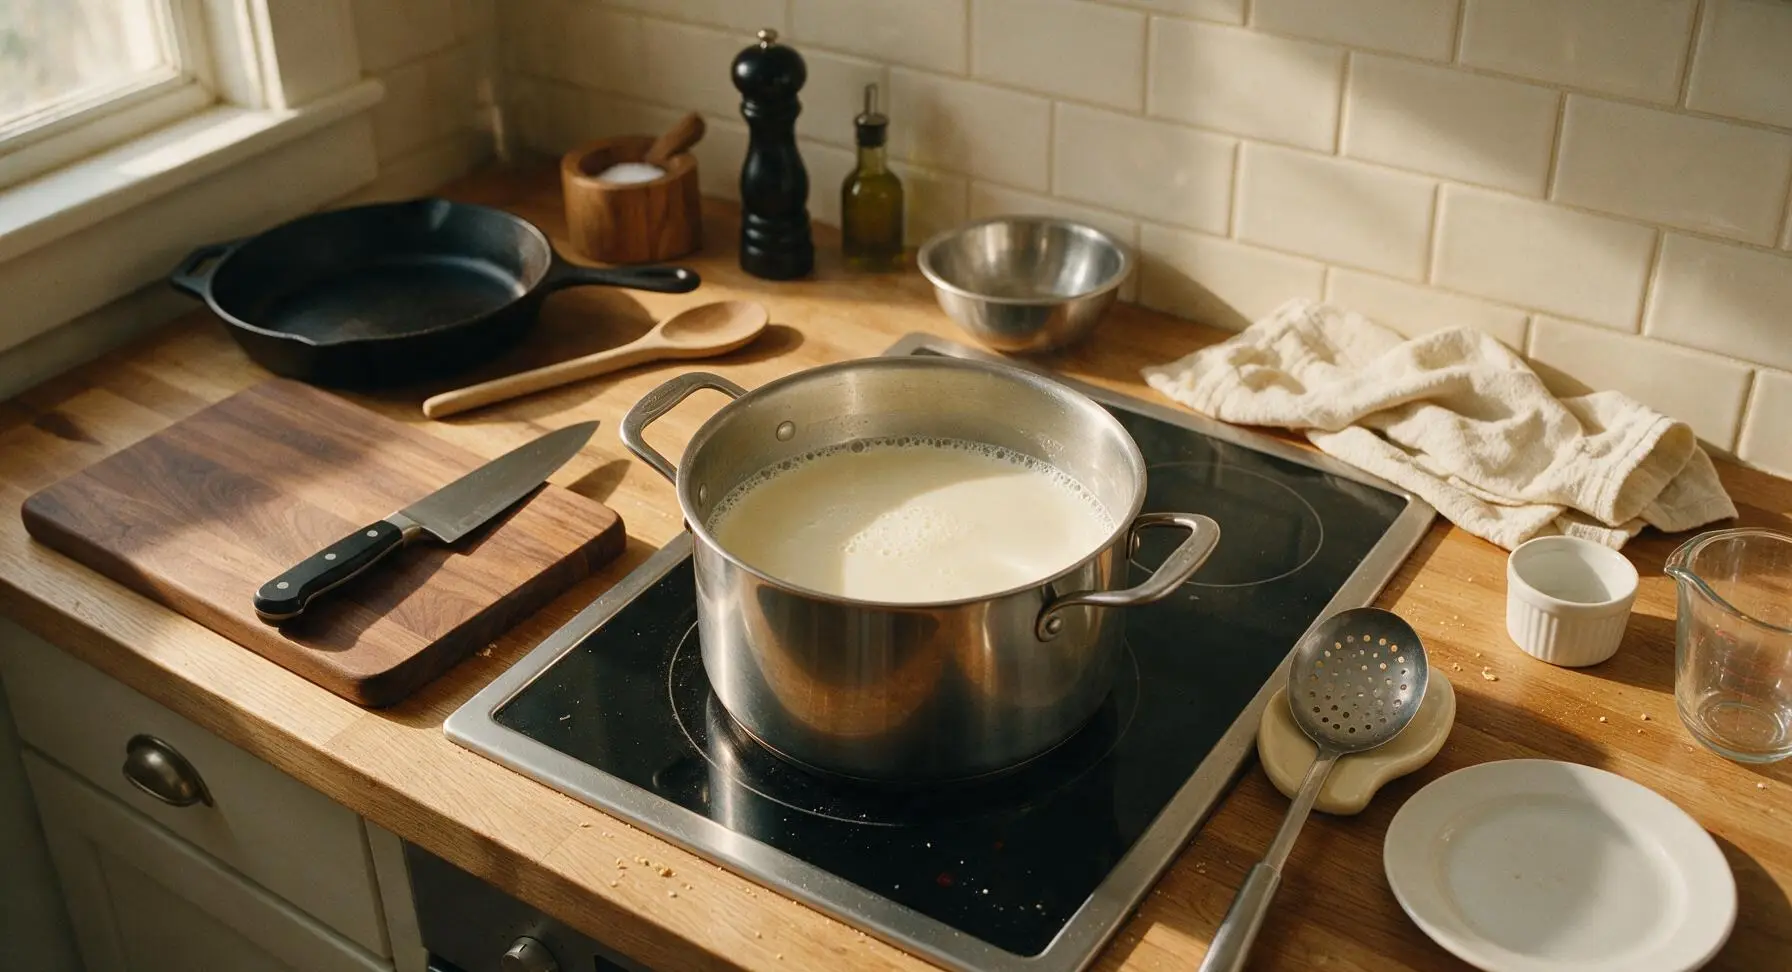
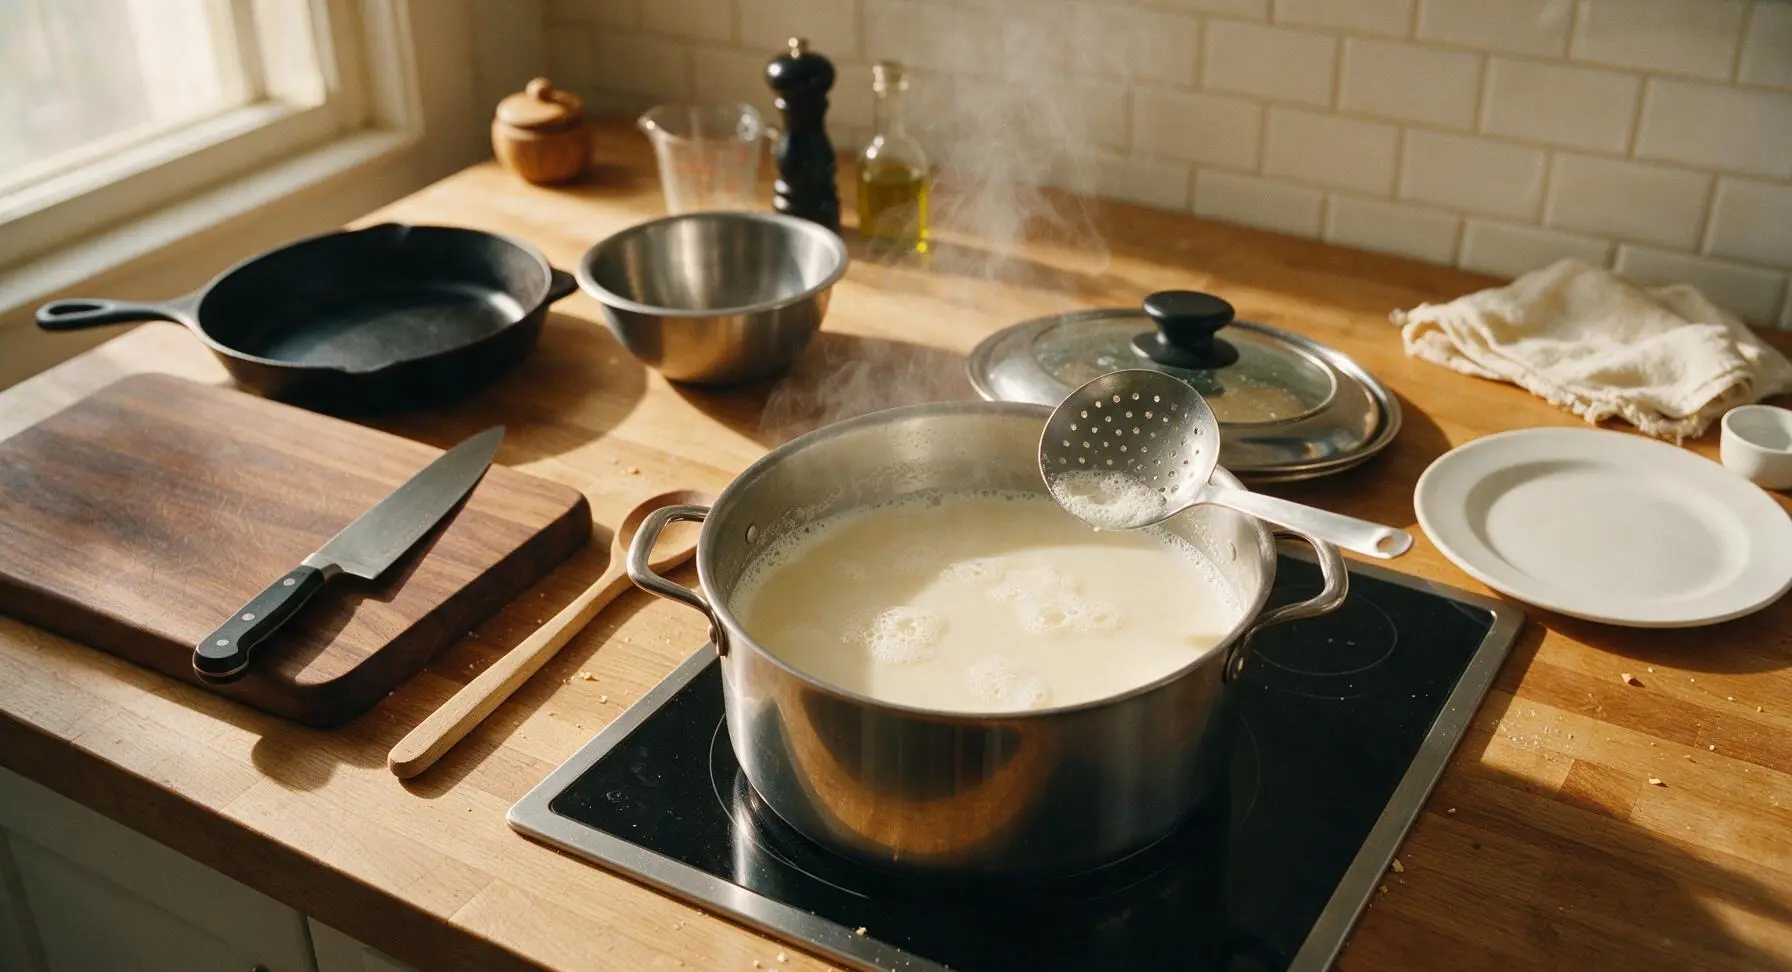
Pour the strained raw soy milk into the 3L stainless steel stock pot, and place the pot on the induction cooktop set to medium heat. Heat the soy milk slowly, stirring occasionally with the skimmer spoon to prevent sticking on the pot bottom, until it reaches a gentle rolling boil (about 8-10 minutes, 100C/212F). Once boiling, reduce heat to low to maintain a soft simmer, and cook for an additional 5 minutes to fully deactivate bitter trypsin inhibitors, which can cause digestive upset. Watch the pot closely, as soy milk boils over very quickly once heated.
Adjust and Cool Milk
After 5 minutes of simmering, turn off the heat. If you prefer thinner soy milk, stir in up to 500ml of additional filtered water to reach your desired consistency. Taste, and add a tiny extra pinch of salt if needed to enhance the nutty flavor. Let the soy milk cool for 10 minutes at room temperature before serving warm, or chill completely in the refrigerator for up to 5 days.
Tips
2.Reserve the strained okara (soy pulp) instead of discarding it: it is packed with fiber and plant protein, and works beautifully mixed into pancake batter, stirred into congee, or formed into savory veggie patties to cut down on food waste.
3.Prevent messy boil-overs by resting a long heatproof spoon across the top of the stock pot as the milk heats: this breaks the surface tension of rising starchy foam, stopping it from spilling over the pot edge even if you step away for a few seconds.






This is such a time saver! 20 minutes cook time is no joke, I can whip up a batch while I’m making breakfast on Sundays and have enough for the whole work week. Way cheaper than buying $6 cartons of soy milk every other day.
Brought this to our church potluck last Sunday since a few of the grandkids have dairy allergies, and everyone was asking for the recipe! I added a tiny pinch of cinnamon and it was a hit with the kids and adults alike. 10/10, no more store bought for us.
My kids loved it! I’ve been struggling to find a dairy-free milk that doesn’t have a weird aftertaste for my youngest who’s lactose intolerant, and all three of my boys drank an entire glass with dinner tonight without complaining. Total mom win.
Wait, does this separate in the fridge after a couple days? I’ve tried other homemade soy milk recipes and it gets weirdly clumpy when I store it, makes it gross to add to coffee.
Tried this for my weekly meal prep earlier this week, and it turned out way creamier than I expected! I used dried soybeans I had in the pantry from last month, no weird straining mess either. My 8 year old asked for a second glass with his after-school cookie, win for dad.
OMG this homemade soy milk is SO good! I’ve been wasting so much money on store-bought plant milks that have weird additives, and this takes barely 20 minutes total? Game changer for my morning oatmeal. I even stirred a little vanilla extract in at the end, chef’s kiss.
First time ever making any kind of plant milk from scratch and this was so stress-free! I was nervous I’d mess it up somehow but the steps are super straightforward, no fancy equipment needed. Tastes way fresher than the grocery store stuff.
SO creamy! I used this to make vegan hot chocolate last night when it was 30 degrees out, and it was better than the regular dairy version I used to make. Even my partner who swears he hates all plant-based drinks went back for a second mug.
Solid recipe, easy to follow. I do wish there was a note about adjusting the water ratio for people who like extra thick soy milk for making tofu or soy yogurt at home, but the base recipe is perfect for drinking straight.
Super easy recipe! I will say I wish I’d soaked my beans a little longer because the first batch was slightly grainy, but once I let them sit 8 hours instead of 4 it was perfect. Will be making this on repeat for my iced lattes.