
homemade yum yum sauce

title 1
homemade yum yum sauce
⏱️ cook time 0 minutes
🍽️ servings 8
⚡ Difficulty easy

intro

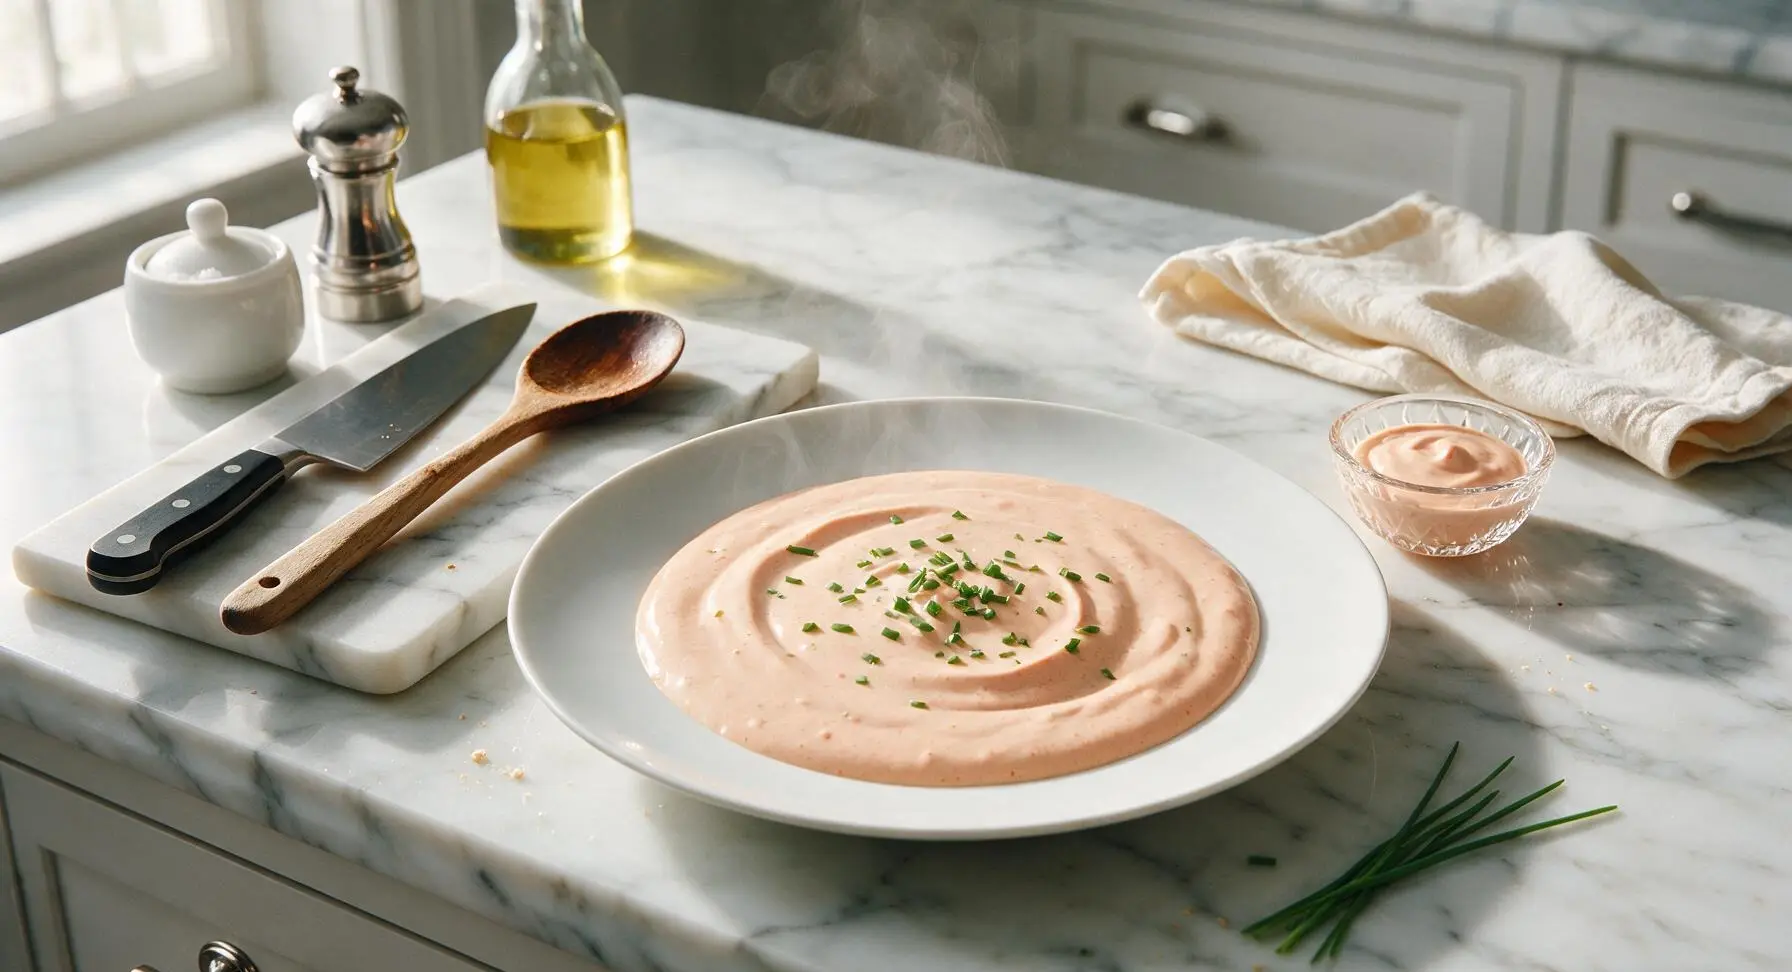
Creamy, tangy, slightly sweet hibachi-style yum yum sauce, perfect for dipping grilled shrimp, chicken, veggies, and fried rice. This iconic steakhouse staple is easy to make at home with no special equipment.

Ingredients
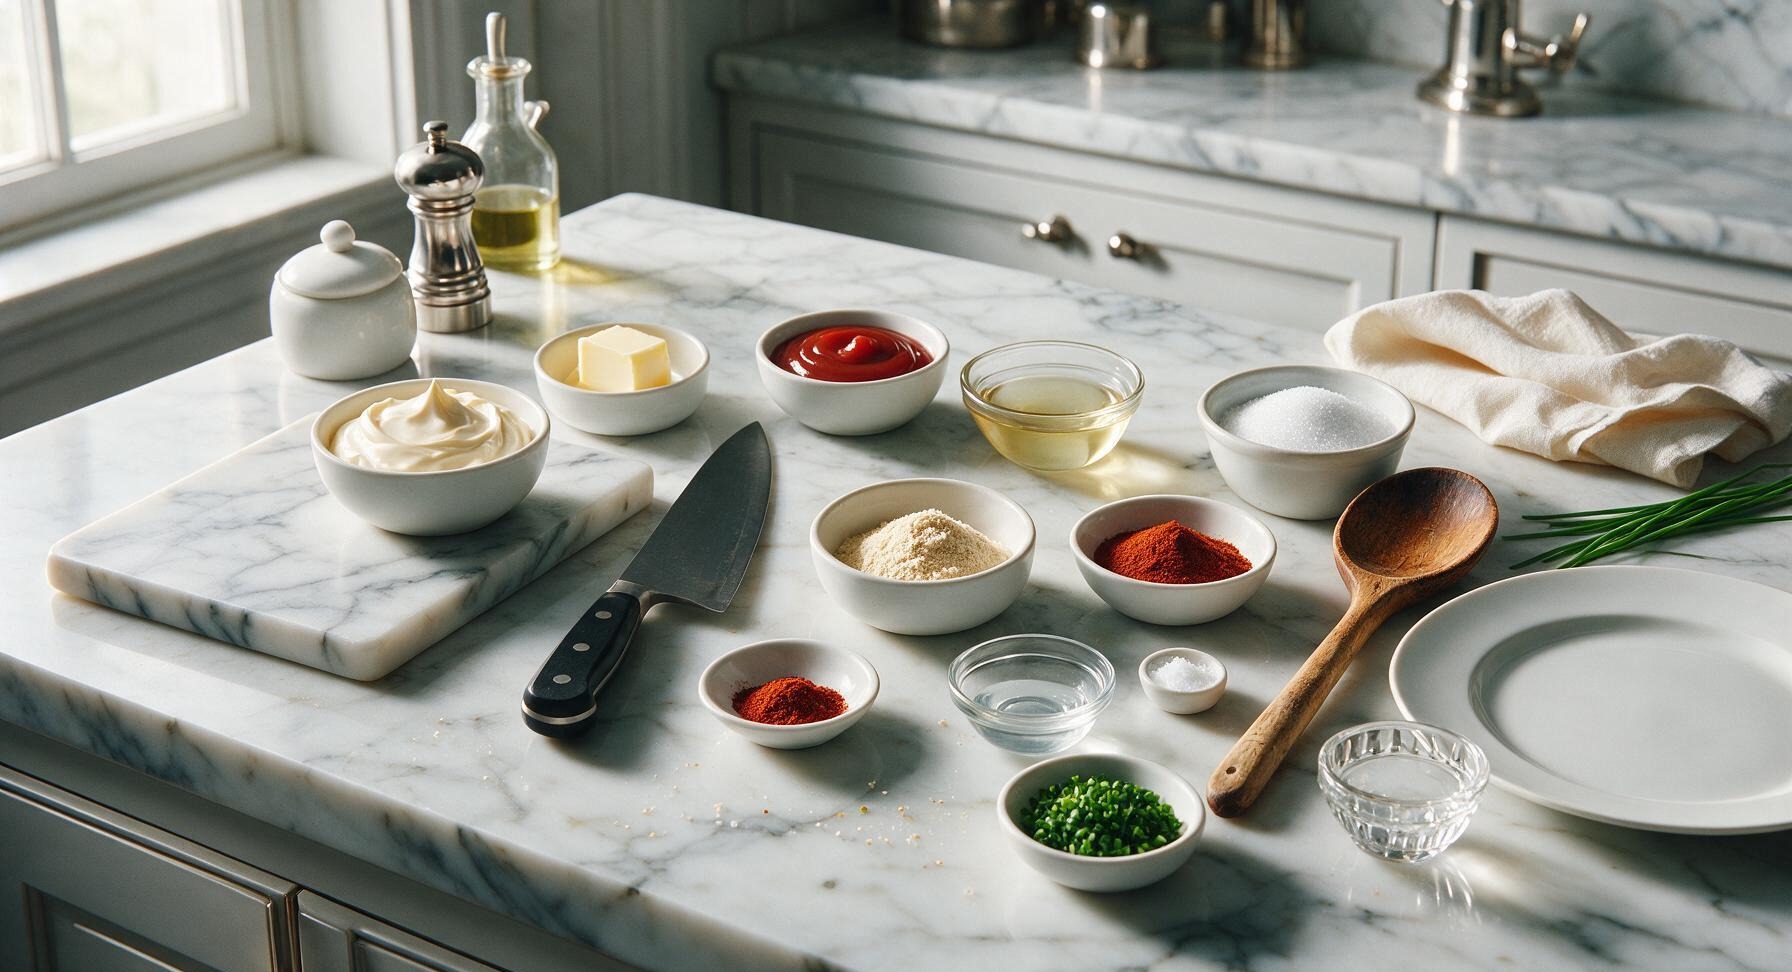
Full-fat mayonnaise 1 cup
Tomato ketchup 2 tbsp
Unsalted butter 1 tbsp
Unseasoned rice vinegar 1 tbsp
Granulated sugar 1 tbsp
Toasted sesame oil 1 tsp
Garlic powder 1 tsp
Smoked paprika 1 tsp
Fine sea salt 1/4 tsp
Cayenne pepper 1/8 tsp
Cold water 1-2 tsp
Fresh chives 1 tbsp (finely chopped, for garnish)

Steps

1

Melt and Cool Butter

Place 1 tablespoon of unsalted butter in the first matte white pinch bowl, microwave for 20-30 seconds until fully melted with no remaining solid bits. Set aside for 3 minutes to cool to room temperature, to avoid melting the mayonnaise and breaking the sauce emulsion when mixed. Never use hot butter, as it will cause irreversible separation.

Step 1
step1:Melt and Cool Butter
2

Add Base Ingredients

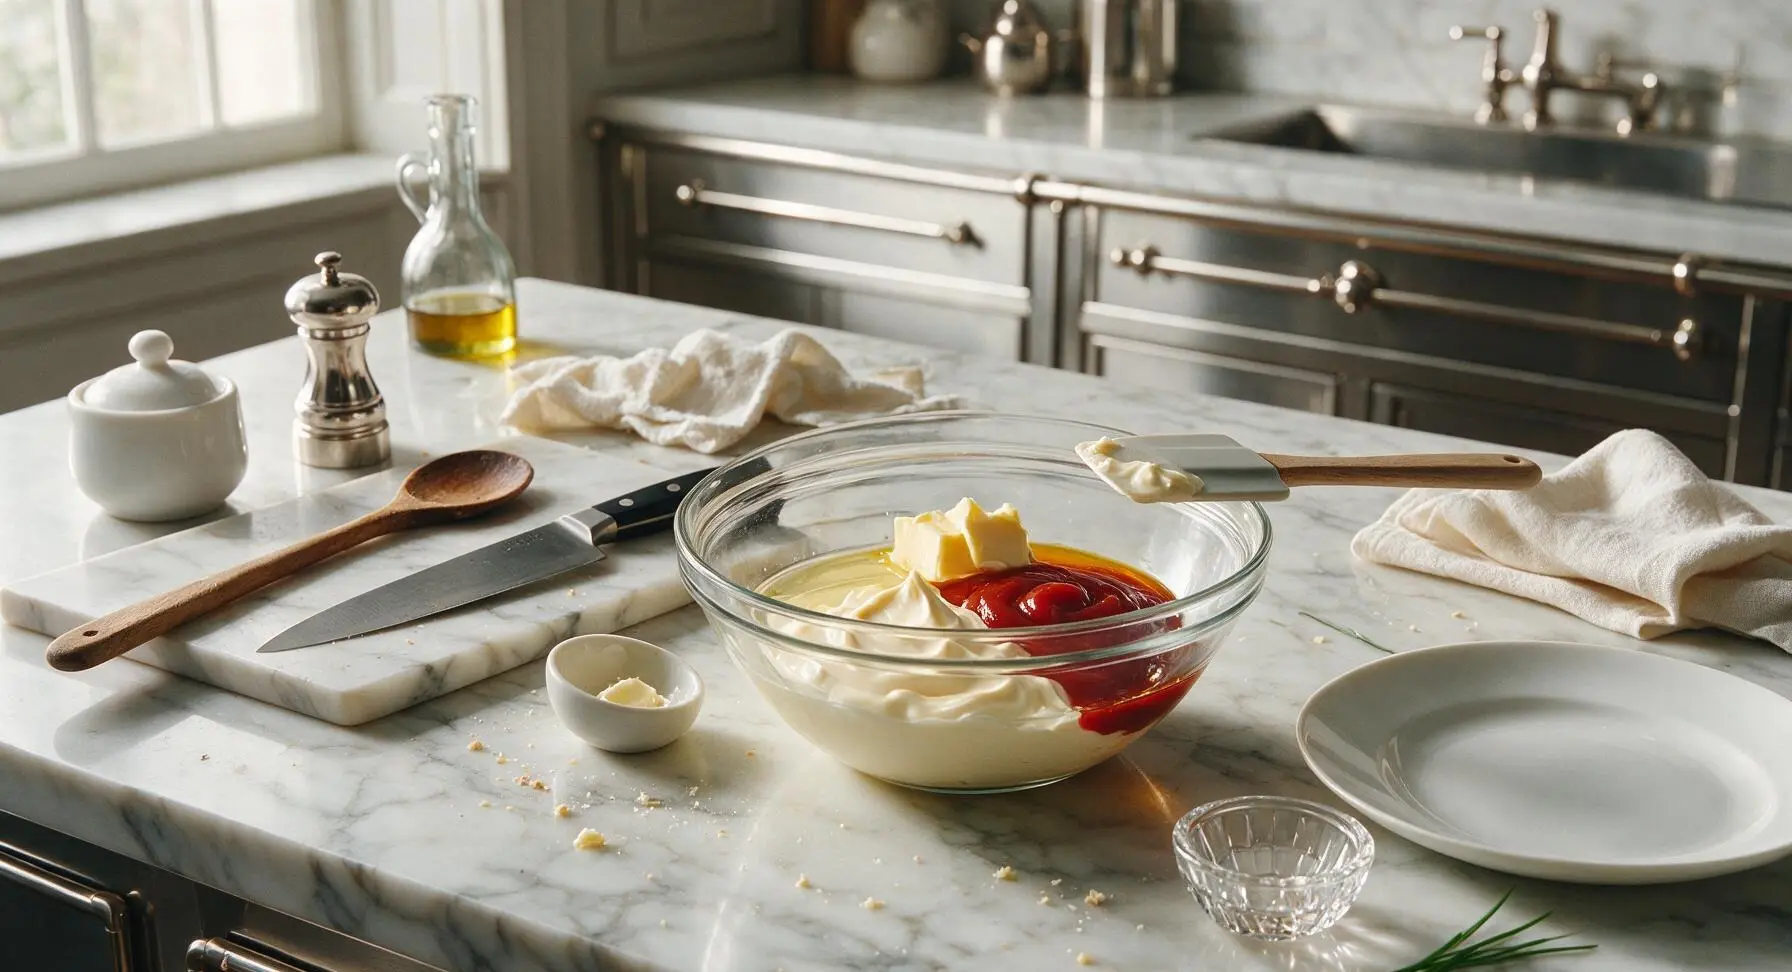
Scoop 1 cup of full-fat mayonnaise and 2 tablespoons of tomato ketchup into the two clear glass ramekins to measure, then pour into the clear glass mixing bowl. Add the fully cooled melted butter, 1 tablespoon unseasoned rice vinegar, and 1 teaspoon of toasted sesame oil to the bowl. Use the silicone spatula to scrape every last bit of butter from its pinch bowl to avoid waste.
Step 2
step2:Add Base Ingredients
3

Add Dry Seasonings

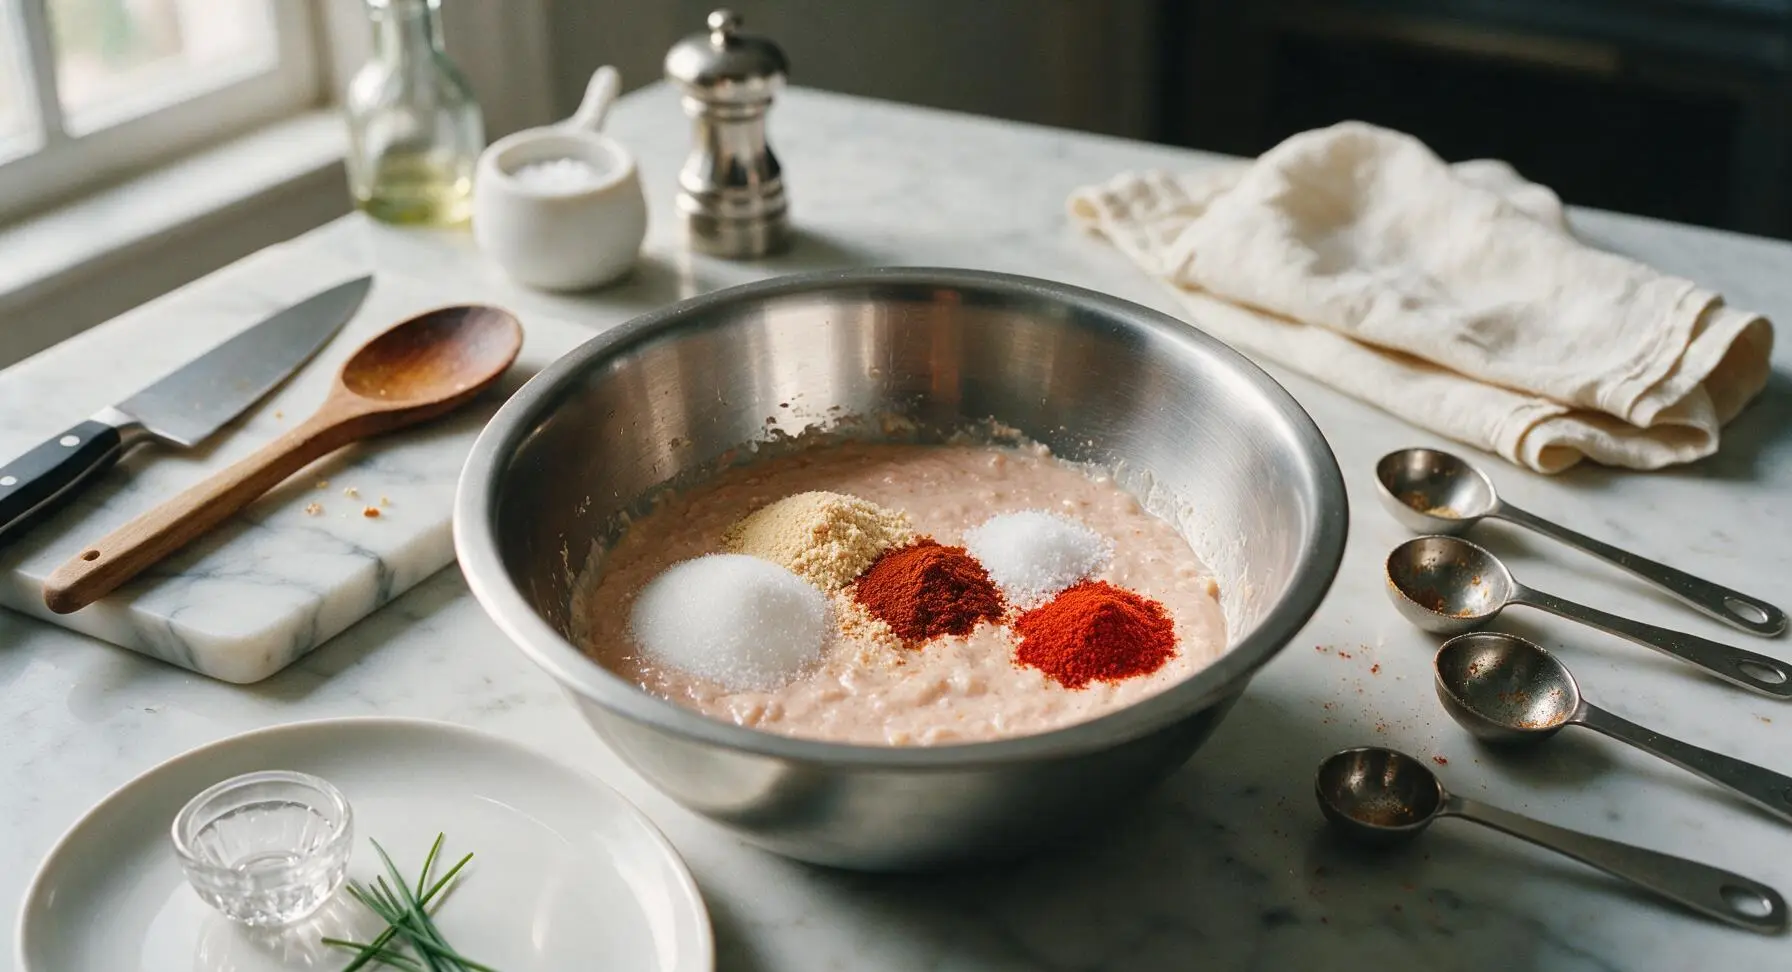
Use the stainless steel measuring spoons to add 1 tablespoon granulated sugar, 1 teaspoon garlic powder, 1 teaspoon smoked paprika, 1/4 teaspoon fine sea salt, and 1/8 teaspoon cayenne pepper to the wet ingredients in the mixing bowl. Level each spice measure with a flat edge for consistent, accurate seasoning to avoid over-spicing.
Step 3
step3:Add Dry Seasonings
4

Whisk Until Smooth

Hold the mixing bowl steady with one hand, and use the stainless steel whisk to combine all ingredients in slow, steady circular motions, pausing to scrape down the bowl sides with the silicone spatula as needed. Whisk for 45-60 seconds until the sauce is completely smooth, with no streaks of ketchup or unblended spice clumps, and a uniform pale peachy-pink color.
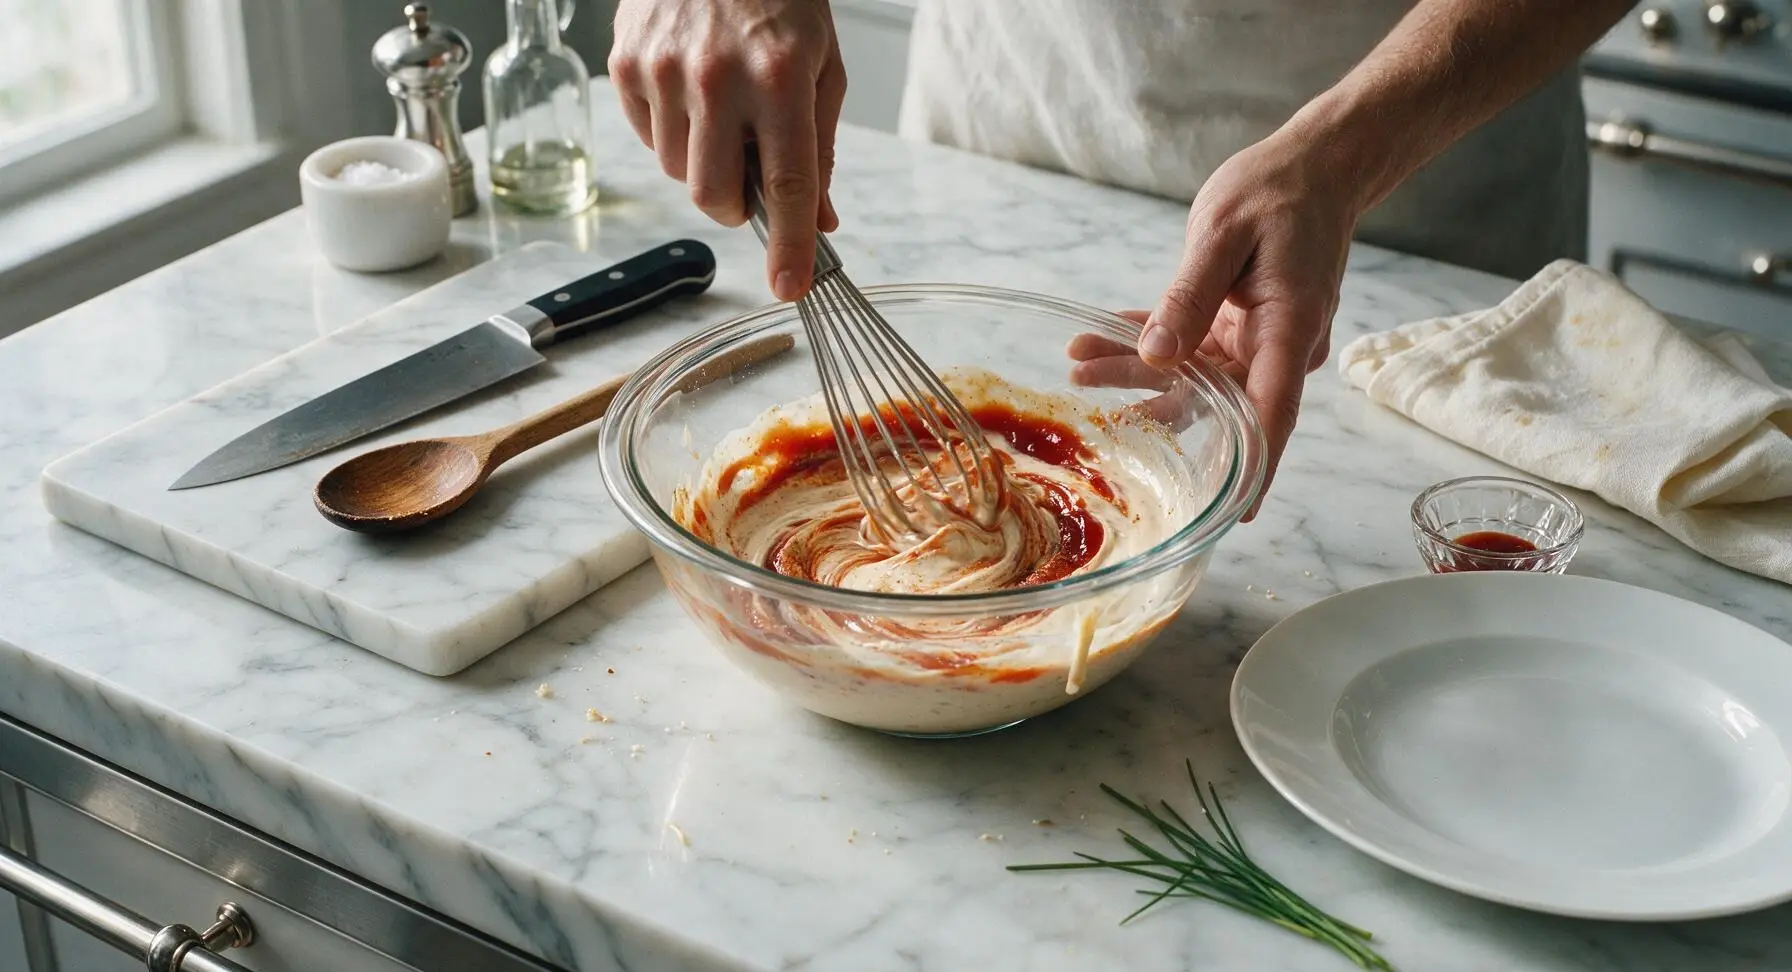
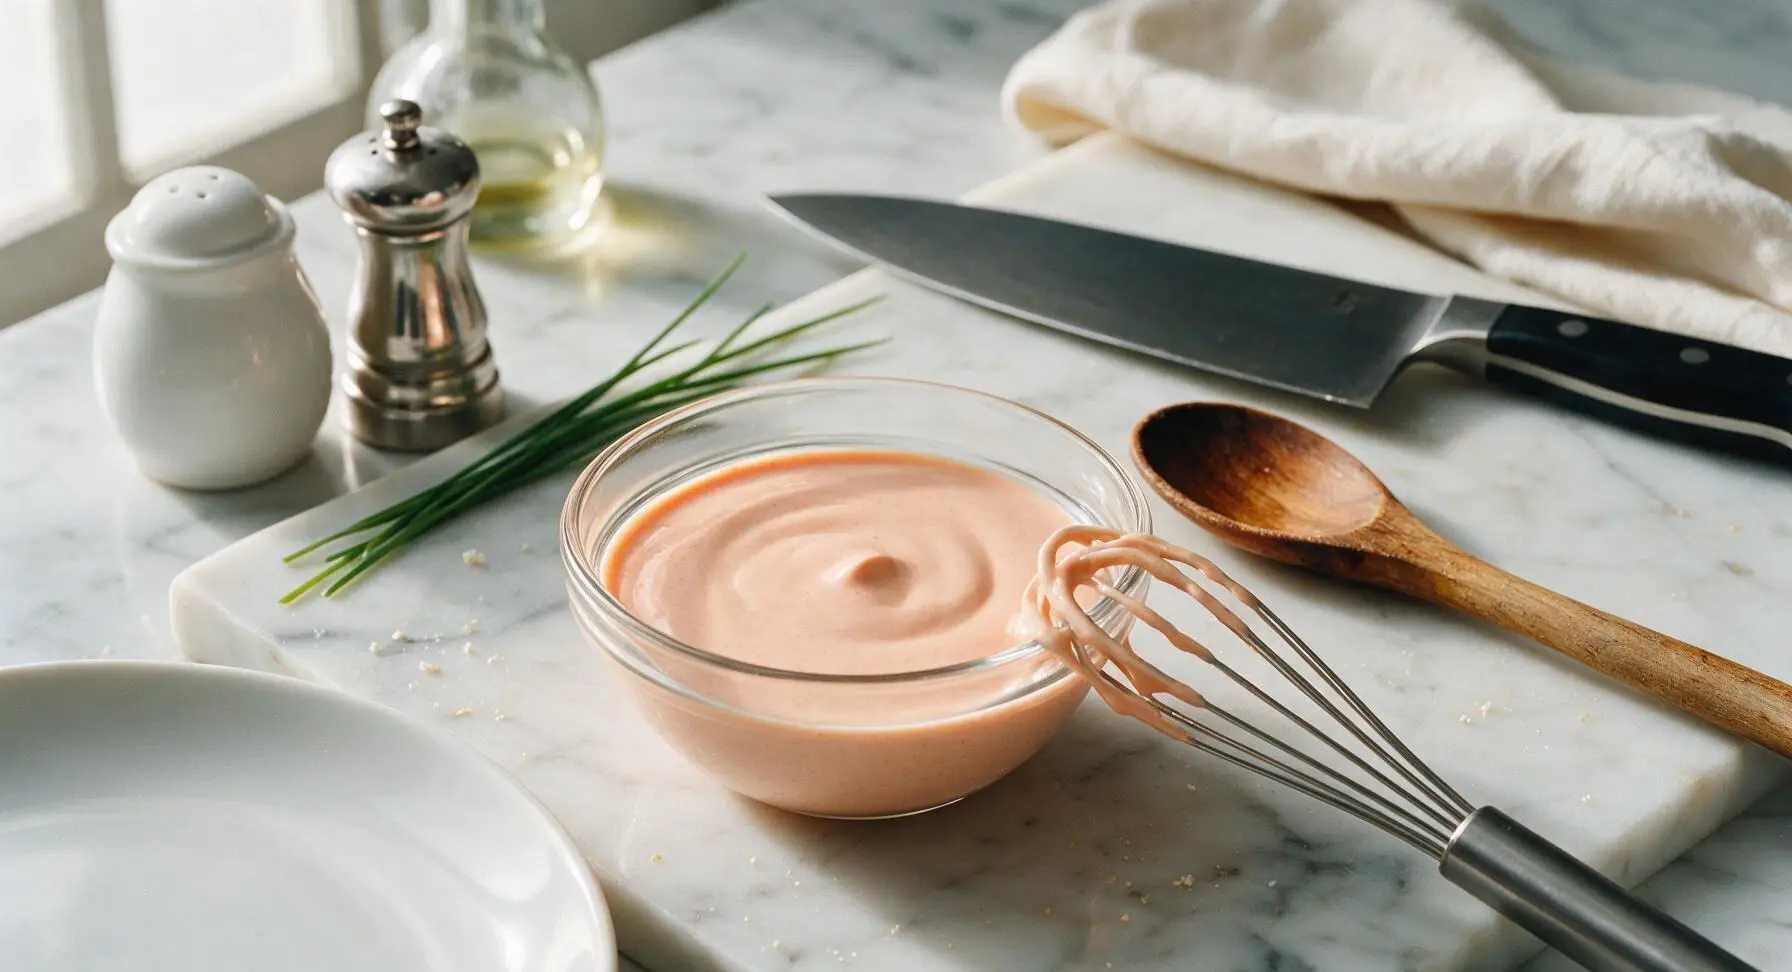
Step 4
step4:Whisk Until Smooth
Step 4
step4:Whisk Until Smooth
5

Adjust Consistency

Taste the sauce, and add cold water 1/2 teaspoon at a time, whisking between additions, until the sauce reaches a thick but slowly pourable consistency similar to heavy cream. For a thicker dip for shrimp or raw vegetables, skip adding extra water entirely. Do not add more than 2 teaspoons of water total, as the sauce will become too thin to cling to food.
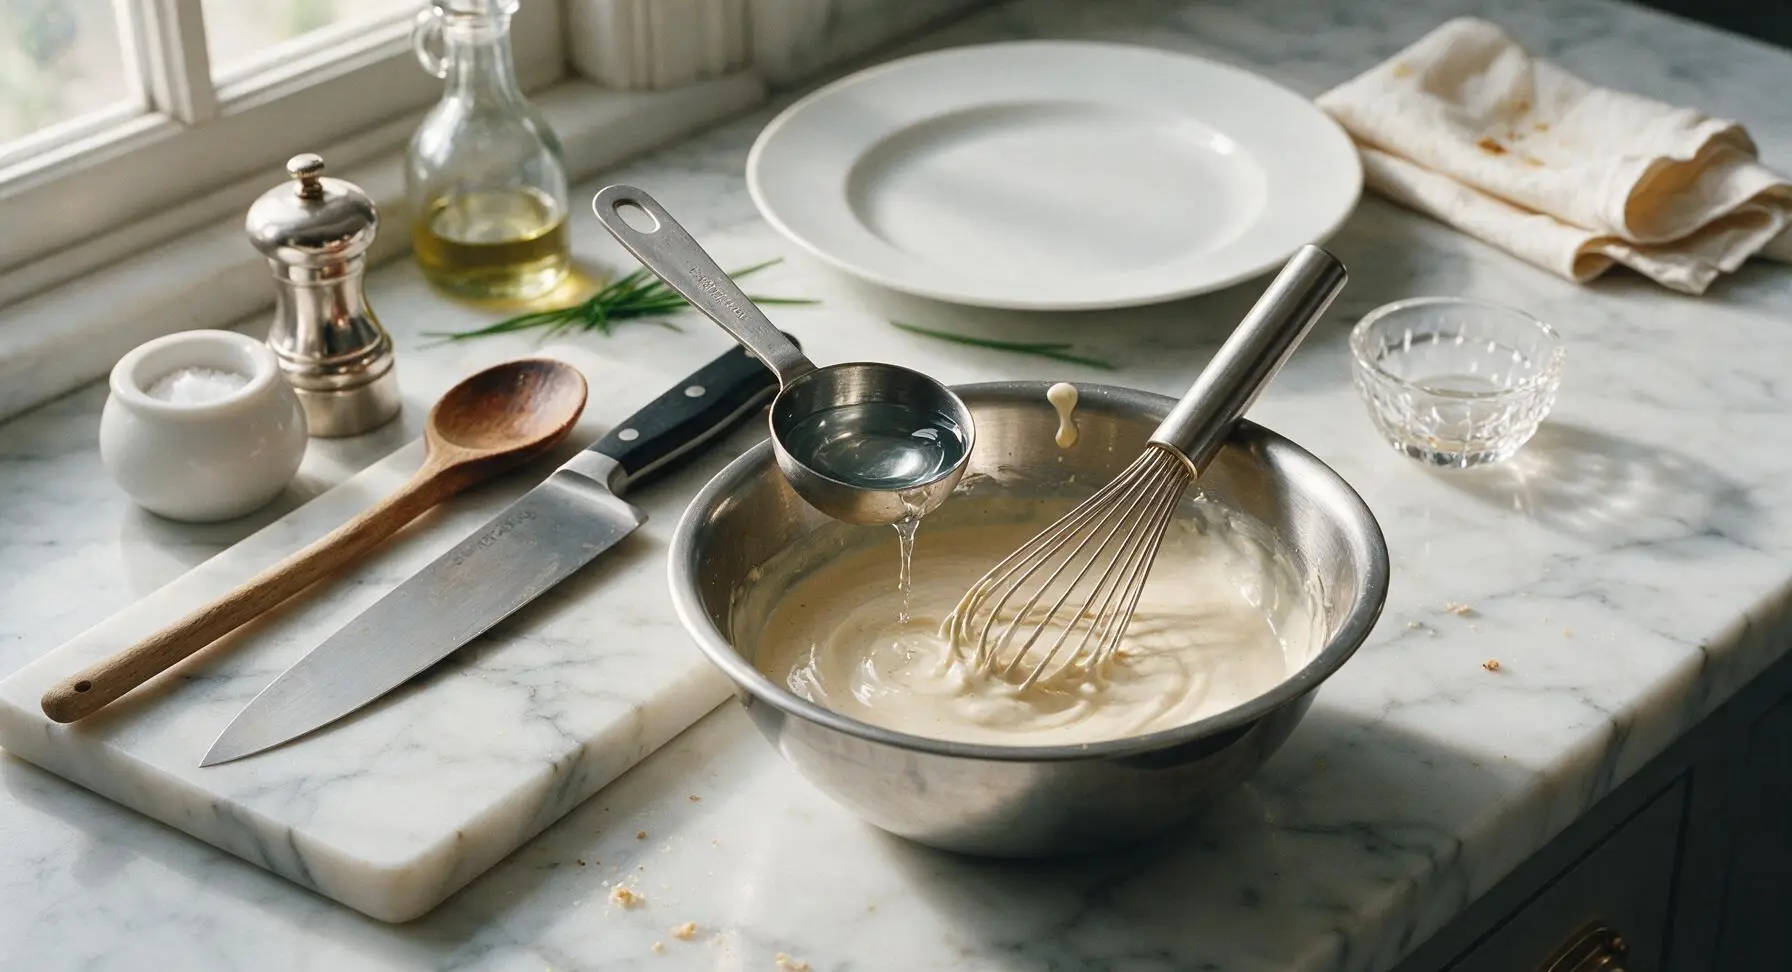
Step 5
step5:Adjust Consistency
6

Chill to Meld Flavors

Cover the mixing bowl tightly with plastic wrap, pressing the wrap directly to the sauce surface to prevent a thick skin from forming as it chills. Transfer to the refrigerator for a minimum of 30 minutes (and up to 3 days) to allow the spice flavors to mellow and infuse into the base. Do not serve immediately after mixing, as the spices will taste harsh and unbalanced.
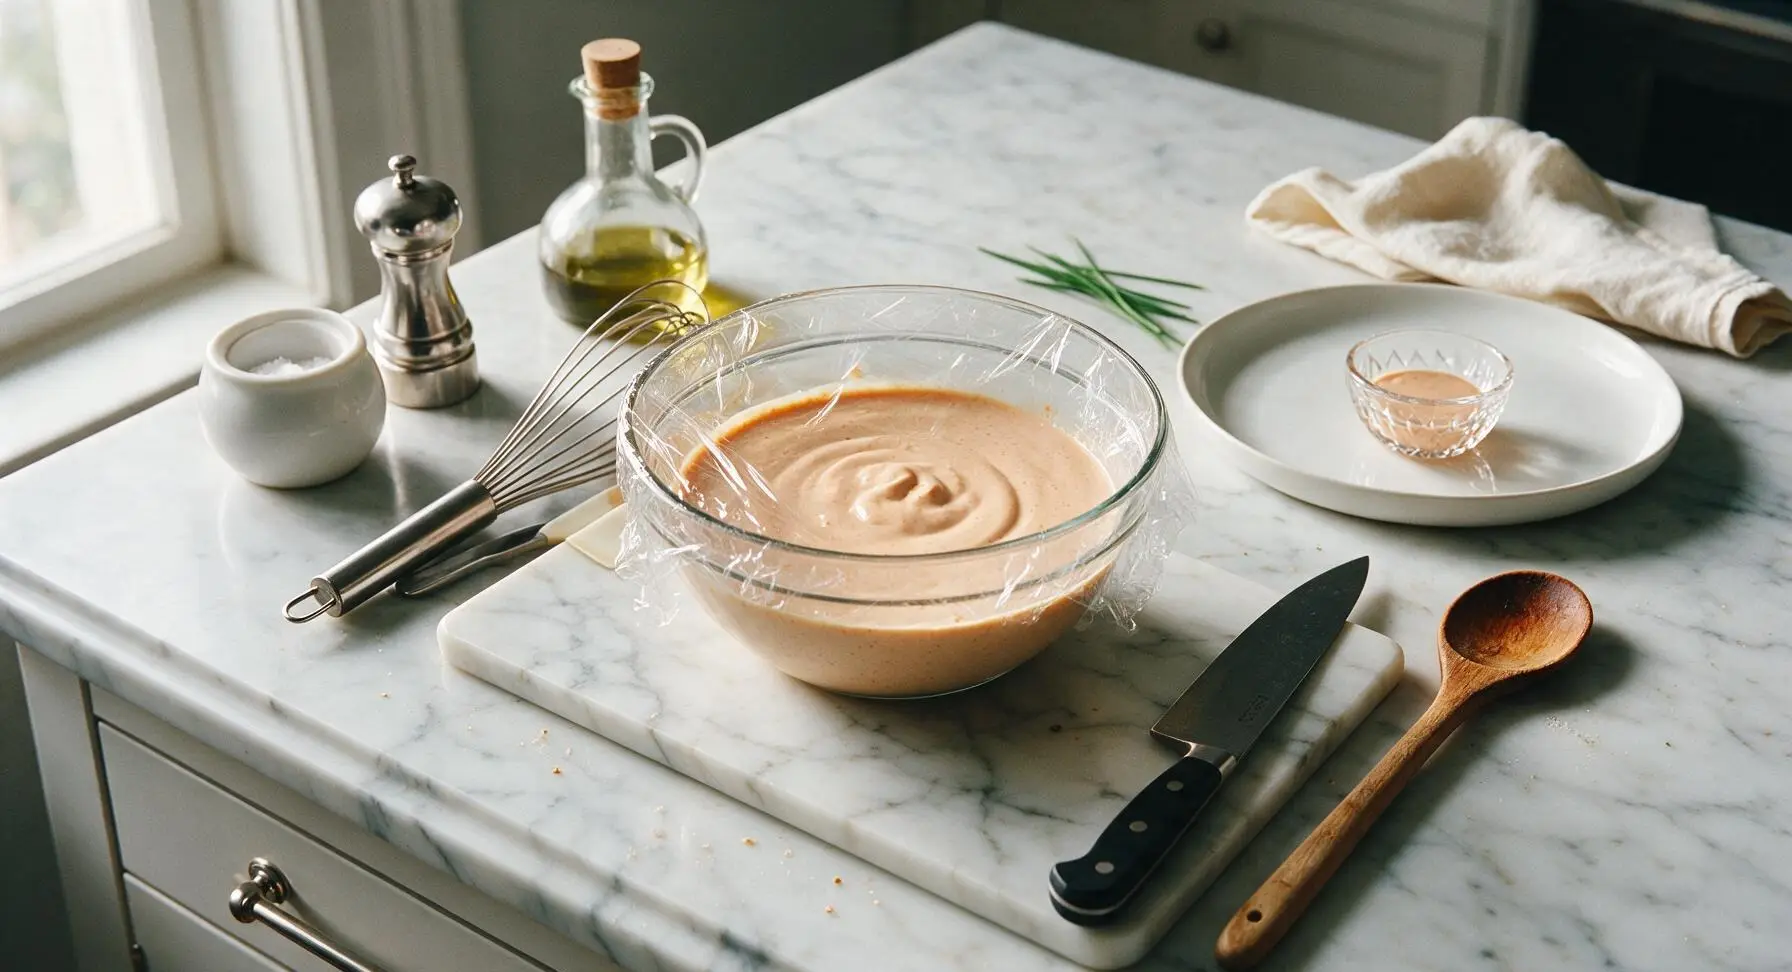
Step 6
step6:Chill to Meld Flavors
7

Garnish and Serve

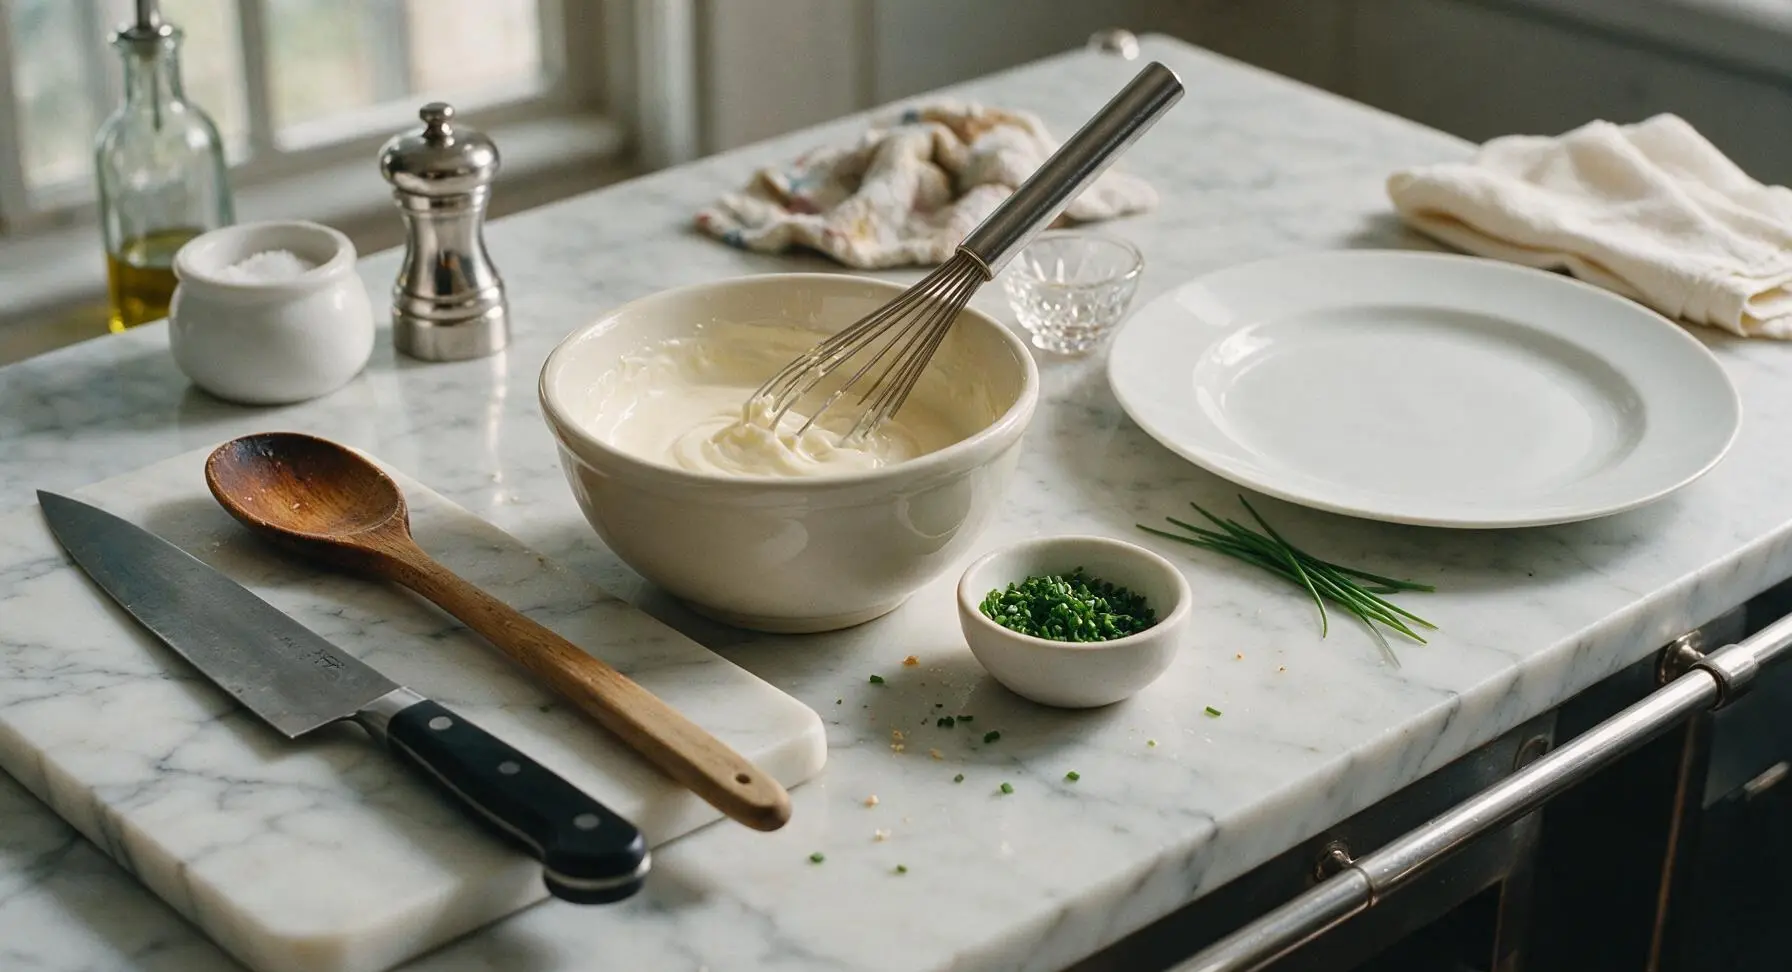
Remove the chilled sauce from the refrigerator, discard the plastic wrap, and give the sauce a quick 10-second stir with the whisk to loosen it. Transfer the sauce to the 10cm glossy off-white ceramic serving bowl, and top with a light sprinkle of finely chopped fresh chives and a tiny pinch of smoked paprika for color. Serve alongside grilled proteins, fried rice, or roasted vegetables.
Step 7
step7:Garnish and Serve

Tips

1.Use only full-fat mayonnaise for the best texture: low-fat or light mayo contains extra water and stabilizers that create a thin, artificially tangy sauce that lacks the rich, creamy mouthfeel of restaurant-style yum yum sauce.
2.Never skip the 30-minute chill time: when freshly mixed, dry spices like garlic powder and cayenne taste harsh and powdery; resting allows the spices to fully hydrate and flavors to meld into the balanced, mild, umami profile the sauce is known for.
3.Ensure melted butter is fully cooled to room temperature before adding it: hot butter will break the mayonnaise’s delicate egg-oil emulsion, leading to a greasy, separated sauce that cannot be repaired even with vigorous whisking.


✨ You May Also Like

Side Dishes
🍜 India

Velvety, aromatic all-purpose curry sauce perfect for tossing with roasted veggies, grilled protein, or rice for fast, cozy, flavorful meals.

⏱️ 25 minuteSide Dishes ★ 4.8
Side Dishes
🍜 Spain

Tender, starchy boiled yuca tossed in bright, garlicky citrus mojo sauce—an iconic, zesty side that pairs beautifully with roasted pork, grilled meats, and rice and beans.

⏱️ 40 minuteSide Dishes ★ 5
Side Dishes
🍜 United States

Tender, paper-thin potato flatbread, a beloved Norwegian-American Minnesota Christmas staple, griddled until softly spotted and served warm with butter.

⏱️ 1 hour 30Side Dishes ★ 4.6
Side Dishes
🍜 United States

Rich, deeply savory cured salt pork, a long-lasting kitchen staple perfect for frying crispy as a side or adding umami to stews, beans, and chowders.

⏱️ 7 days (2Side Dishes ★ 4.9
Side Dishes
🍜 United States

Crispy, tangy classic Southern fried green tomatoes with a crunchy cornmeal crust, served hot for a nostalgic, comforting summery bite.

⏱️ 25 minuteSide Dishes ★ 4.9
Side Dishes
🍜 United States

Moist, golden-crusted savory muffins with sweet corn, zesty jalapeño, and melted cheddar, perfect for pairing with smoky summer grilled fare.

⏱️ 30 minuteSide Dishes ★ 4.9

homemade yum yum sauce:Frequently Asked Questions

1.Can I use low-fat mayonnaise instead of full-fat for this recipe? ▾
I strongly recommend sticking with full-fat mayonnaise for the rich, silky, non-watery texture that matches steakhouse yum yum sauce. Low-fat or light mayo often has added stabilizers that create an odd, thin consistency and muted flavor. If you must use it, stir in an extra teaspoon of cooled melted unsalted butter to boost richness and thicken the final sauce.
2.How long will homemade yum yum sauce stay fresh in the refrigerator? ▾
Stored in a tightly sealed, airtight container in the coldest part of your fridge (not the door!), this sauce will stay fresh for 7 to 10 days. Since it’s mayonnaise-based, never leave it out at room temperature for more than 2 hours, and give it a quick stir before each use to re-mix any settled ingredients.
3.My finished sauce tastes too tangy—how can I fix that? ▾
Overly tangy sauce almost always means you added a touch too much unseasoned rice vinegar. Fix it by stirring in an extra ¼ teaspoon of granulated sugar at a time, tasting as you go, until the sharp tang softens to that signature mellow, balanced profile. You can also add a tiny extra dollop of mayo to mellow out zingy flavors if needed.
4.Do I need to melt the unsalted butter before mixing it into the sauce? ▾
Yes, but be sure to let the melted unsalted butter cool for 2 to 3 minutes first so it’s not piping hot. Hot butter will curdle the cold mayonnaise and break the sauce’s smooth emulsion, leaving greasy little clumps. Fully cooled, melted butter blends seamlessly to create that luxe, velvety texture you expect from hibachi restaurants.
5.What foods pair best with this yum yum sauce, besides hibachi meals? ▾
While it’s made for dipping grilled hibachi shrimp, chicken, steak, sautéed veggies, and fried rice, it’s incredibly versatile. Use it as a creamy spread for burgers, a dip for crispy sweet potato fries, a drizzle for poke bowls, or even a quick, tangy dressing for crunchy Asian-inspired slaws at your next backyard cookout.
6.Can I make this sauce without ketchup if I don’t have any on hand? ▾
Ketchup adds that subtle bright tomato depth and pale peachy-pink hue that’s iconic for classic yum yum sauce, so it’s hard to replicate exactly. If you’re in a pinch, substitute 2 tablespoons of plain tomato paste mixed with 1 teaspoon of extra granulated sugar and a tiny pinch of salt, though the flavor will be slightly deeper than the original.
7.Why doesn’t my homemade sauce taste exactly like the restaurant version? ▾
The biggest mistake home cooks make is serving the sauce right after mixing it. Most hibachi restaurants let their yum yum sauce rest for at least 24 hours in the fridge, which lets the creamy, tangy, sweet flavors meld fully instead of tasting like separate ingredients. Make it a day ahead for the most authentic, spot-on steakhouse flavor.

Comments (5)

2 hours ago

OMG this is SO good! I’ve been buying bottled yum yum sauce from the grocery store for years for our at-home hibachi nights, and this recipe tastes exactly like the stuff they serve at our local Japanese steakhouse. My kids loved it — even my picky 7-year-old who turns his nose up at everything begged for extra to dip his chicken and veggies in. Total game changer for our weekly family dinner nights, 10/10 will make again and again!

30 minutes ago

Wait, did you adjust anything to get the right thickness? I made a batch last night and it was a little runnier than the restaurant version, wondering if I added too much rice vinegar?!

5 minutes ago

So glad your family is loving the recipe, Jen! Quick tip for you too, Mike — if you prefer a thicker sauce, cut the rice vinegar by 1 teaspoon or add an extra tablespoon of mayo, then let it chill in the fridge for 30 minutes before serving. It thickens up perfectly as it chills!

3 days ago

Brought this to a neighborhood potluck last weekend to serve with the grilled shrimp and fried rice I made, and people were literally hovering over the bowl asking for the recipe. It’s so easy to throw together — zero cook time, just toss all the ingredients in a bowl and whisk it up 10 minutes before we left. I’m keeping a jar of this in my fridge permanently now, it’s good on literally everything: burgers, roasted veggies, fries, you name it.

1 week ago

This recipe is solid! I added a tiny extra squirt of sriracha and a pinch of smoked paprika to give it a little kick, and it was chef’s kiss. Only reason it’s not 5 stars is I wish I’d made a double batch — my roommate ate half the jar in one sitting dipping frozen egg rolls. So easy even someone who burns toast can pull this off, no joke.

5 days ago

Love that sriracha and smoked paprika twist — that sounds absolutely delicious! We’re big fans of adding a little heat around here too, it pairs so well with the creamy base. Pro tip for next time: double (or even triple) the recipe — it stores great in an airtight container in the fridge for up to 2 weeks!

yesterday

Wait, zero cook time? I was skeptical at first because most copycat recipes I’ve tried have weirdly complicated steps, but this took me literally 3 minutes to stir together. Tastes exactly like the sauce I get when I go out for hibachi, I’m never buying store-bought again. SO good drizzled over fried rice and grilled steak for quick weeknight meals.

2 hours ago

Right?! I was shocked how fast it comes together too! I used light mayo instead of full fat last time I made it and it still turned out perfect, for anyone watching their calories.

2 weeks ago

So happy I stumbled on this recipe! I have to eat gluten free, and so many store-bought yum yum sauces have hidden wheat or soy sauce with gluten in them. I swapped the regular soy sauce for tamari like I do for most recipes, and it came out perfect. Used it for my at-home hibachi date night with my partner last night, and he said it was better than the restaurant version. 10/10!

1 week ago

Oh thank you for the tamari tip! My son has a gluten sensitivity and I’ve been nervous to try making this, I would’ve just grabbed regular soy sauce without thinking. Did you use low sodium tamari or regular?

3 days ago

Great call using tamari, Gabi — that swap works perfectly for a gluten-free version! To answer your question, Sarah: both regular and low-sodium tamari work great here. Just give it a taste after mixing, and add a tiny pinch of salt if you use low-sodium and feel like it needs a little extra depth.



